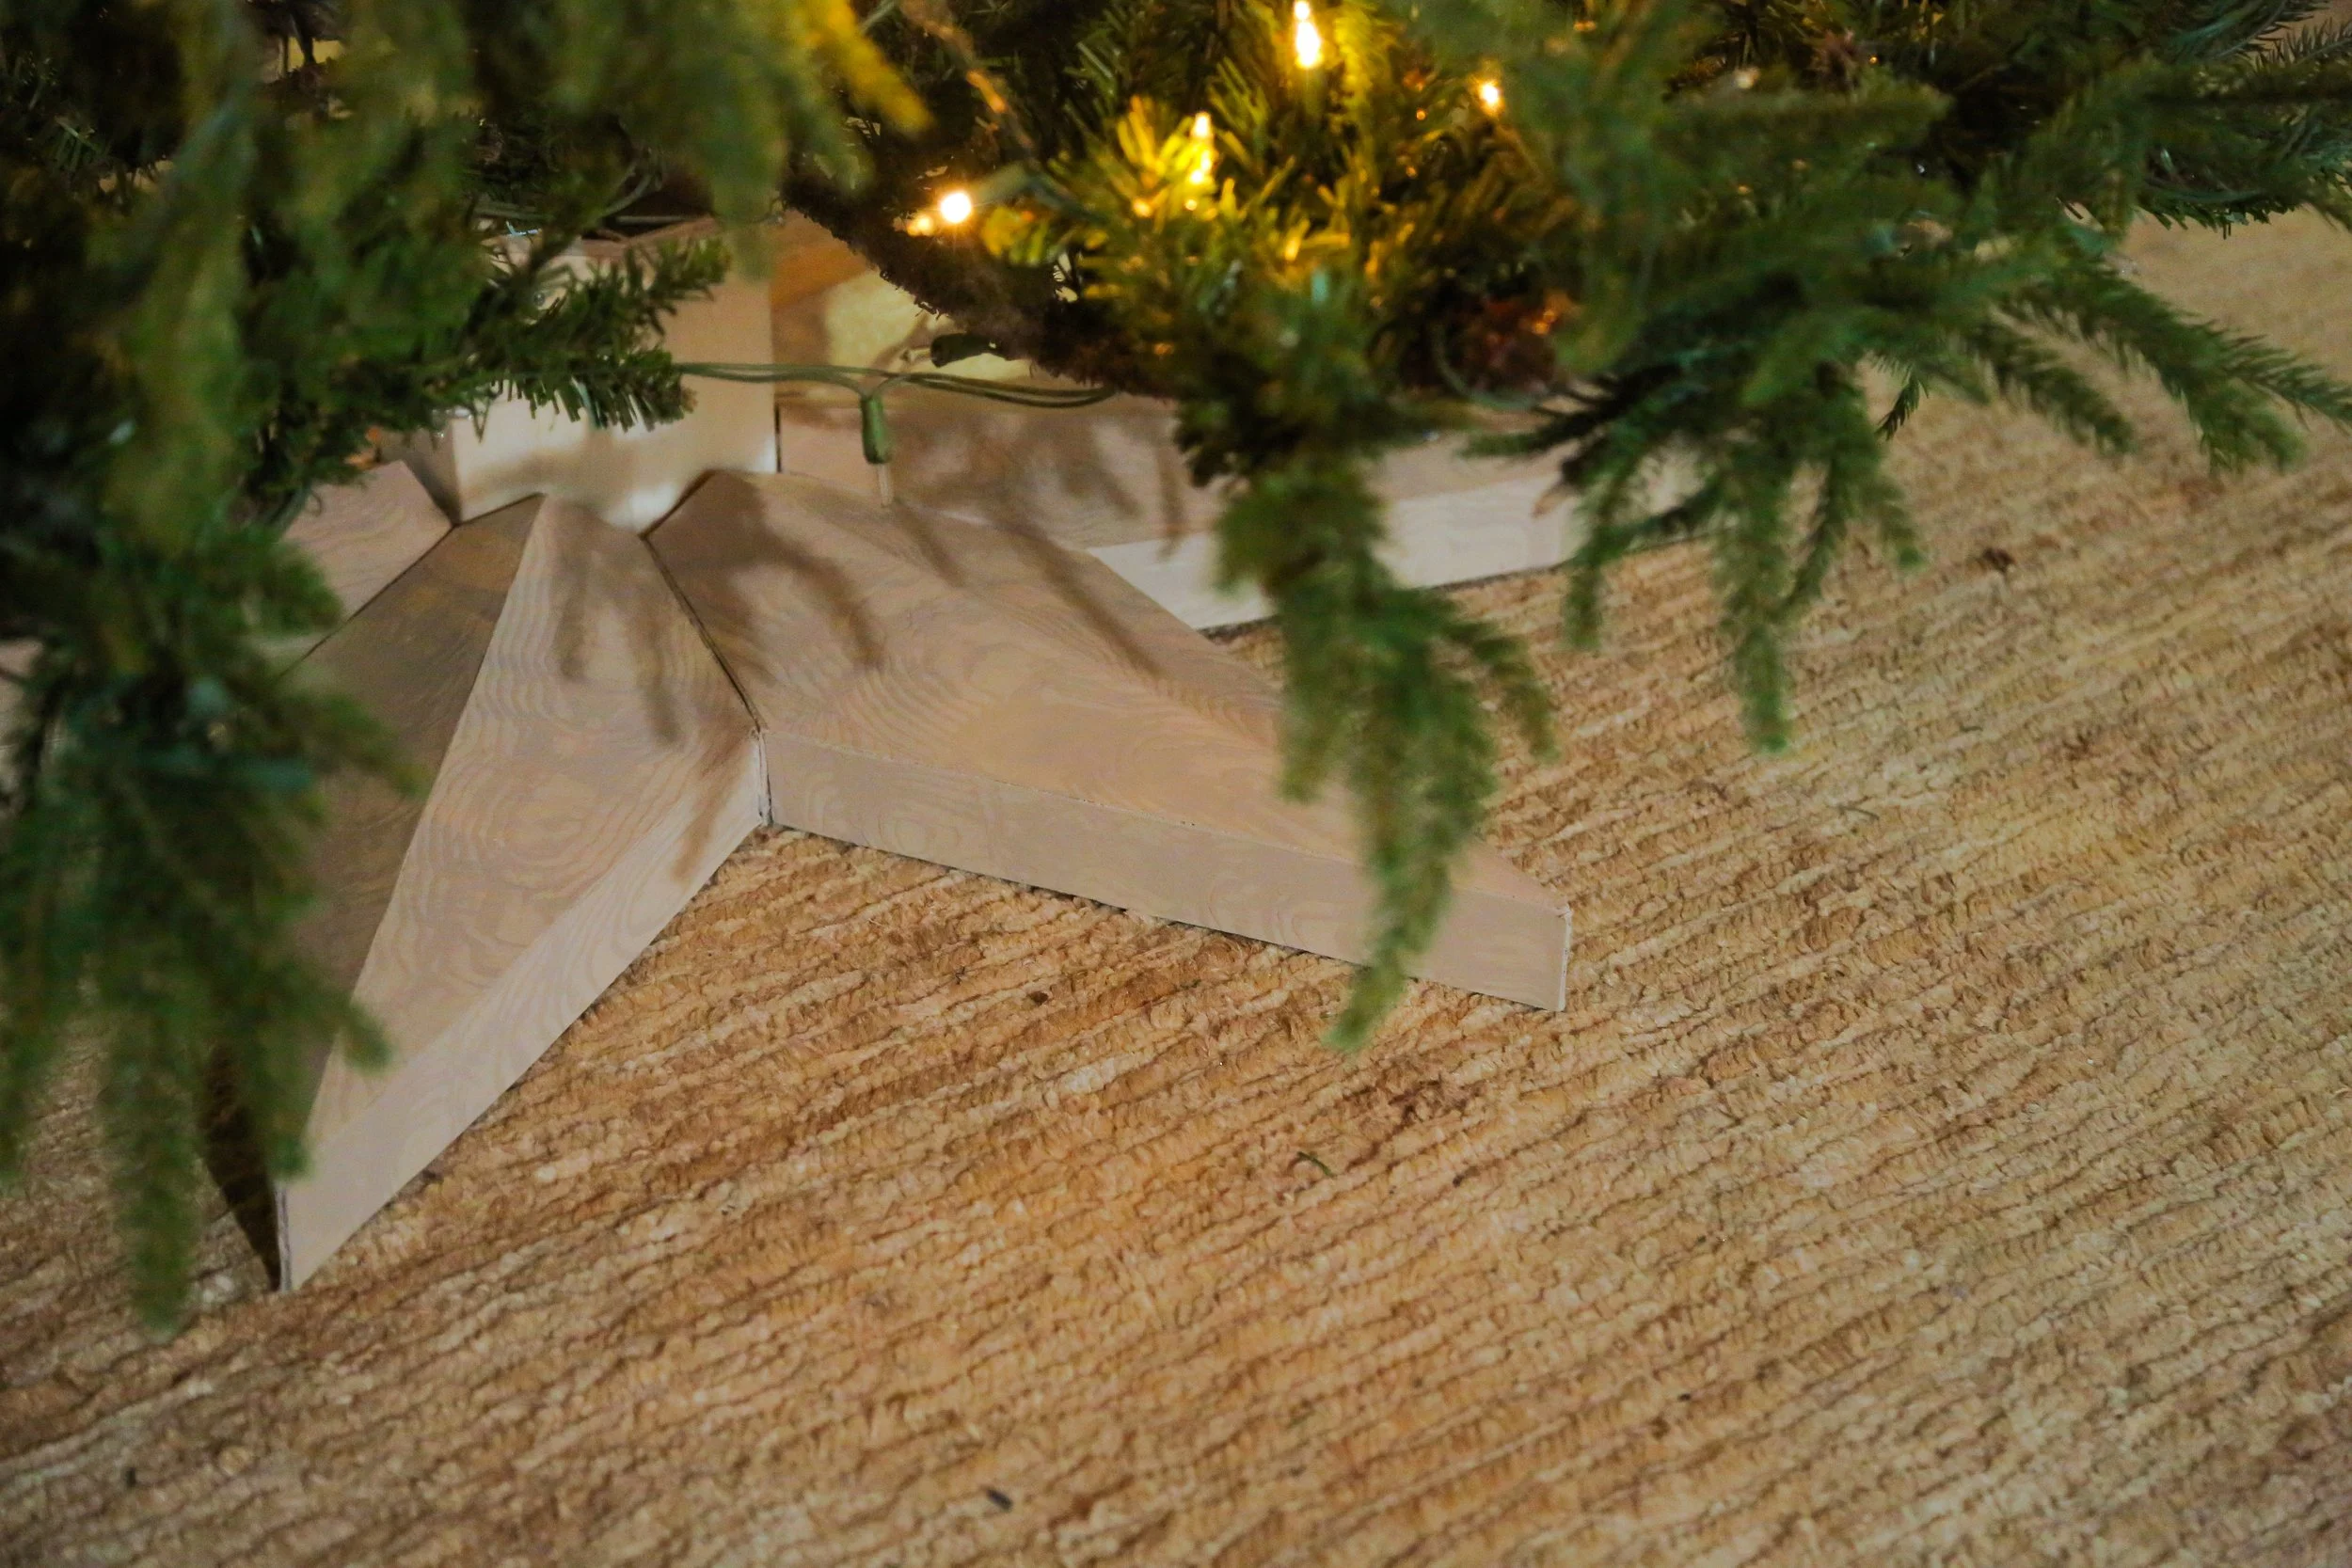
Nordic Nest DIY Dupe - Stella Christmas Tree Base
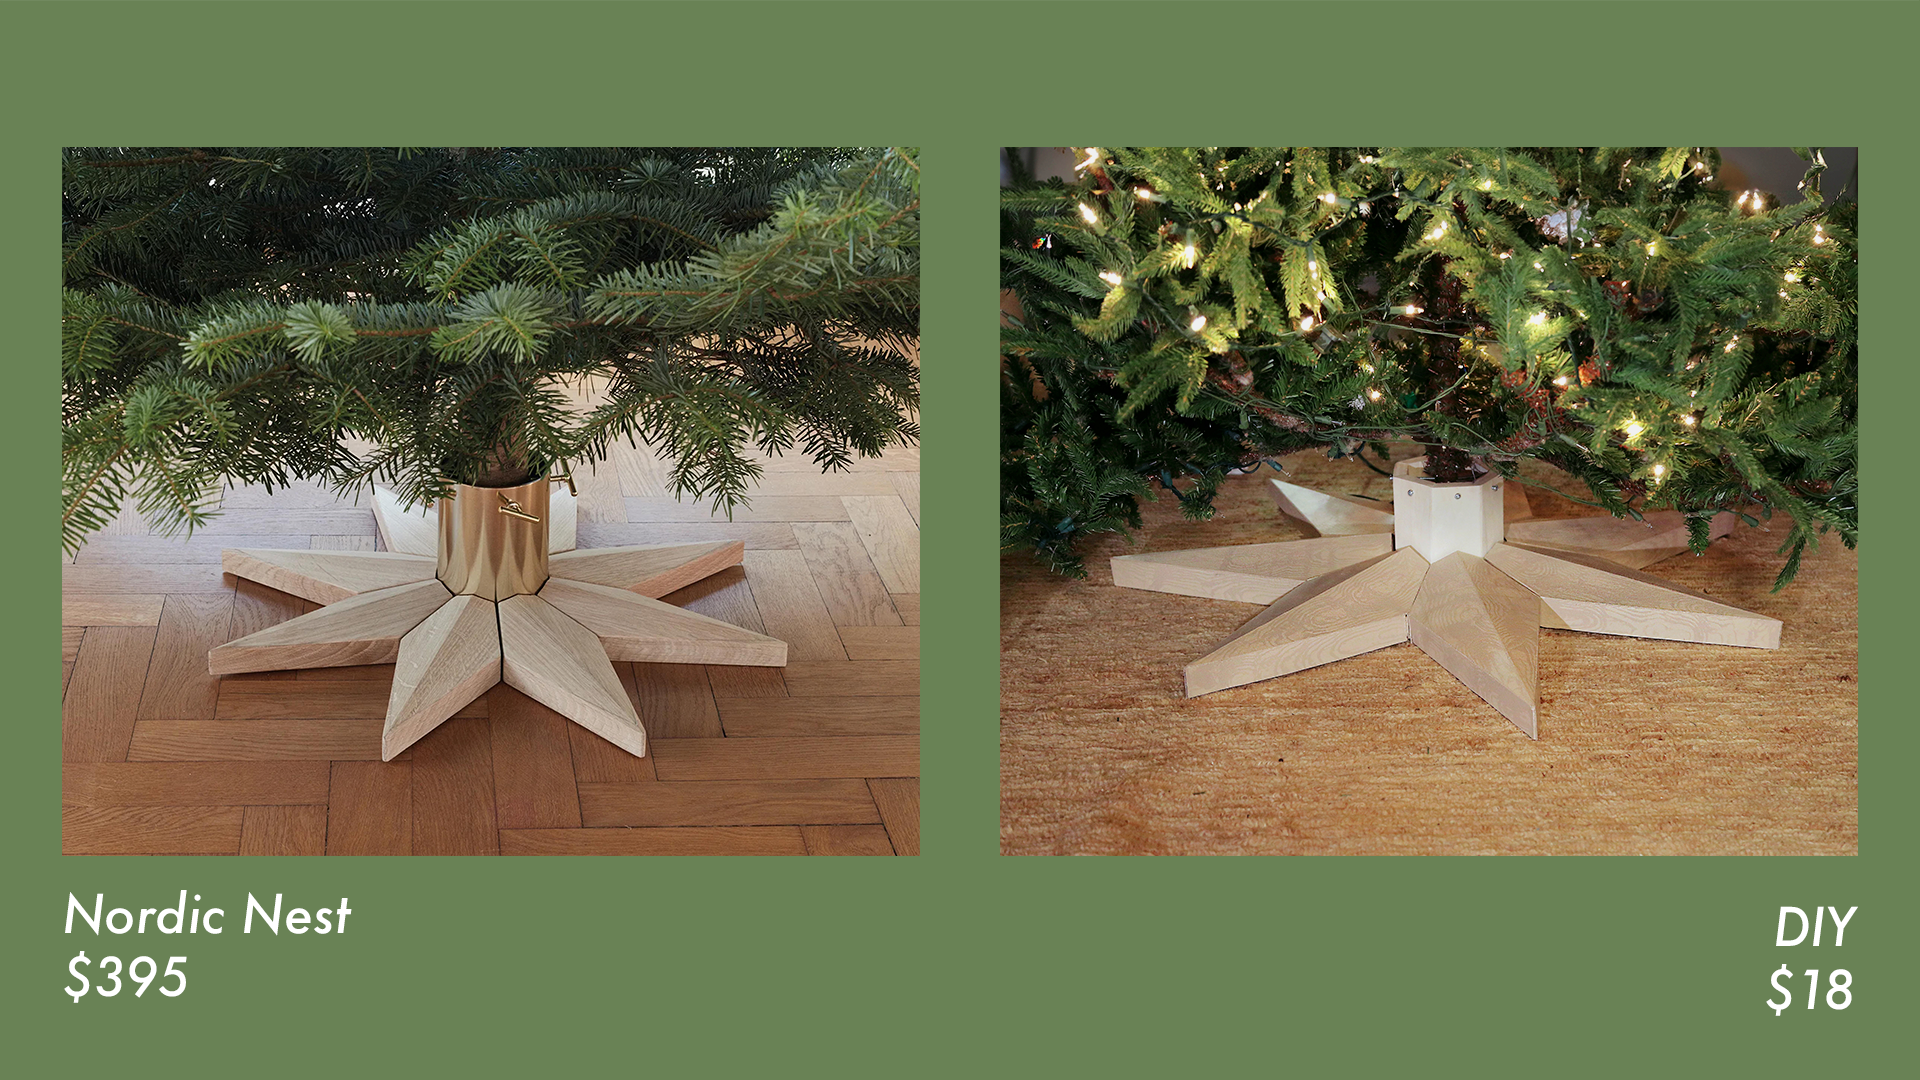
Welcome back to our series, That Cost How Much?!?! where we recreate overpriced decor items with affordable materials and a touch of DIY. In this episode, I decided to tackle a Christmas Tree Skirt from Nordic Nest that I LOVE but was not willing to spend $395 on. To watch the tutorial on how I made this check out this video!
Materials
Millboard sheets - $8 - $4 per sheet (needed 2)
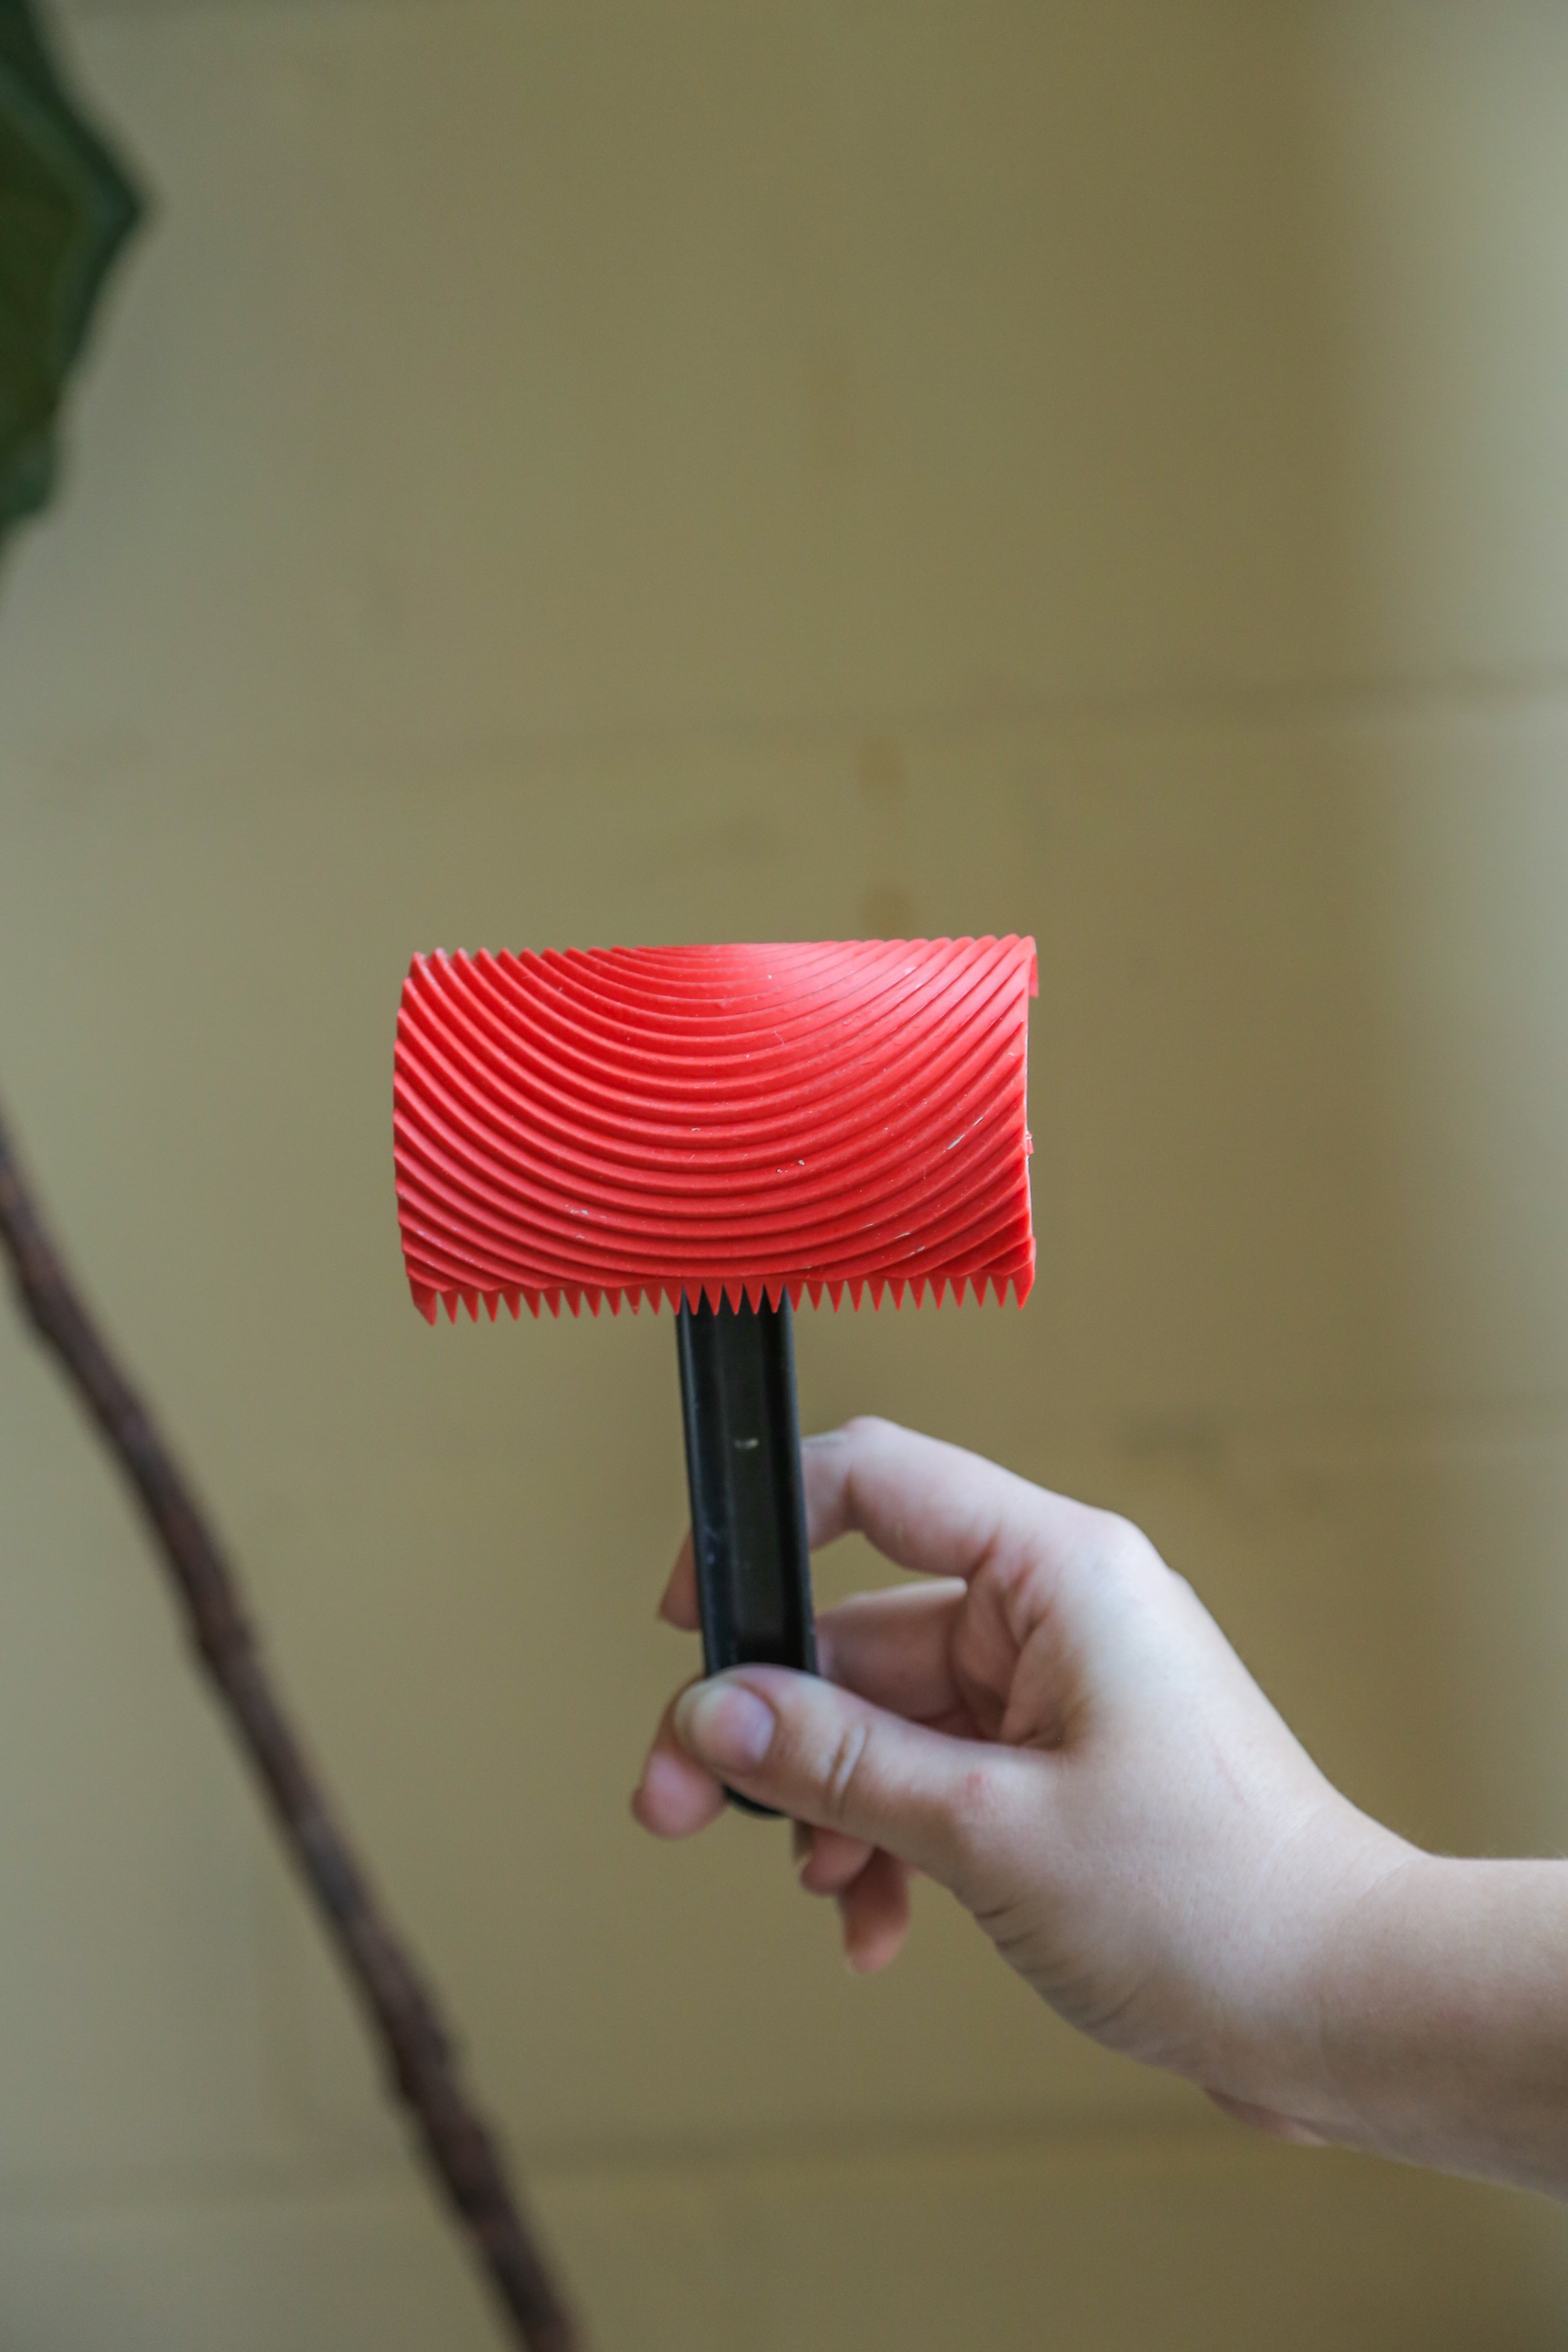
Wood gain paint brush (linked here) - $4
Brown paint sample - $6
Printable template (linked here) - $0.99
Hot glue + glue gun
Utility knife
Step 1
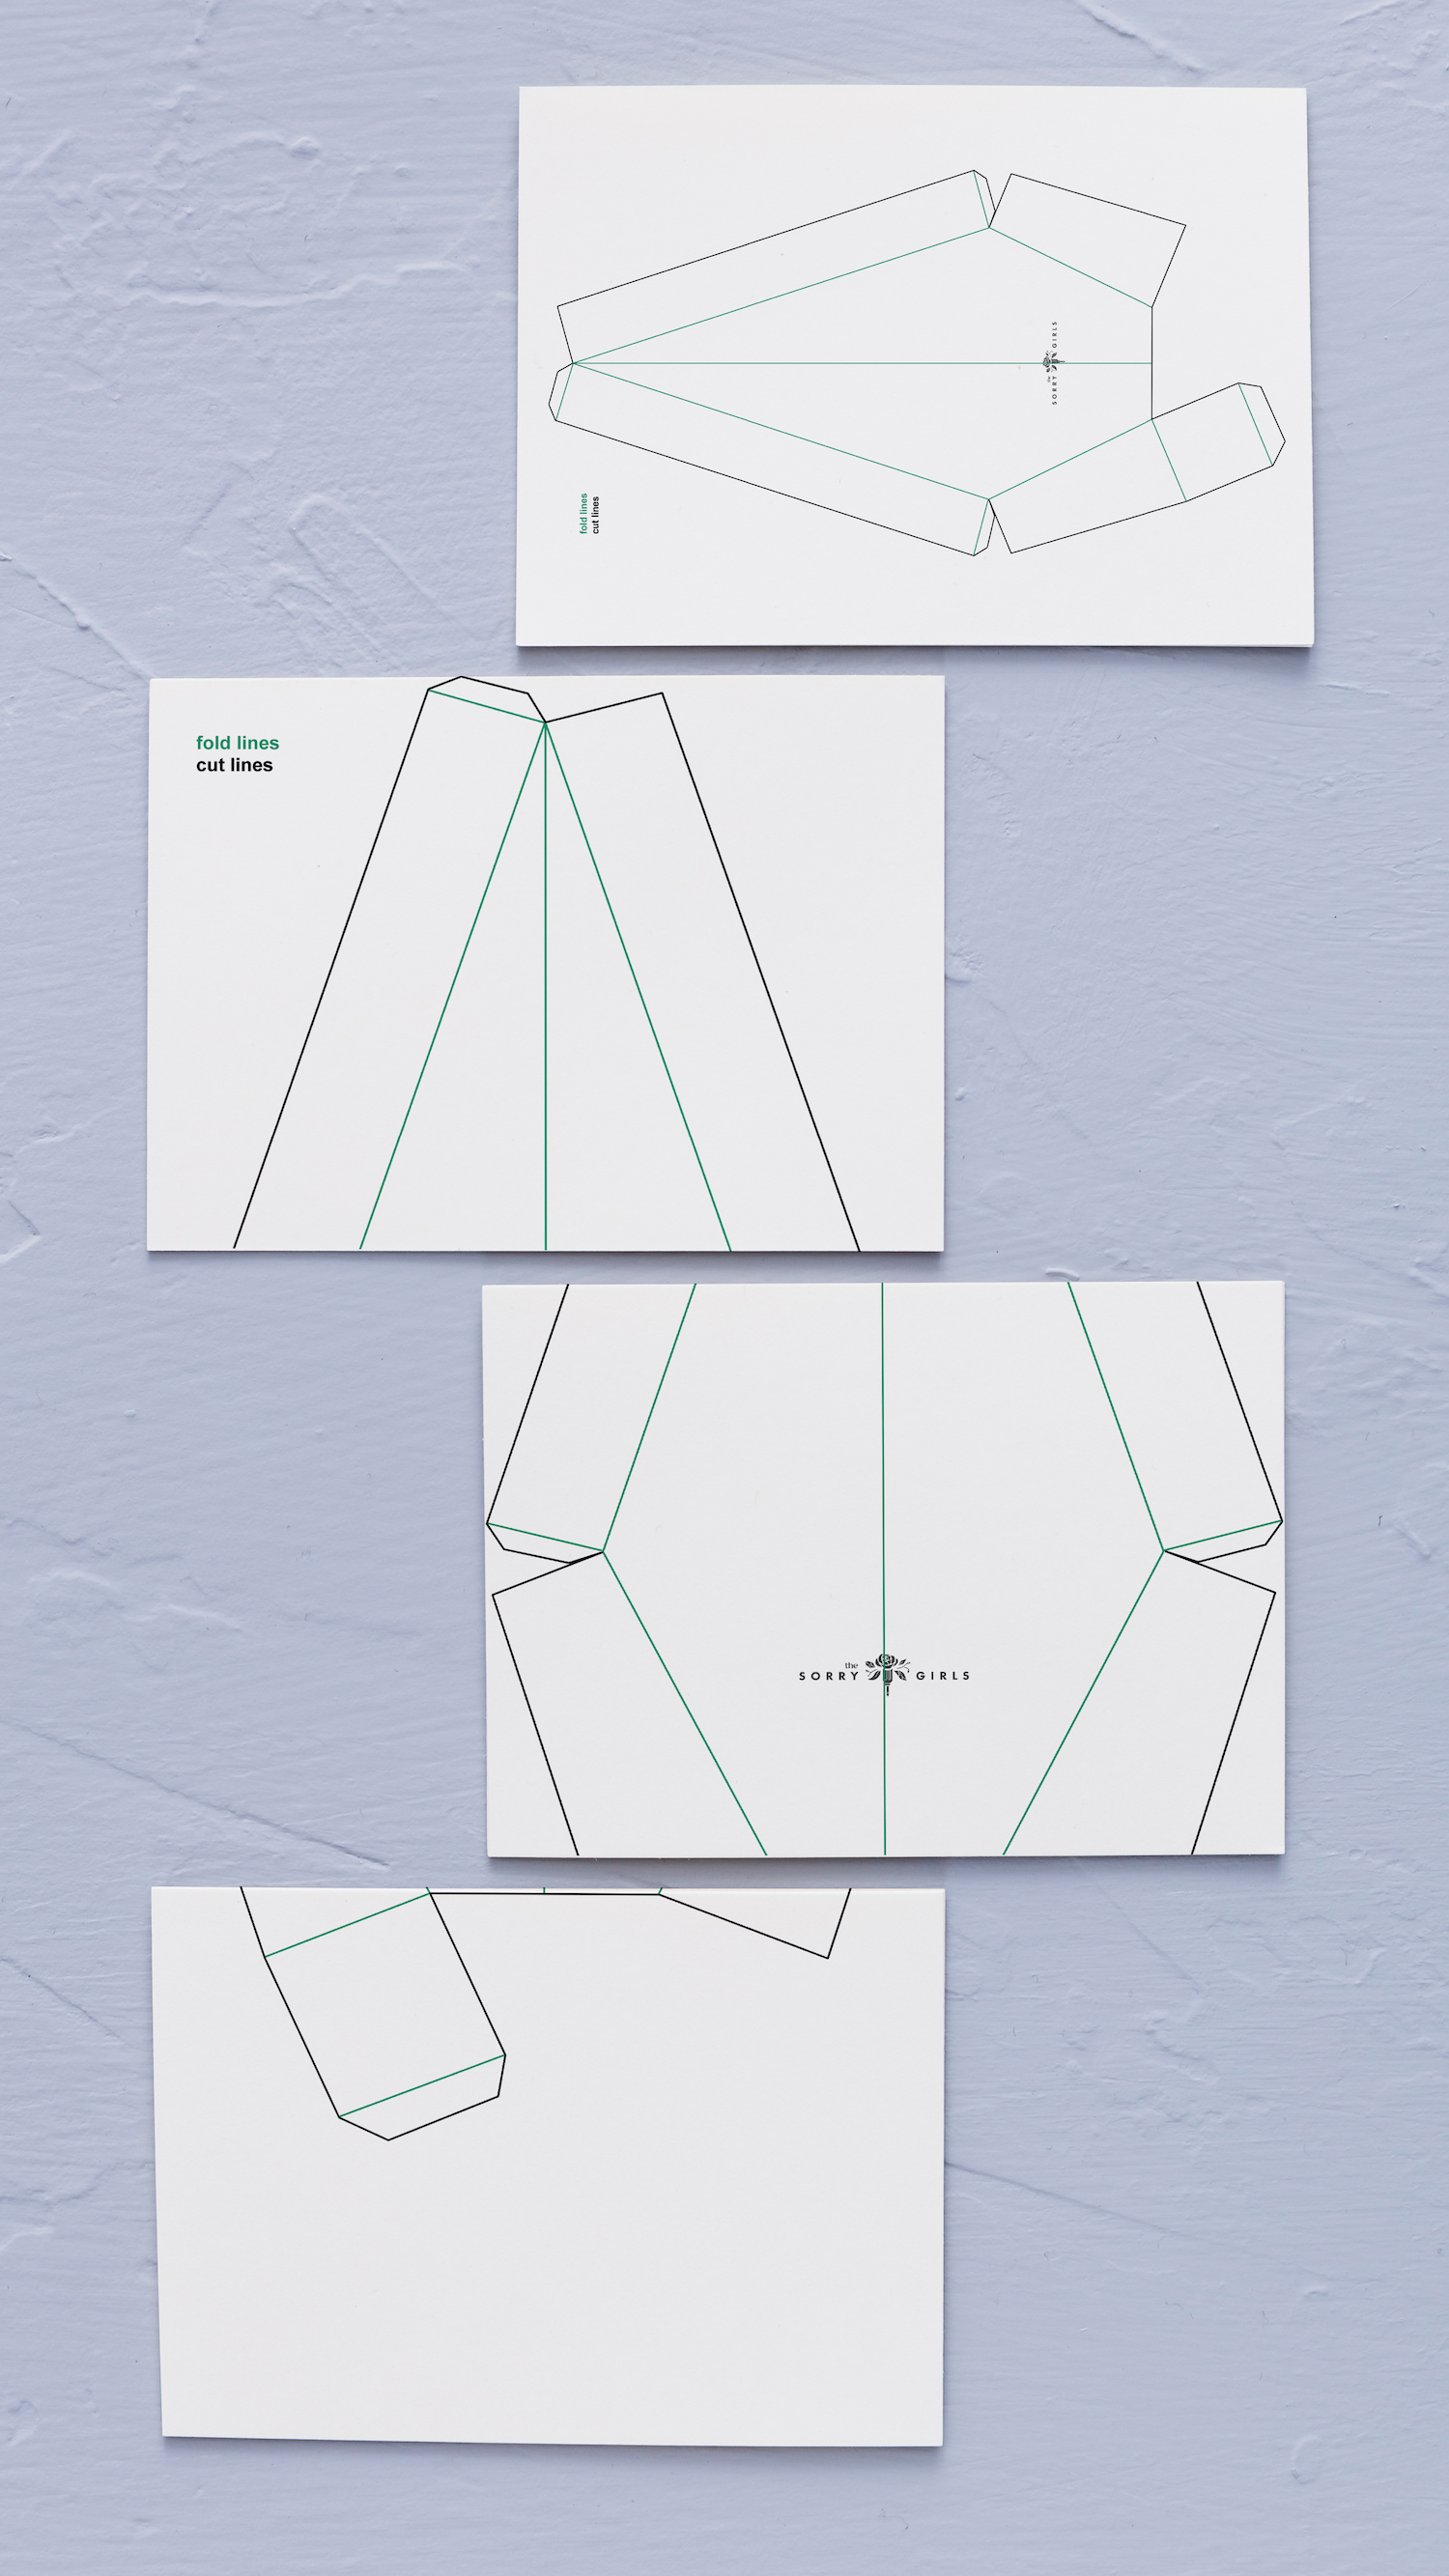
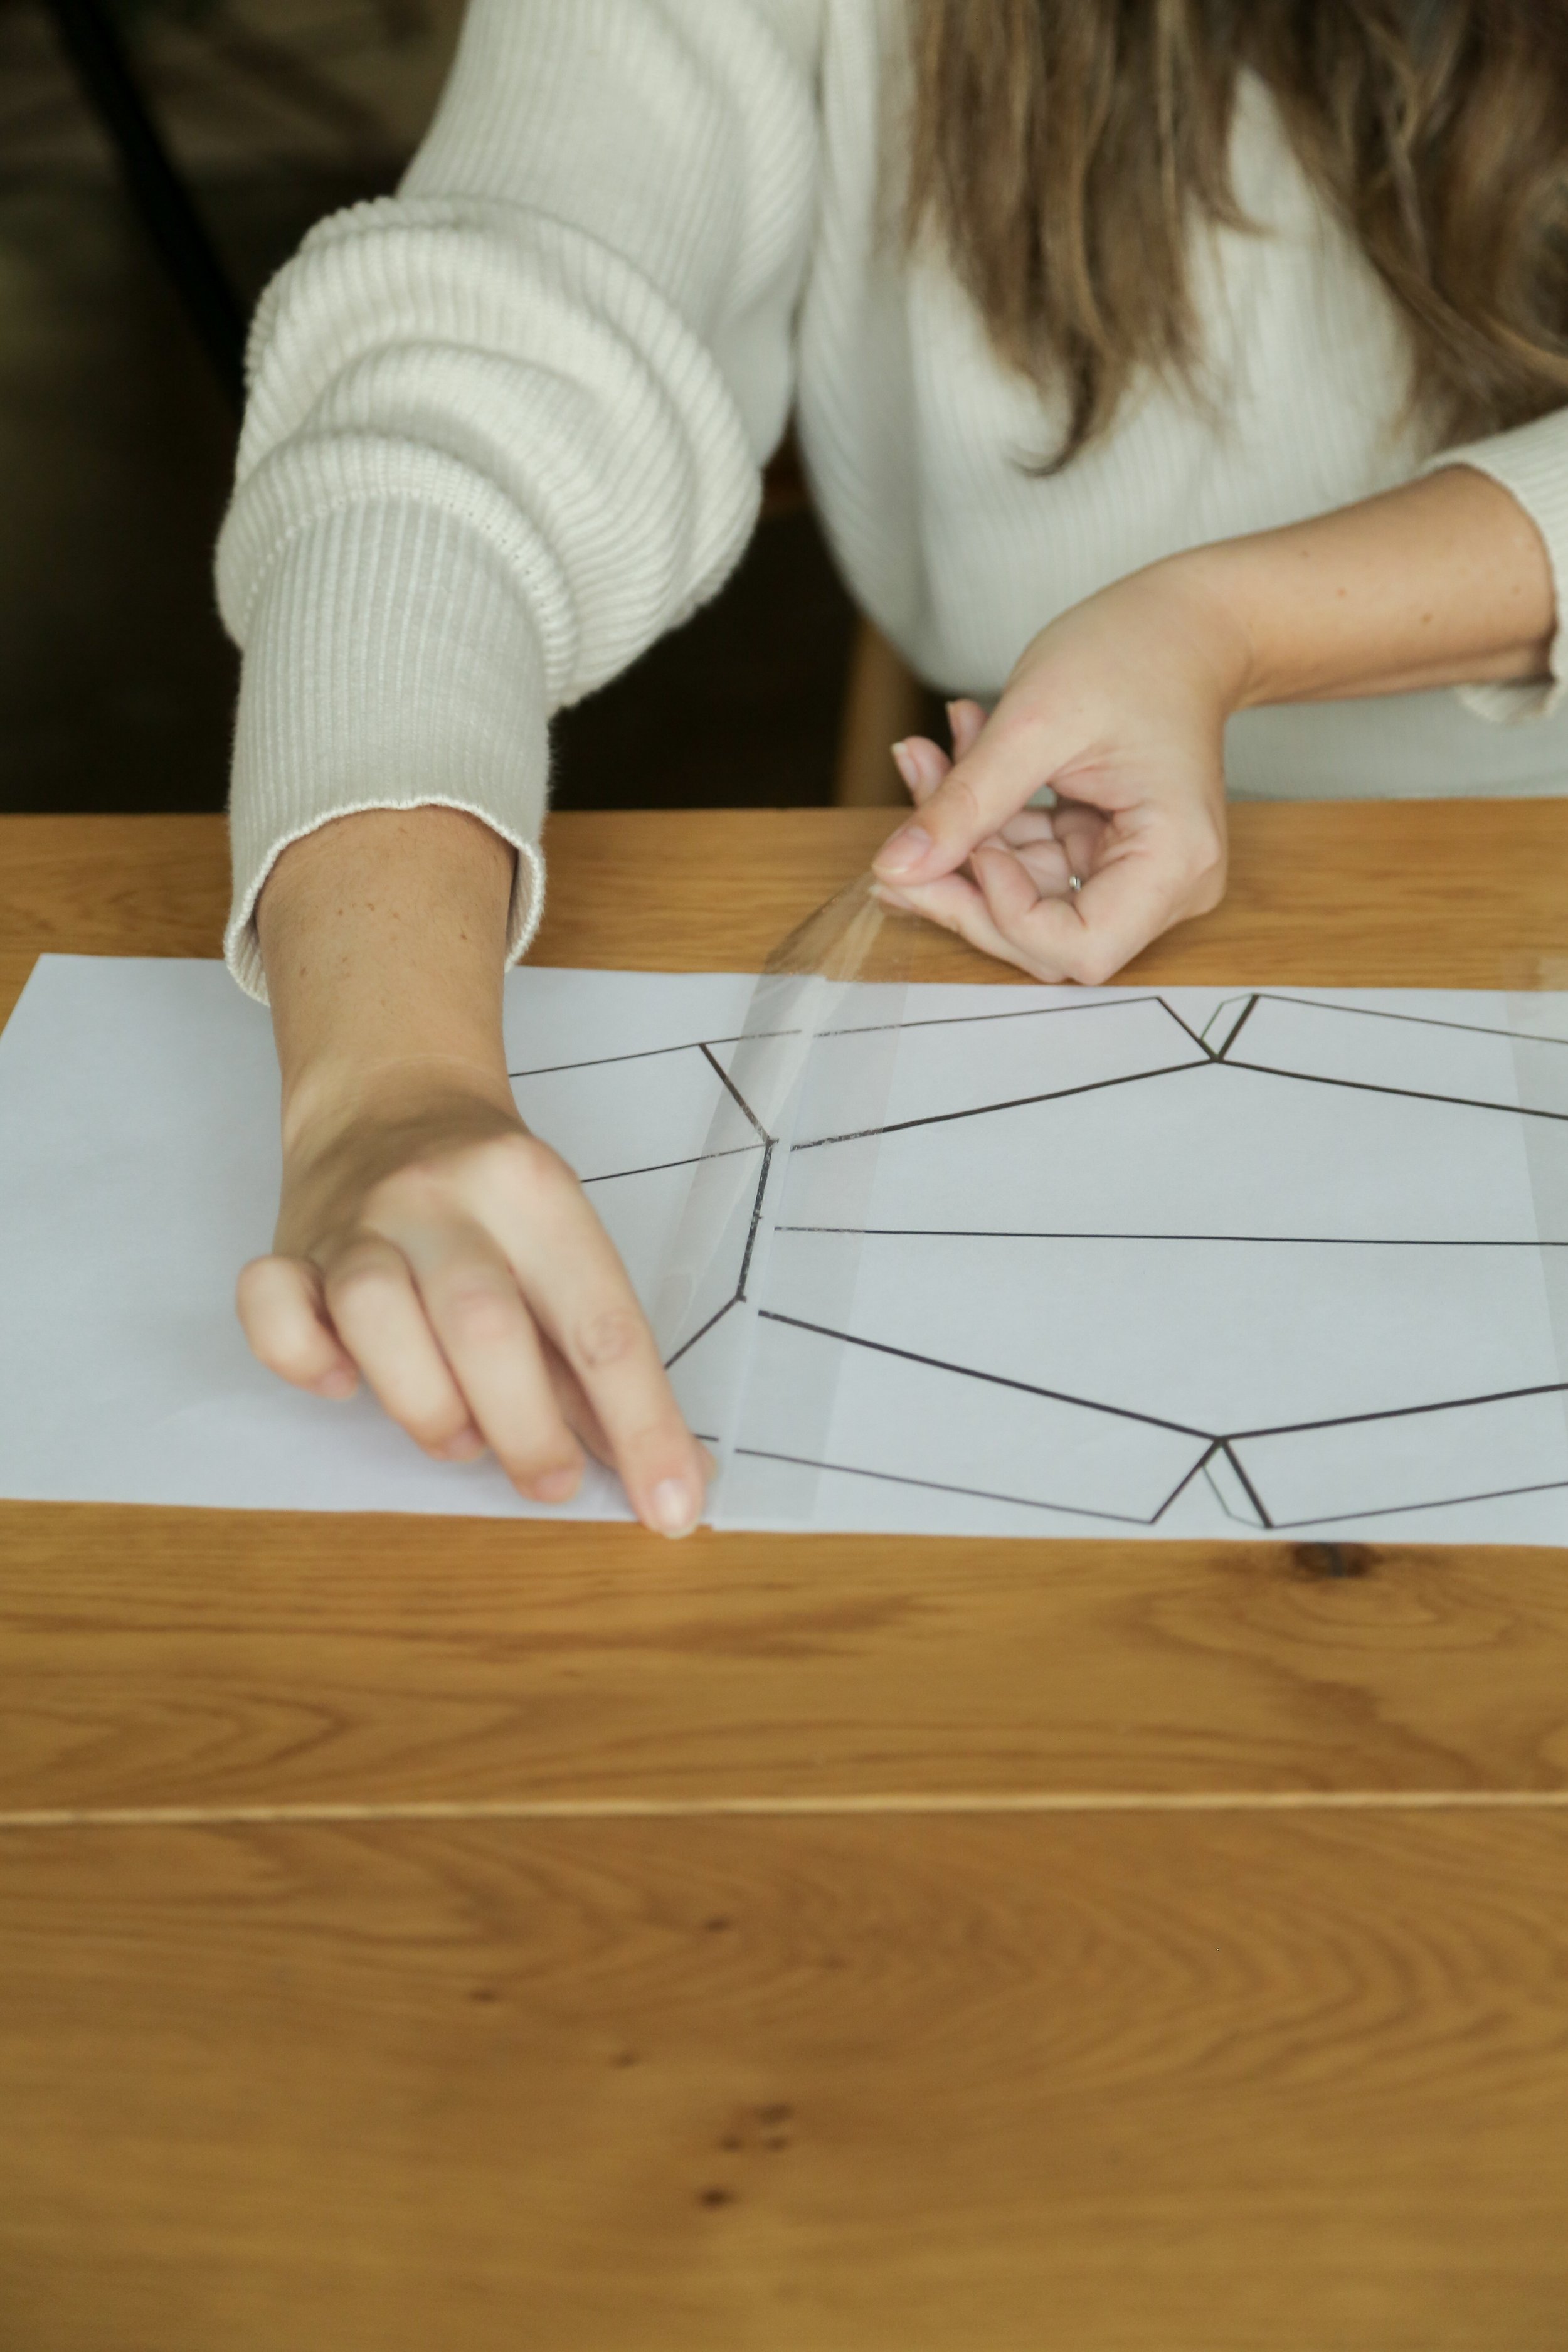
To start off, I printed out the template we made (linked here), taped together the three pieces of paper and cut it out so I could trace it onto my millboard in the next step.
Step 2
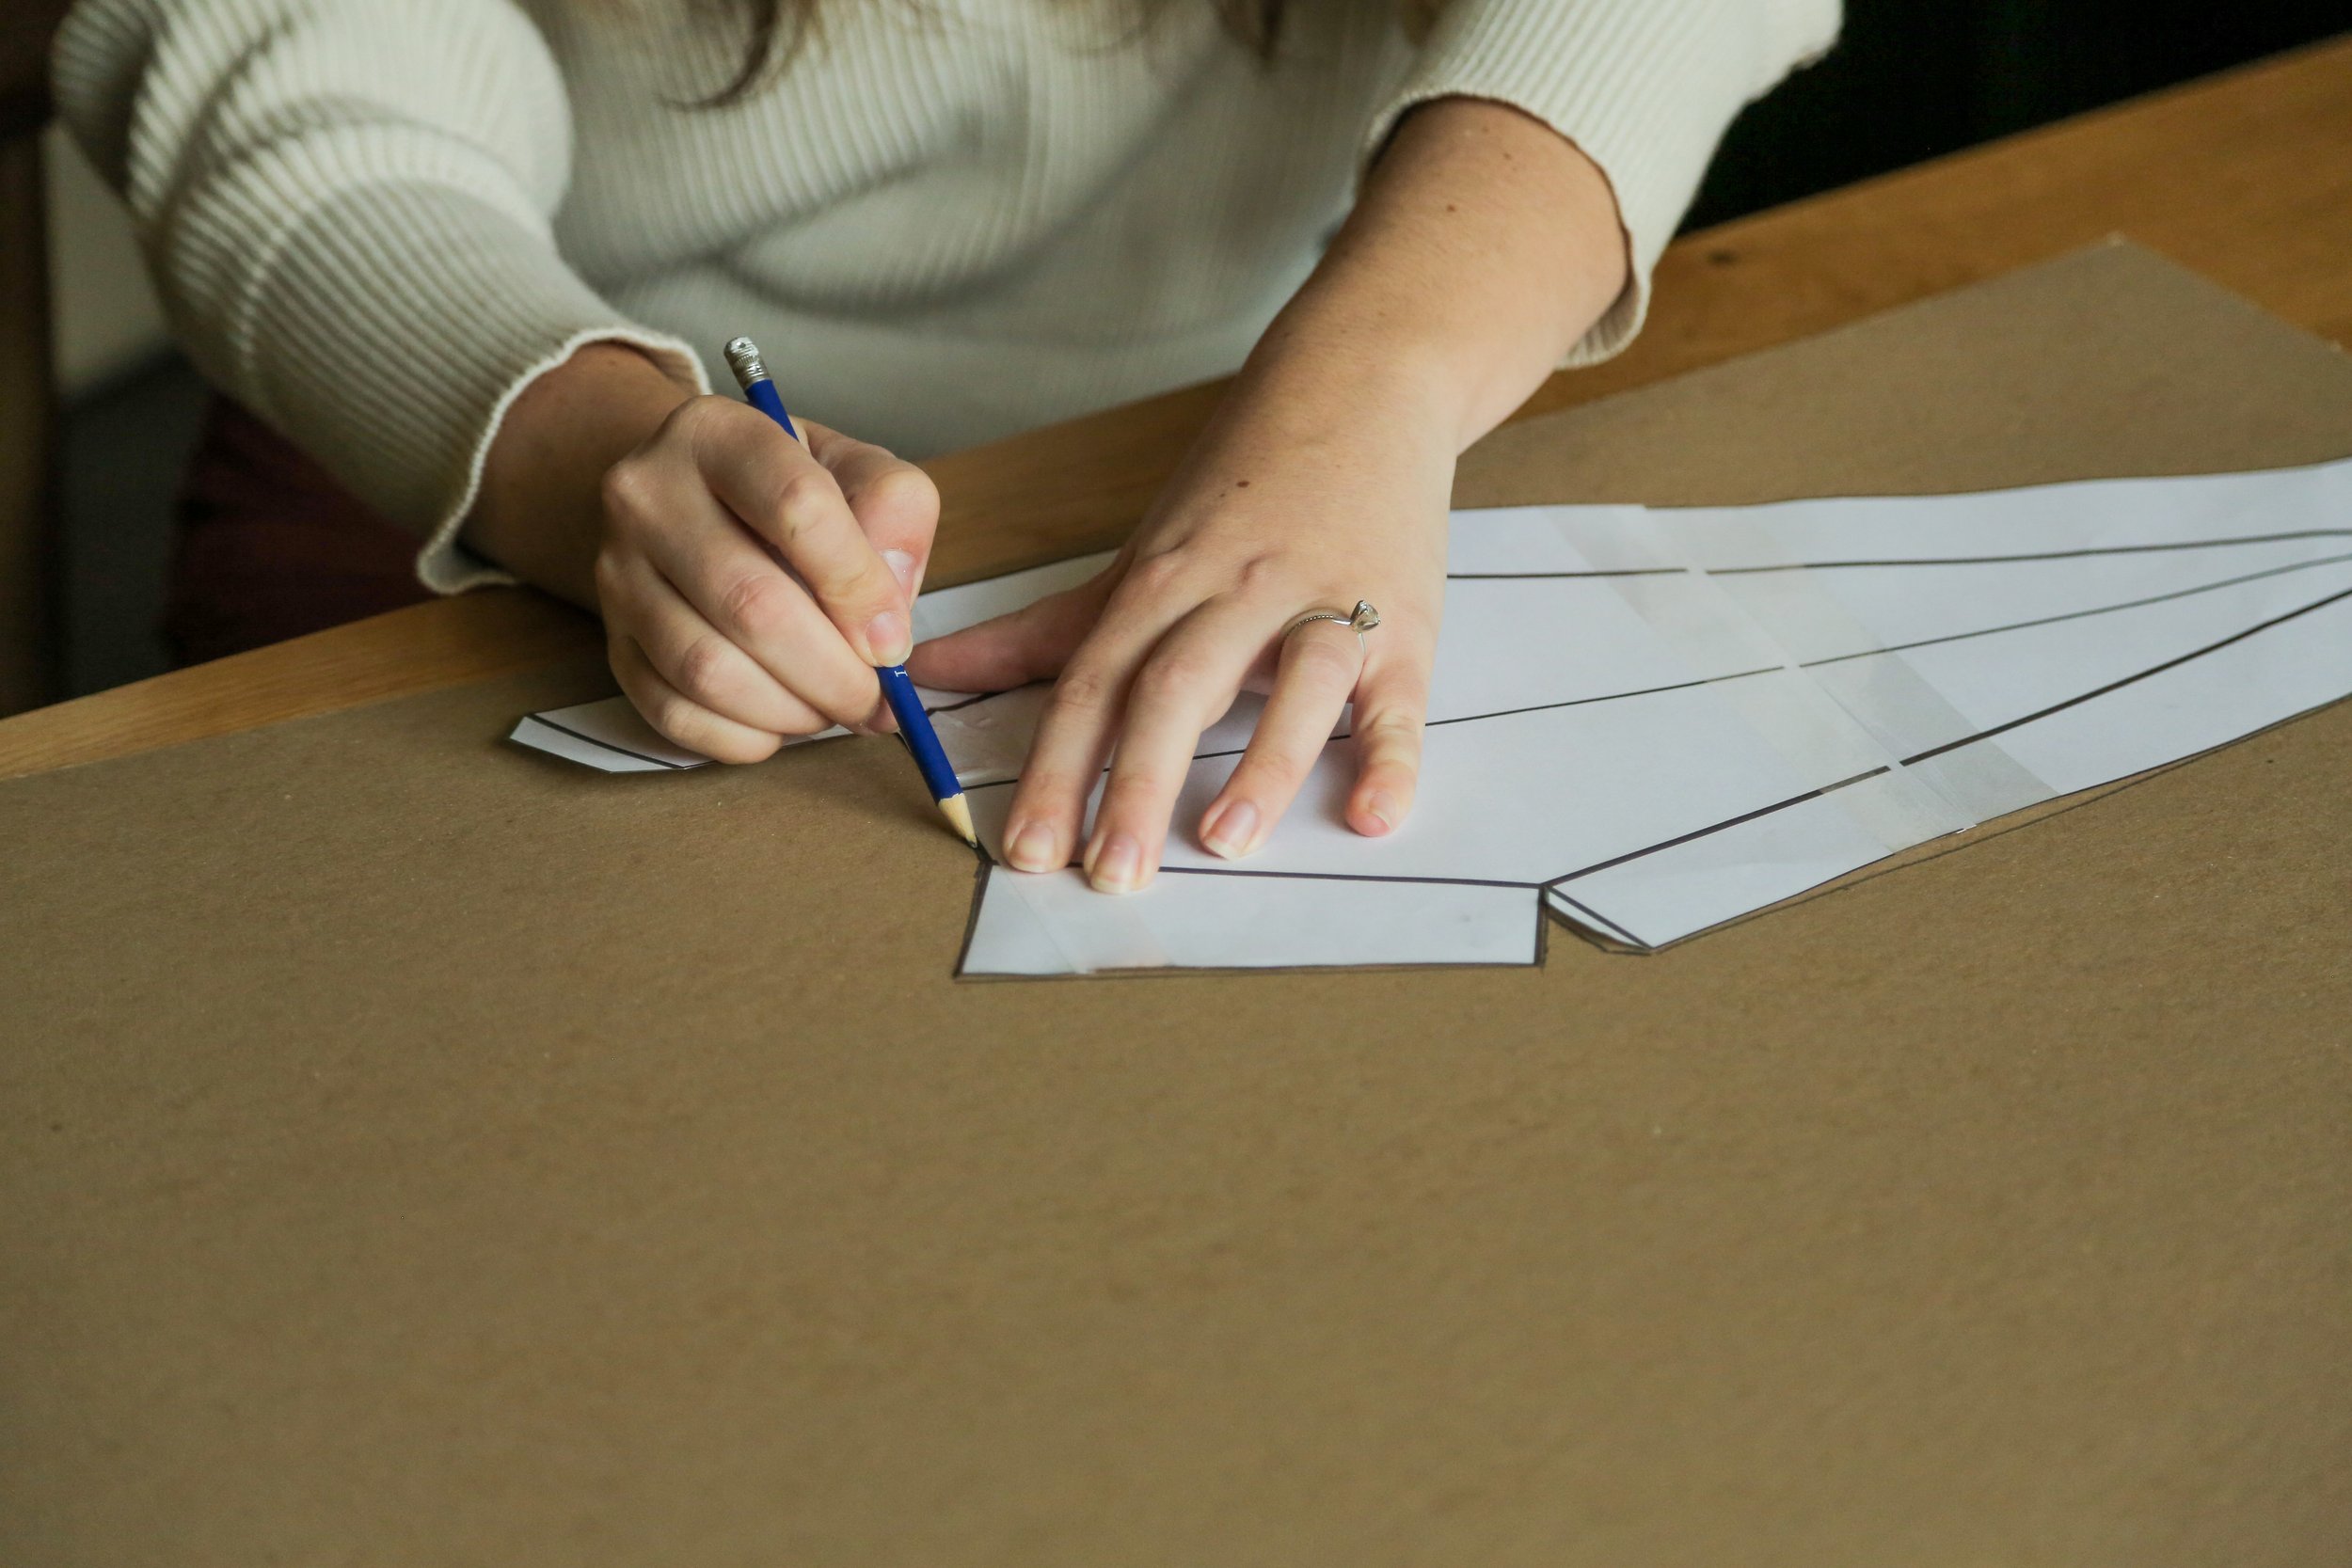
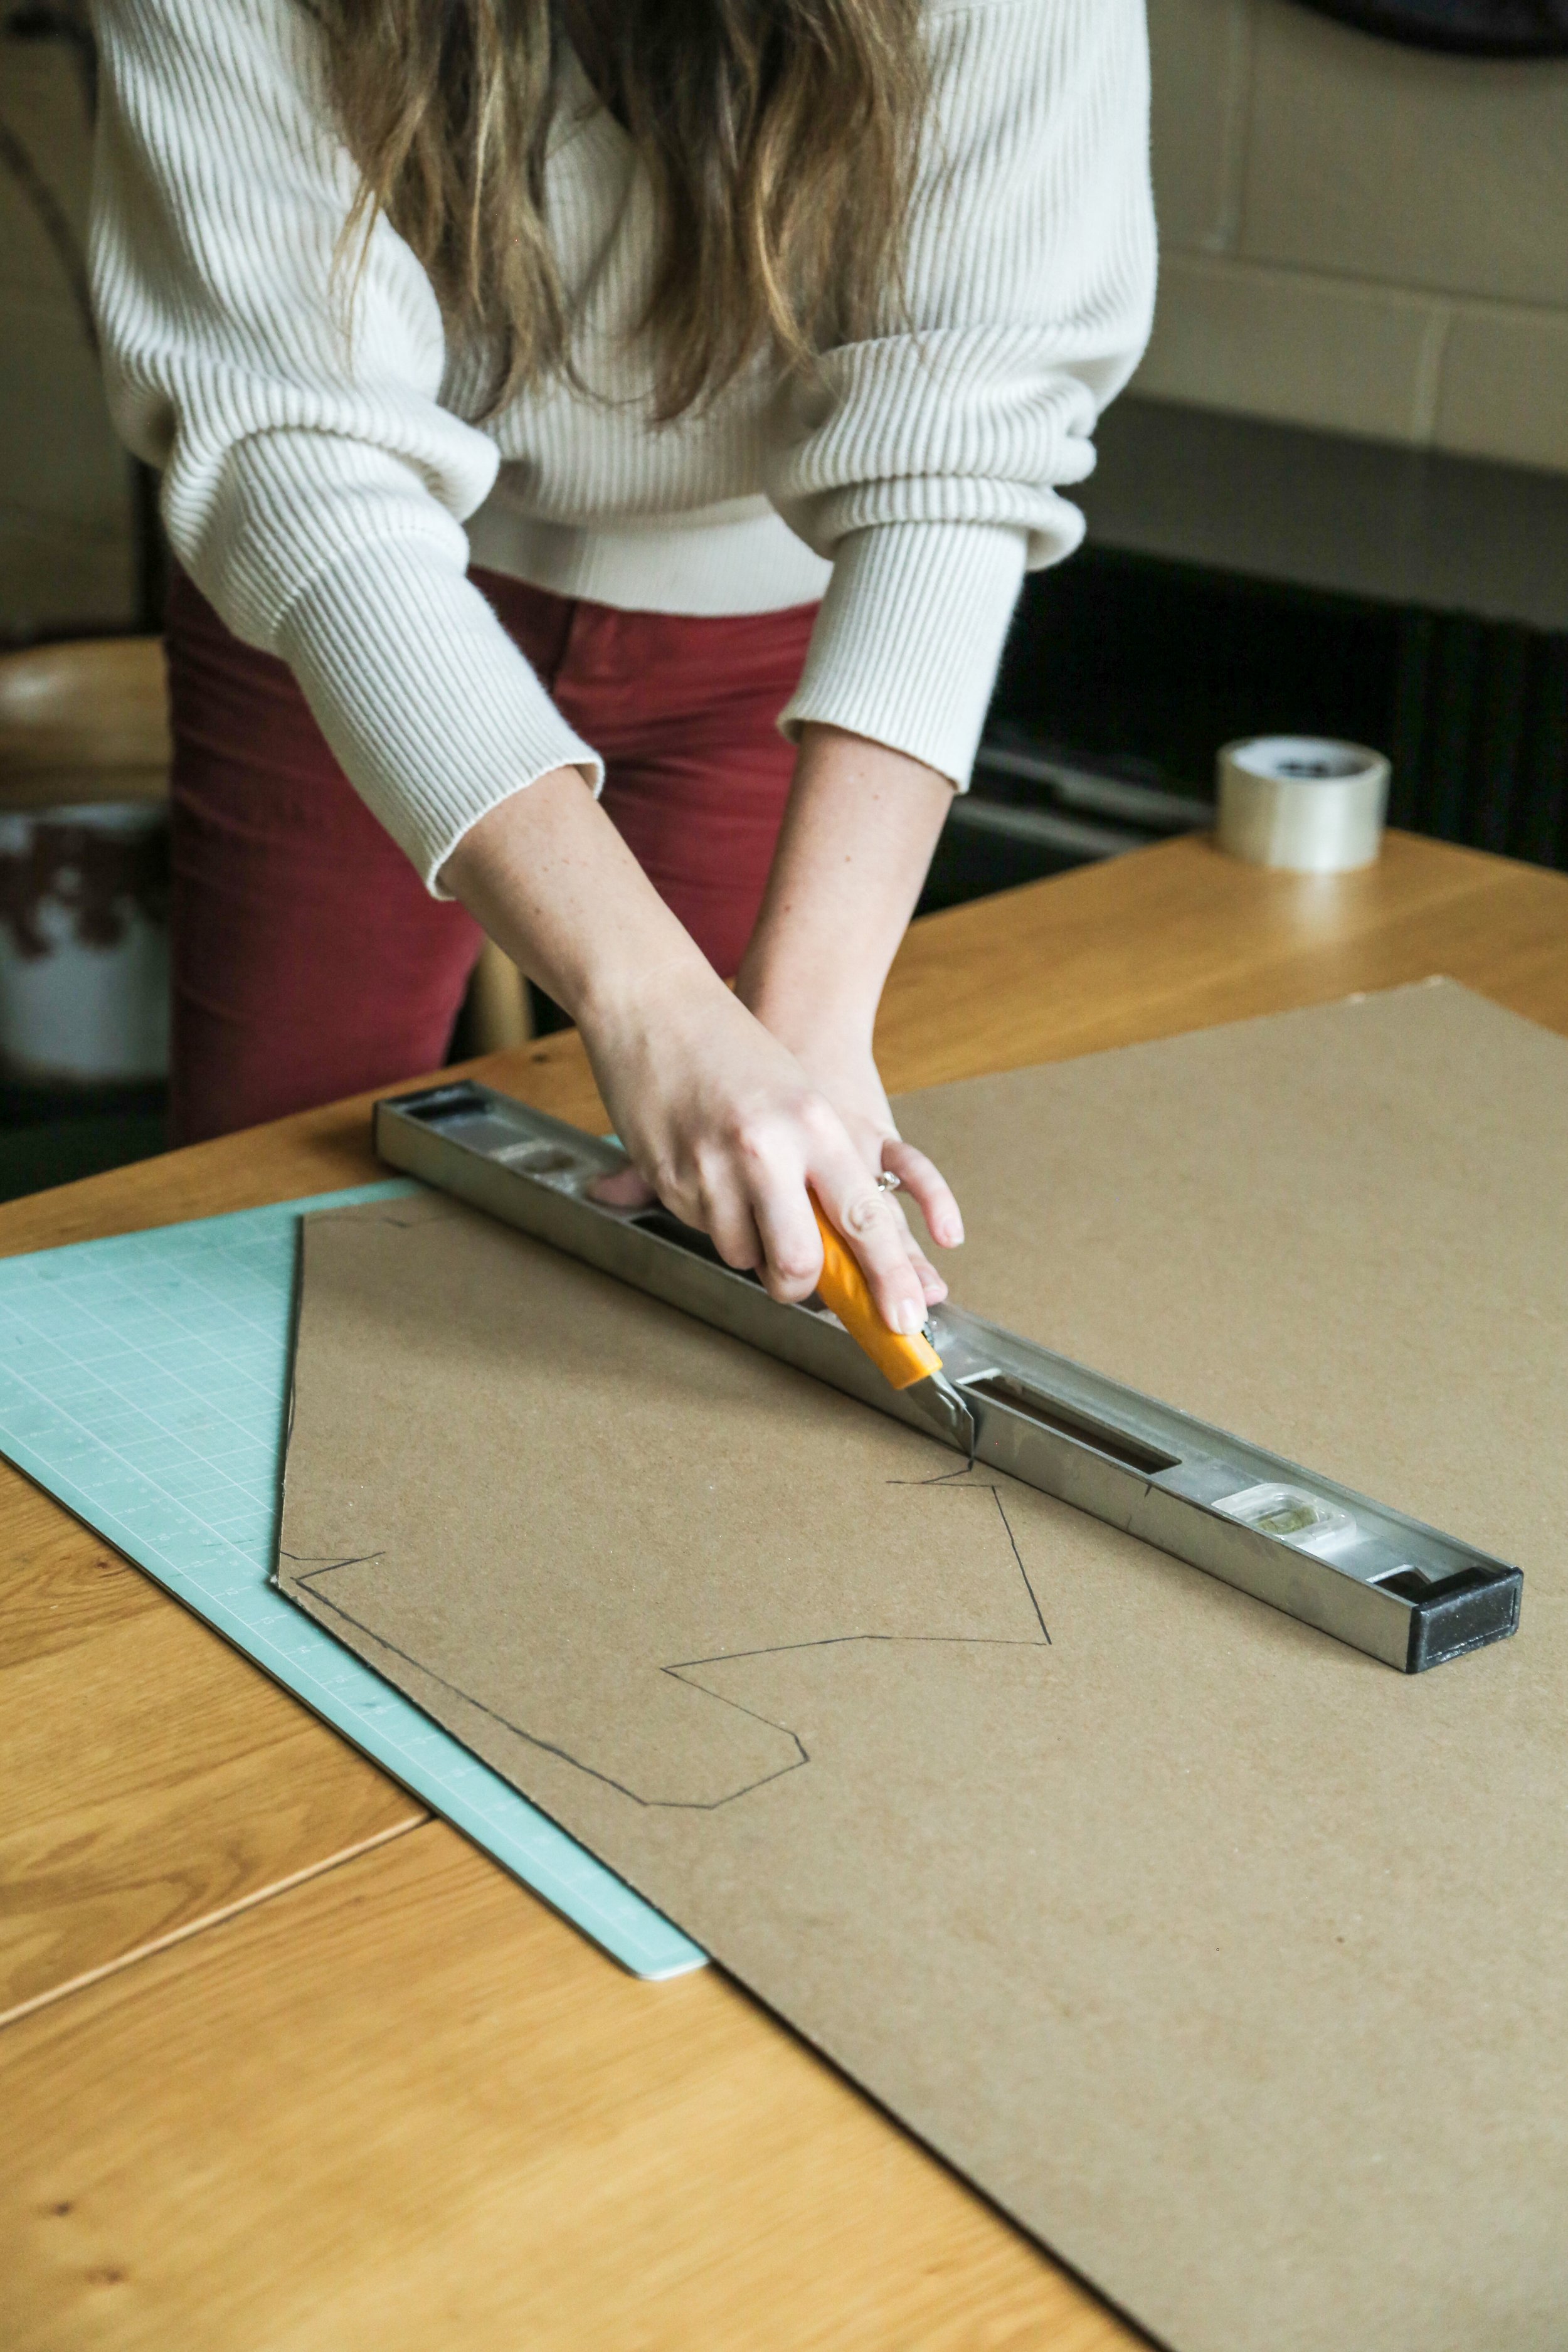
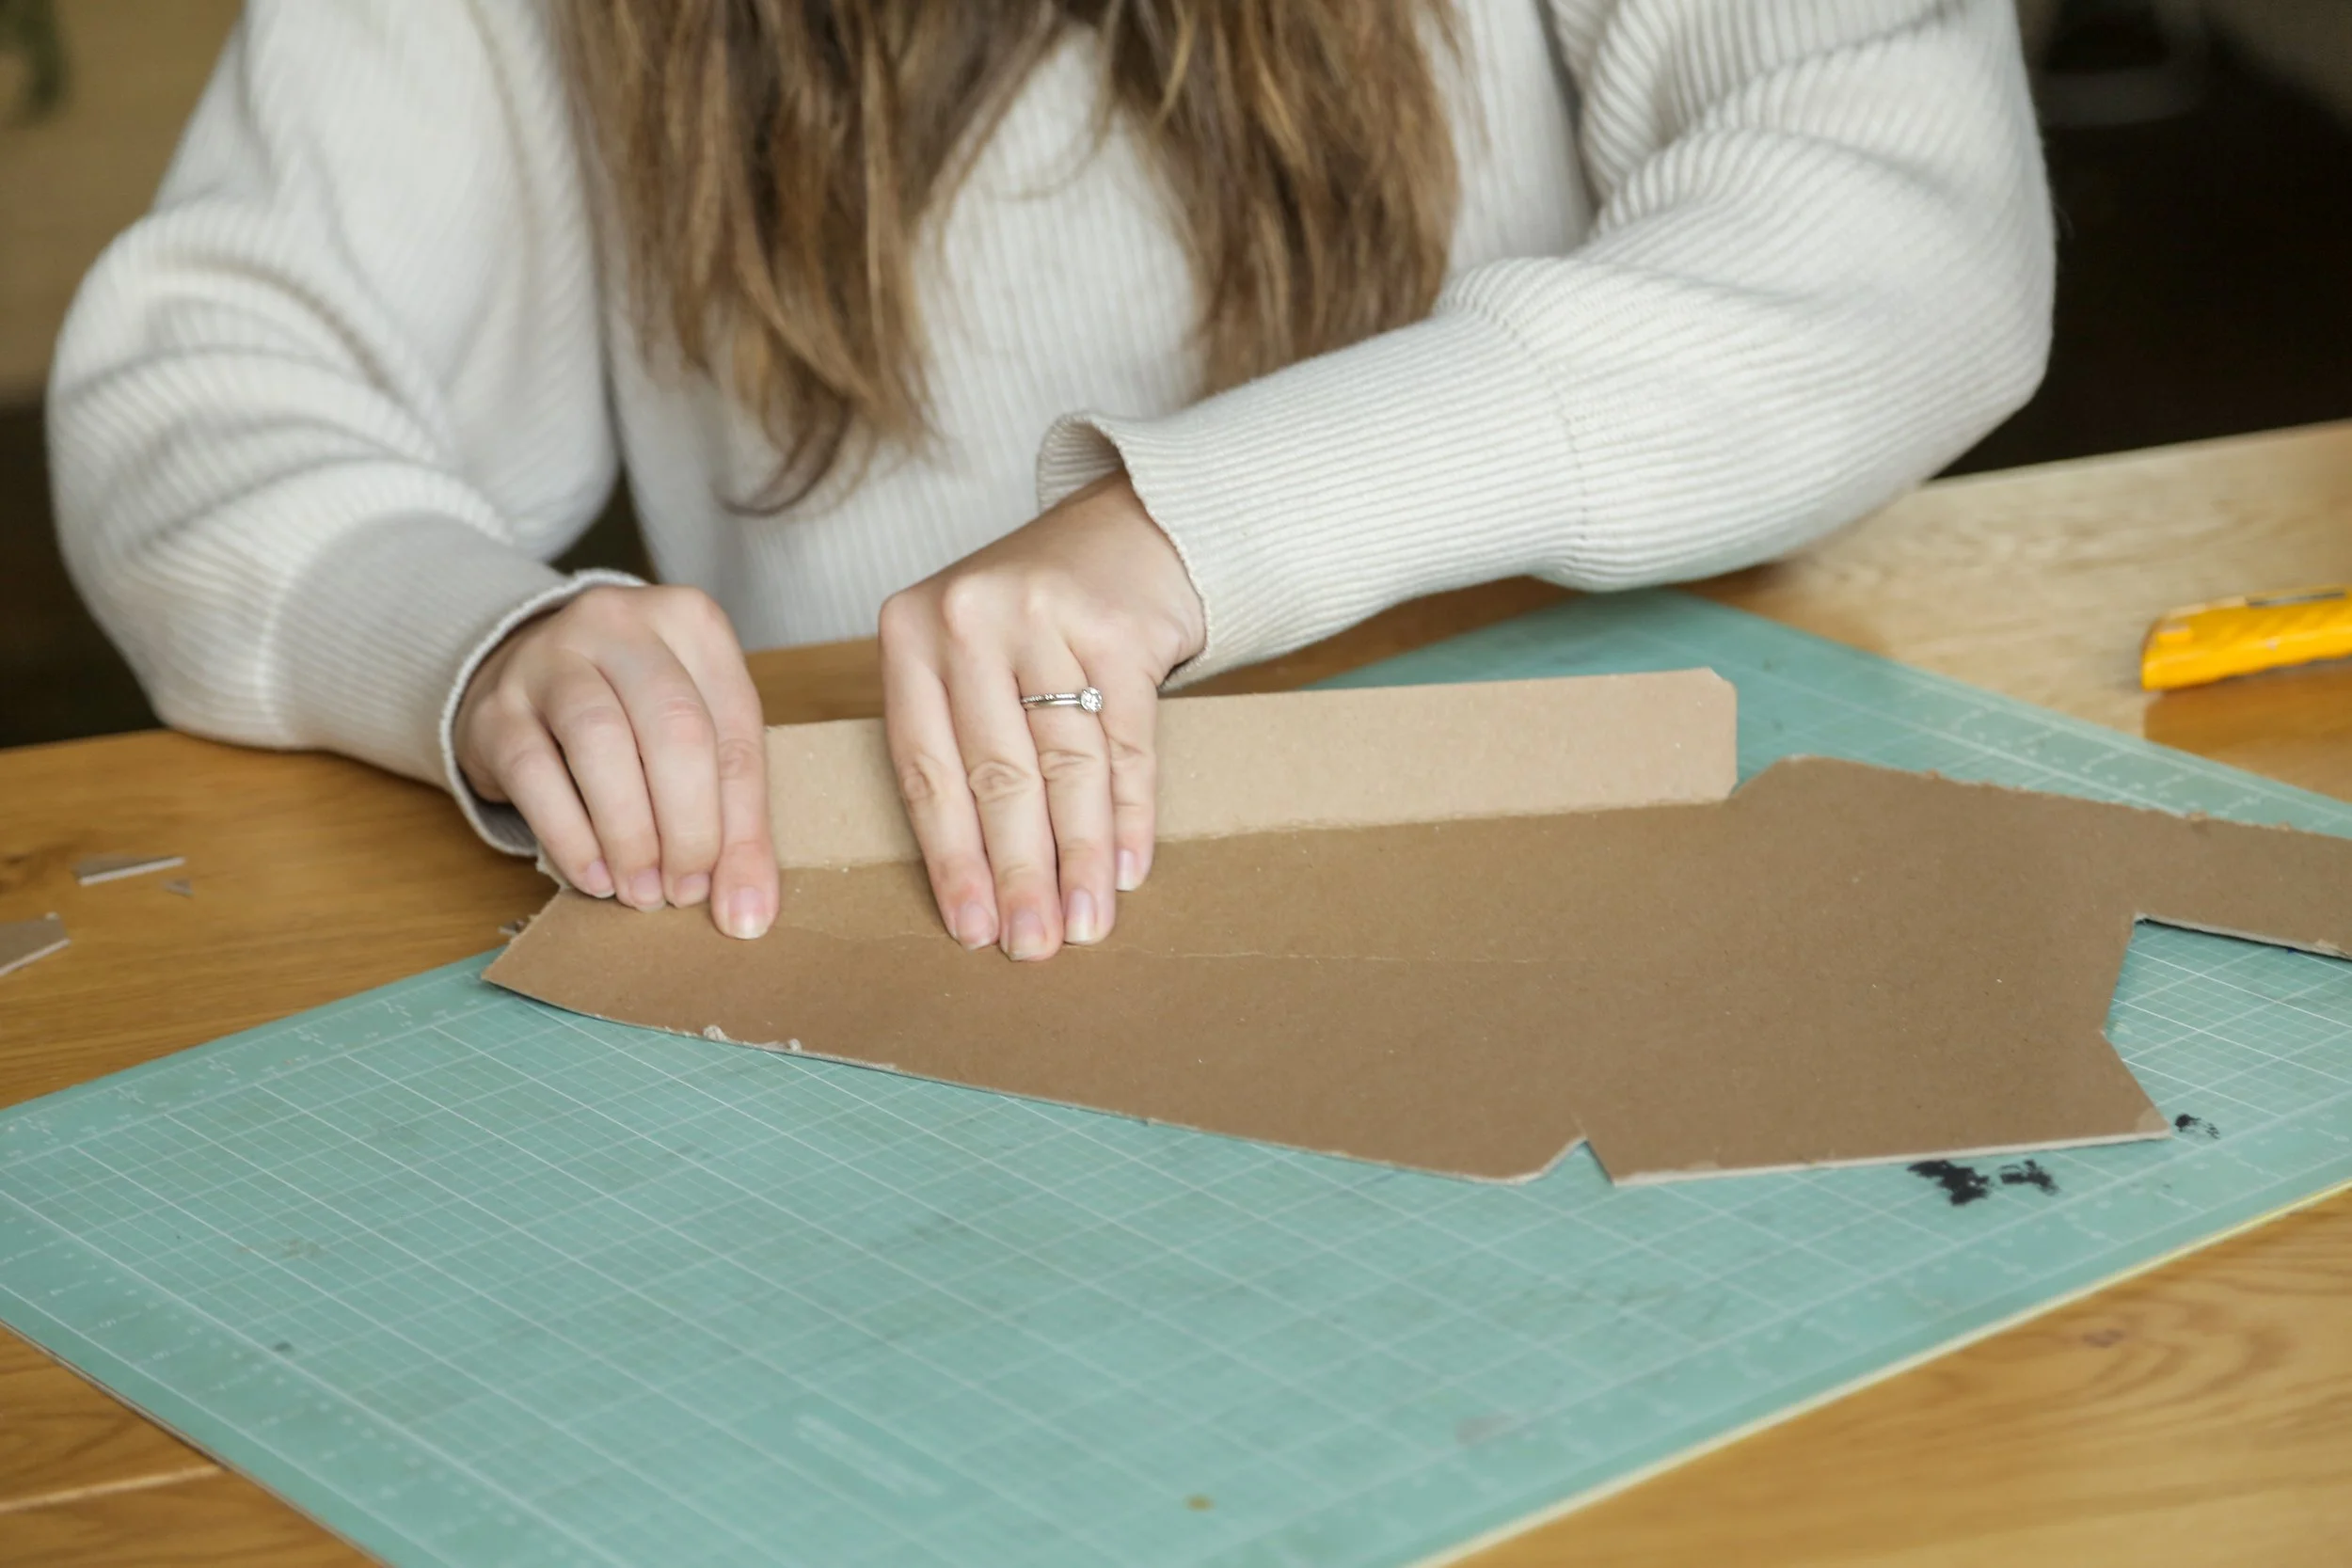
Once everything was cut out, I traced my paper template onto a sheet of millboard 7 times, then using a ulitily knife and metal ruler, I cut it out.
(Note: with my existing tree base, unlike the original 8, I am doing 7 diamond pieces to go over each leg that I already have on my base)
Step 3
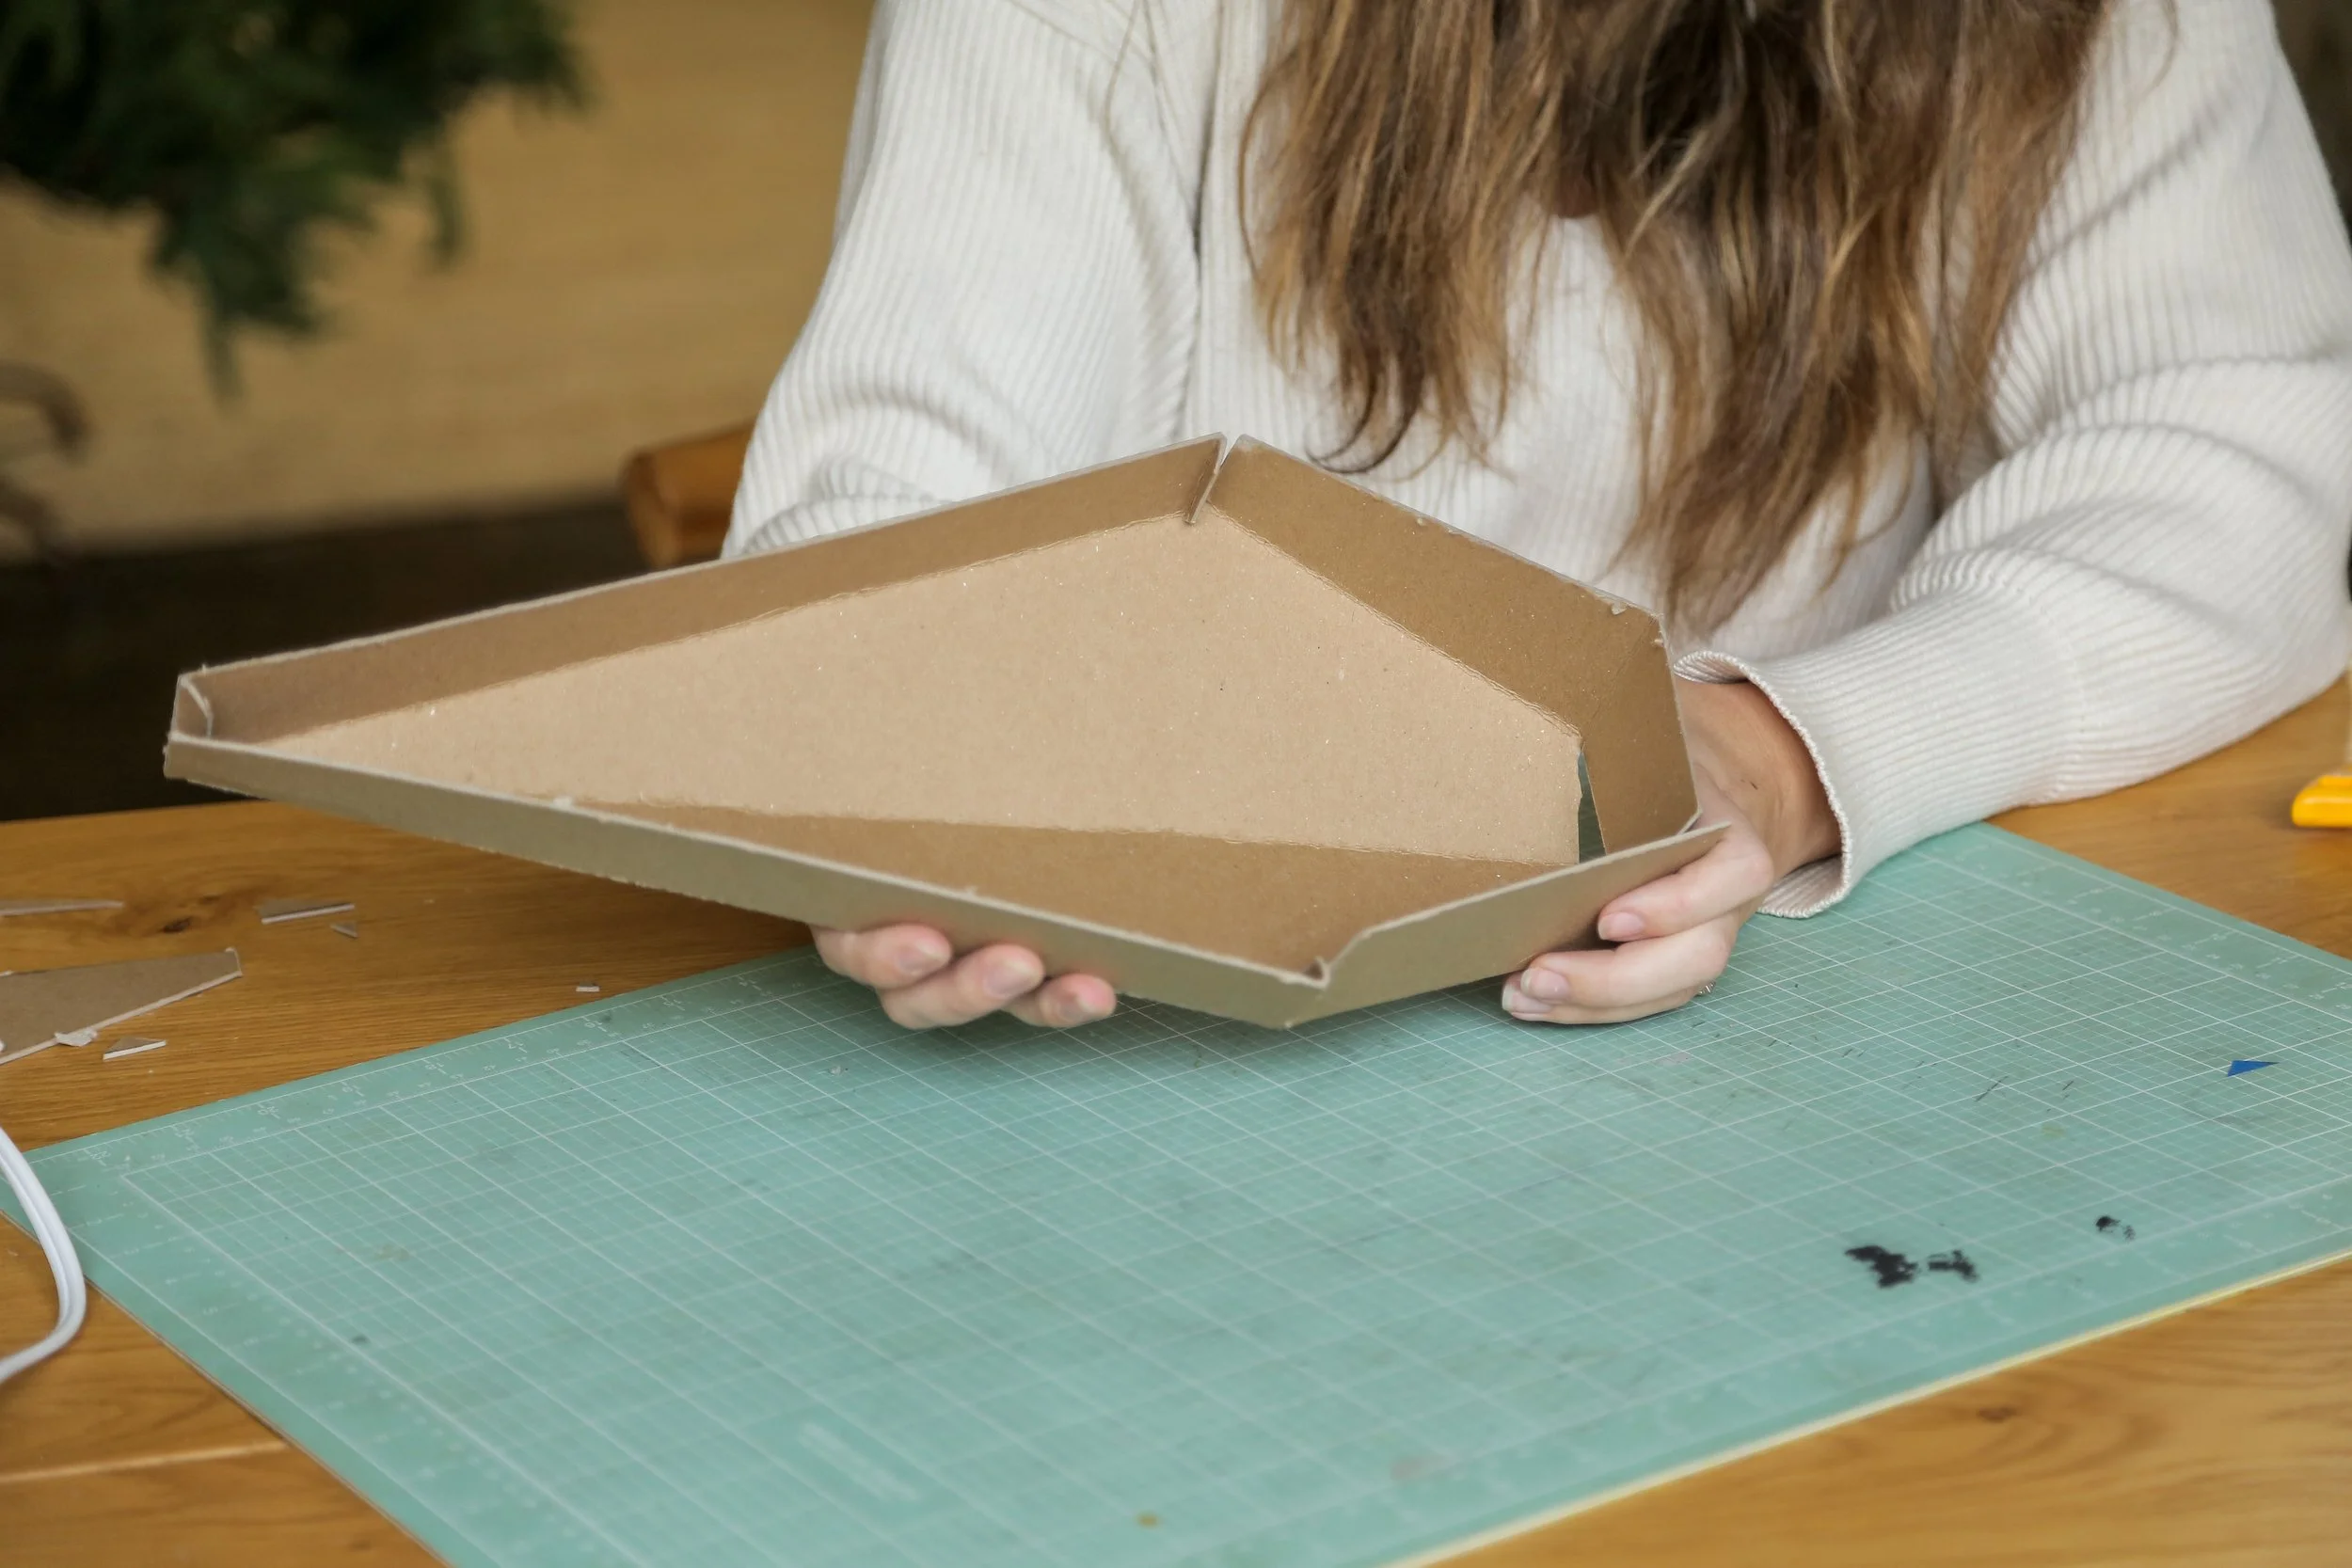
To fold the pieces, I scored each fold line with my knife to create crisp lines and make the shape resemble the original as much as possible.
Step 4
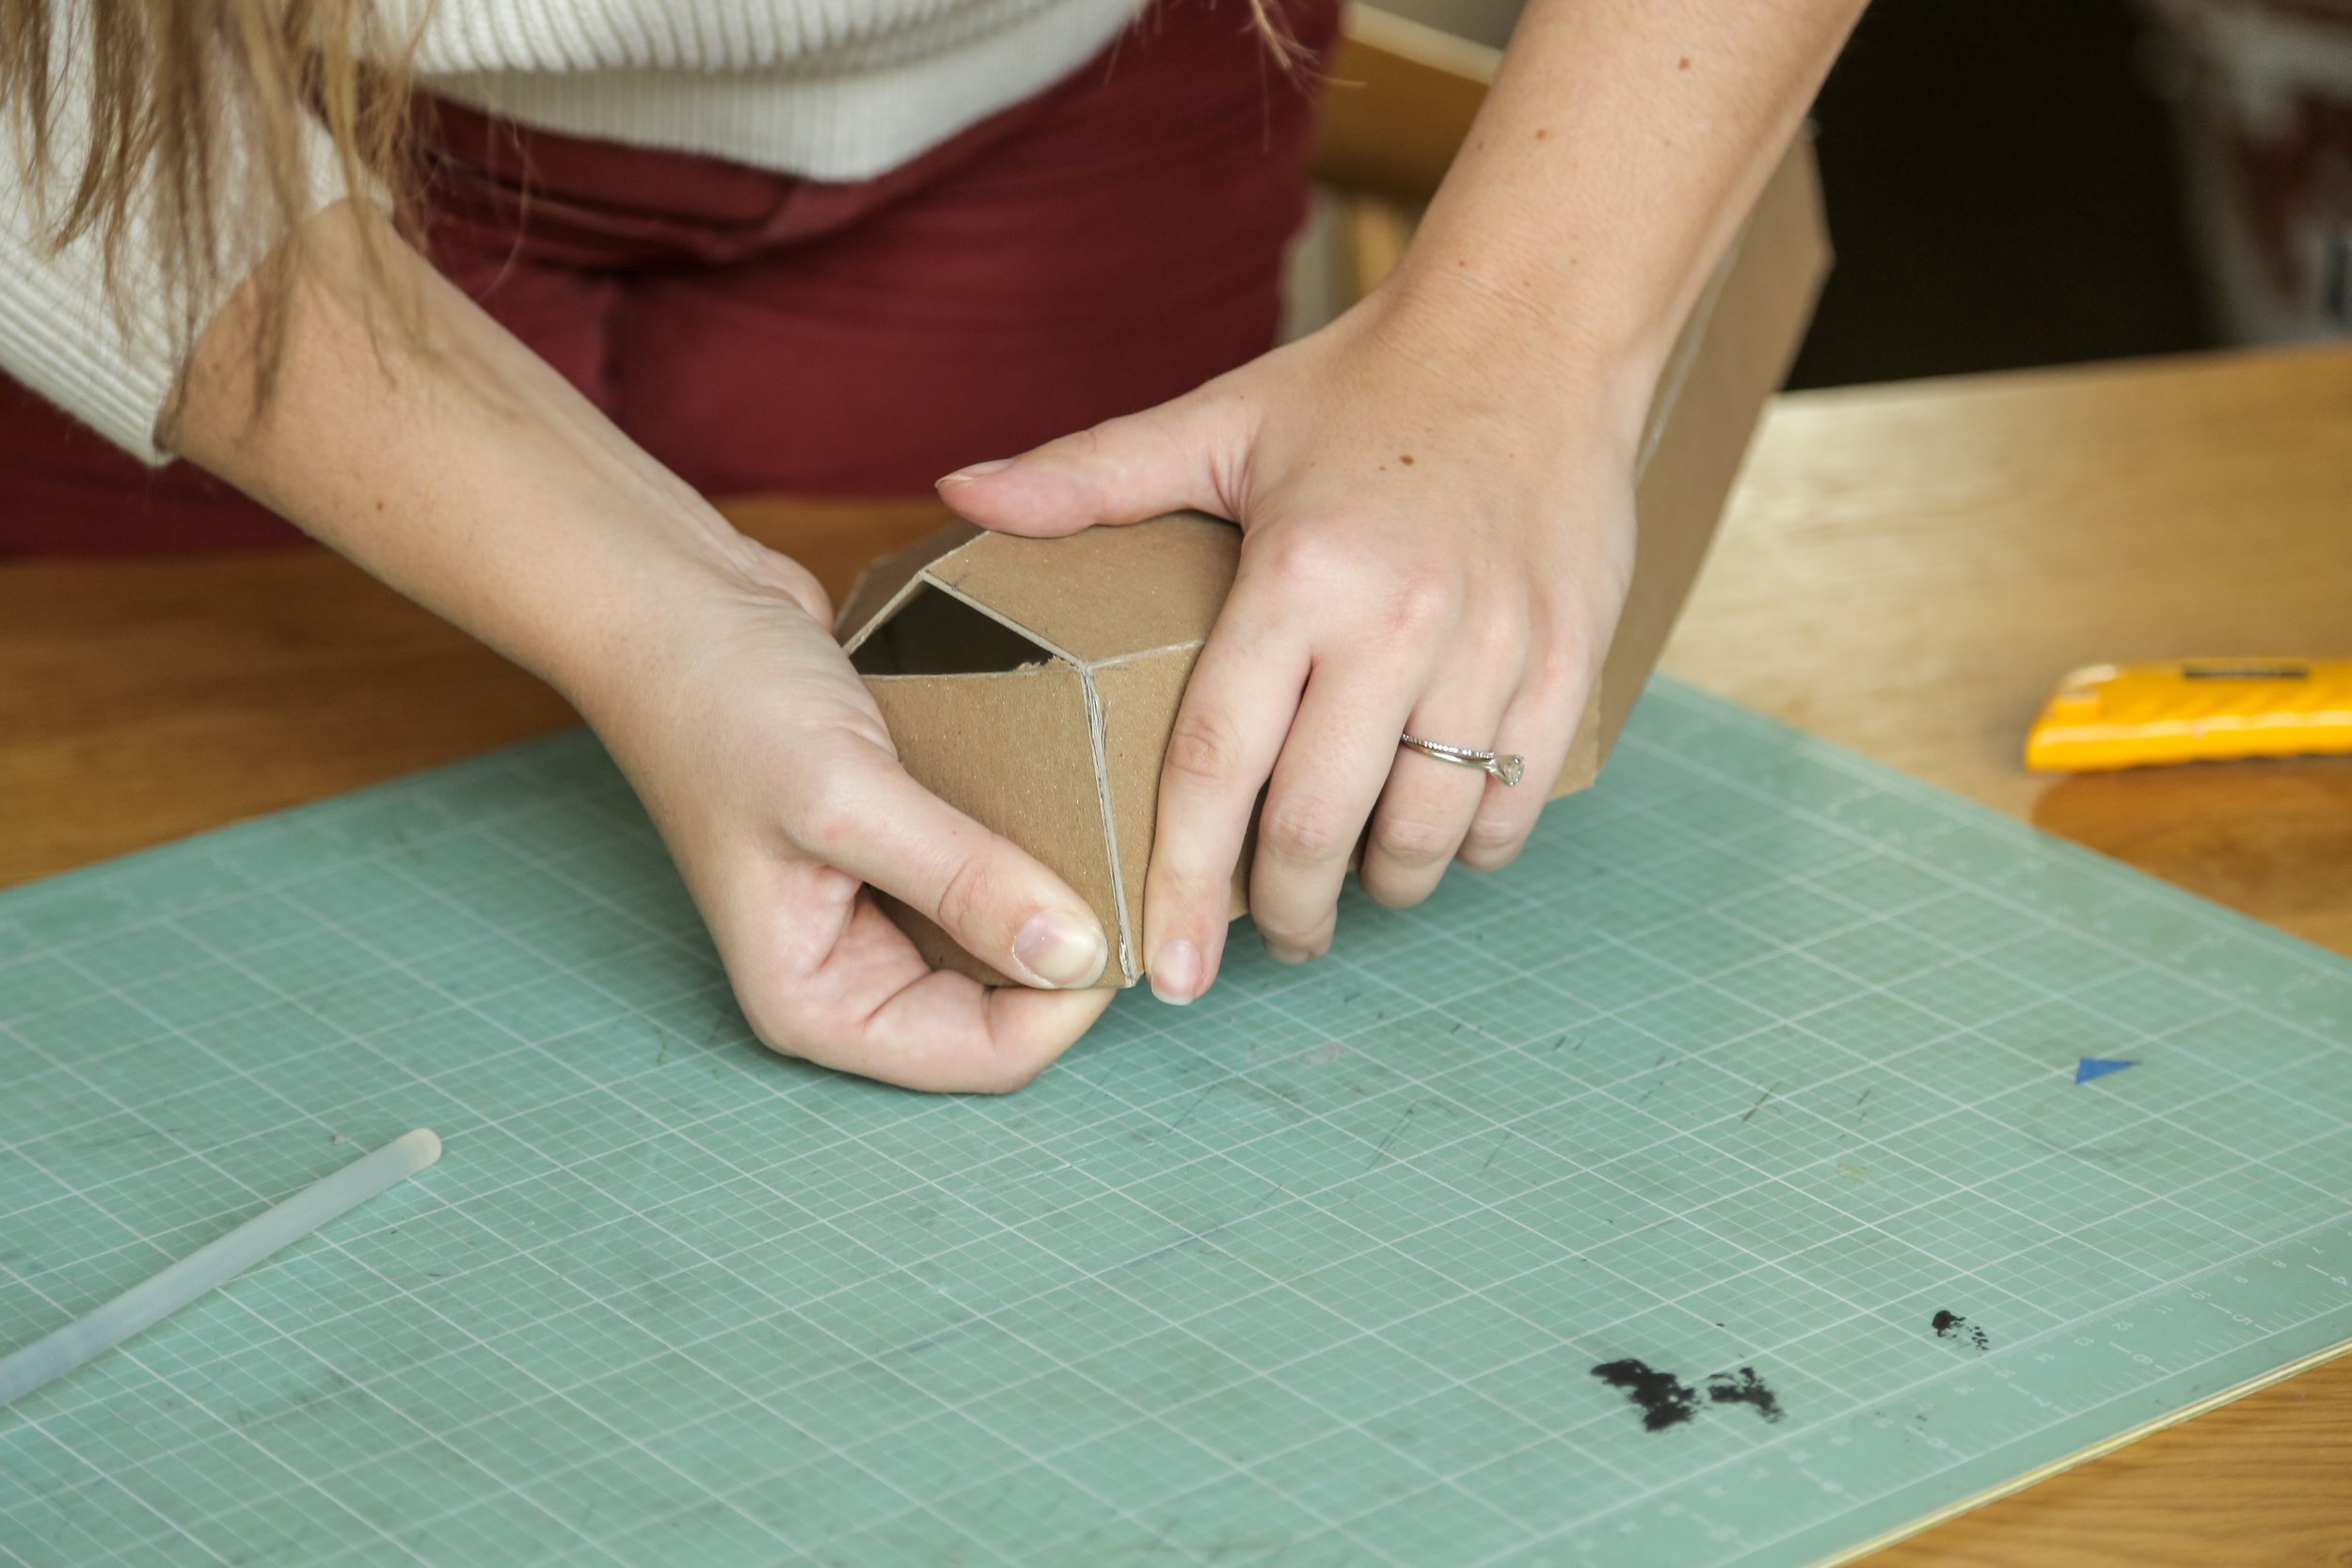
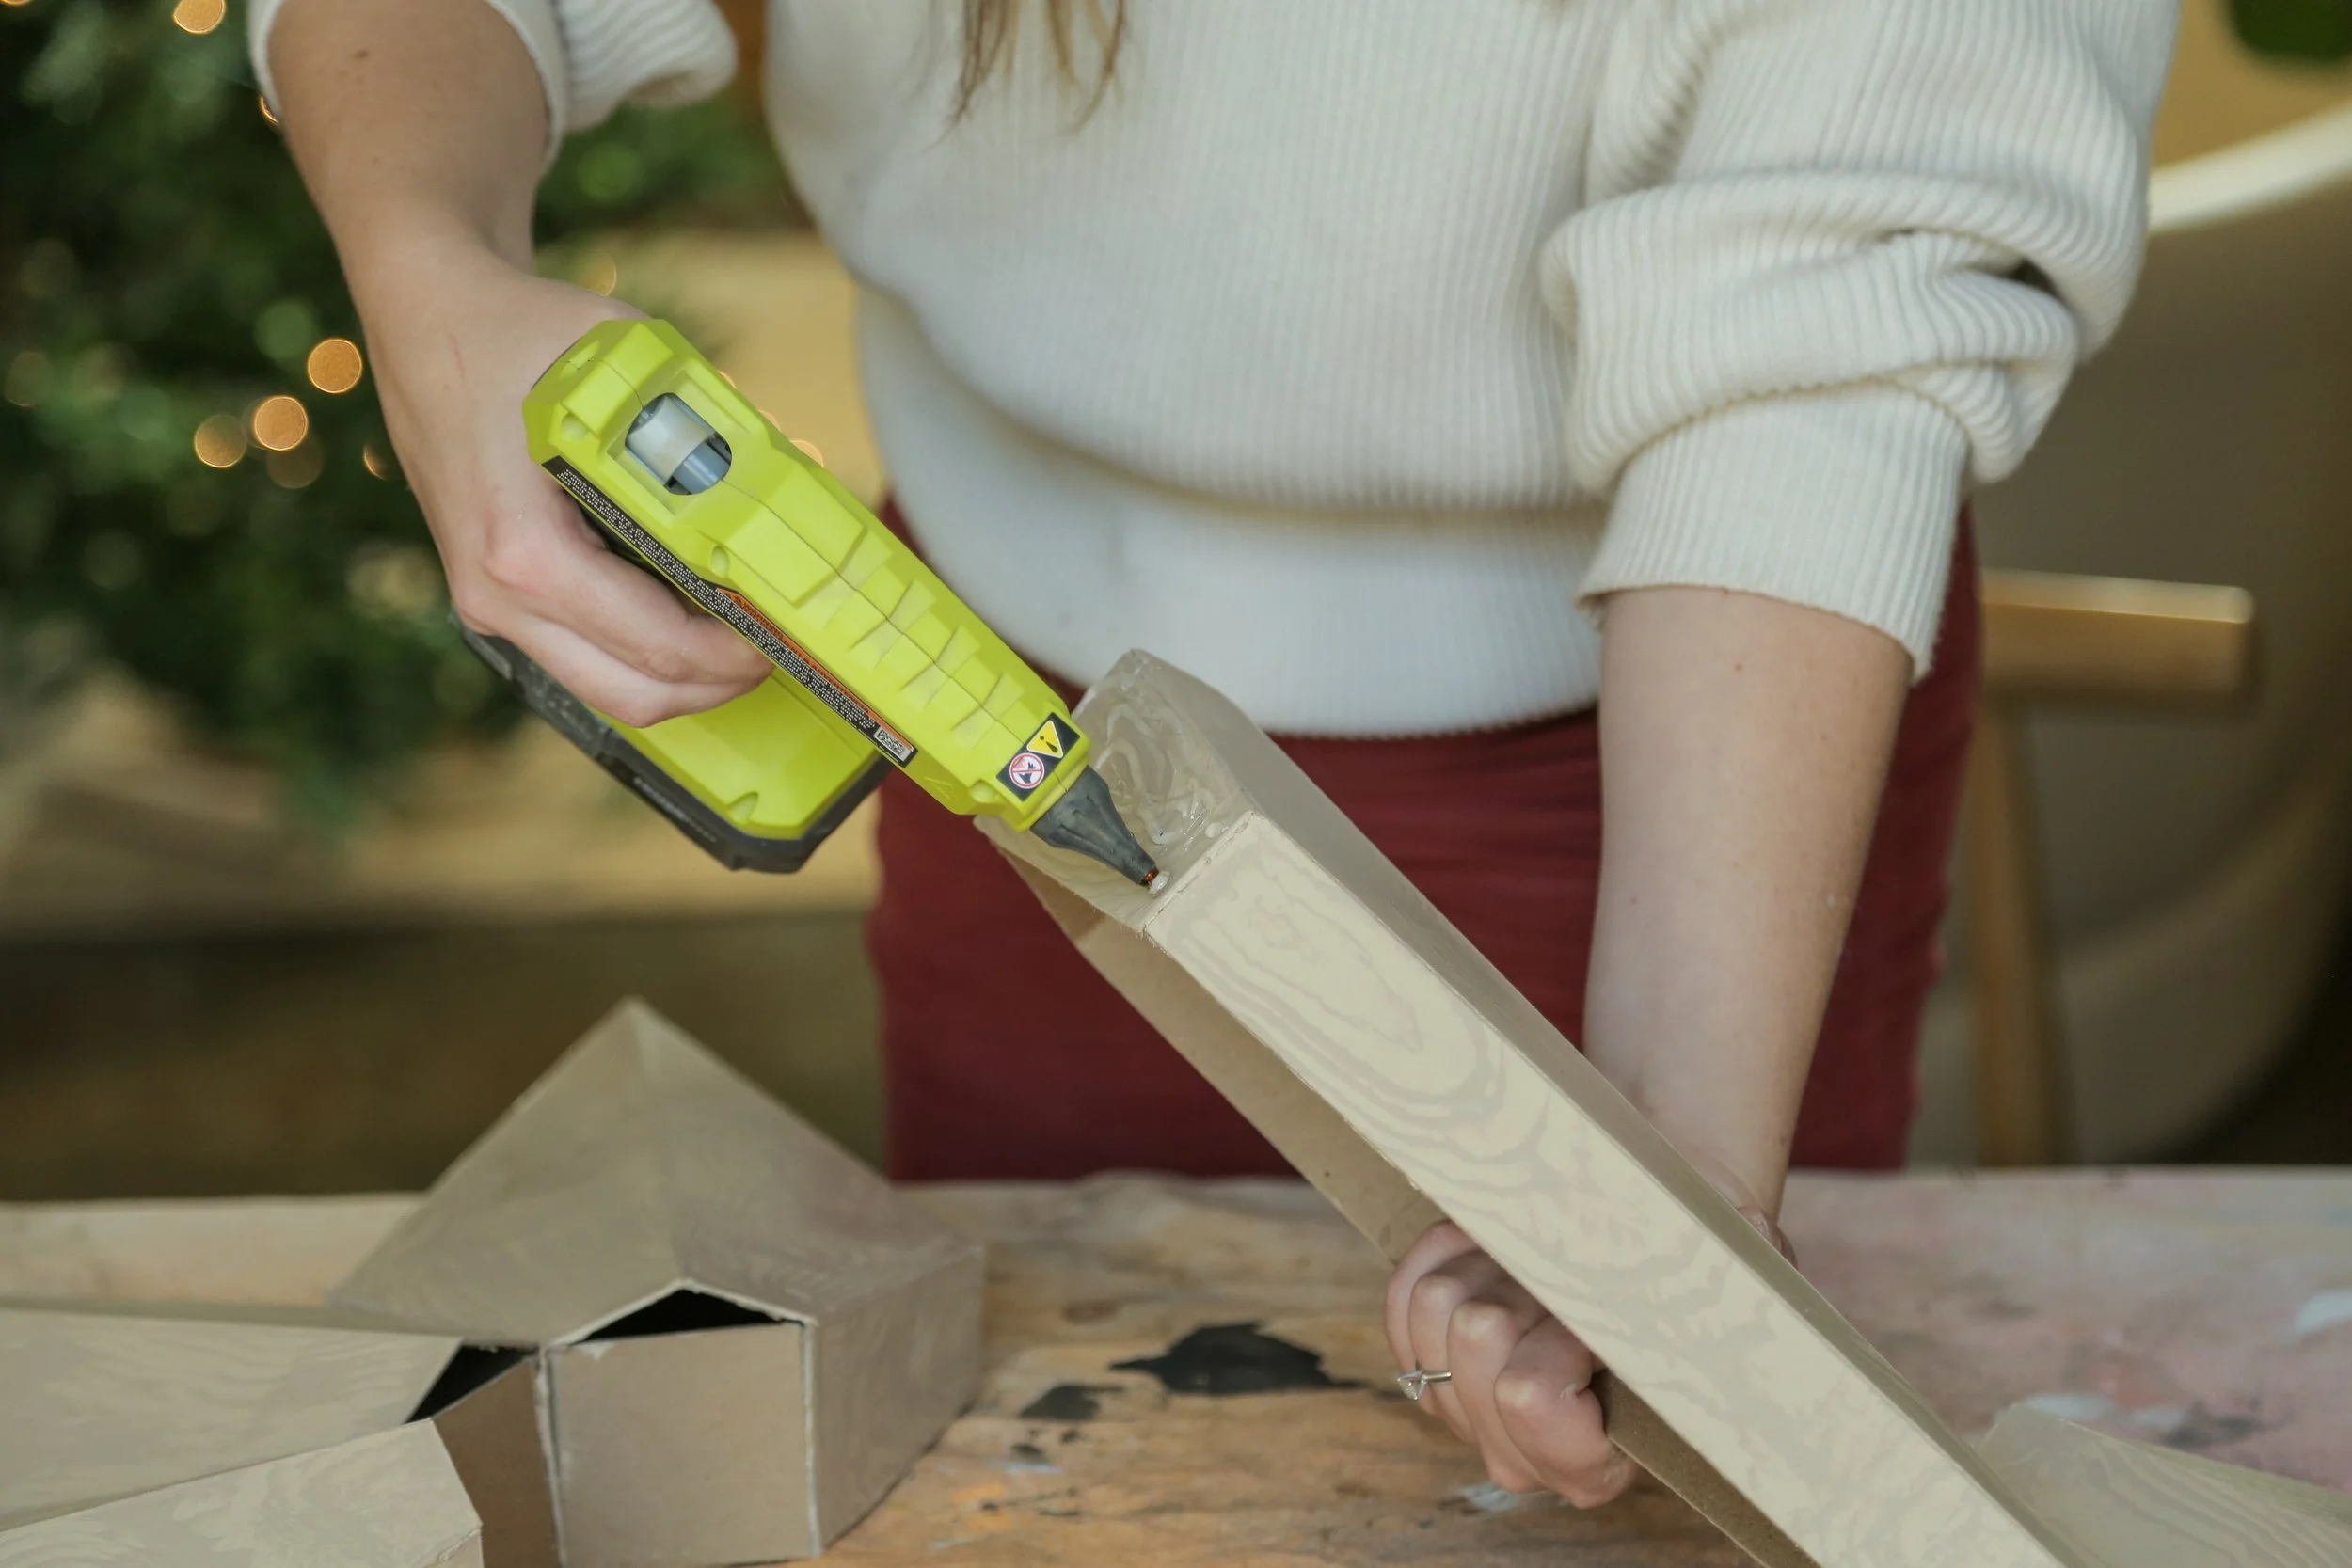
Because I am working with cardboard, hot glue is a great affordable option for assembly, so I grabbed my glue gun and attached all the fold tabs together to create my final shape (7 times).
Step 5
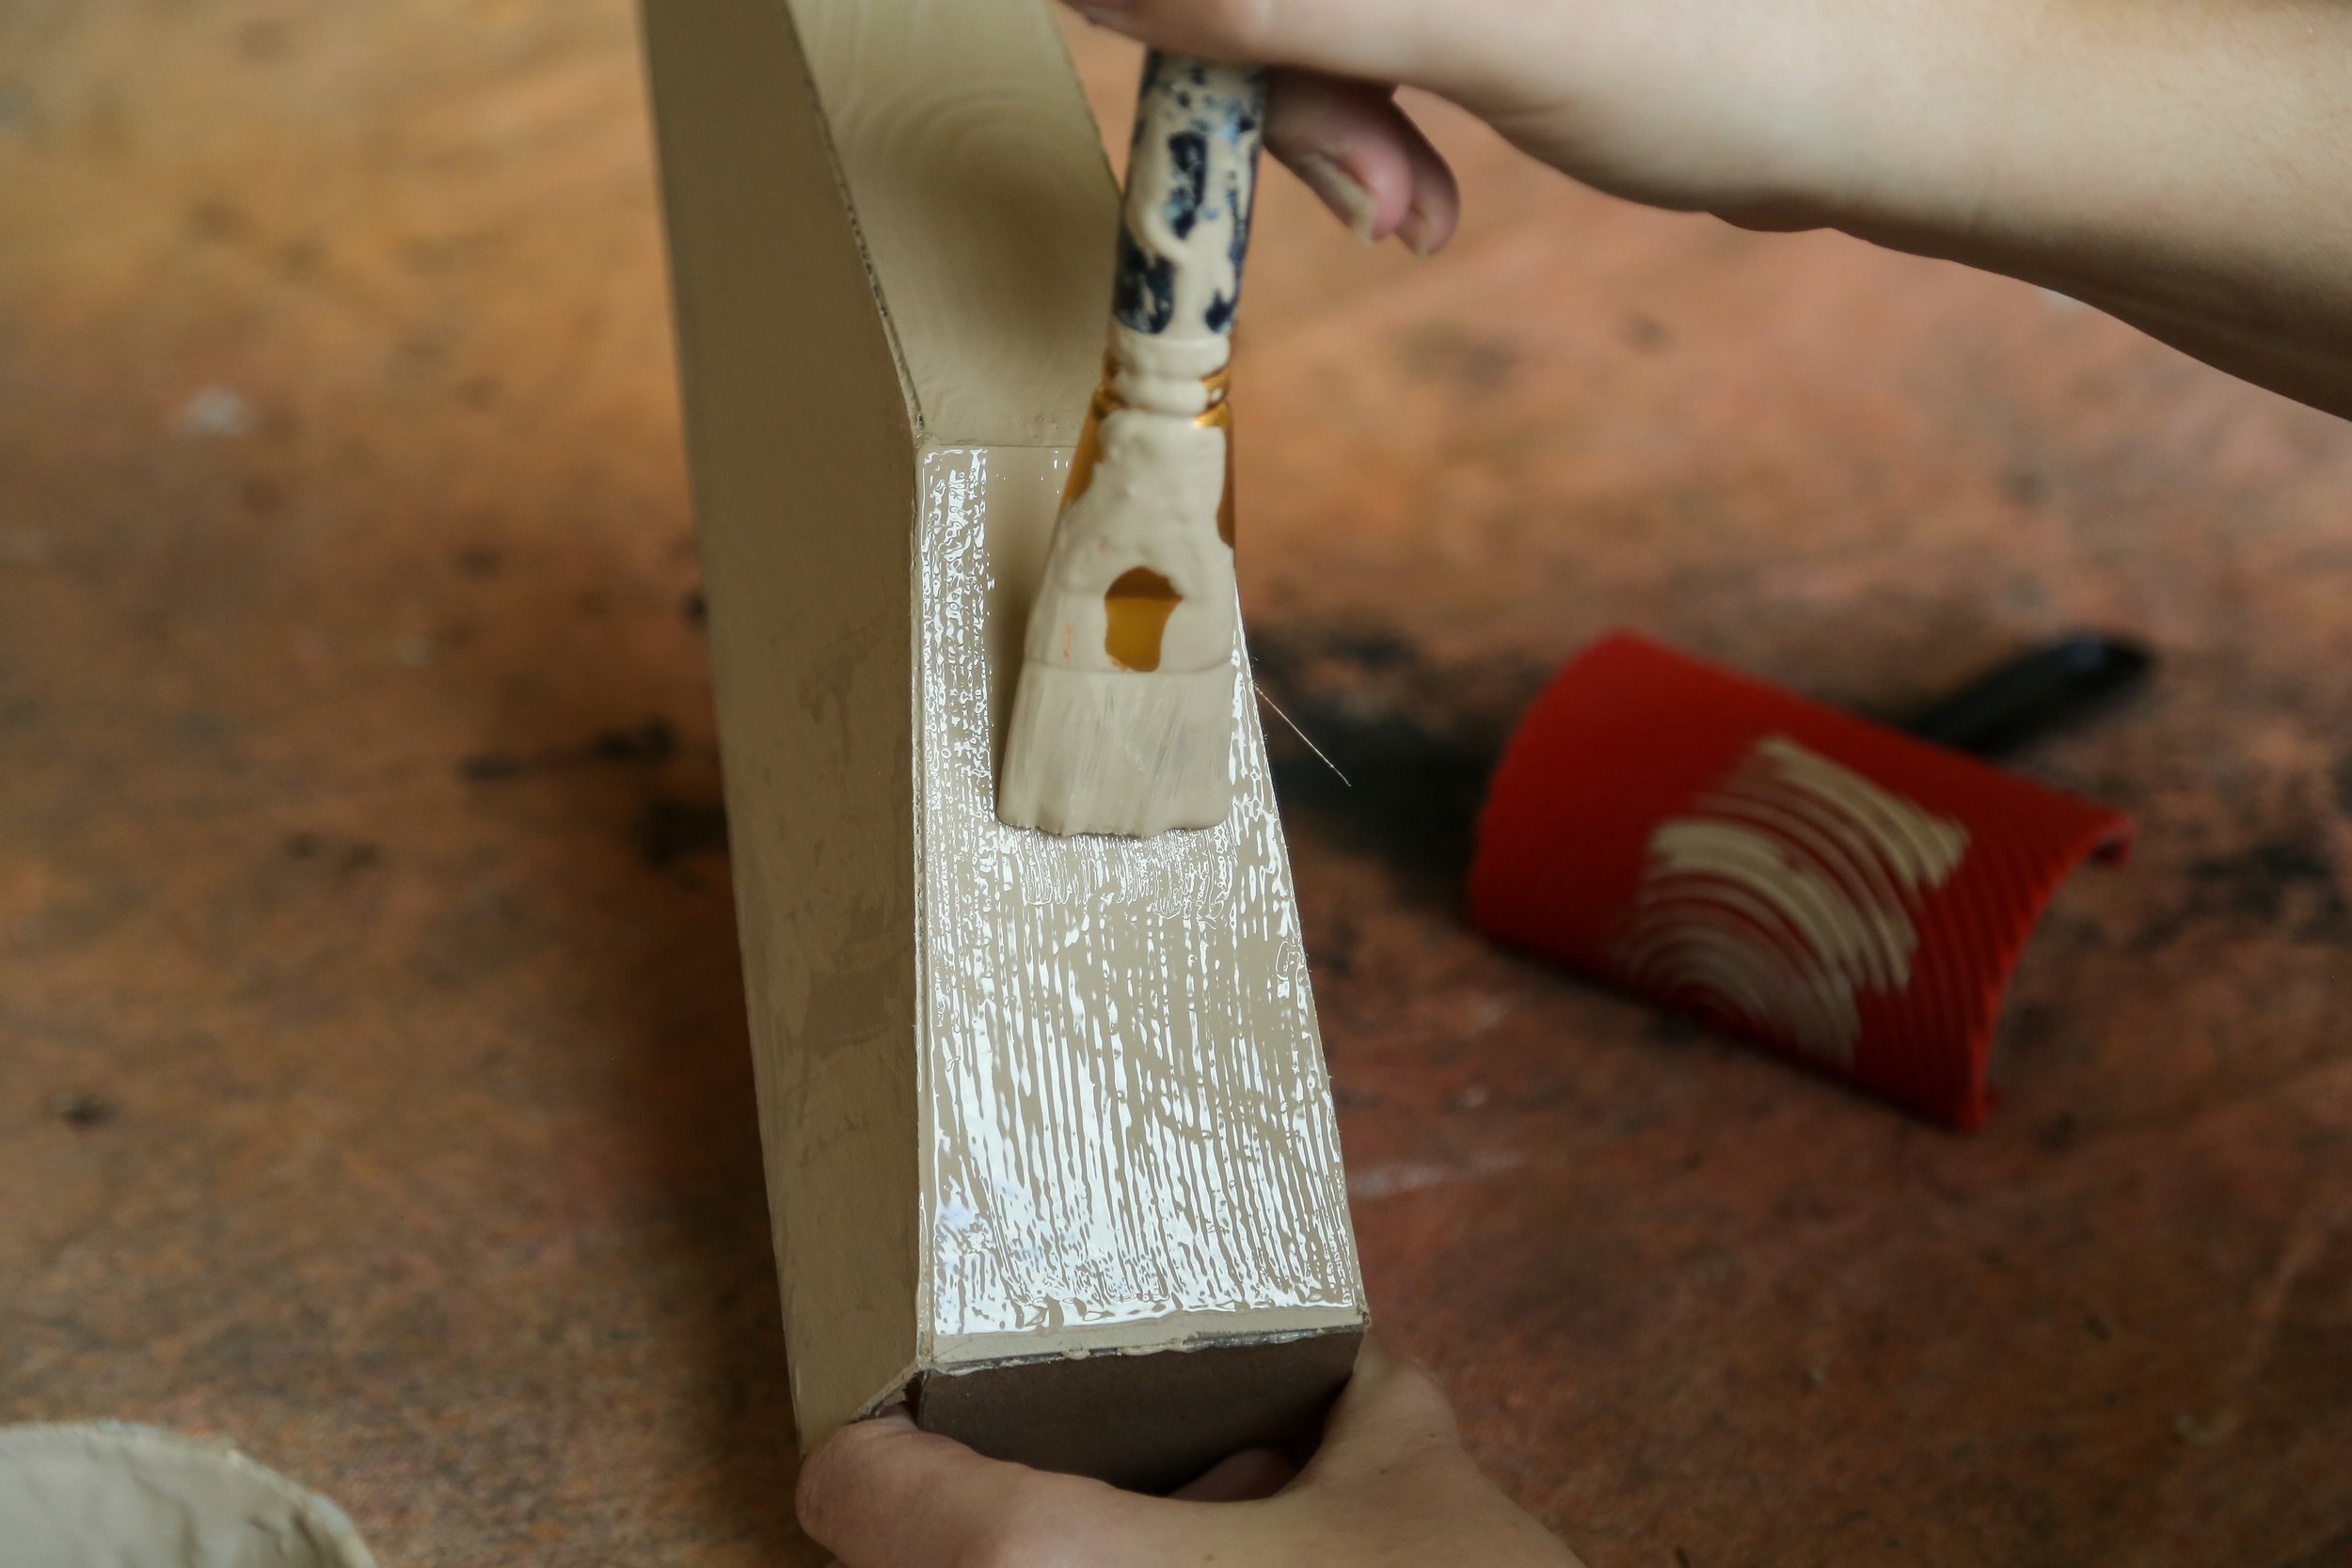
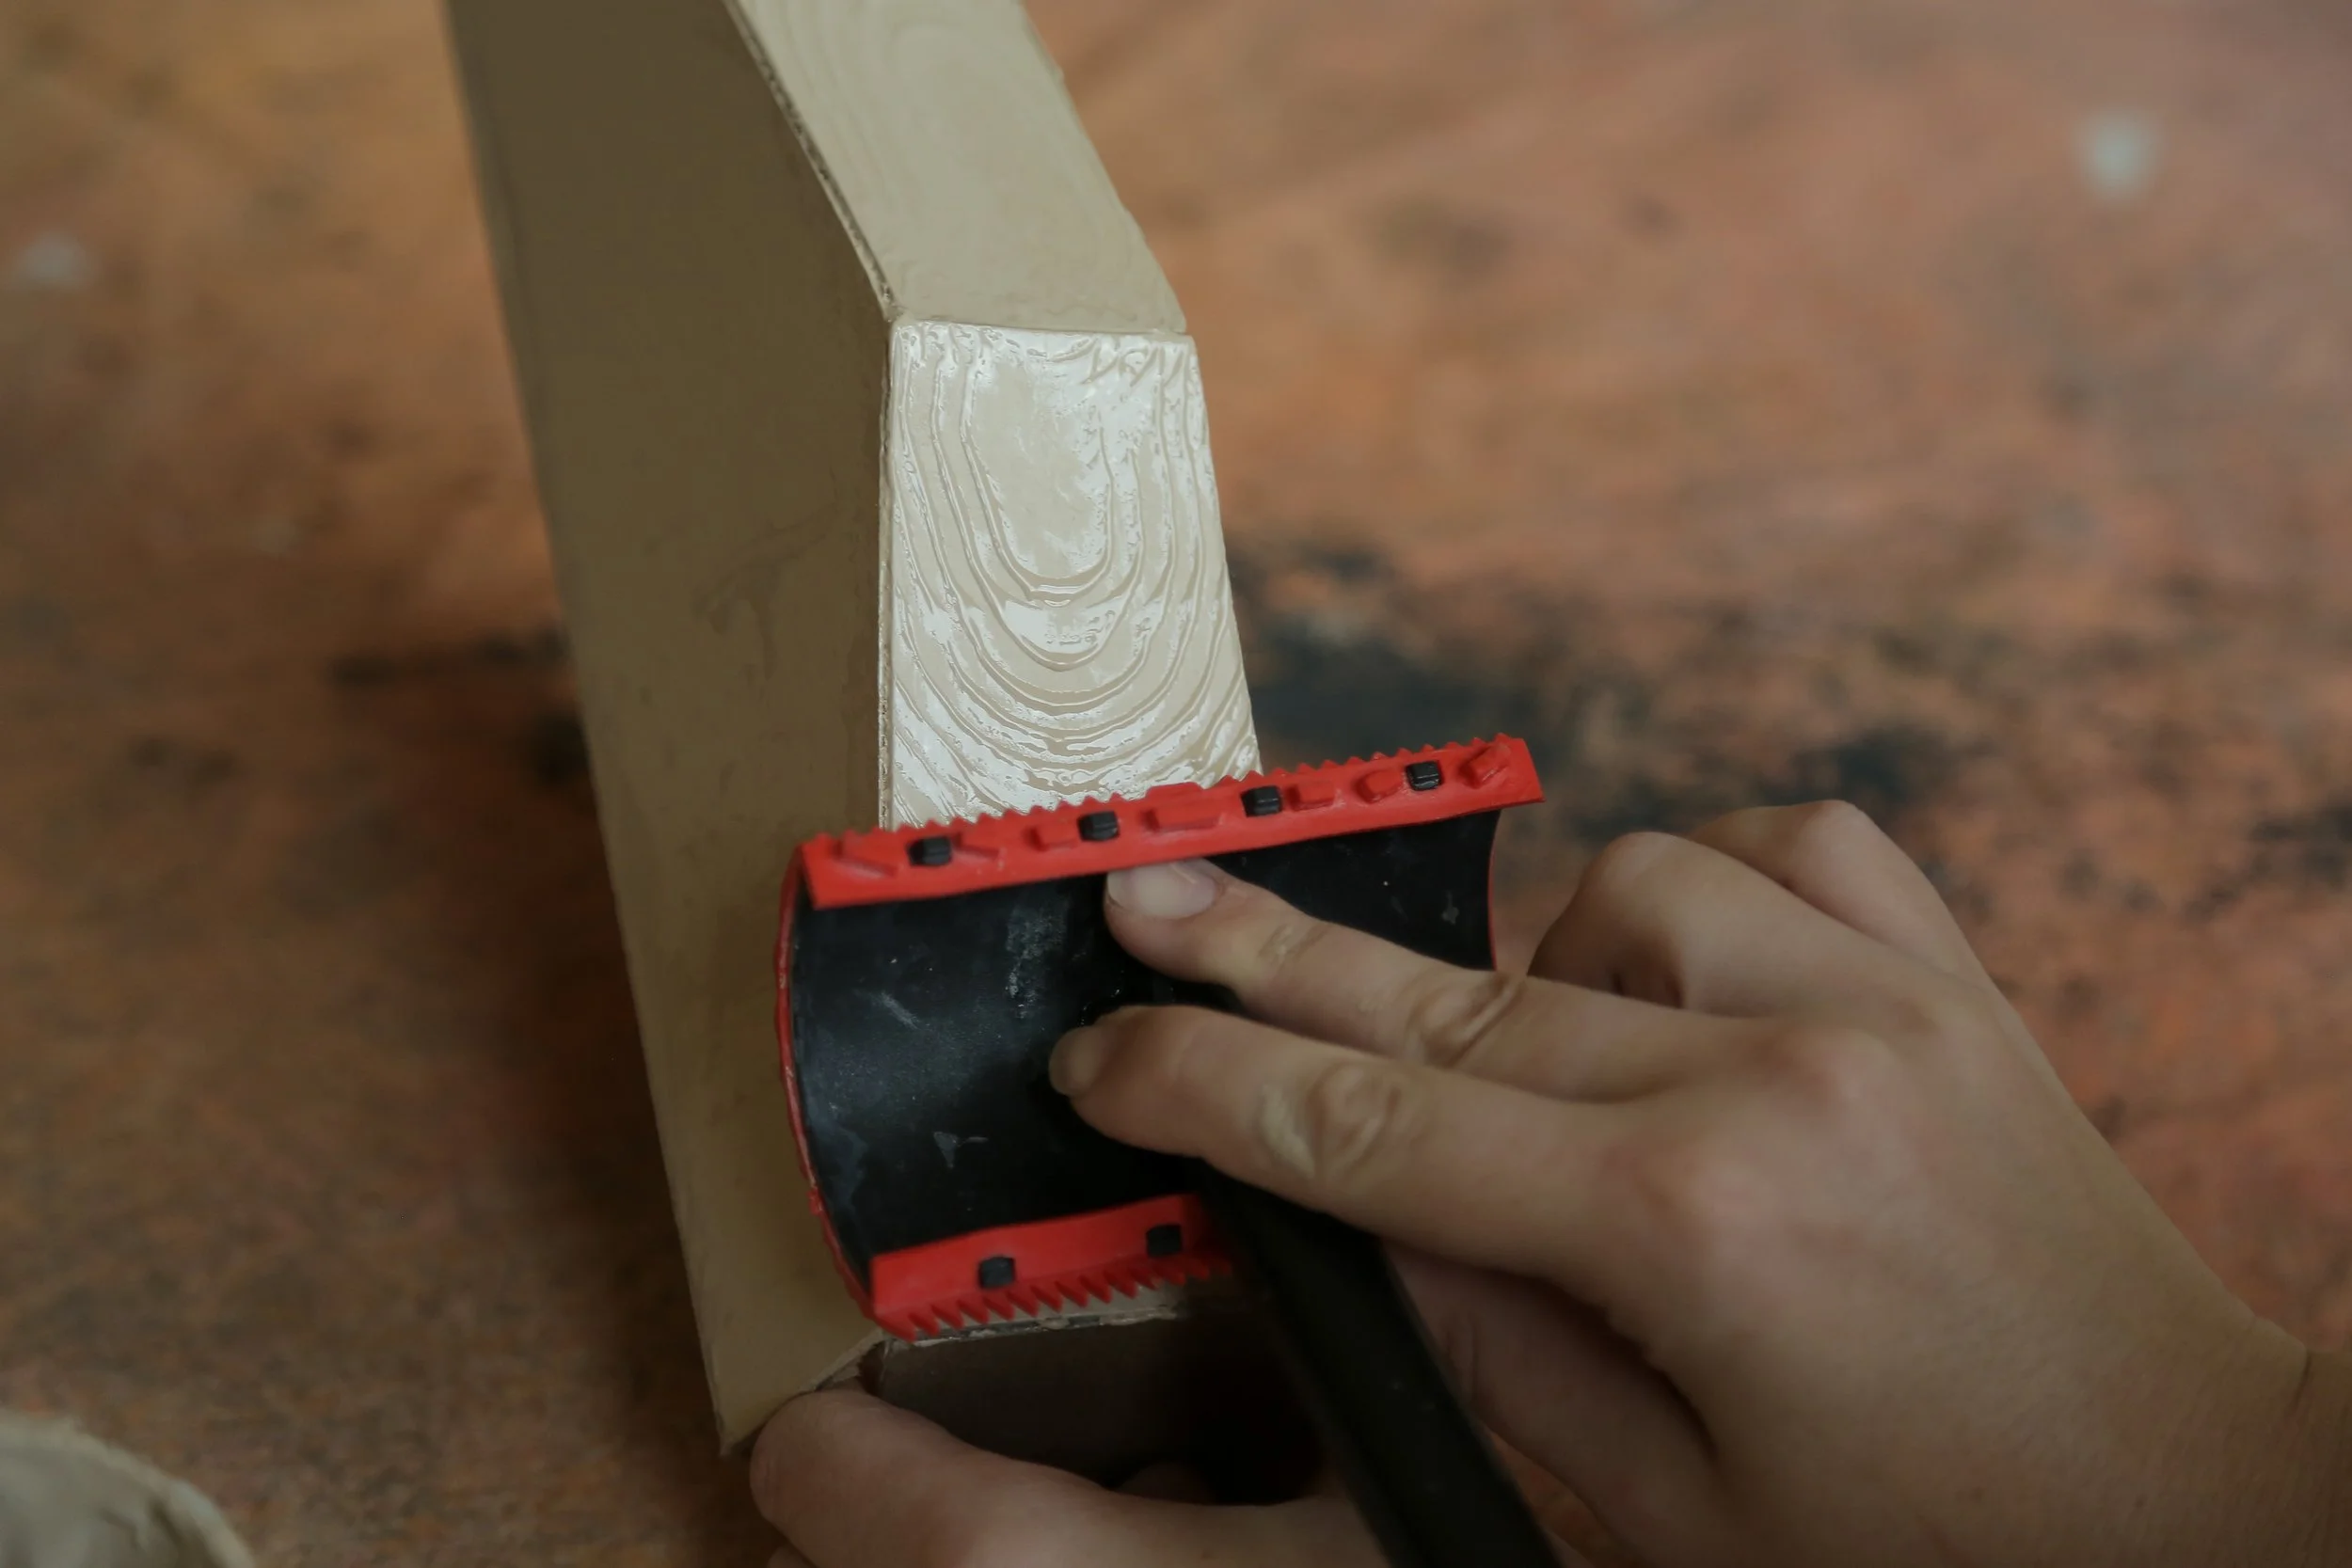
To resemble the wood grain on the original from Nordic Nest, I covered the surfaces with a wood like colour. I then added a drop of black paint in the mix to darken it a bit. Once the first layer was dry, I added another layer of paint using the darker mix. Using a wood grain brush, I added texture onto the surface with the wet paint.
Step 6
All that was left to do was attach all the pieces together. Using hot glue, it held together so well! To style it, I just placed it over my pre-existing tree base legs and I am obsessed with how it turned out!


