How to build a kitchen island (ikea hack)
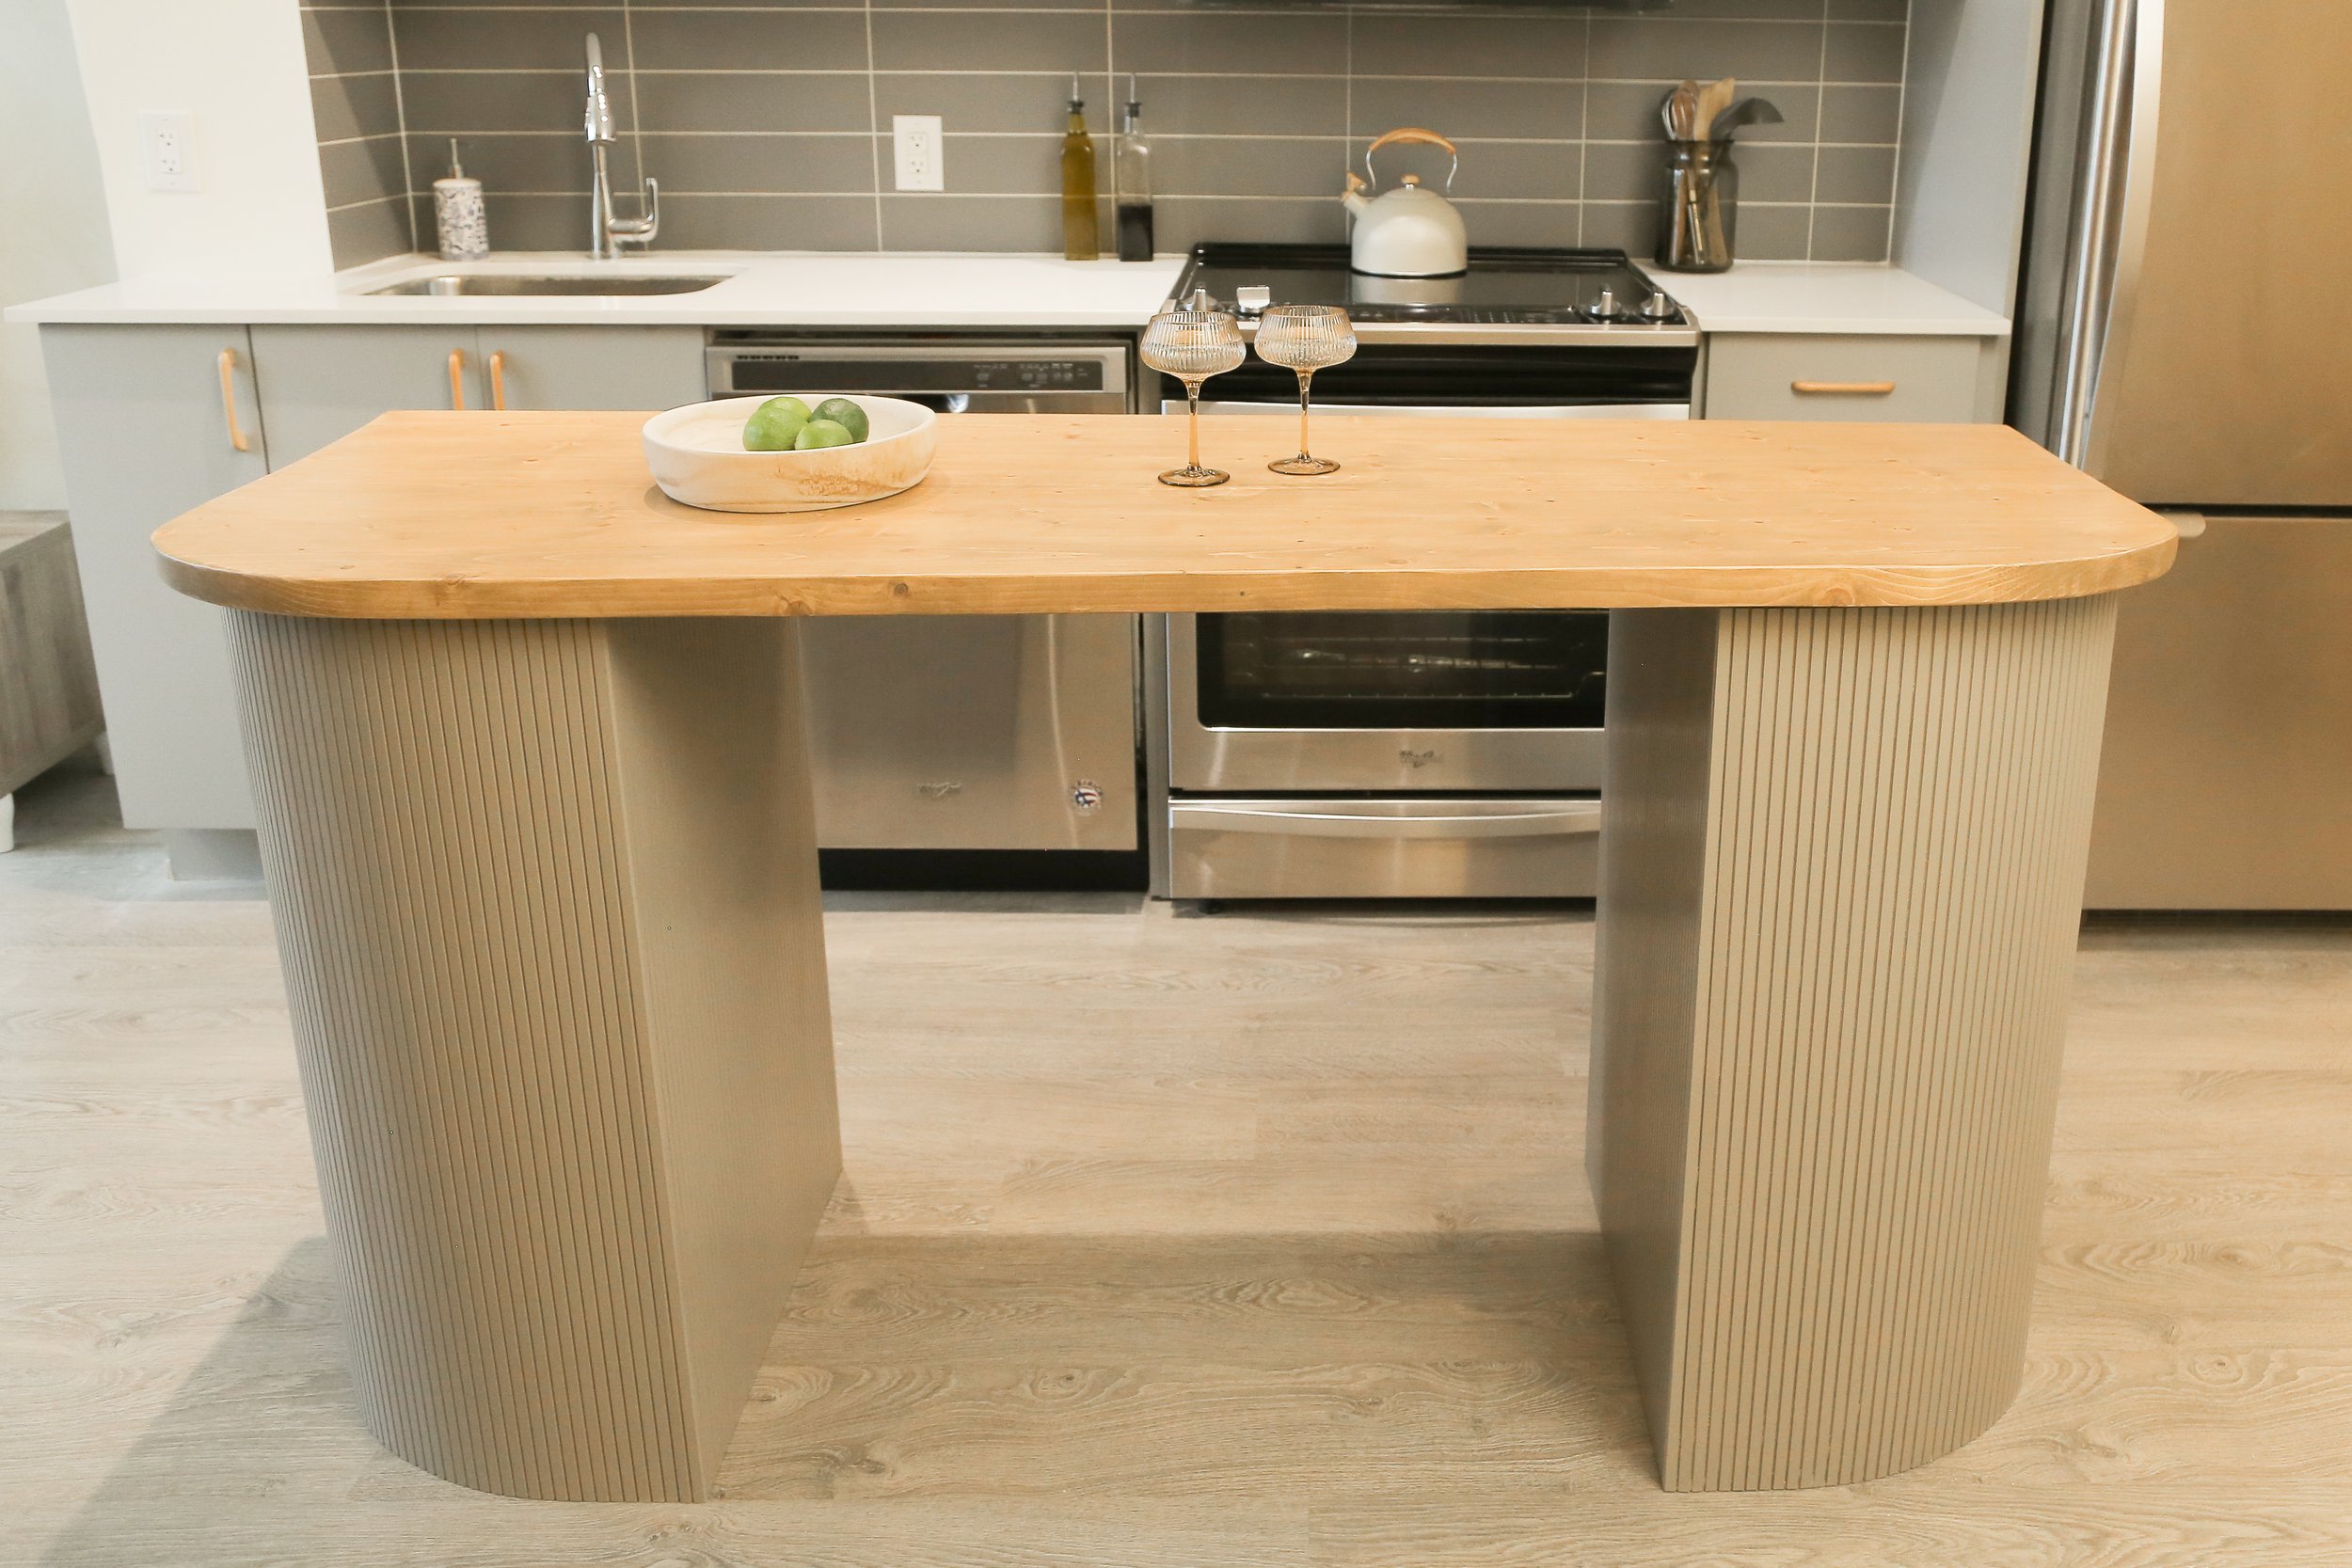
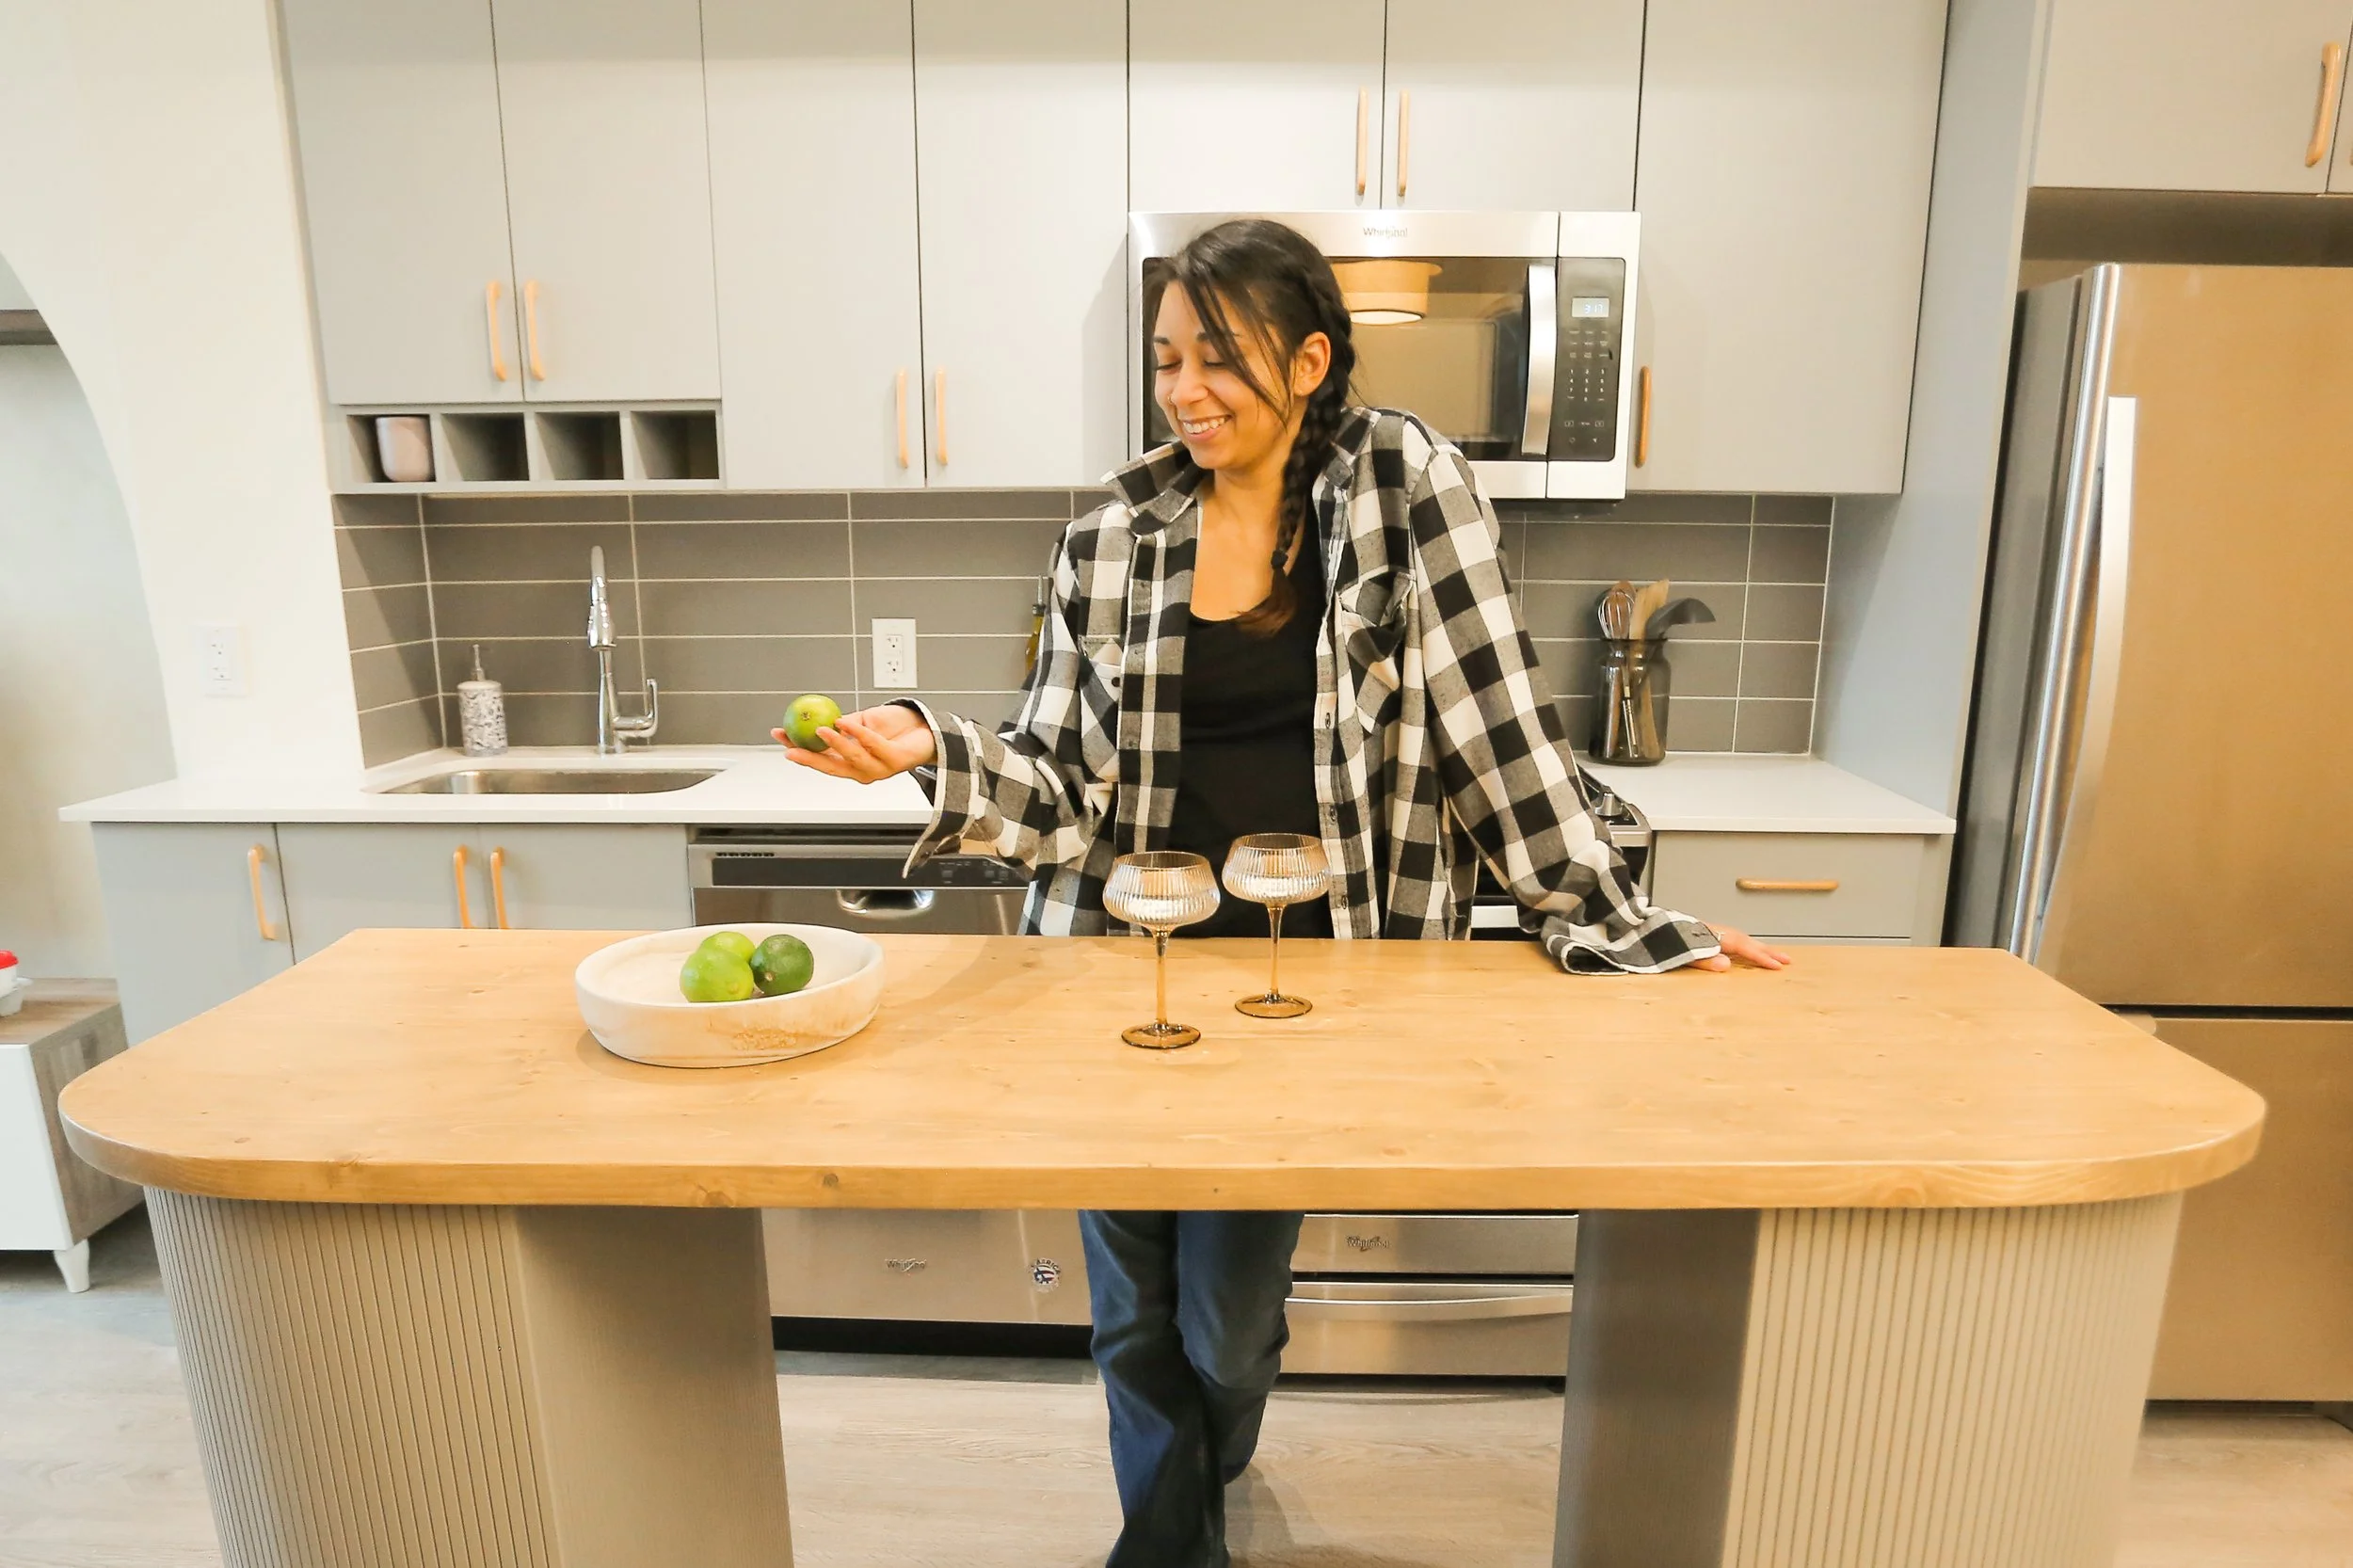
Hey guys, Rochelle here!! So Becky and Kelsey have been planning an EXTREME apartment makeover for Nina, the TSG digital content producer. This is the kind of change she not only needs, but deserves. Nina actually specifically asked for a curved kitchen island, so of course I took this as an opportunity to challenge myself to build this custom piece for her. Not only does it need to be beautiful and fit her aesthetic, it needs to function as both a kitchen island and as a desk. So here is the step-by-step process of how I did that.
Video tutorial here :
Materials
Kitchen Island Legs:
2 - Sektion Ikea Cabinets (we used the 15 x 14 ¾ x 30” base cabinets)
1 - 49” x 97” x ⅝”MDF board
2 - 2-pack 100° Spring Closing Full Overlay Hinges for Frameless Cabinets
Corner Braces
Pole Wrap - 96 in. x 48 in. MDF Basement Column Cover
Wood Glue
Wood filler
Tabletop:
5 - 2x6x8 pieces of lumber
2” Pocket screws
1” Pocket screws
Wood glue
⅜”Hardwood Dowels
Wood Conditioner, Stain and Top Coat
Tools Used:
Brad Nailer / Pin nailer
Circular Saw
Drill
Pocket hole jig
Clamps
Planer
Jigsaw
Table Saw
Flush cut saw
Utility knife
Clamps
Kitchen Island Legs
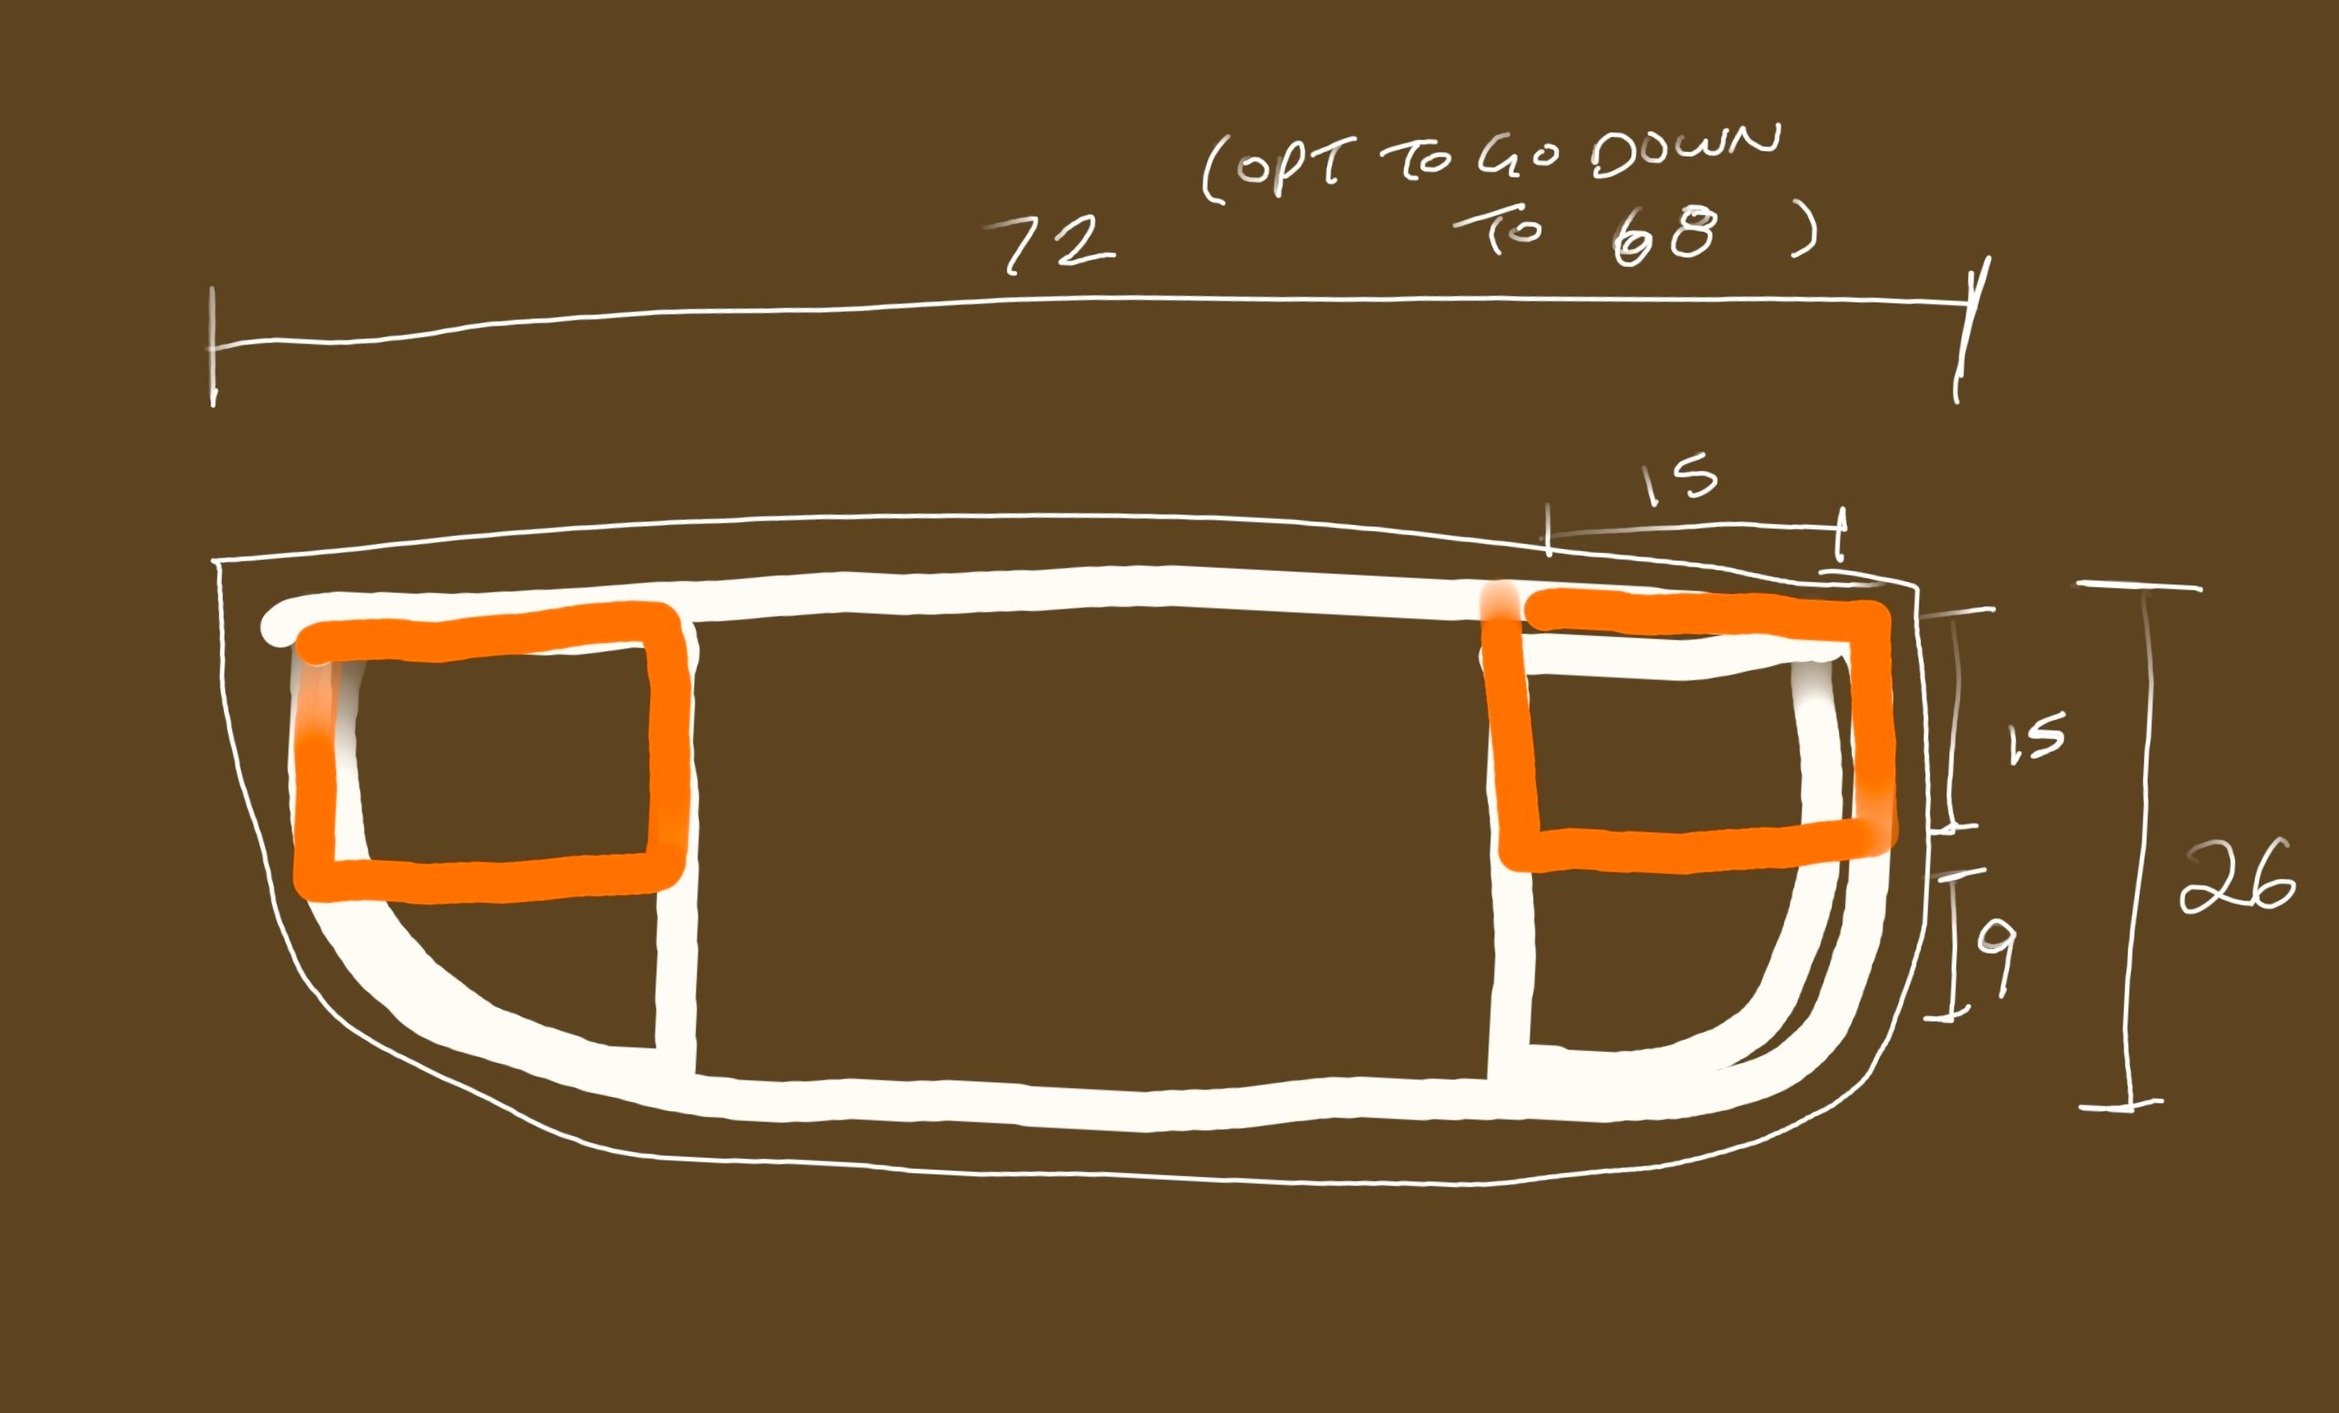
Step 1: Planning and Preparation
Before diving into the construction process, it's essential to have a clear plan in mind. Consider the dimensions of your kitchen space and determine the size and design of your island. Sketch out your ideas, noting the placement of cabinets, side panels, and the tabletop.
Step 2: Building the Ikea Cabinets
Assemble your Ikea cabinets according to the manufacturer's instructions. These pre-made cabinets provide a sturdy base for your island and save time in construction. I used the Sektion Ikea Cabinet: https://bit.ly/42xXW7o
Step 3: Extending the Sides with Side Panels
From your MDF, cut the side panels you will use to extend the edge of your cabinet to allow the pole wrap to curve. Cut the panels to the same height as your Ikea cabinet, and as deep as you would like your legs to be (ours ended up being roughly 7” deeper than the cabinet at 22”). Attach them securely to the cabinets using wood glue and a brad nailer. Fill your nail holes with wood filler.
Optional: Before attaching the side panel, measure the dimensions of the fluted pole wrap you will be using, and cut grooves in your MDF to mimic the pole wrap with a table saw.
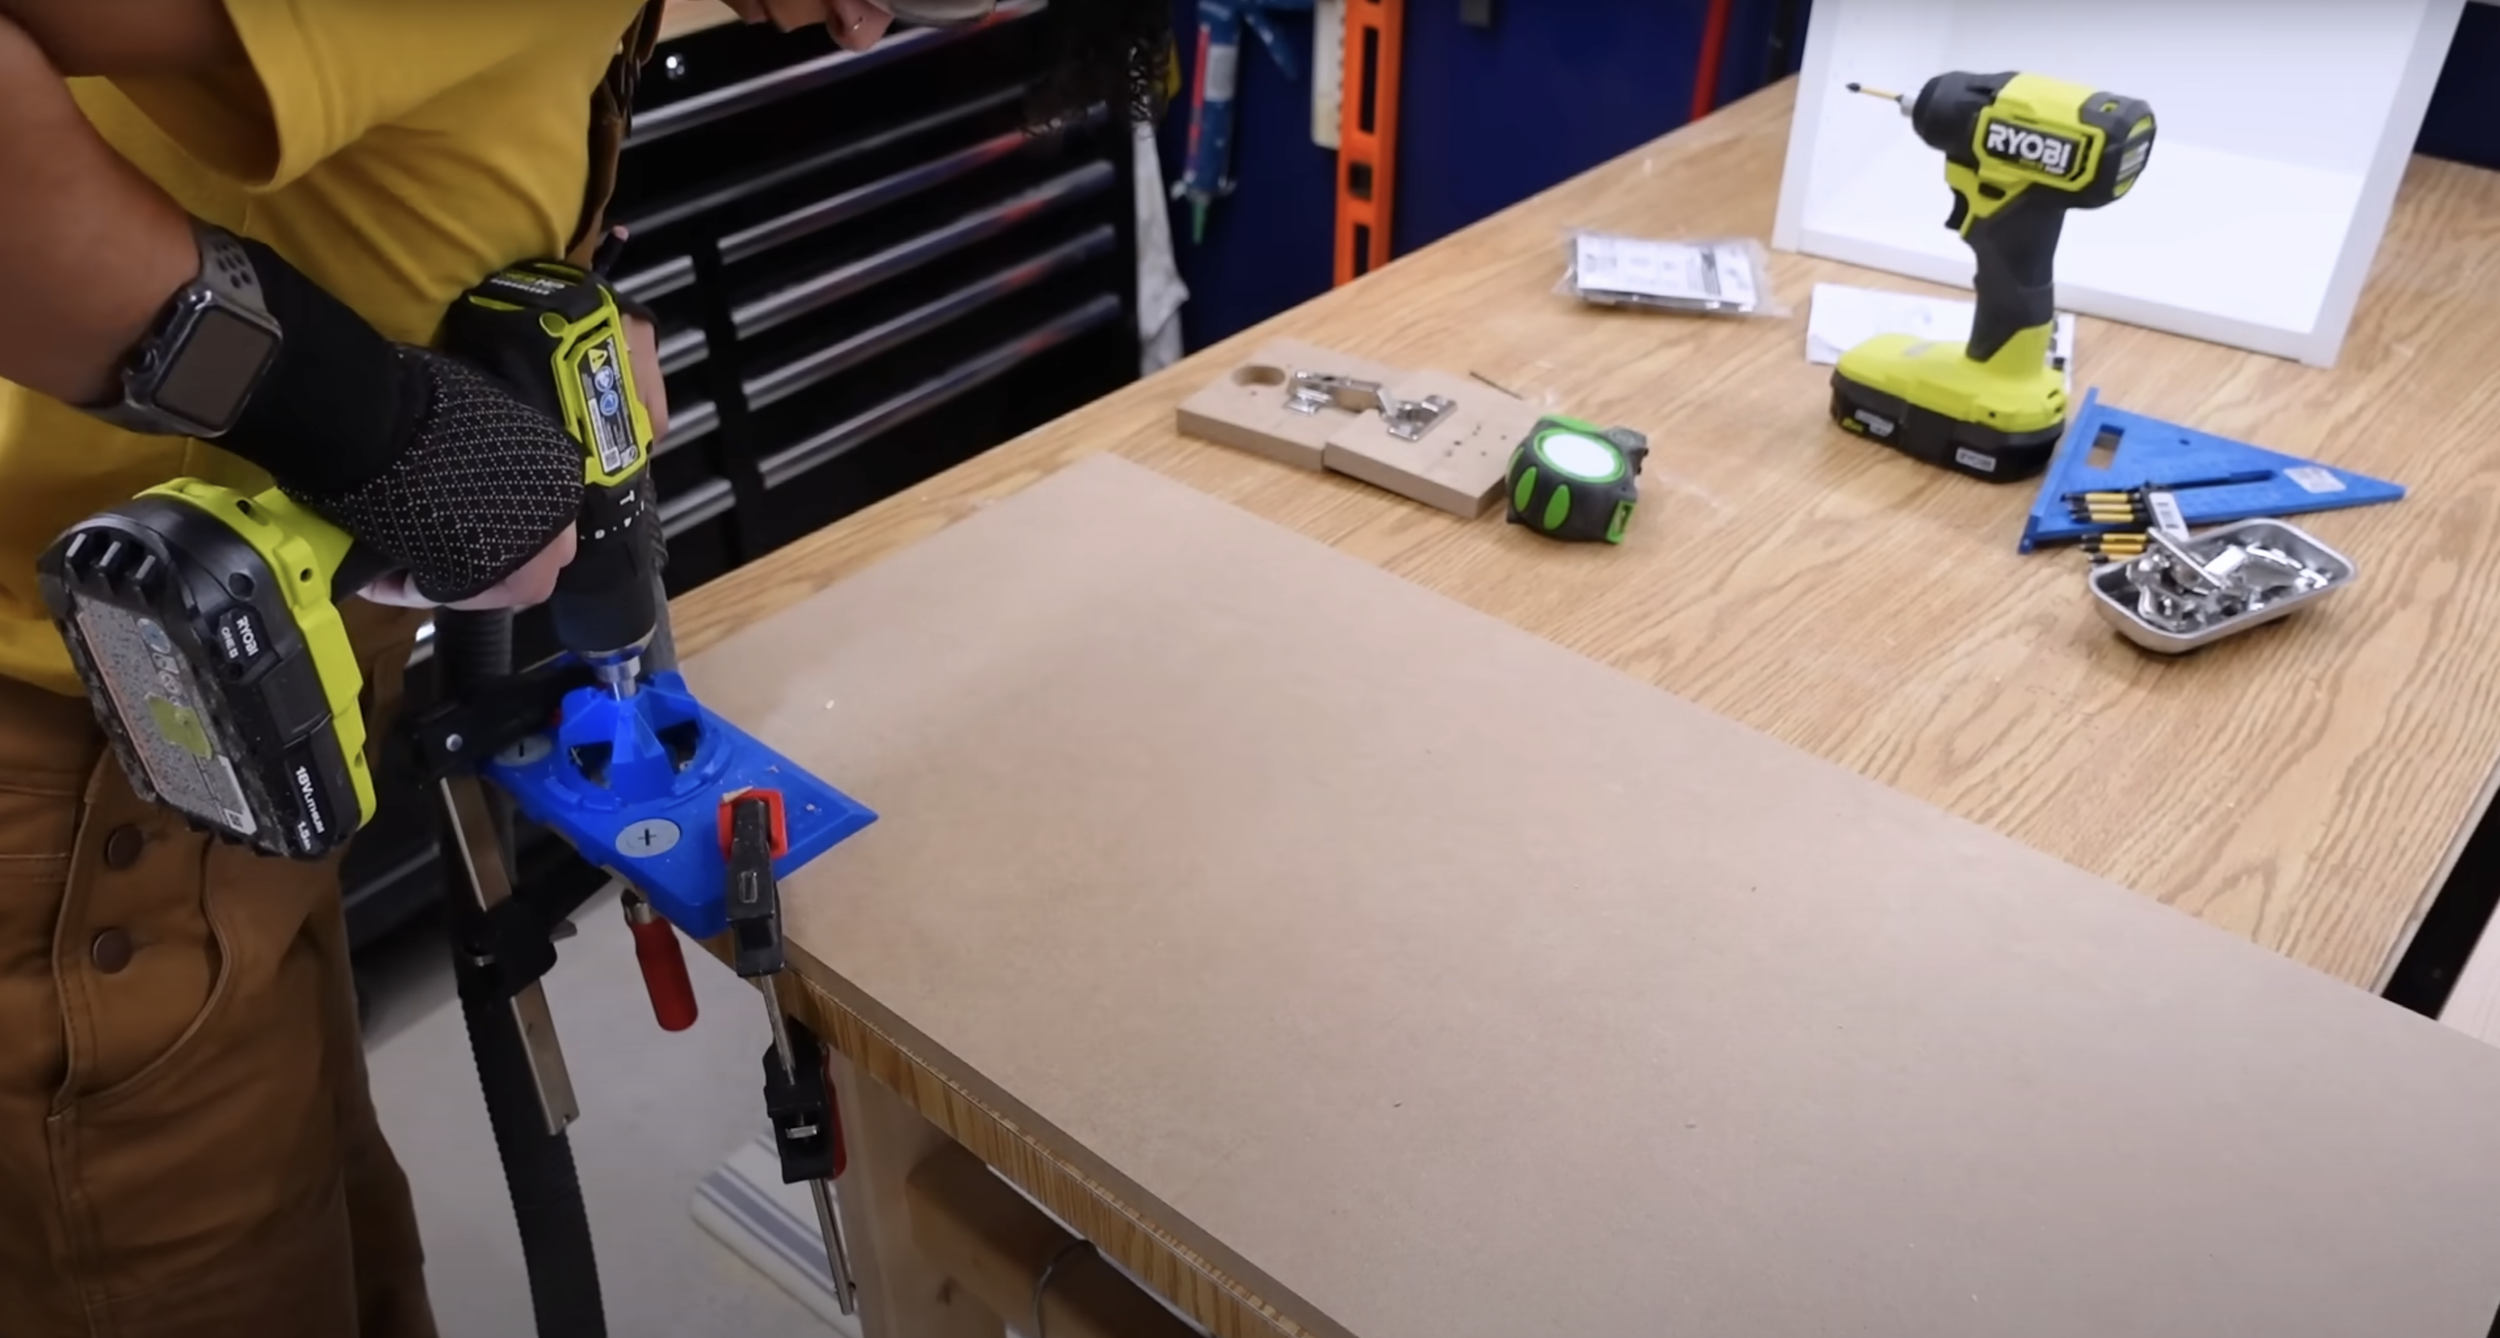
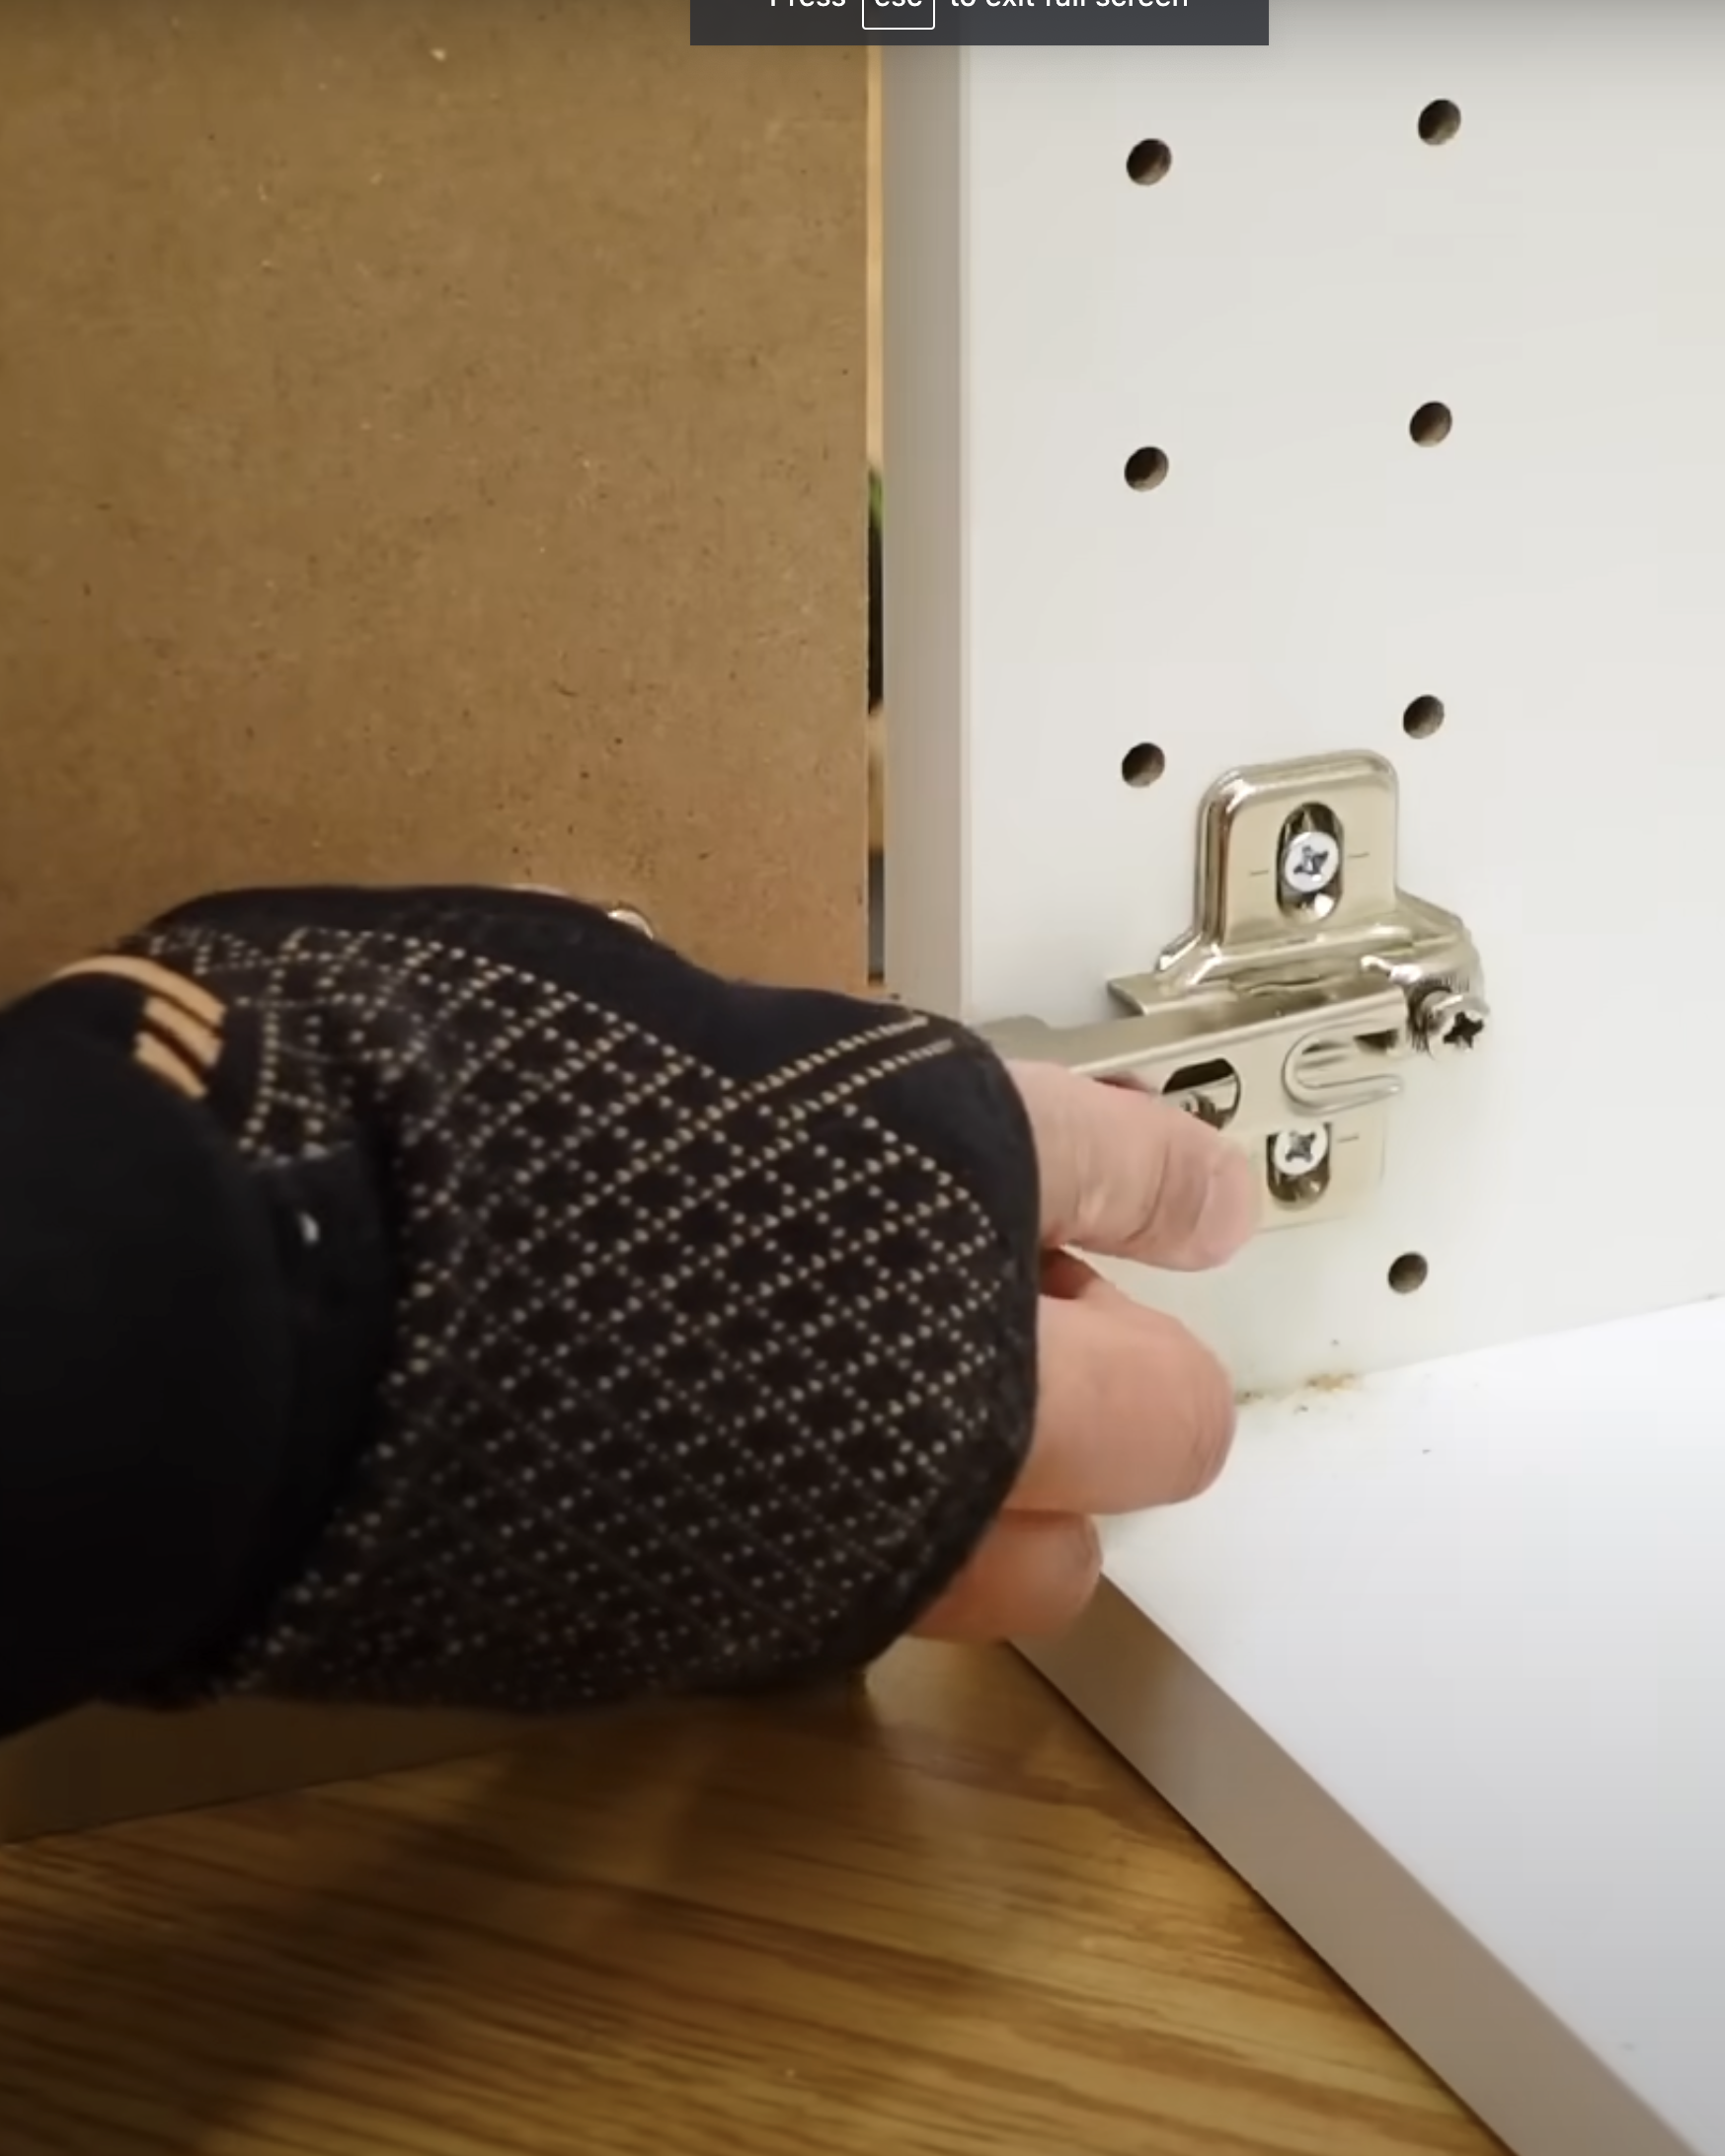
Step 4: Build and Attach Your Doors (optional)
Cut your MDF using the dimensions of the standard Ikea cabinet doors of the cabinets you are using. Measure the dimensions of the fluted pole wrap you will be using, and cut grooves in your MDF to mimic the pole wrap with a table saw. Attach your doors using Spring Closing Full Overlay Hinges for Frameless Cabinets - a concealed hinge jig makes this super simple, but you can achieve this using a 35mm Forstner bit . Alternatively, you can buy any matching Ikea cabinet doors and attach those.

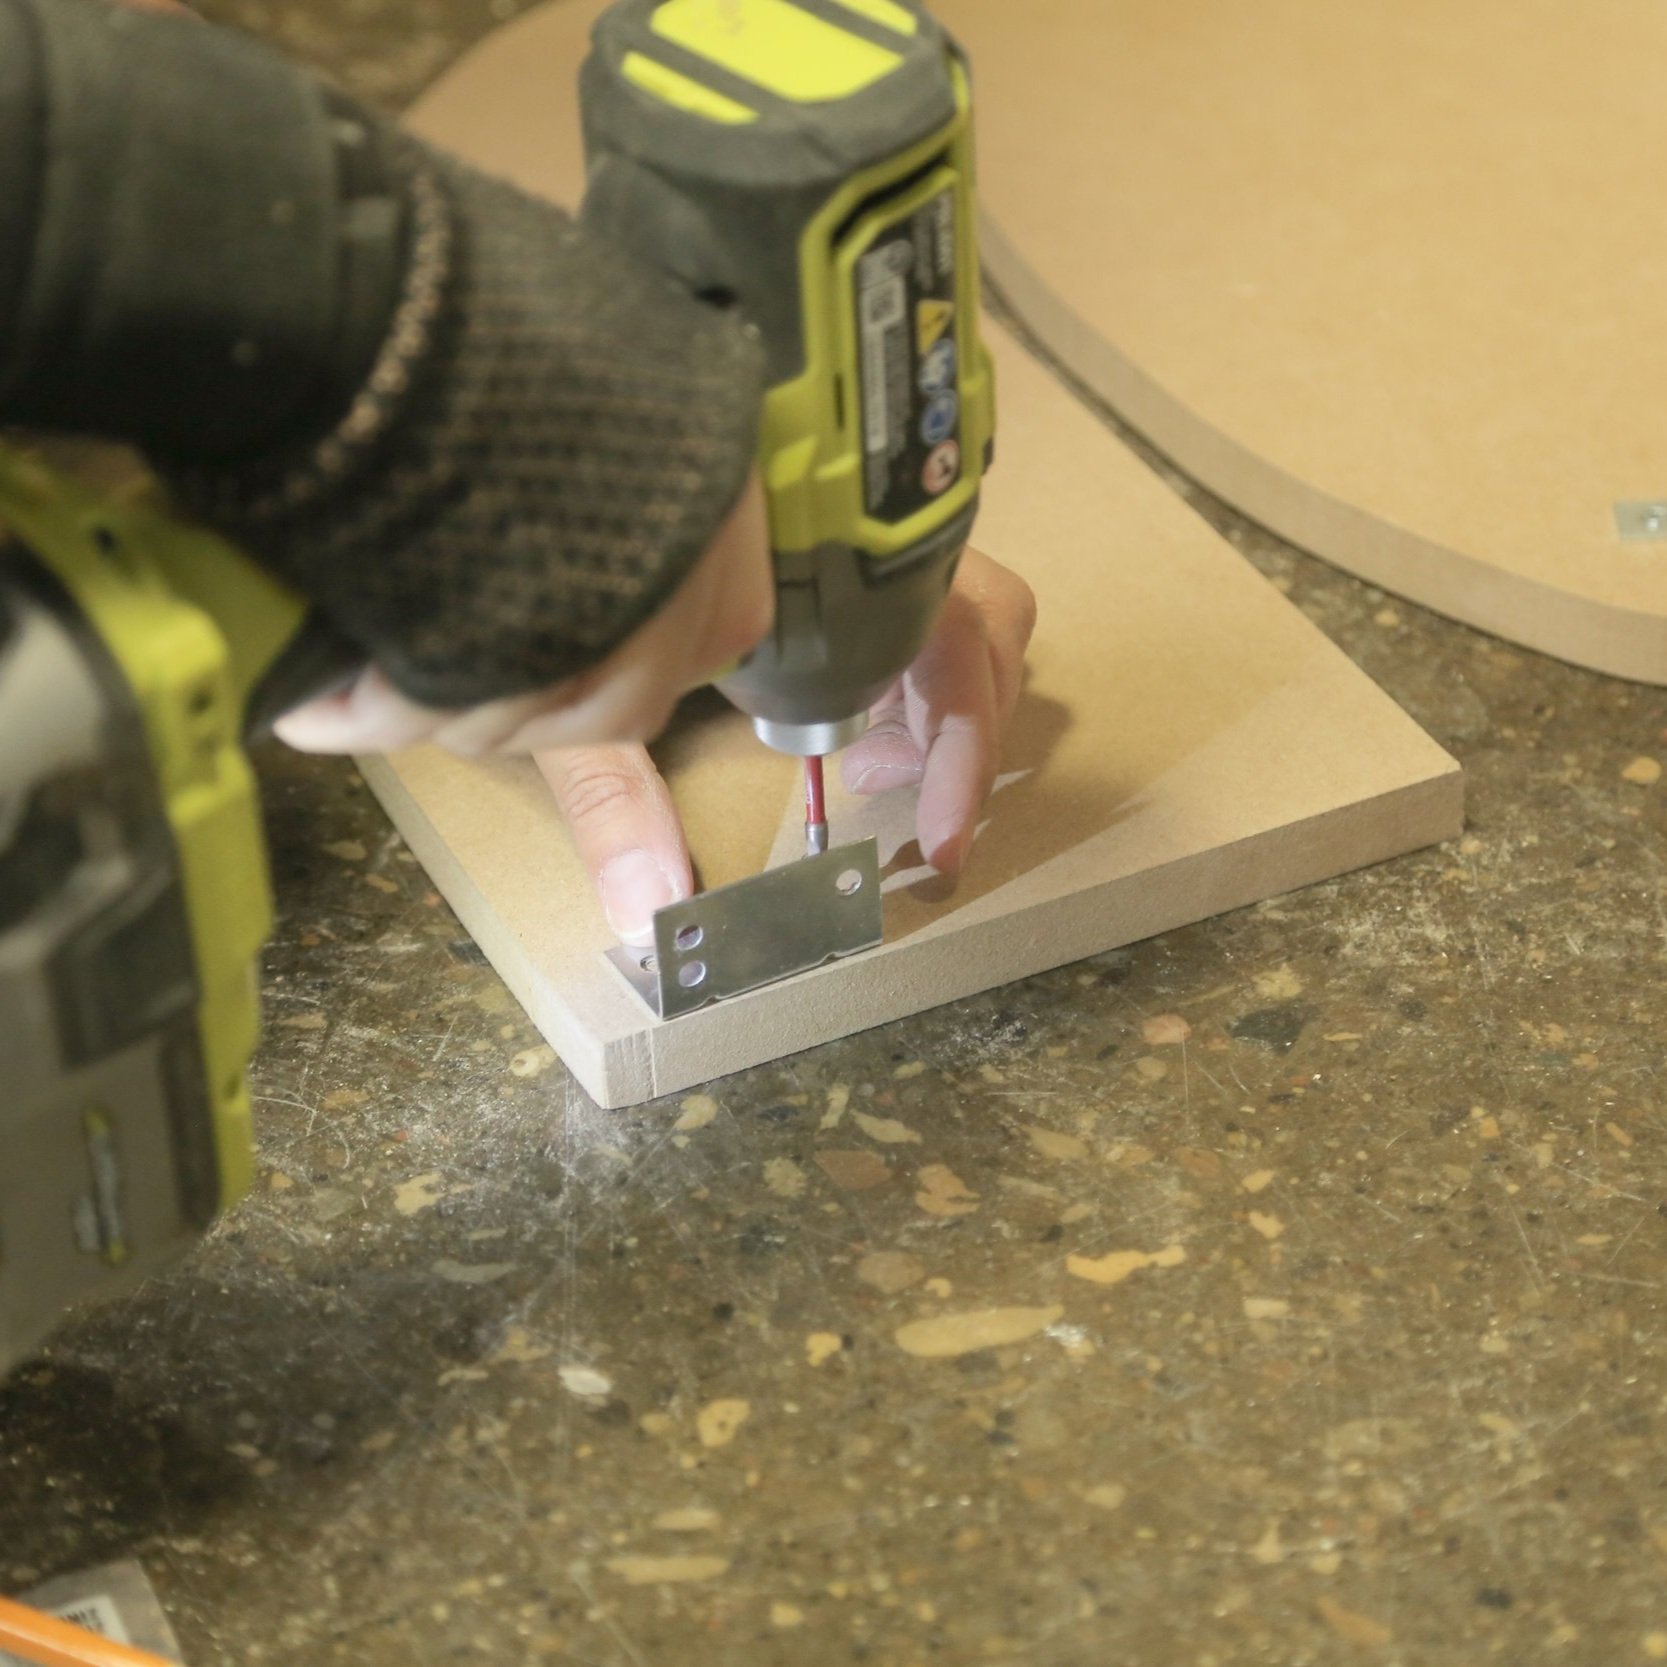
Step 5: Creating Curved Supports
To help guide the curve of the pole wrap, cut 6 pieces from your MDF to your desired shape. I used a piece of cardboard to make a template of this exact shape. Attach 3 on each cabinet using corner braces. Attach to the top, the bottom and the middle of your cabinet for best support. For maximum sturdiness, you can attach vertical support pieces between each curved board.

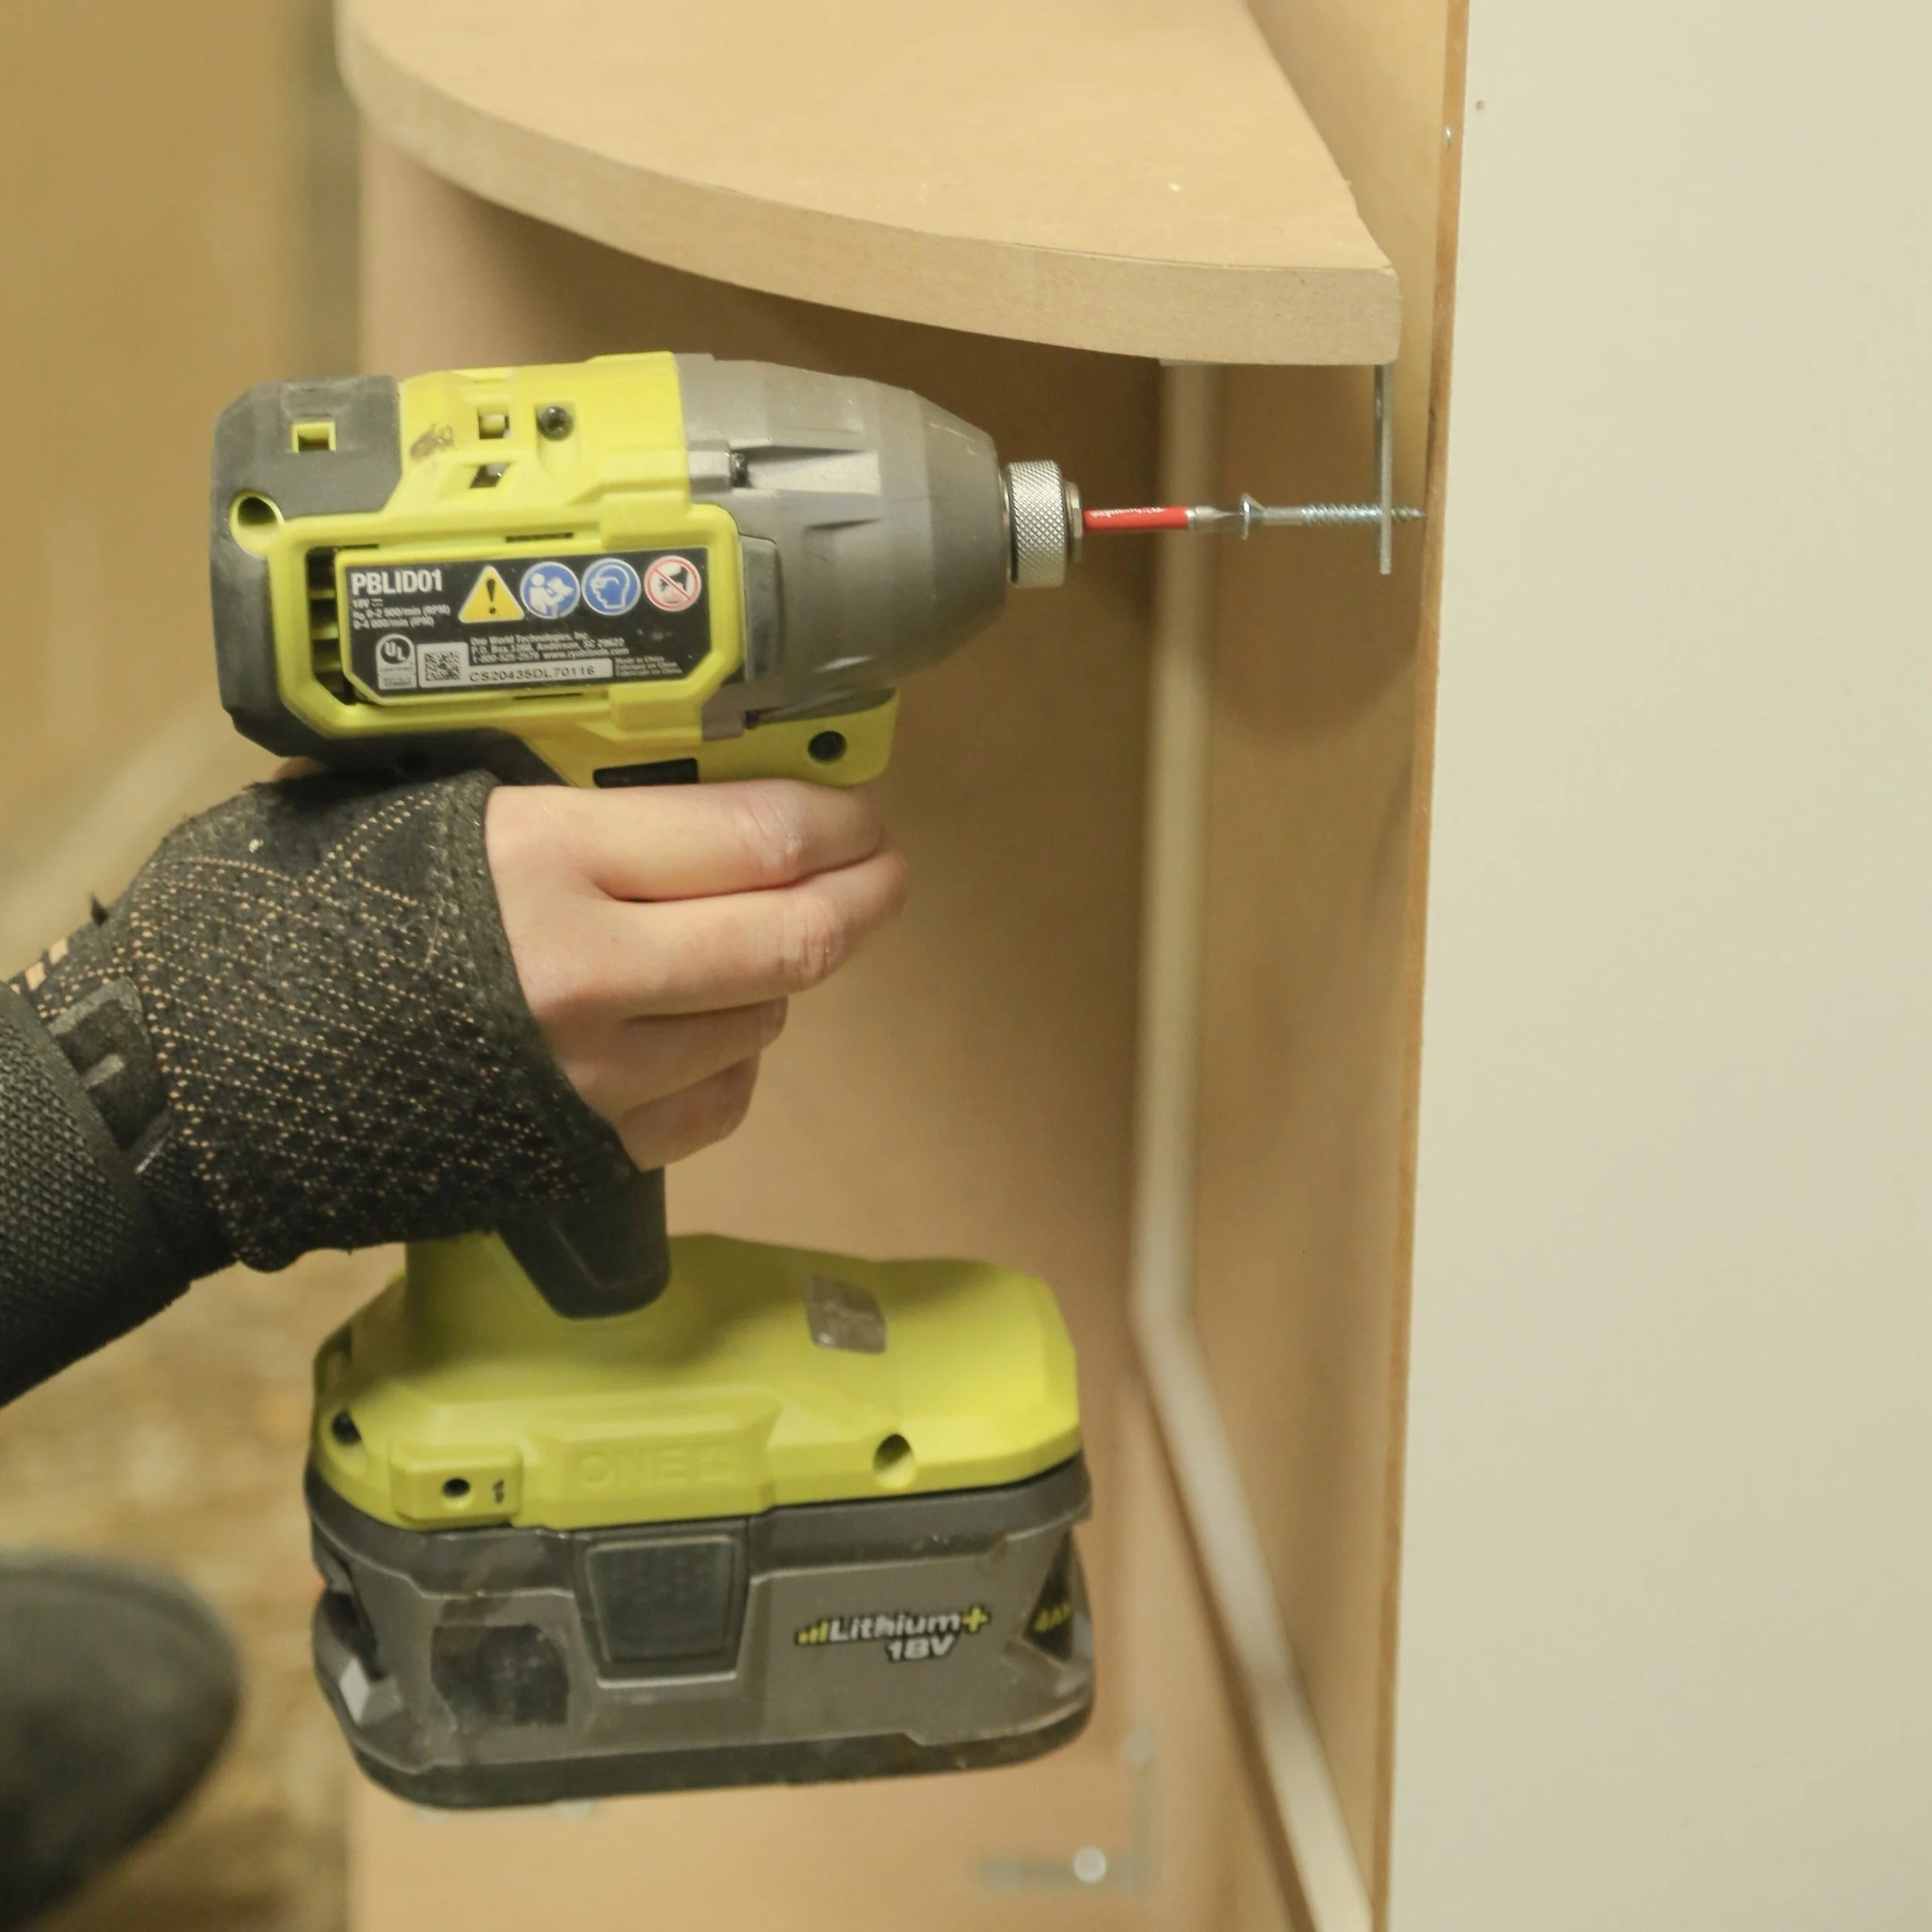


Step 6: Building a Support Frame
To ensure that your island is at the correct height for kitchen use, the door has space to open and to act as a toe kick - construct a basic support frame to elevate the cabinets. Attach to the underside of the cabinets using 1” pocket screws.


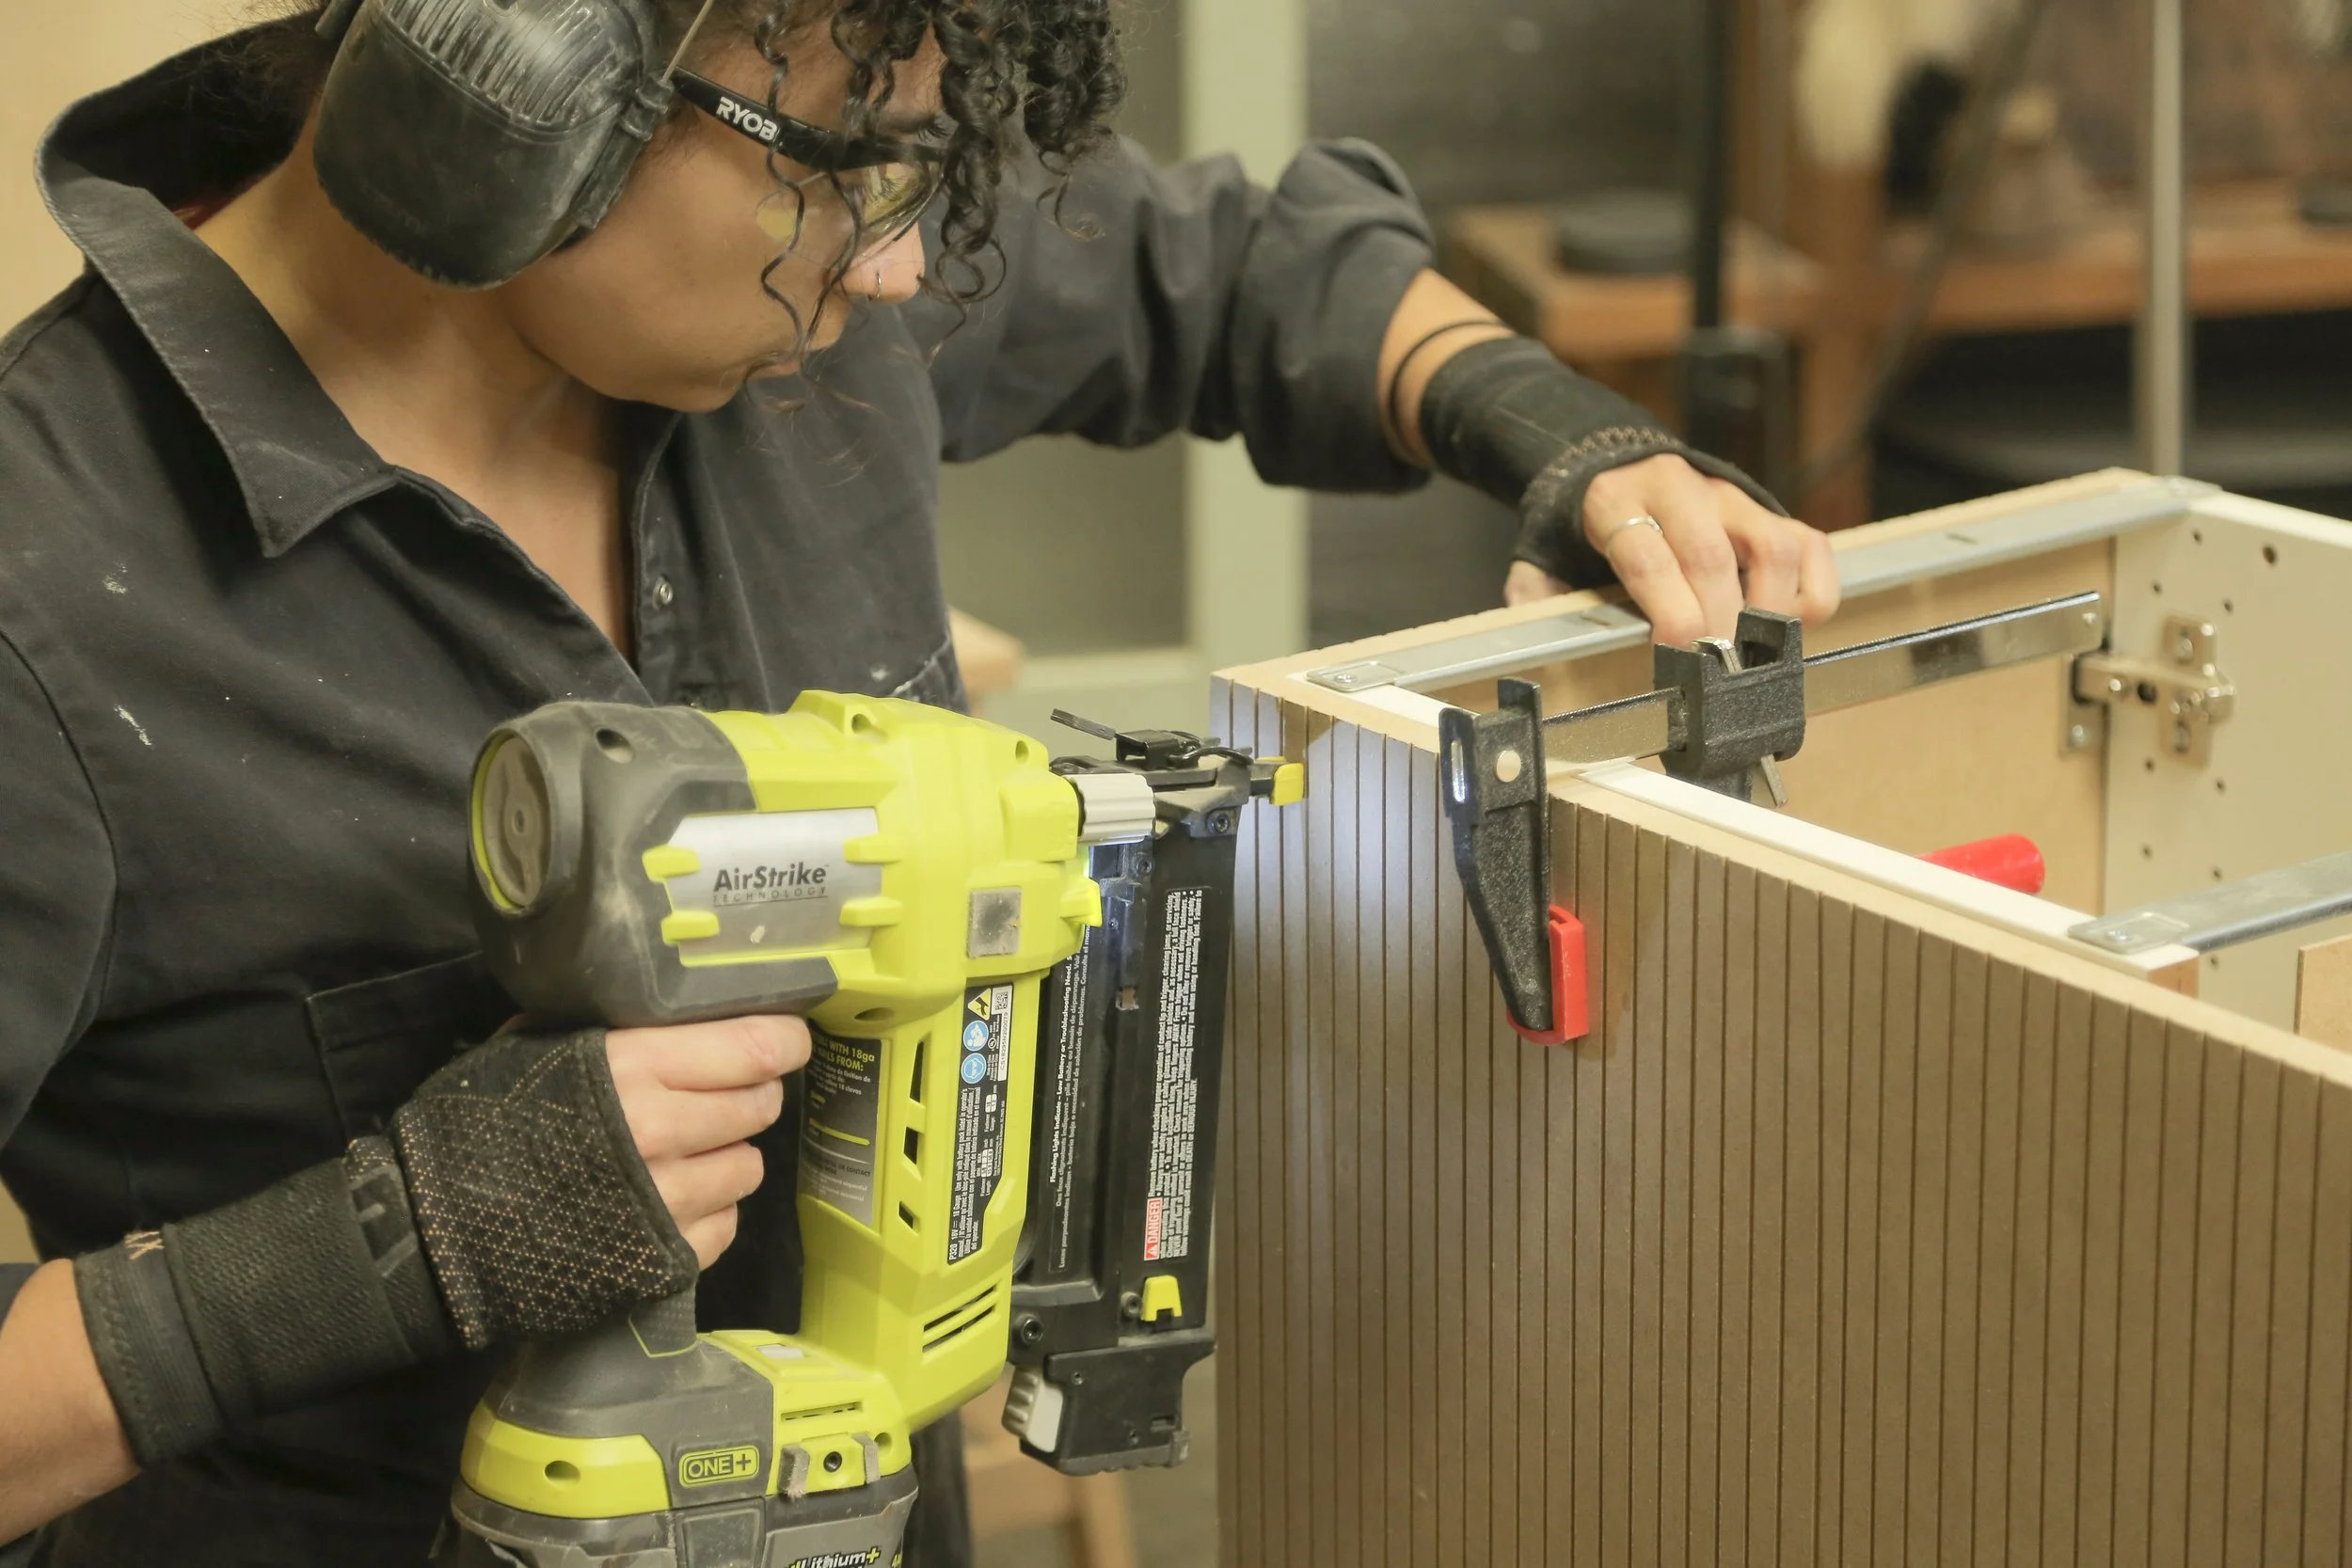
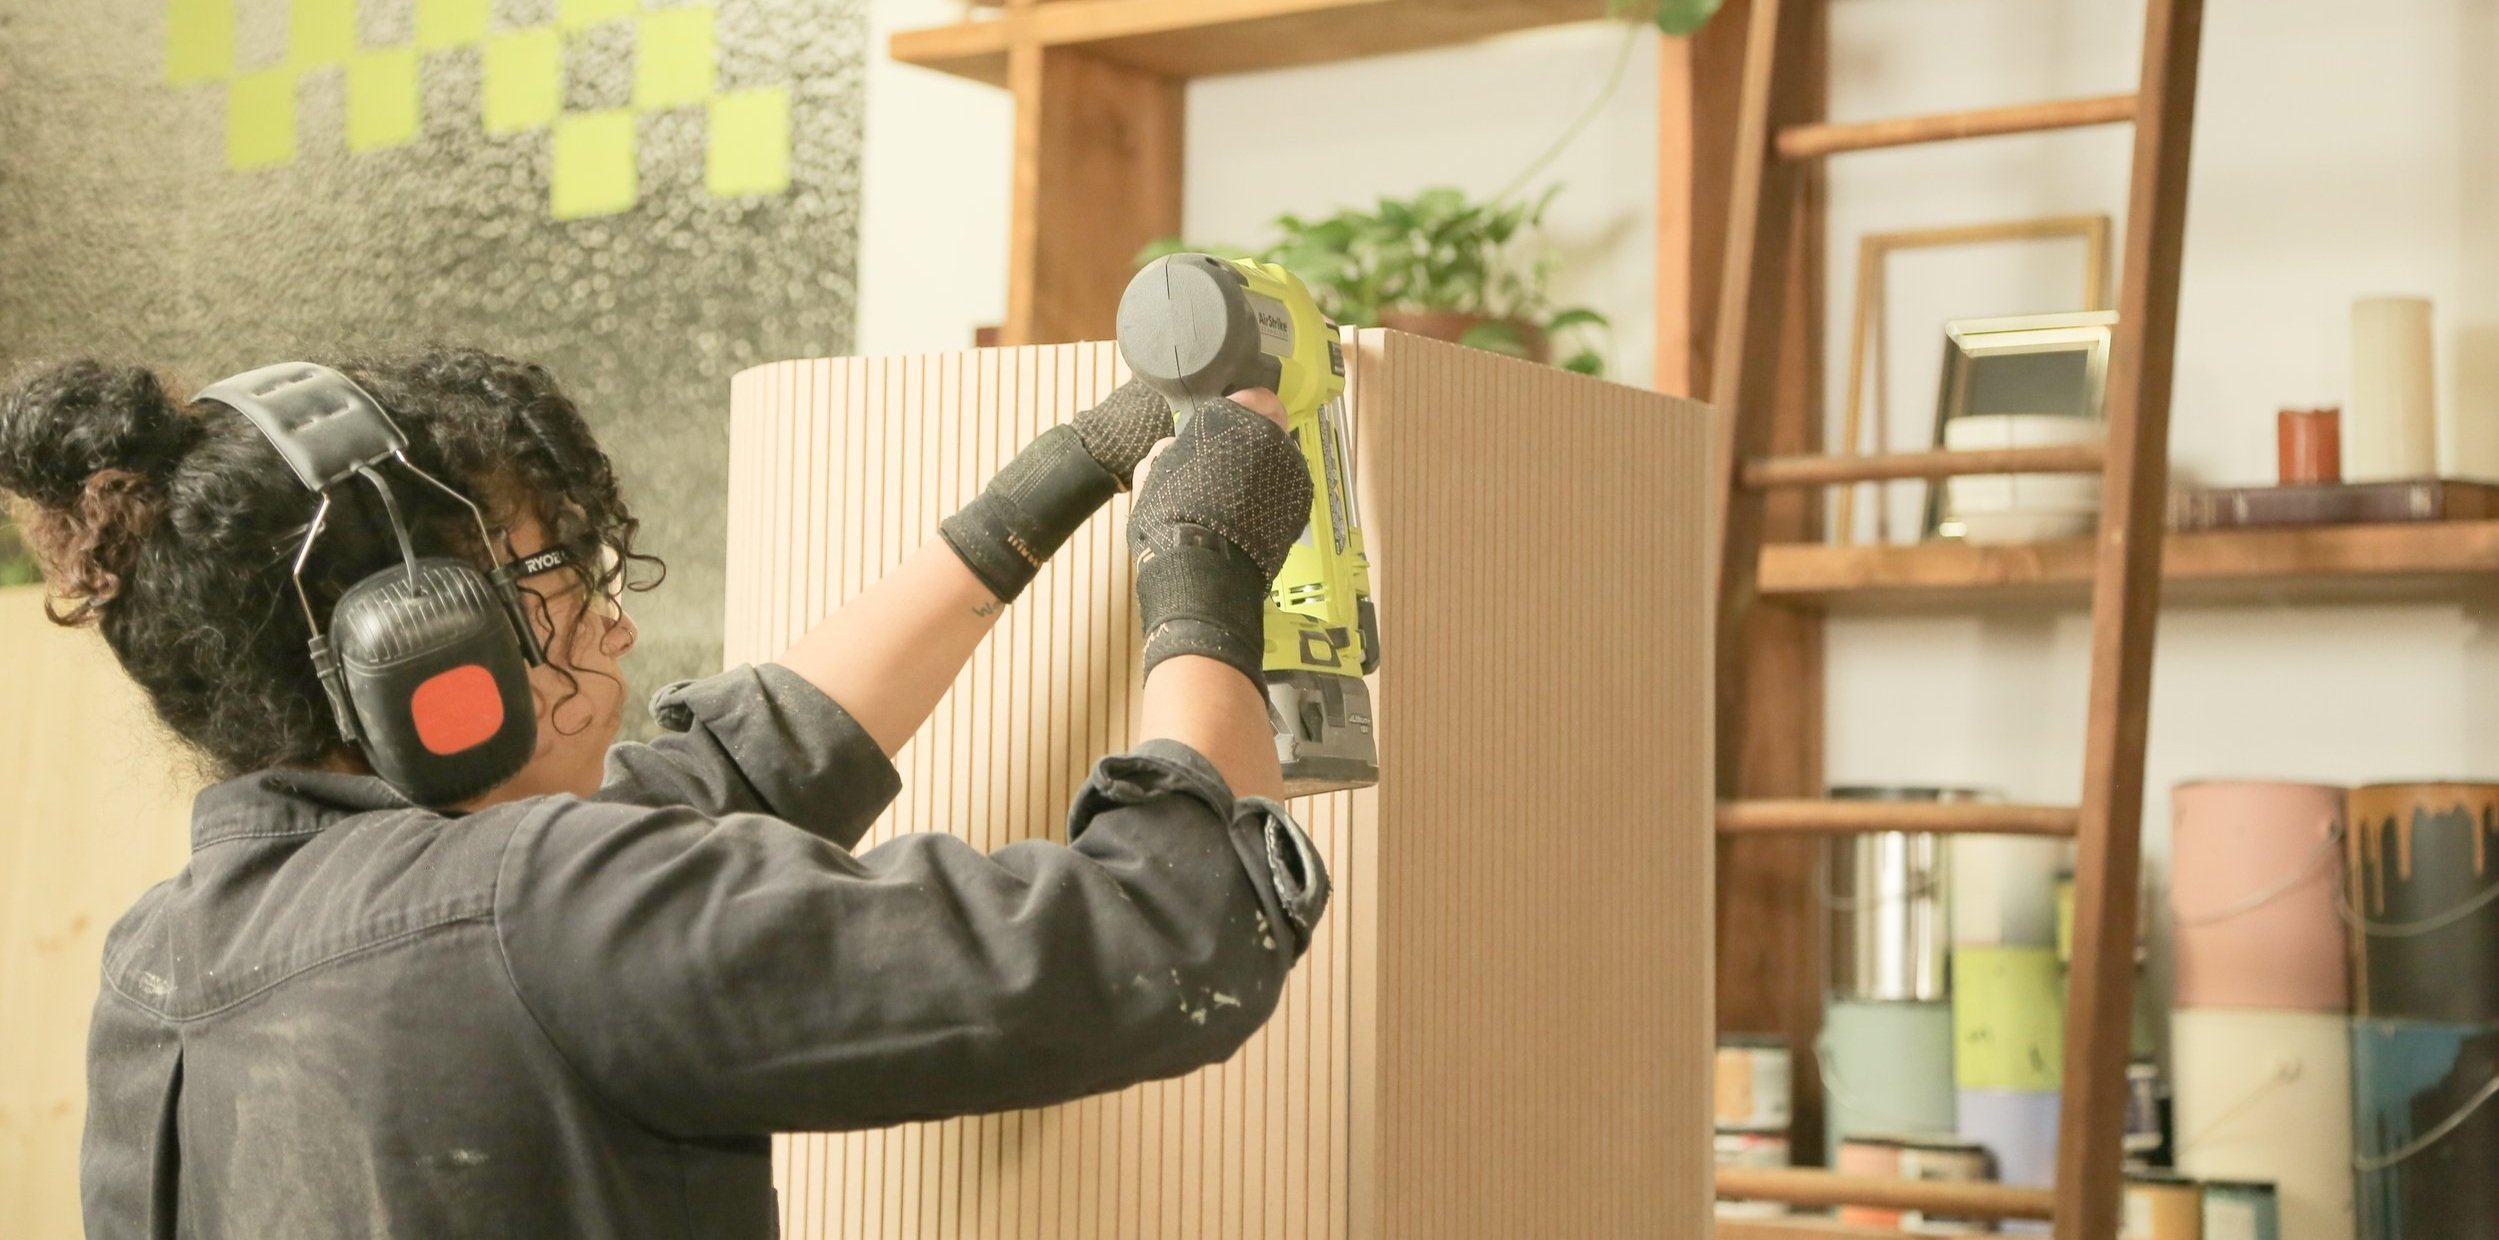
Step 7: Wrapping with Fluted Pole Wrap
Roll your pole wrap and cut to the height of your cabinet. Add wood glue to your cabinet structure and then carefully wrap your fluted pole wrap around, using a pin nailer as you go (you can use a brad nailer, but you will have to go back and fill all the holes with wood filler for a seamless look). Once you reach the edge of the side panel, cut any excess pole wrap with a utility knife.
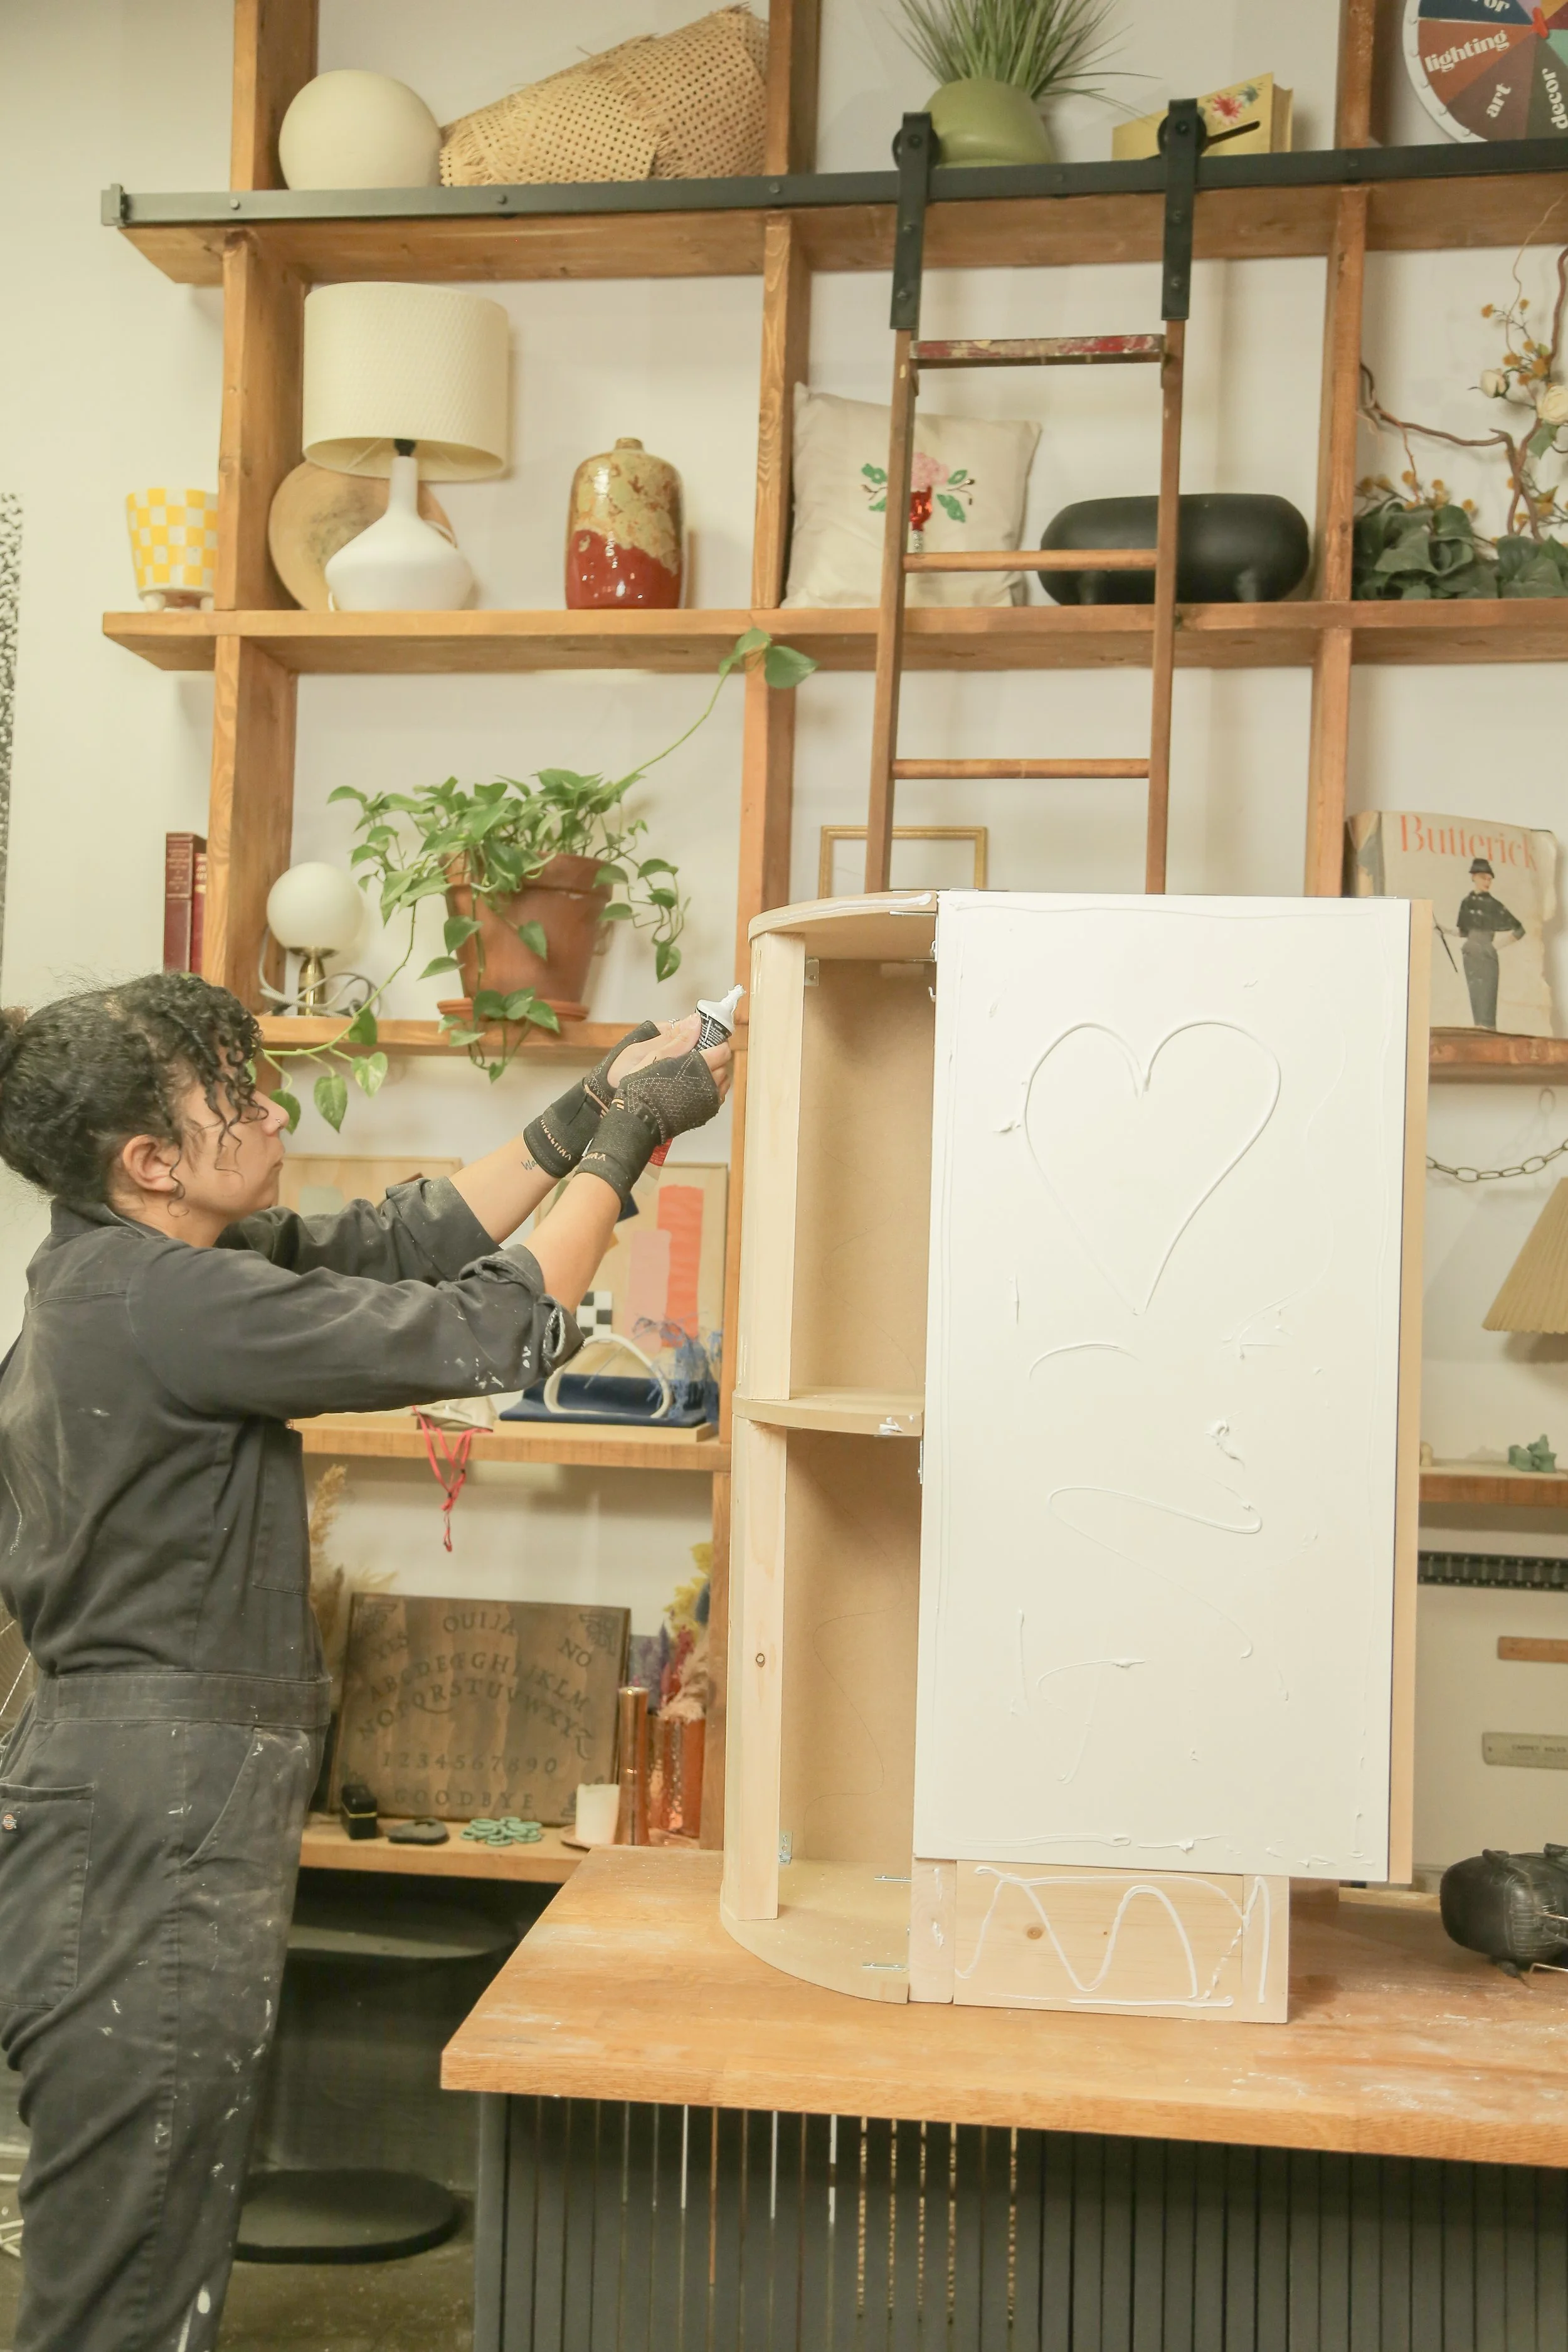
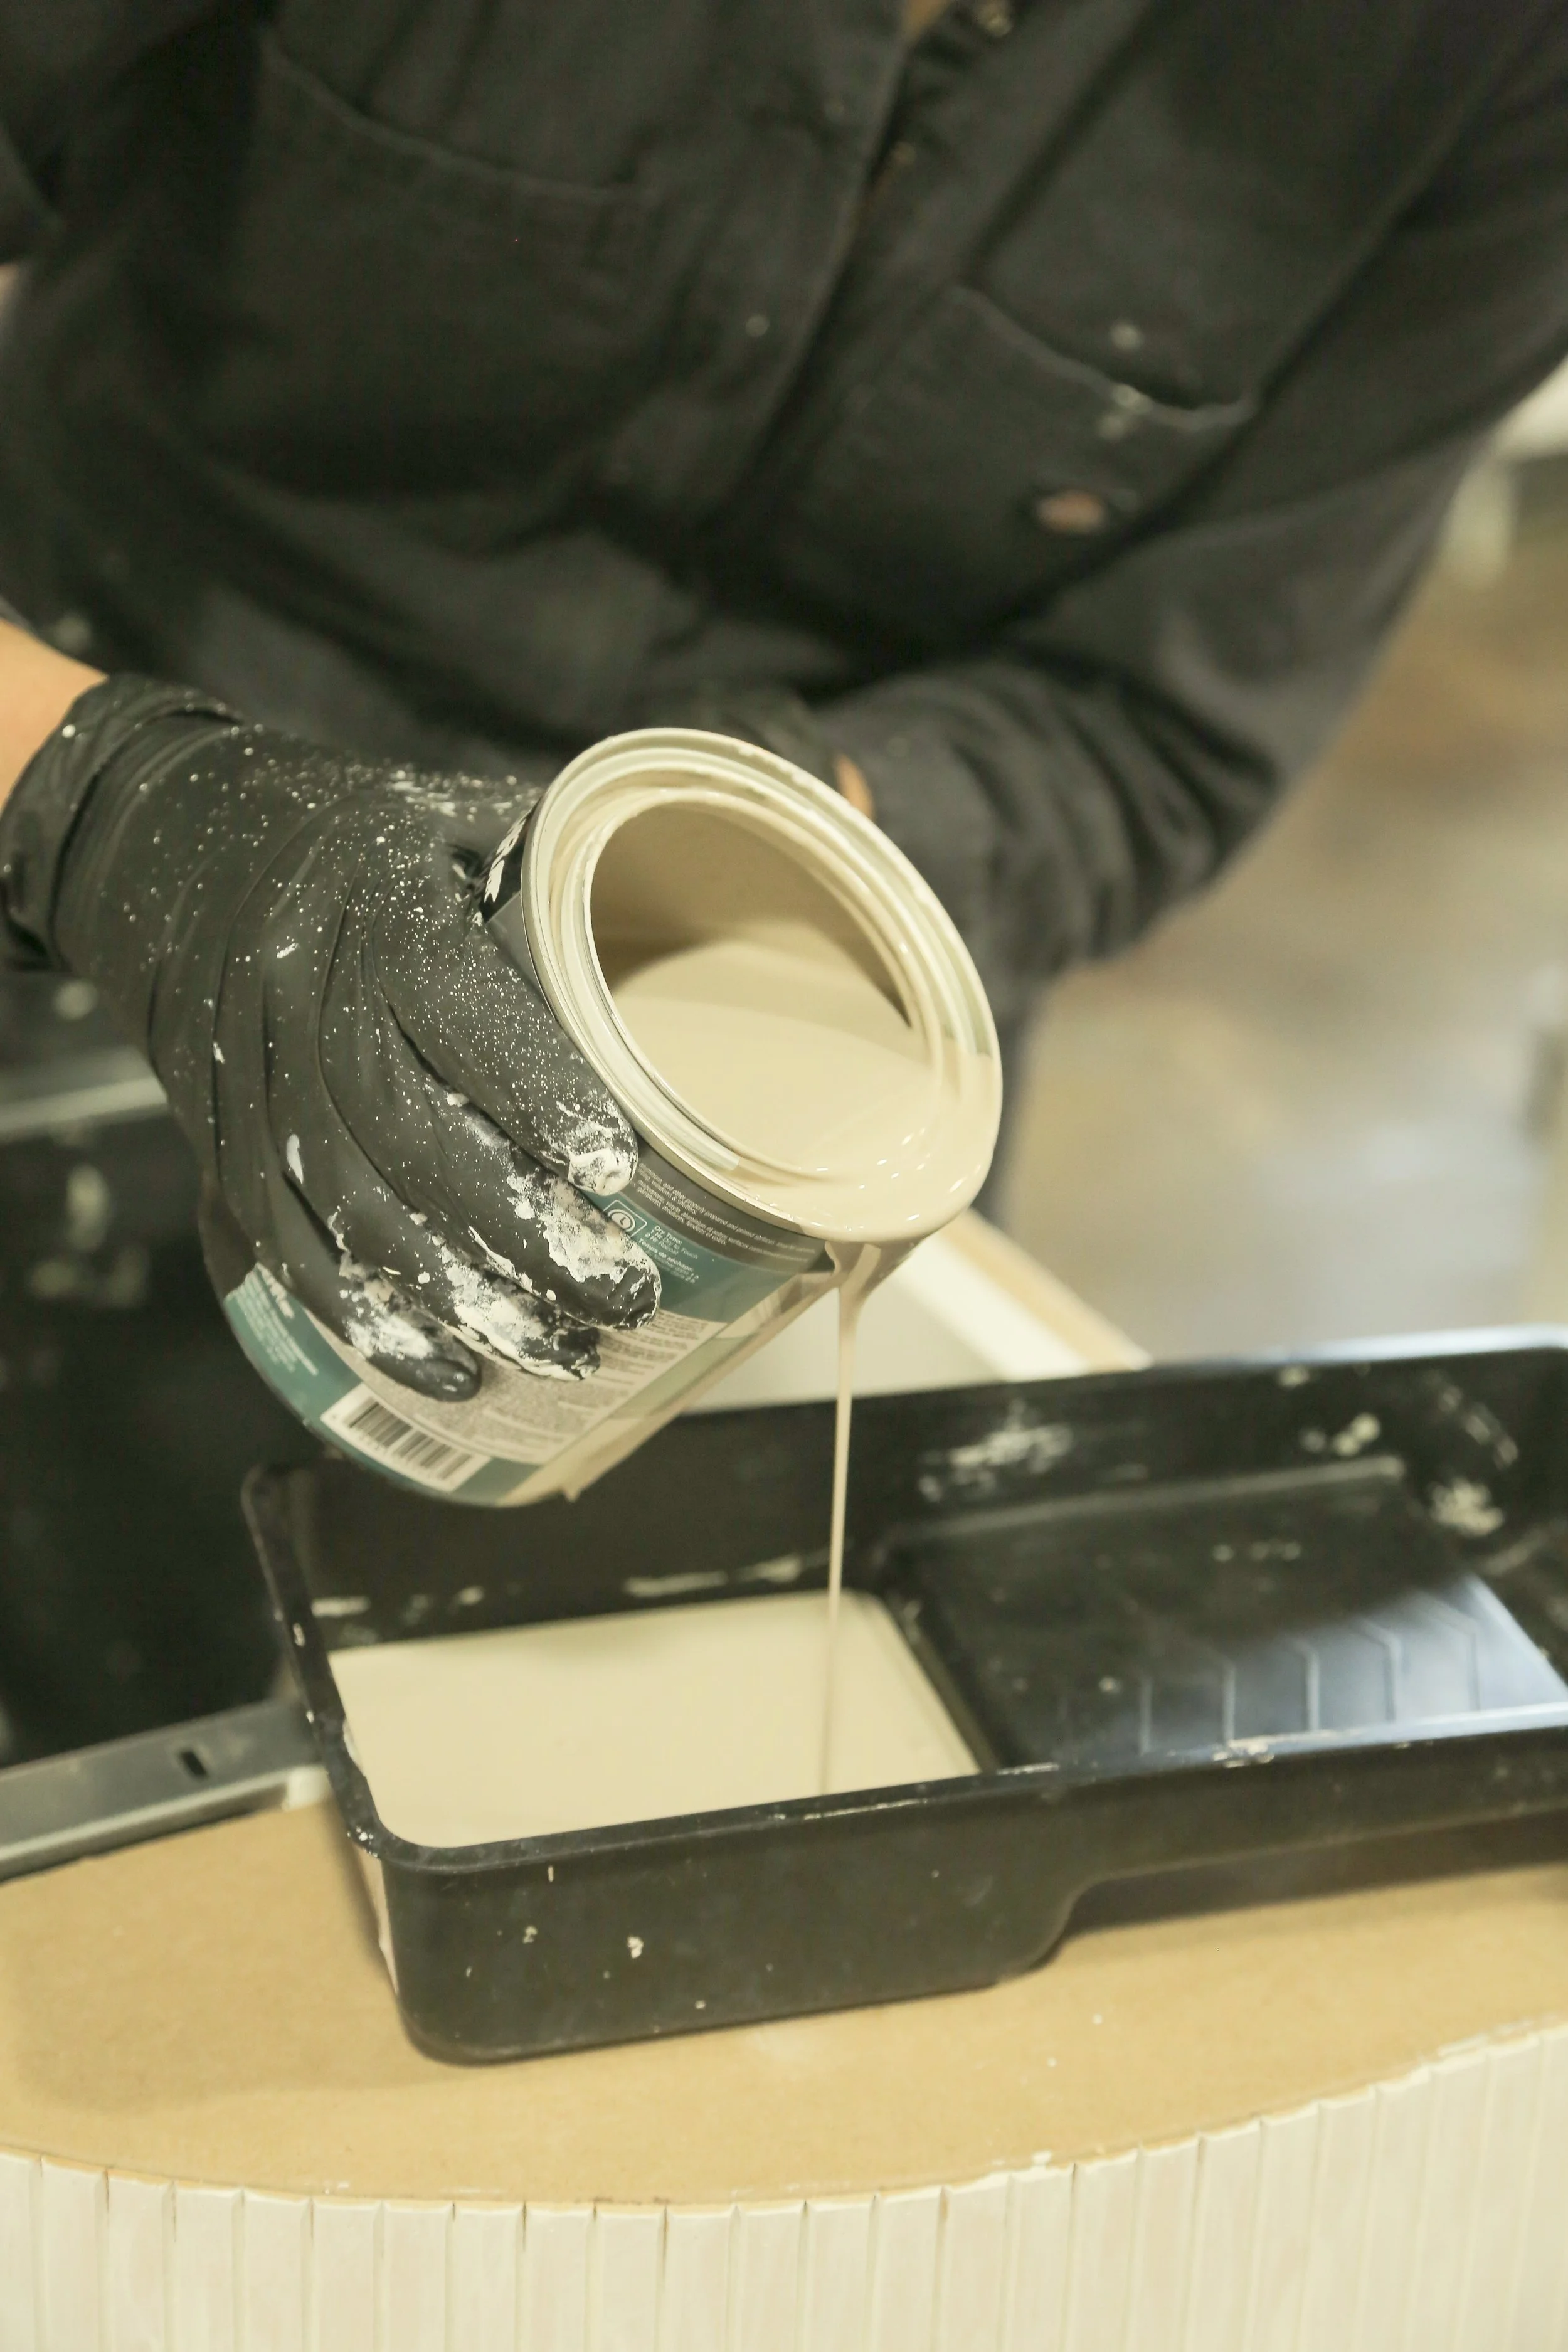
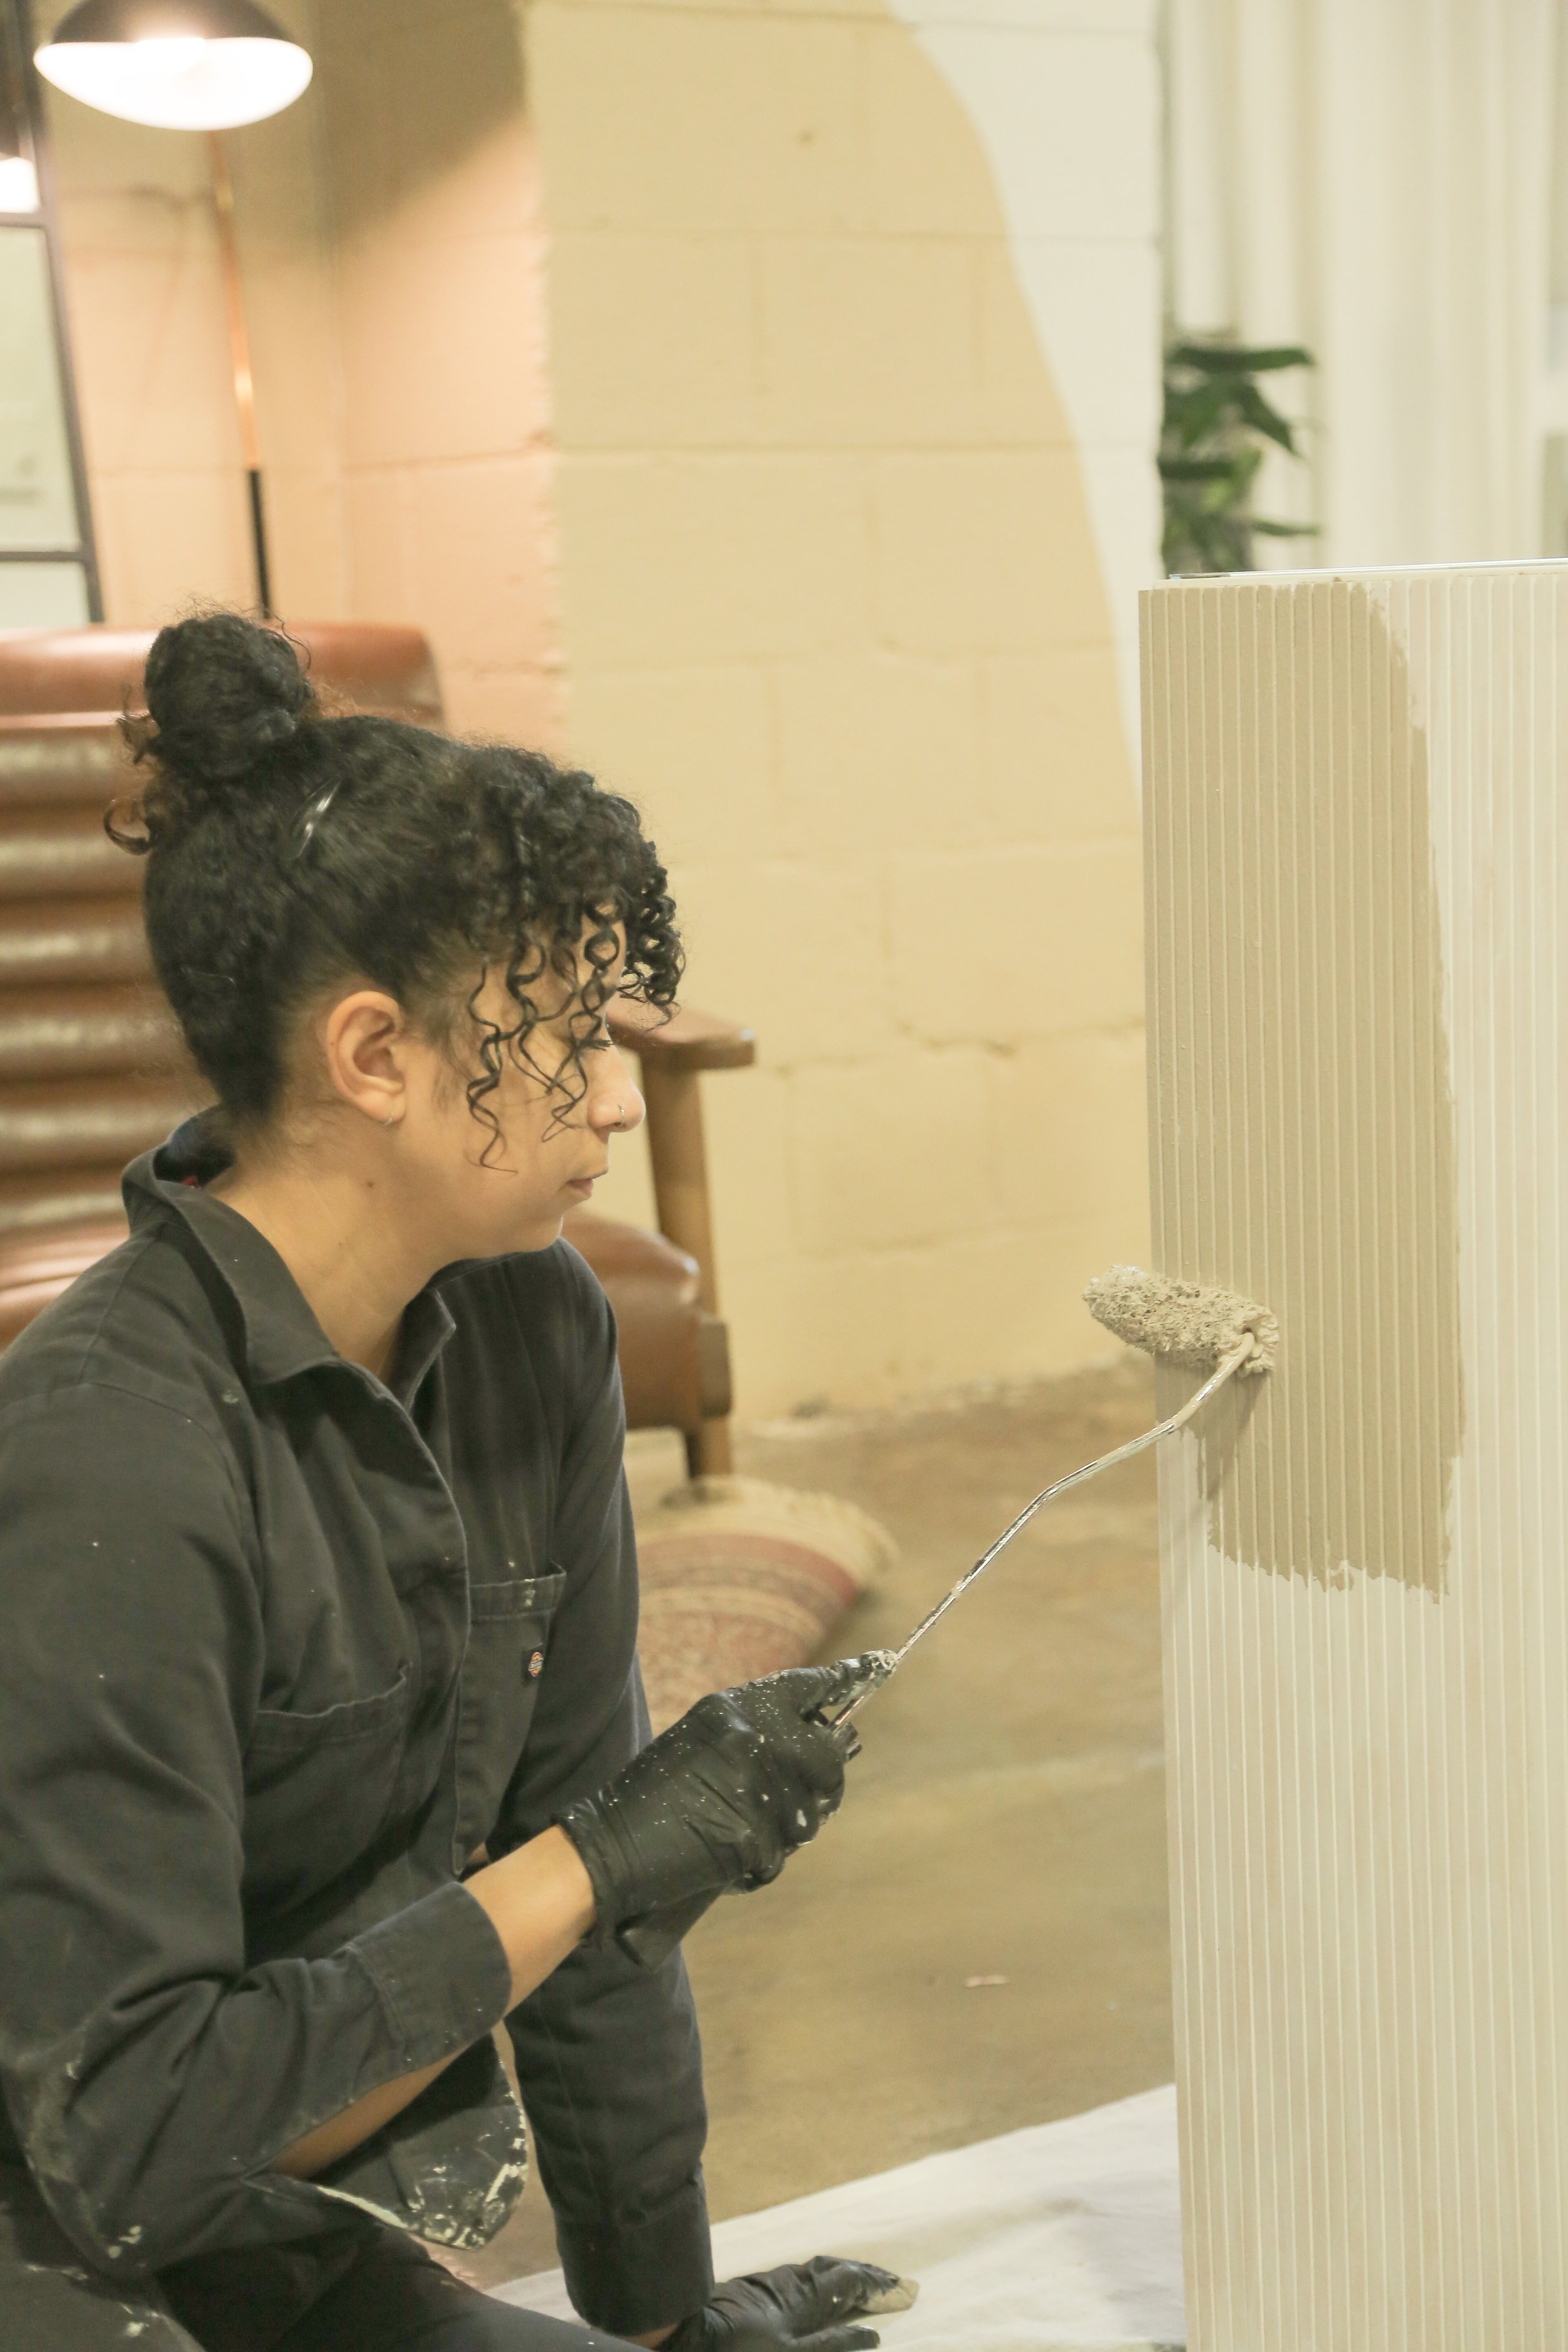
Step 8: Finishing Touches
With the main structure of your island complete, it's time to add the finishing touches. Prime and paint the cabinets and side panels to match your kitchen decor, and install any handles or knobs that you’d like. For the smoothest finish, we recommend an oil-based or shellac primer on MDF.
Butcher Block Tabletop
Step 1: Choose Your Lumber
To make this look as seamless as possible, choose your 2x6x8 lumber carefully, buying the straightest, best-looking boards. For the cleanest look, run all the boards through the planer to achieve a perfectly uniform thickness and cut off all the rounded edges to ensure a smooth and flush fit.


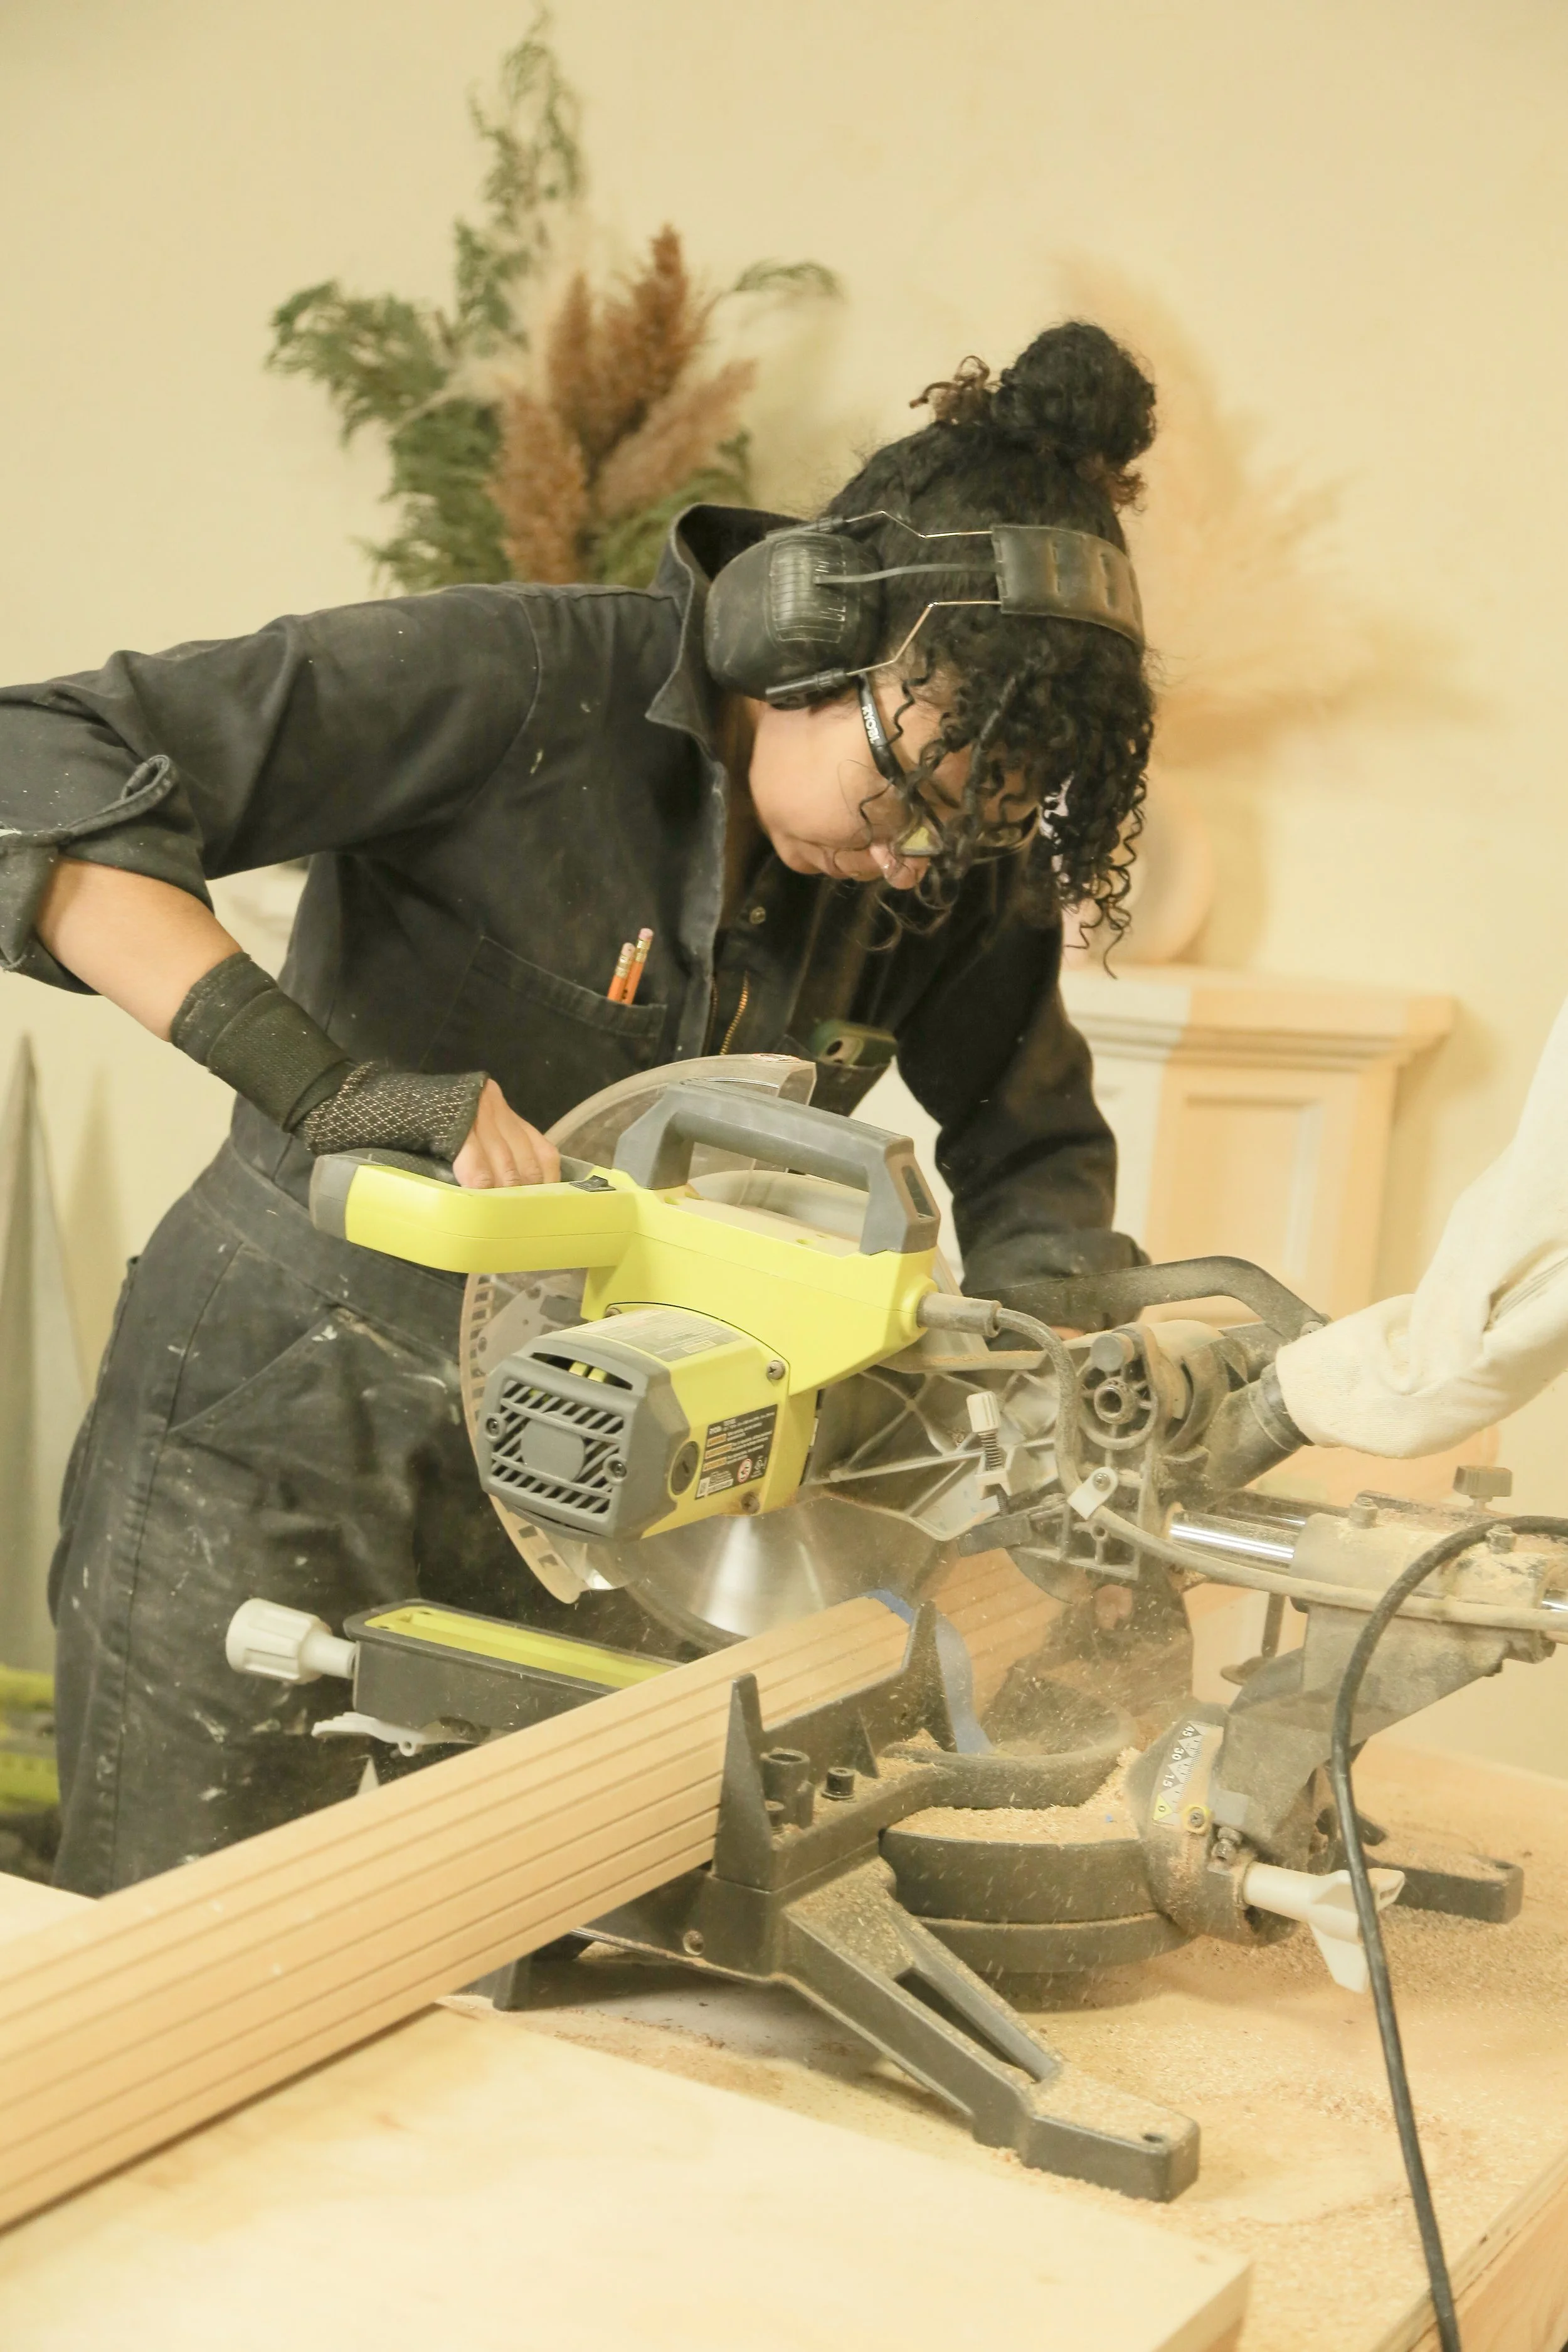
Step 2: Cut To Size
Cut your lumber to the rough length that works for your dimensions. I cut mine to 72 inches each.
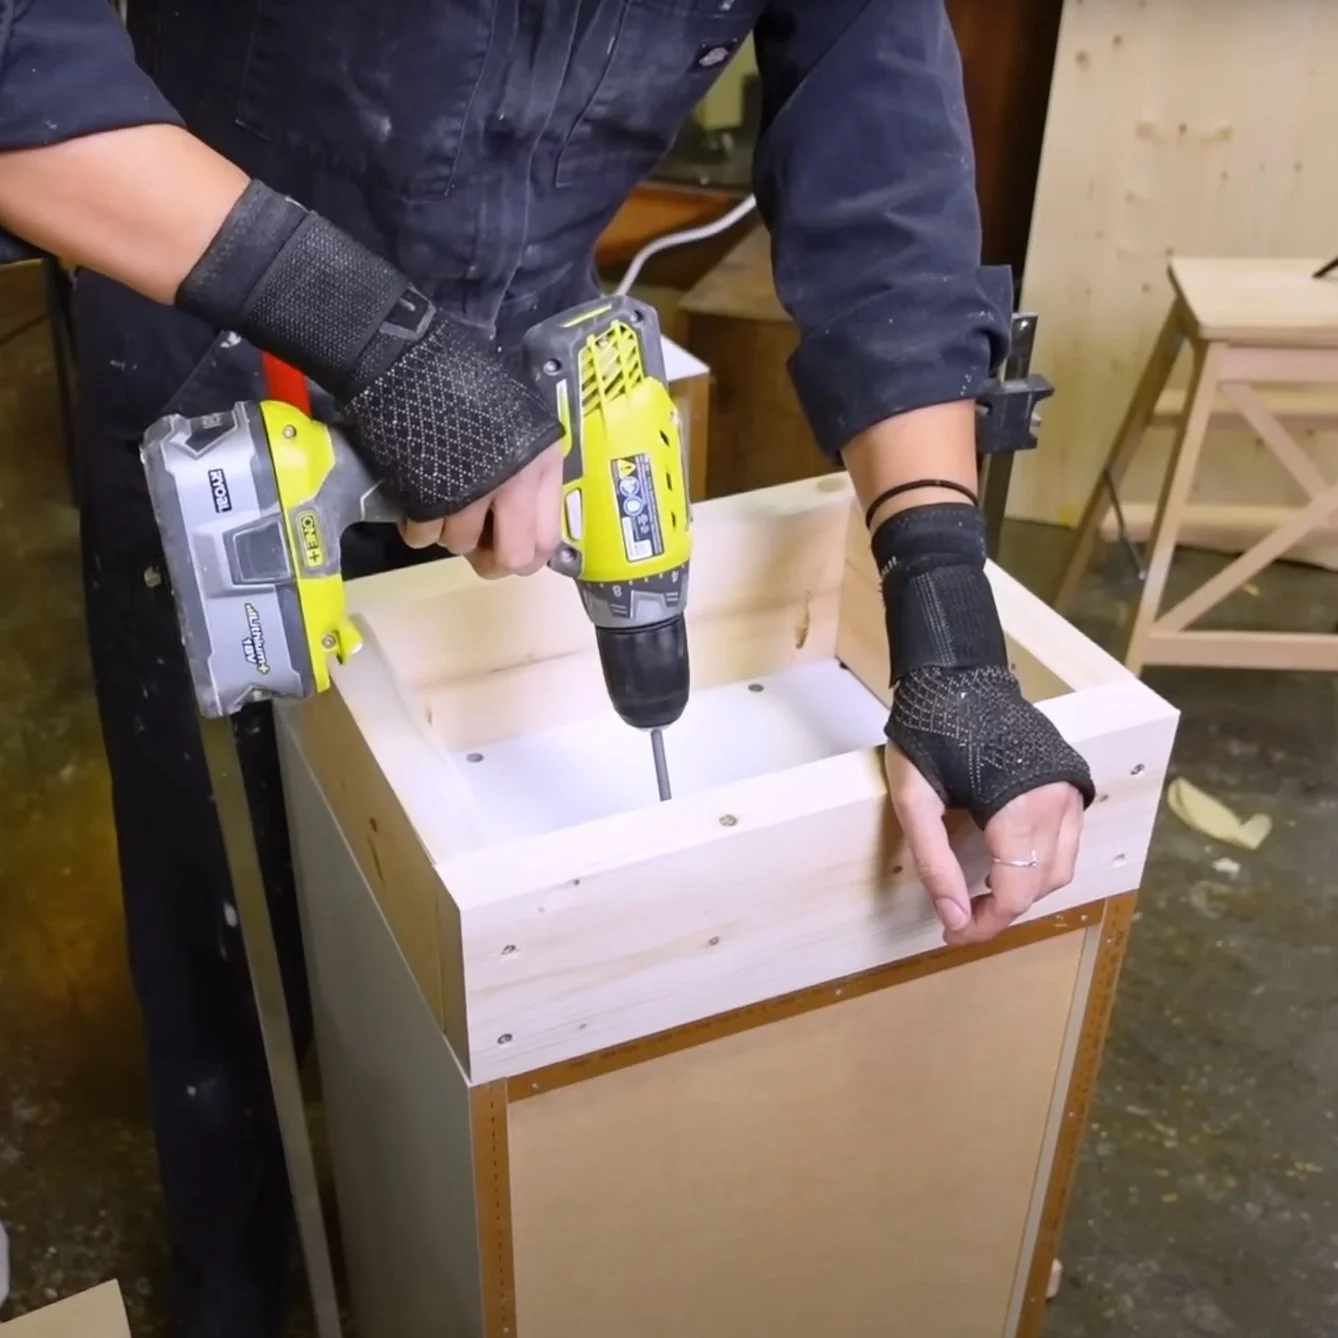
Step 3: Drill Pocket Holes
To make sure the wood comes together as tightly as possible, you will need to drill pocket holes. Arrange your lumber in the desired pattern you would like them to be attached. Mark 3” in for your first pocket hole and then add pocket holes down the length of your lumber 6 inches apart until you reach the end of each piece.

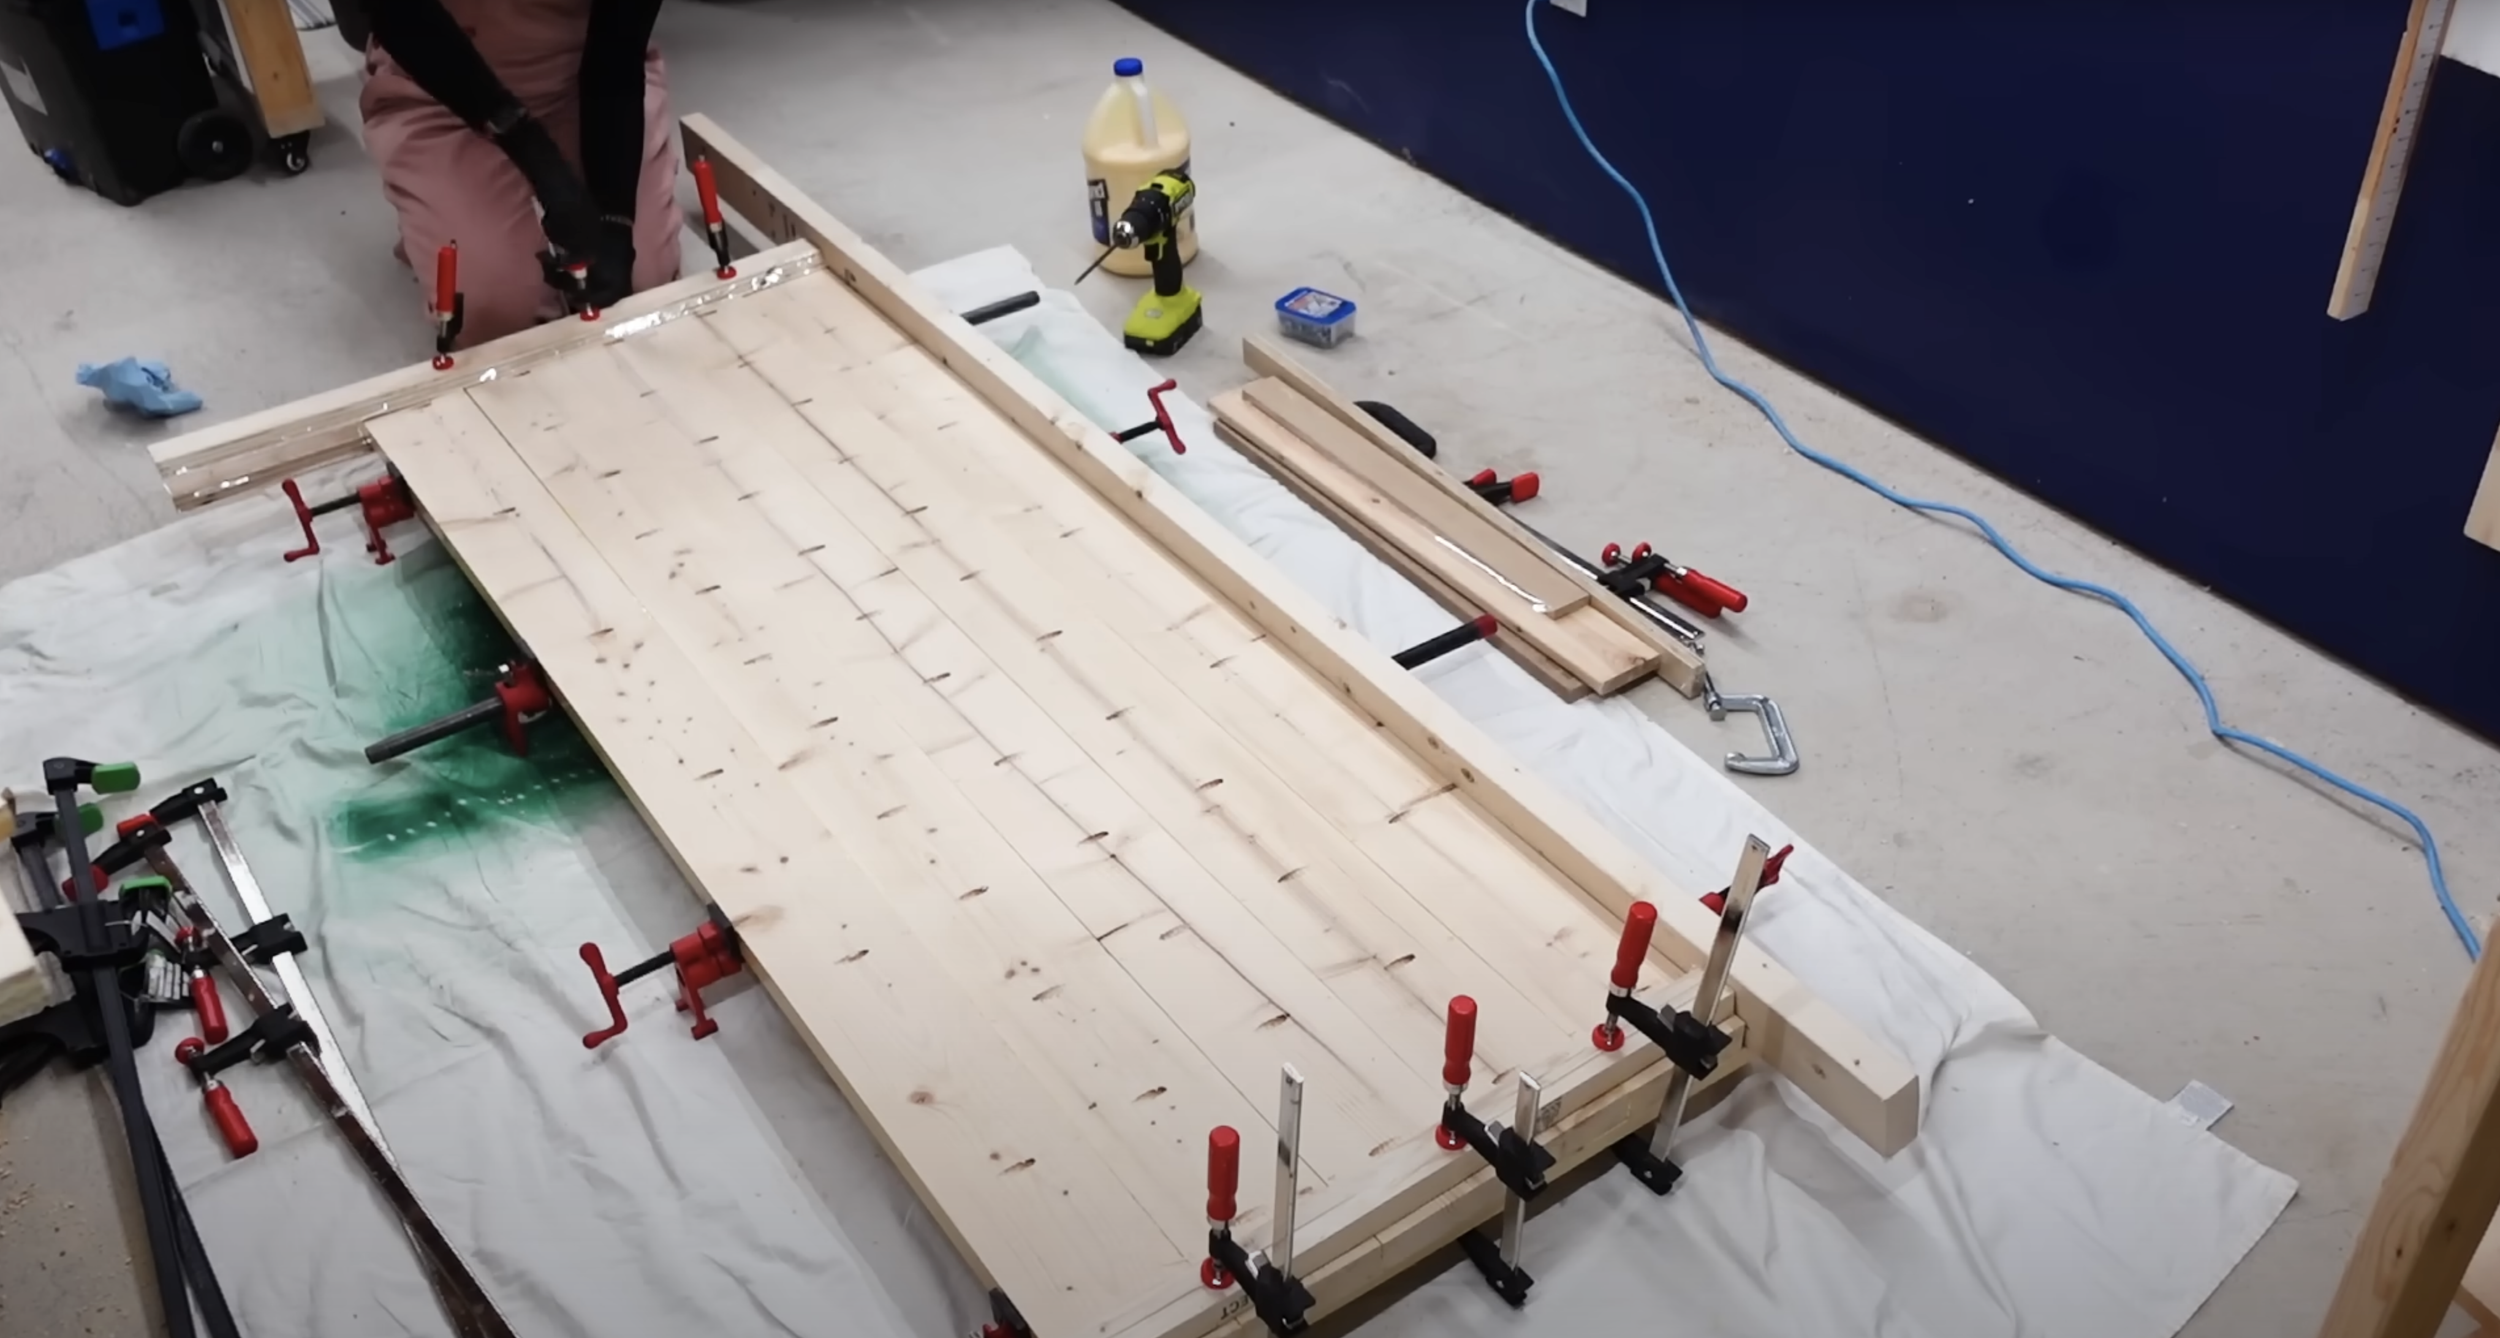
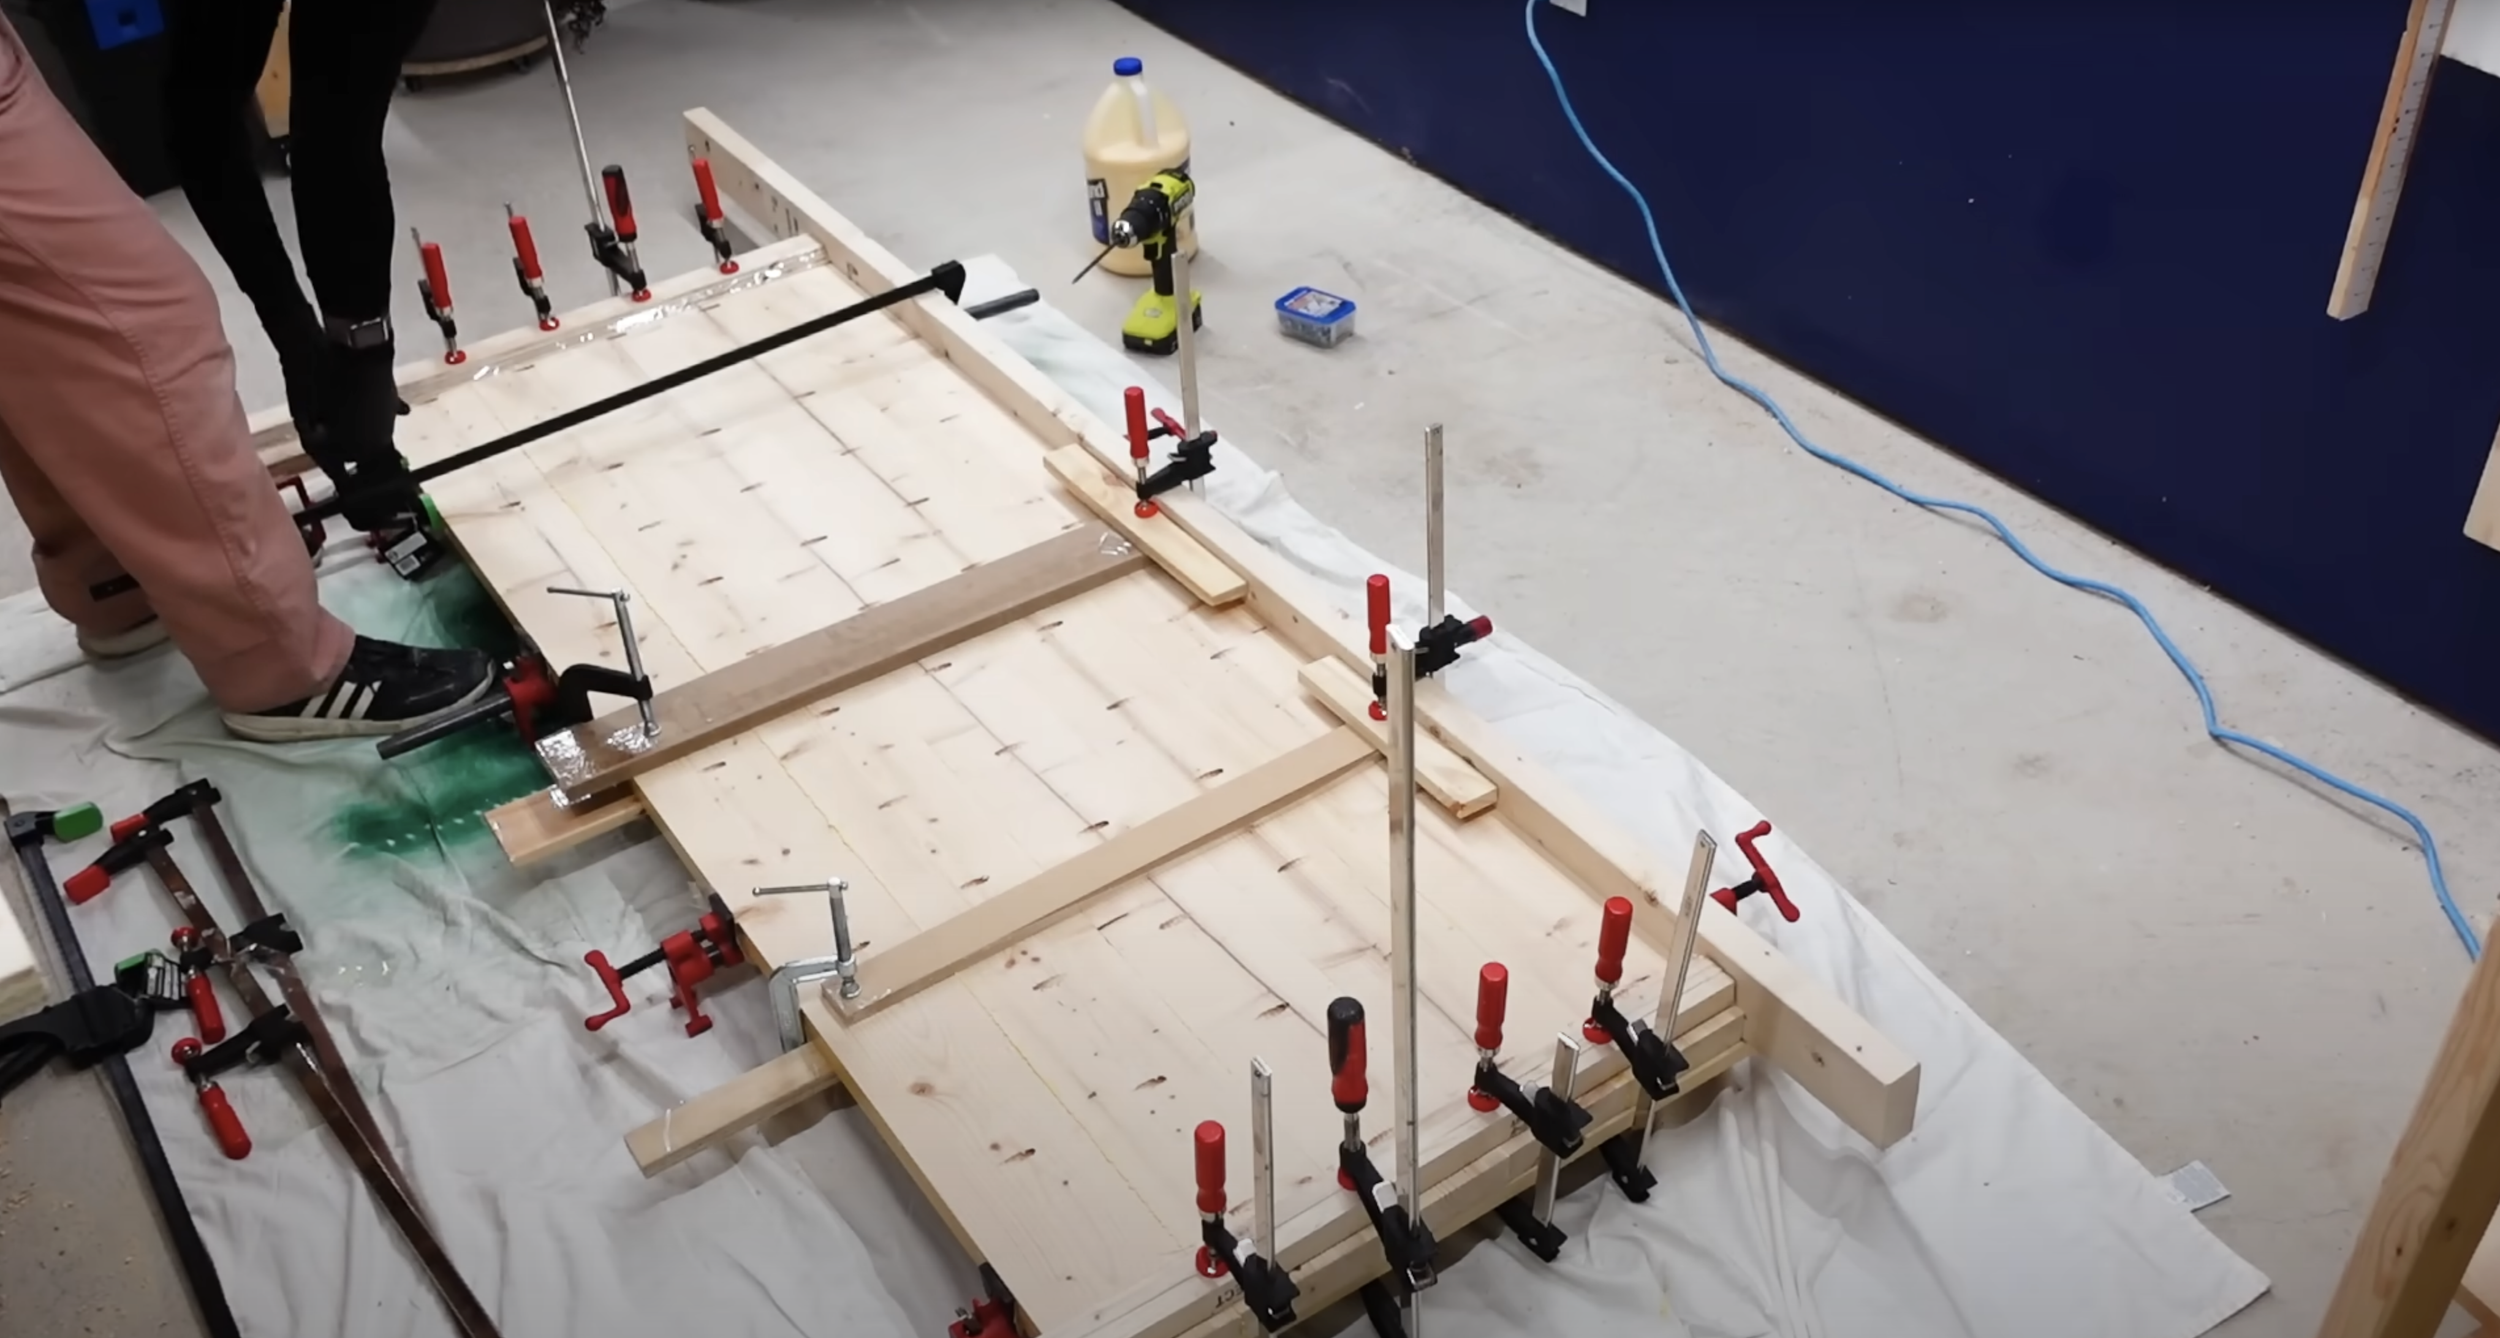
Step 4: Glue, Clamp and Screw
Once all the pocket holes are drilled, apply wood glue along each edge of your lumber, and lay them side-by-side. Clamp the planks tightly together as they dry. Once your clamps are as tight as possible, drive in your 2” pockets screws into all your previously made holes. Let your wood glue completely dry.

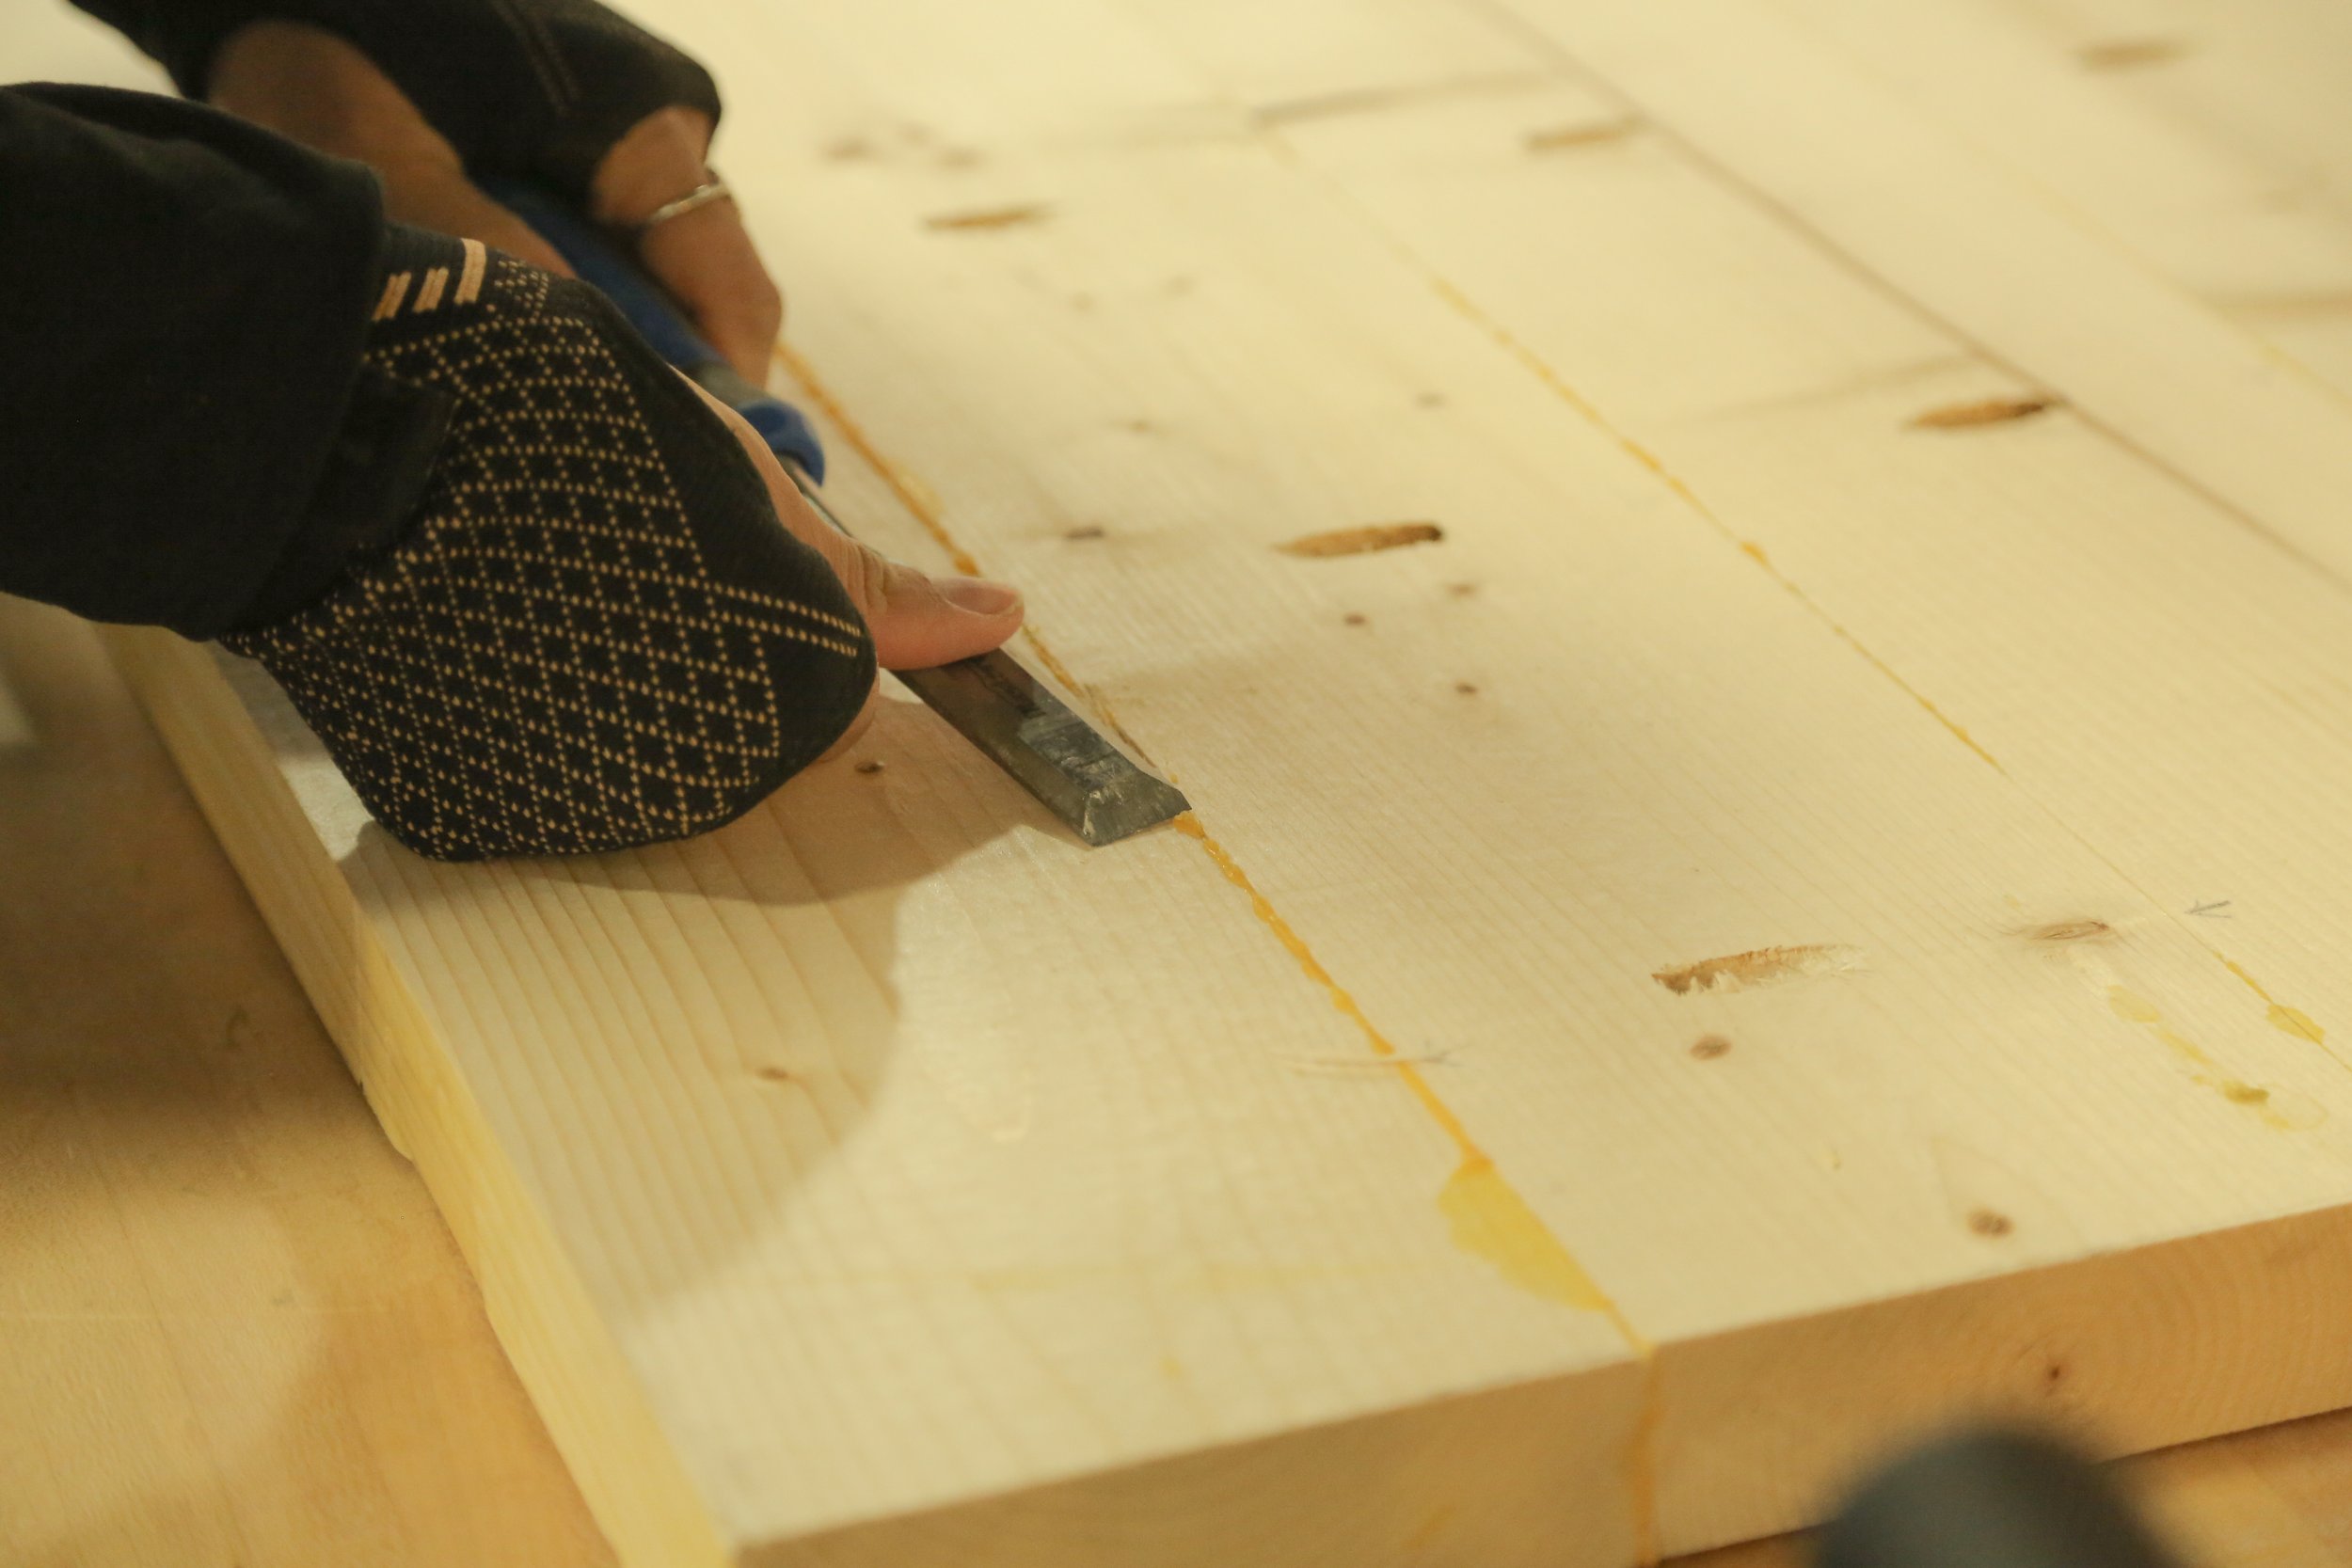
Step 5: Smoothing Out The Tabletop
Once the glue has dried, remove any glue squeeze-out (I used a hand plane for this) and sand the tabletop to create a smooth surface. Optionally, you can fill in your pocket holes with premade plugs, wood filler or ⅜” dowels that are cut to size, glued in and cut off with a flush cut saw.
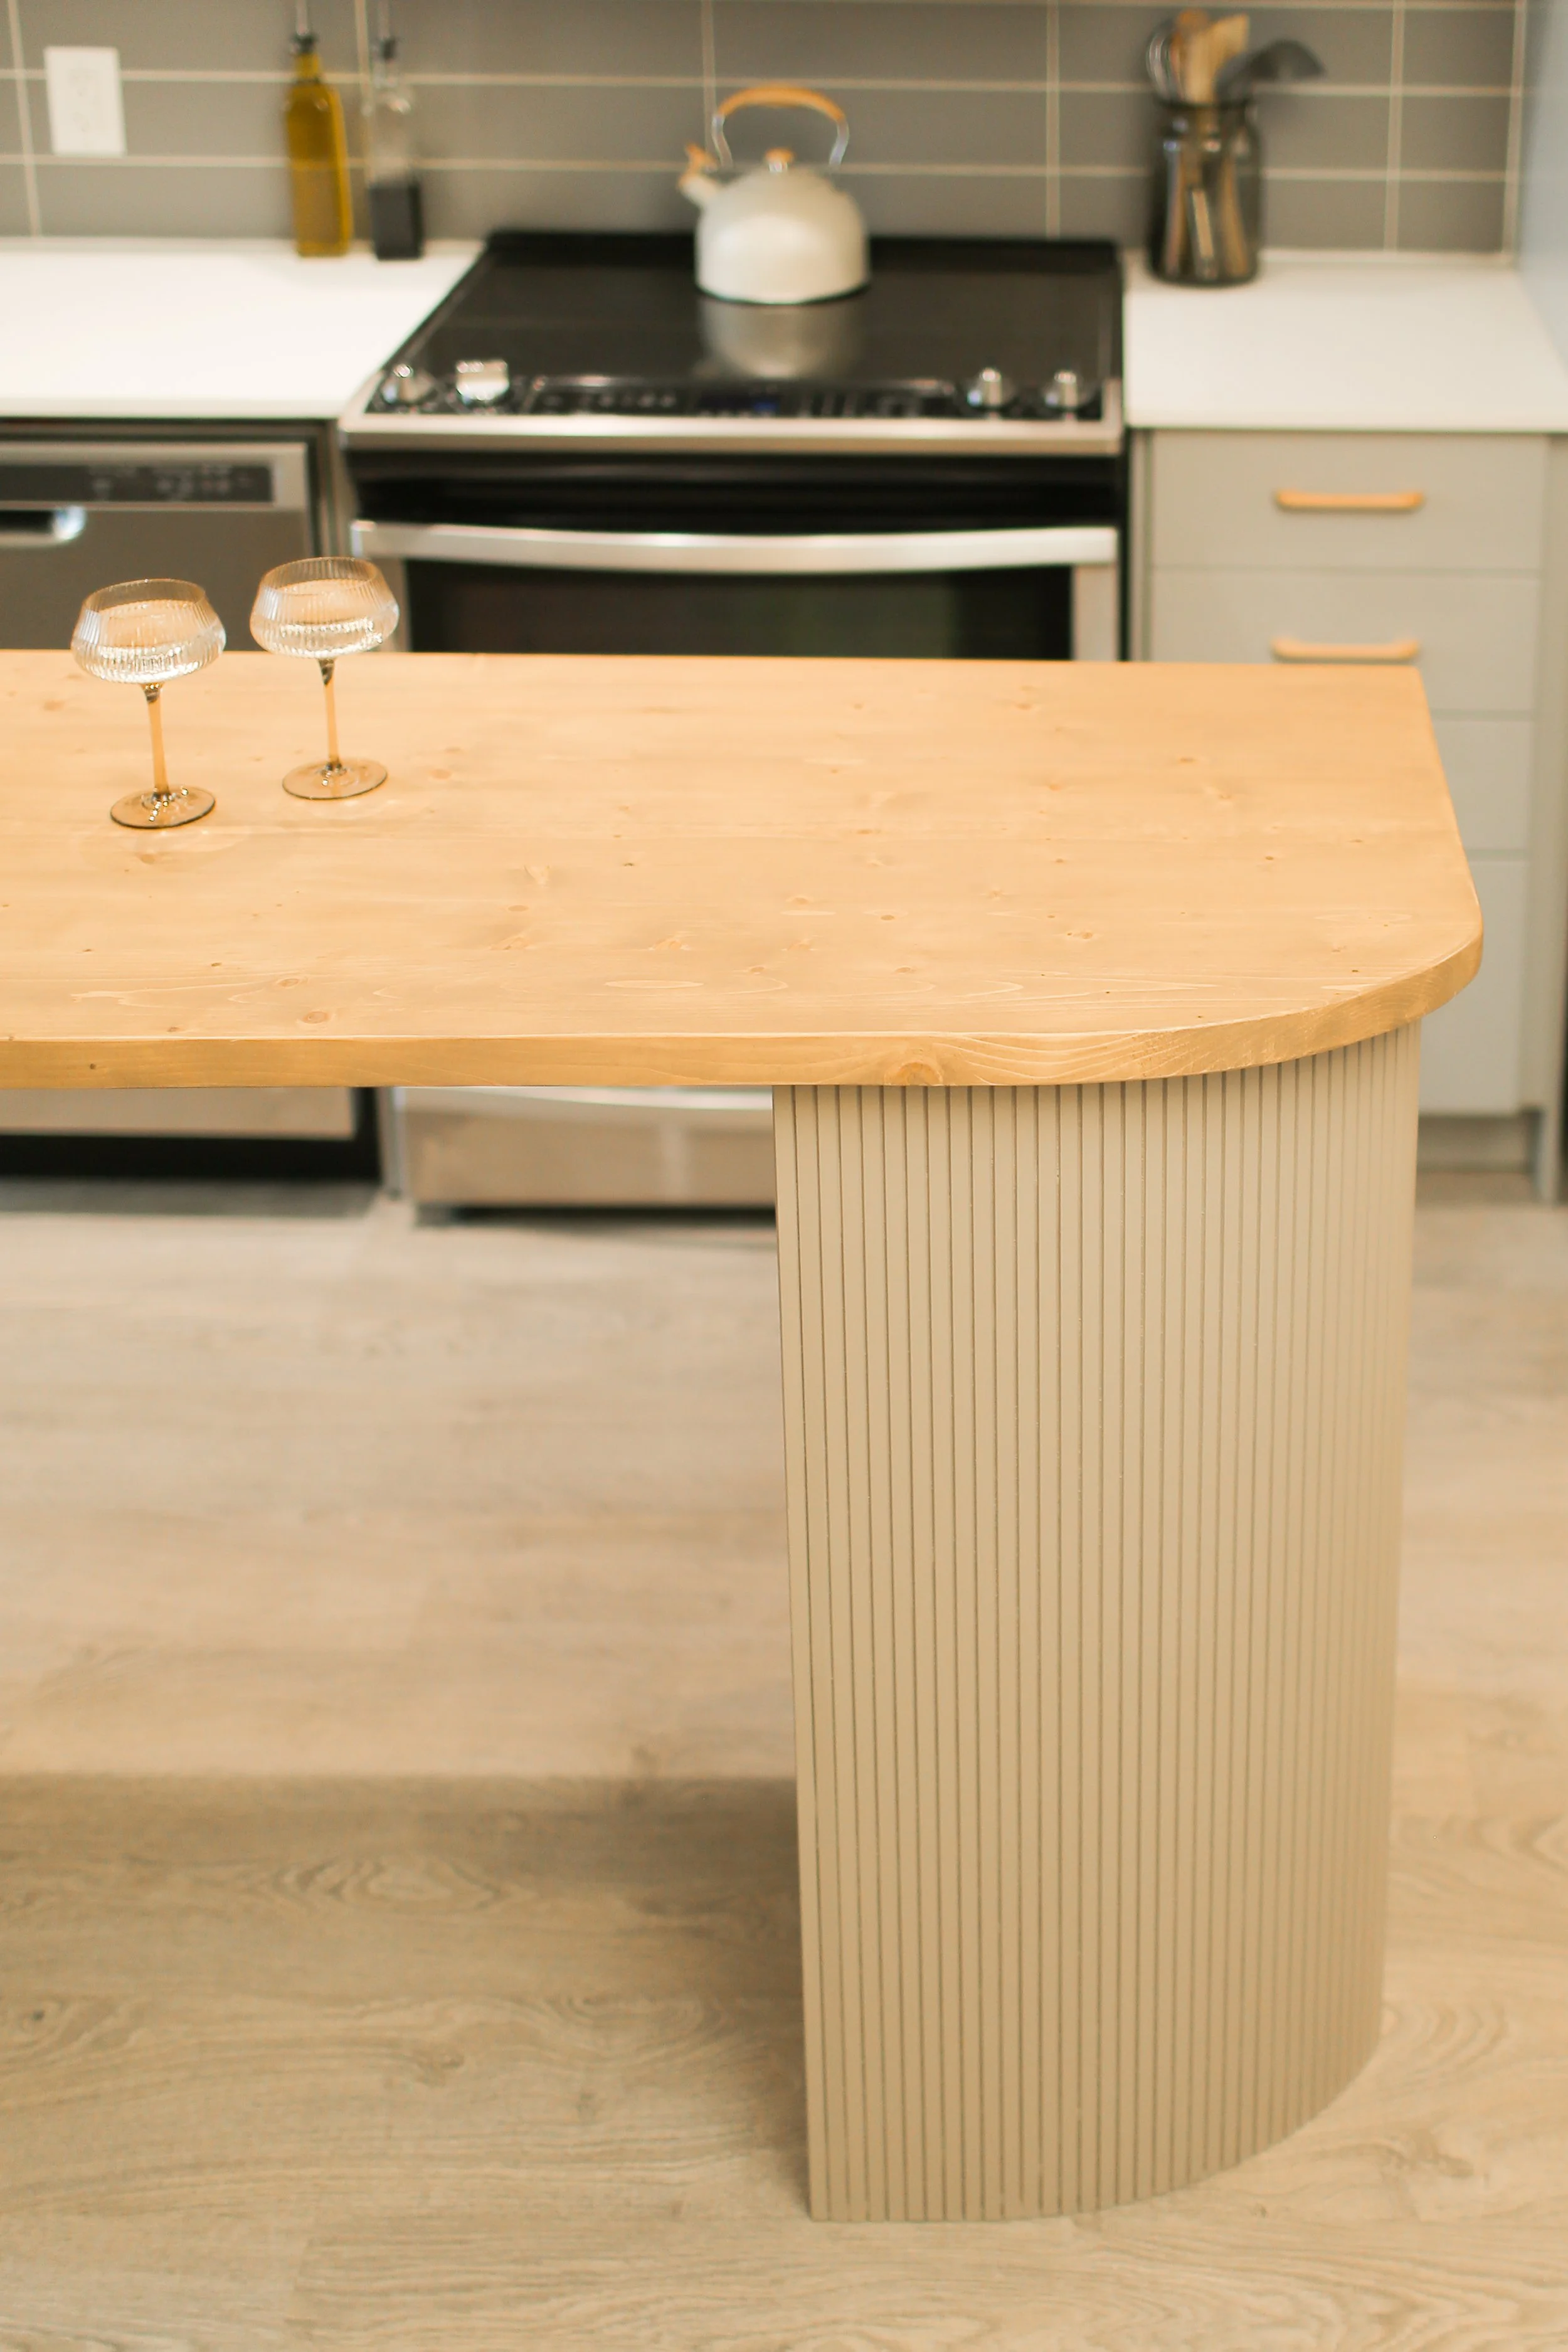
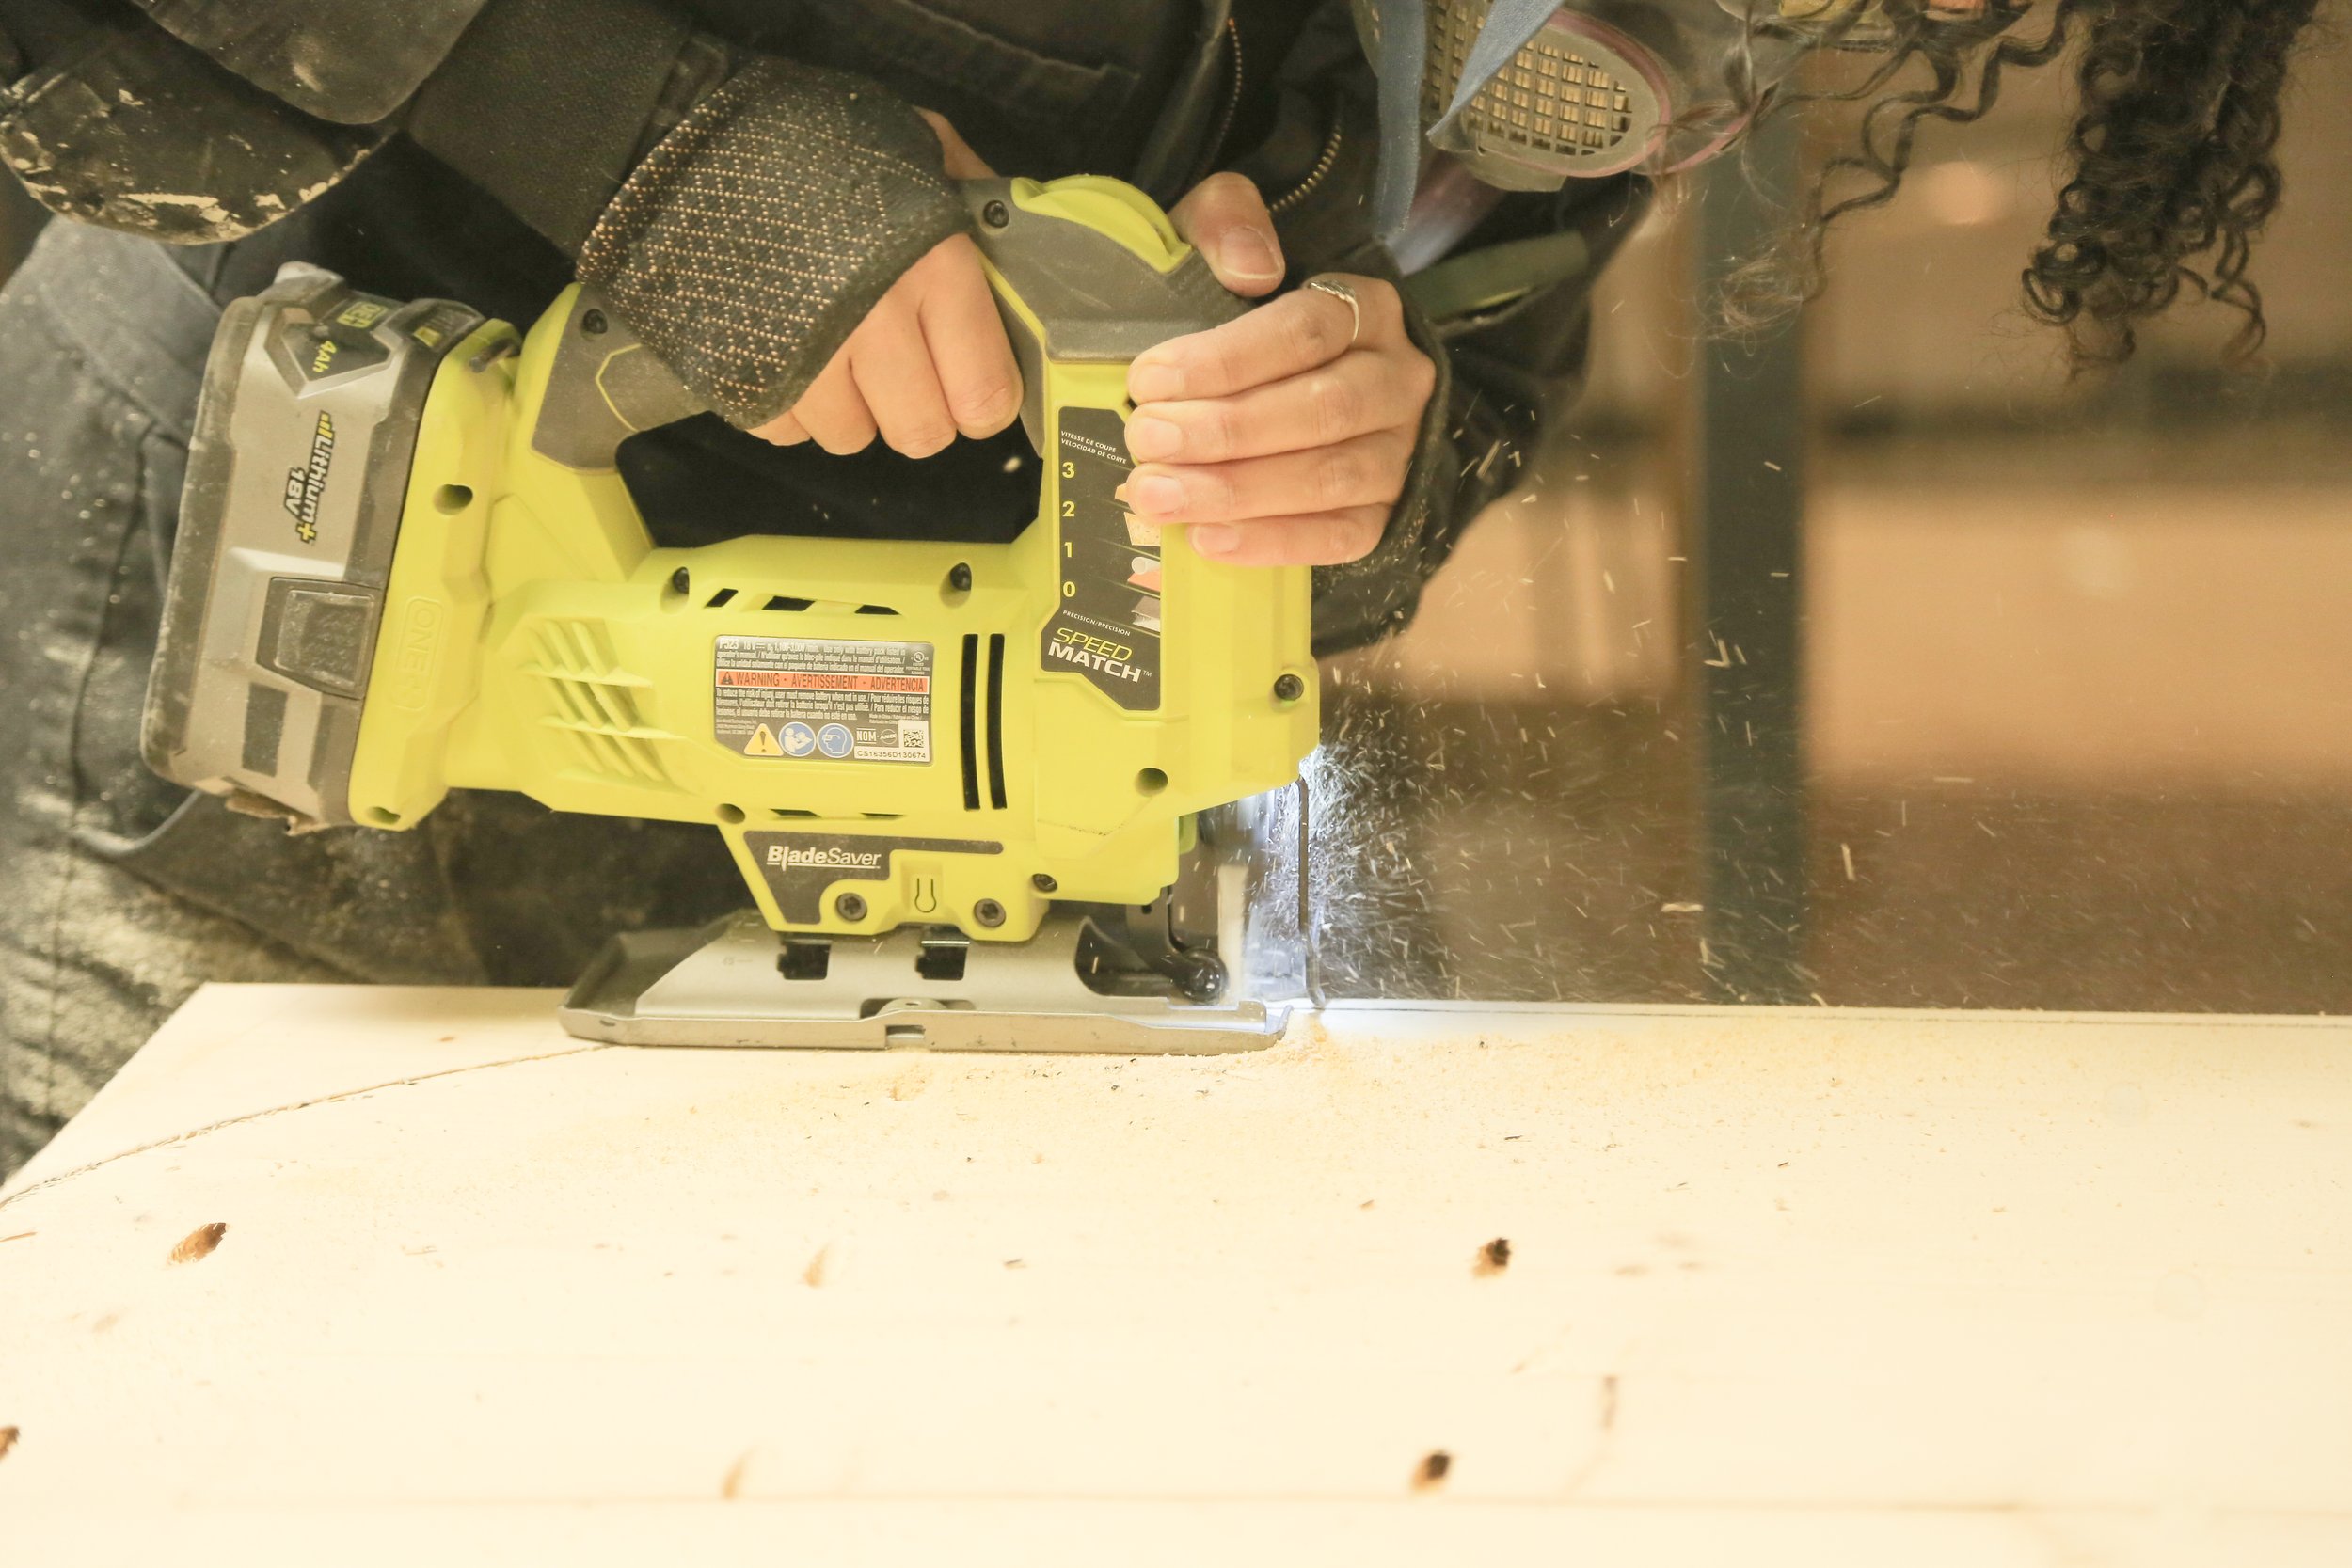
Step 6: Cut Out the Curve
At this point you’re ready to cut your curve. Use the same curve you cut for your supports in the Kitchen Island Legs as a guide to mark the line of the curve you would like to follow and using a jigsaw, carefully cut along your marked line (I used a circular saw for the straight edges because it was faster and cleaner on those areas). I ended up with a finished size of 25” x 70”.
Step 7: Stain and Top Coat
Apply a wood conditioner, stain and top coat of your choice.
Remember, you can adapt the steps and measurements based on your specific space requirements.
Happy building!