Wainscotting IKEA Bed Hack
Bed frames can often be extremely expensive - especially the ones that look nice. If you’ve followed us throughout the years, you may have seen a couple different head board DIY’s we have done in the past as alternatives. That being said, when living in a small space, storage is always a concern, and a bed frame can take up a lot of space… especially space that you want to use for storage. Instead of shoving items under your bed, which no matter how hard you try to keep organizes, will eventually become chaos, IKEA has a solution (as always). The “MALM Bed Frame” is a simple bed with built in storage along the bottom. That being said, it’s a pretty plain bed and doesn’t really add anything to a room it’s in - so here’s how I made it look a little more luxe.

Wainscotting
Wainscotting has been around for a very long time, originally made to protect walls or home items from being scuffed and damaged. However, it quickly turned into a symbol of elegance in many homes. To add a little bit of detail to this otherwise plain bed, I am going to be attaching wainscotting along the frame. My bed is a queen sized, so below you can see the measurements I used for the wainscotting on the queen size. This will vary depending on your bed size.

As you can see above, my wainscotting cut list is as follows:
28” (x6)
18” (x3)
36½” (x4)
7½” (x4)
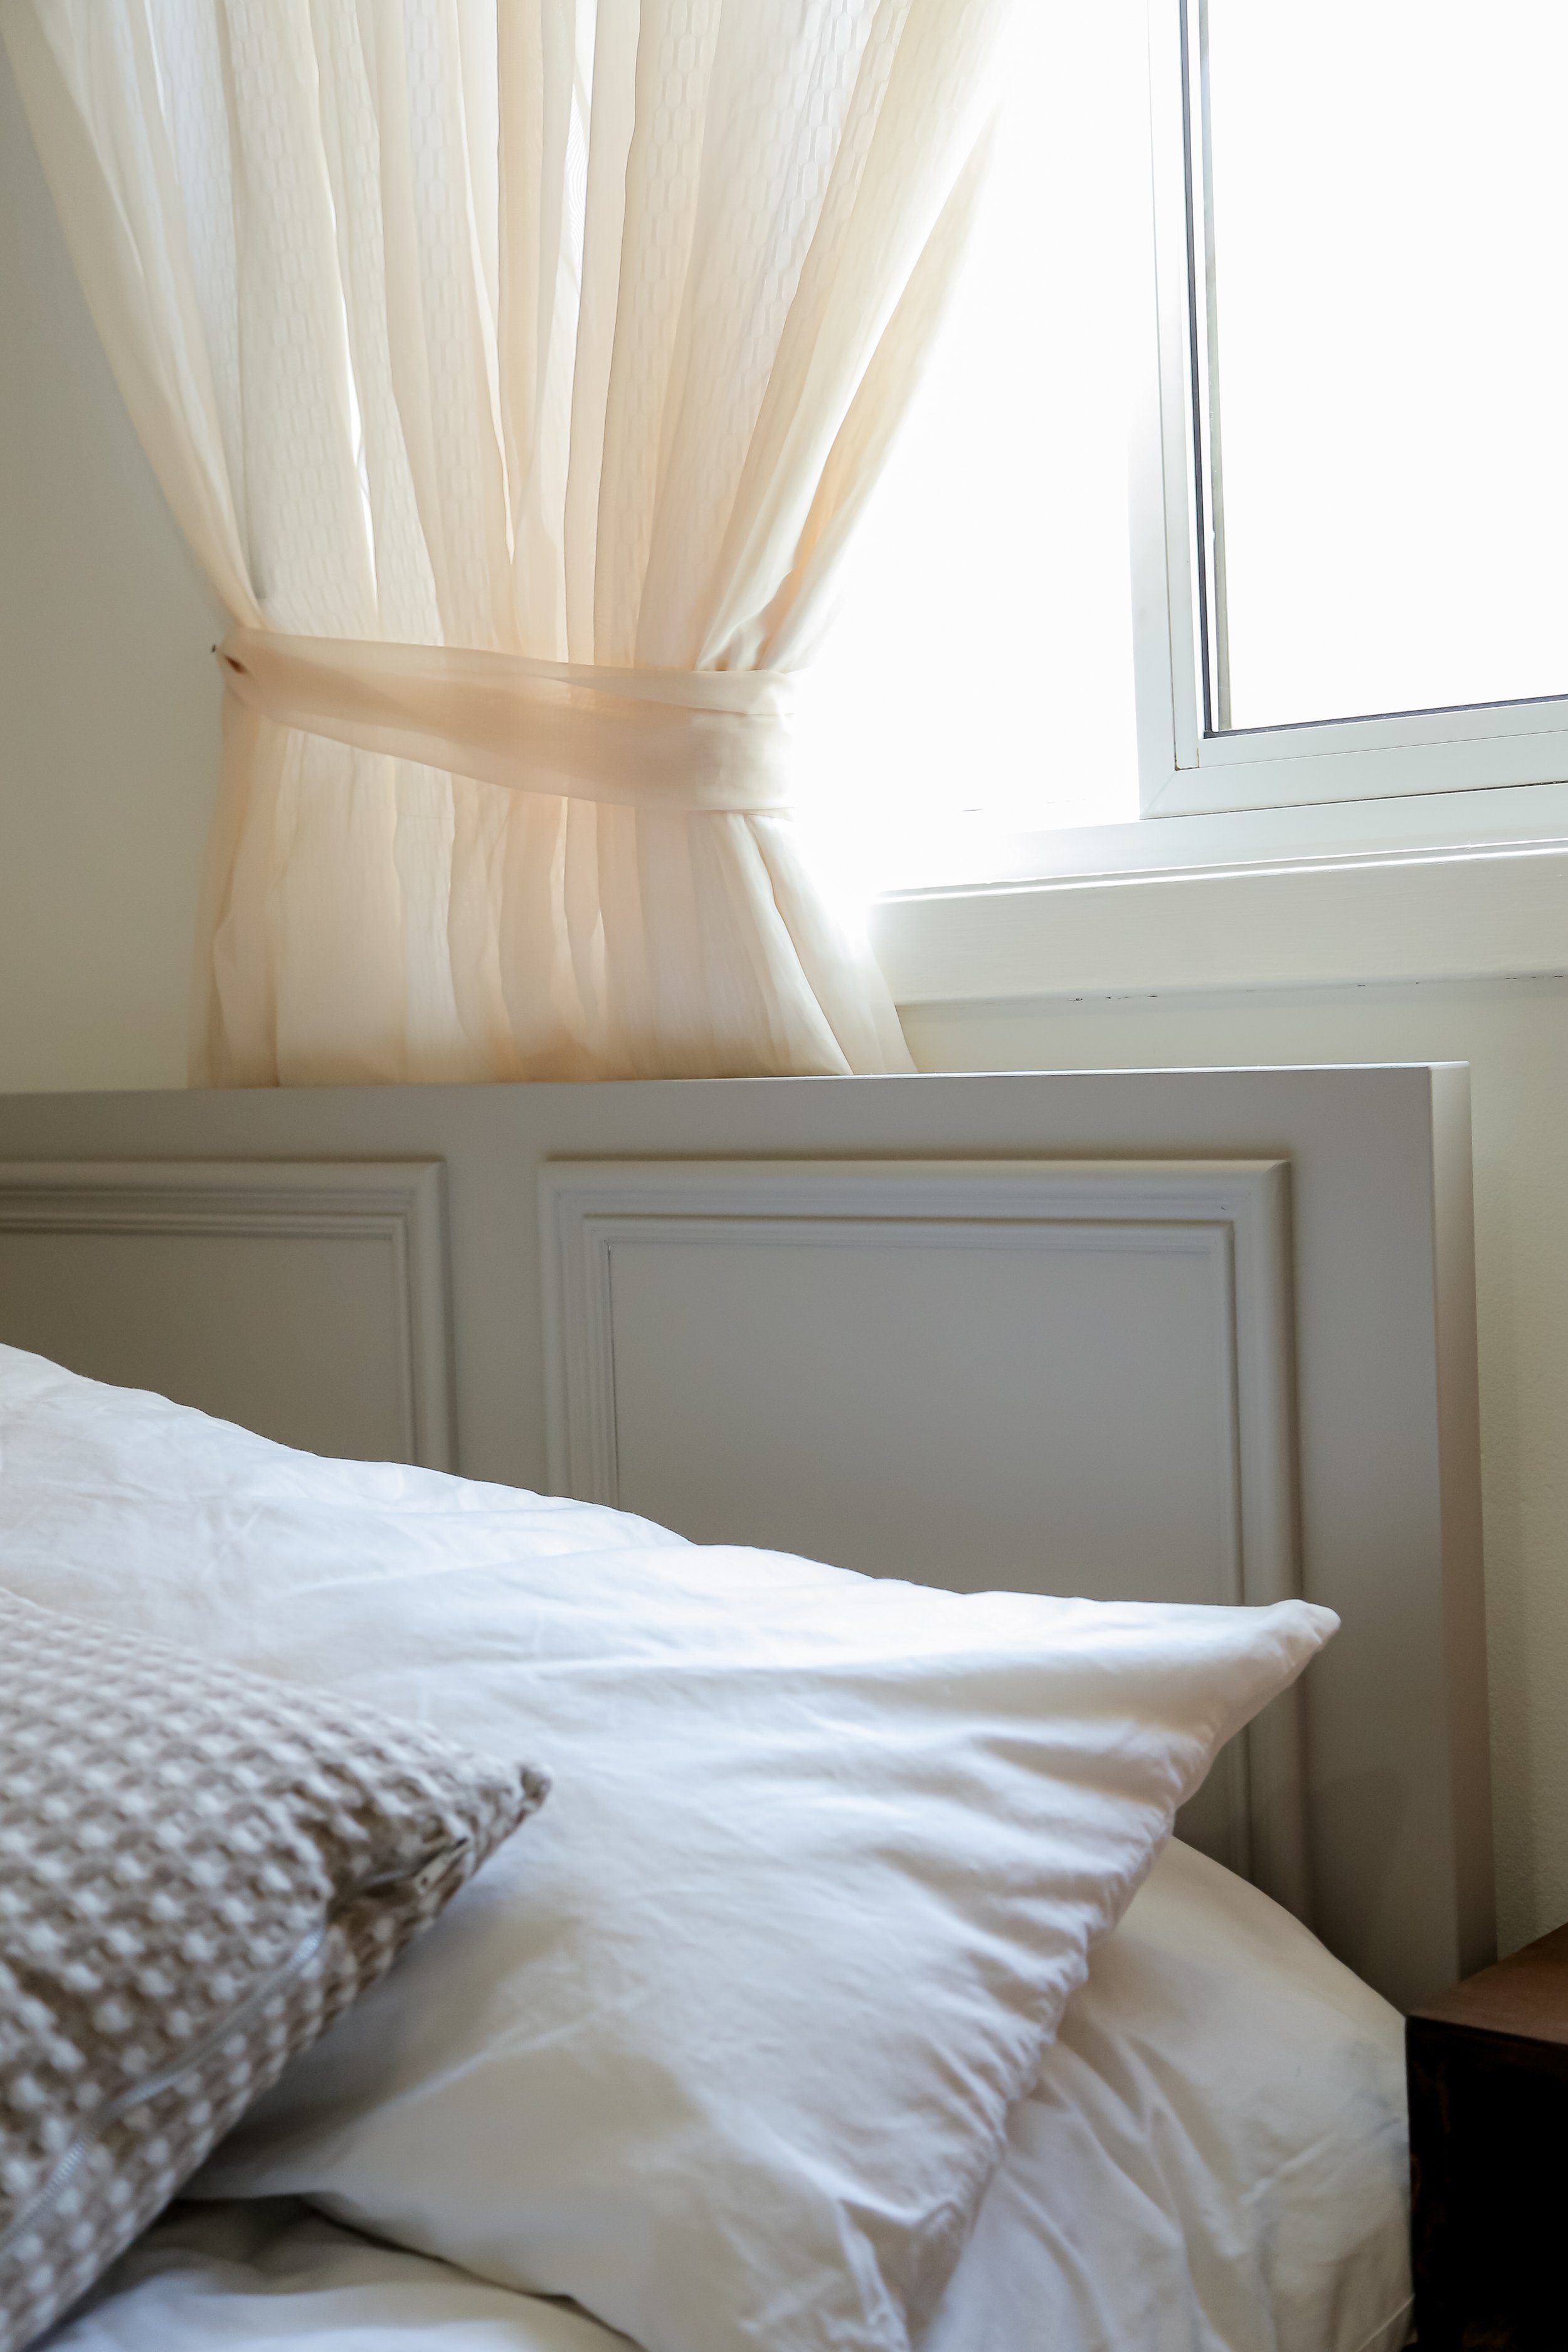
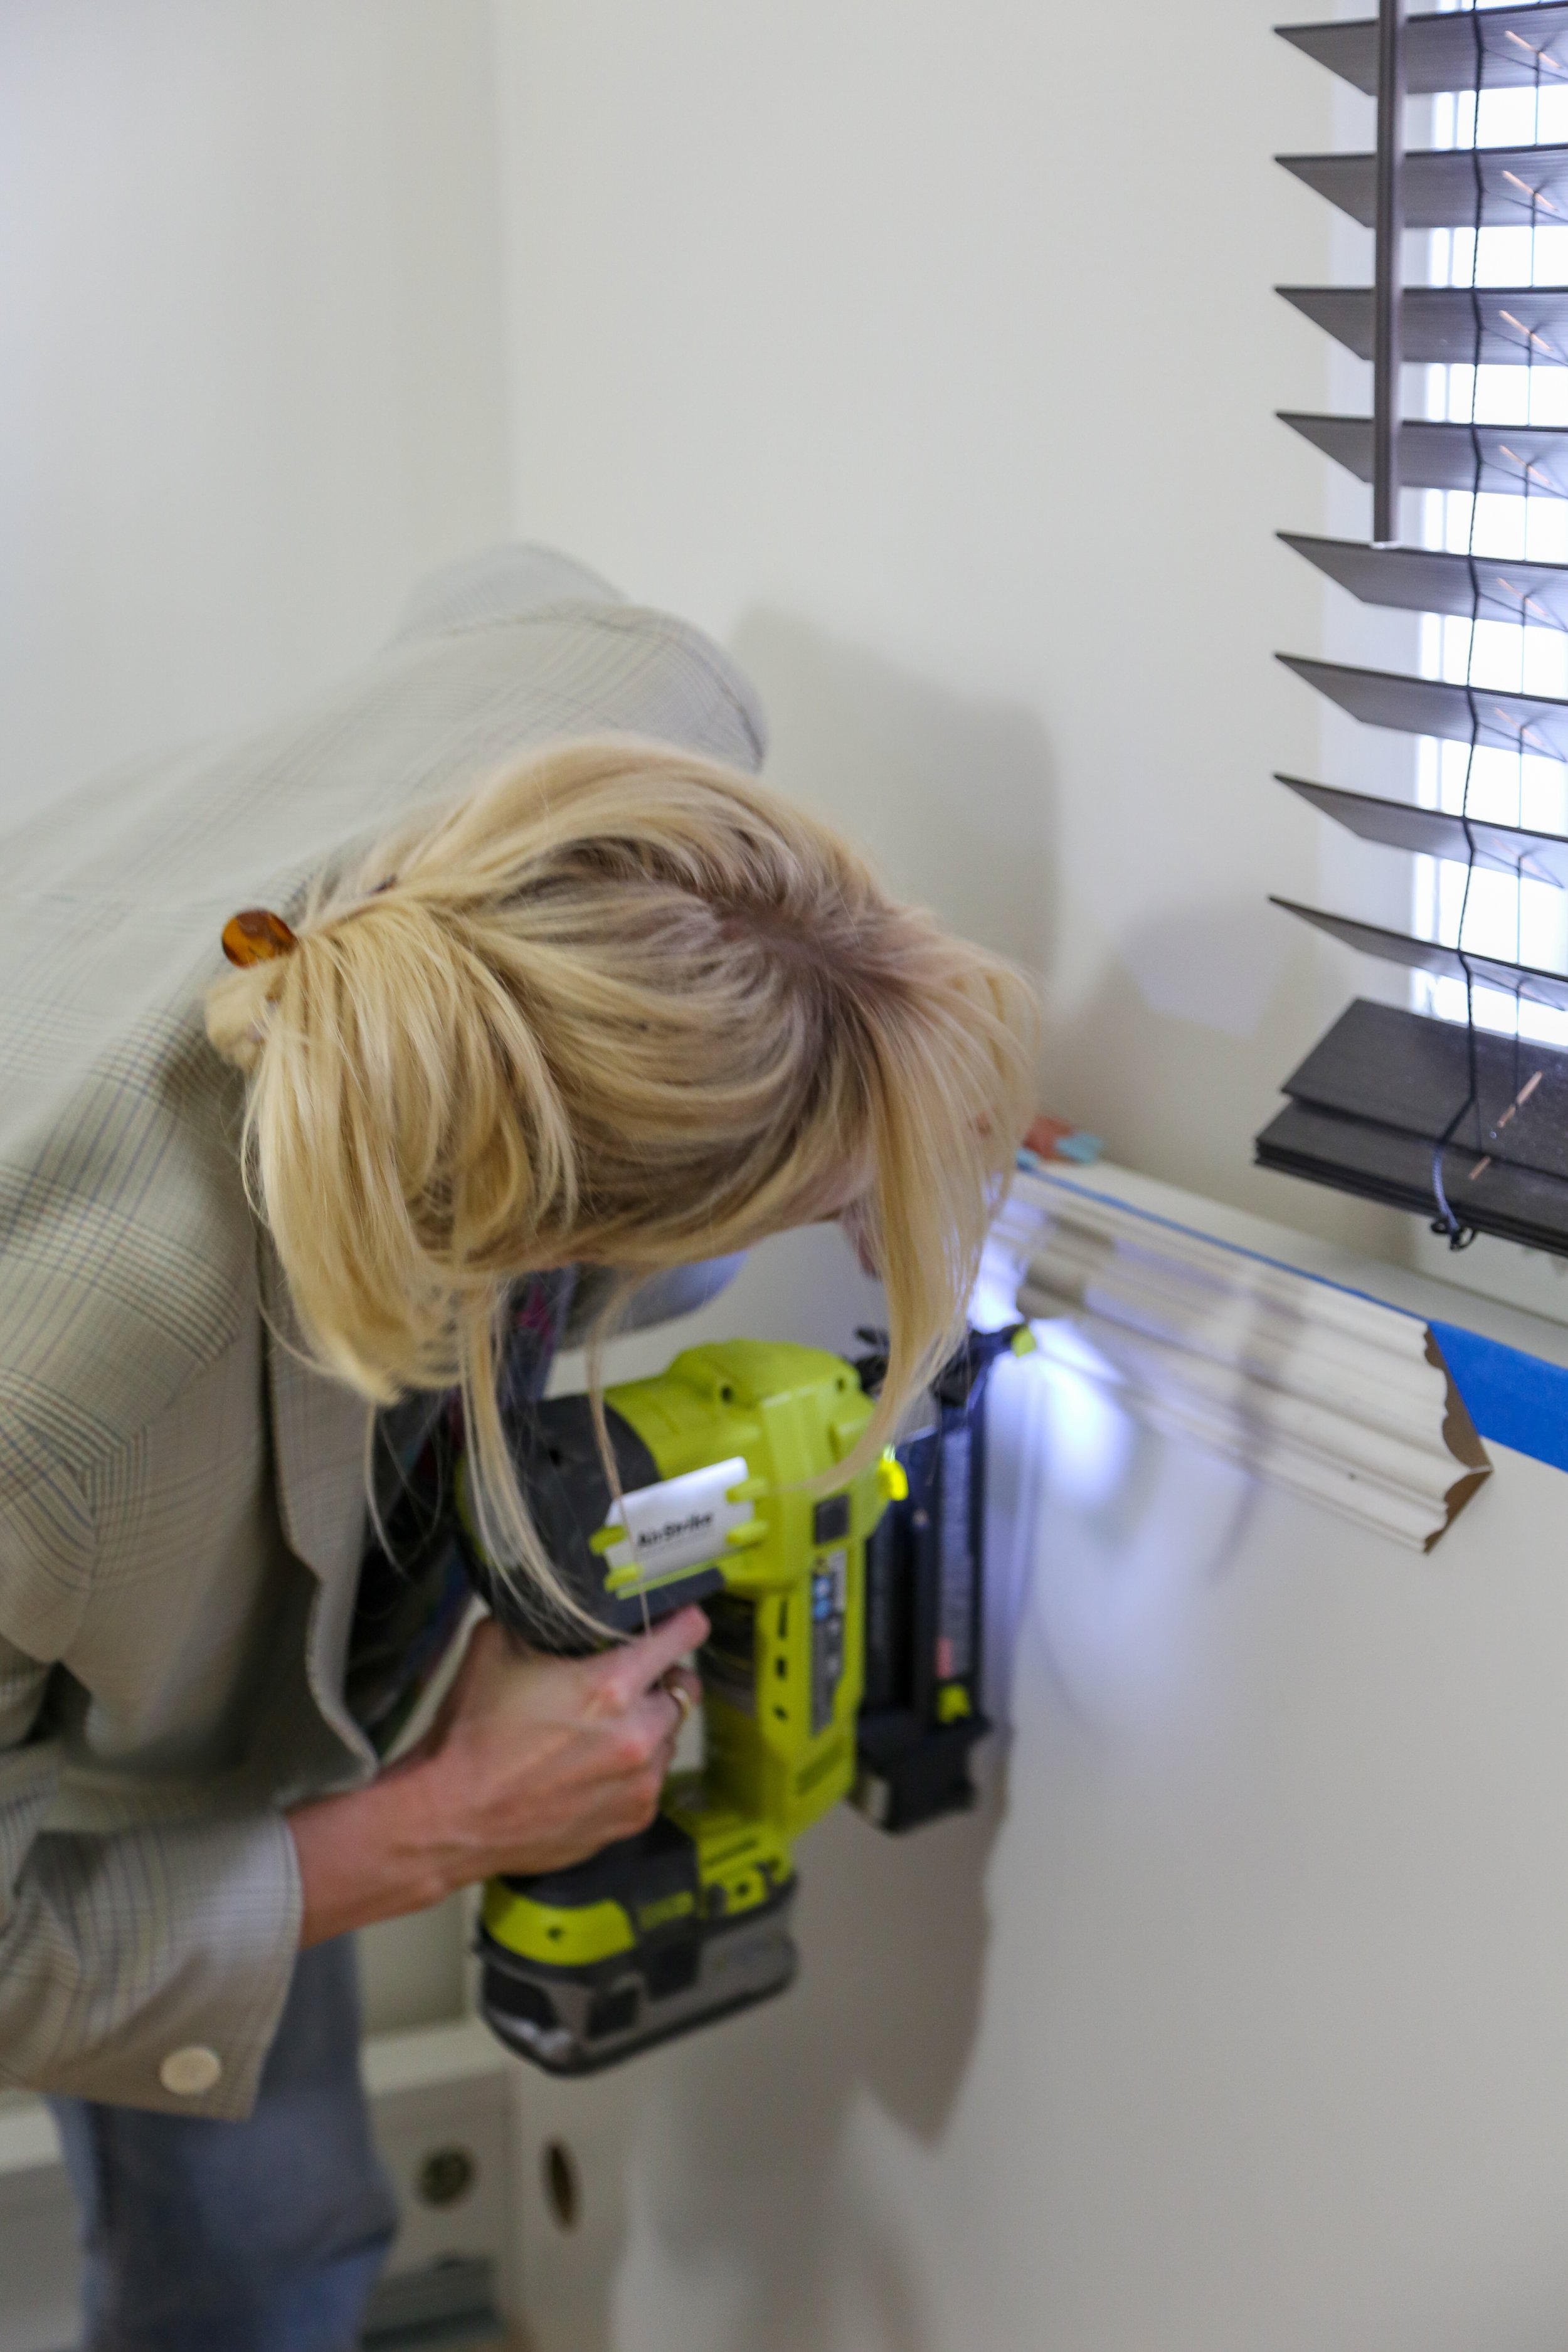
To attach it to the bed frame, all I did was mark the spots, make sure they were level and use a nail gun to secure them into the frame!

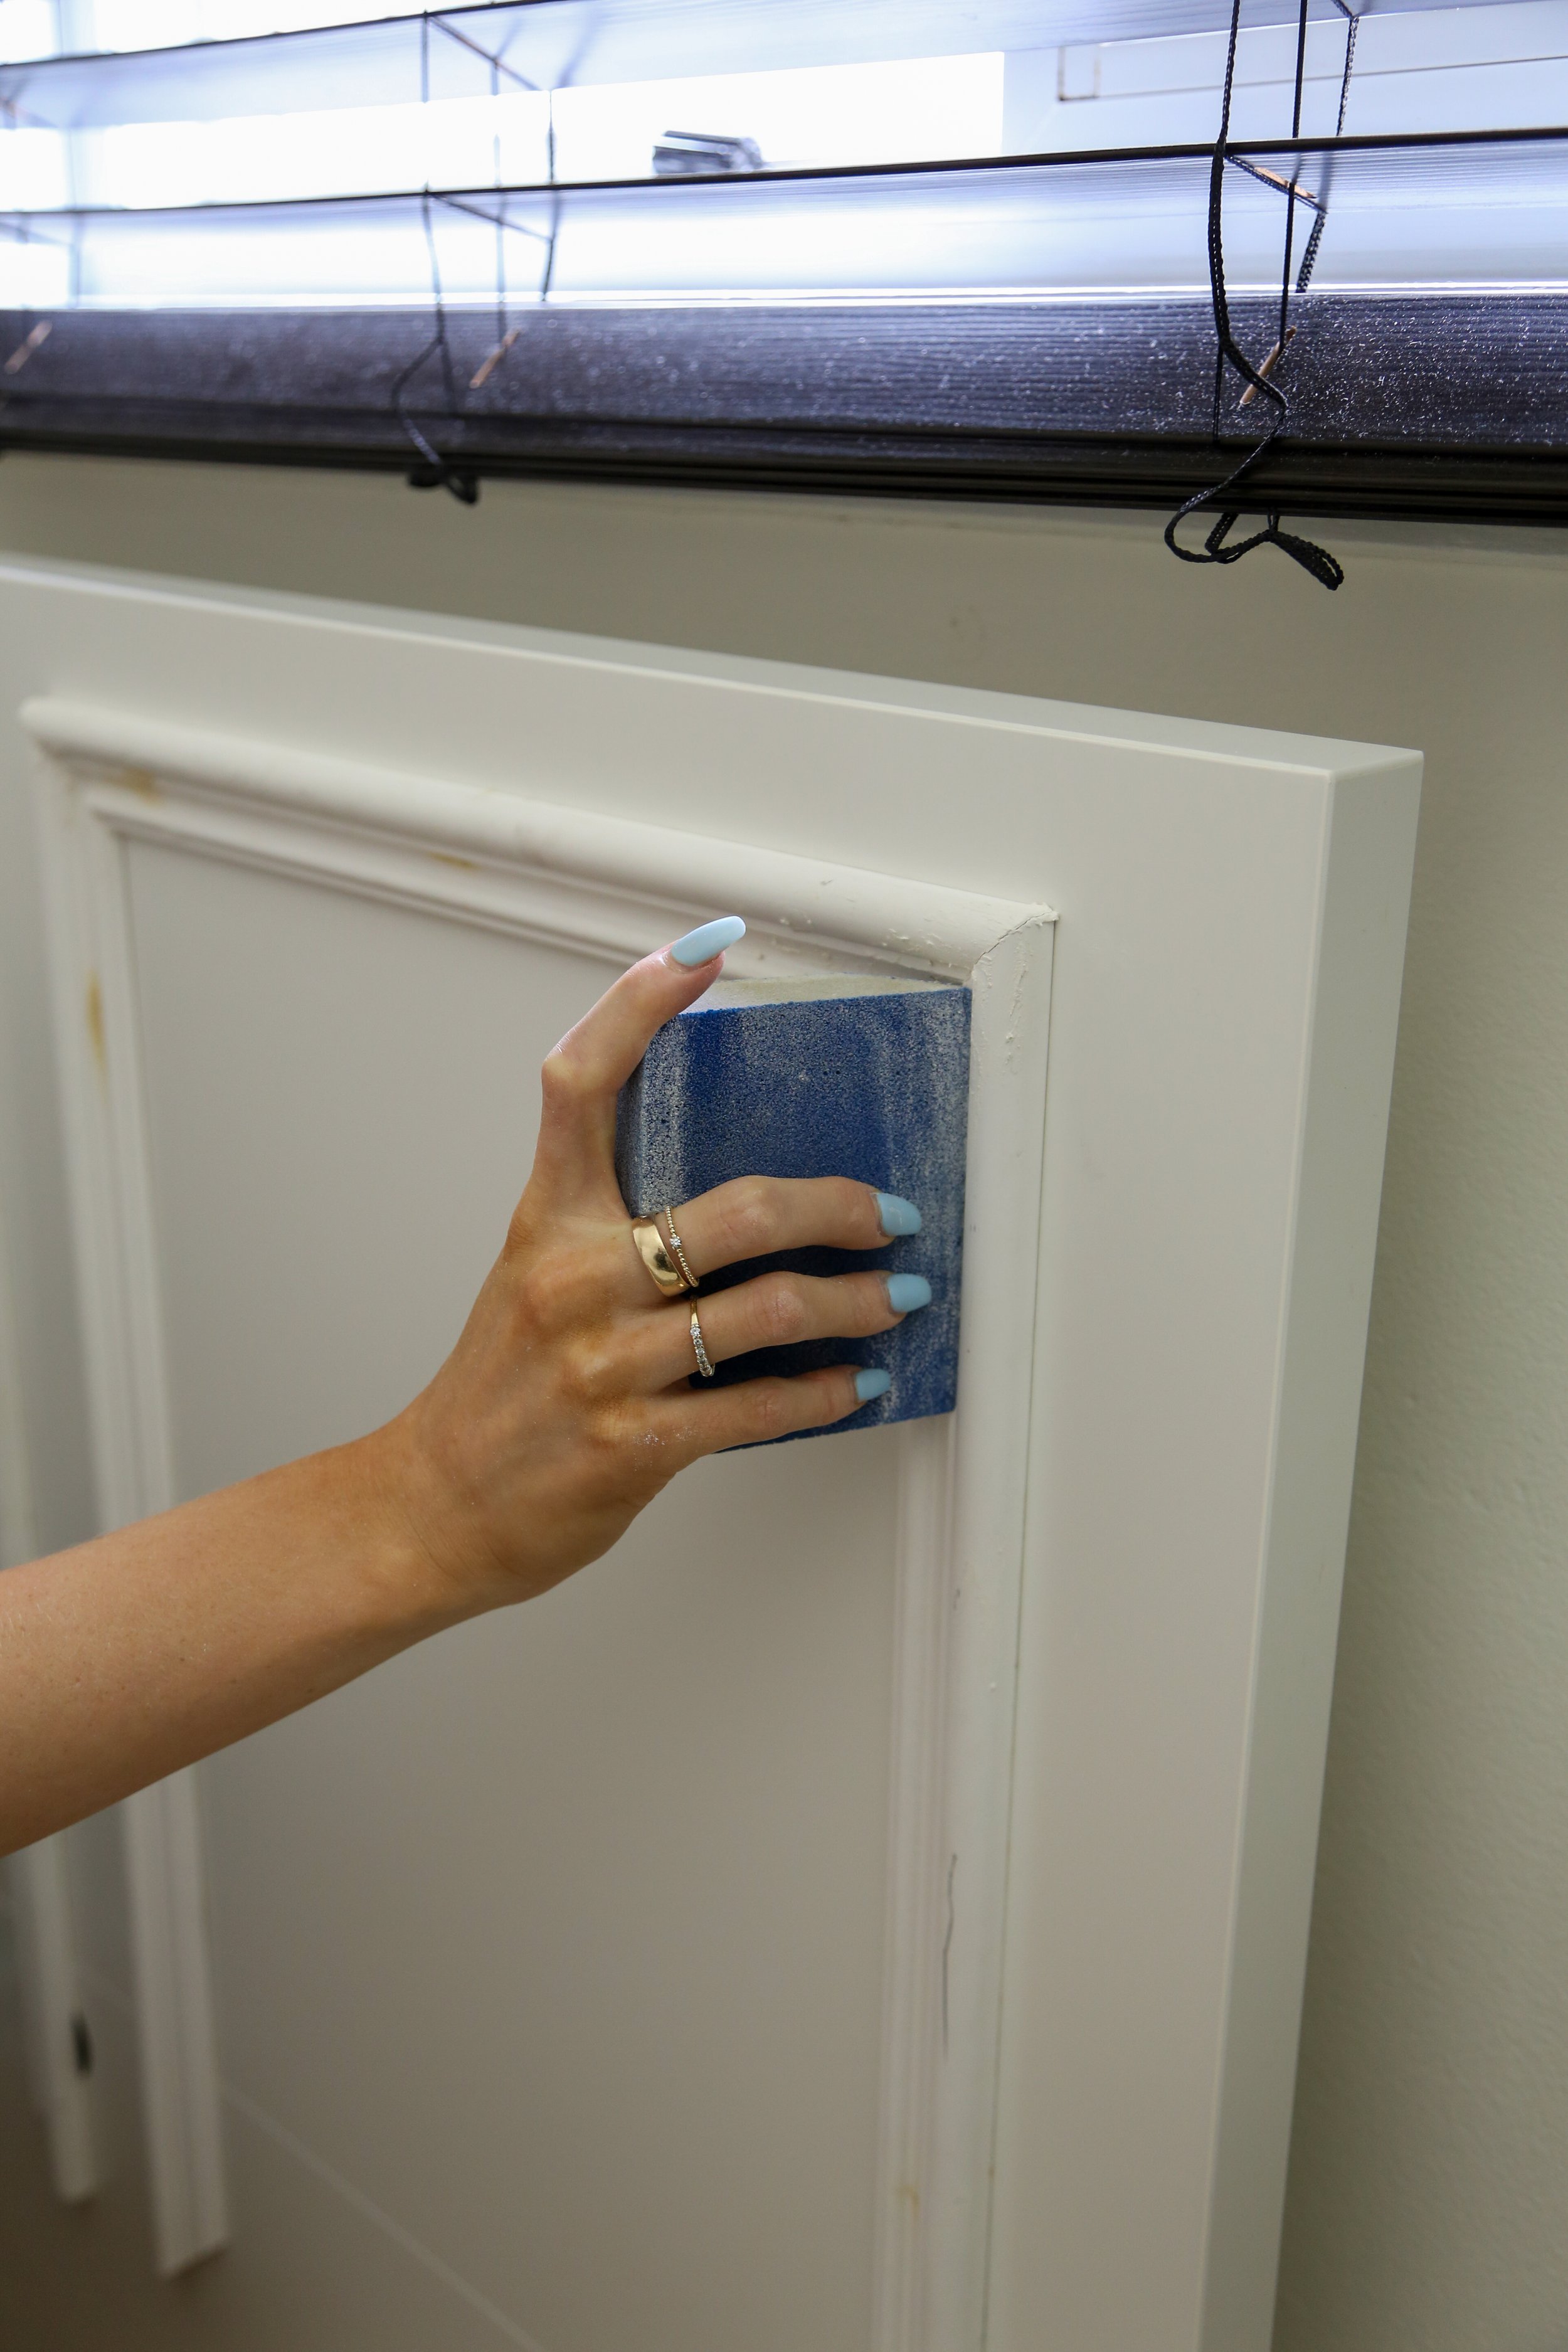
To hide the nails, I wood filled and sanded them down to look as clean and smooth as possible.

Next I gave it the wainscotting a coat of primer and painted the whole bed to my liking.

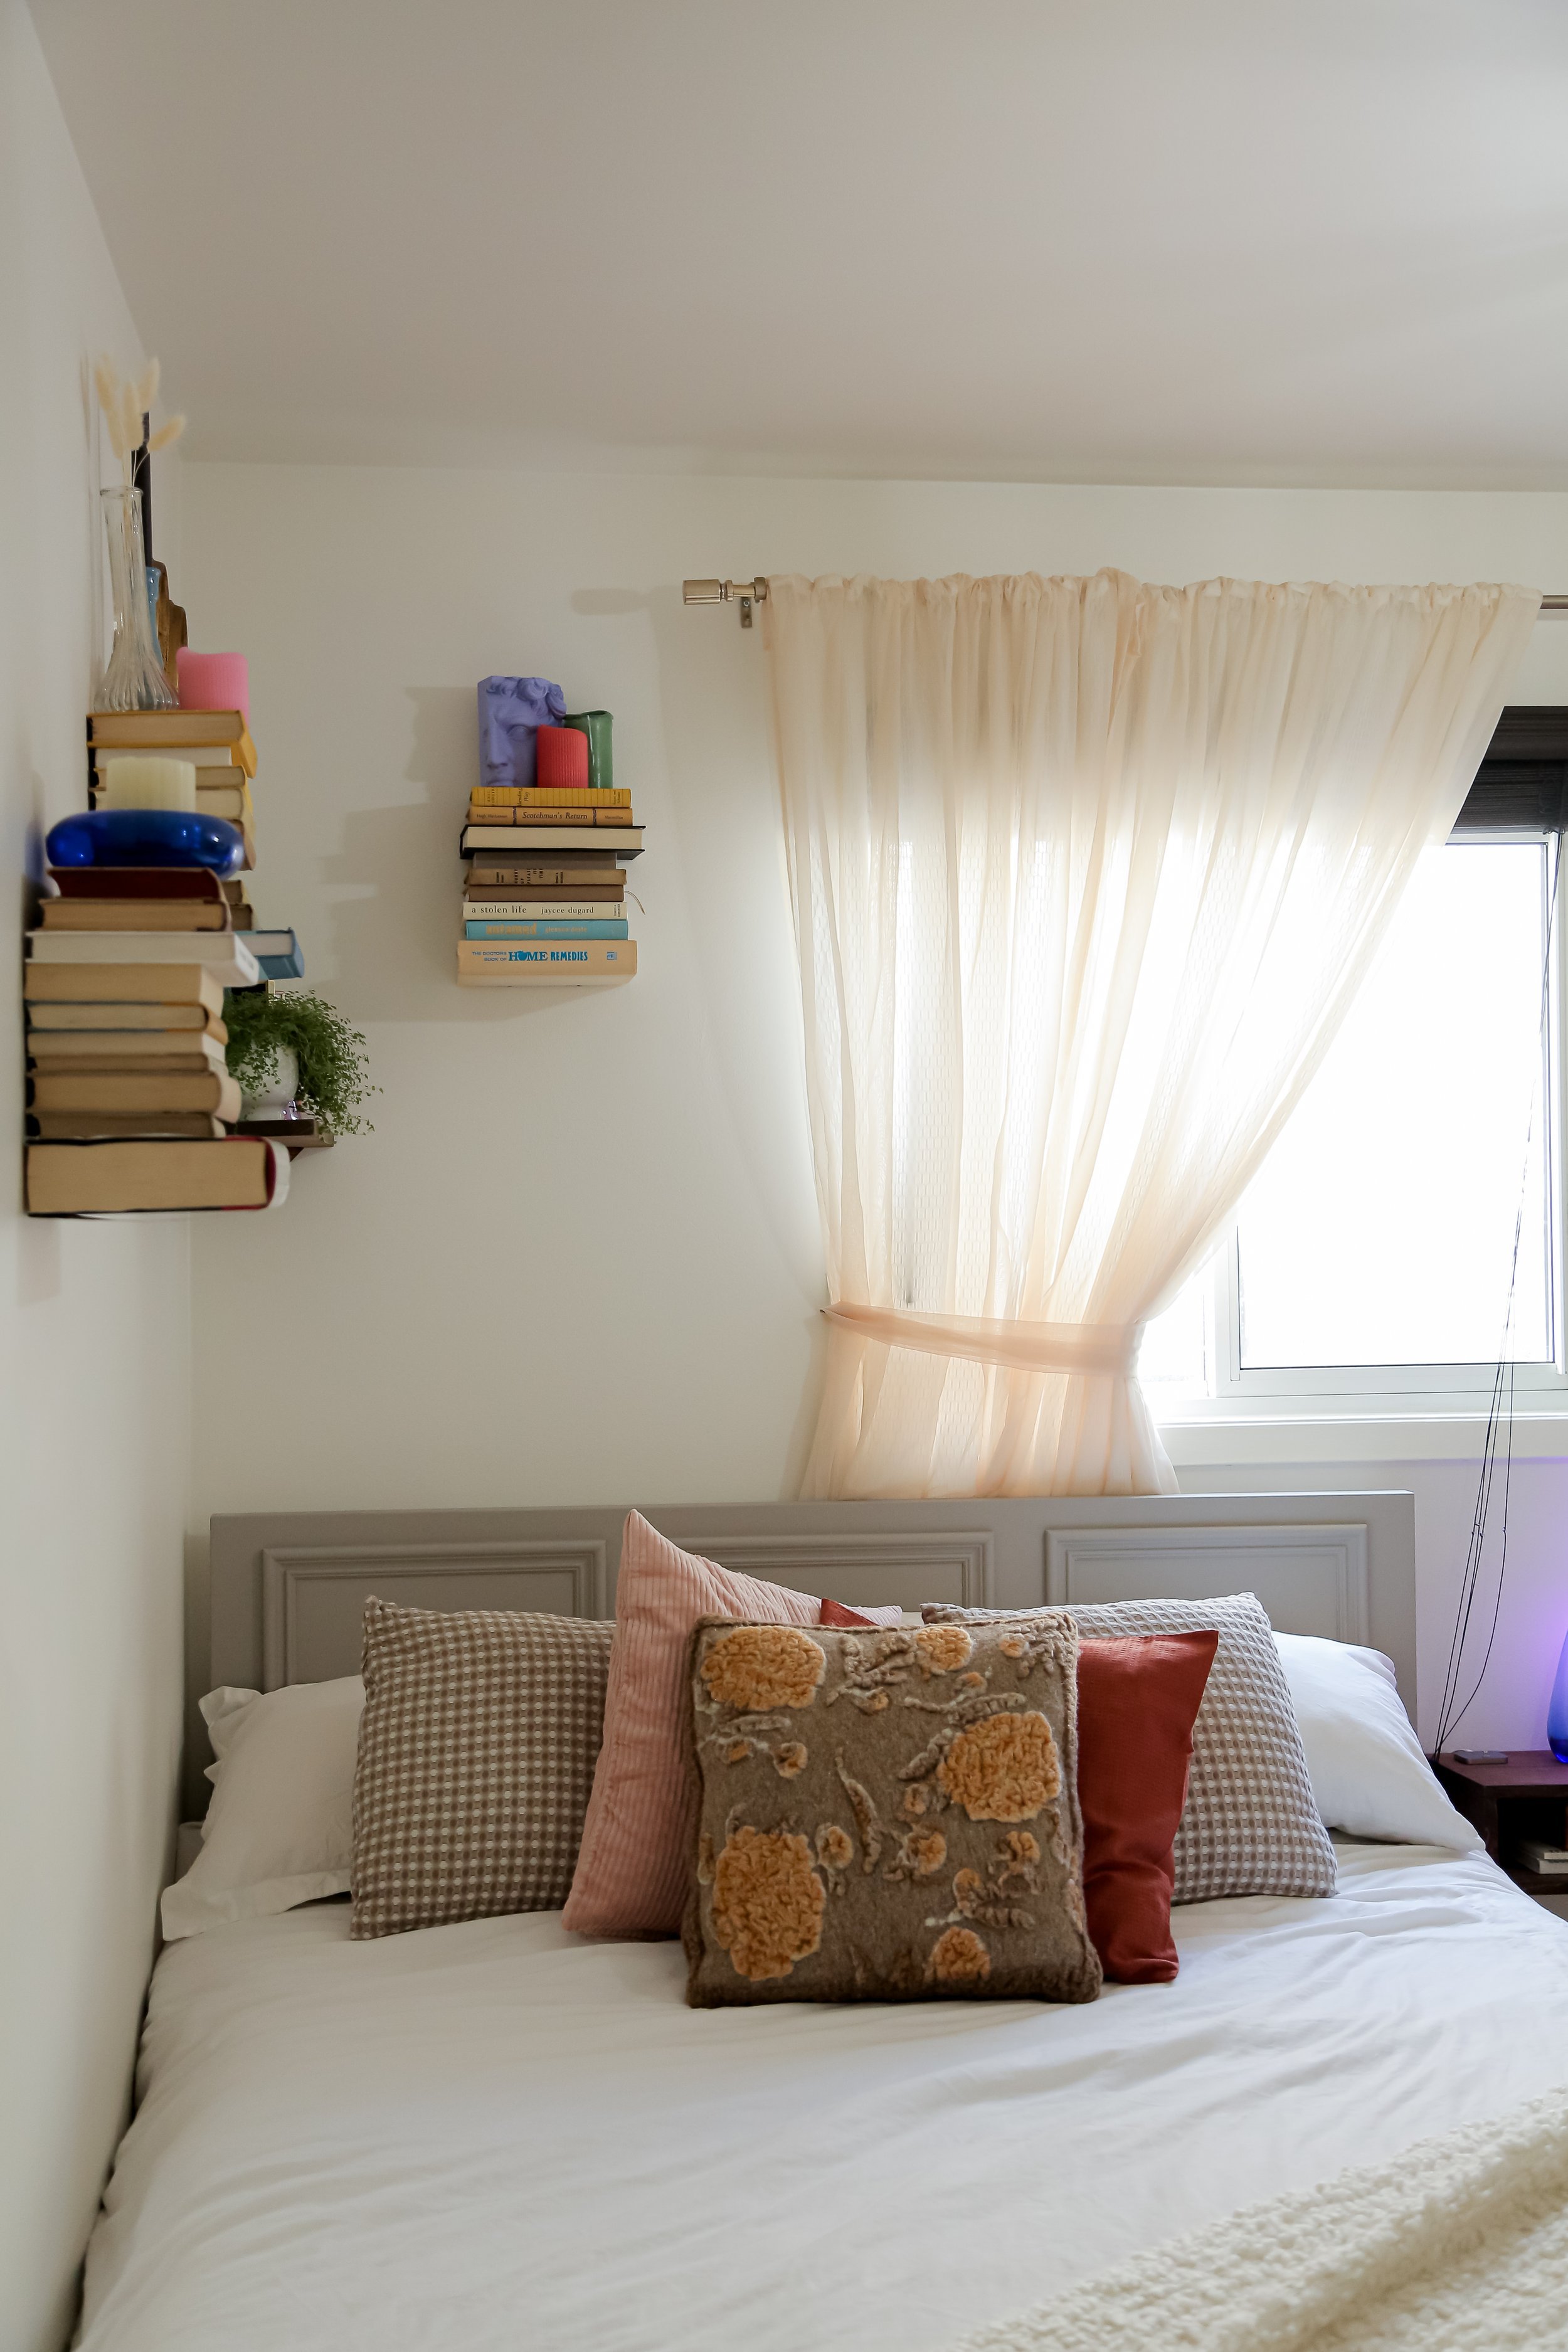
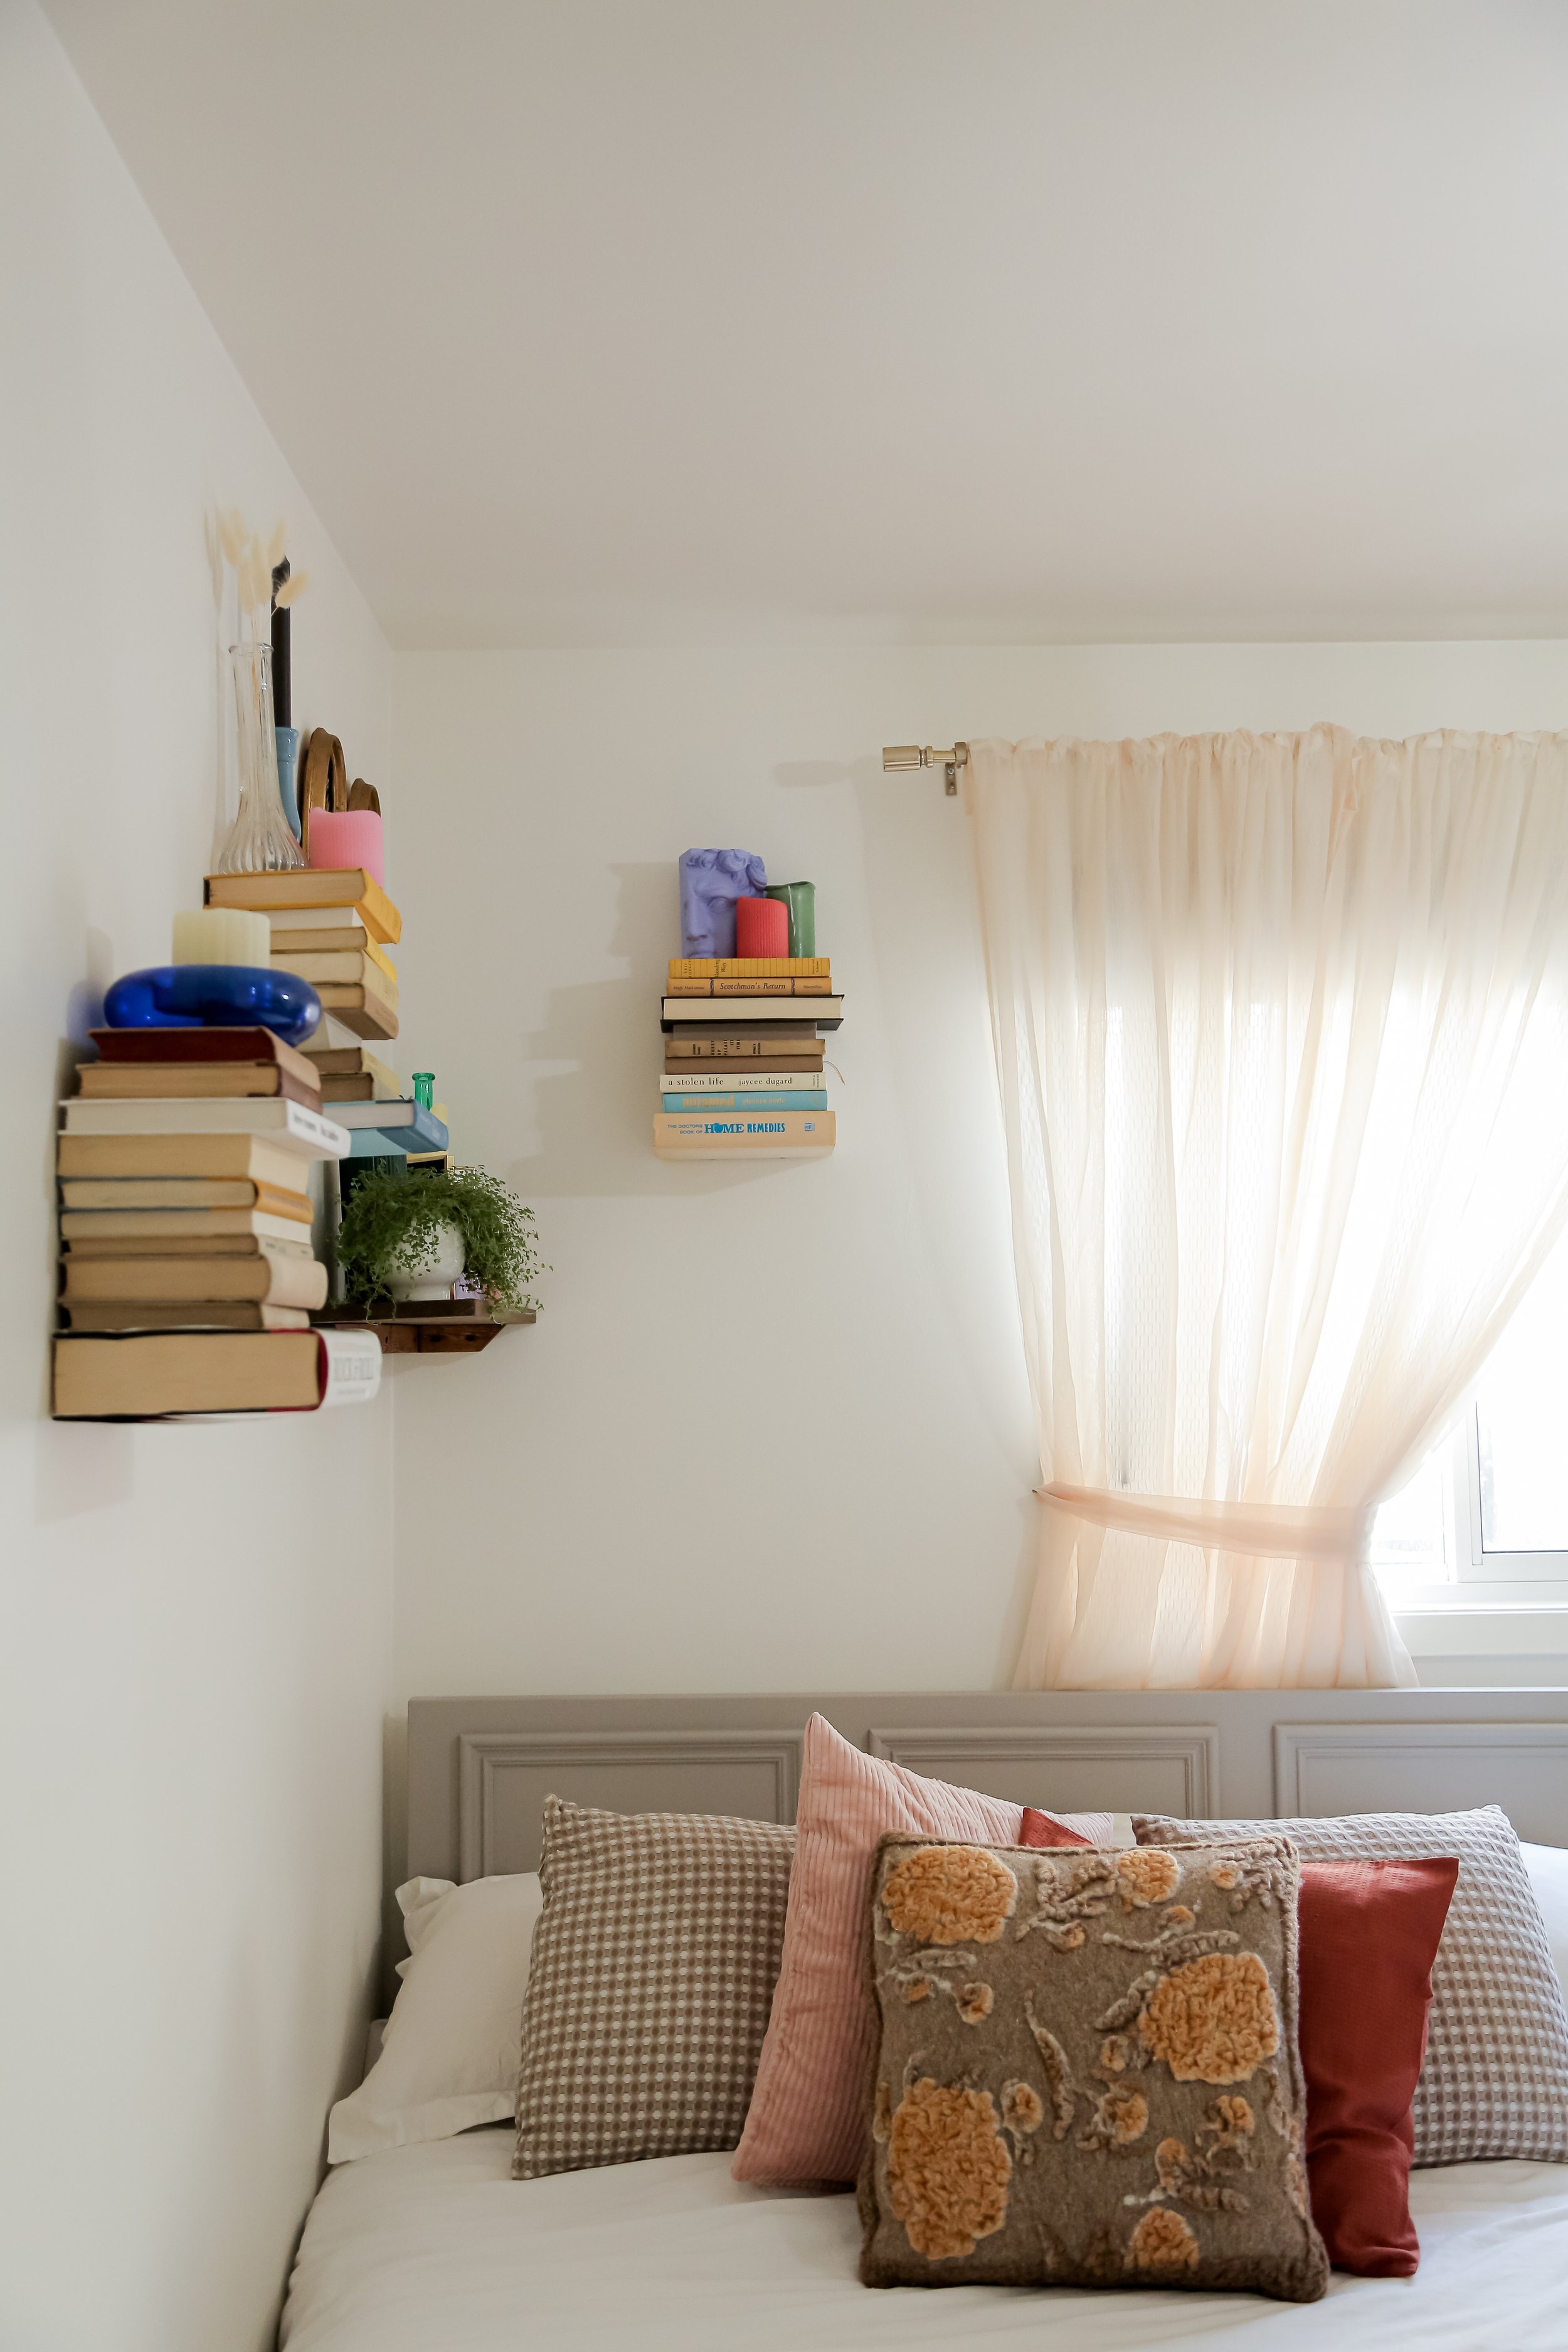
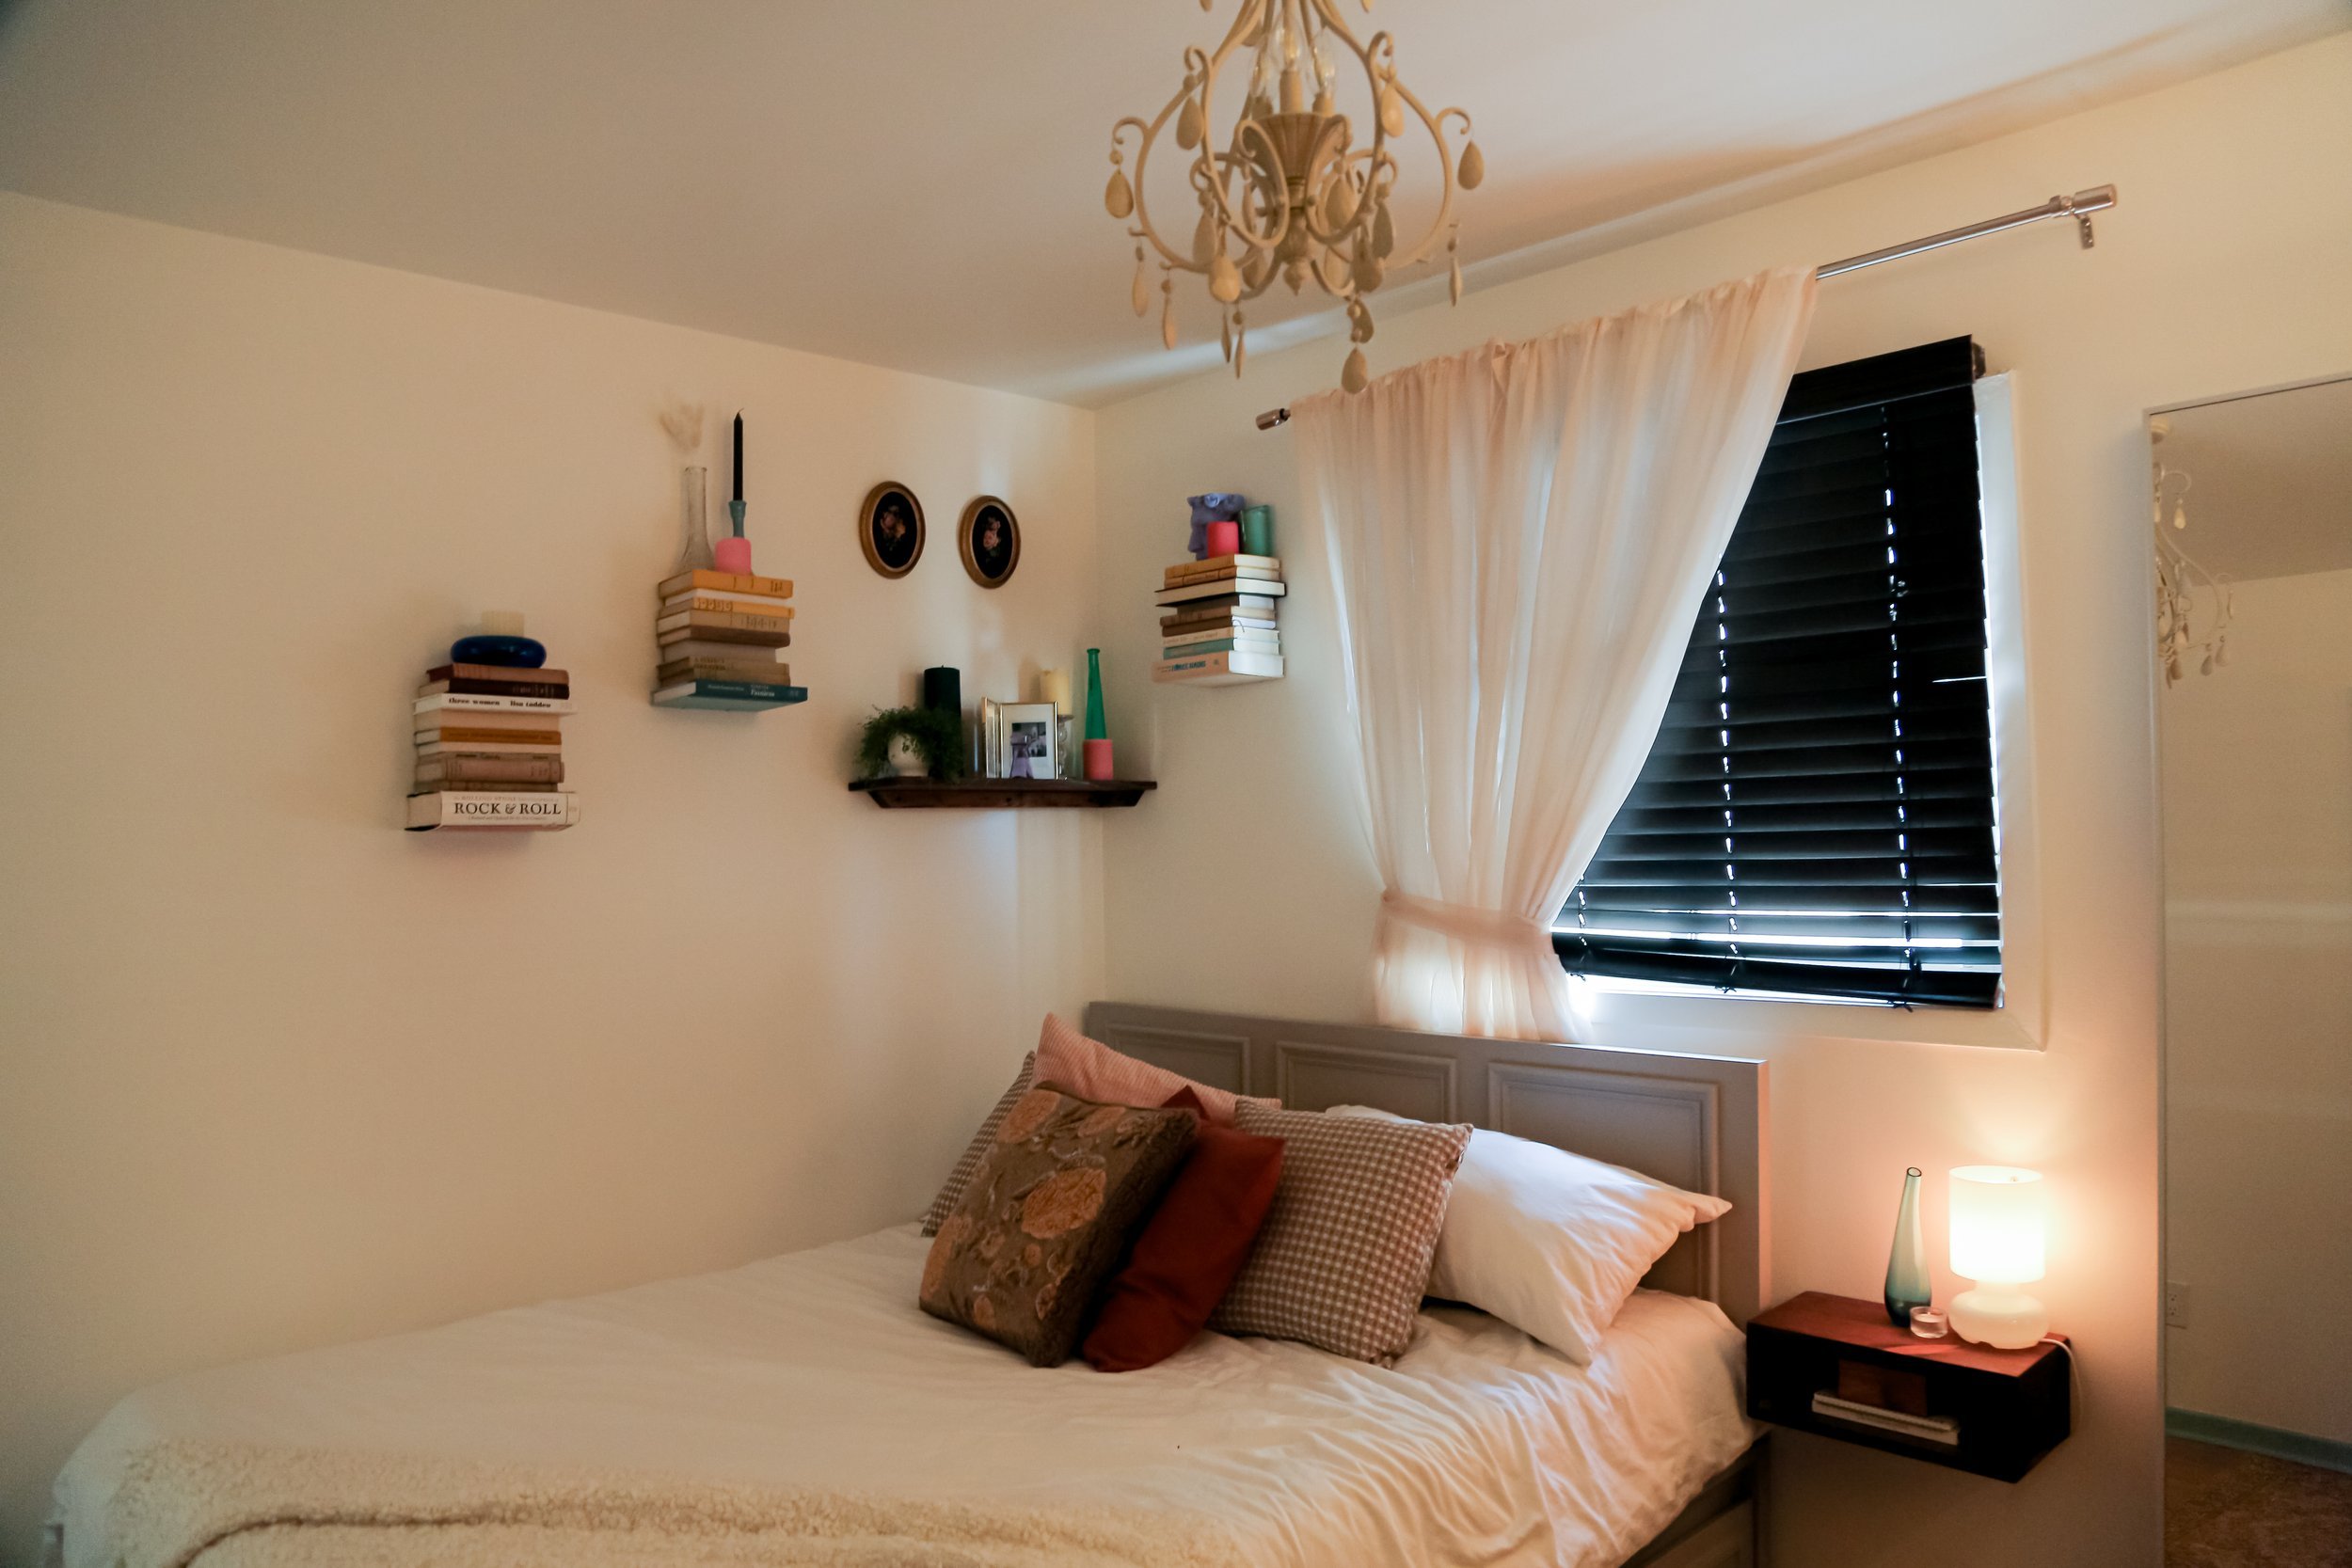
Here is how it turned out! I’m obsessed with how simple this DIY was, yet so affective!

It totally tied the whole room together…