IKEA Lamp Hack (Upcycle the MAGNARP Floor Lamp)
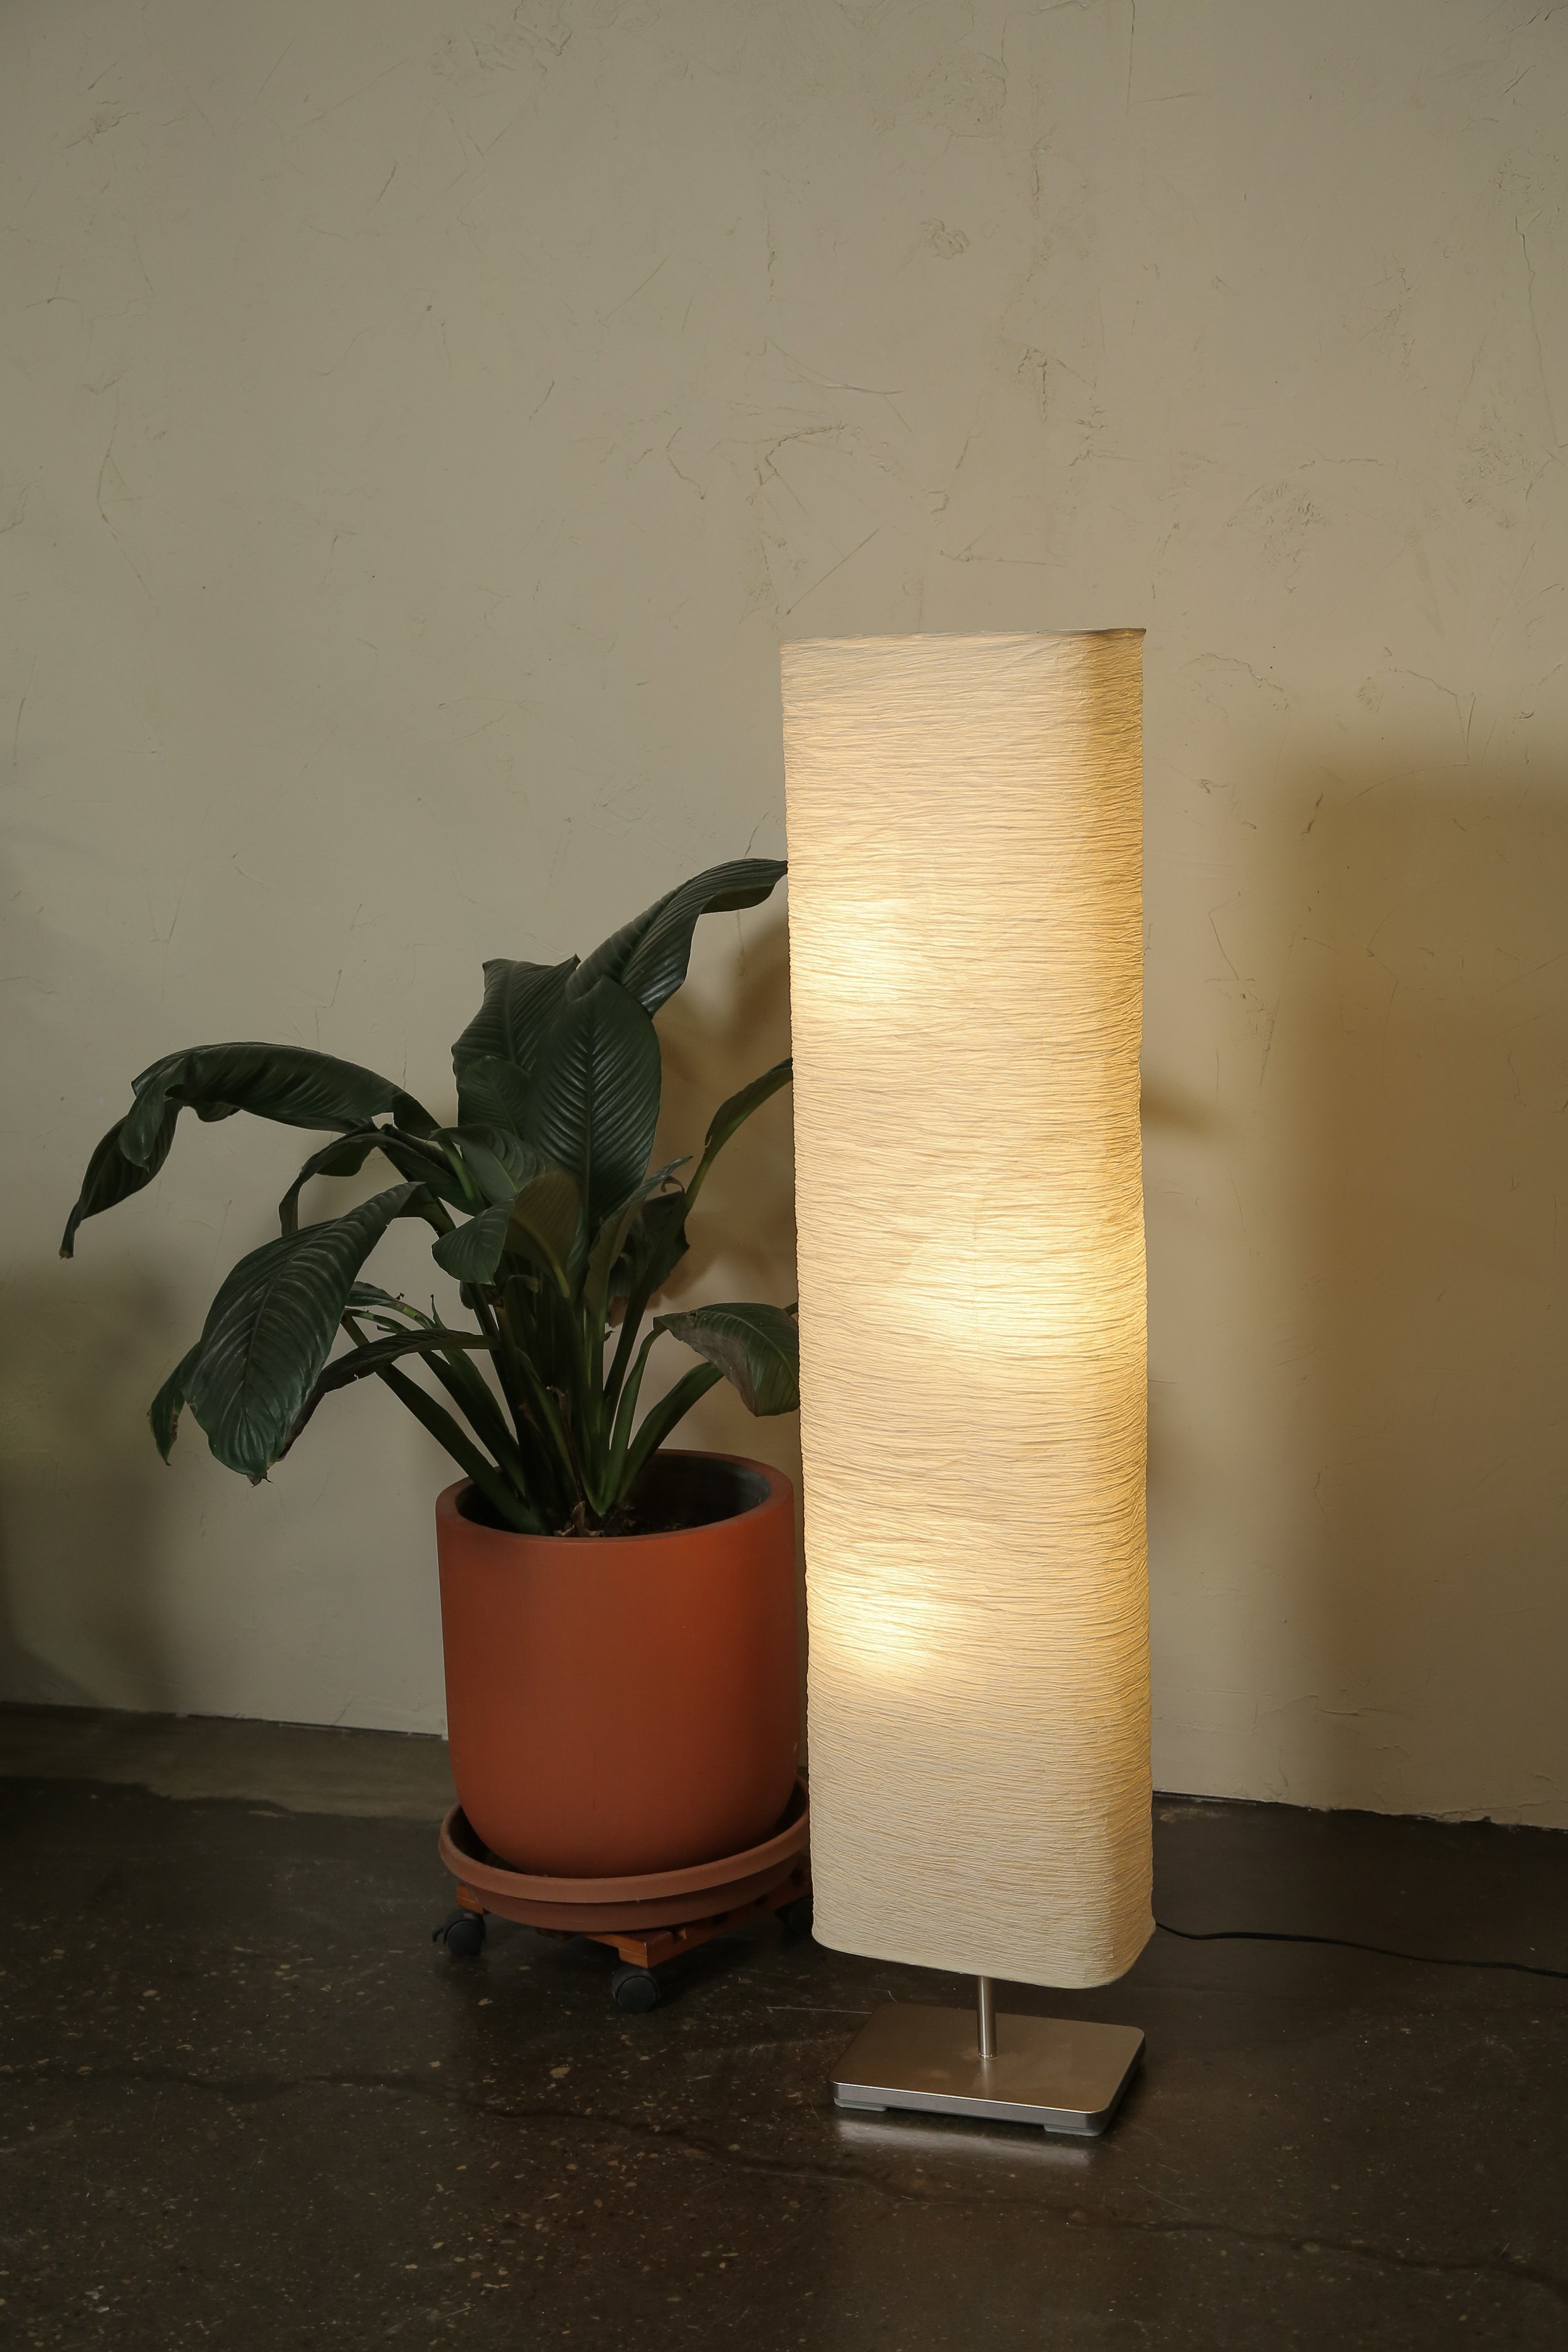
I’m sure you’ve seen the IKEA Magnarp Floor Lamp before. It has been an iconic IKEA staple for many years now and is loved in many homes. The ambient light it shines creates a soft glow, that gives your home a warm and welcoming atmosphere. As my bedroom is in the basement, it is really key that I have a good lighting set up to avoid feeling like I am in a dark pit (from lack of windows). That all being said, some features of this light do not match the tone of my space. First off, the stand is a silver metal base that I find doesn’t really match the softness of the rest of the lamp; so I decided to make a new base for it made from wood, that would match the colours in my room. Additionally, the light stands 144cm tall, which just was a bit too big for my ceilings without looking stuffy, so I also wanted to shorten it as a whole to make it look like it’s meant for my space. So let’s make some changes!

Before
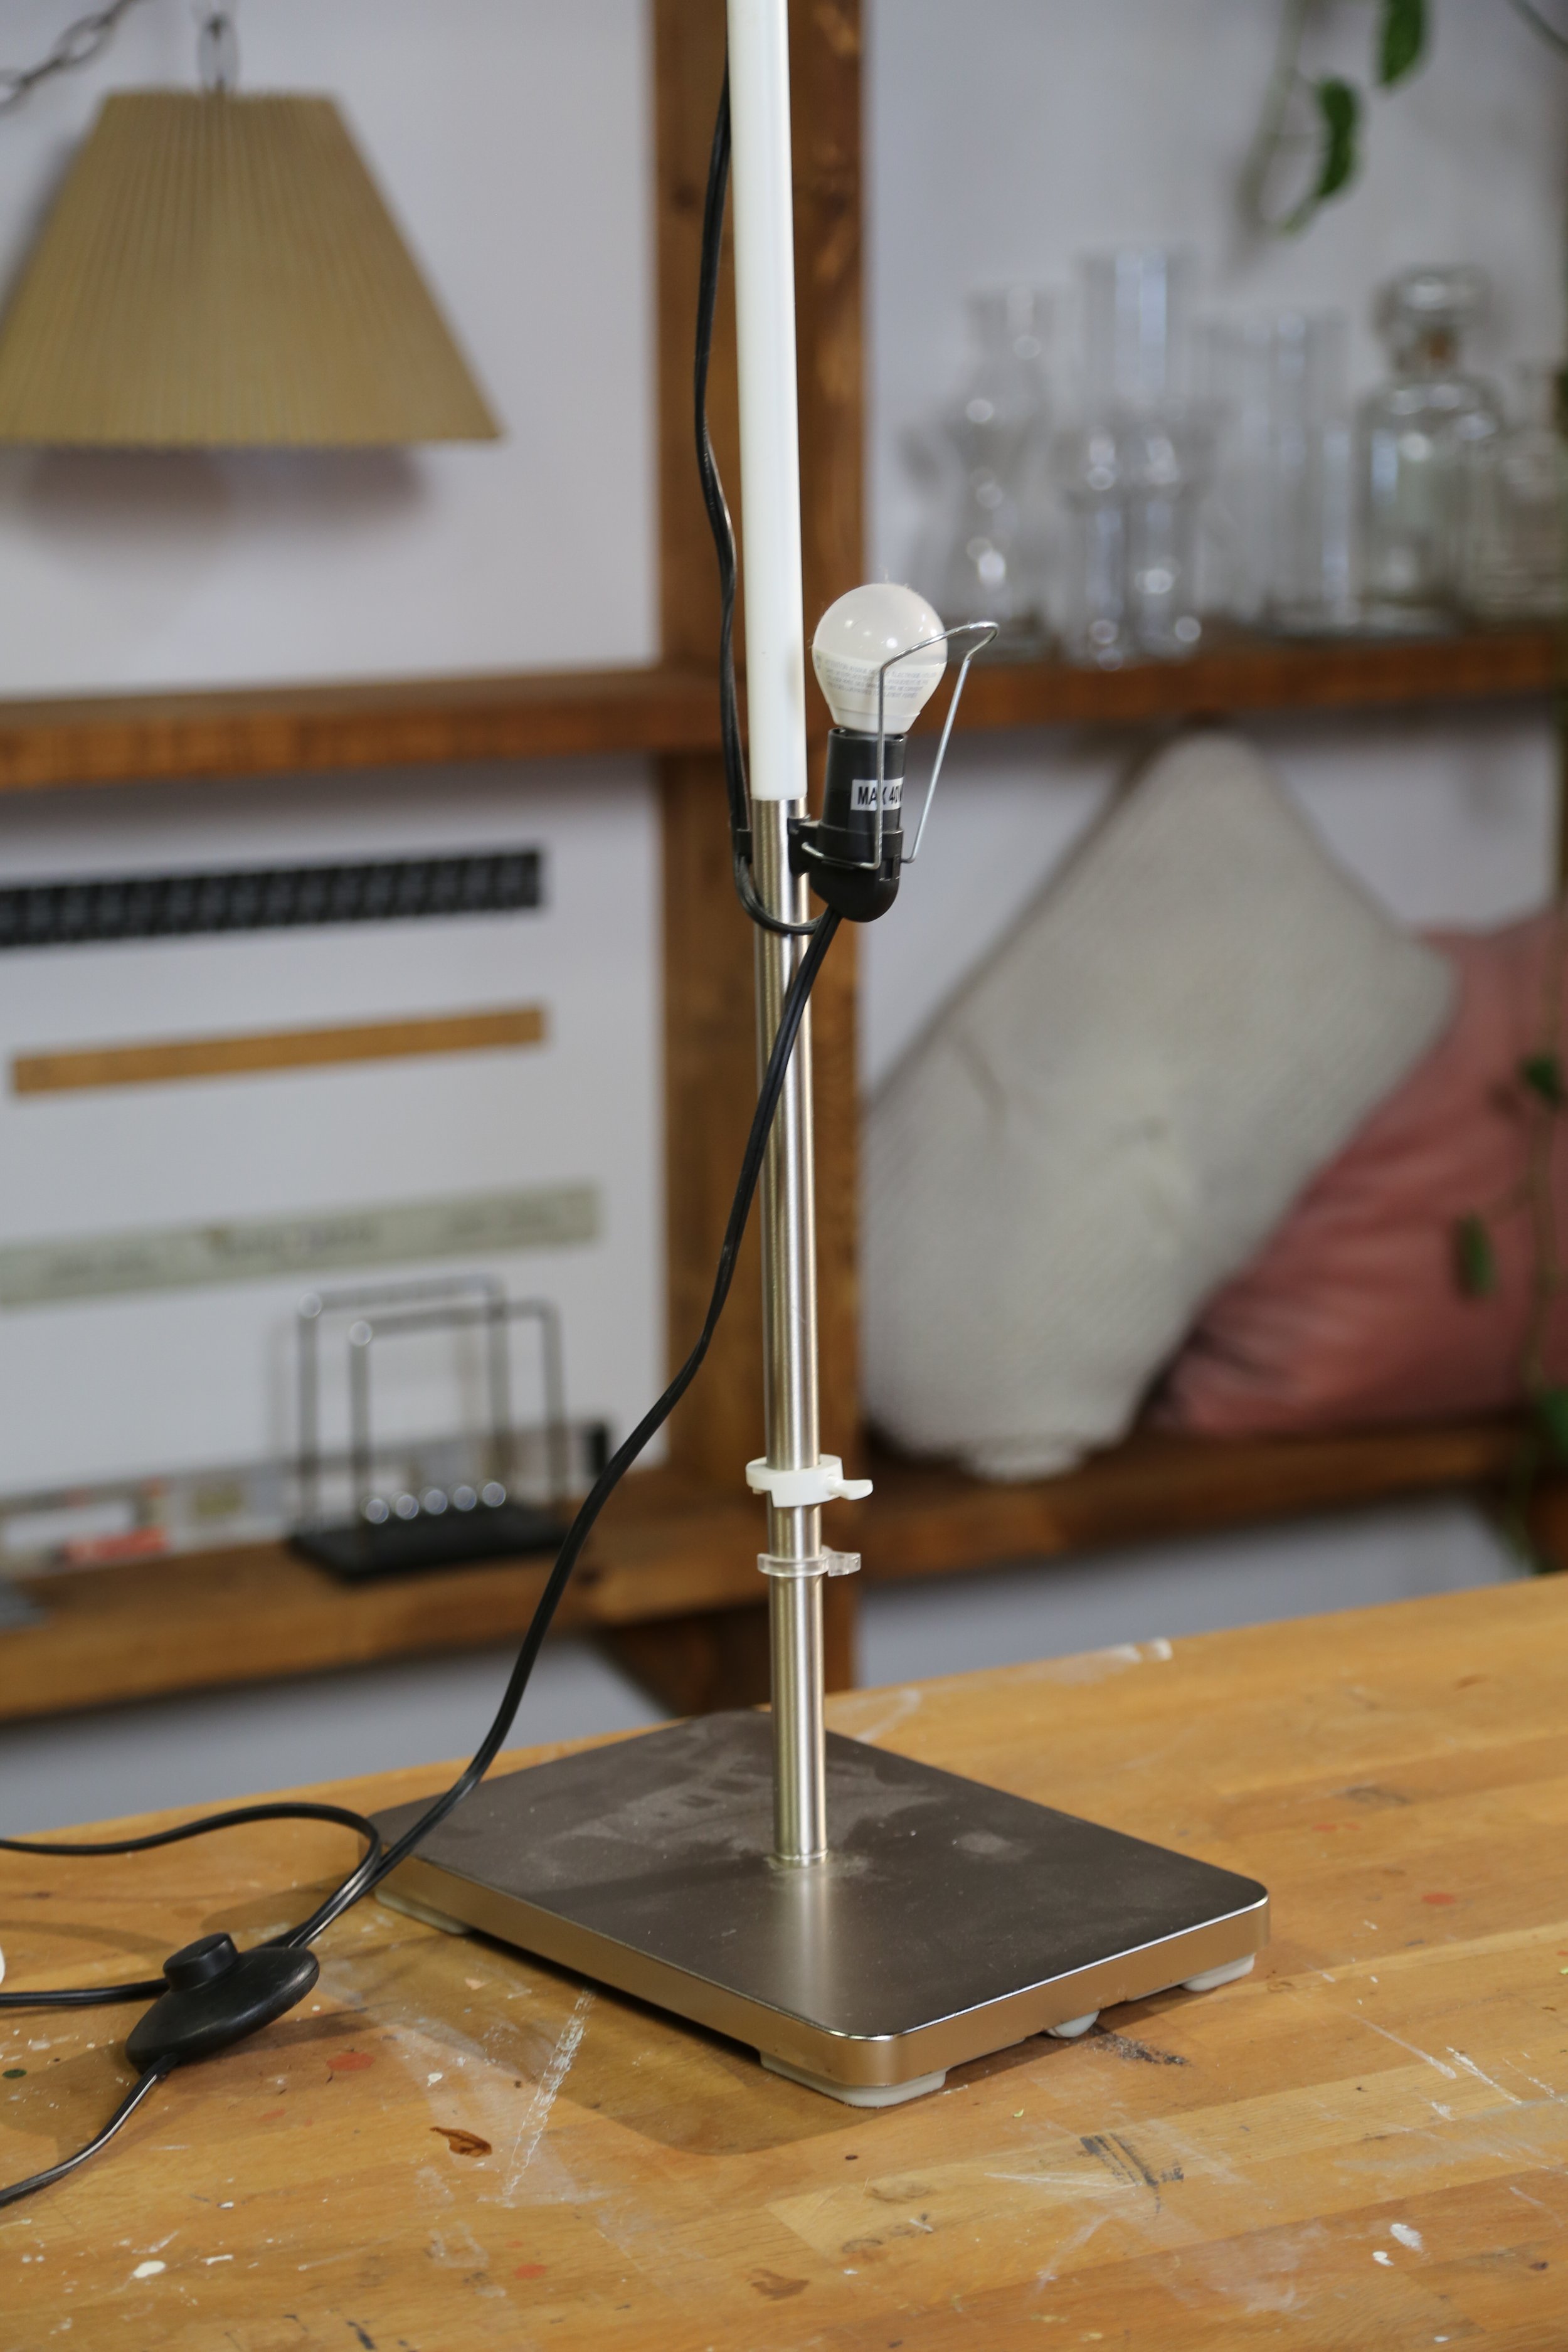
The first step was disassembling the lamp. I took off the shade and unscrewed each piece from each other. Like any other Ikea product, it’s super easy to take apart. All I needed to keep was the shade, and the light mechanism.


Now it’s time to start creating a new base. My vision is to make it look more ‘natural’ by using wood instead of having a chrome stand, so I cut two pieces to a rectangle slightly larger than I desired the base to be, knowing I would cut and sand them down further later on. I sandwiched them with wood glue and then clamped them together until they were dry and sturdy.


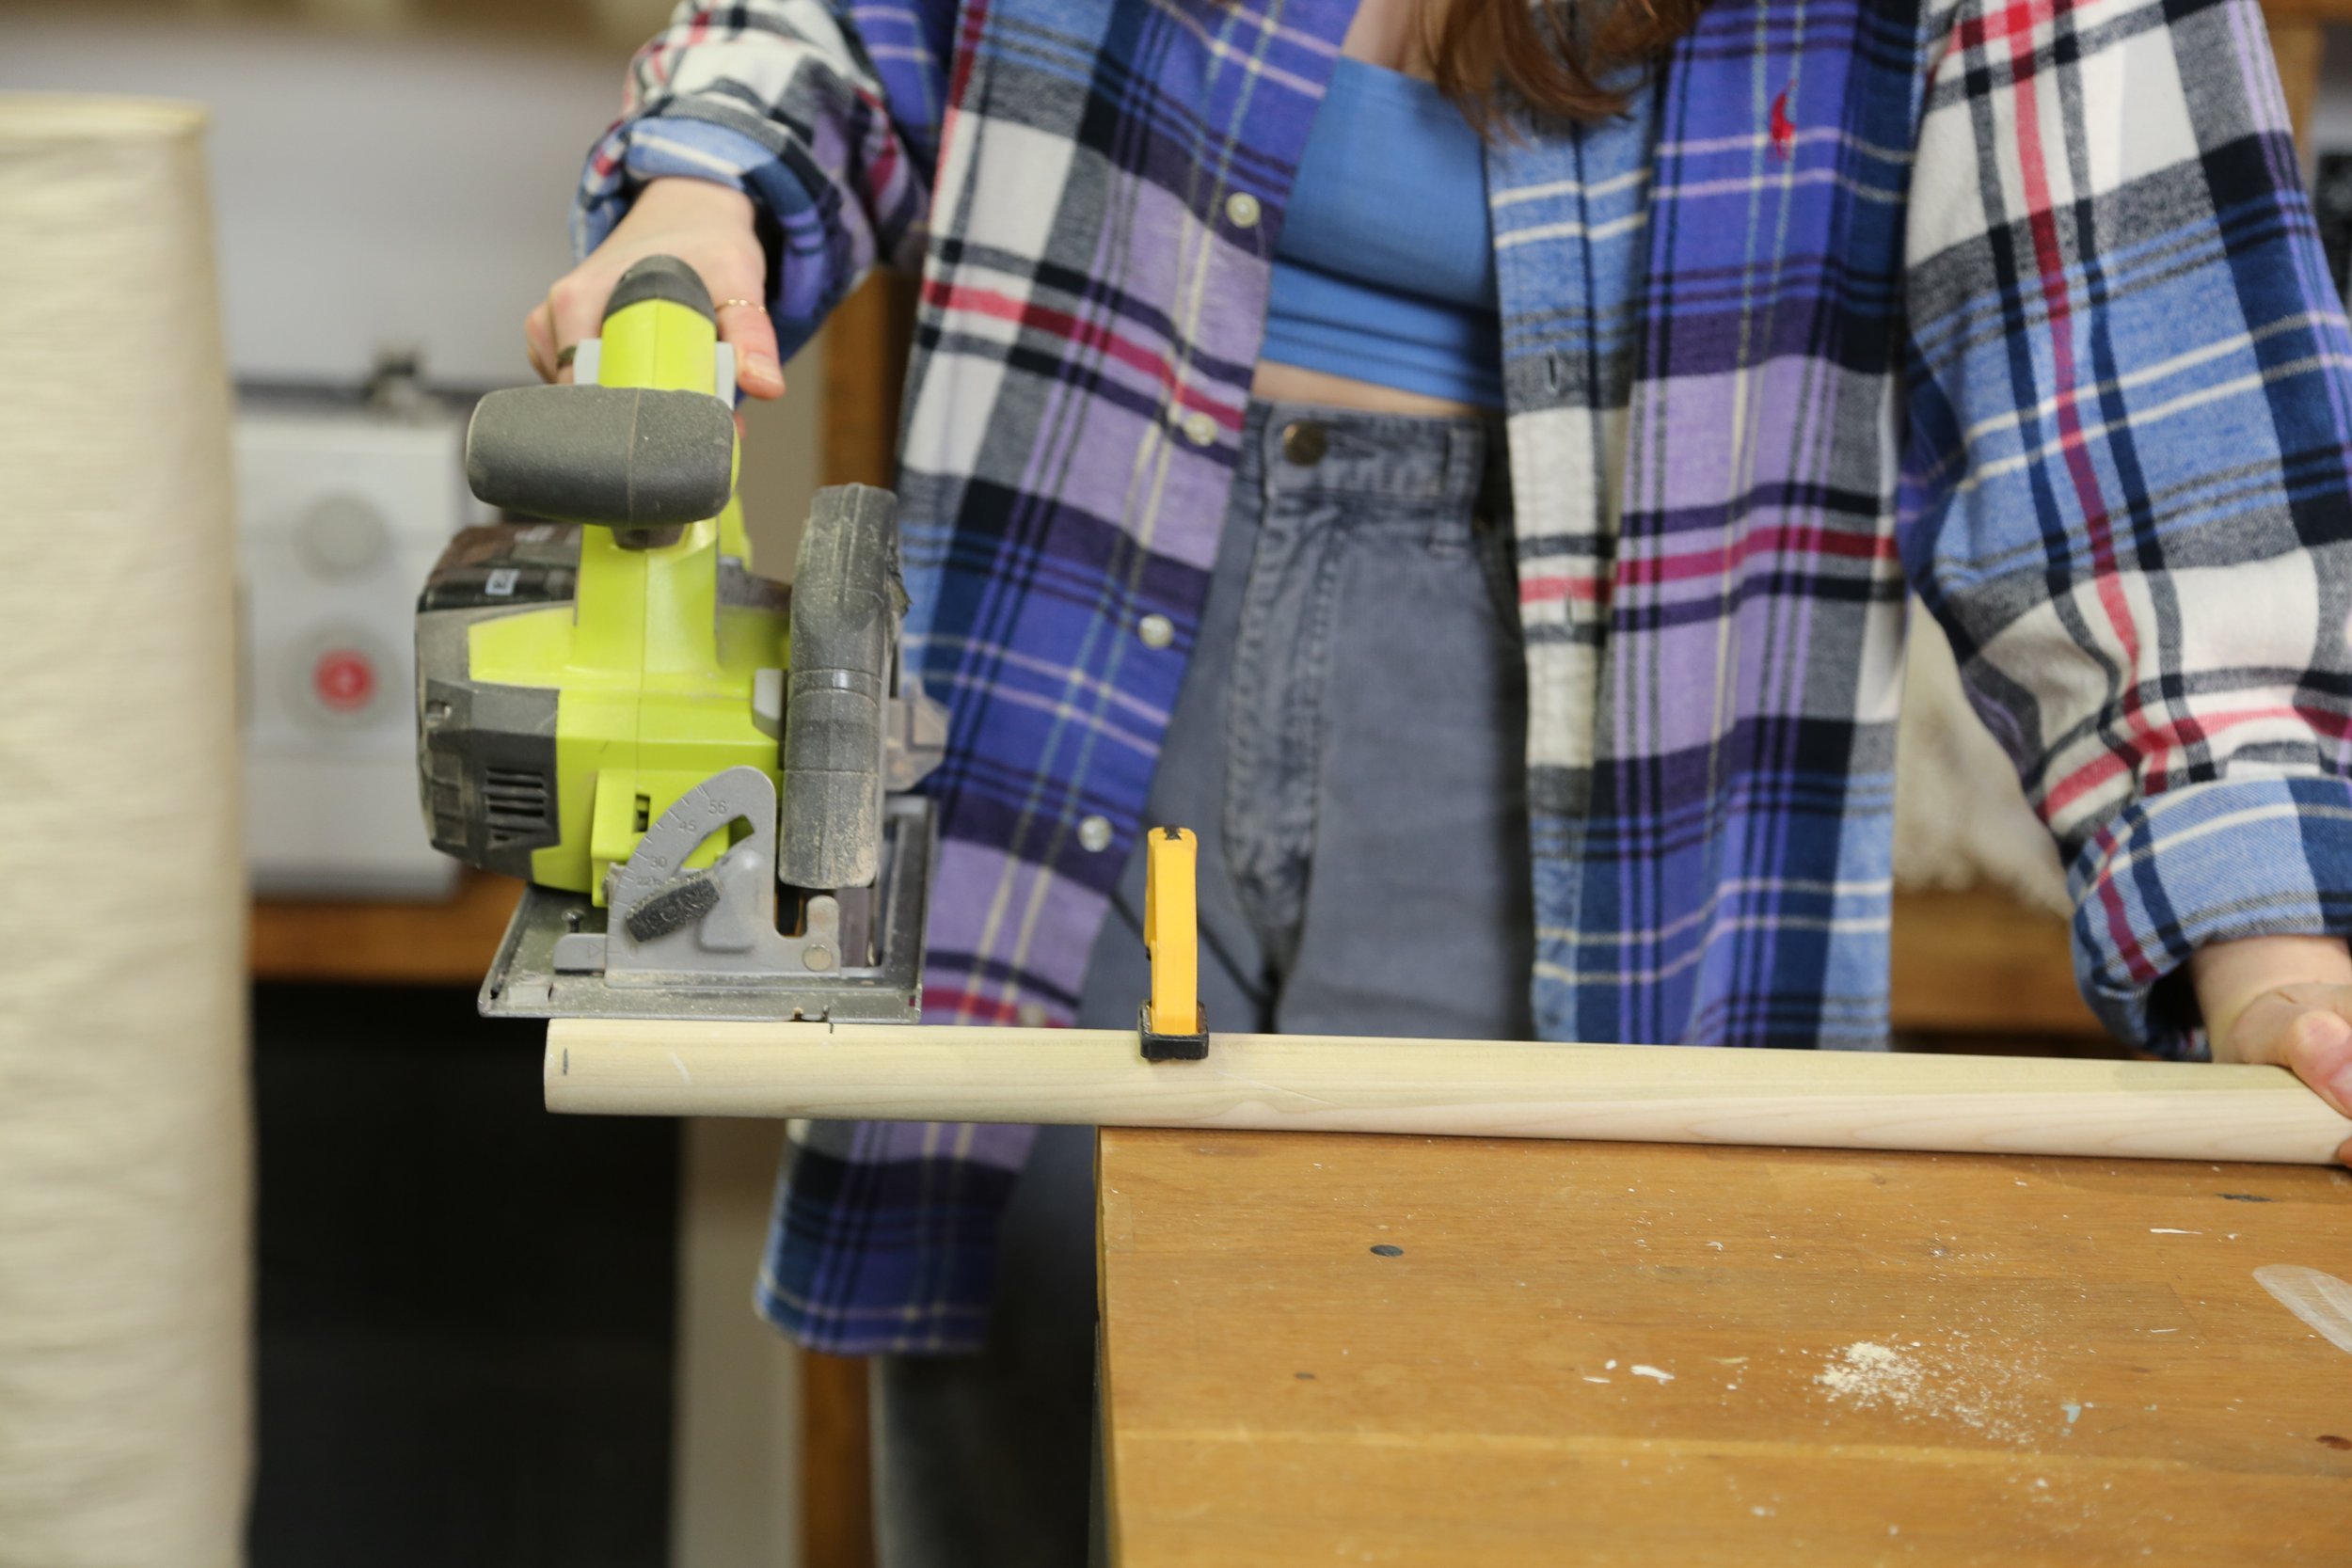
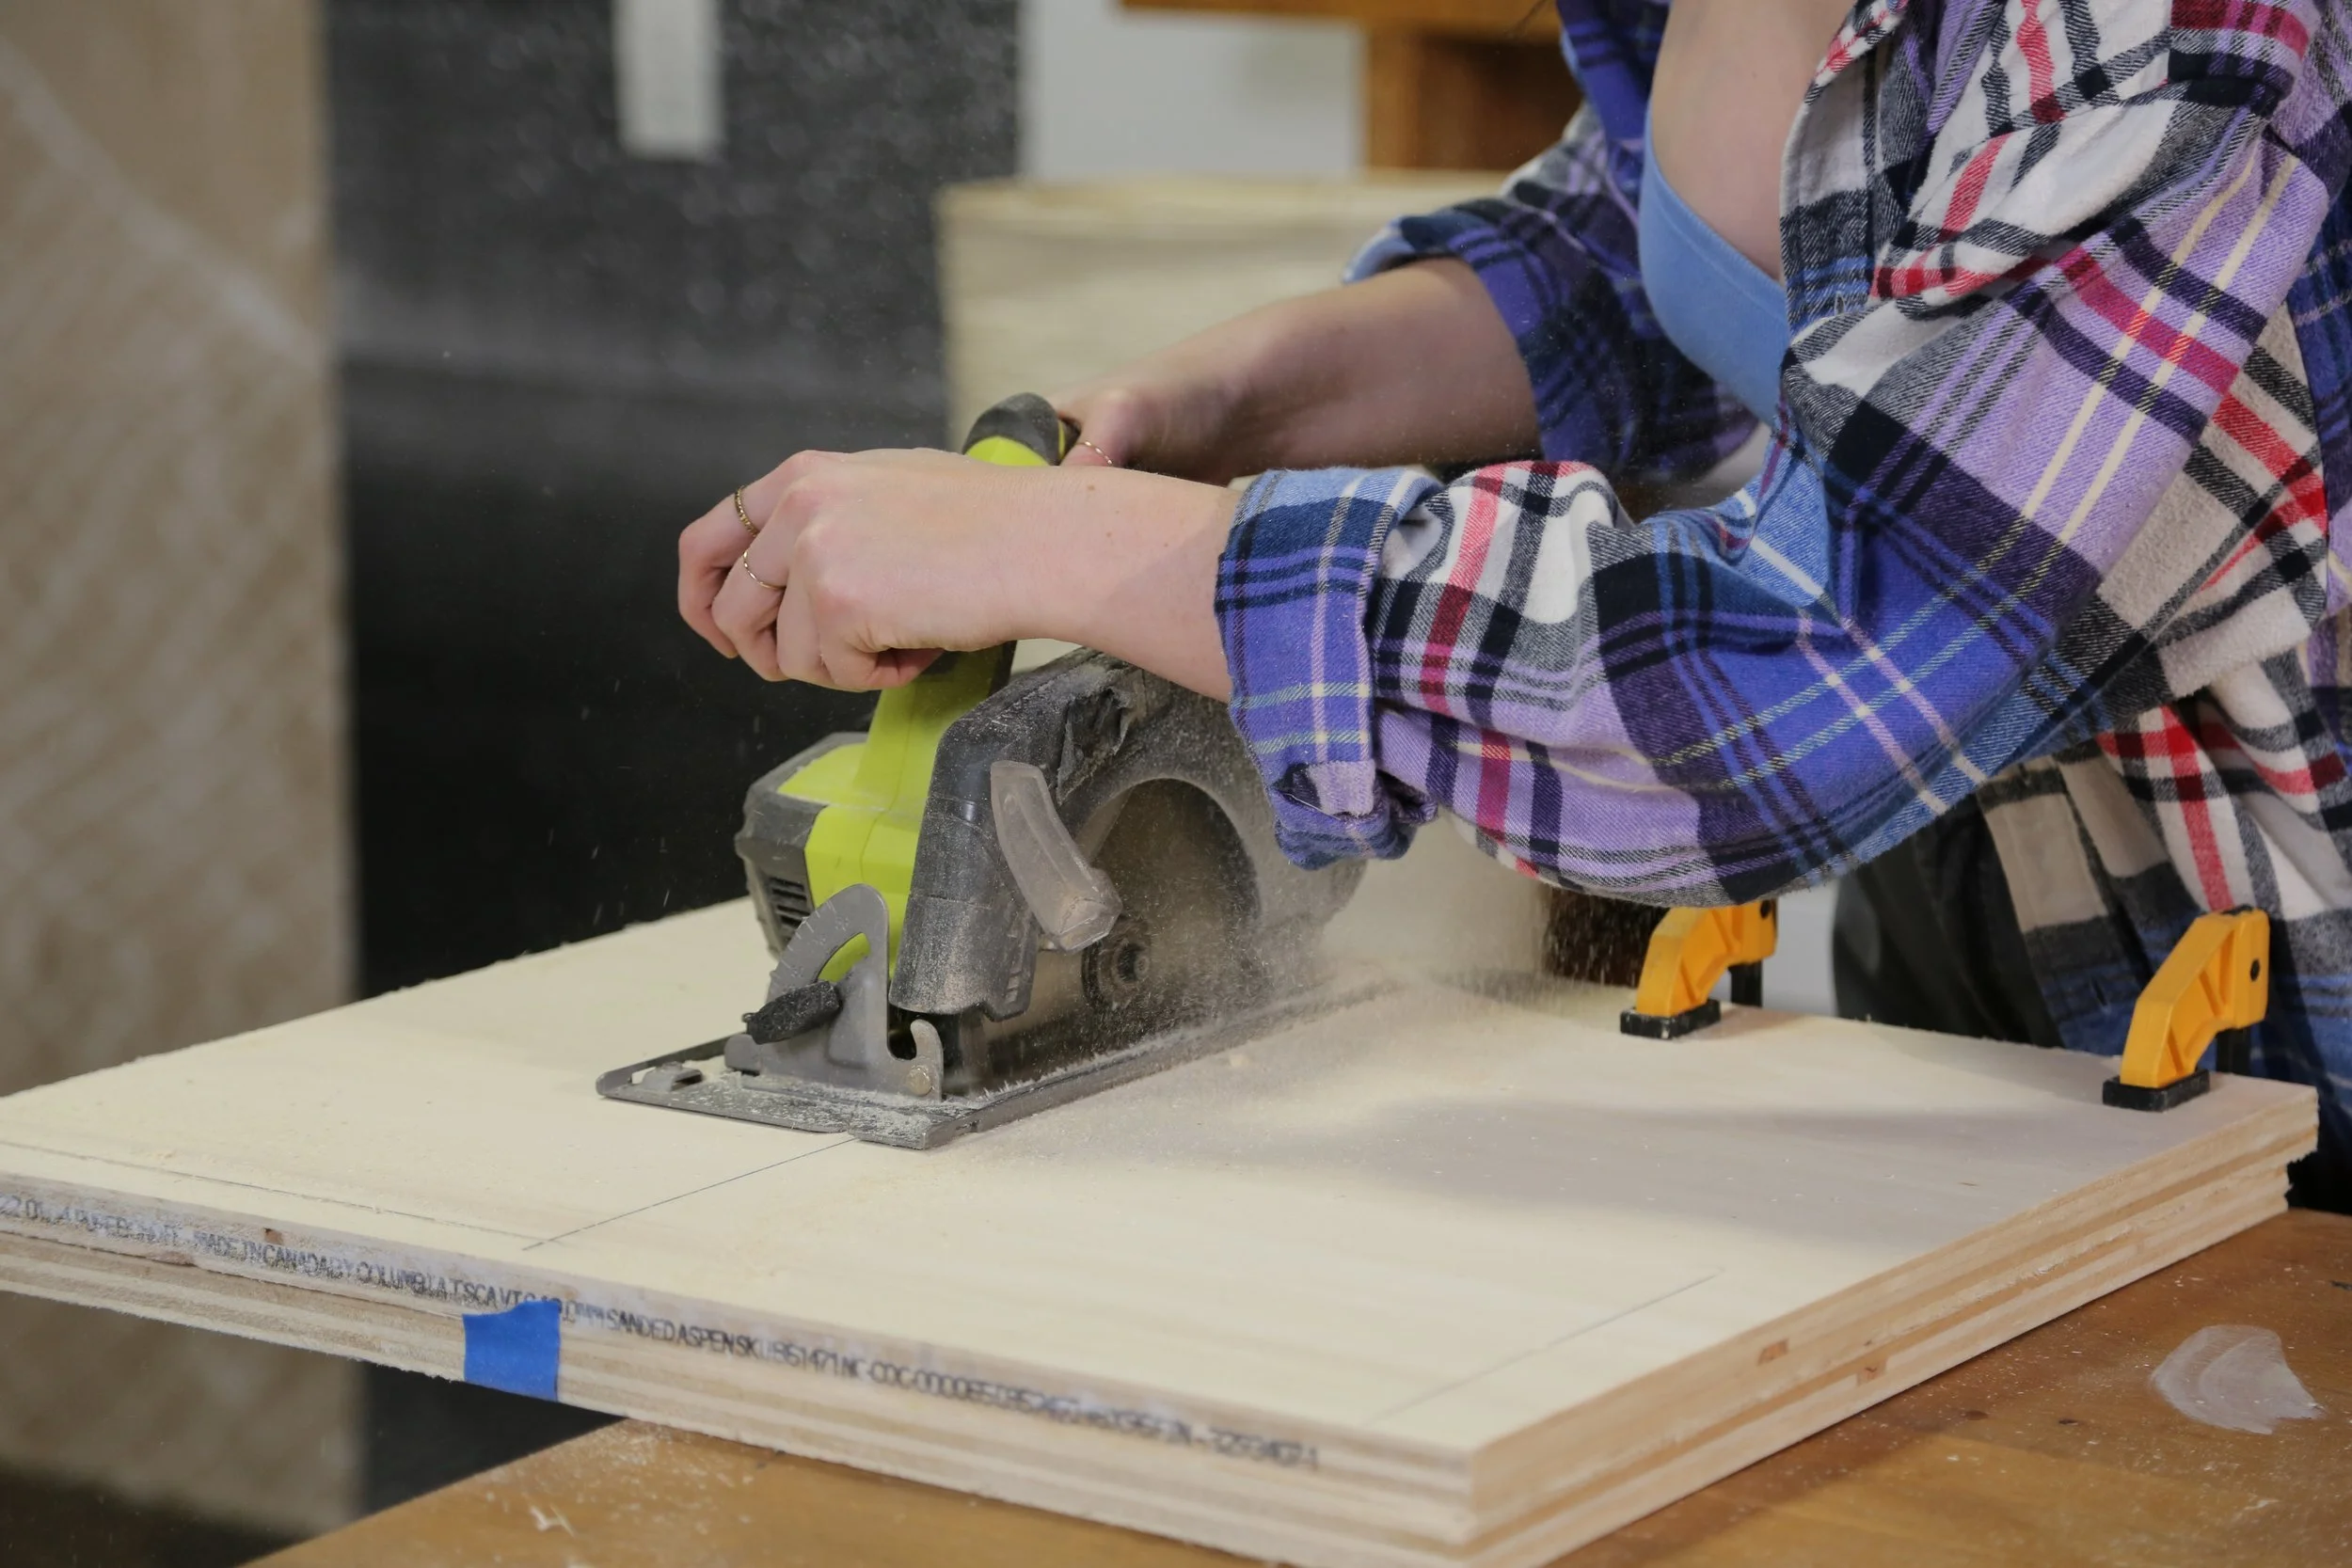
Because my basement has pretty short ceilings, the lamp stood a bit too tall, so I cut a couple inches down to make it fit my space a bit better.


On the piece that was taken off from the bottom, there was a wire mechanism that kept the shade in shape and helped it stand on the base pole. So I cut it off to use on the newly cut shade and attached it with hot glued it to the new bottom.


While the base dries, it’s time to focus on the pole stand. I got a wooden dowel, measured the height I needed it to be and cut it to size. I then chiselled the top to have a pointed circle in the middle, to fit into the lamp hanging mechanism.

Finally, now that the base layer is dry, I am cutting and sanding it to the size of base I desire. I added curved edges to give a more organic look rather than having sharp edges.


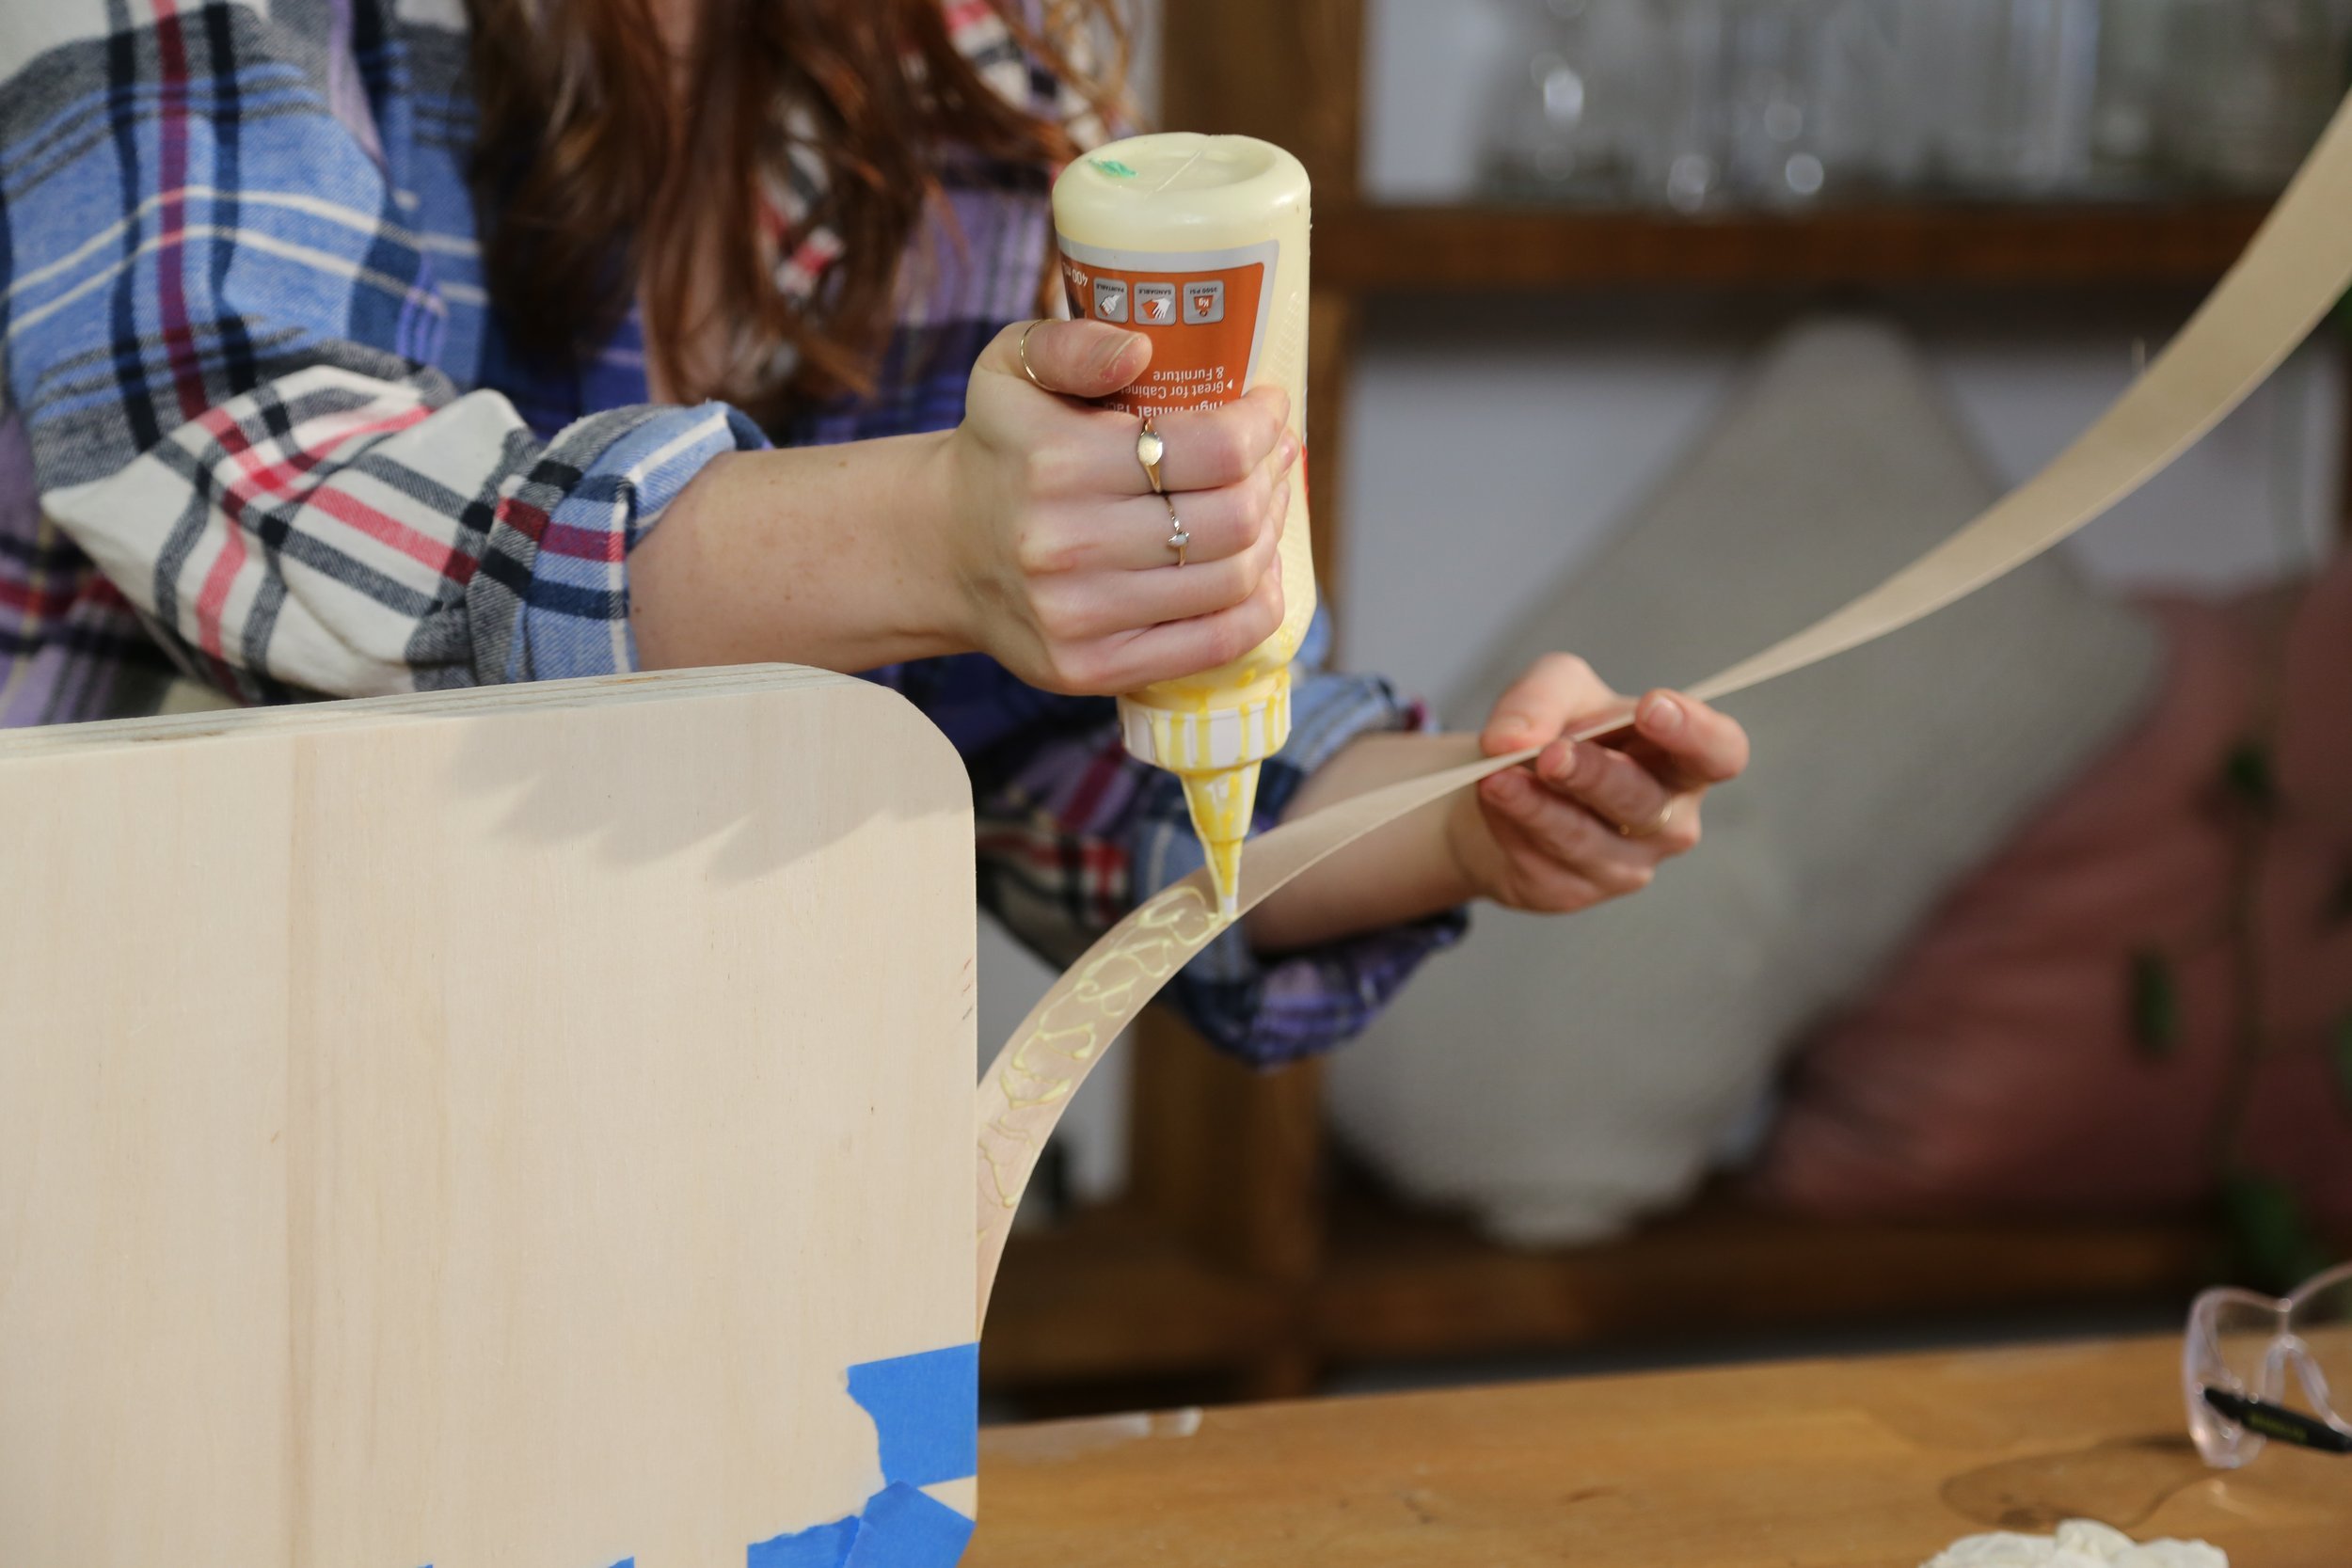
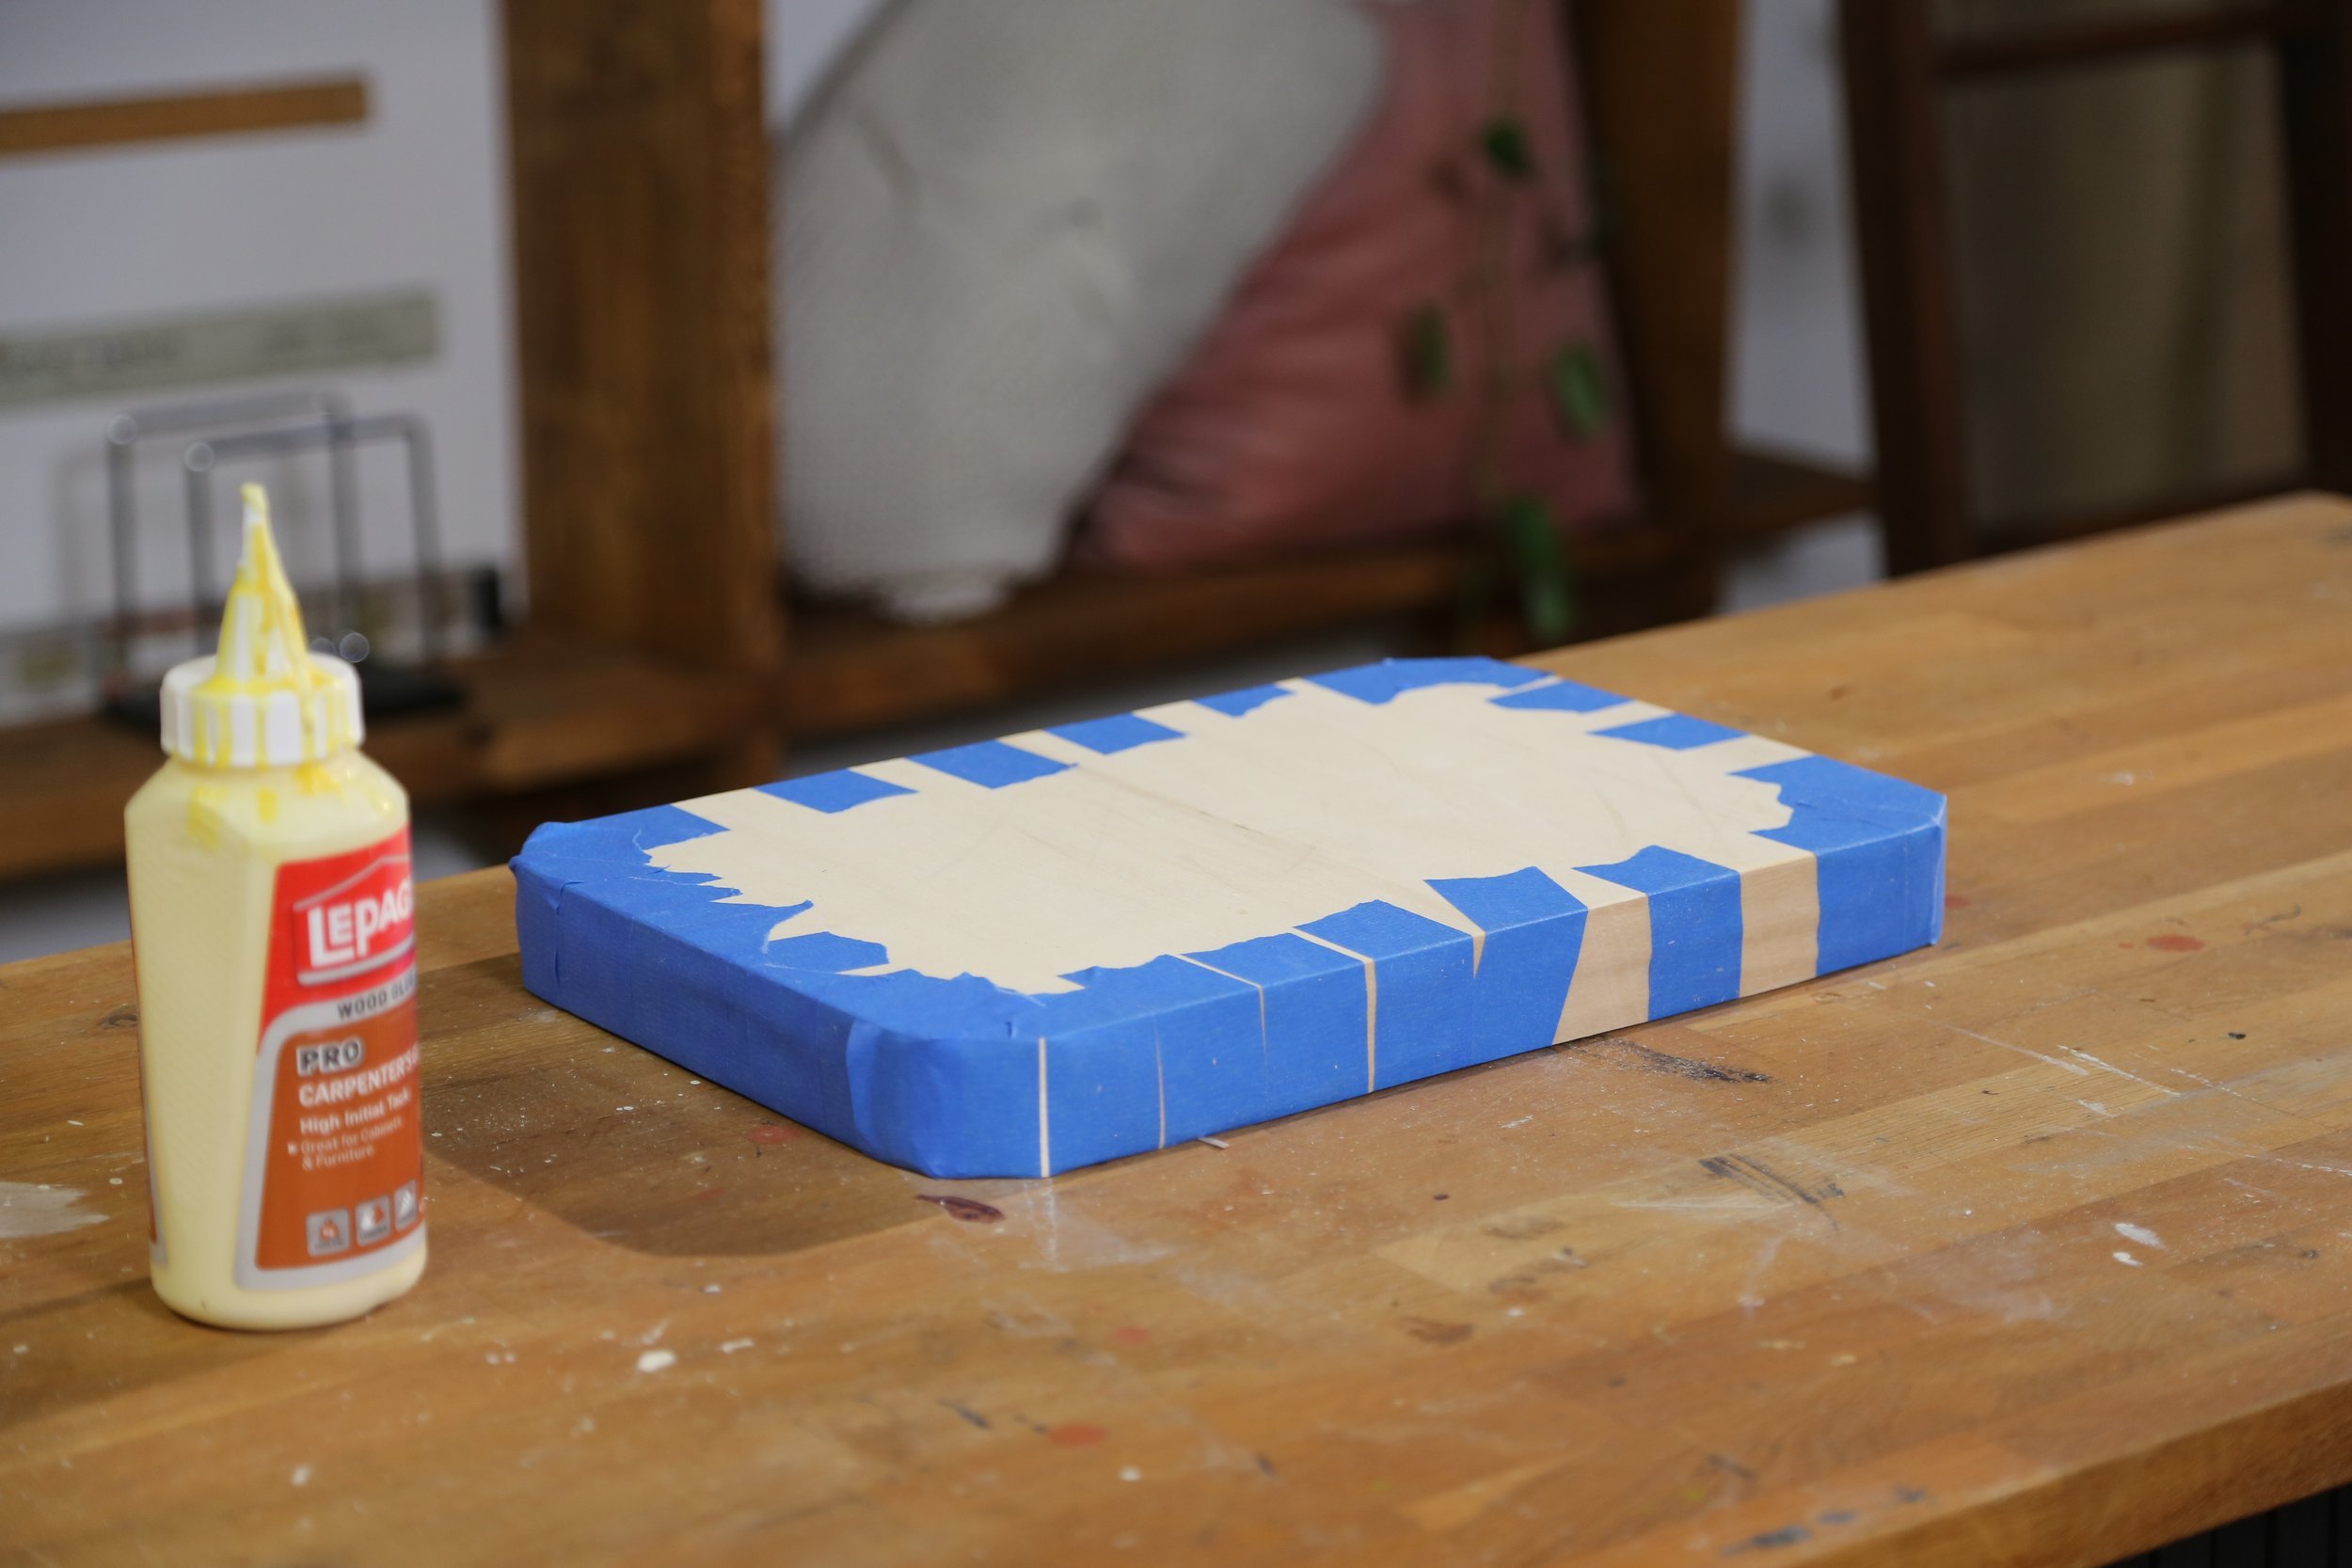
To make the sides look cleaner, I added edge banding with wood glue and taped them to dry together.
Next, using a drill bit the same size as the dowel, I drilled a hole half way through my base to stick it in to and wood glued it in, reinforcing it with a nail in the bottom.


I chiselled notches in the dowel for the light bulbs and lamp shade to sit on along the pole.


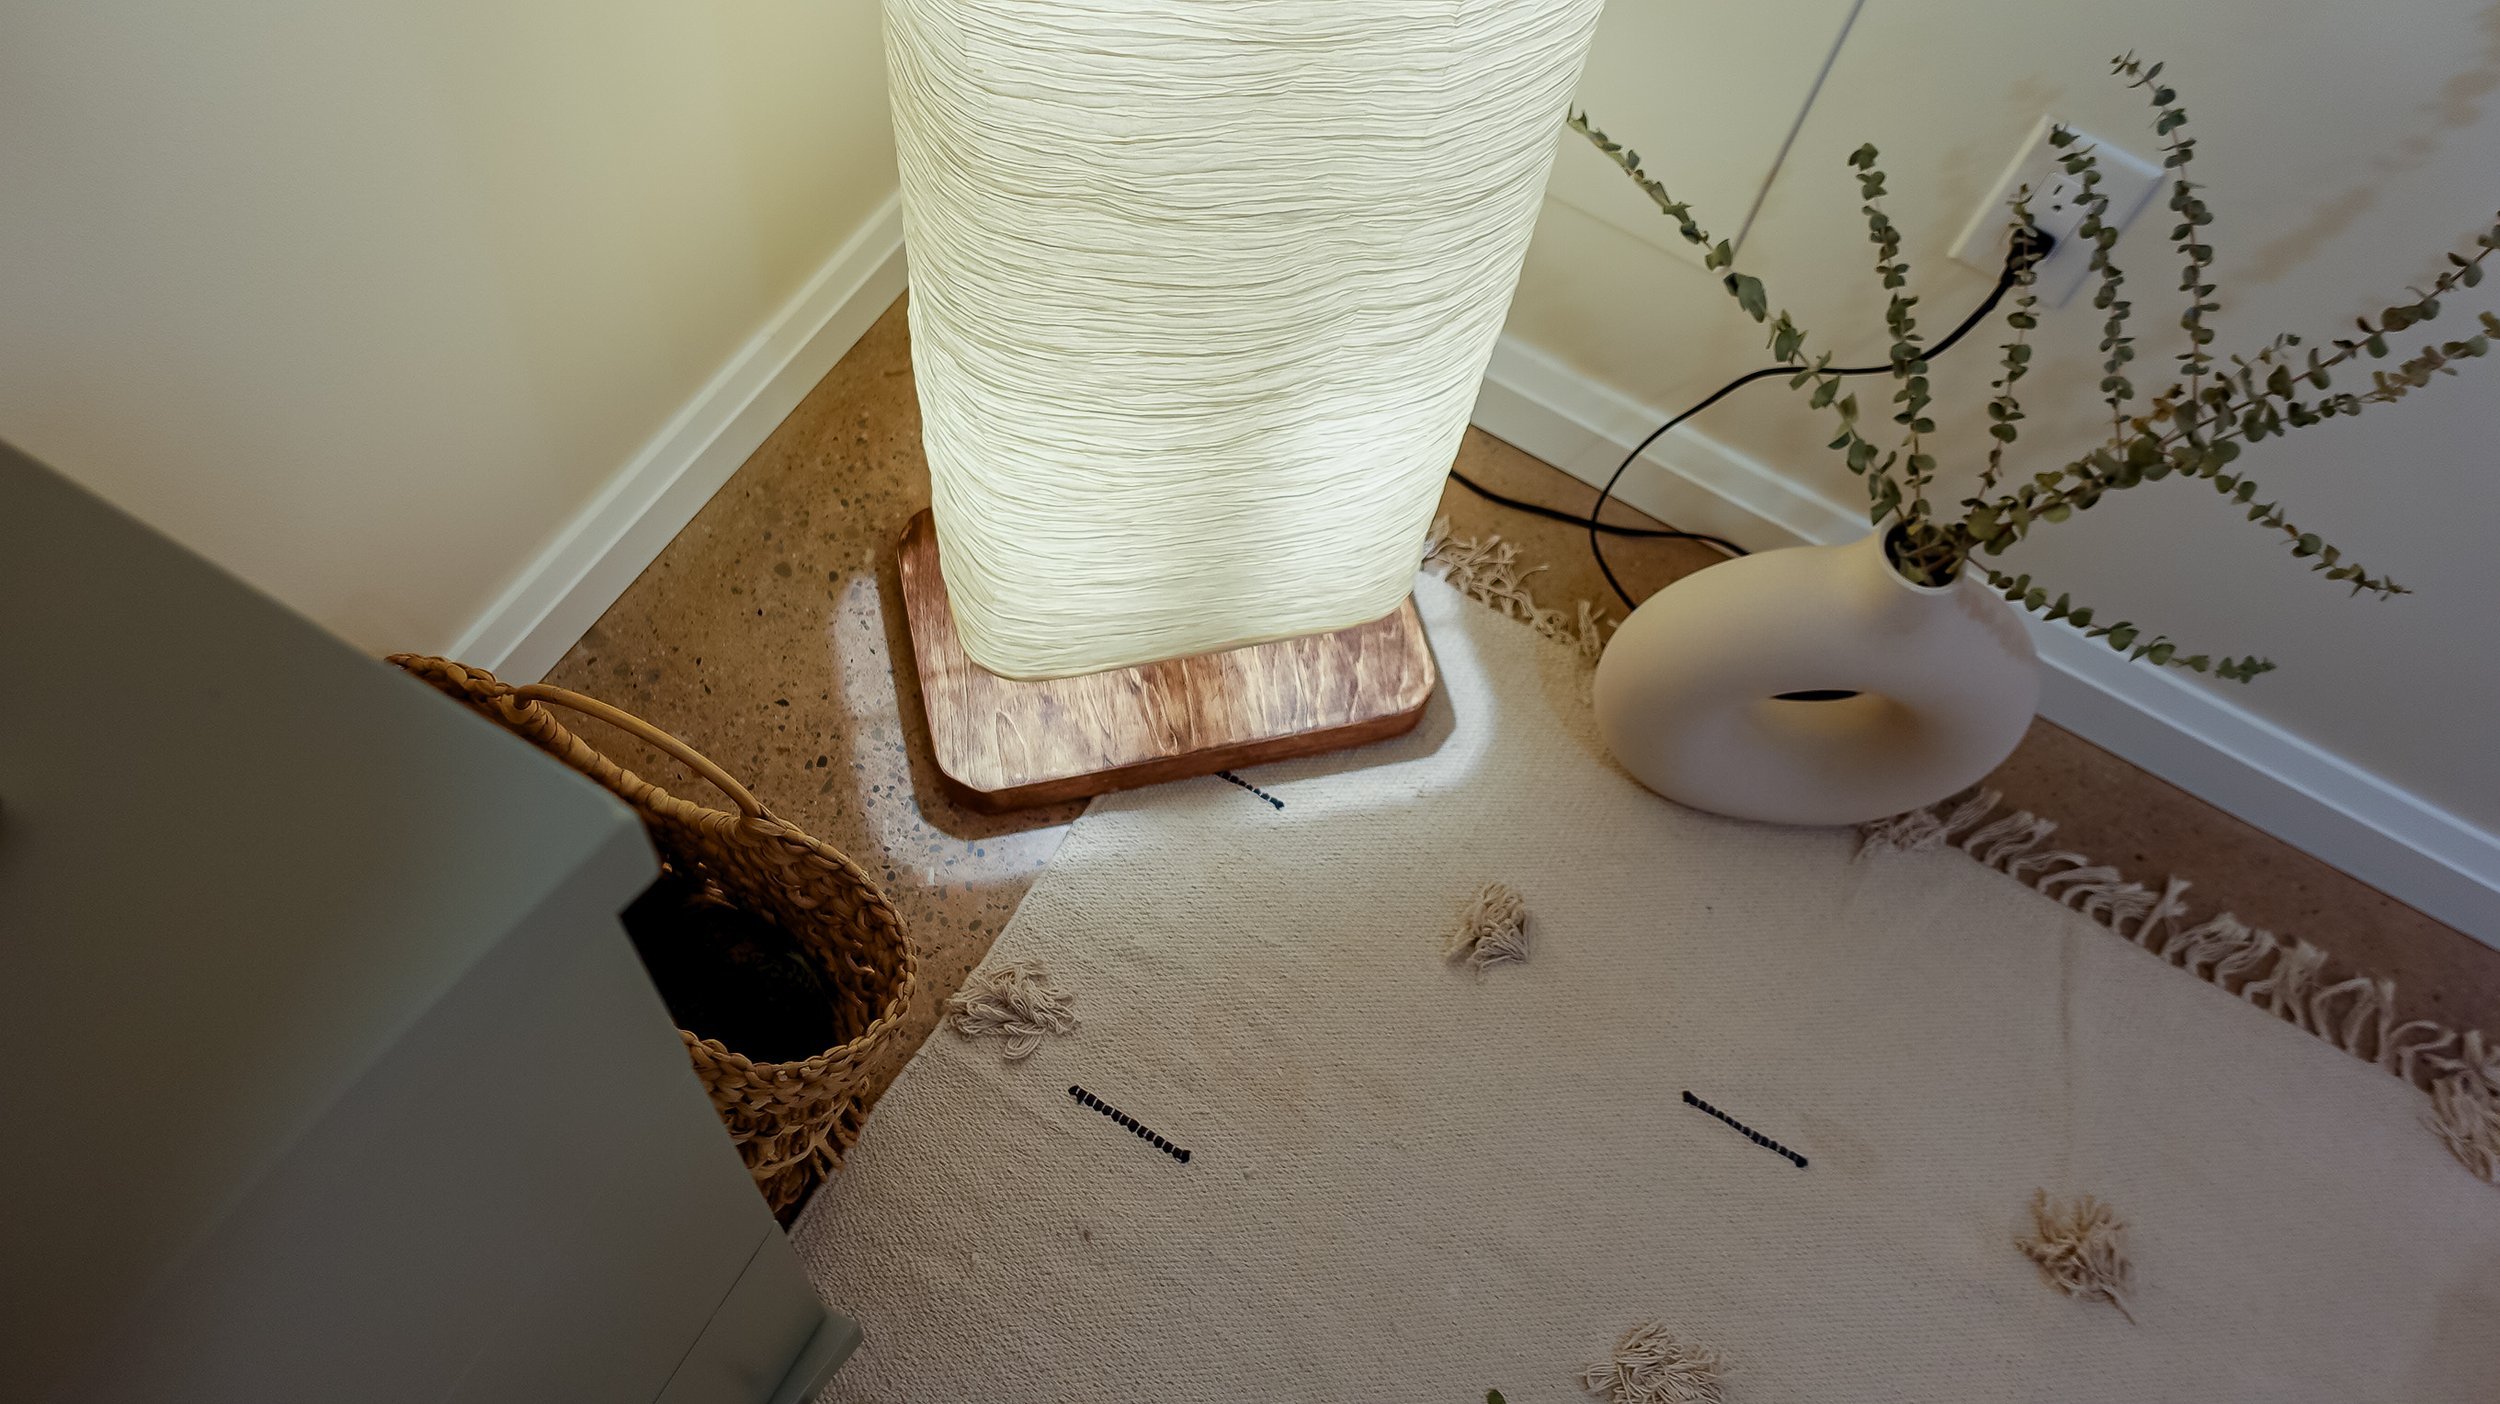
Lastly, I gave it a nice stain to match my spaces, attached the lights and it was done!