Upcycling Two side tables into 4 to sell them for a profit
Okay guys, I have some exciting news. This is the first part of a new series I will be working on called Project Profit. Throughout this series, I'll be finding second-hand items, whether they cost very little or no money that could be on the side of the road, Facebook marketplace, at the thrift store, and bring you through the process of how I upcycle them to give them a fresh new look. After upcycling them, I will be trying to sell them on marketplace for a profit, which will then be donated to a charitable organization.
If you don't know me, my name is Rachael, a host at The Sorry Girls. You may have seen some of my past DIYs and upcycle home decor projects that I have done for my apartment, but one thing I strive to do with every project is keep it on a budget. I have a bit of an advantage here because The Sorry Girls’ have a huge supply room filled with leftover materials from past projects. So throughout this series, I'm going to try my best to utilize what we already have and that way I have to invest as little as possible into new materials and we can keep those profits up.
Okay, so hopefully you get the gist, let’s get into flipping these tables!
Before
Not too long ago, I was scrolling on Facebook Marketplace and I came across these side tables. They were selling $15 for the pair and at that price, I felt like they had a lot of potential. So I drove over to the east end of the city to go pick them up. After getting and examining them, aside from some dings and tape on the body, they were in pretty good shape. The glass tops were also almost in perfect condition, however, they were clearly too small for the top. Now I could have trimmed down the table tops to match the size of the glass, but because the glass is in such great condition, I then got the idea to actually create two different sets of matching side tables in completely different styles, one set using the body and one set using the glass tops.


Side Table Set 1
Let’s start off with what I did for the first set…
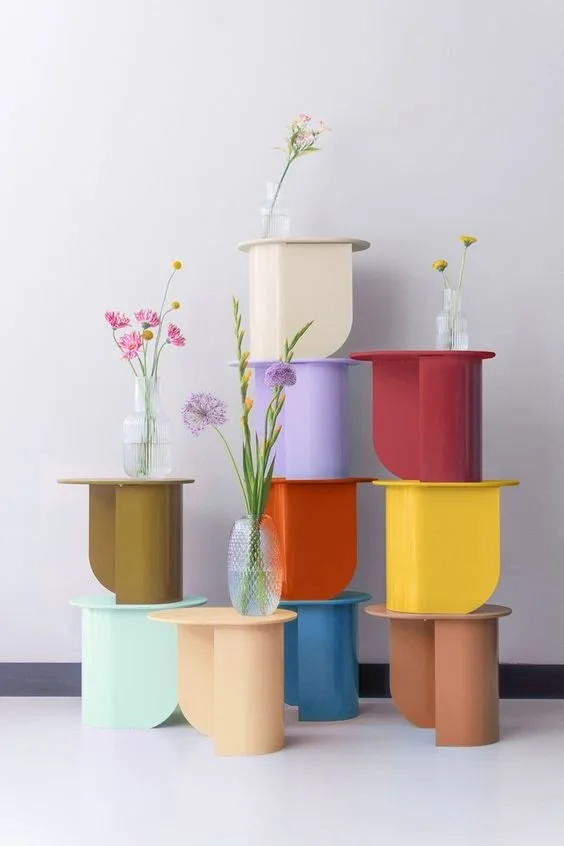
Setting the glass aside, I saw these images on Pinterest and what I really love about them are the pops of colour and the abstract geometric feeling that they have. Now I know I'm not going to get something that looks exactly like these, but this is what acted as inspiration for these tables.

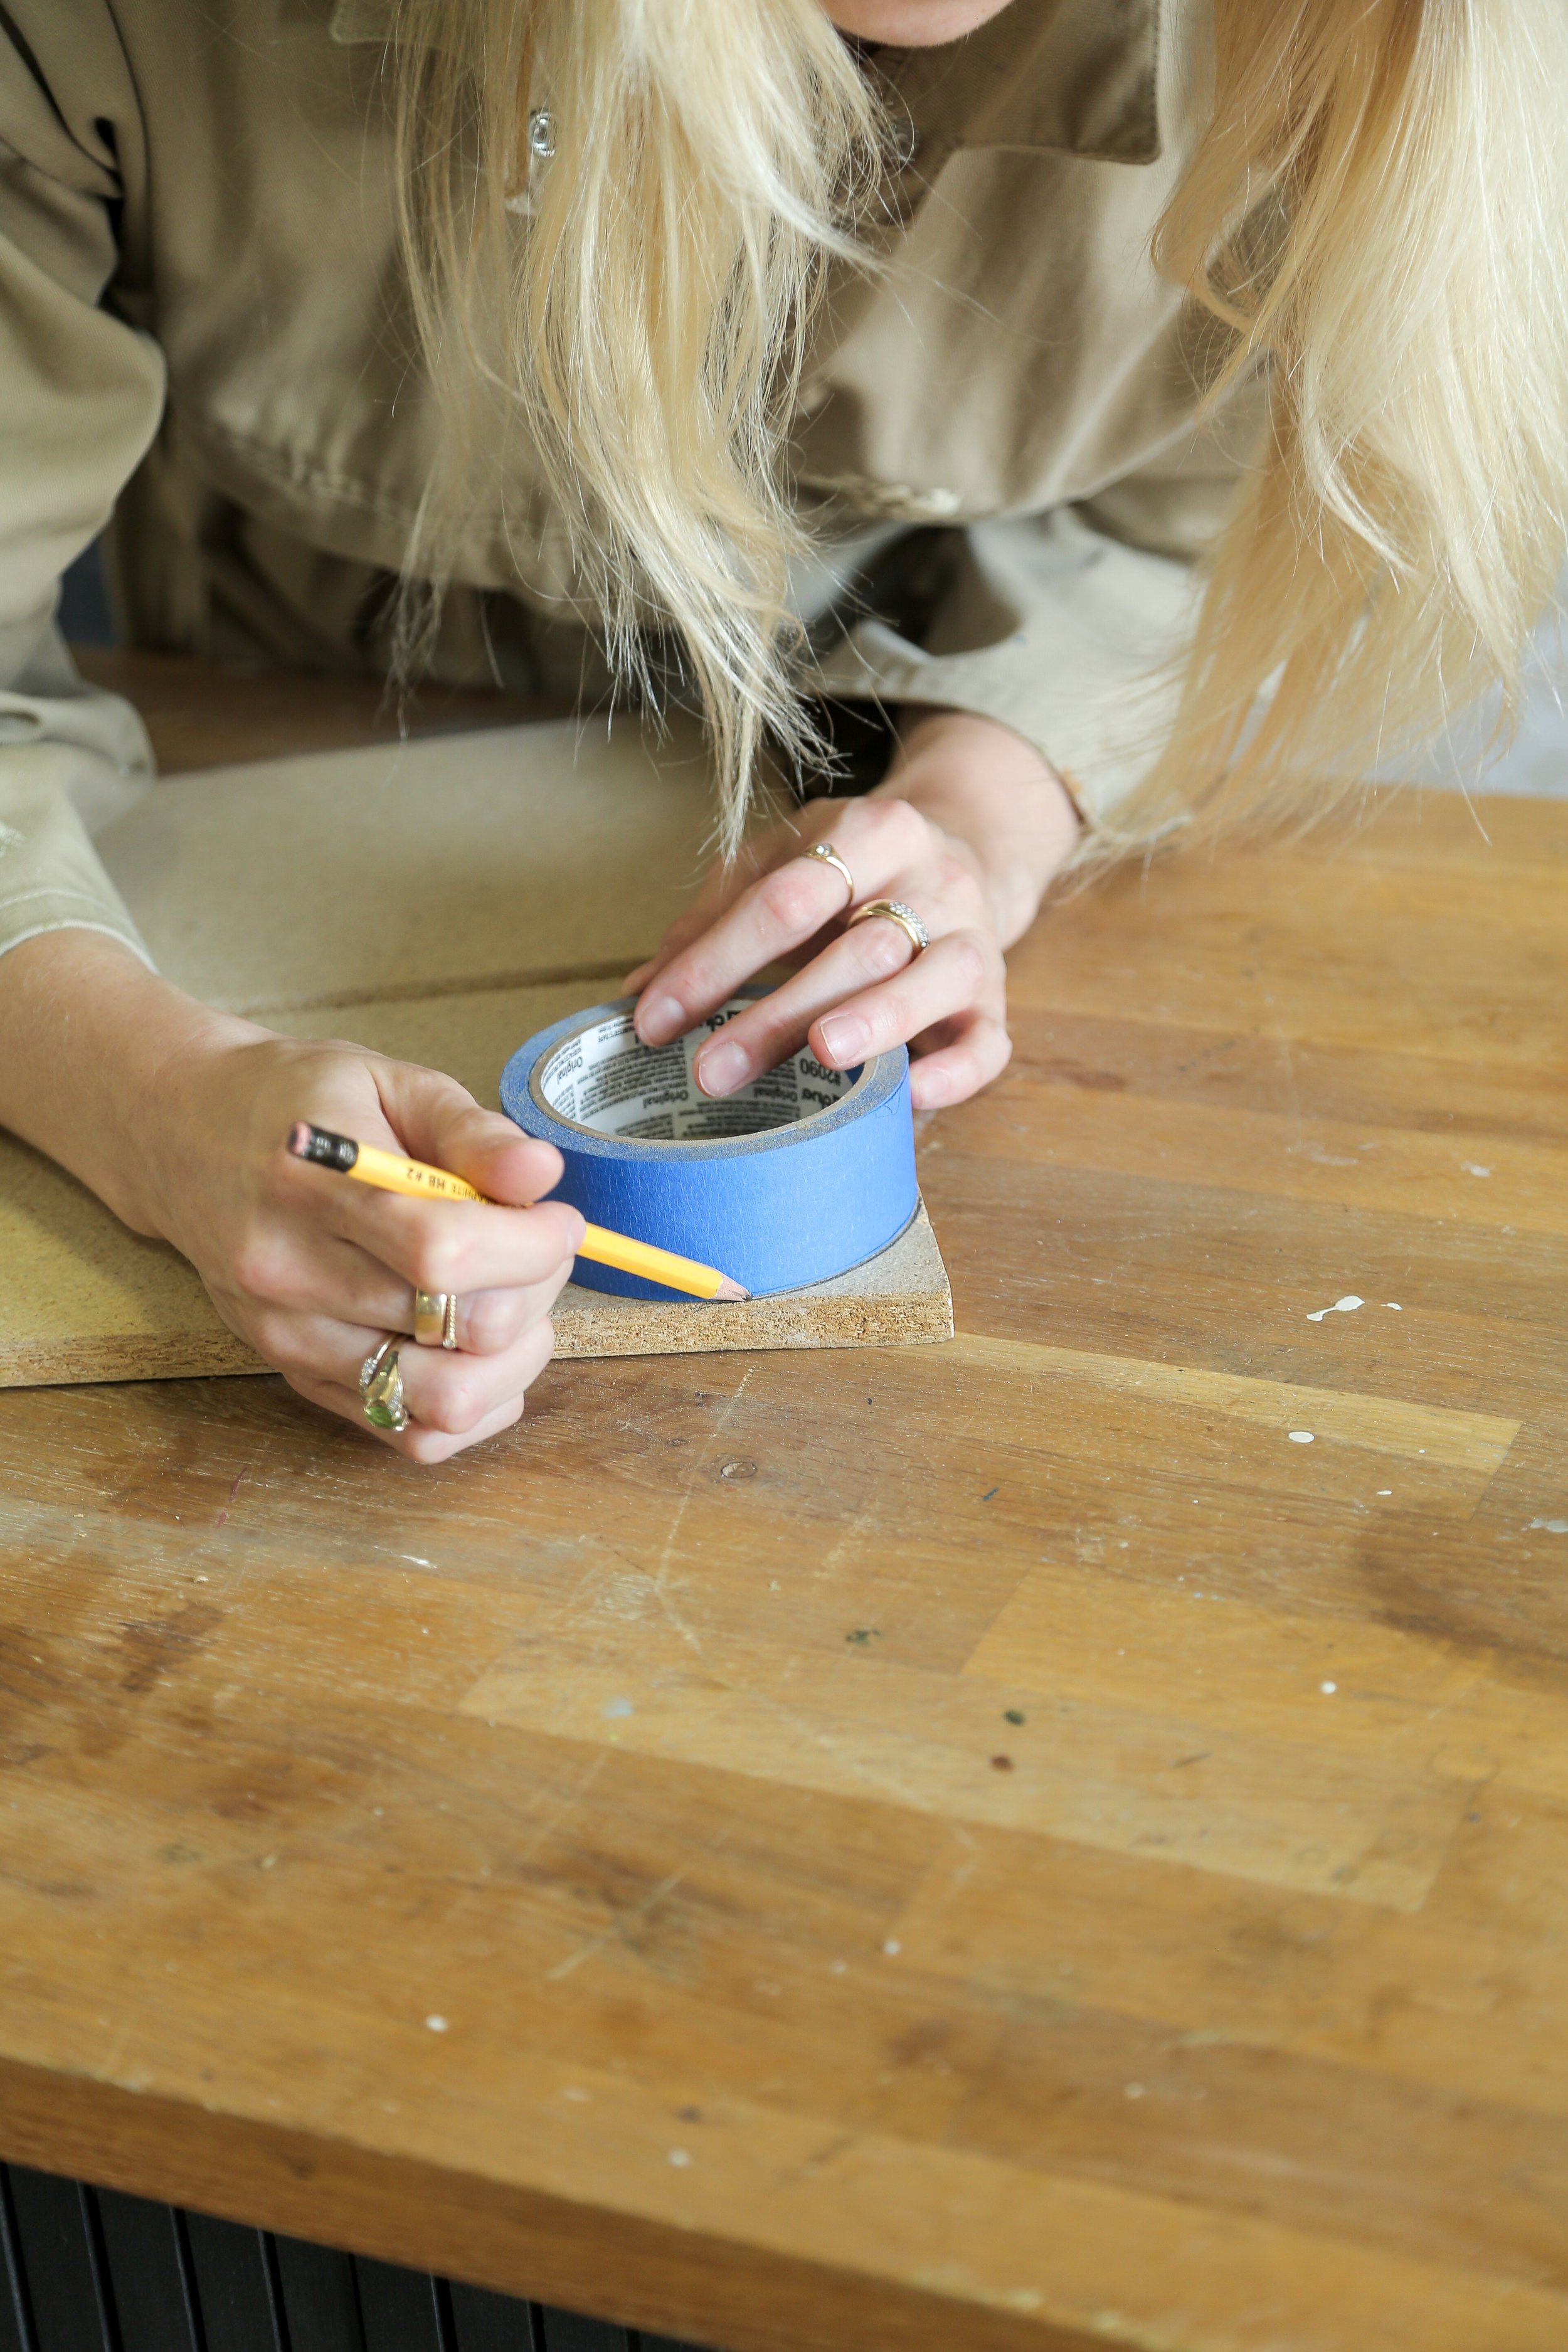
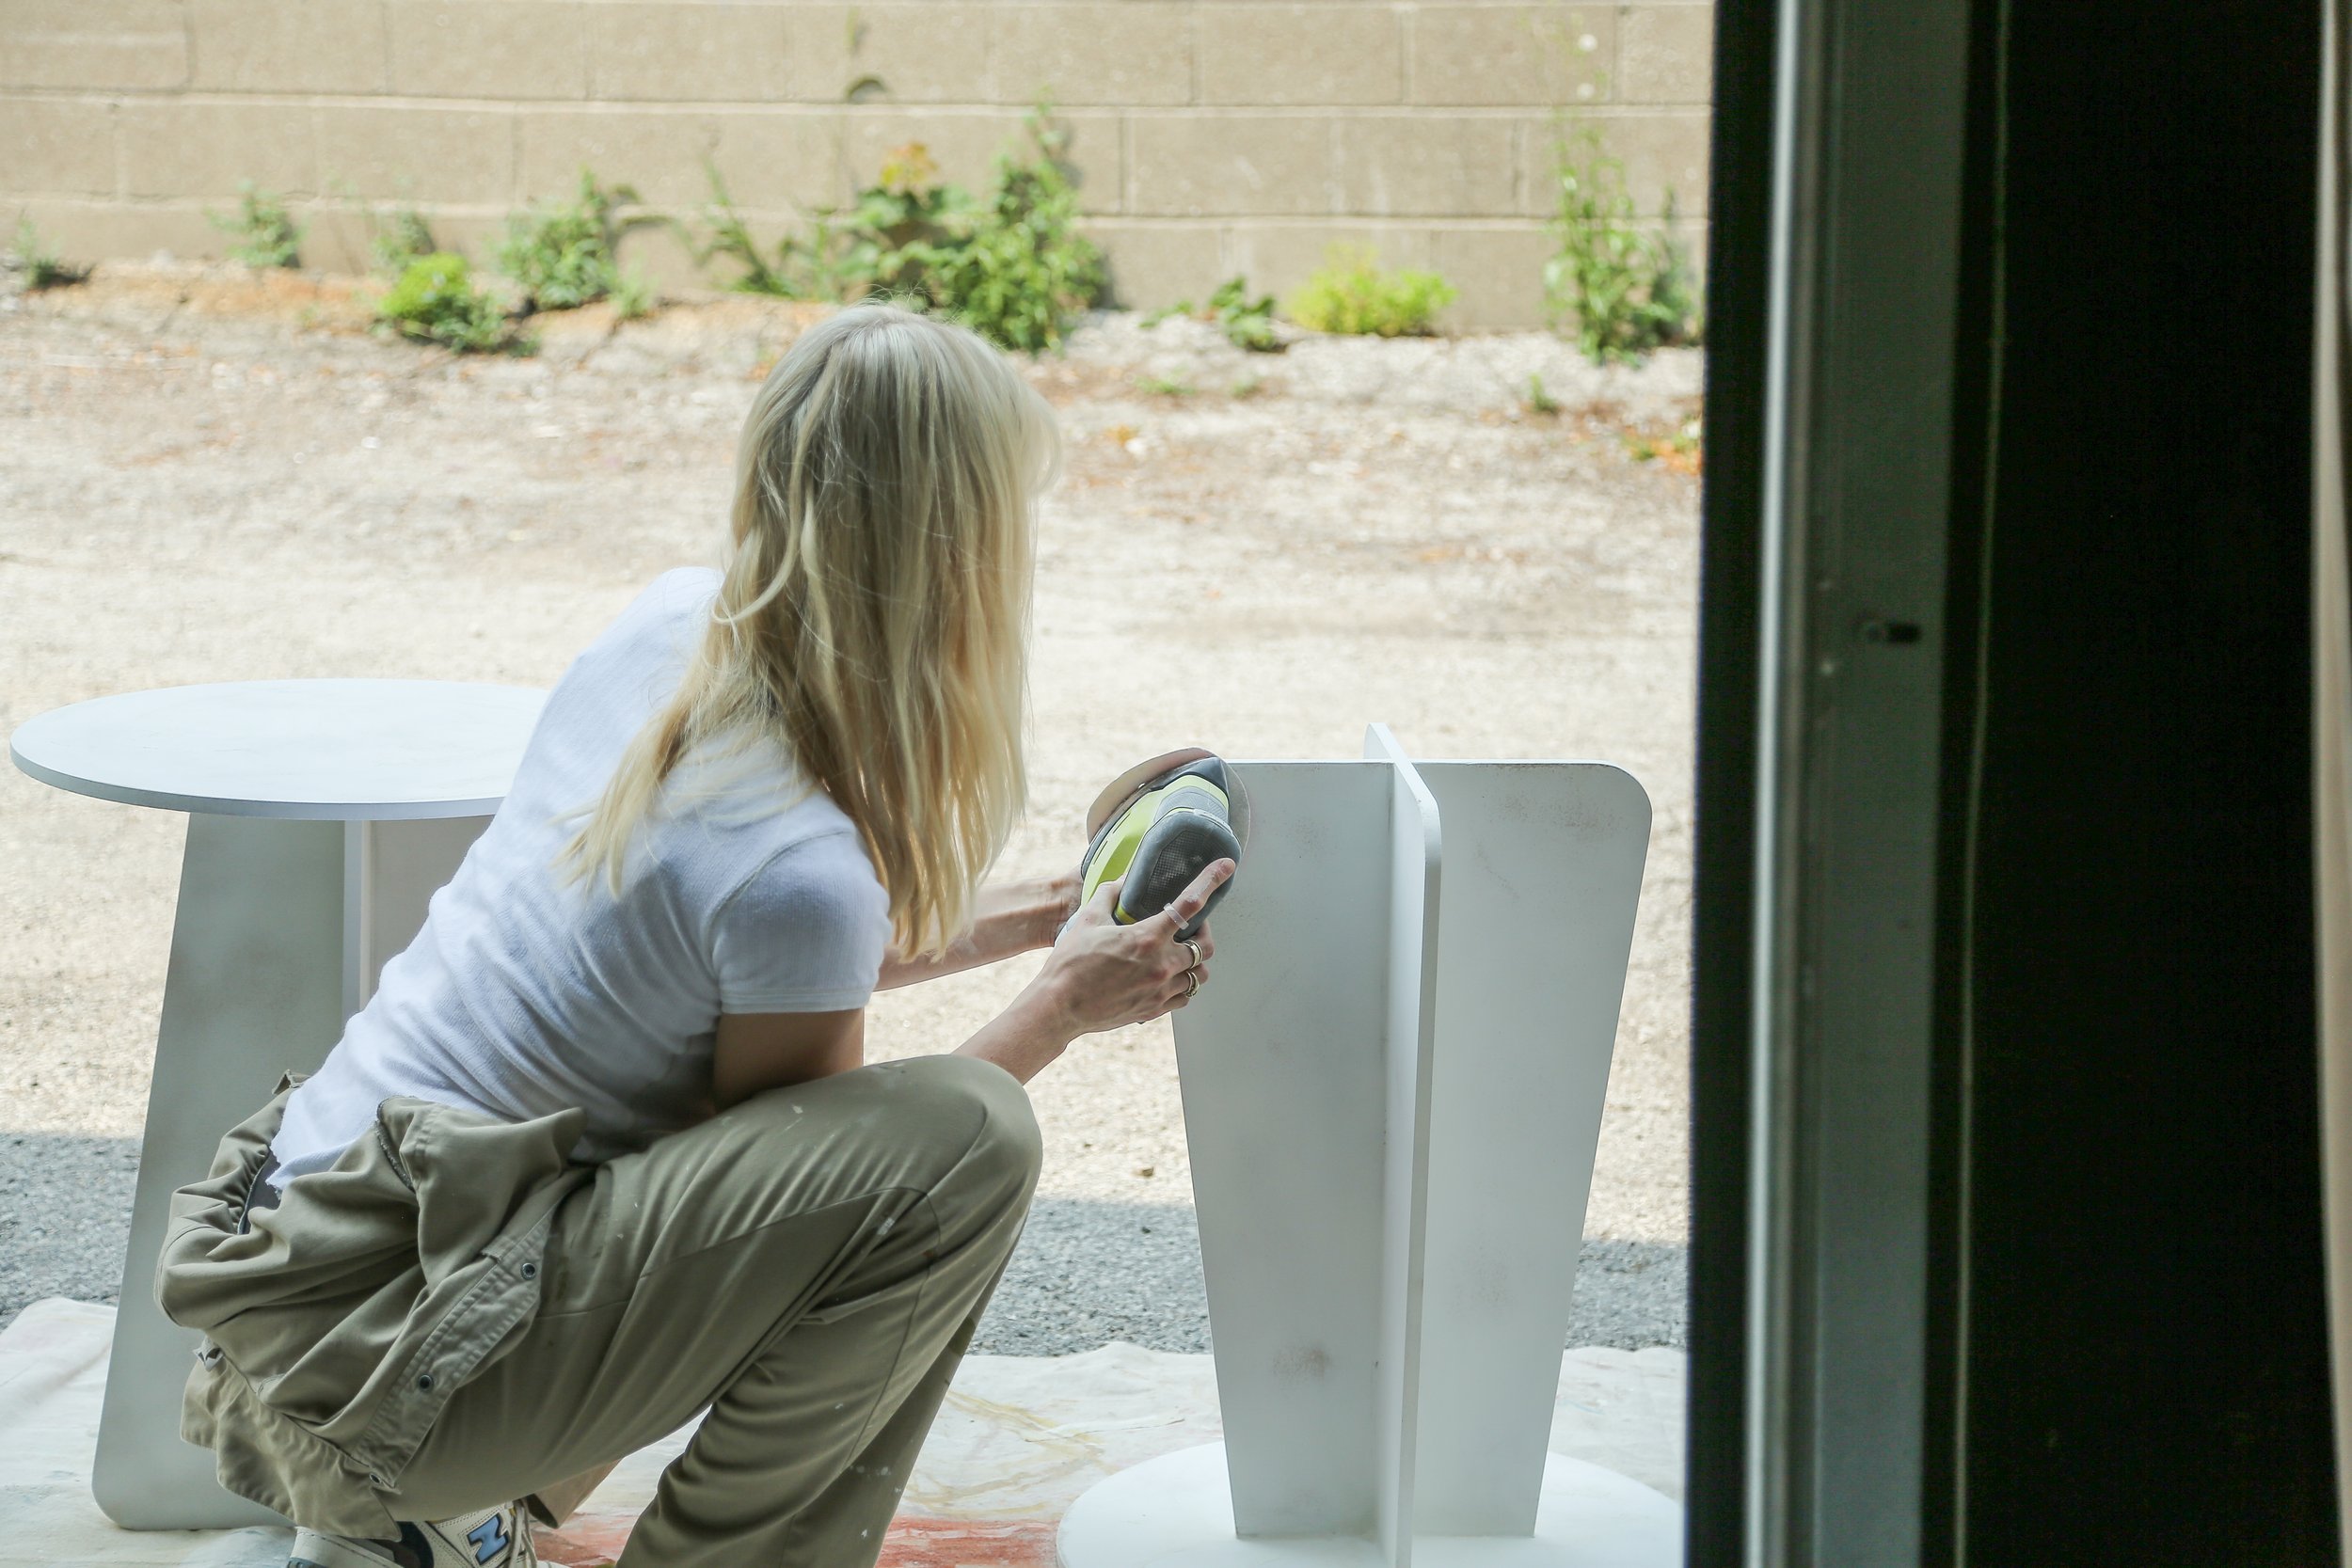
My plan was to round out the bottom corners just to give it an overall softer look, then go in with a lacquer paint to give it a protective finish and shine. I separated all the table base pieces and using a household object (I used a roll of tape), I marked the shape I wanted to cut on one of the corners. Once I had my desired shape traced out and my piece clamped to the table, I just cut that shape out using a jigsaw and then gave it a quick sand. After I was happy with this shape, I'm used that piece to trace onto all the other leg panels just so that they were as symmetrical as possible. Once they were all cut, I actually just clamped them all together to sand them, so make sure they were all the exact same shape.


Now while it was a nice feature that these were collapsible, I was a bit concerned that once I lacquered them, taking them apart and putting them back together would end up damaging the nice coating I was going to put on it. So I made the executive decision to glue the whole table together using some wood glue, as well as some brad nails just in the top so that it’s nice and secure.
Once that was finished, I went in with some wood filler just in the seam to clean up that space and then to finish it off, I used some spackle just around the outer edges of the MDF just so that it doesn't feel like MDF in the end.
Once the filler was dry, I then went in and sanded the whole thing to get it ready for the primer paint. I used three layers of primer and sanded in between each layer of paint. This is really important to get it as smooth as possible at this stage because once this whole thing has a glossy layer on it in the end, you're going to see any sort of imperfections from certain angles just depending how the light hits it.
Next, it was time to pick a colour and I was really striving for the danish pastel style from the inspiration pictures, so I decided to go with turquoise. And if you like it, that's great, hopefully the buyers do too! I was intrigued because this specific paint is a lacquer spray paint, which is the look I was going for. (This was my first purchase of the project, I got 3 cans and each costed about $16). I set up a spray paint tent outside and sneakily stole the Lazy Susan from the kitchen so I could rotate the tables easily while spraying. While spraying, I went from top to bottom and made sure that I was holding my can about five to six inches from the piece itself. This will help you to get even coverage and avoid any paint drips. The lacquer paint dries pretty fast, so once I was done with one layer, I was able to start from the beginning and go over it again. In the end, I ended up doing three layers in total. Once the base was dry, I flipped it over and did the same to the top. This lacquer spray paint adds an super hard factory-like finish, so I'm glad I didn't have to buy more than one product to get the effect that I was going for.


Here is how the first set of tables turned out! I love the final colour choice and all styled, it made me kinda want to keep them myself… but that defeats the purpose of the challenge, so now I have to sell them! :)


Side Table Set 2
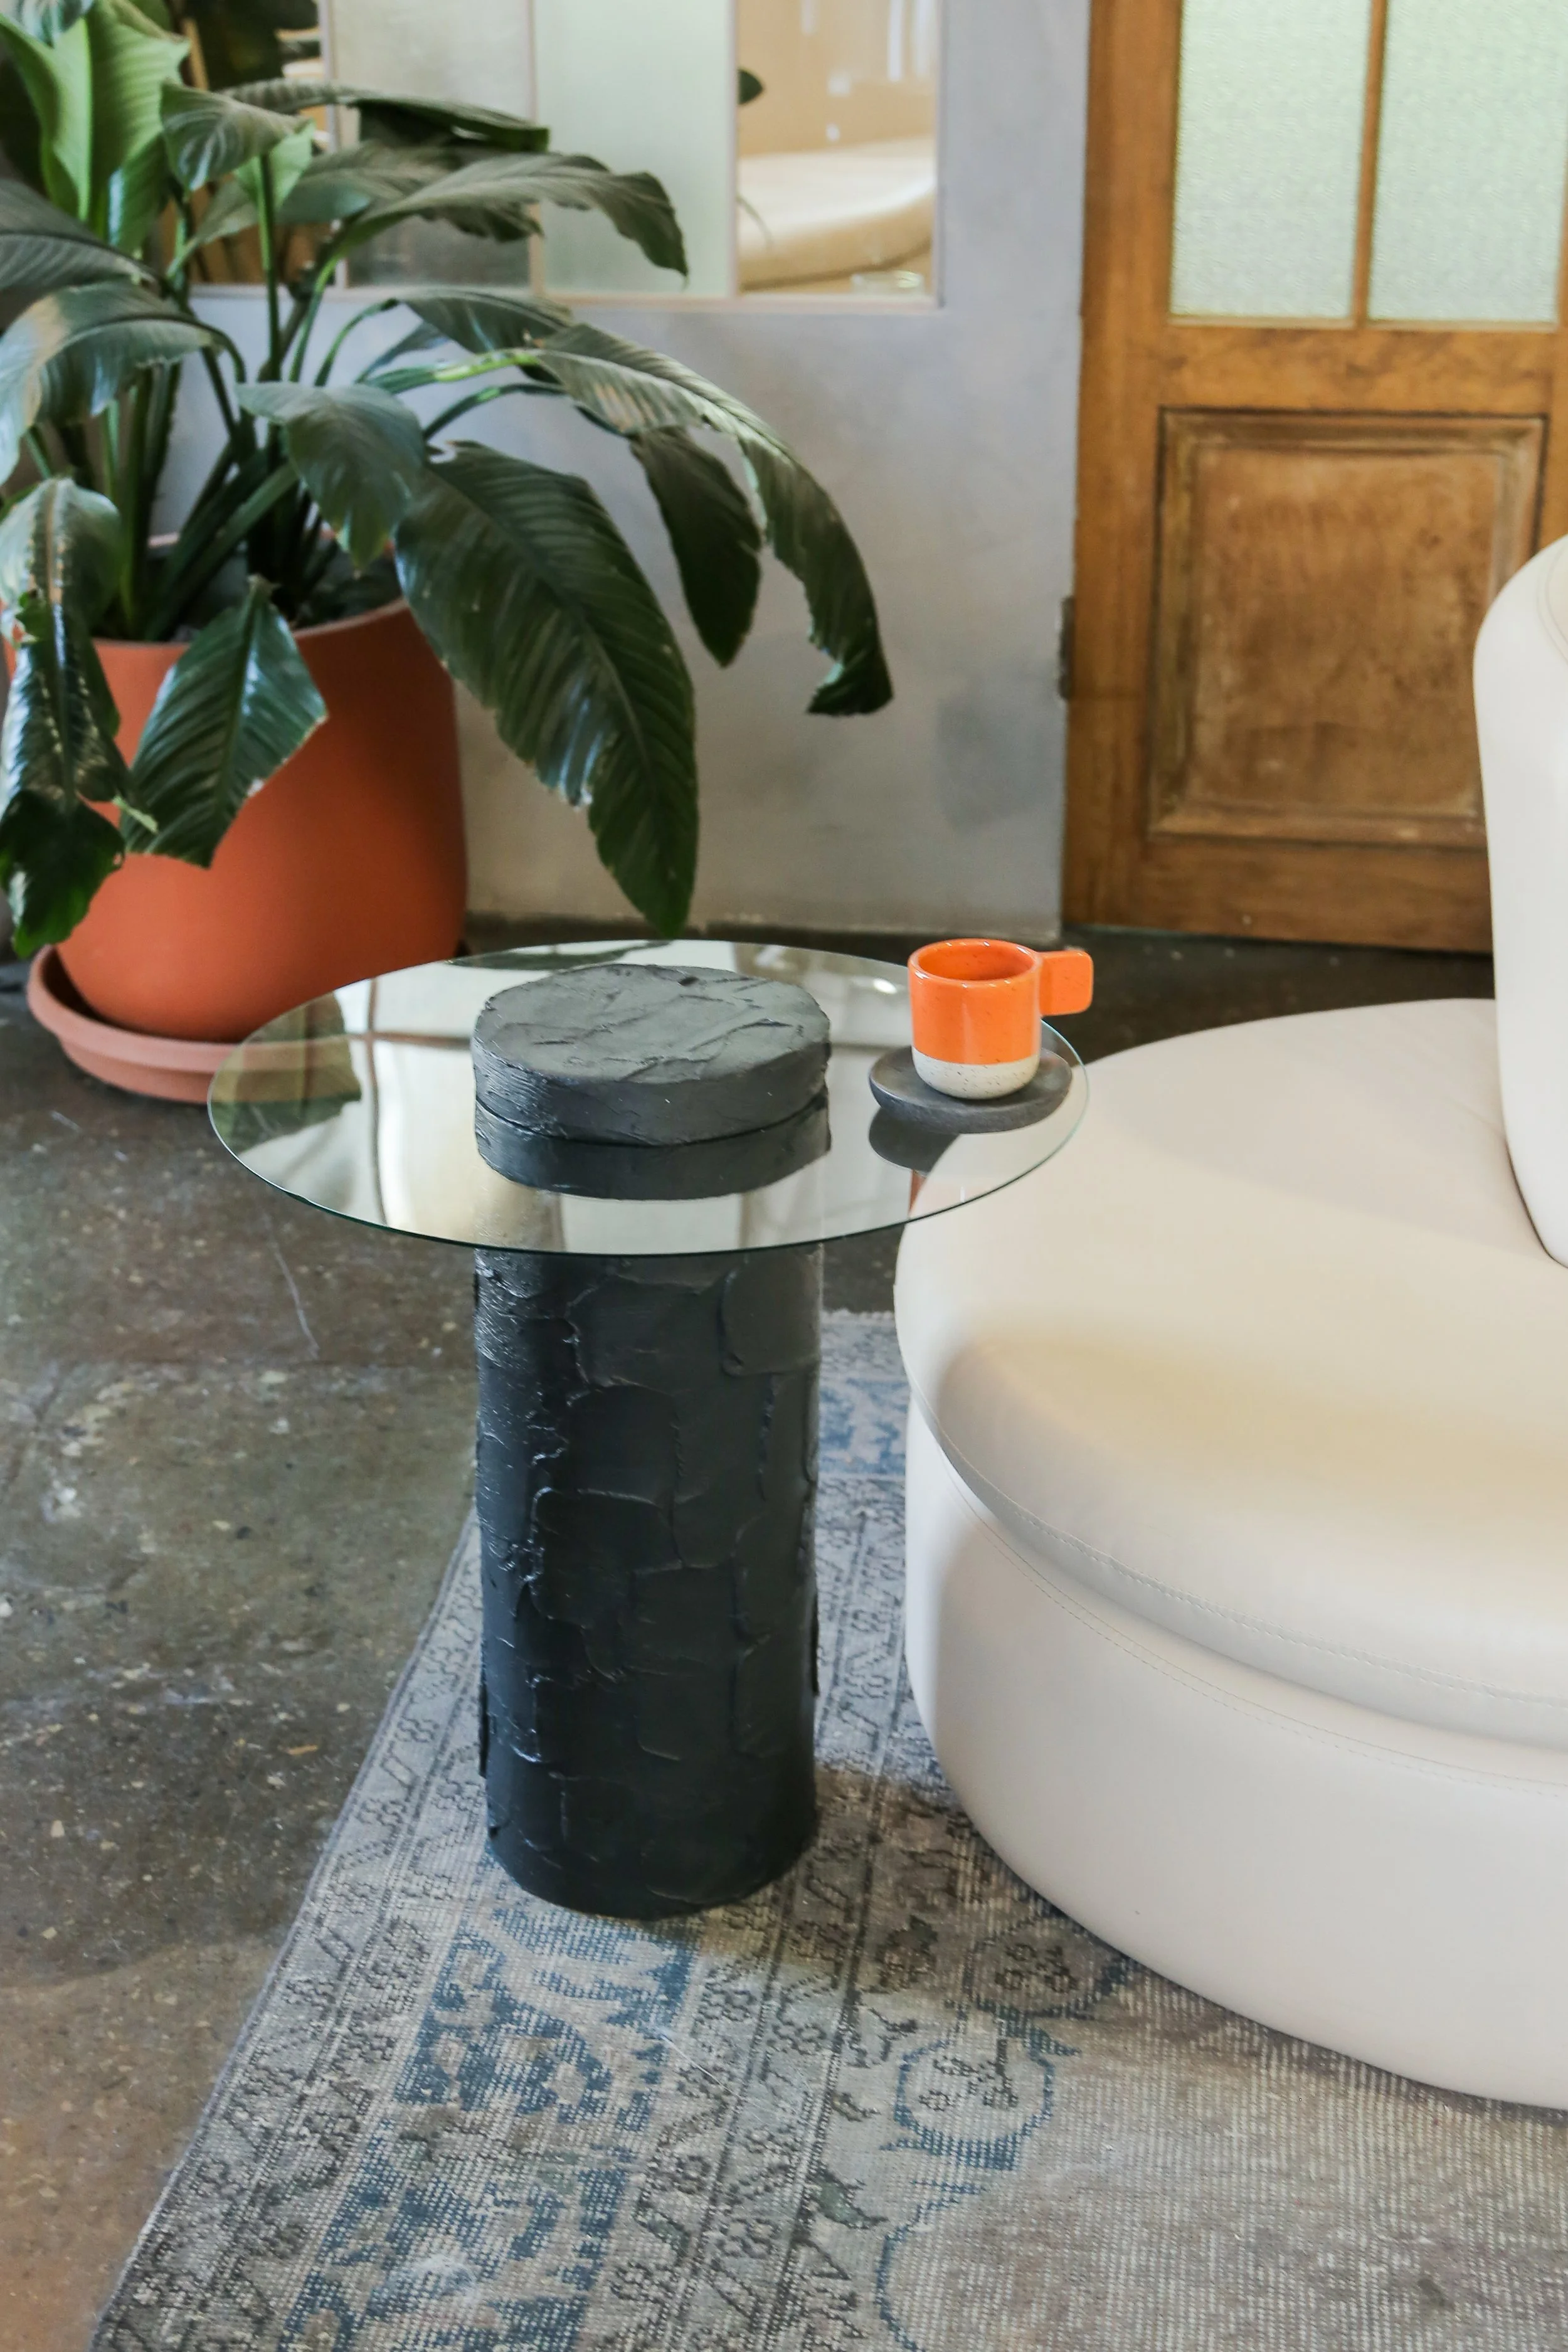
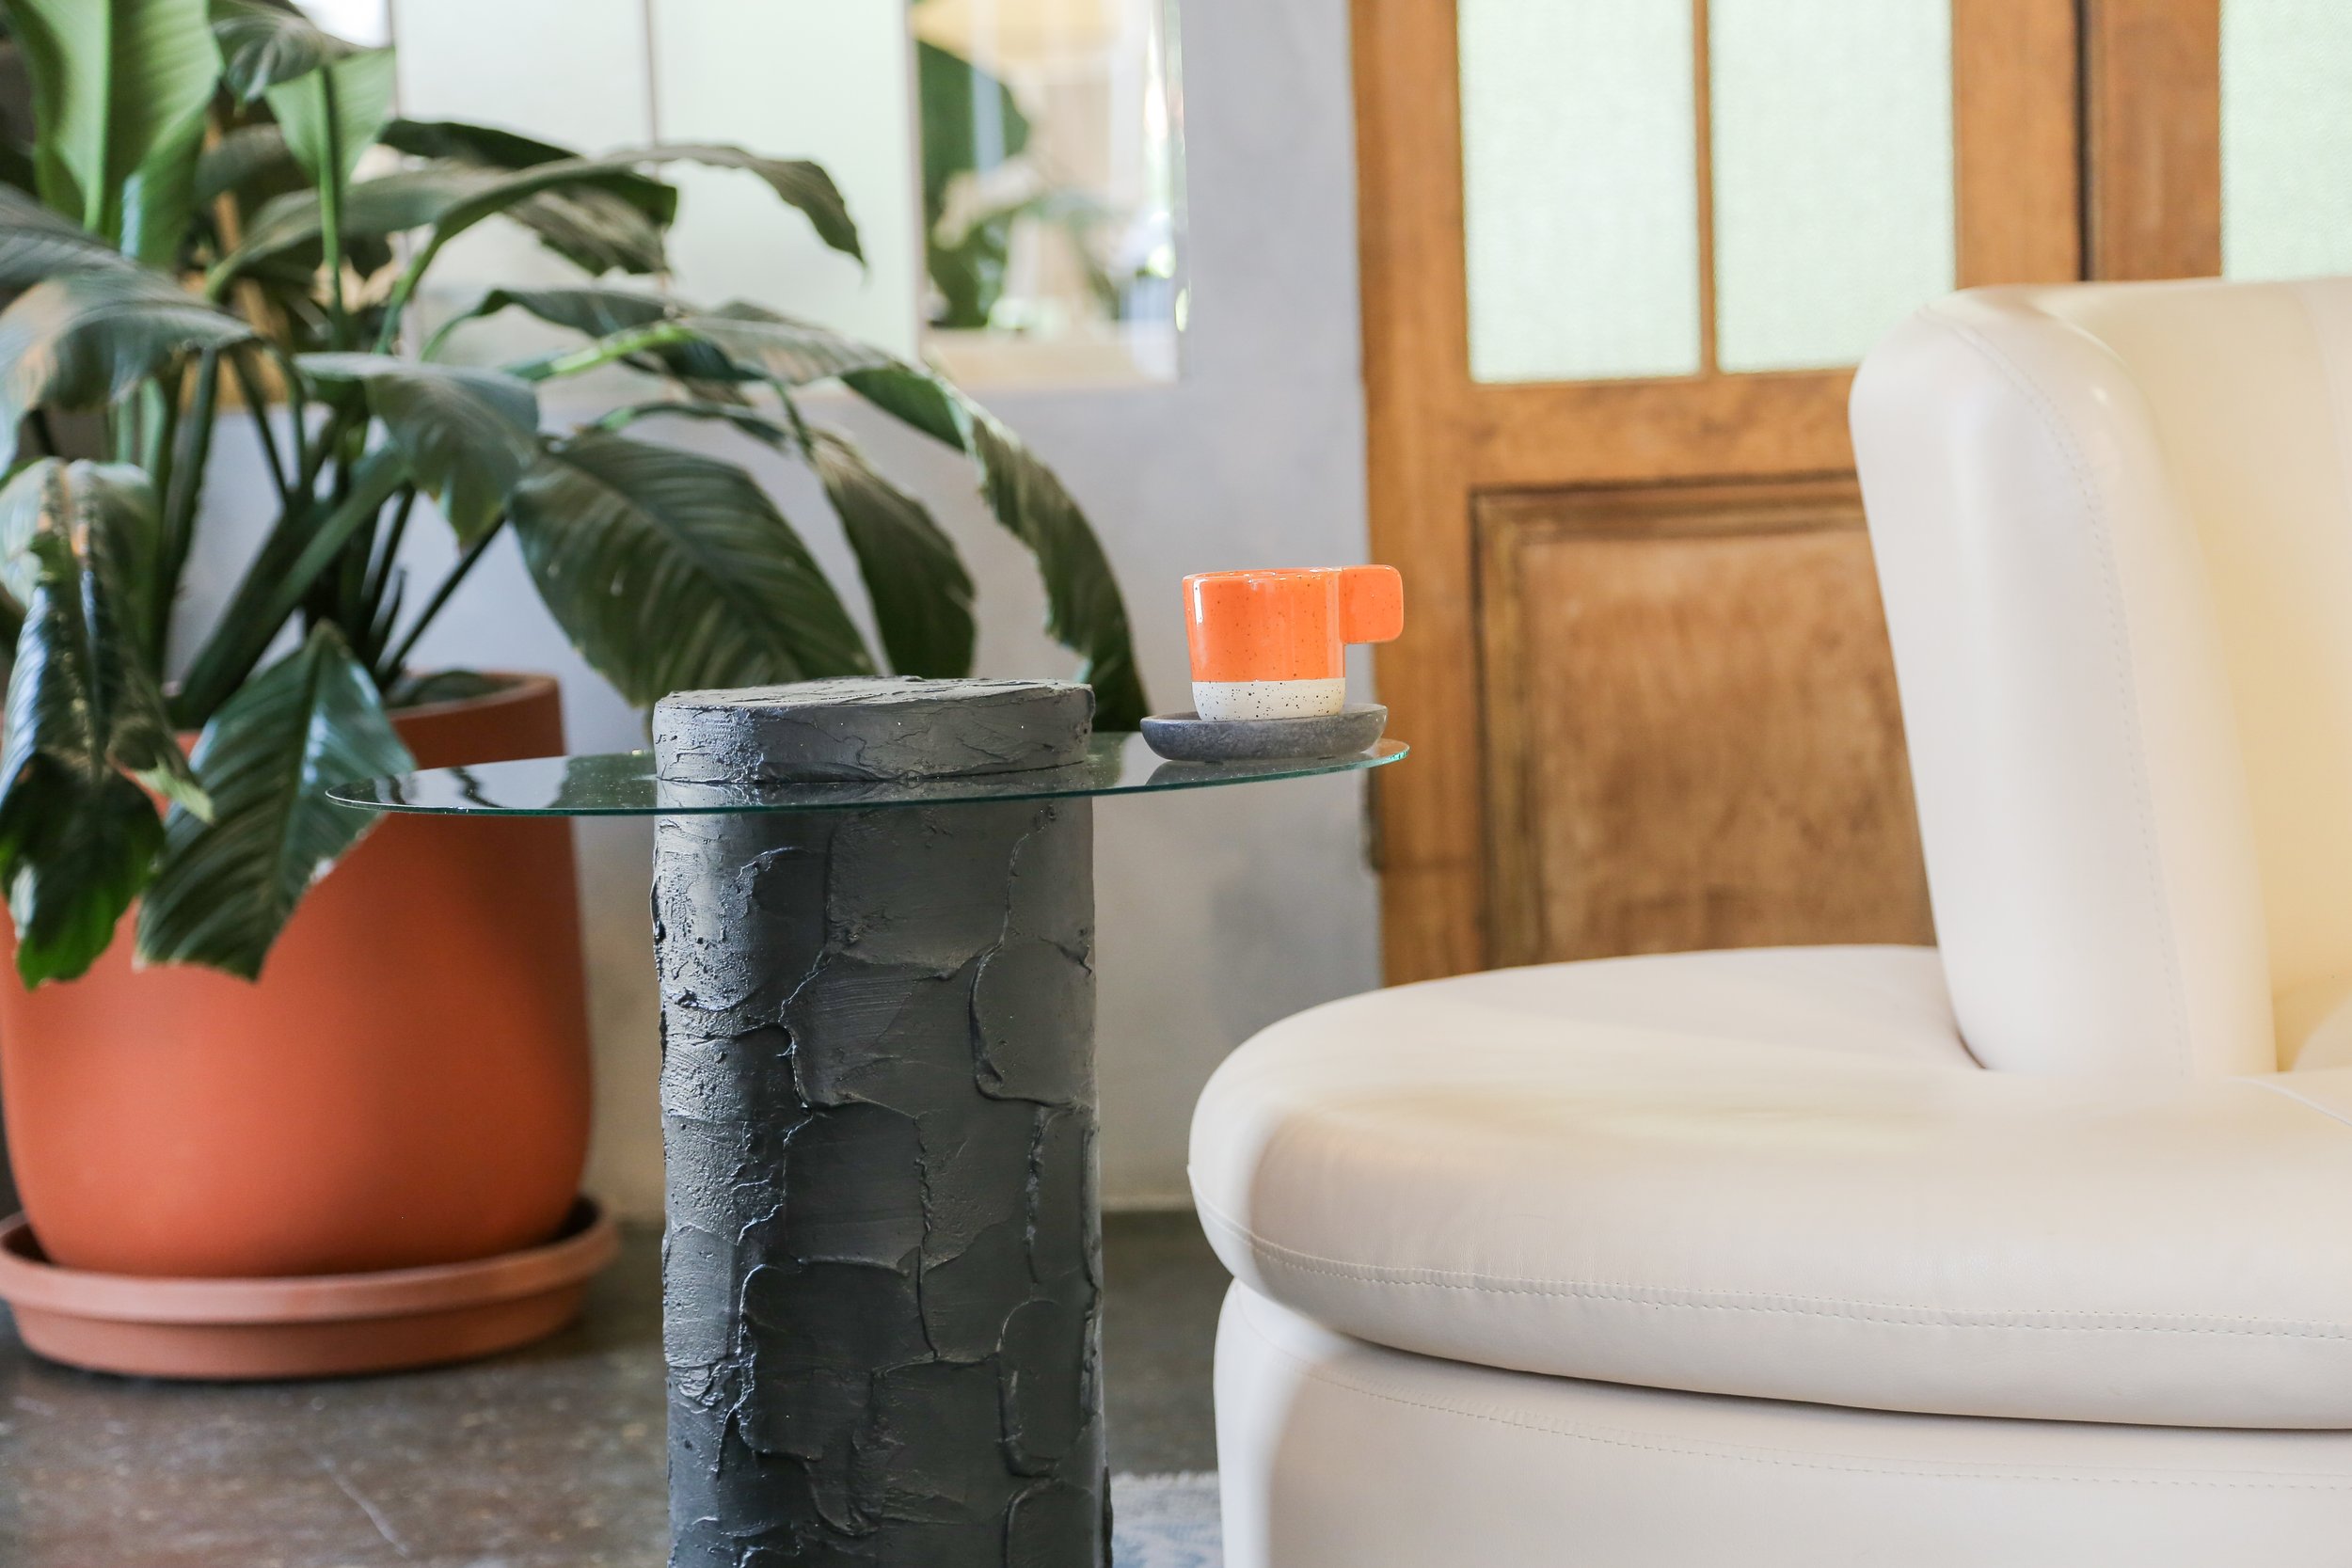
Onto the next set of tables, my plan for these was to create a cylinder base that looked like rock for the glass to rest on. Then add another disc that will go on top to give the illusion that the glass is protruding through the rock.
I brought back the glass tops I put aside and also grabbed a couple supplies to start off the project. I picked up a builders tube from Home Depot for $10. I measured it in half to get two table bases, marking all the way around. Then using a handsaw, I carefully cut along that line.
Next, I made the cap for the top half of the glass. I went into the storage room to see what we had in our wood scraps and I found a thick piece of MDF that was perfect. I cut a 6 circles out of this piece using a router tool loaded with a straight bit. I attached it to a homemade circle jig where I could plant a screw at my desired radius and plunge that tool into the wood multiple times to create a perfect circle that is the same diameter as the builder's tube.


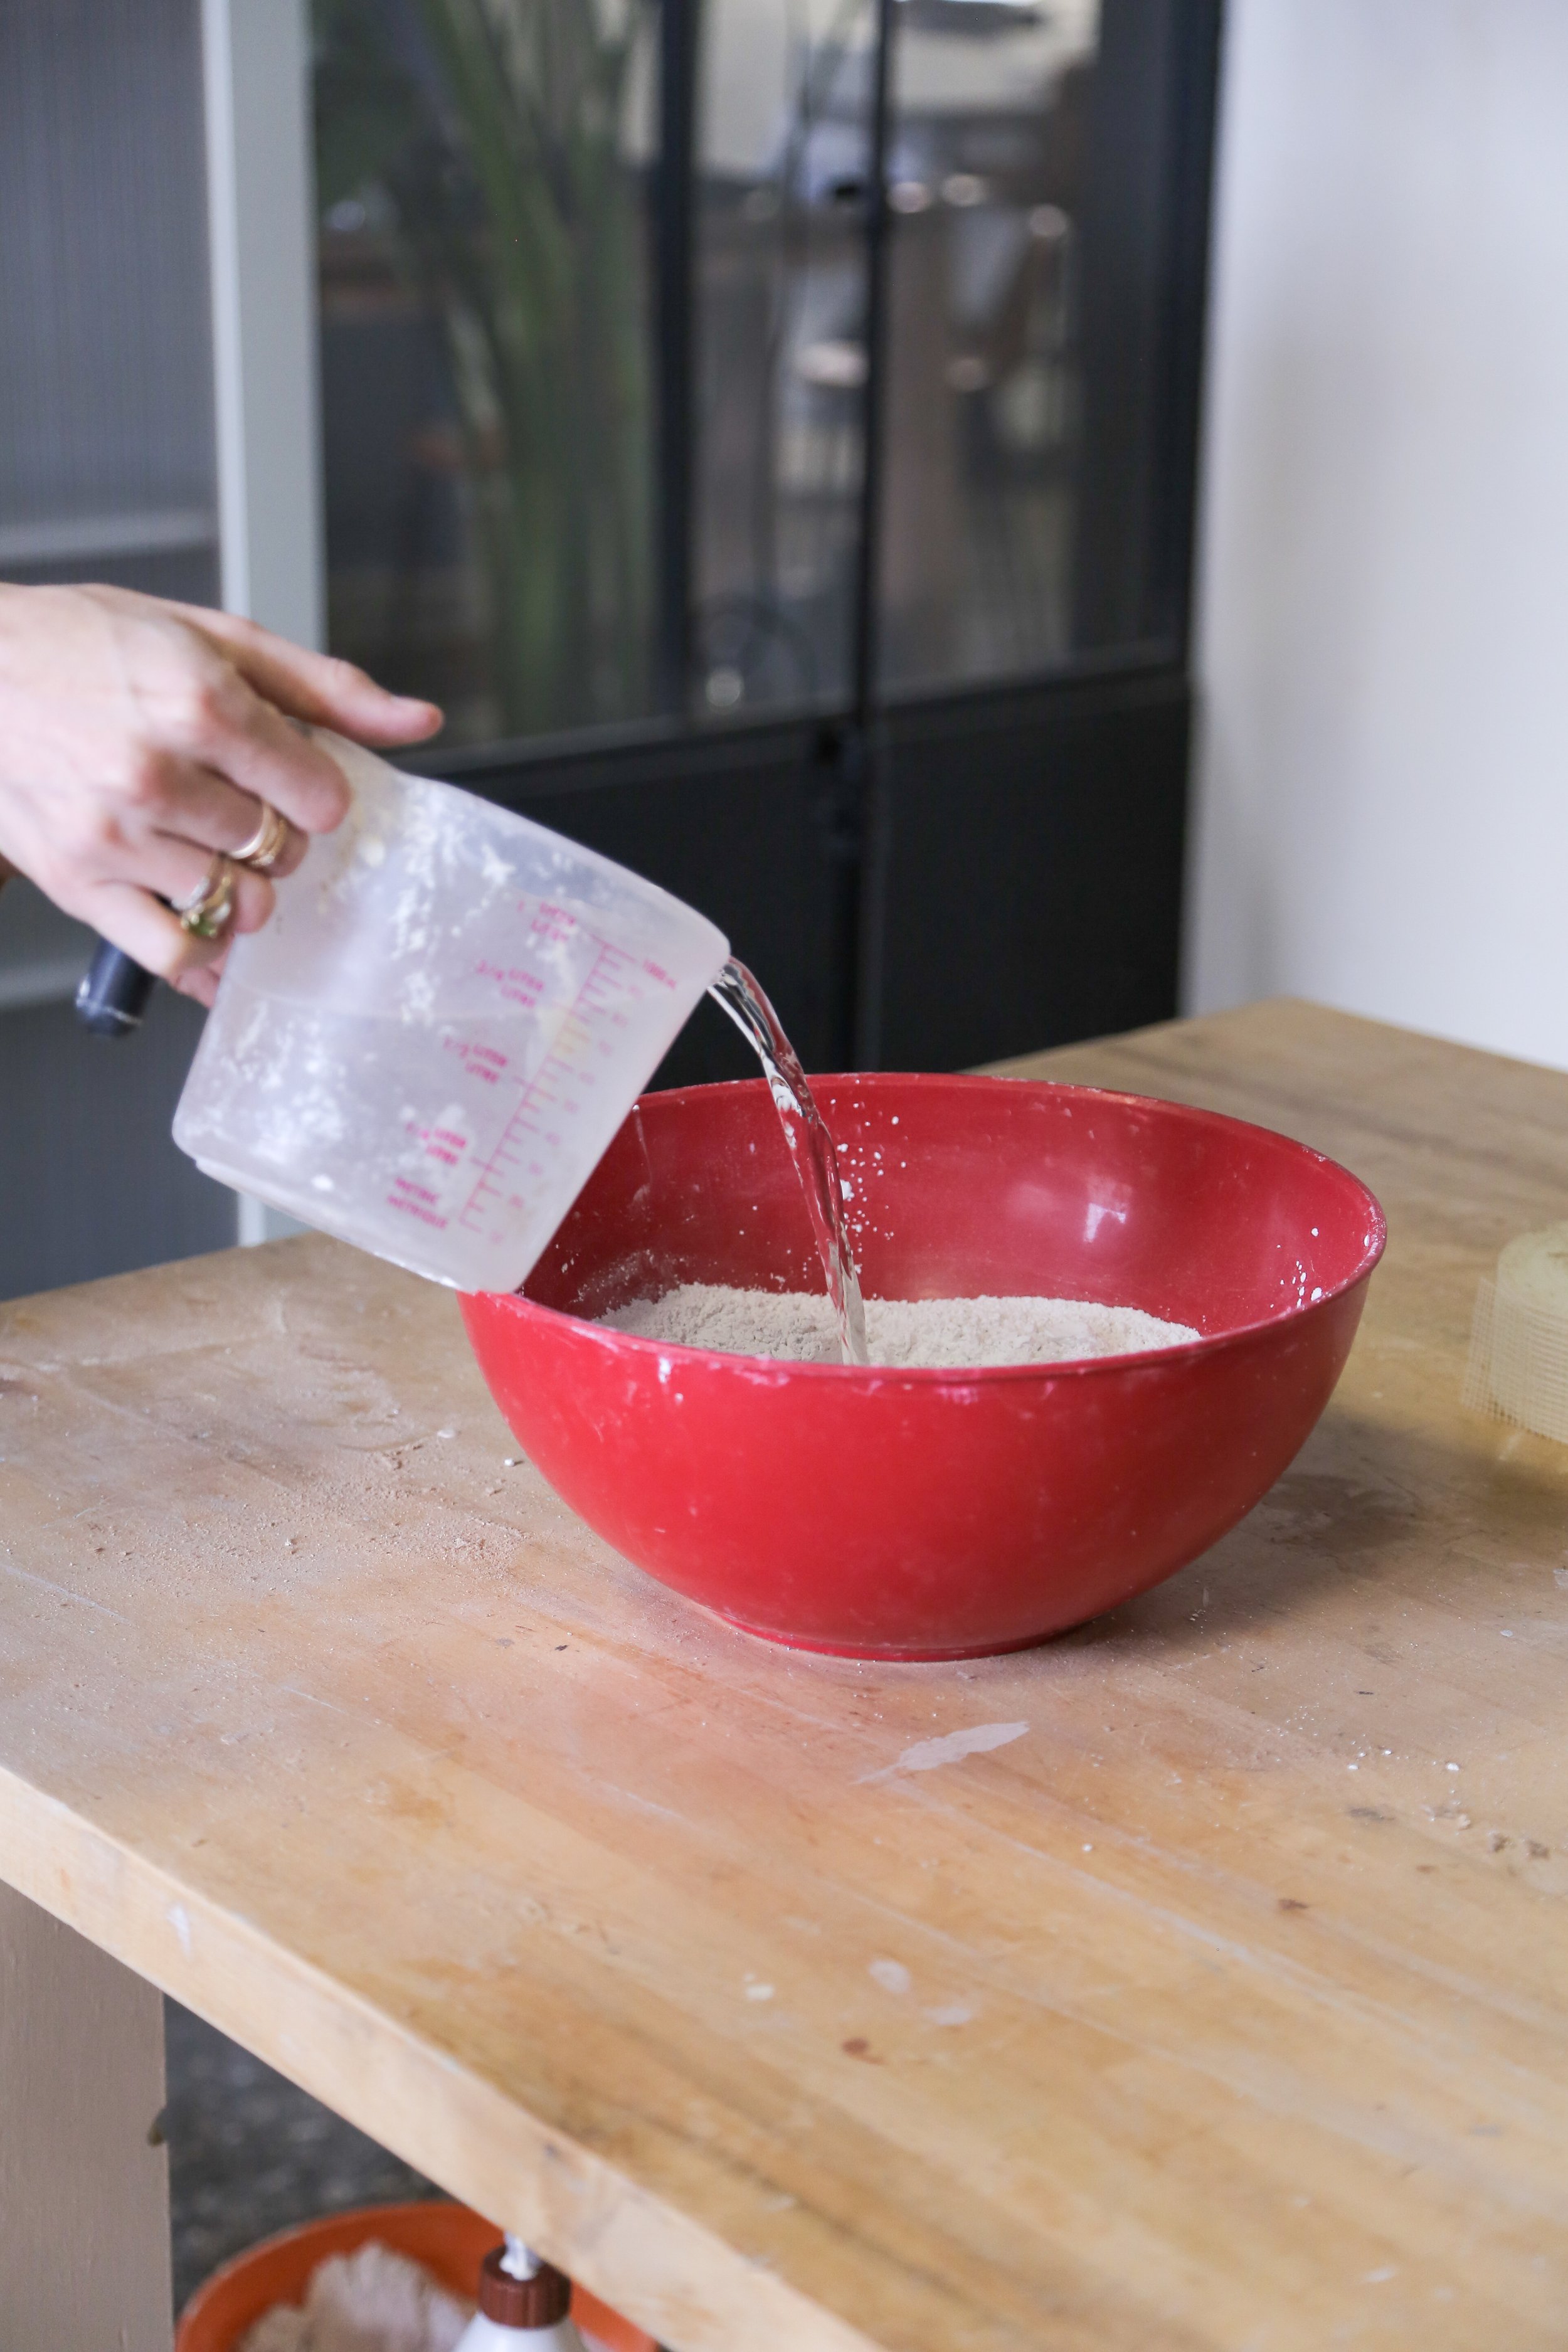
Using some wood glue and painters tape to hold it together to dry, I attached the MDF circles to the bottom of the cylinder and mixed some concrete to fill them in a bit to make them more stable standing up. Once that was dry, I attached the top disc with some more wood glue and instead of going in with painters tape, I added mesh drywall tape.


To give the cylinders the rock look, I decided to add some drywall compound on the outsides to add texture. I just mixed two parts powder to one part water and the first layer went on very very thin. Pretty much just aiming to cover the whole thing.
Once that first layer was completely dry, I was ready to go in with a second layer. This time I'm was more deliberate with the plaster letting my spatula almost do the work here, making it thinner and thicker in different areas to overall create some visual interest. Then I had to let that dry.

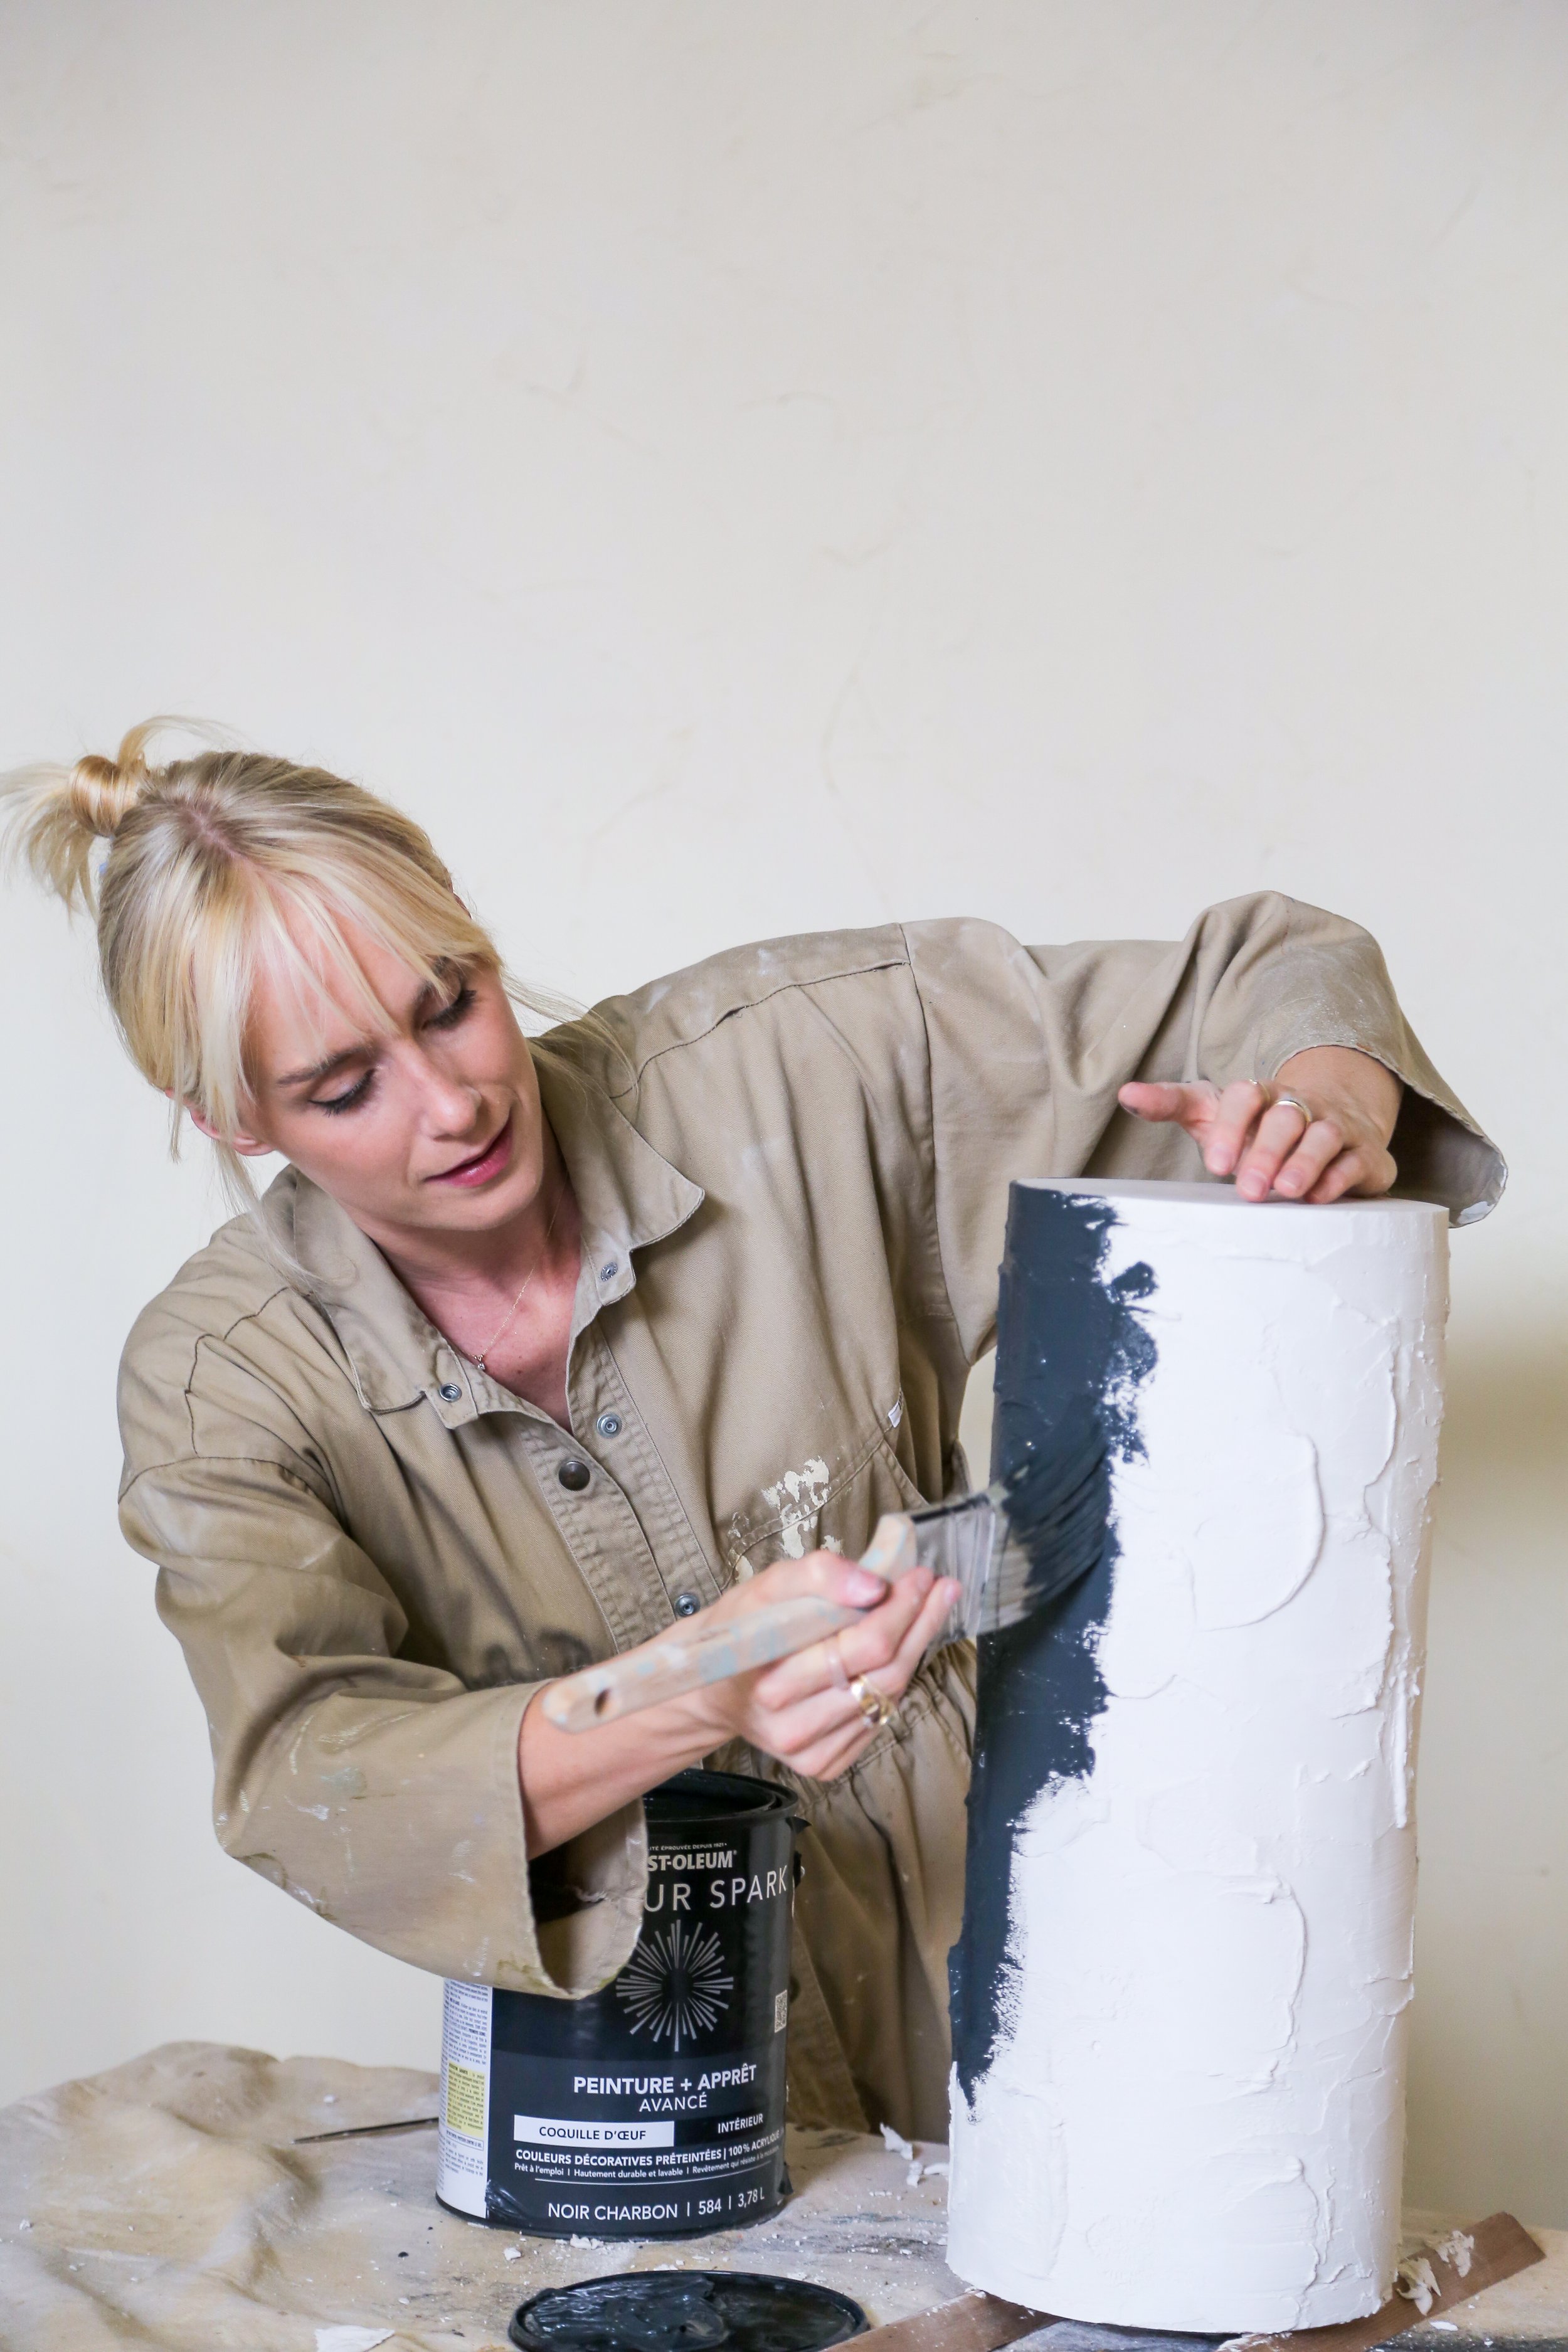
I did like the way this white plaster looks, but I also really wanted to paint them a deep charcoal colour to give them the look of lava rock, in hopes that it would make them look more expensive. But before I did that, I sanded the tops and bottoms of the discs because they were the areas that I was going to use to adhere to the glass at the end.
Because this was so textured, I pretty much just pushed the paint in all the nooks and crannies with my paint brush, but this probably would have been easier to do with a sponge if I had one. I also sealed the table bases and I ended up really liking the dark grey colour.

One they were dry it was time to assemble the tables. I used some E6000, which is an industrial strength adhesive, to glue the wood pieces to the glass. I then put on some heavy weights to the top and let it dry completely.


This is how the second set of side tables turned out! I think that it looks so luxe and much more expensive! What do you think?