Restoring mcm 1970s vintage chairs i bought for $6
This is the second part of a new series I will be working on called Project Profit. Throughout this series, I'll be finding second-hand items, whether they cost very little or no money that could be on the side of the road, Facebook marketplace, at the thrift store, and bring you through the process of how I upcycle them to give them a fresh new look. After upcycling them, I will be trying to sell them on marketplace for a profit, which will then be donated to a charitable organization.

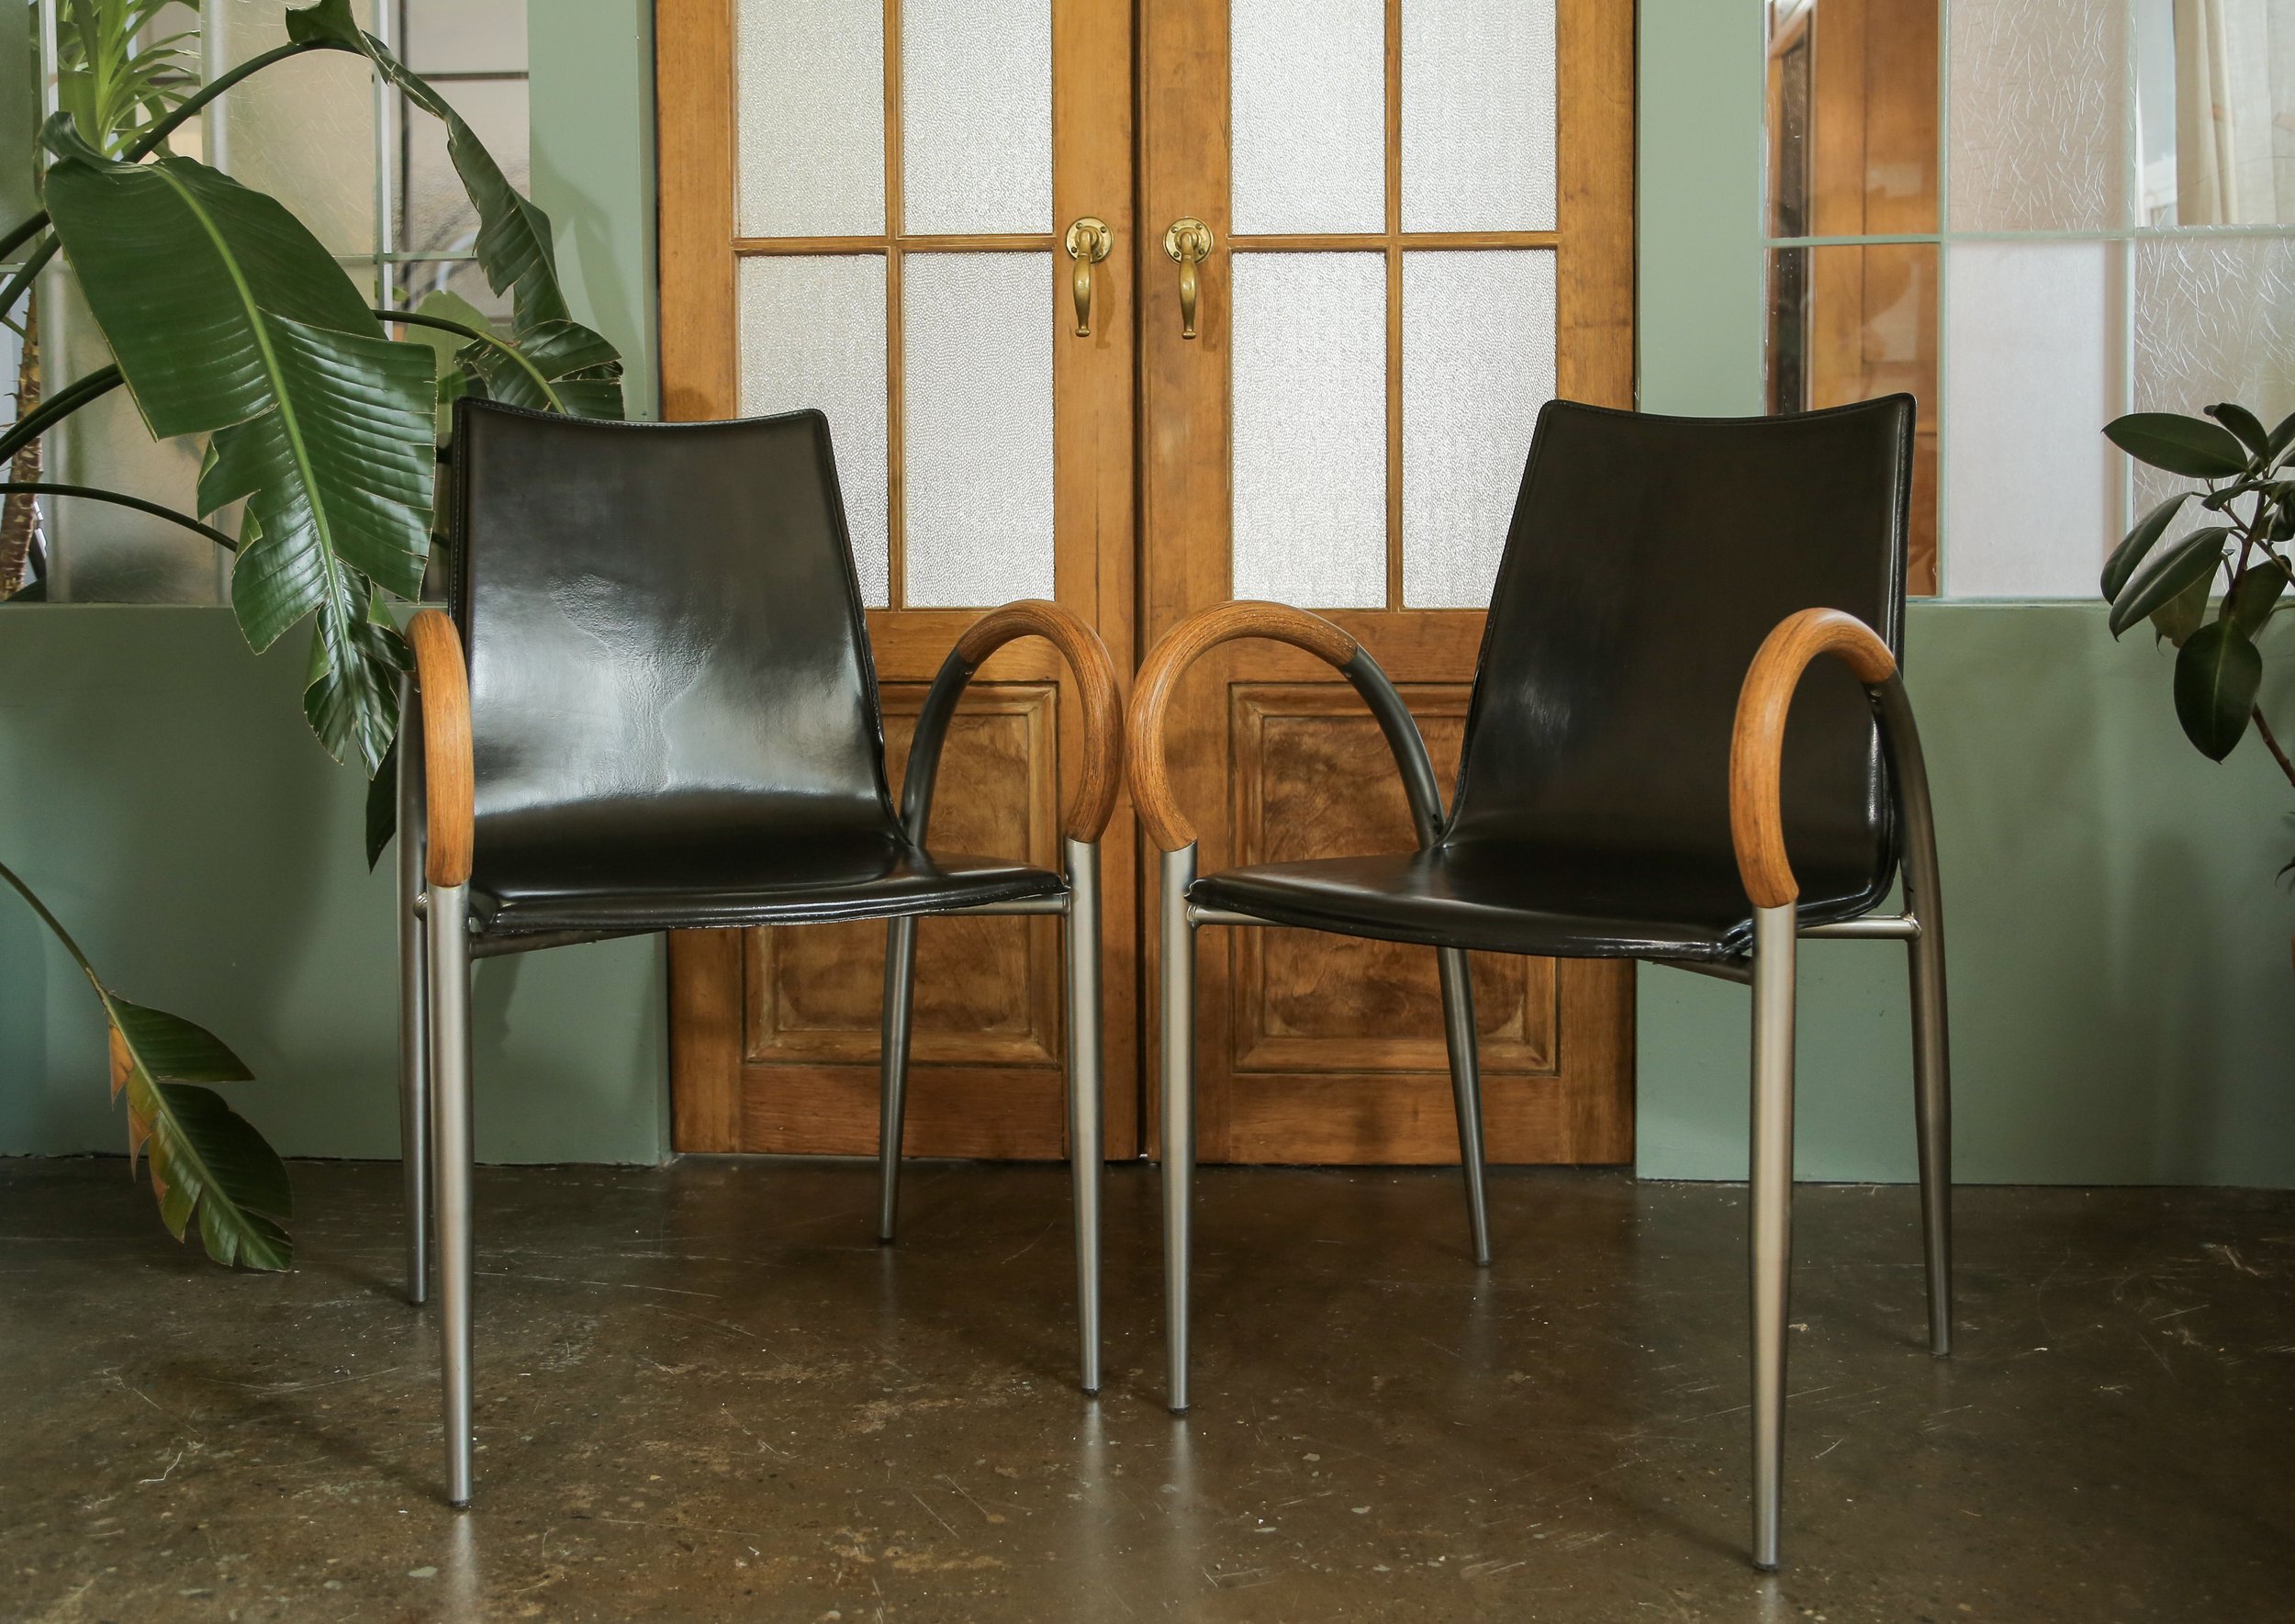
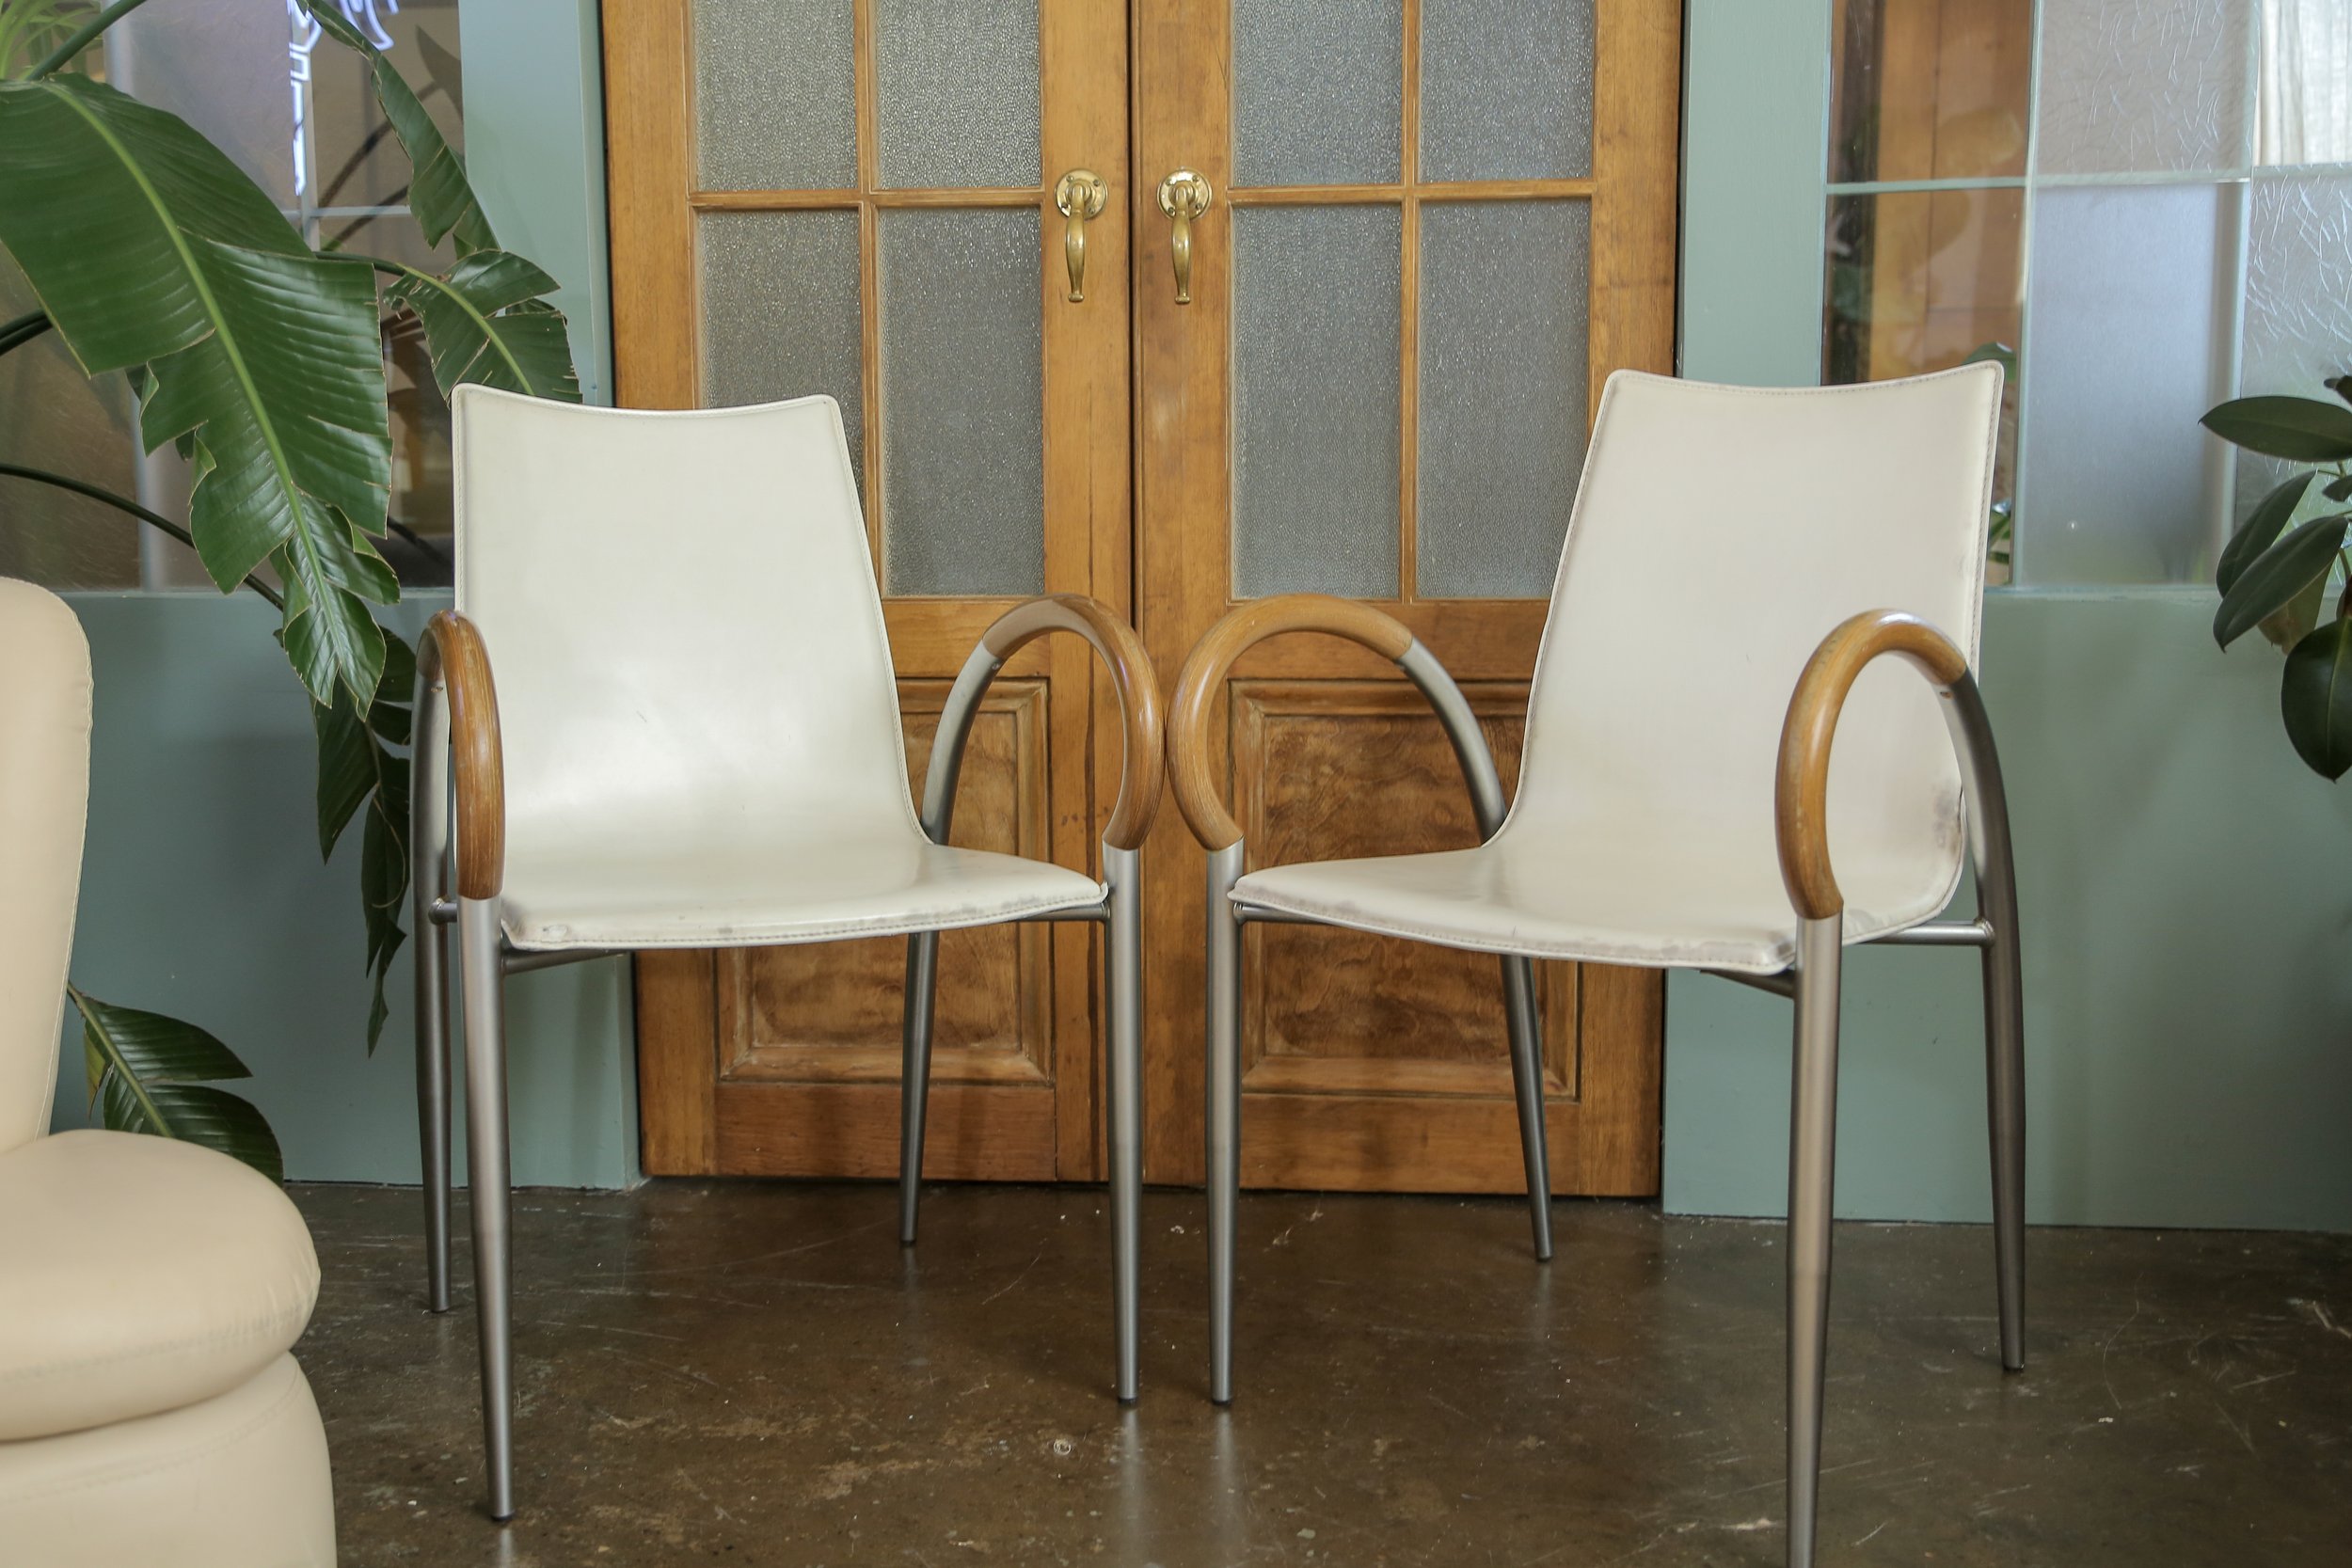
As always I always do, I was scrolling through Facebook Marketplace and passed a set of chairs that seems to have a strong mid-century modern shape to them, and were only $6 each. They were pretty dirty up and could use some love, but a gut feeling told me they might be vintage… so I took a screenshot of the chair and used the magic of google reverse image searching.

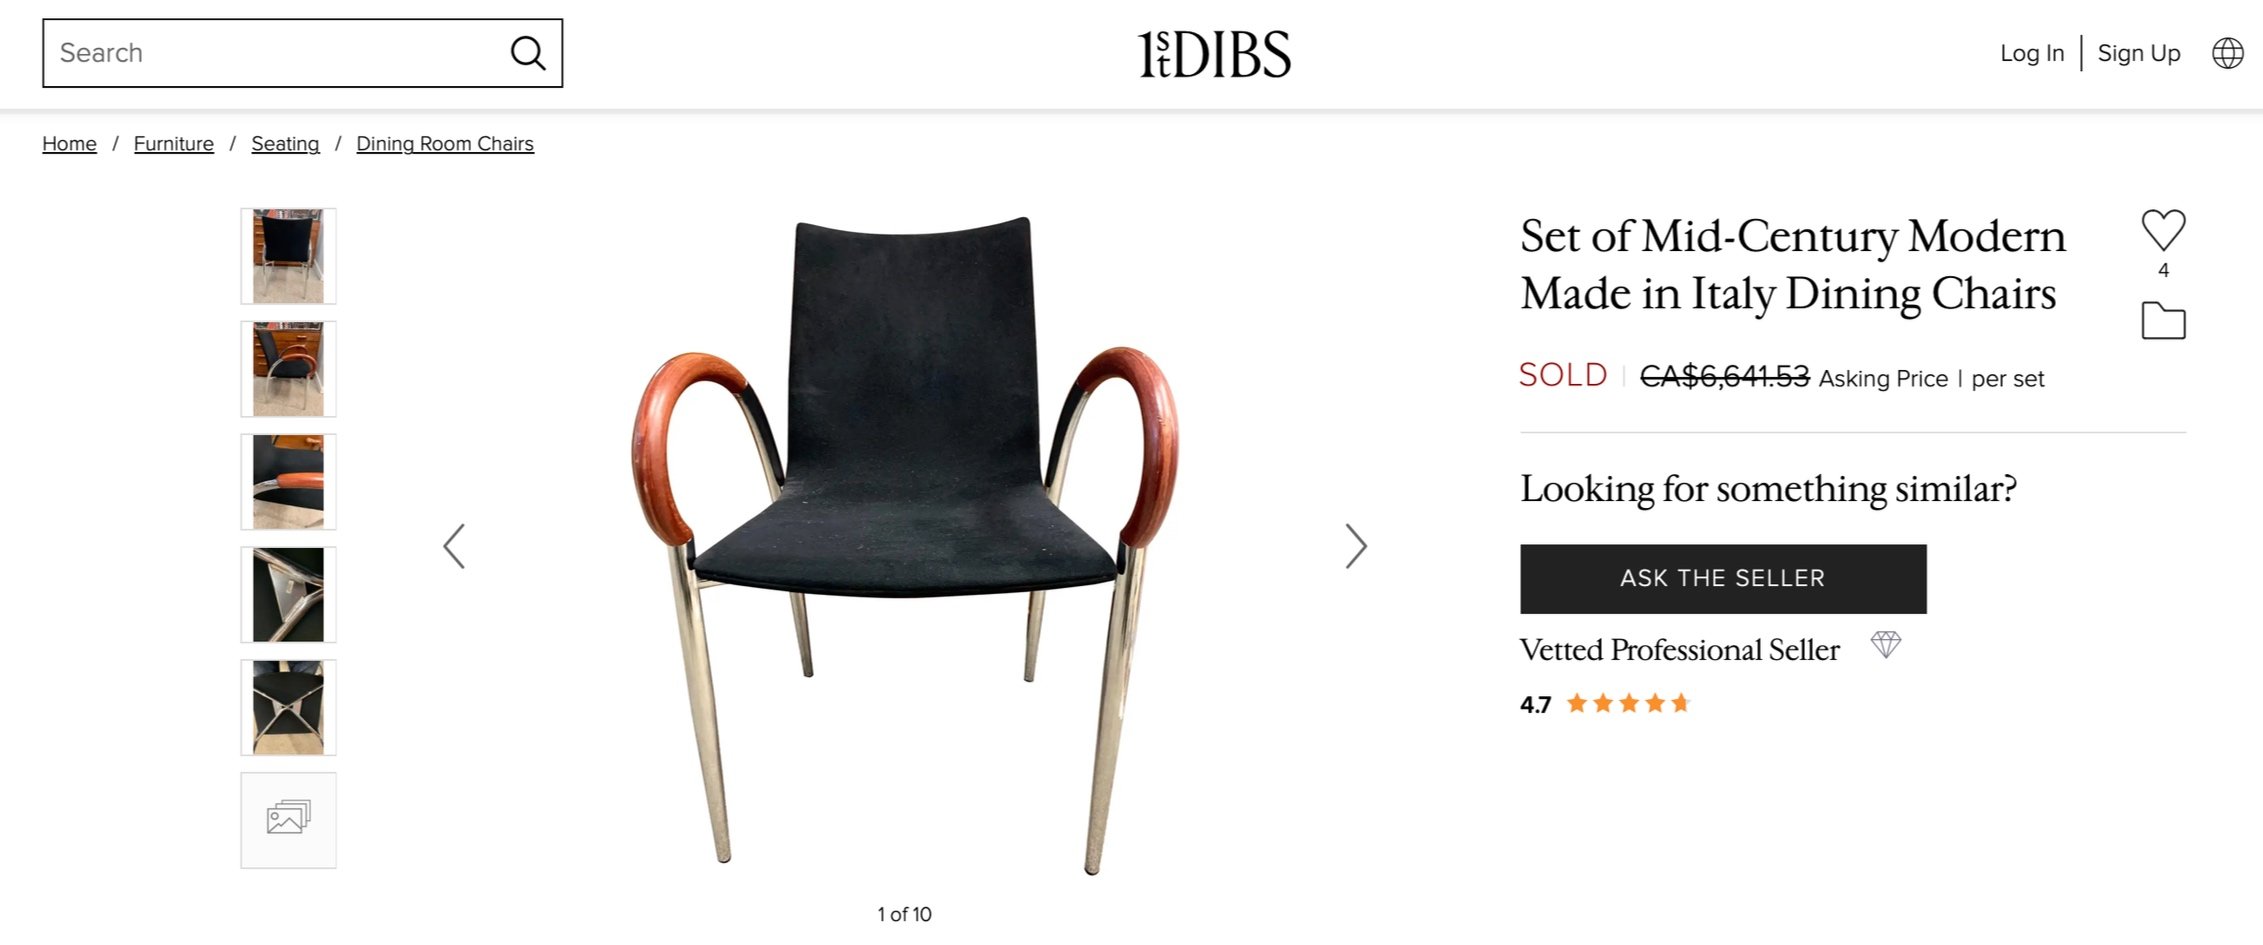
A set of chairs, extremely similar, were valued at $6,600 for a set of six on the resale site First Dibs and were sold…thats $1,100 per chair. I knew I had to snatch them up immediately. After getting them and comparing them to the pictures on First Dibs, there was literally no difference aside from the colour of the body and the absence of a "Made in Italy" sticker.
Obviously, I am no expert on vintage authentication, so if any of you readers are, let me know and tell me your thoughts! But regardless of their origin - a tasteful refurbishment was in order, and we tackled the task step by step.


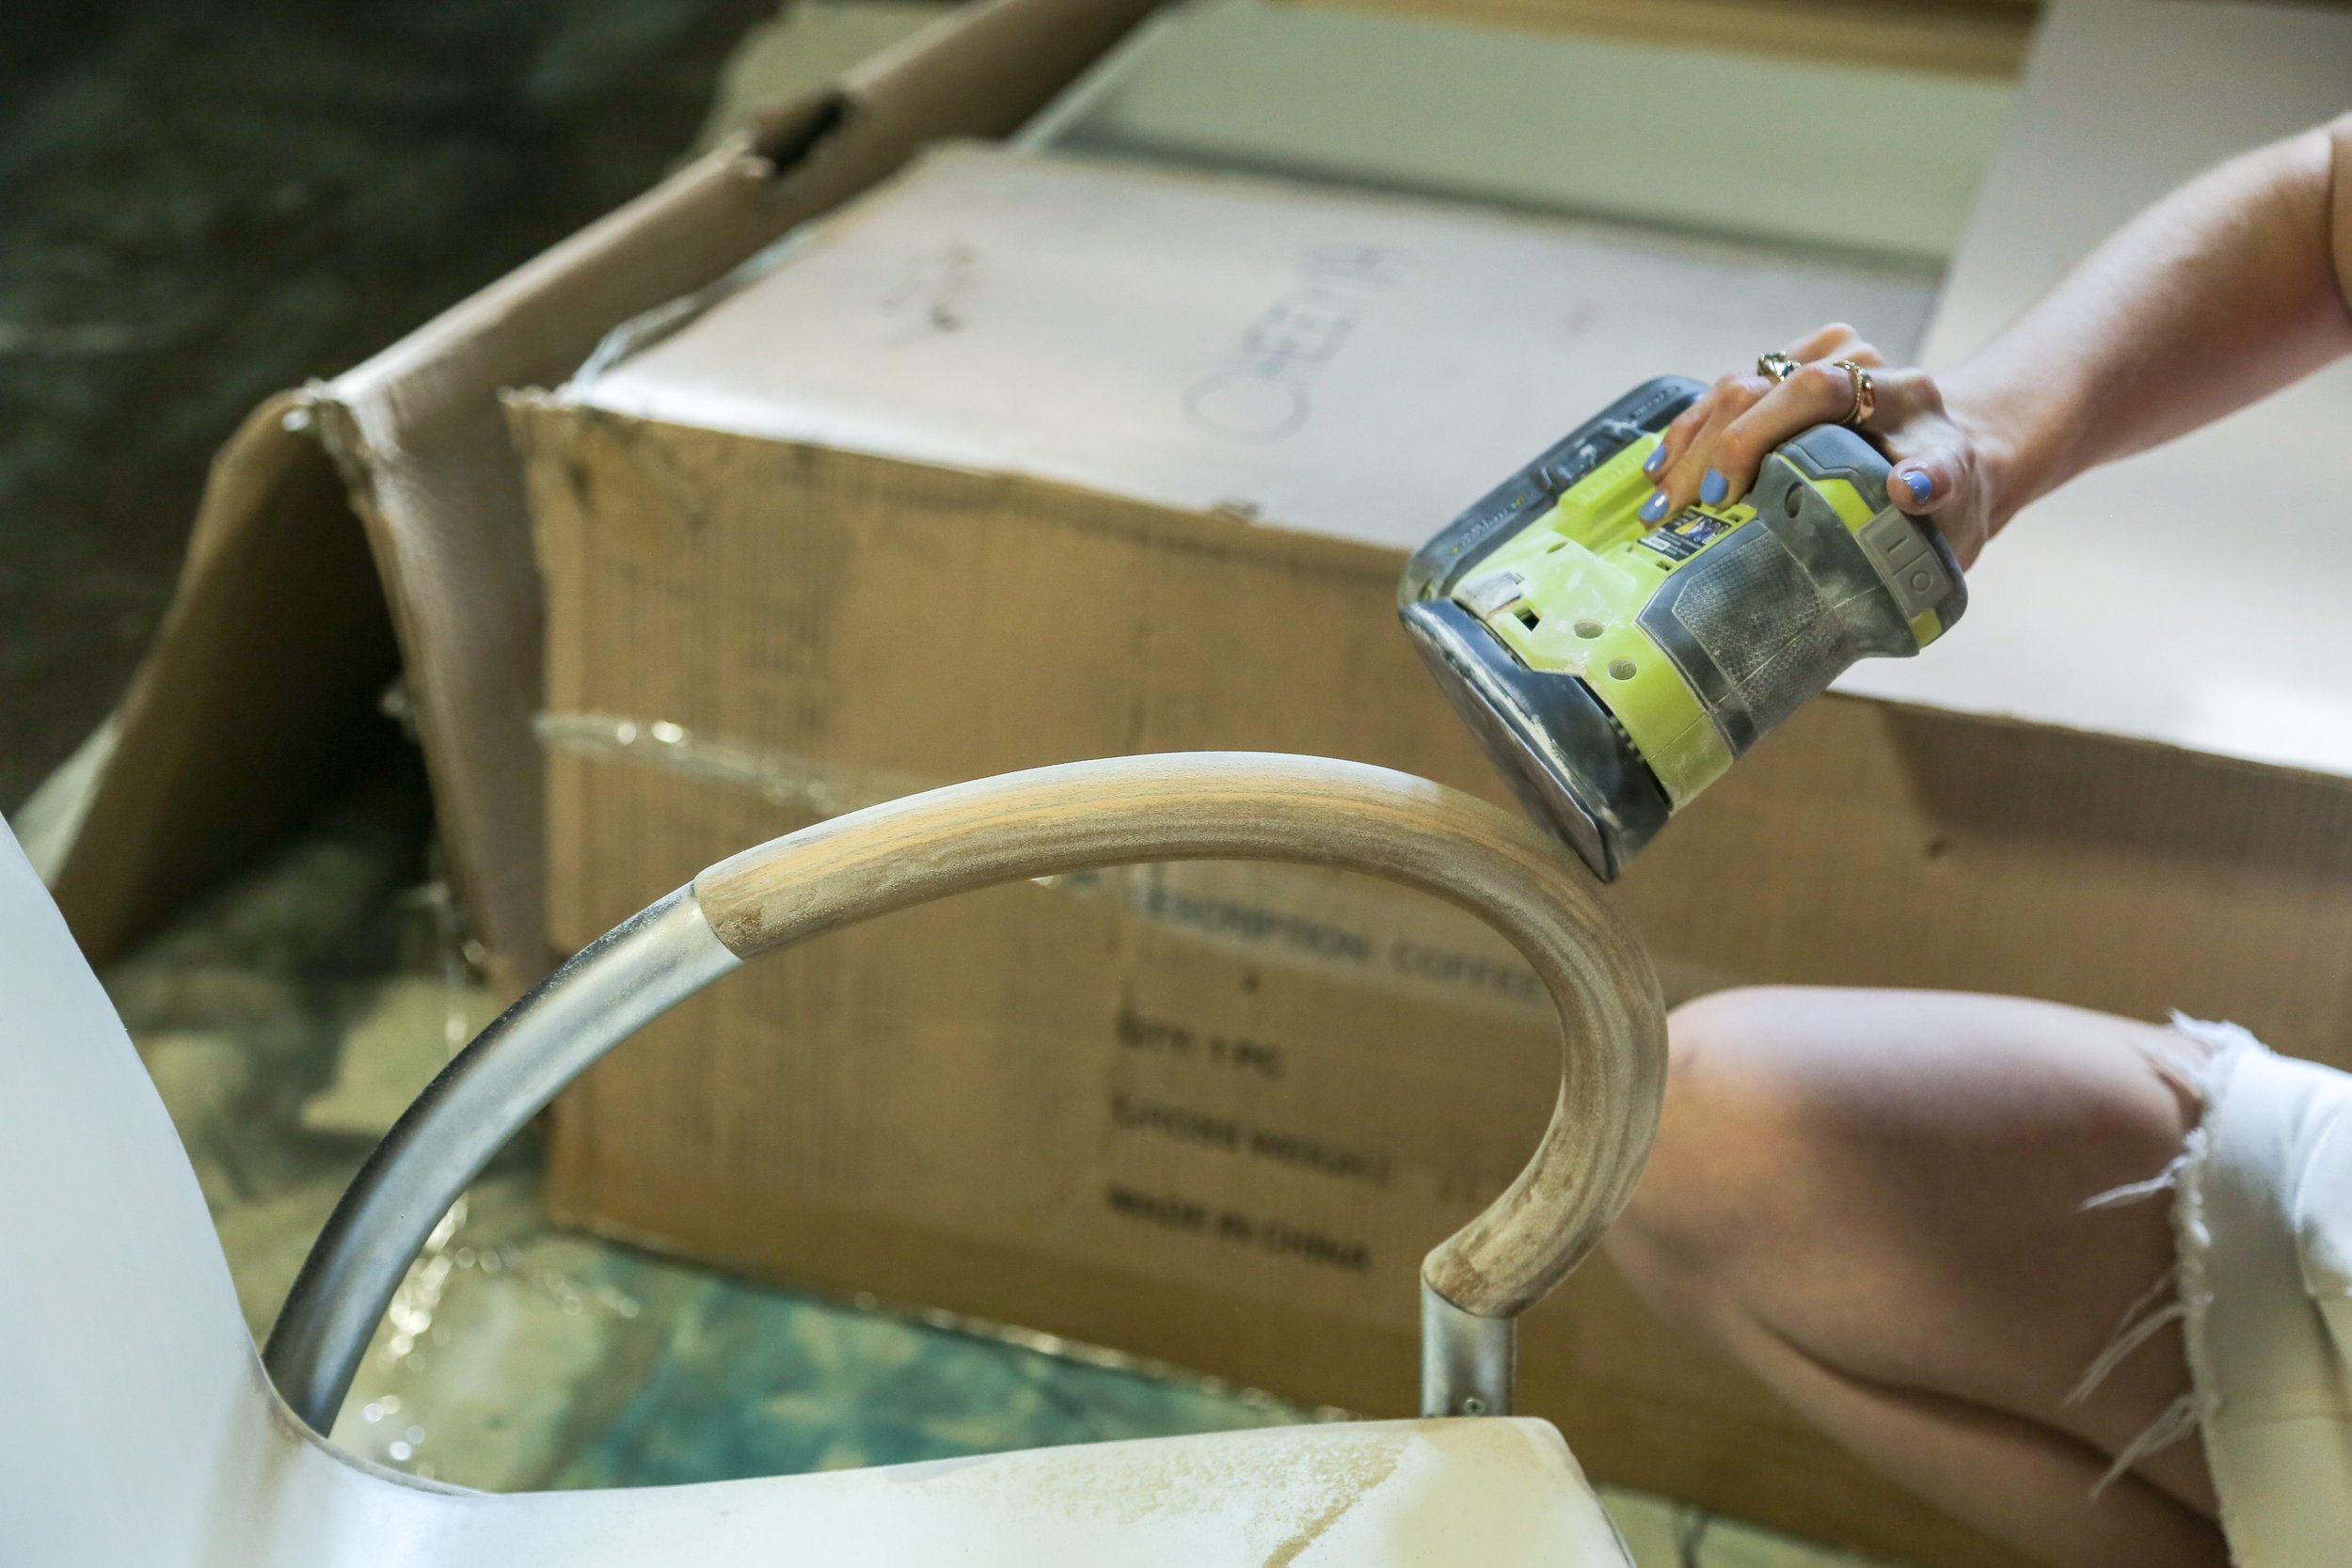
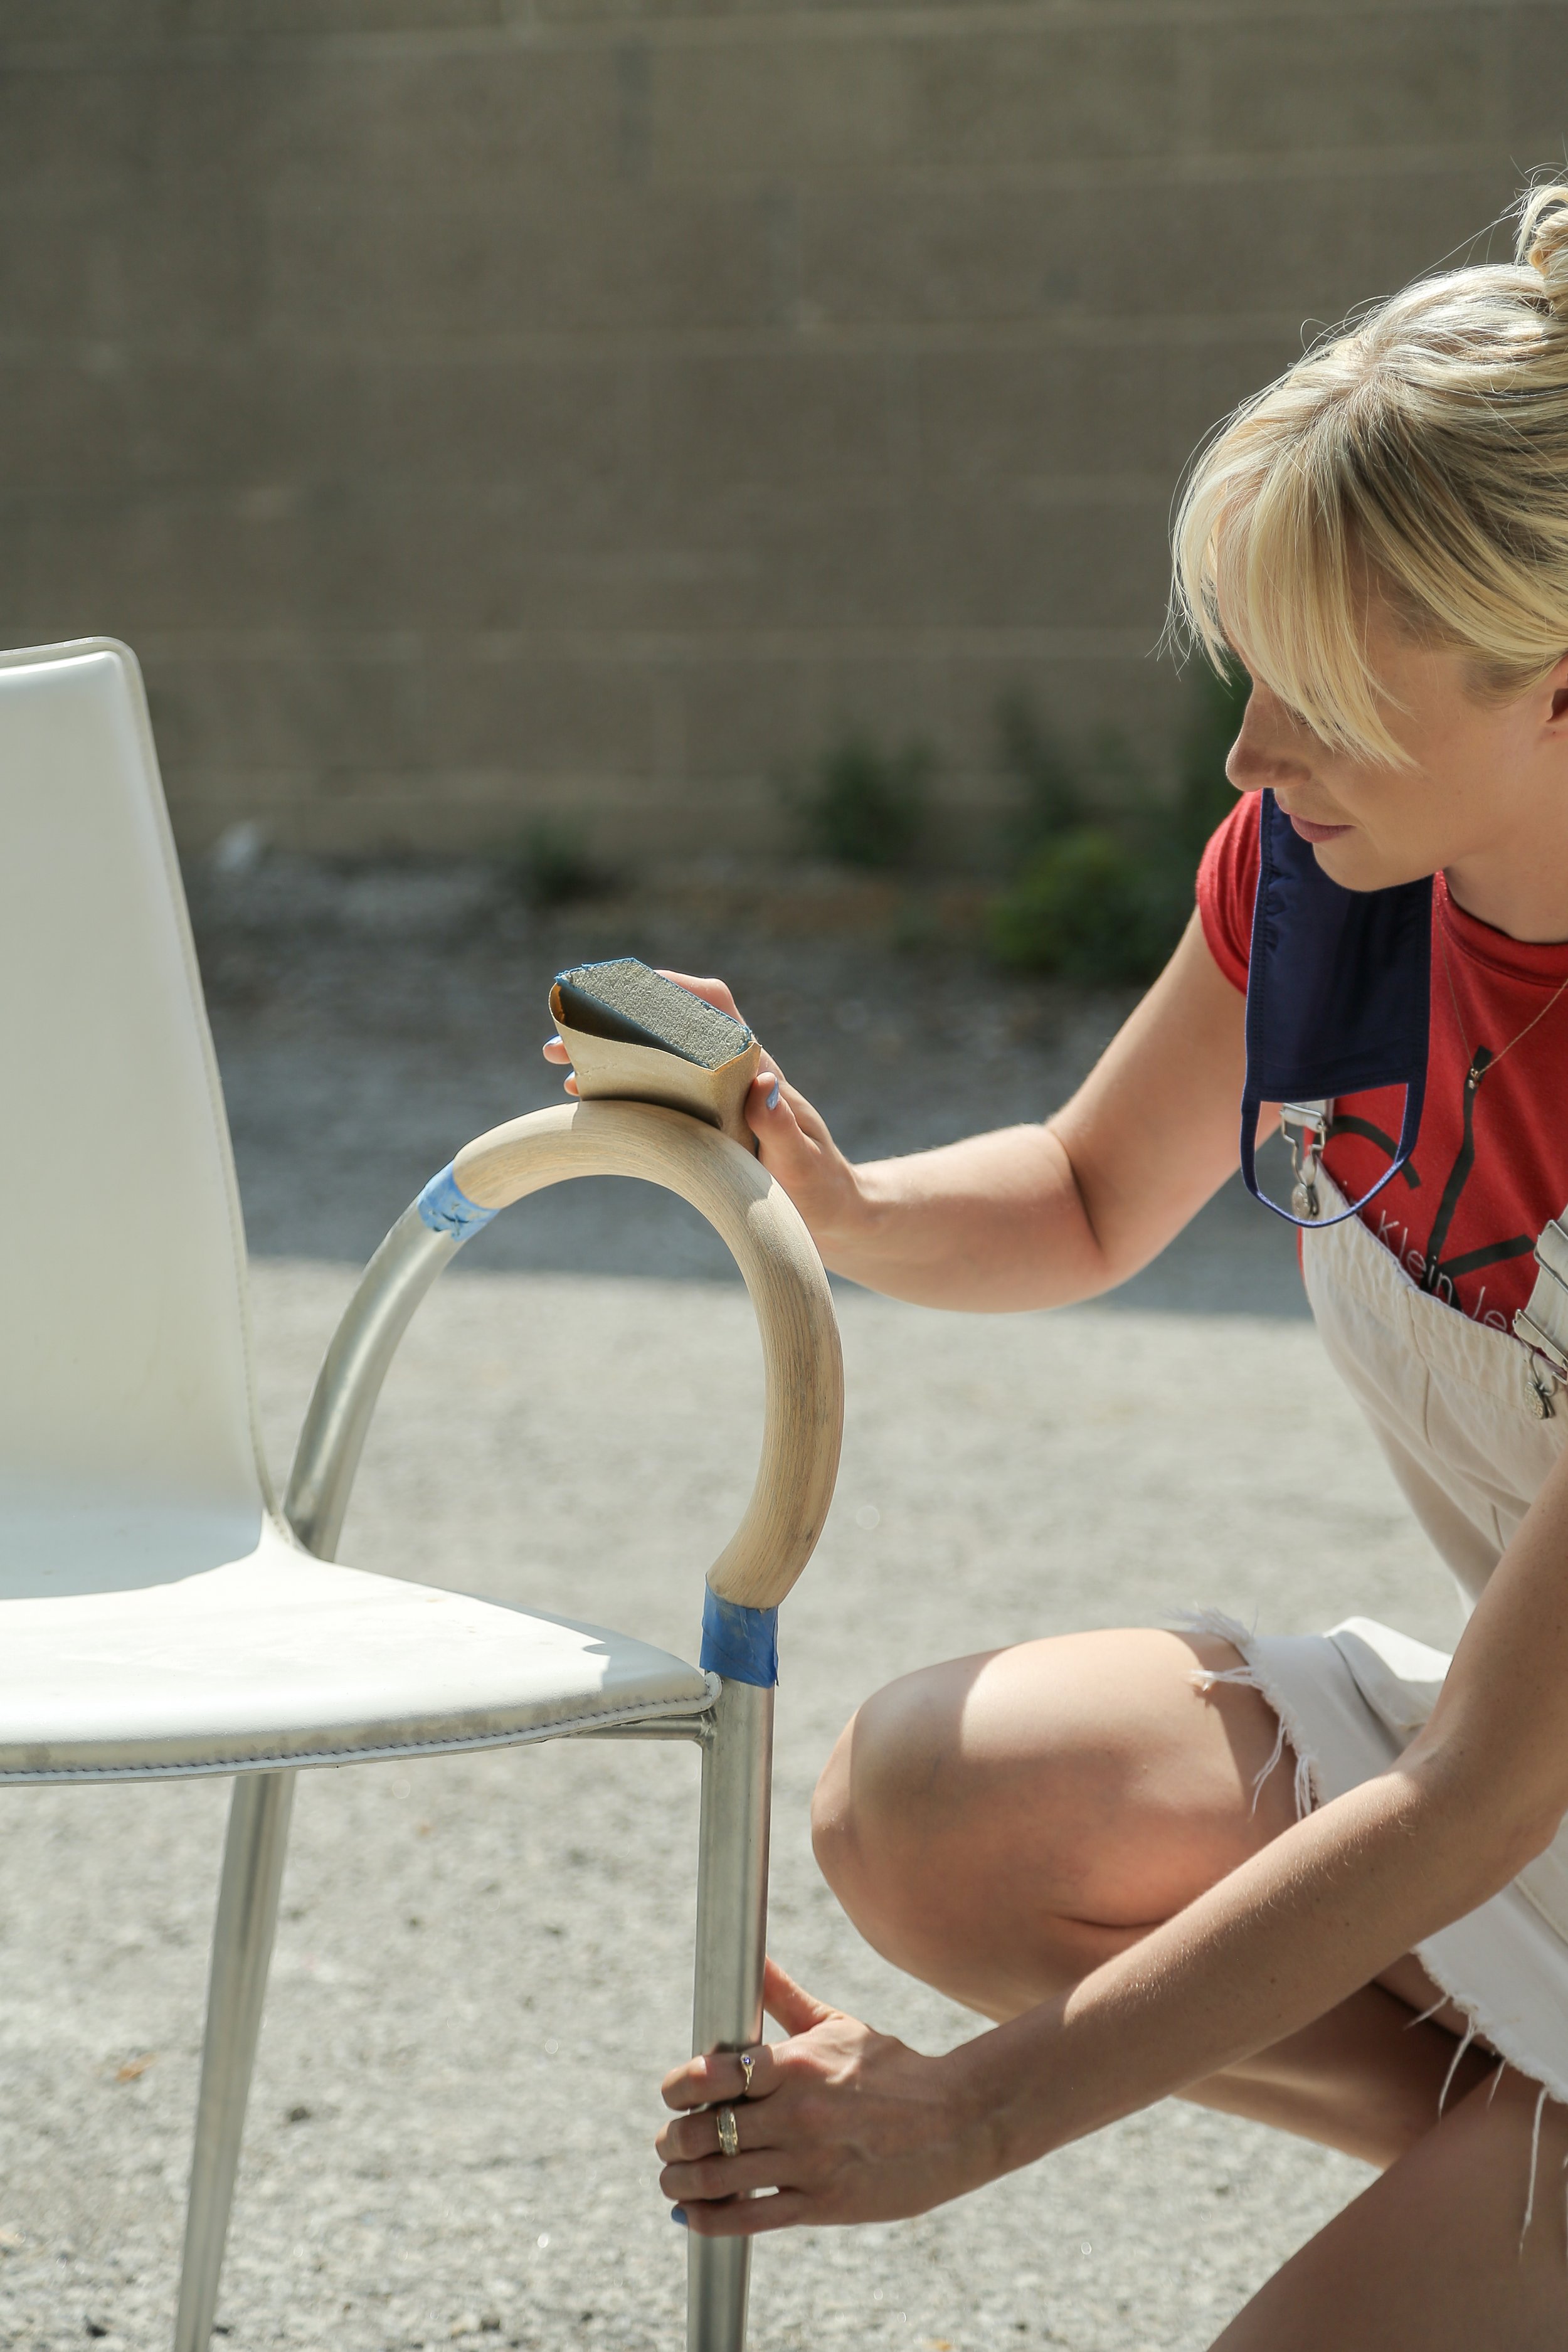
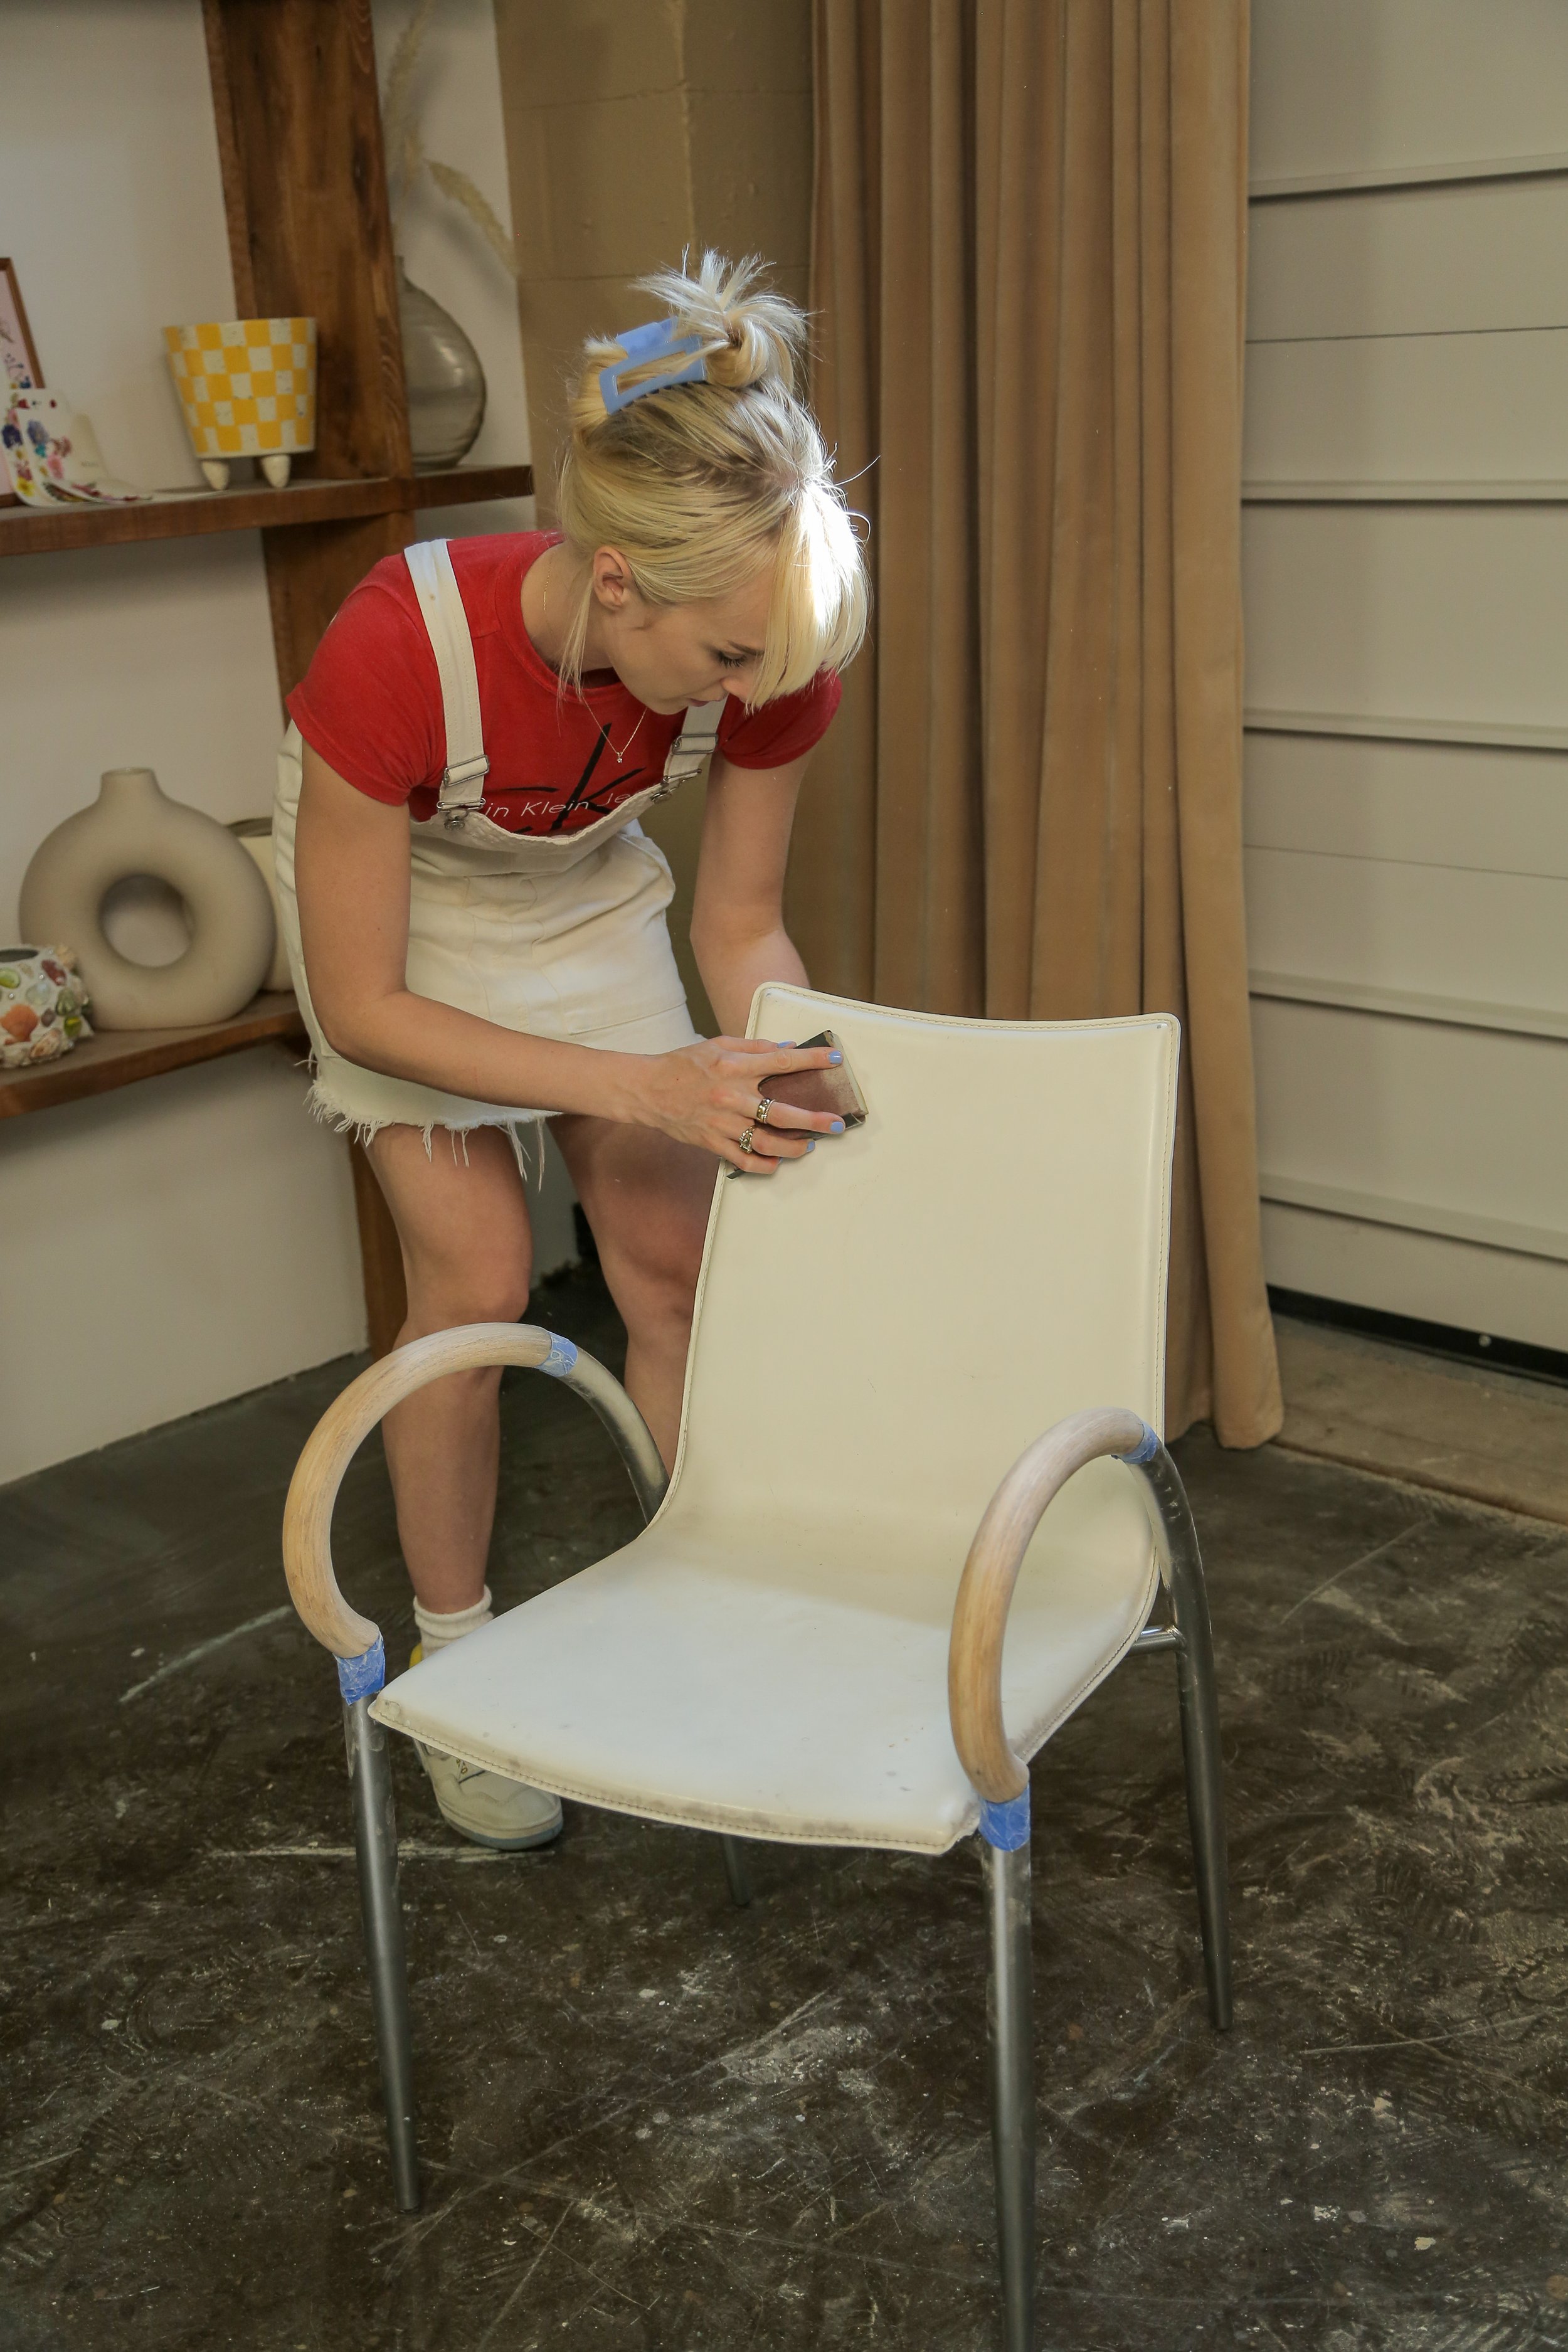
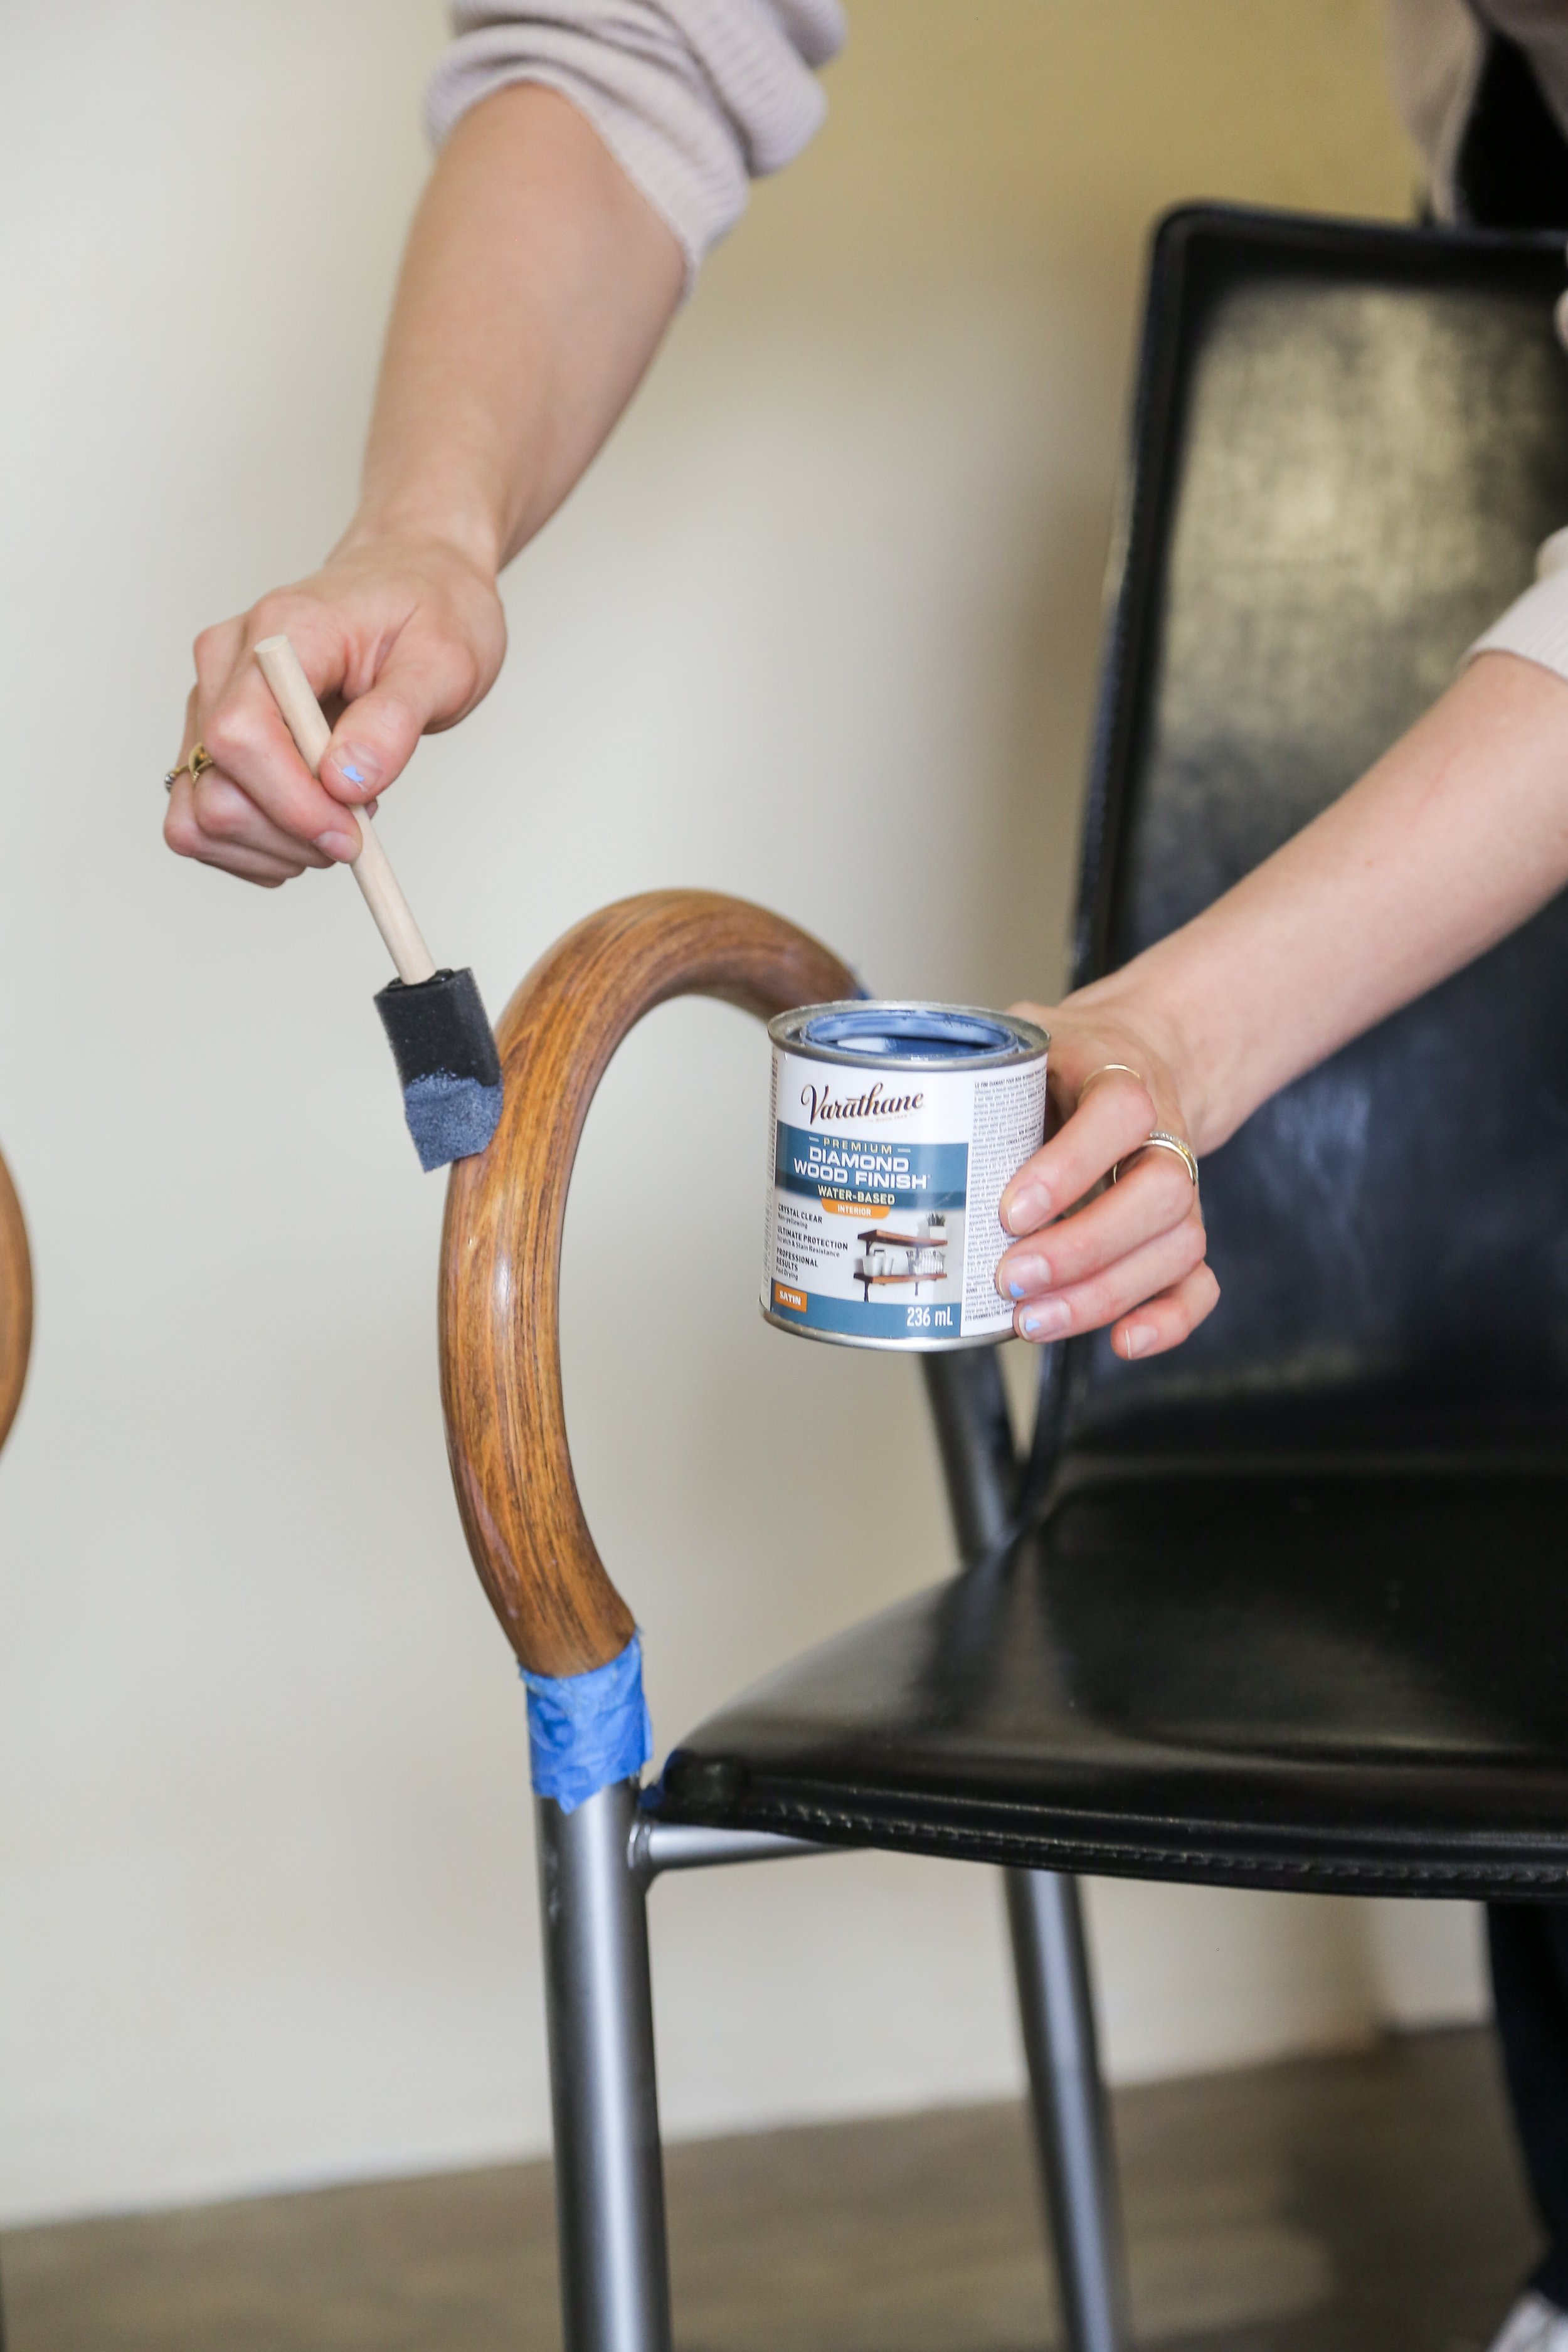
Handles
The first challenge was the handles. They were pretty worn and aged, so using my electric sander and 80-grit sandpaper, I stripped away all the layers of varnish. Gradually, I transitioned to finer grits.
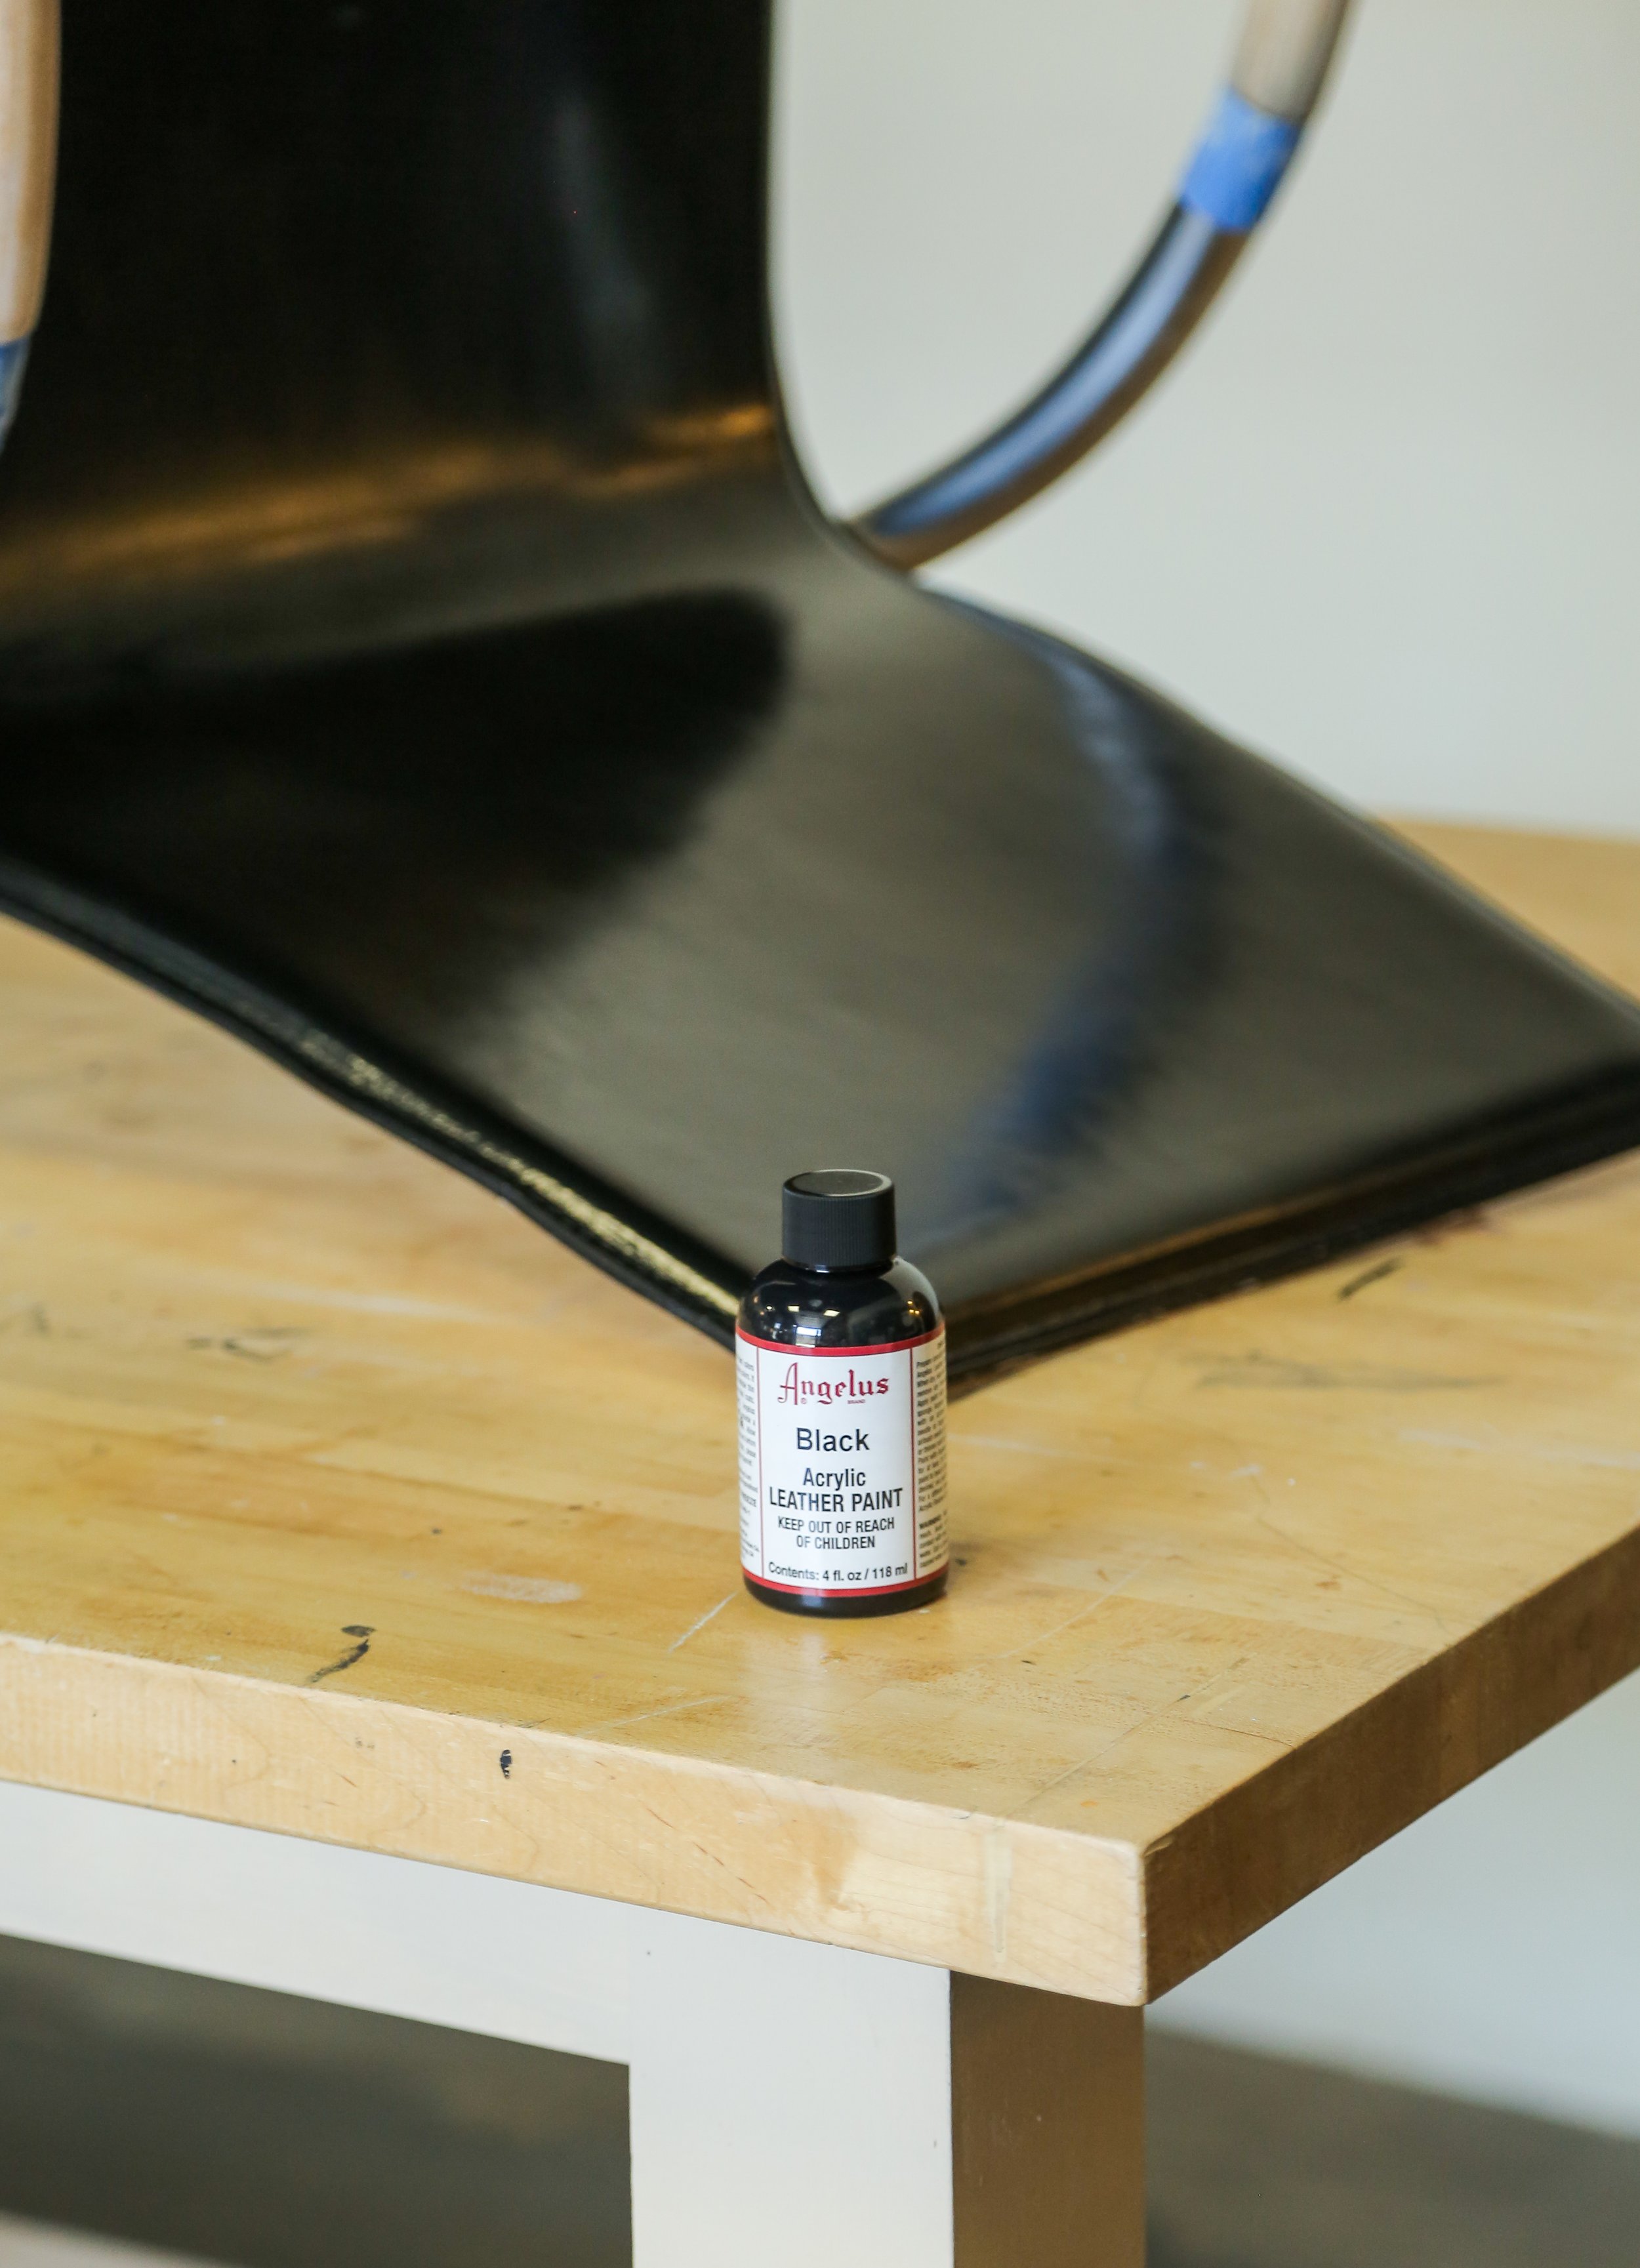
Chair Body
With the handles fixed up, I shifted focus to the chair body. After looking closer, it was pretty obvious that someone had tried painting this leather before, but used a pretty cheap paint which had faded substantially. To avoid too much wear happening again, I opted for a bit more expensive leather paint ($20 for the bottle), using the brand Angelus. I went with black to replicate the picture of First Dibs.
Before painting, I used a high-grit sandpaper lightly across the leather to create a porous surface for the new paint and cleaned it with vinegar and water. I then painted it with a fan brush and thin coats to ensure no brush strokes are visible.


Once that was dry, I gave a good wipe down to the legs and it was ready to be styled!
Final Results
The final results look sooo good and it seems like this chair is good as new! Time to get these up on Facebook Marketplace!