Scandinavian Thrifted Lamp Upcycle
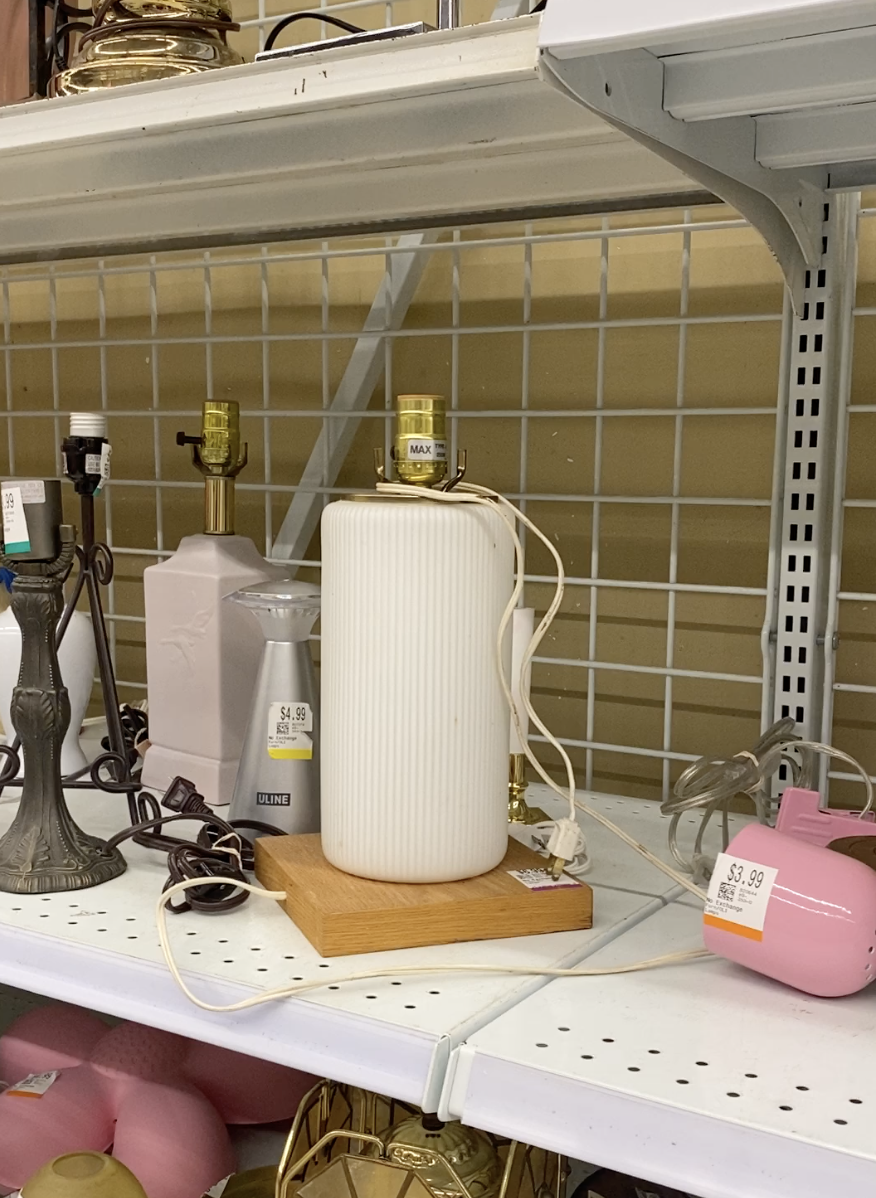
My friend found this cool lamp base at the thrift store a couple months ago and picked it up because she saw potential to upcycle it. That said, it got tossed into a pile of a bunch of other future projects and put on the back burner. When I asked around to some friends if they had anything they wanted upcycled, she brought this bad boy out and told me to give it a go!
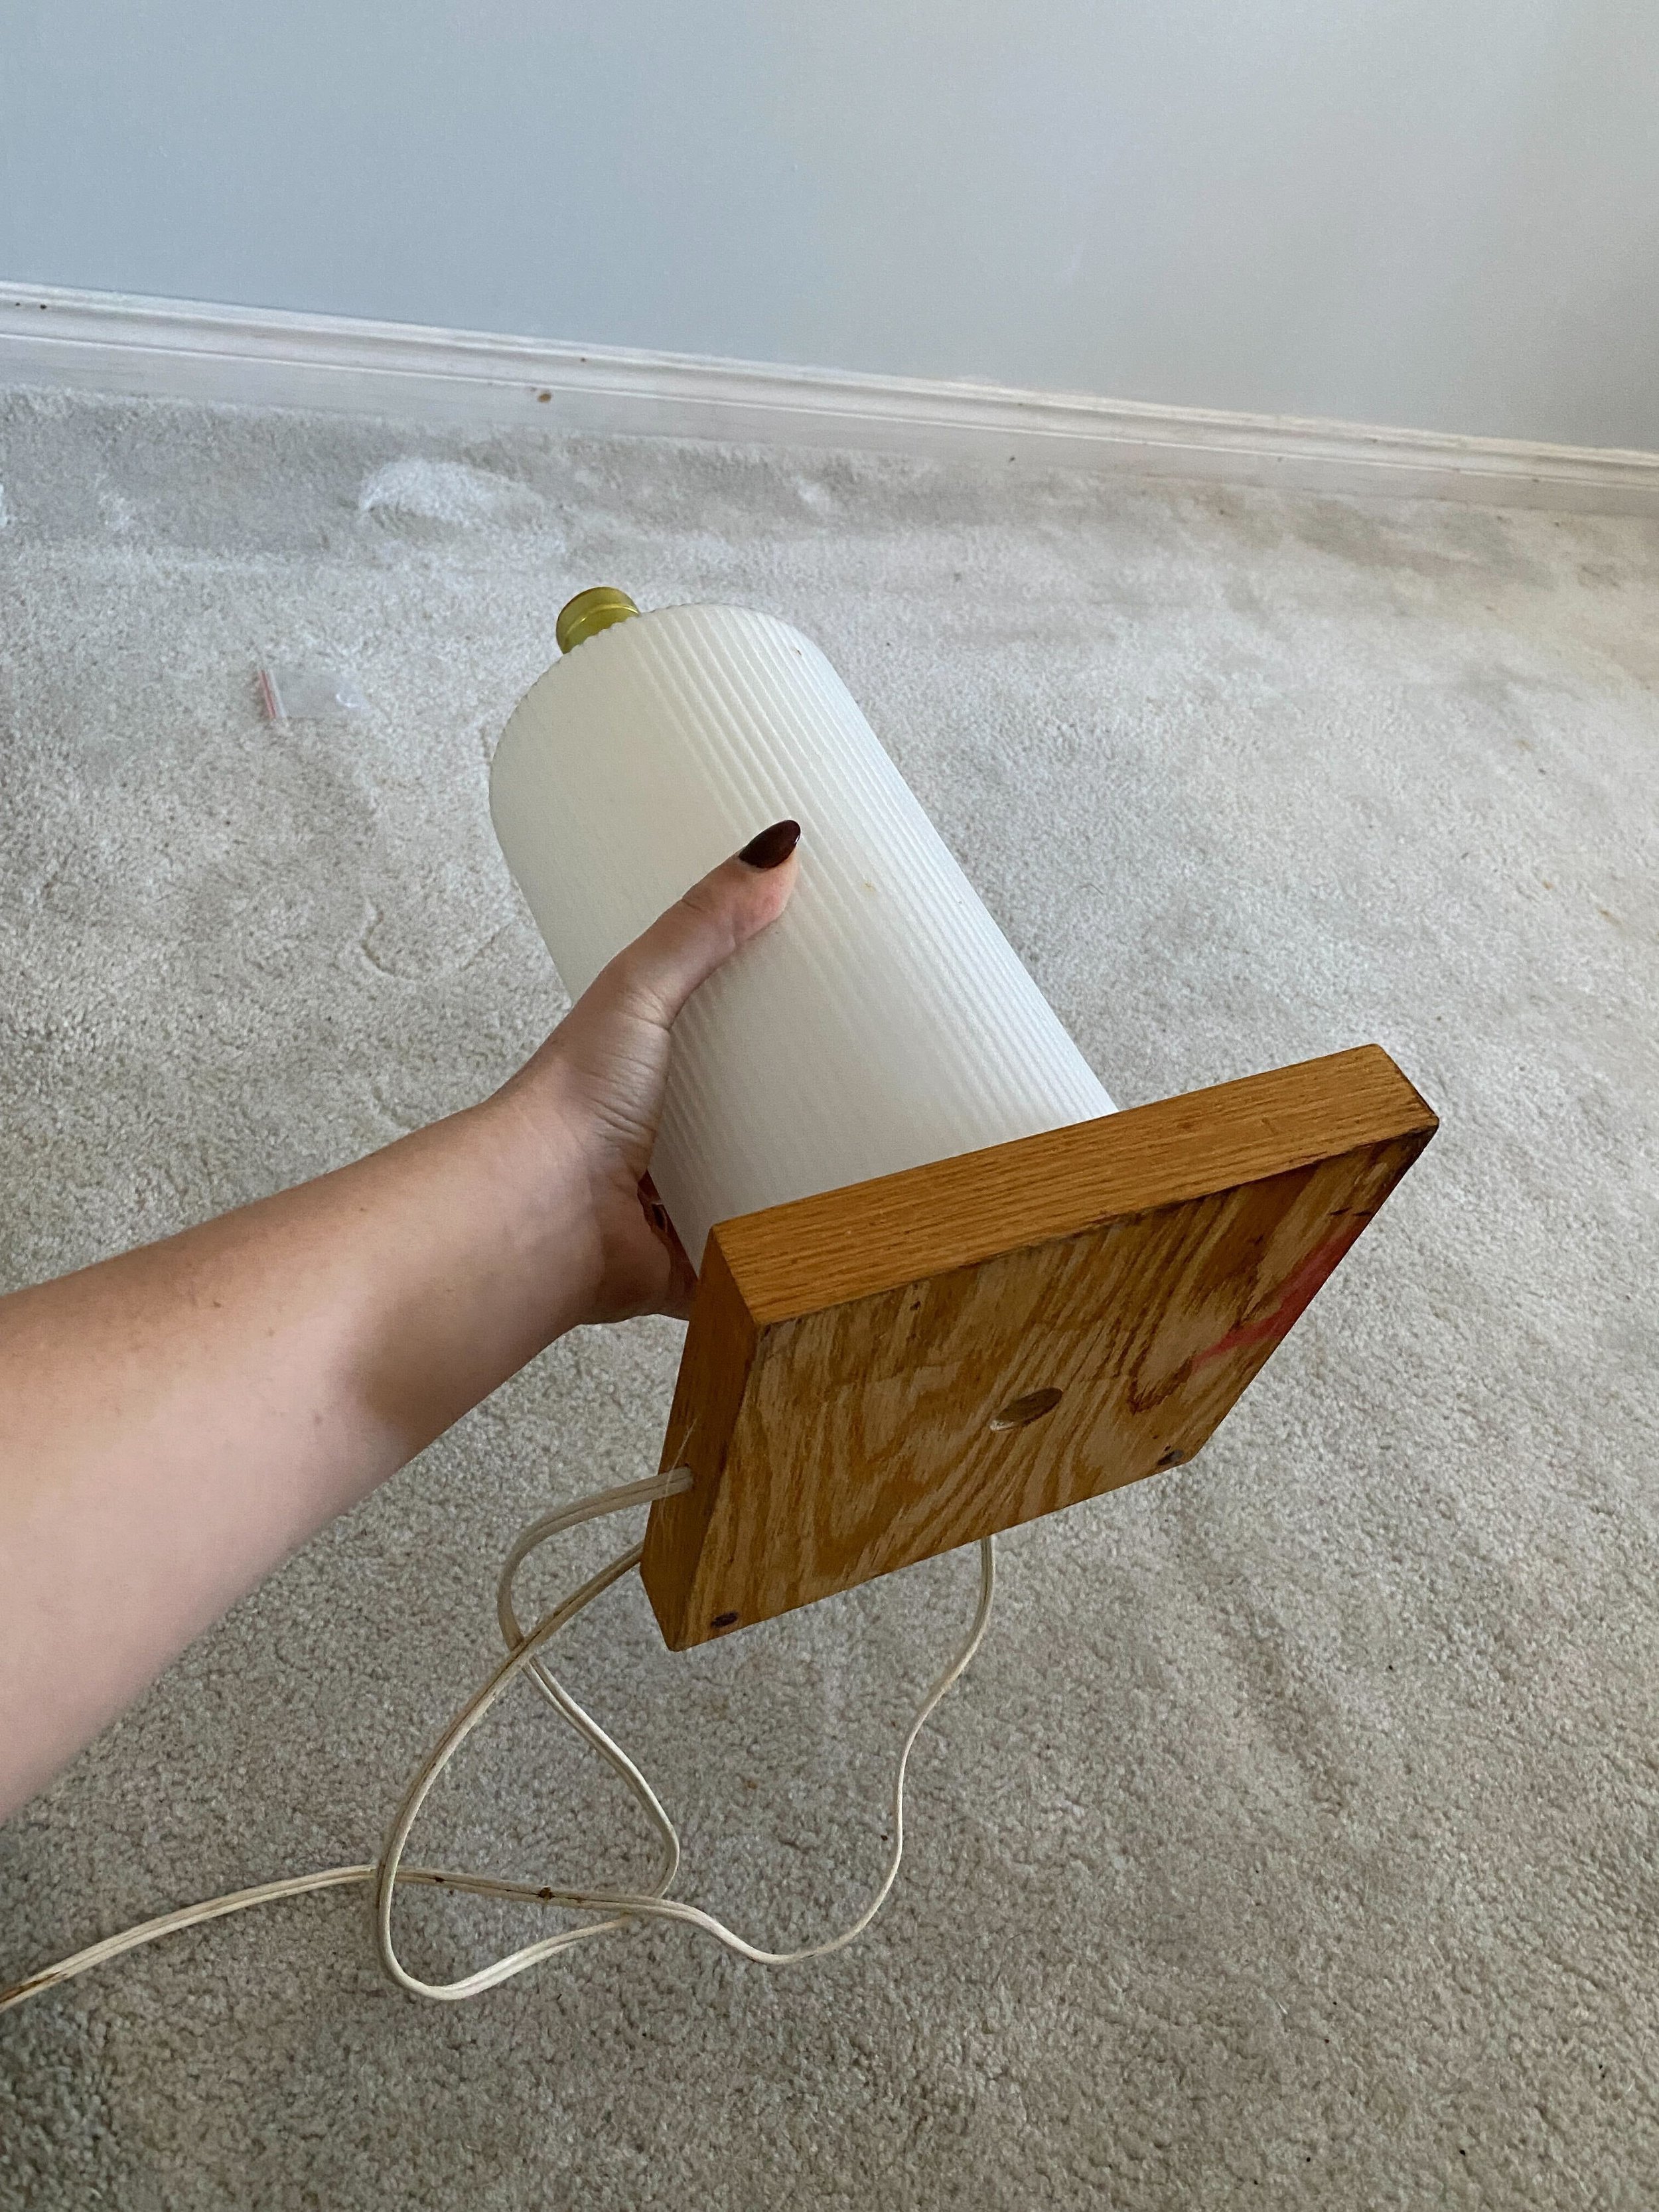
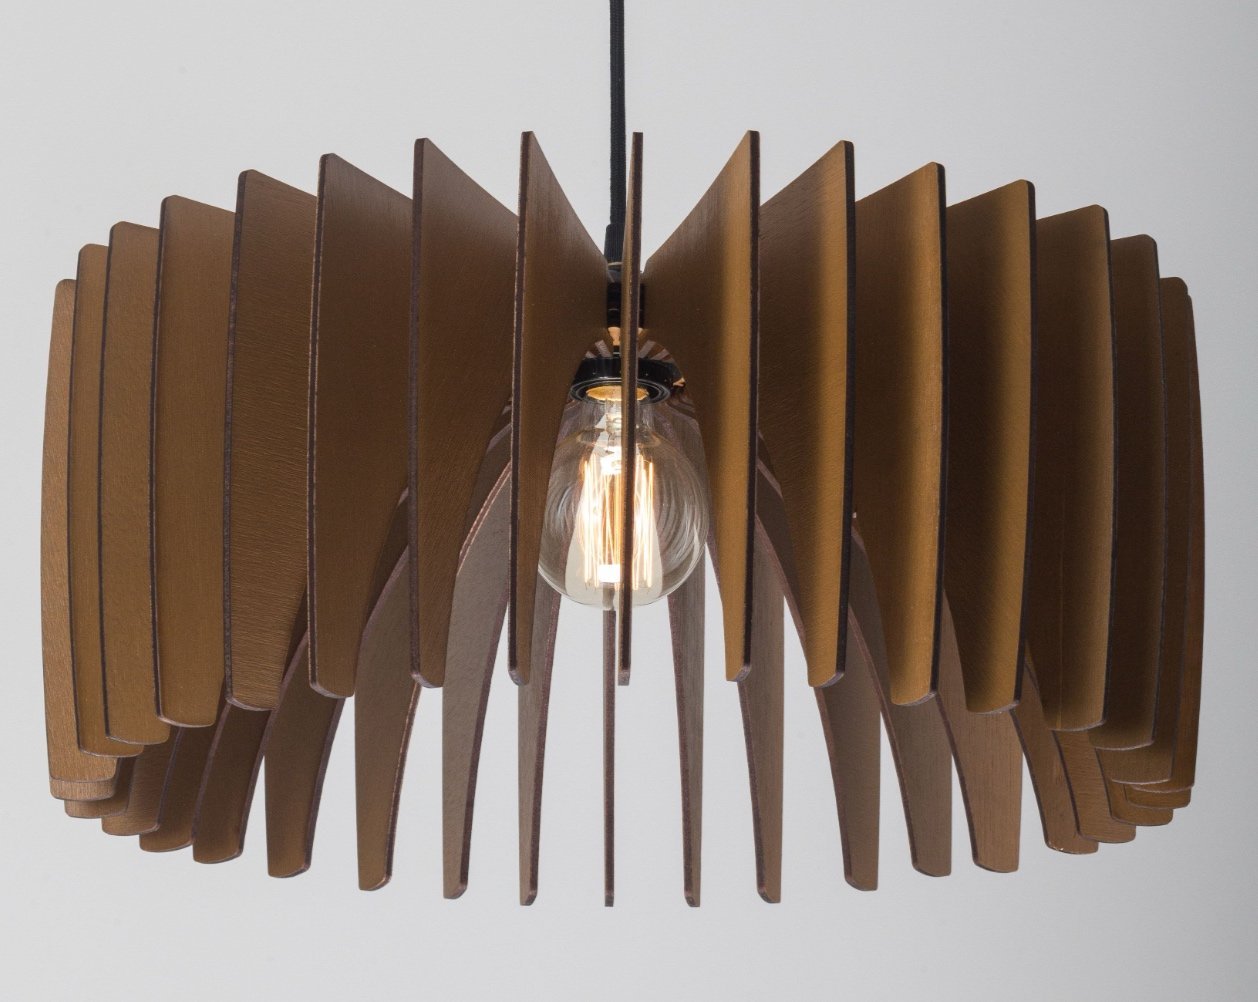
As soon as I saw the bottom wood base, I knew I wanted to bring wood into the top to balance it out. After doing a little research, I came across this stunning Scandinavian pendant light trend (shown below).


Let’s get to the DIY!

I got a 2ft x 4ft sheet of 1/4” plywood with a birch veneer and measured out 24 rectangles that were 4” x 12” . You can adjust the size and amount of rectangles you cut depending on how full and how big your desired lamp is! Once they were all measured out, I used a circle saw to cut them out.
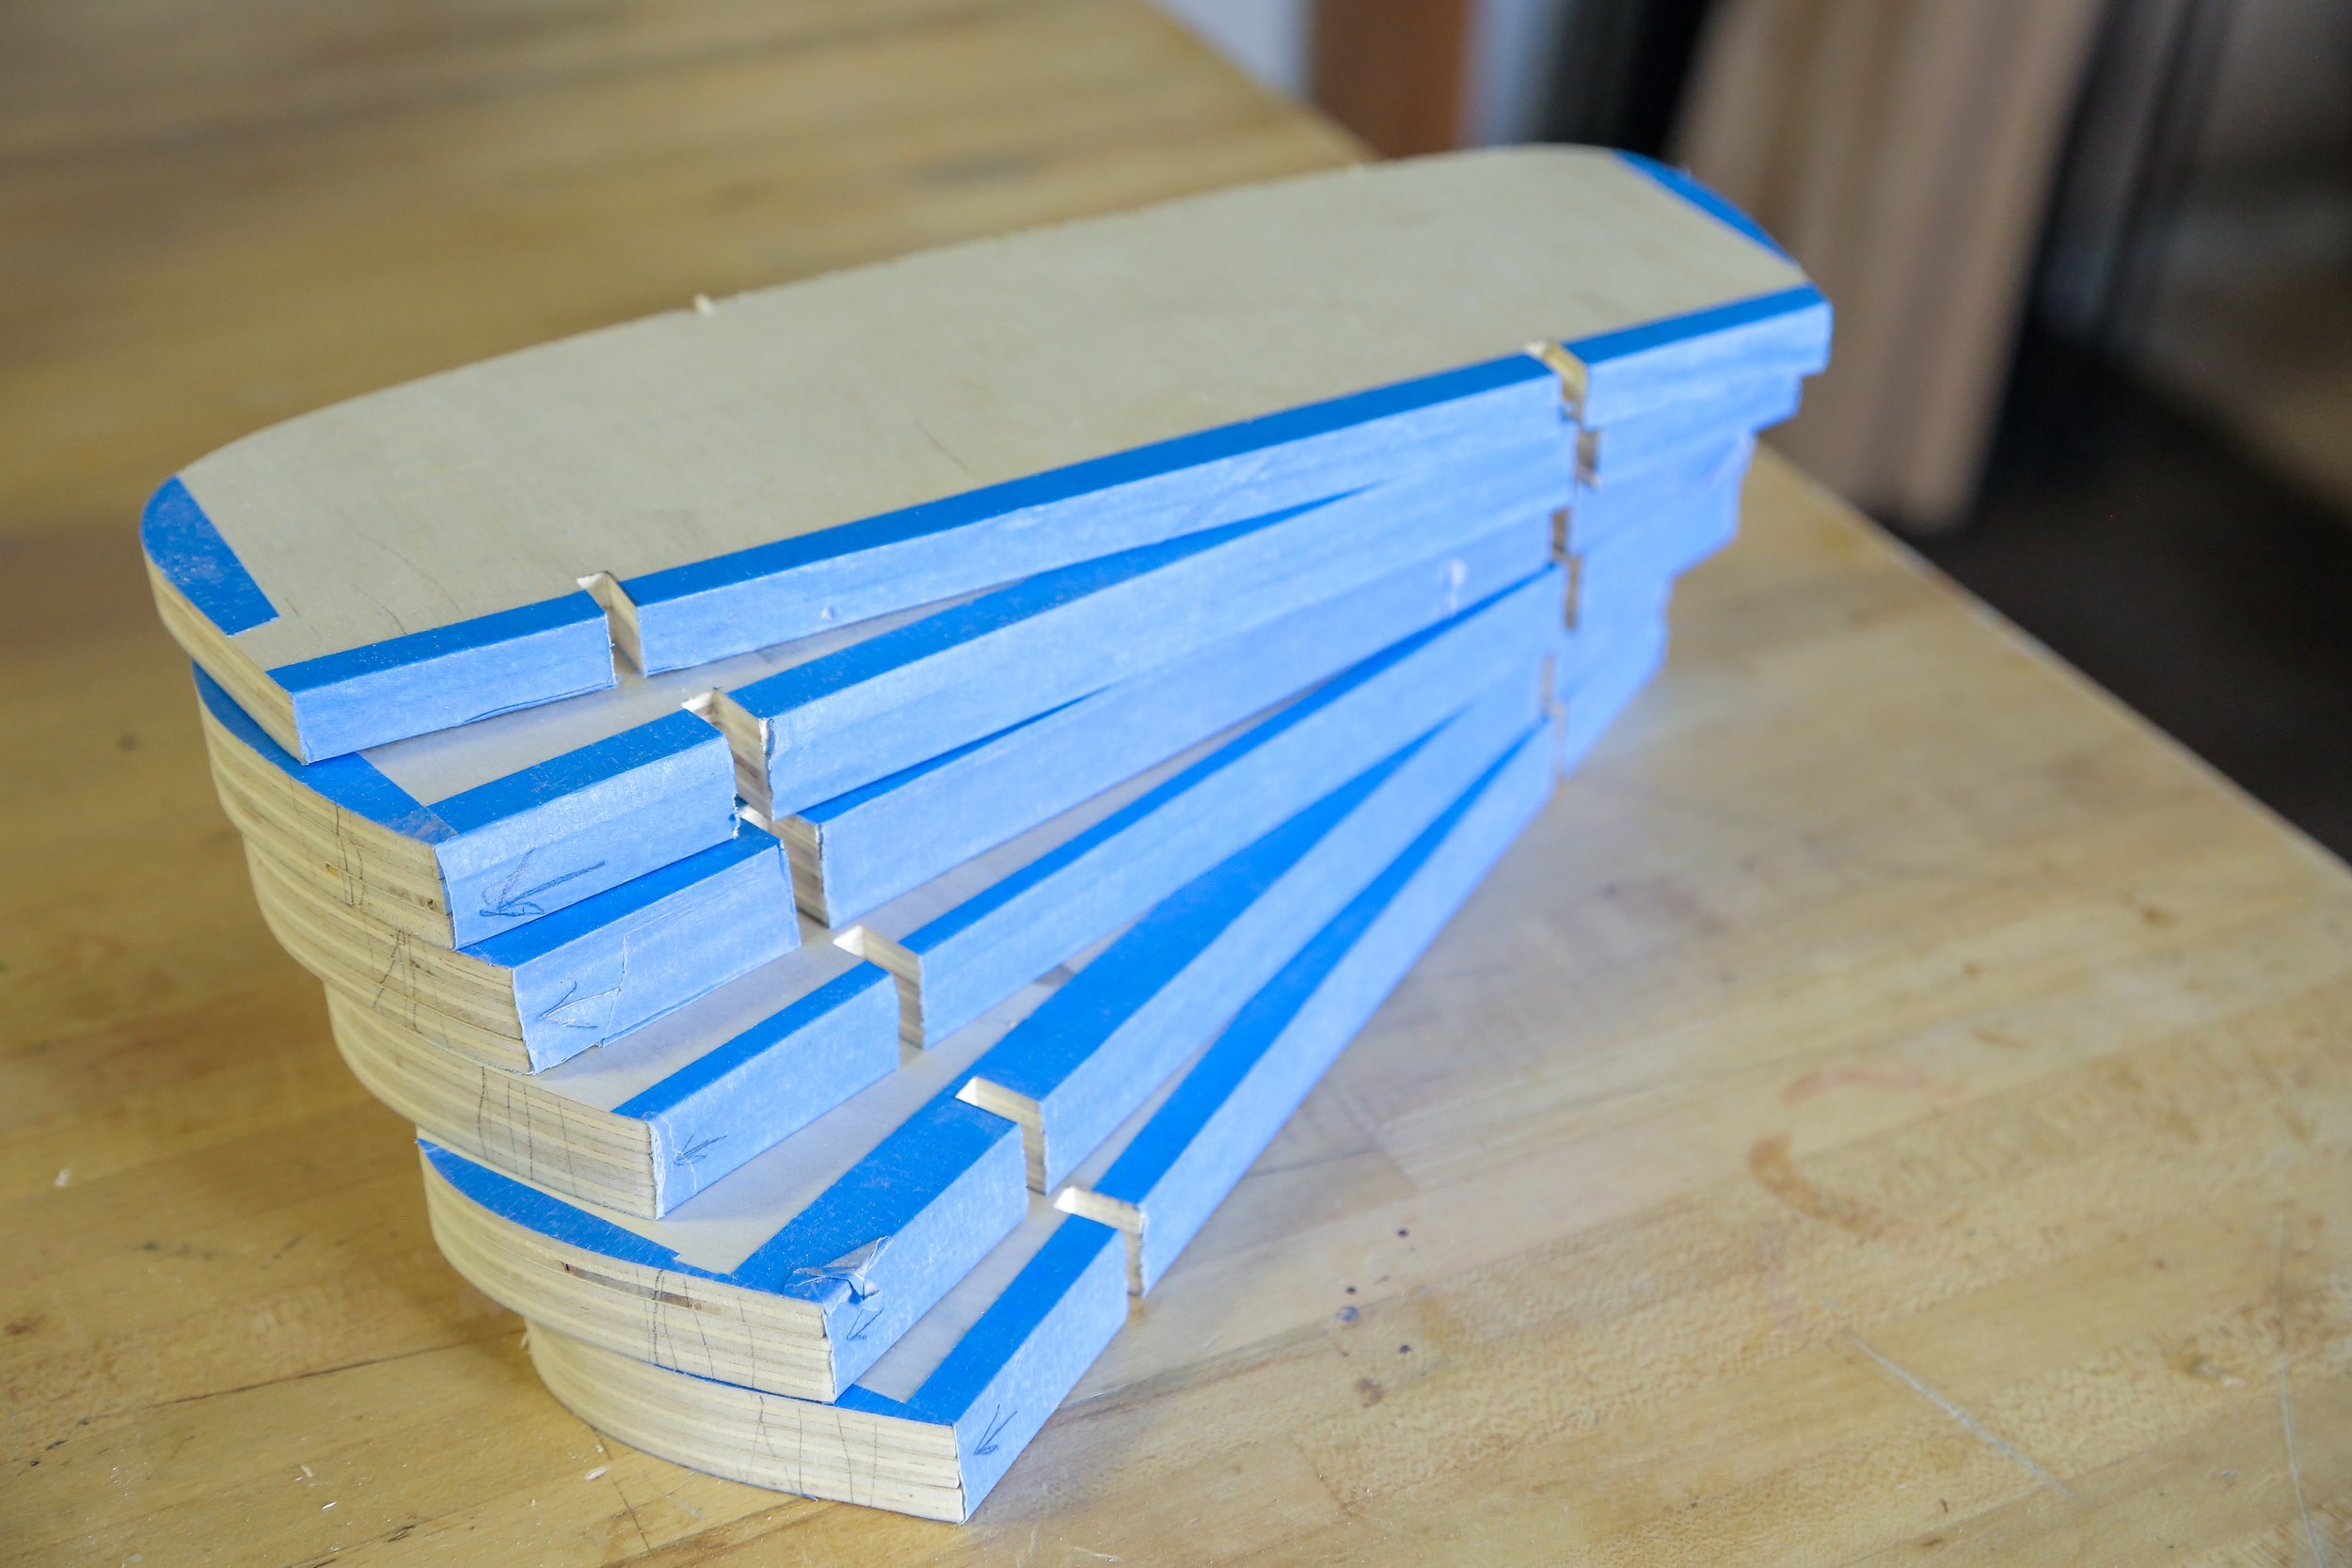
(Tip: use some painters tape on the lines where you cut to avoid splintering)


I then used my scroll saw to cut out a rounded edge from all of the rectangles. I could even do these three at a time by taping them together.
Please Note: You can definitely use a regular jigsaw to do this, but the scroll saw is amazing because it has a really thin osolating blade in it thats really great at getting any sort of curved corner, and because I am doing so many of the same cuts I am using this to save time!


Now that I had all of the edges rounded, I clamped all of them together to give the outside part a sand with an 80 grit power sander, and then moved up to a 220 grit. This way I could ensure they are completely symmetrical and even. I also made notches in all of the pieces 1/4” deep, 2” from either end! These will act as slots for the blocks to sit on the lamp.

Next I used some scrap 1/4” plywood to make two rings using my homemade circle jig. They measure out to 8” each, but one has a 6” diameter cut out of the middle and the other has a 4” diameter.


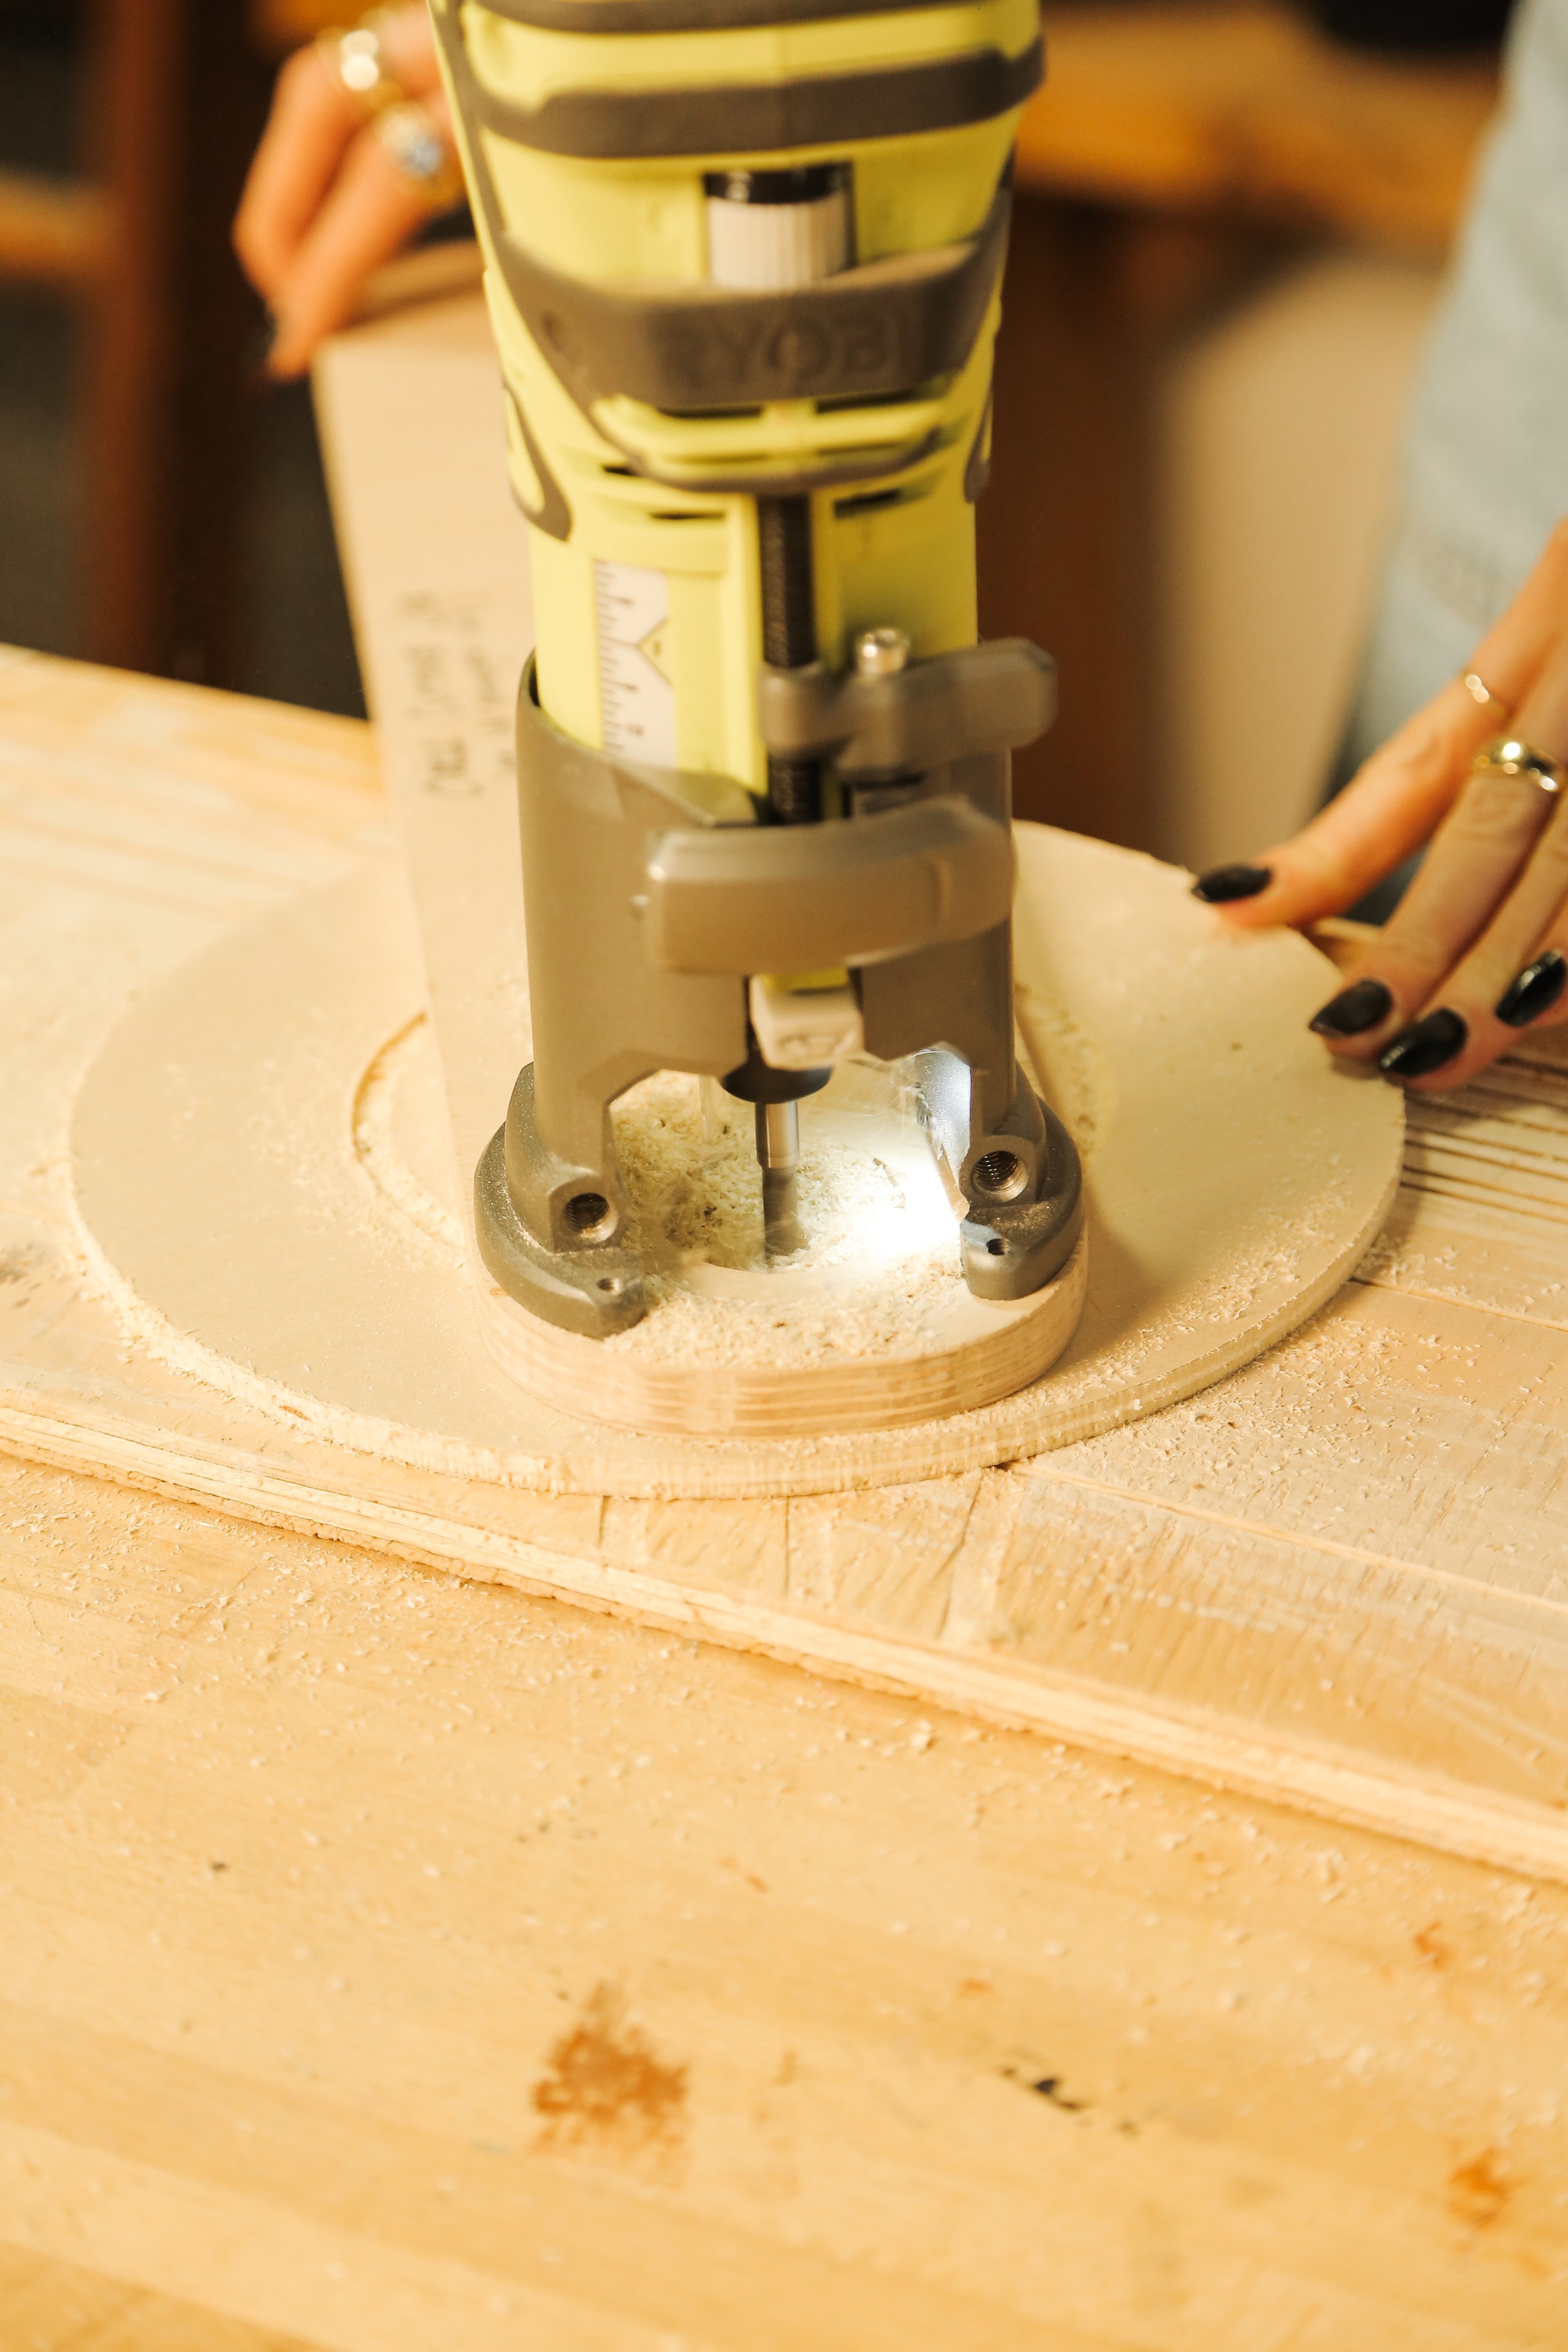
I also made a smaller circle by using the same scrap wood and drilling out a hole using a 4” hole saw. This will be what sits on the top of the lamp. Then I connected 6” diameter piece and the small circle together with some wood glue and popsicle sticks.

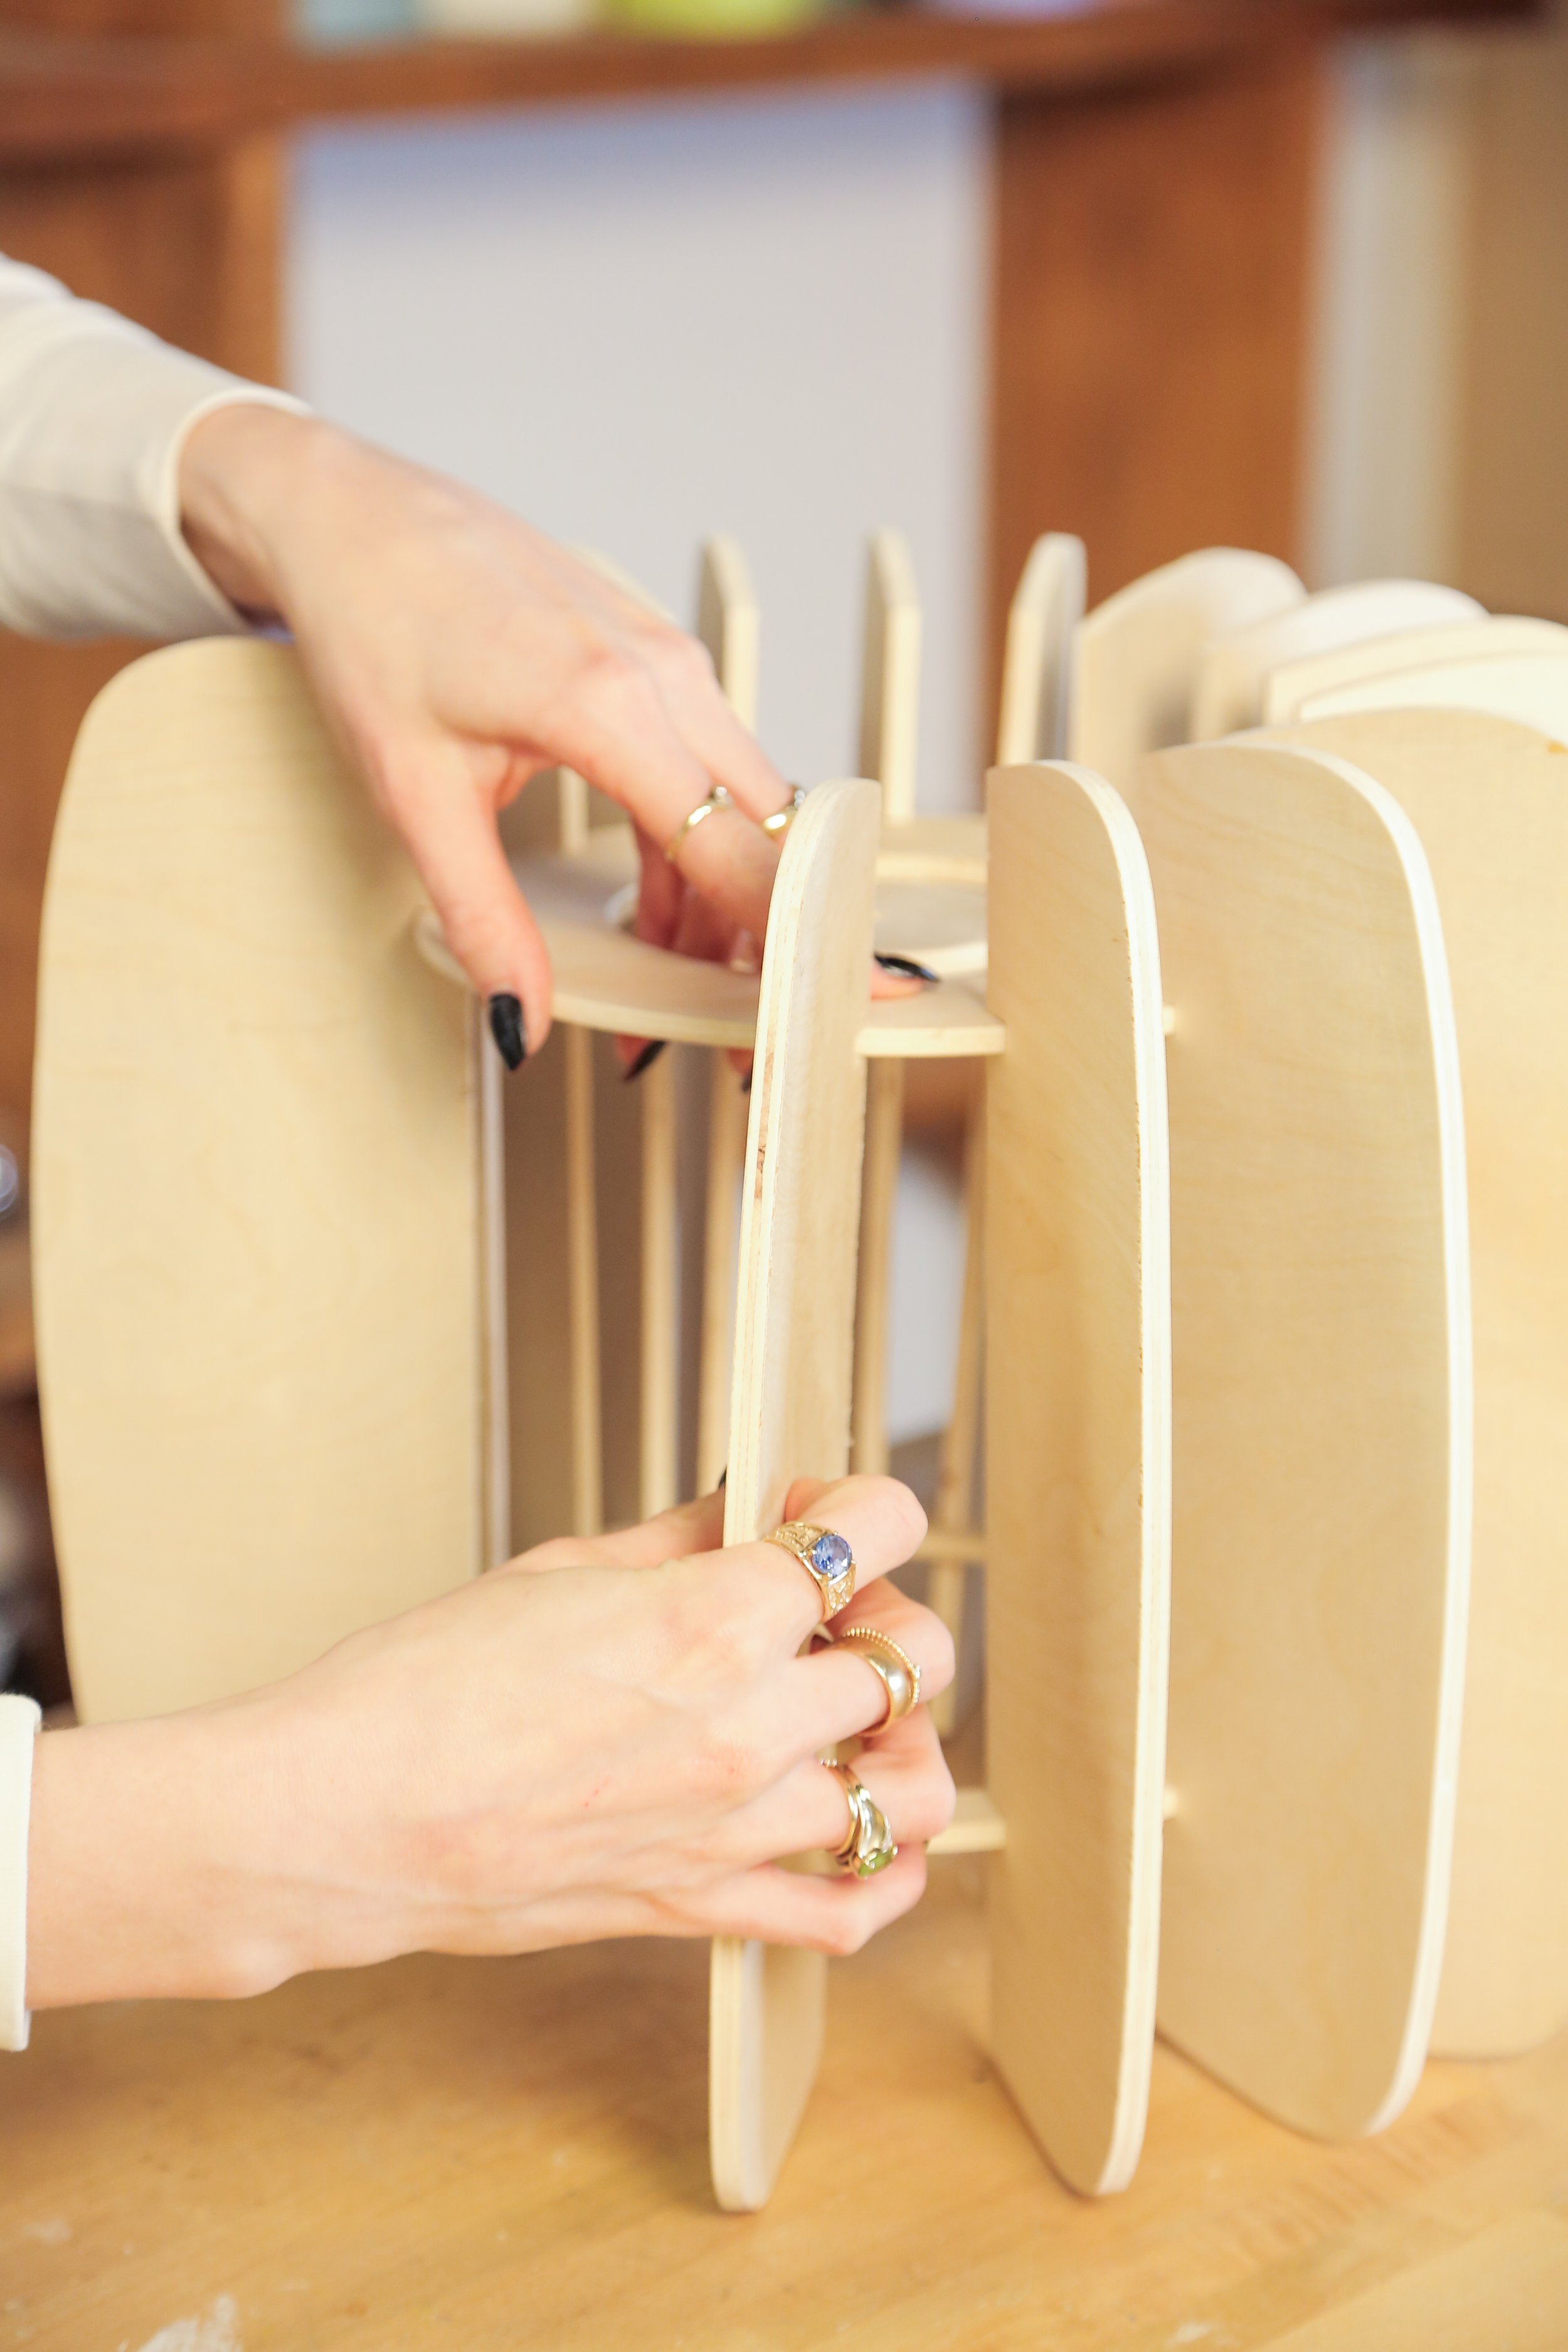
Now it was time to assemble. Using the notches I made in the pieces, I slid them into the circles I cut out and constructed it all together.

I gave it all a coat of my favourite stain, and voila! It was done! What do you think of the final result?


