THRIFT FLIP: VINTAGE SHUFFLEBOARD TABLE + MORE!
Welcome back to another Thrift Flip! This is the show where we head to the thrift store, find some pieces we like, and flip them to make them even more amazing!
Today we headed to the thrift store with kind of a figurative blank canvas, and decided to let the thrift store inspire us!
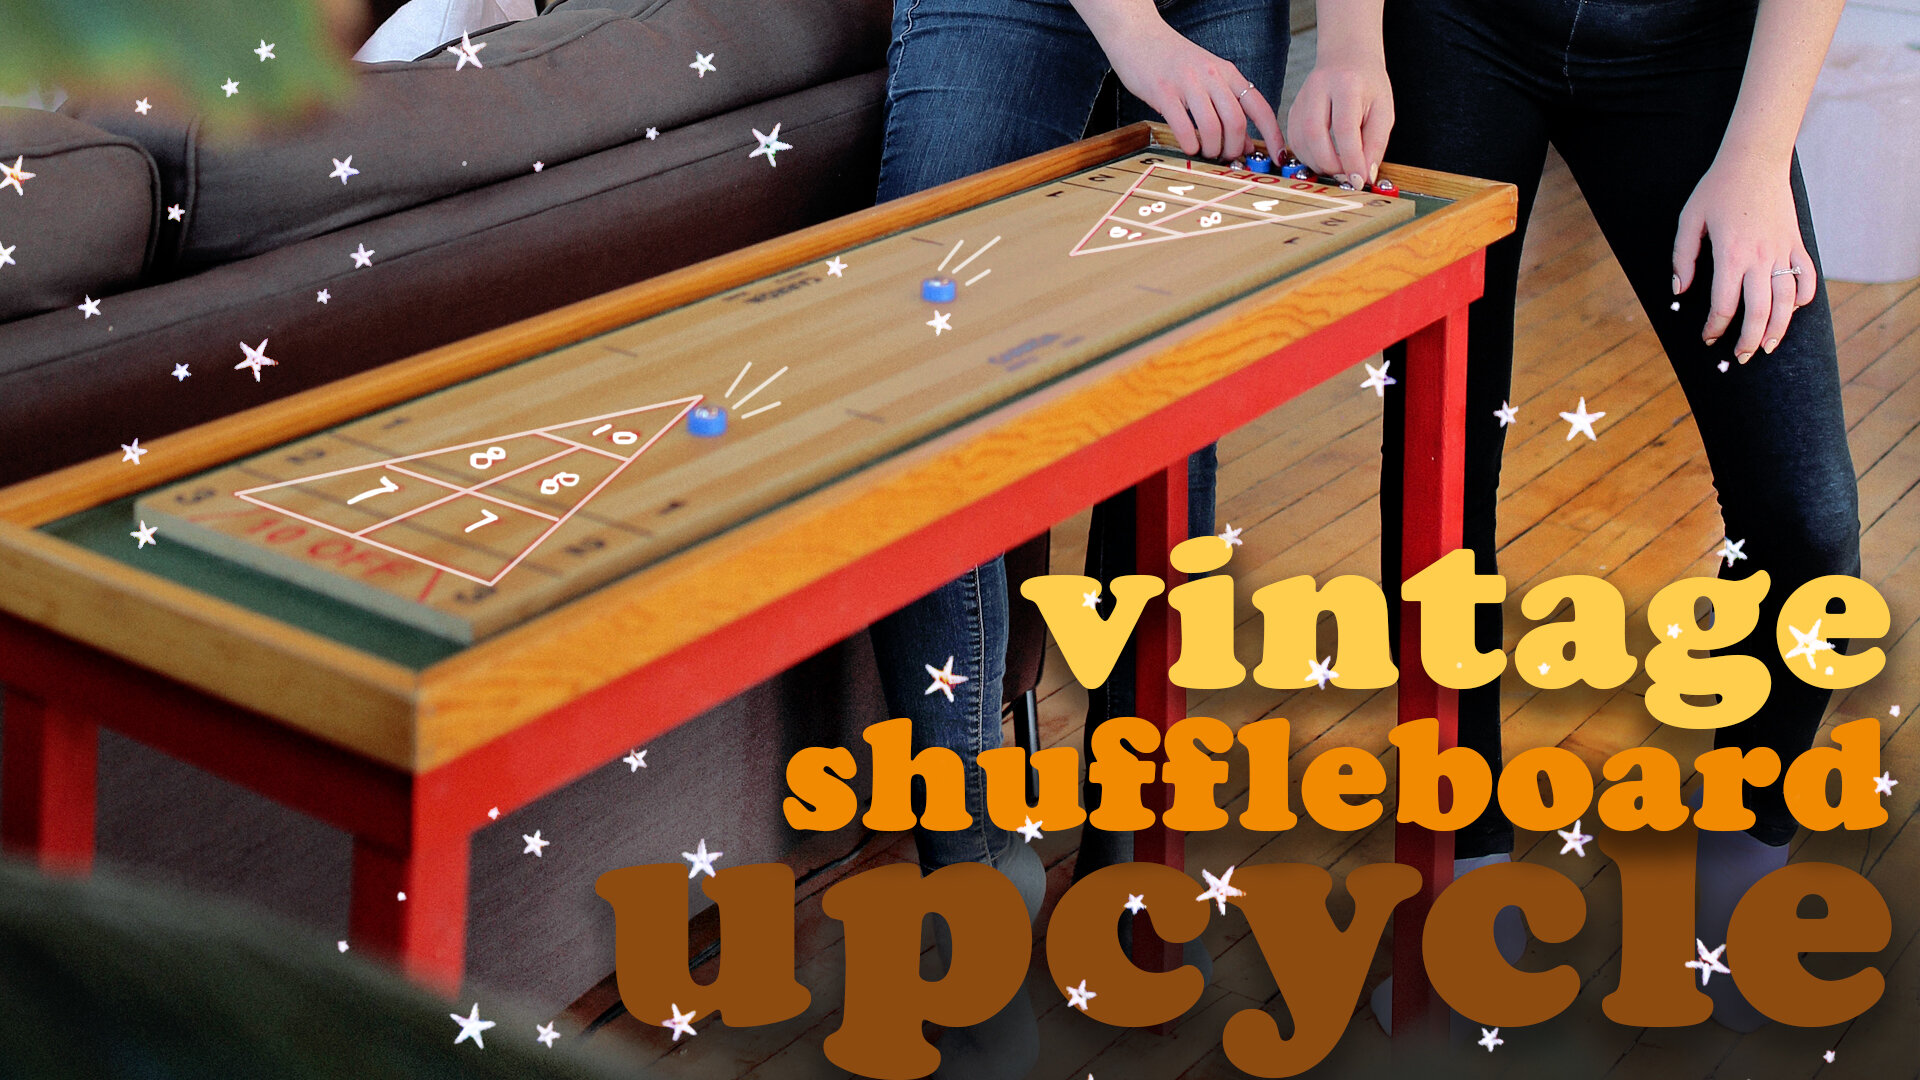
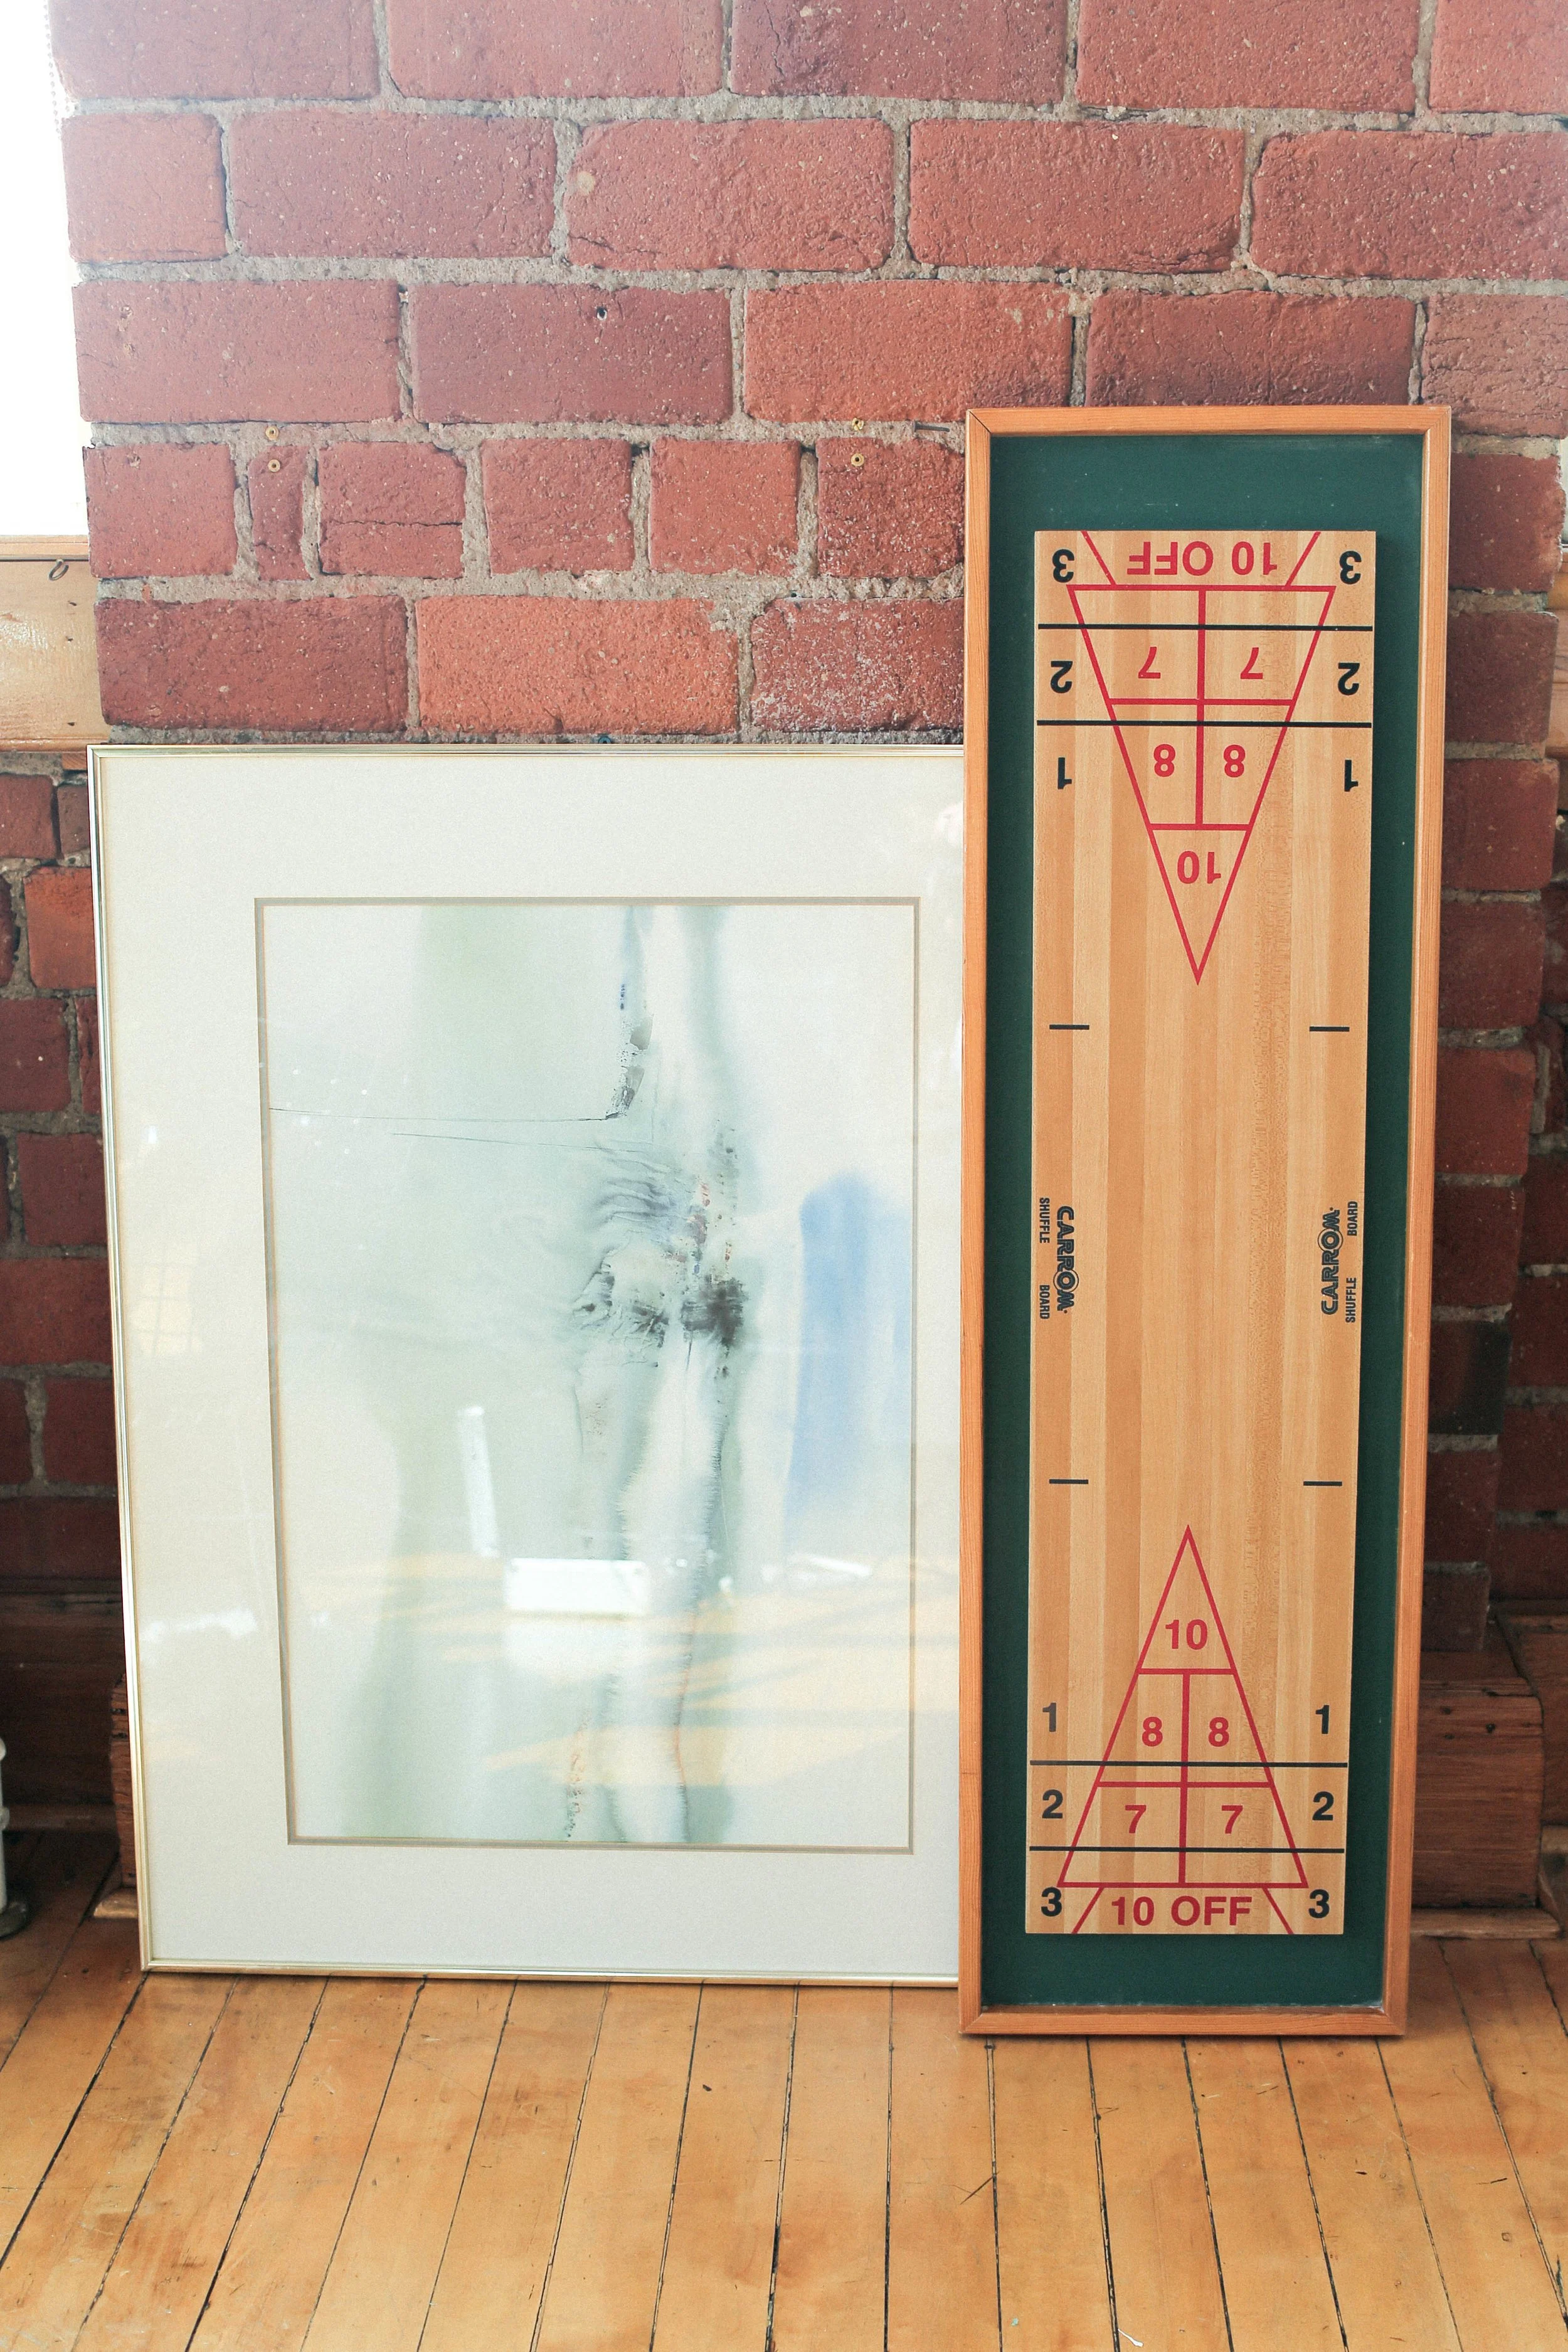
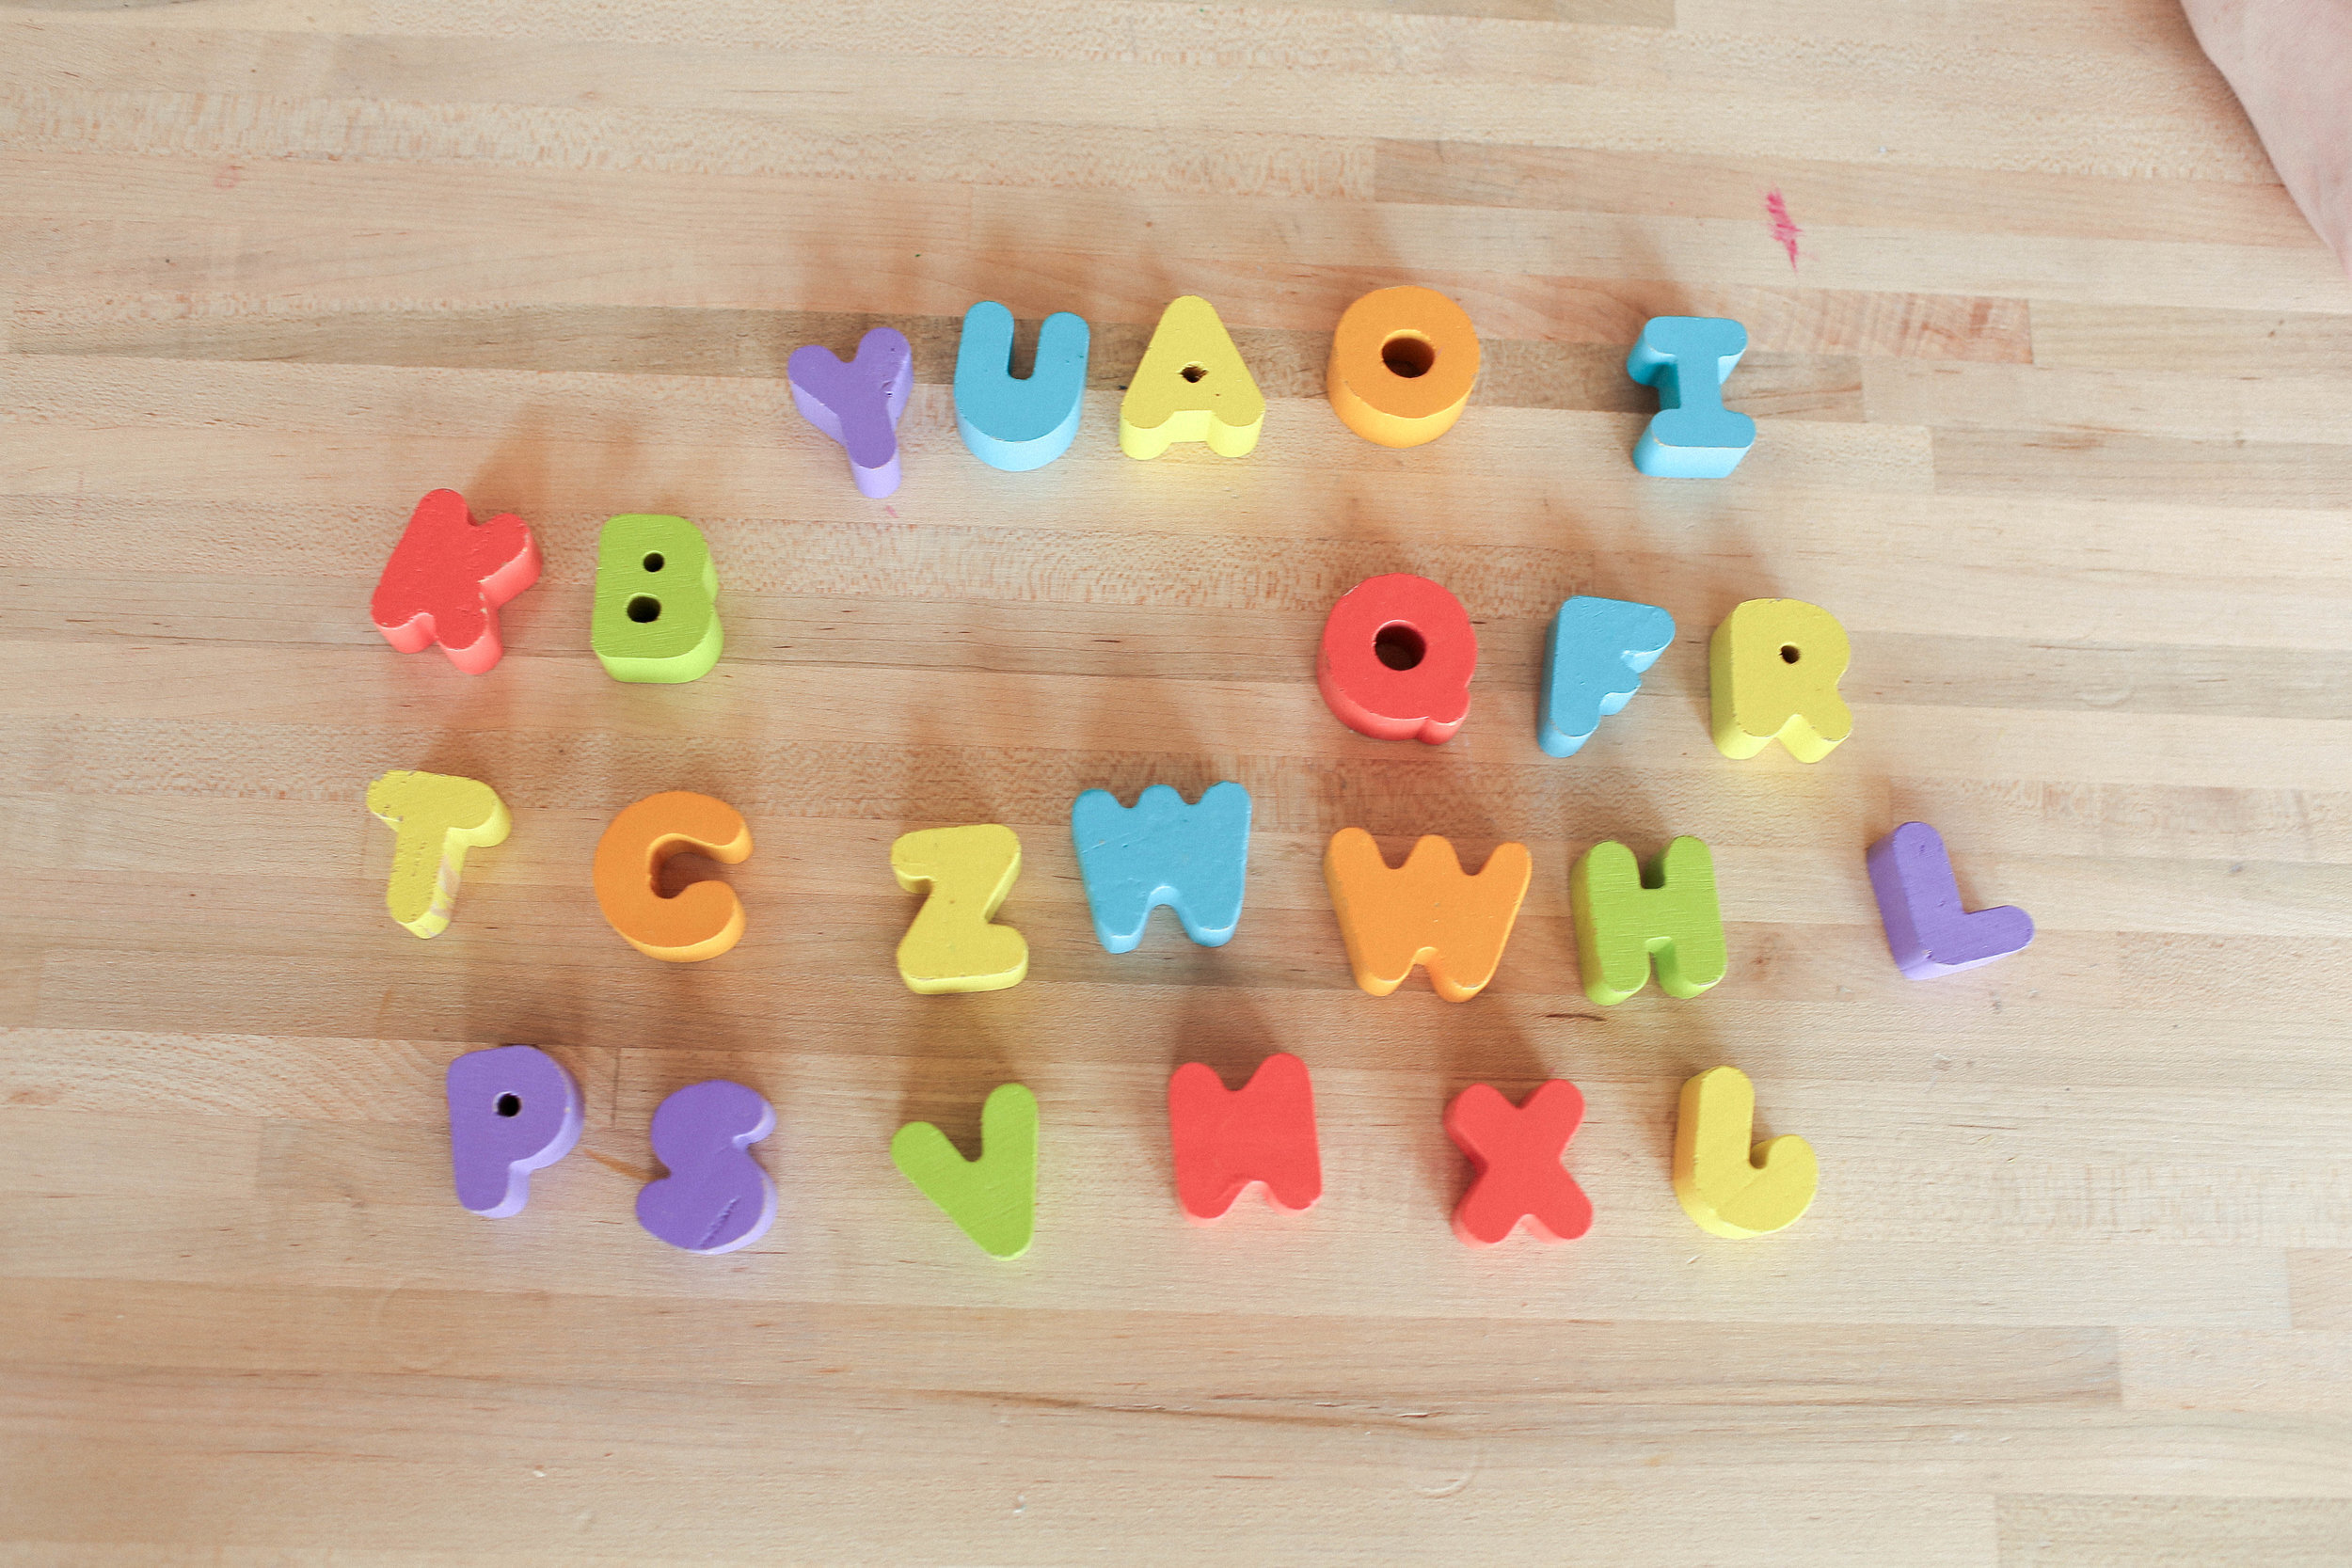
We got back from the thrift store with some pretty inspiring things! We found this incredible vintage-looking shuffleboard, and this giant frame that we think we’re going to make a table out of. We also found this bag of children’s block letters that we thought would make something really cool, so we picked those up as well!
So let’s start with the shuffleboard and giant frame!
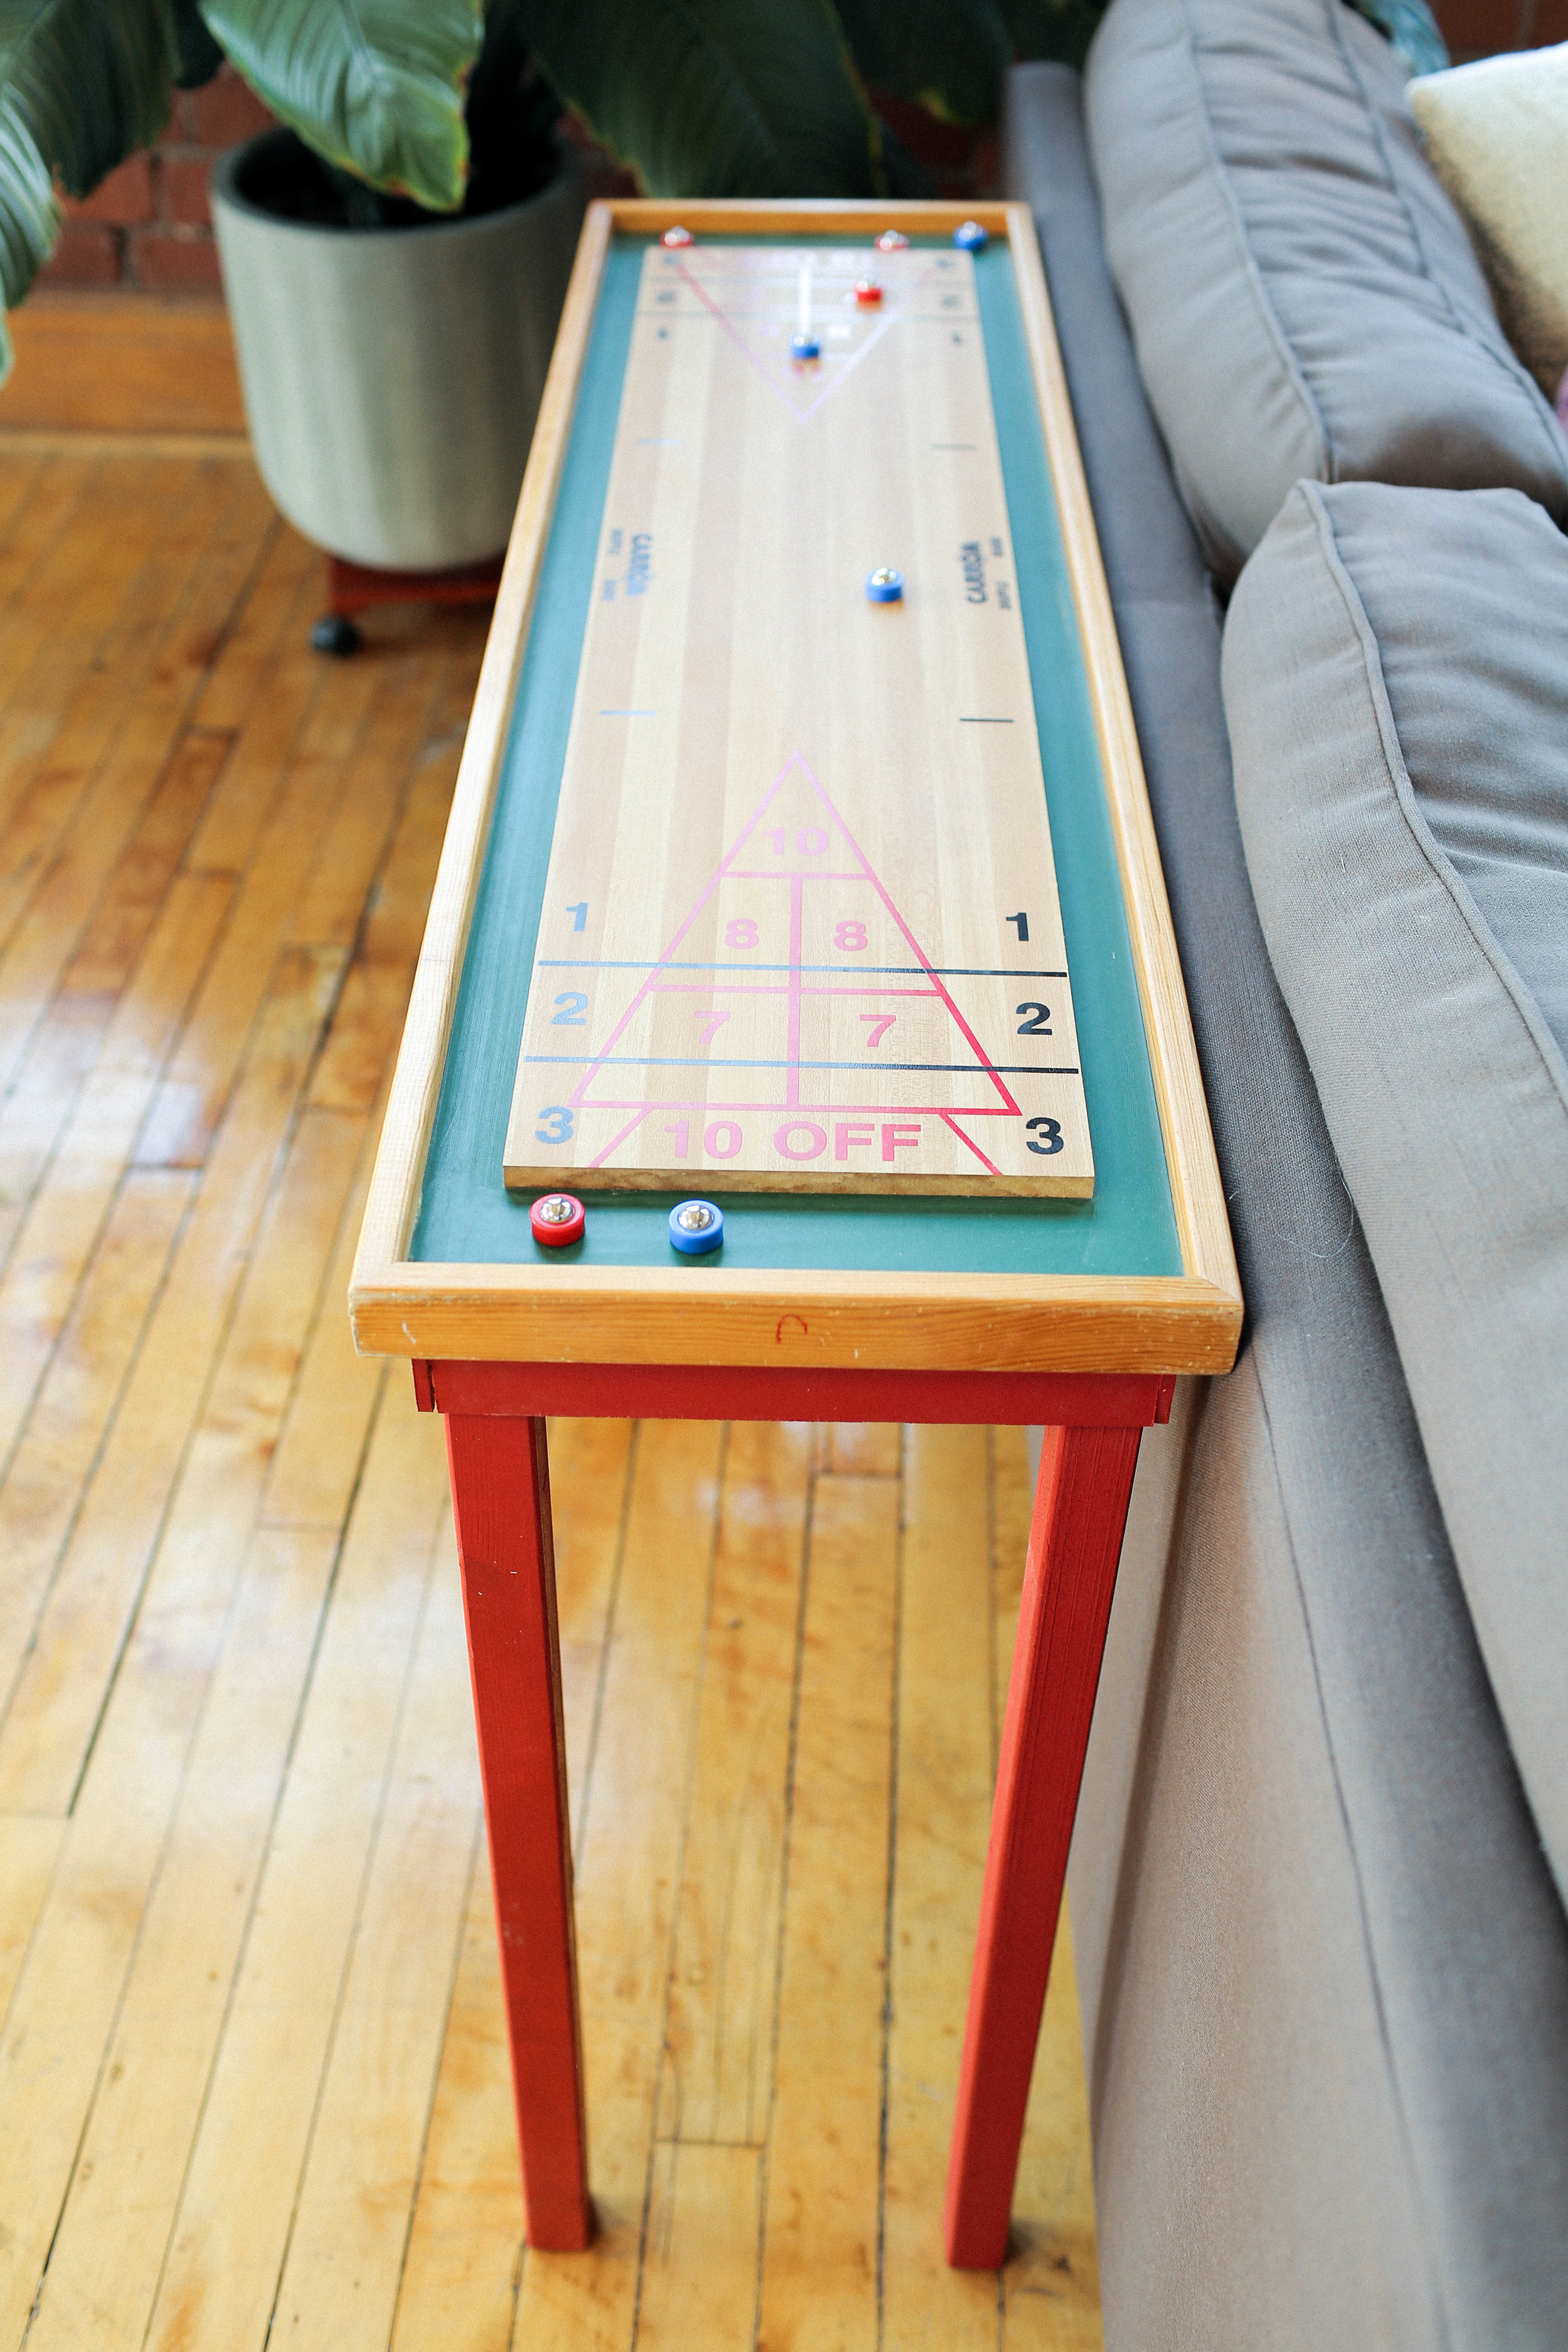
SHUFFLEBOARD TABLE

We were super inspired to make a really cook shuffleboard table out of the shuffleboard and giant frame! The shuffleboard is in such great condition and we think it’s a really cool and unique piece.

The idea is to cut out a piece of glass for the top of the shuffleboard so that it can act as a table, but once the class is removed the game can be played!
To start the table, we felt like the shuffleboard needed some extra material to make it look more like a table and to make it easier to attach legs later on. We grabbed some MDF from our scrap wood pile, and cut out four pieces that were about 2.5 inches wide and fit into the inner bottom edge of the shuffleboard. The idea is to create an inset box.

Next, we grabbed some square dowels (you can find them in the deck aisle at your local hardware store) and cut them to be 30 inches tall. If you want to use this table as a ‘behind-the-couch’ sort of unit like we are, go ahead and measure how tall your couch is and use that measurement. Now let’s paint! We are going to paint our square dowels and our MDF a bright vintage-ey red colour that we think totally matches the vibes we’re going for.

Once all of that is dry, grab your pieces of MDF and apply some wood glue to the edge to attach it to the inner edge of the shuffleboard. Once glued, add some finishing nails to hold everything in place and to add extra support! Do the same with the legs, adding a generous amount of wood glue to the corners of the shuffleboard, and using some long and sturdy screws to keep everything in place!


Next up, let’s cut some glass! The goal is to cut a piece of glass (out of this thrifted frame) that will sit just inside of the shuffleboard and act as a table top. So… after multiple attempts we figured out that cutting large pieces of glass was a little harder than we thought. We ended up having to scrap the glass table top idea, but if you can get the glass cutting to work, it would add a really cool element to the table (but please be safe!). But hey! The table is still SUPER cute and we’re really proud of it.
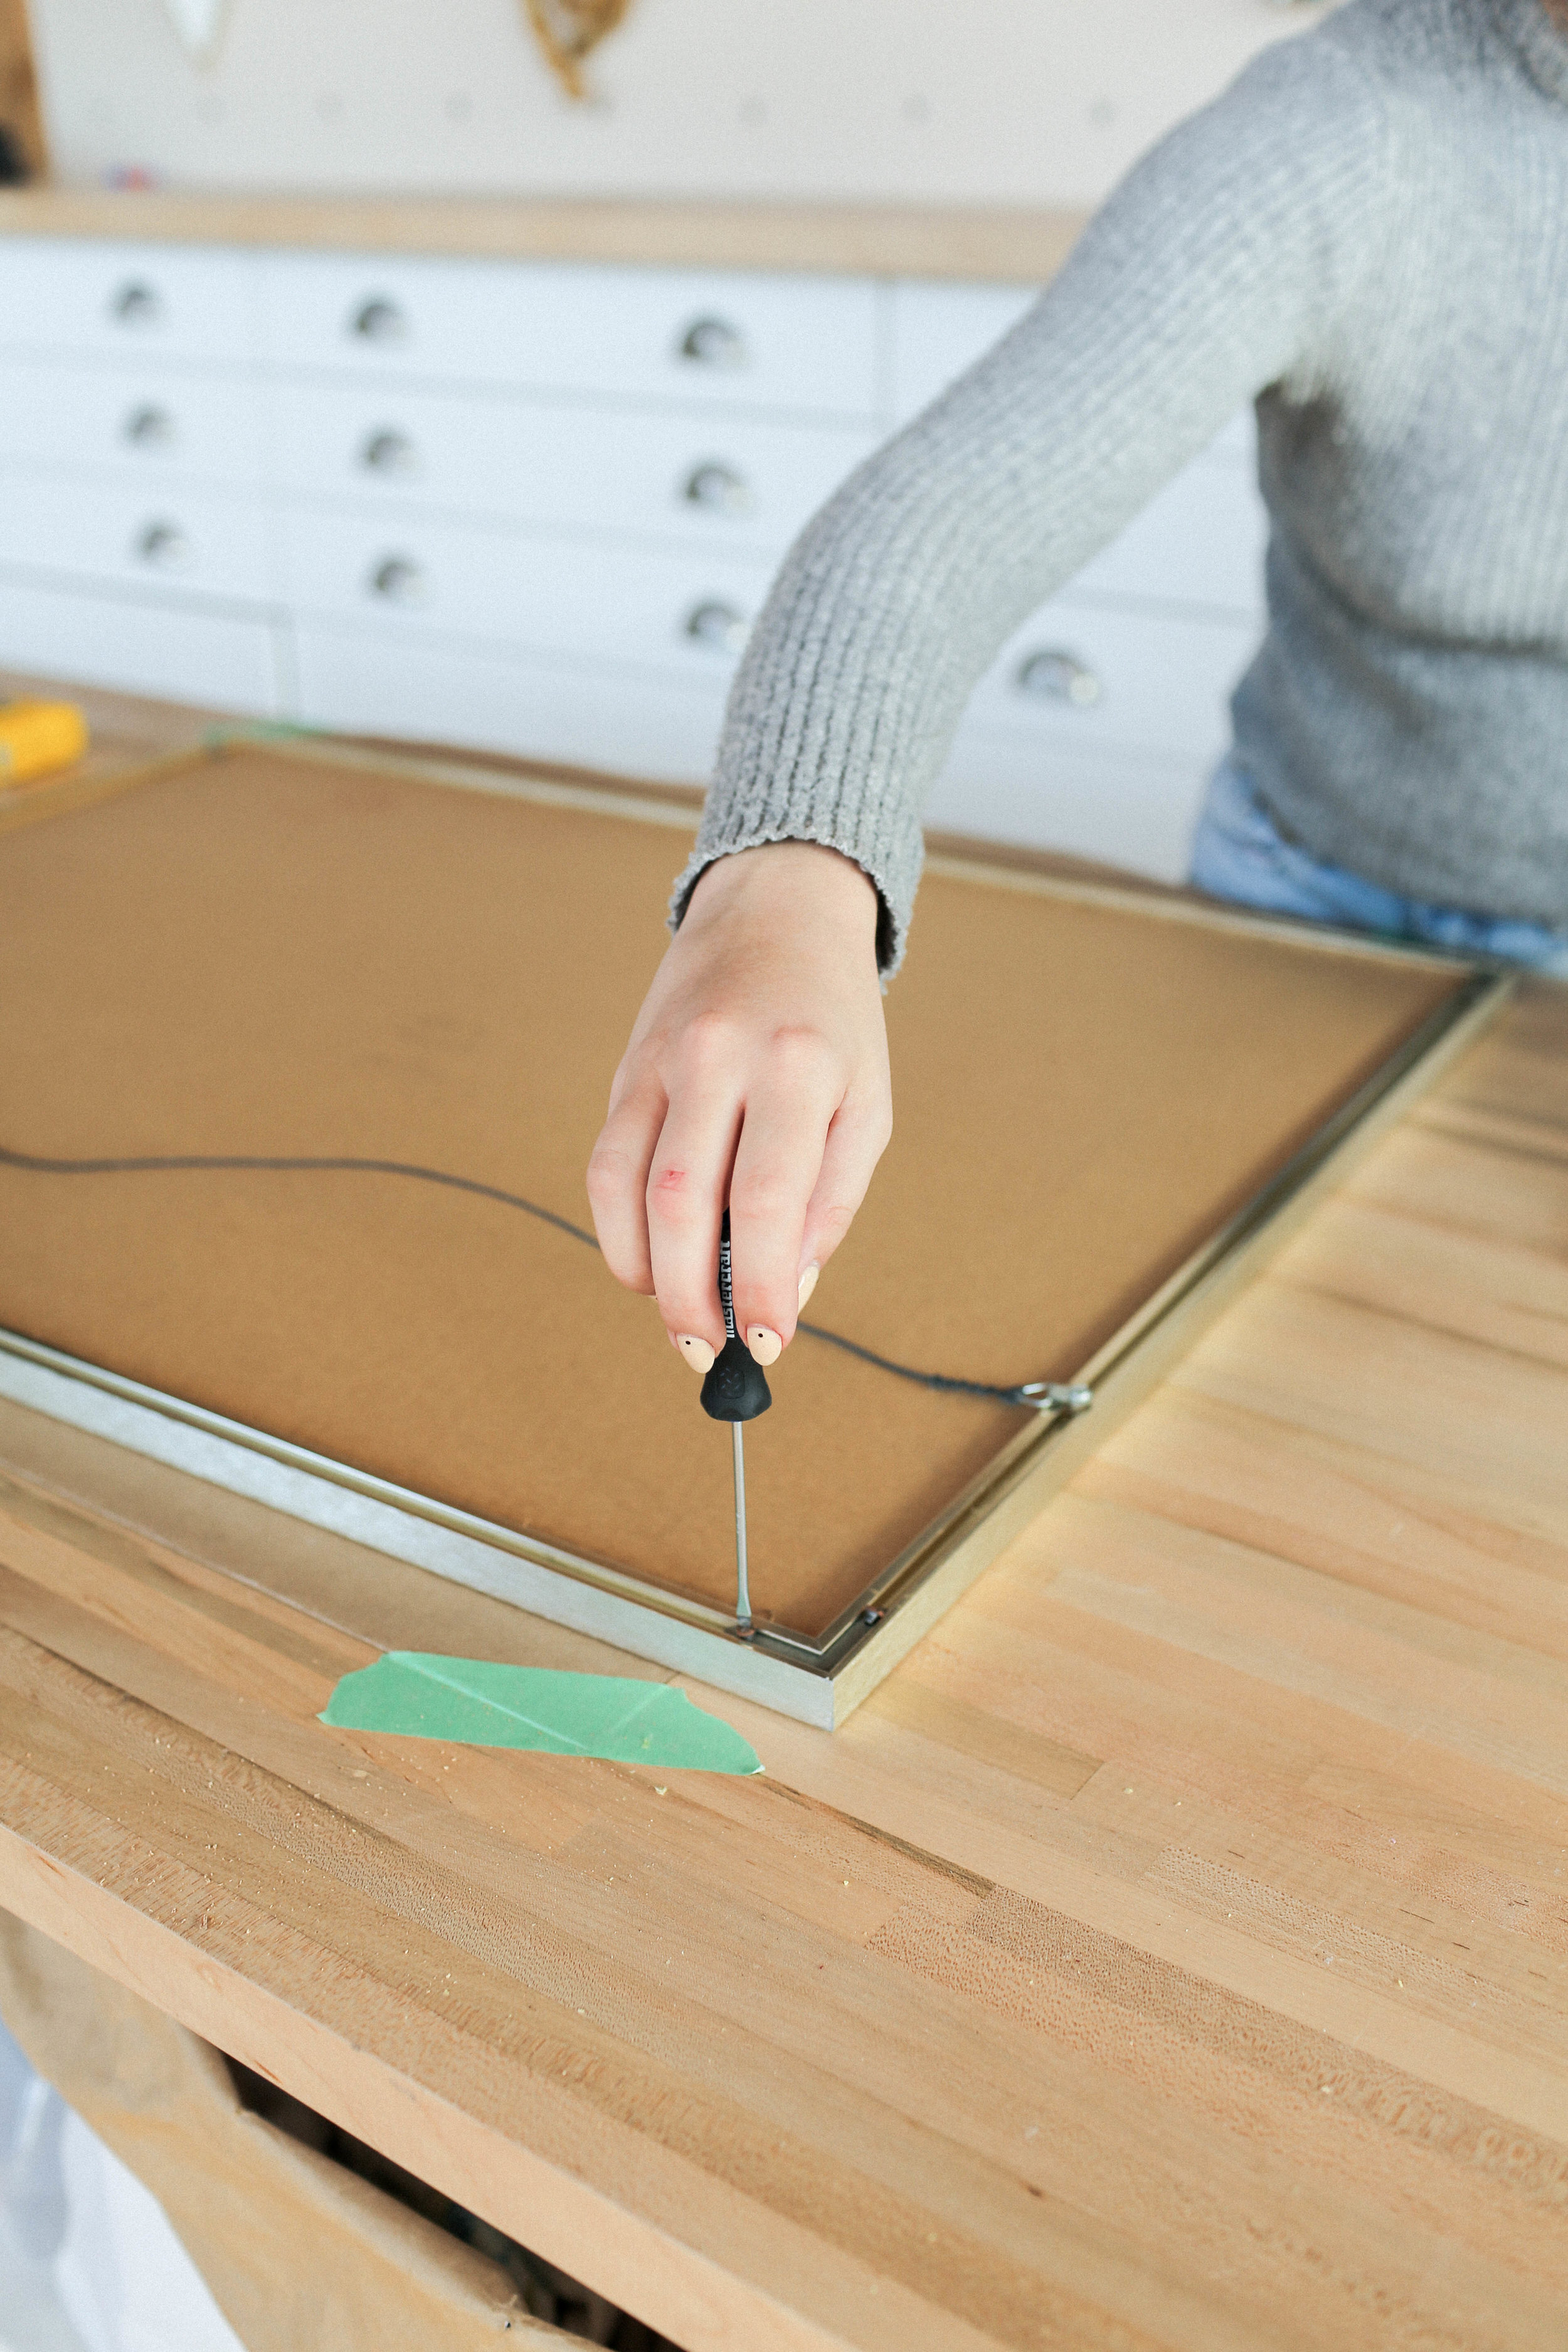
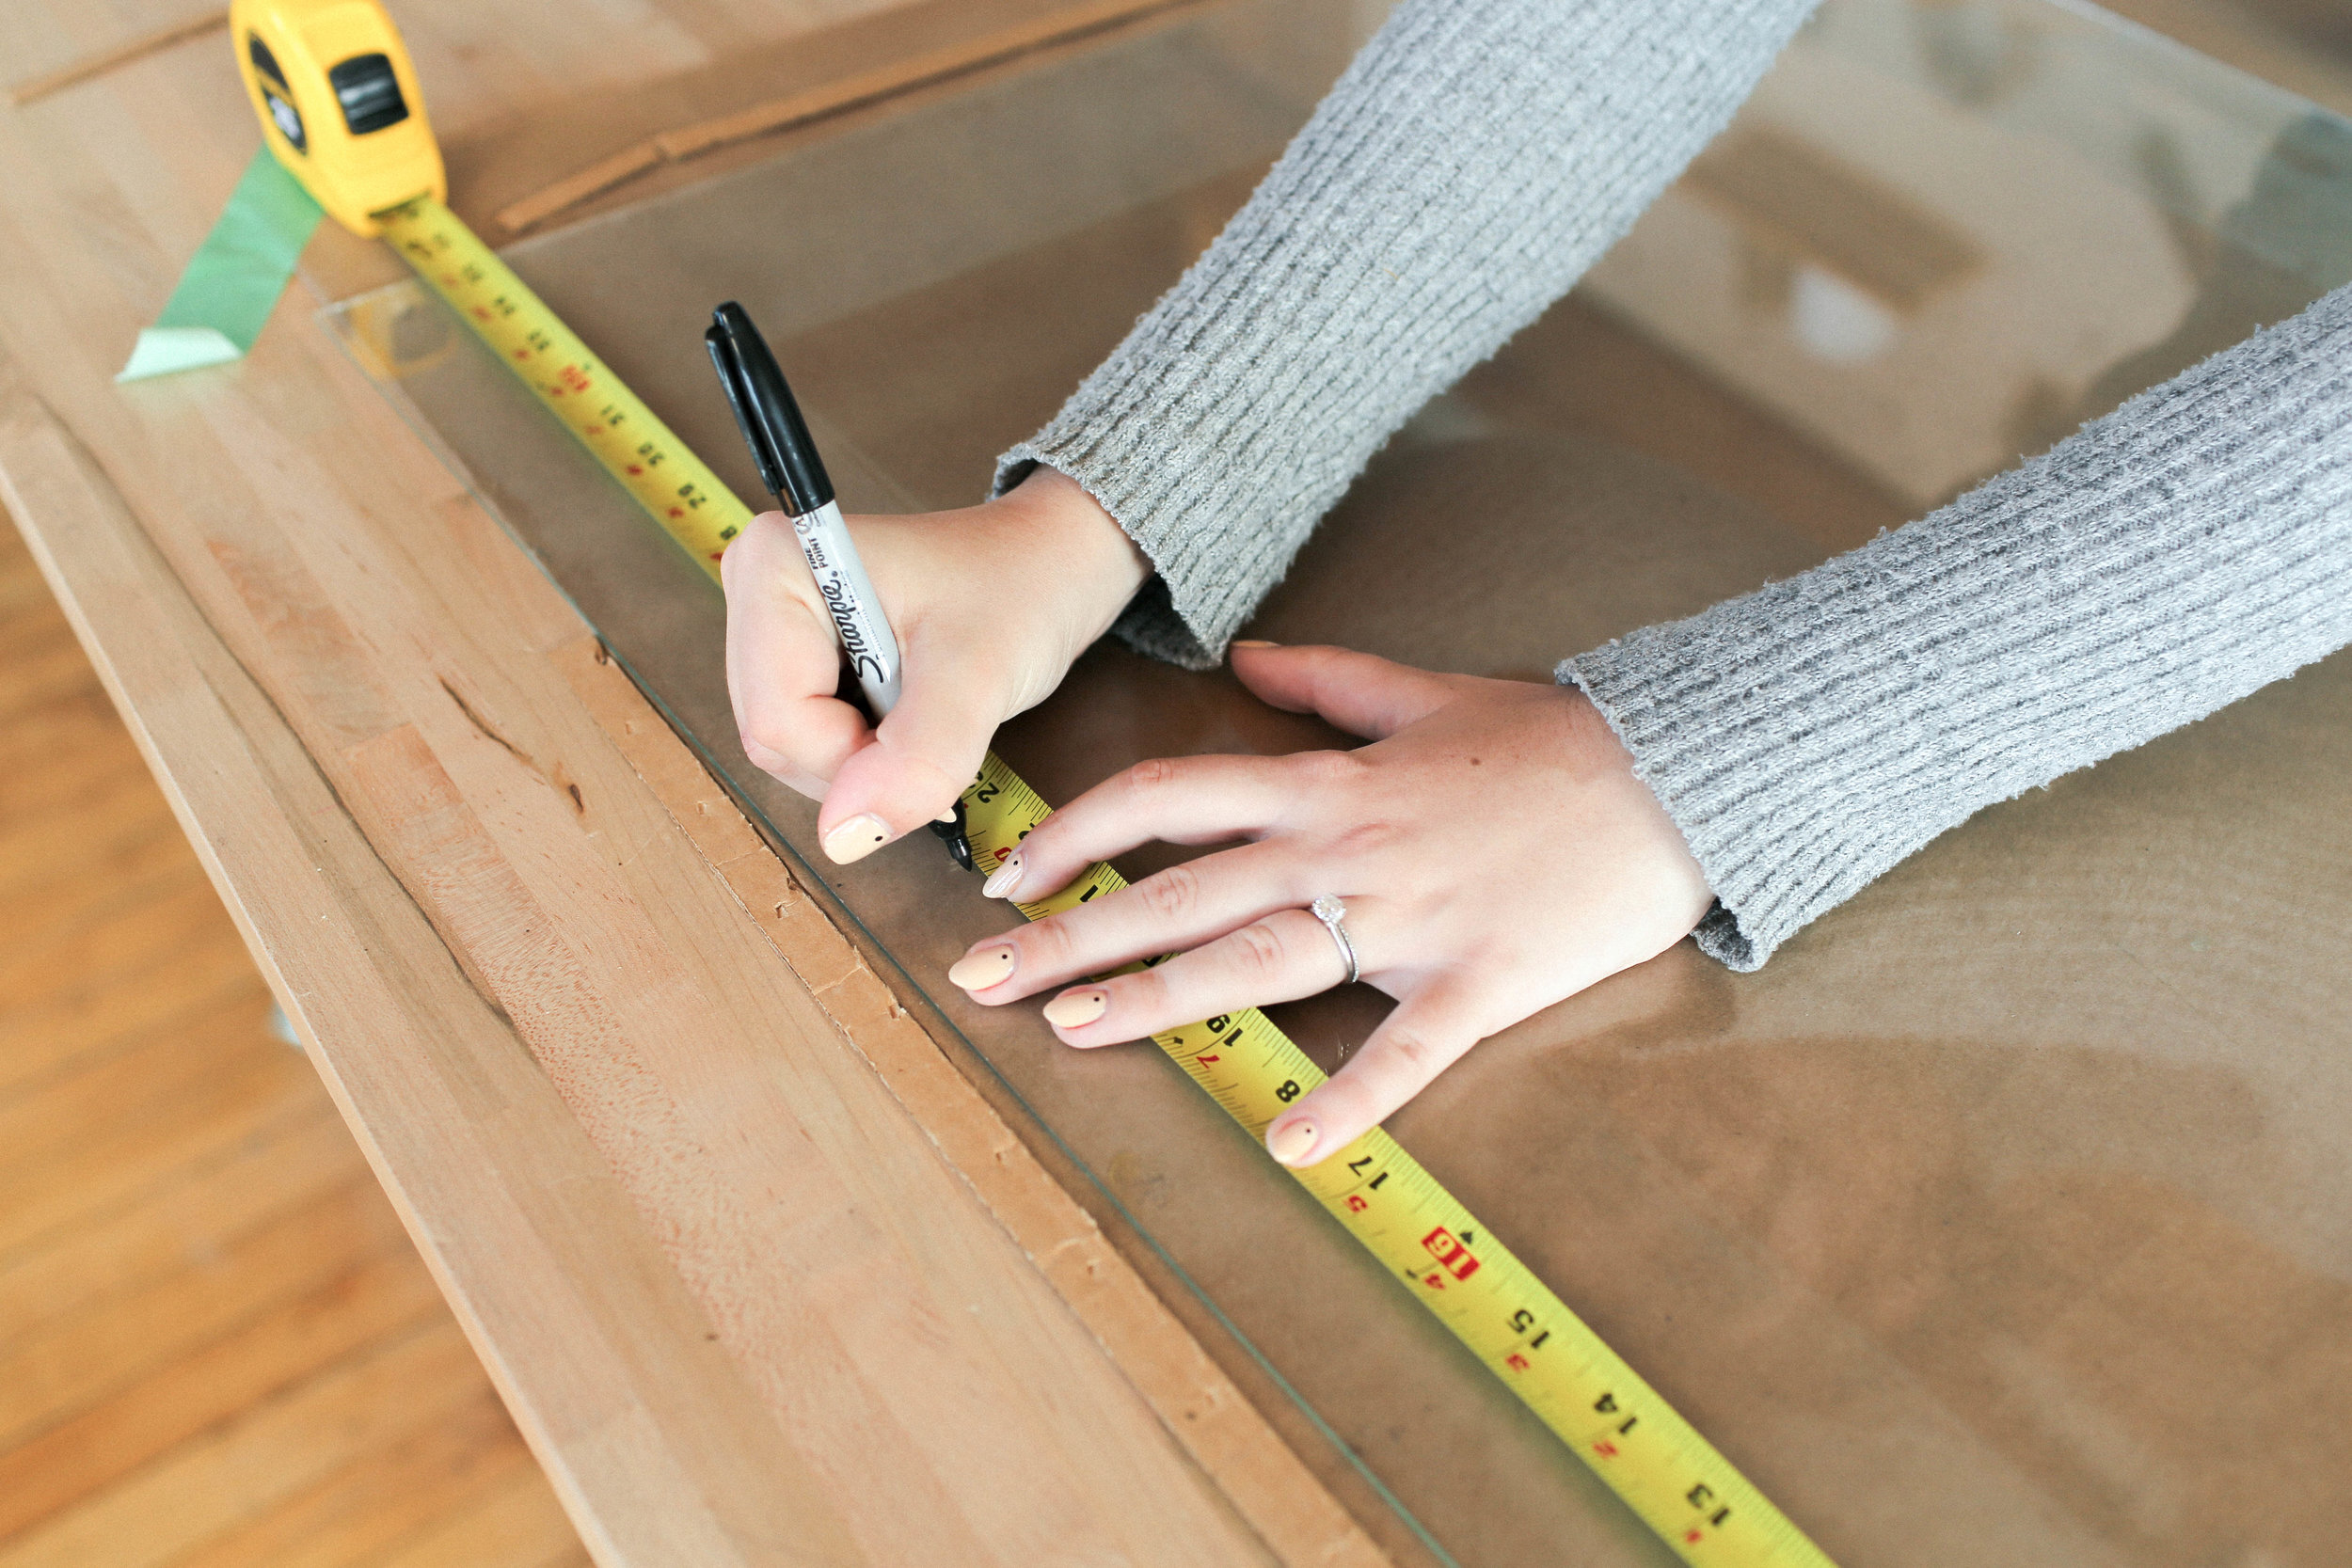

We ended up having to scrap the glass table top idea, but if you can get the glass cutting to work, it would add a really cool element to the table (but please be safe!). But hey! The table is still SUPER cute and we’re really proud of it.

BLOCKY LETTER SIGN

Soo, the idea with these guys is to create some cute string art and spell out a cute word or phrase. The first step in making this sign is figuring out what we can spell with the letters we got in this bag! After some contemplating, we decided to go with the phrase “Chozn Family”. Yes, we took some creative liberties with the spelling but we did what we had to do to make it work. So, the next step is to drill some holes into each of the letters to allow us to string a piece of string through them!

Grab some string, and add your letters to spell your word! A quick tip to help you string the yarn through, is to add a small wire and some tape to the end of the string to help you pull it through if you get stuck on any letters.

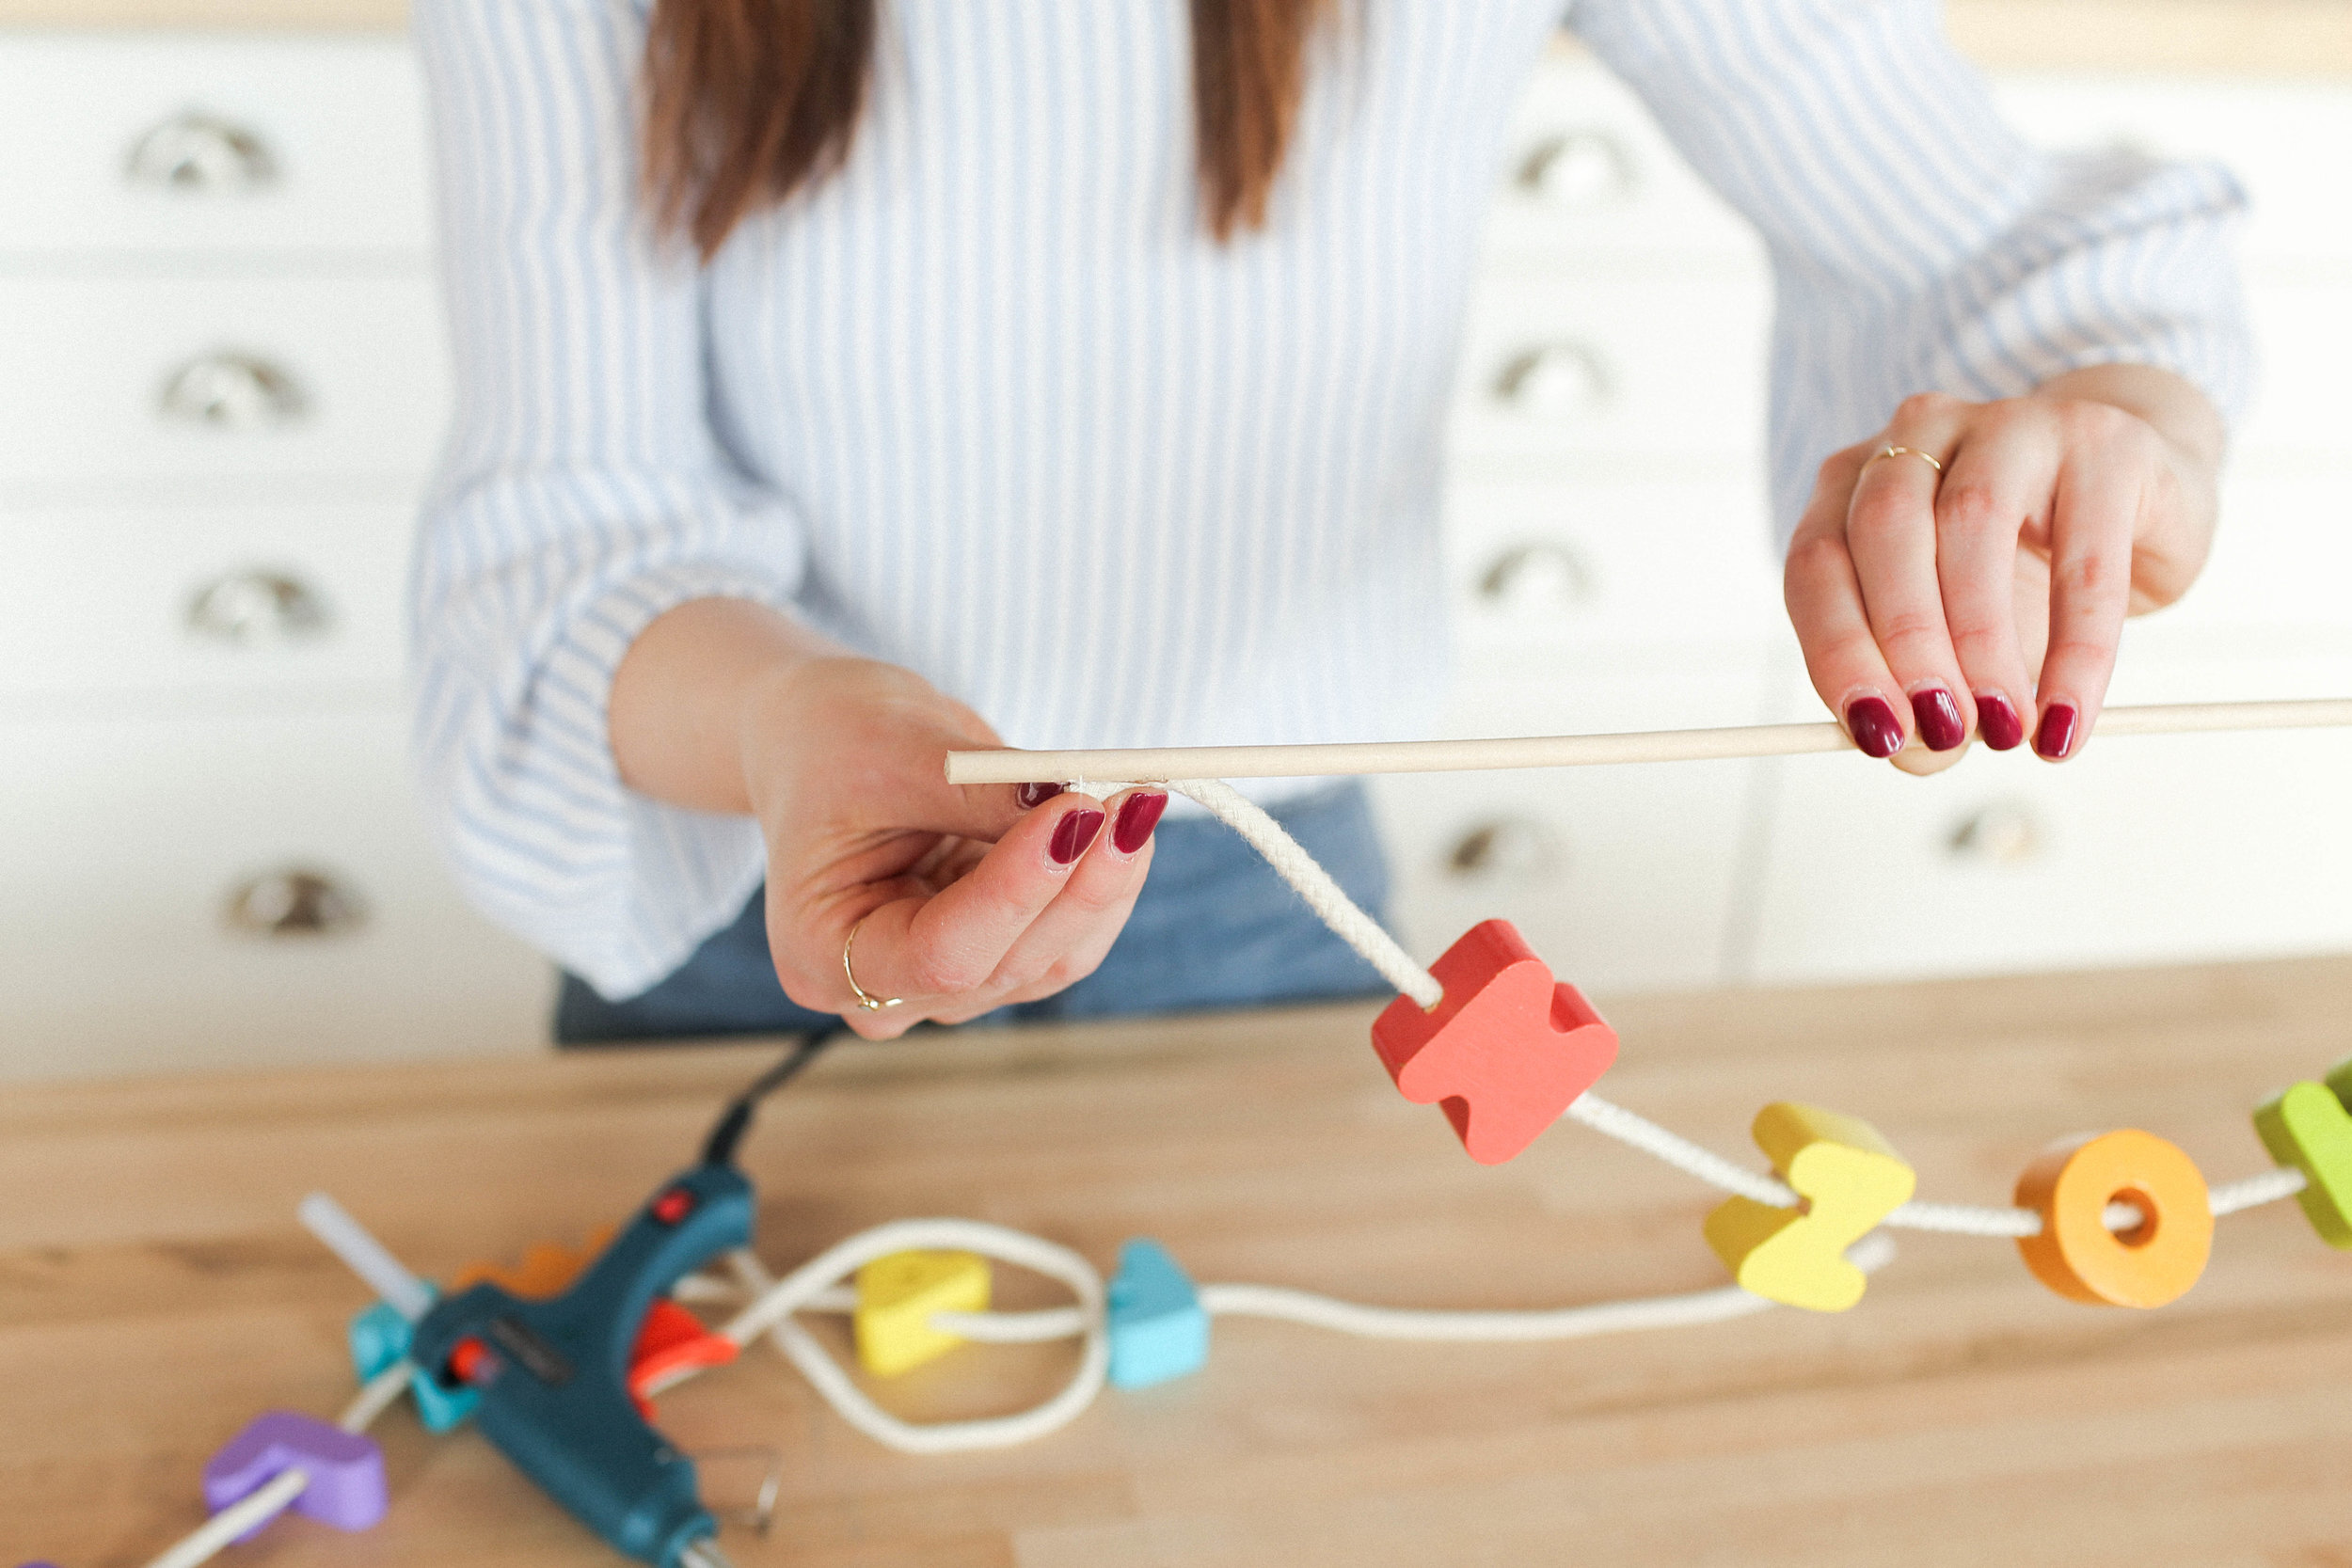
The final step is to hot glue the string to a wooden dowel, and then wrap the glue line with embroidery thread to hide it!

And that’s it! If you don’t like the colours of the letters, you can totally go ahead and paint them something simpler like black or white, but we loved the colours so we decided to keep them!


Let us know what you want to see next on Thrift Flip and we’ll try and make it happen! If you liked this blog post, check out the video below! If you make anything from this post, tag us on Instagram using the hashtag #SorryGirlsSquad so we can see!