DOLLAR STORE ORGANIZATION
Today’s Dollar Store challenge is organization themed! Yes! You guys always ask for cheap organization hacks and we’re here to help!
We wandered around the store for a bit to get inspired, picked up our supplies, and got back to the office to DIY!
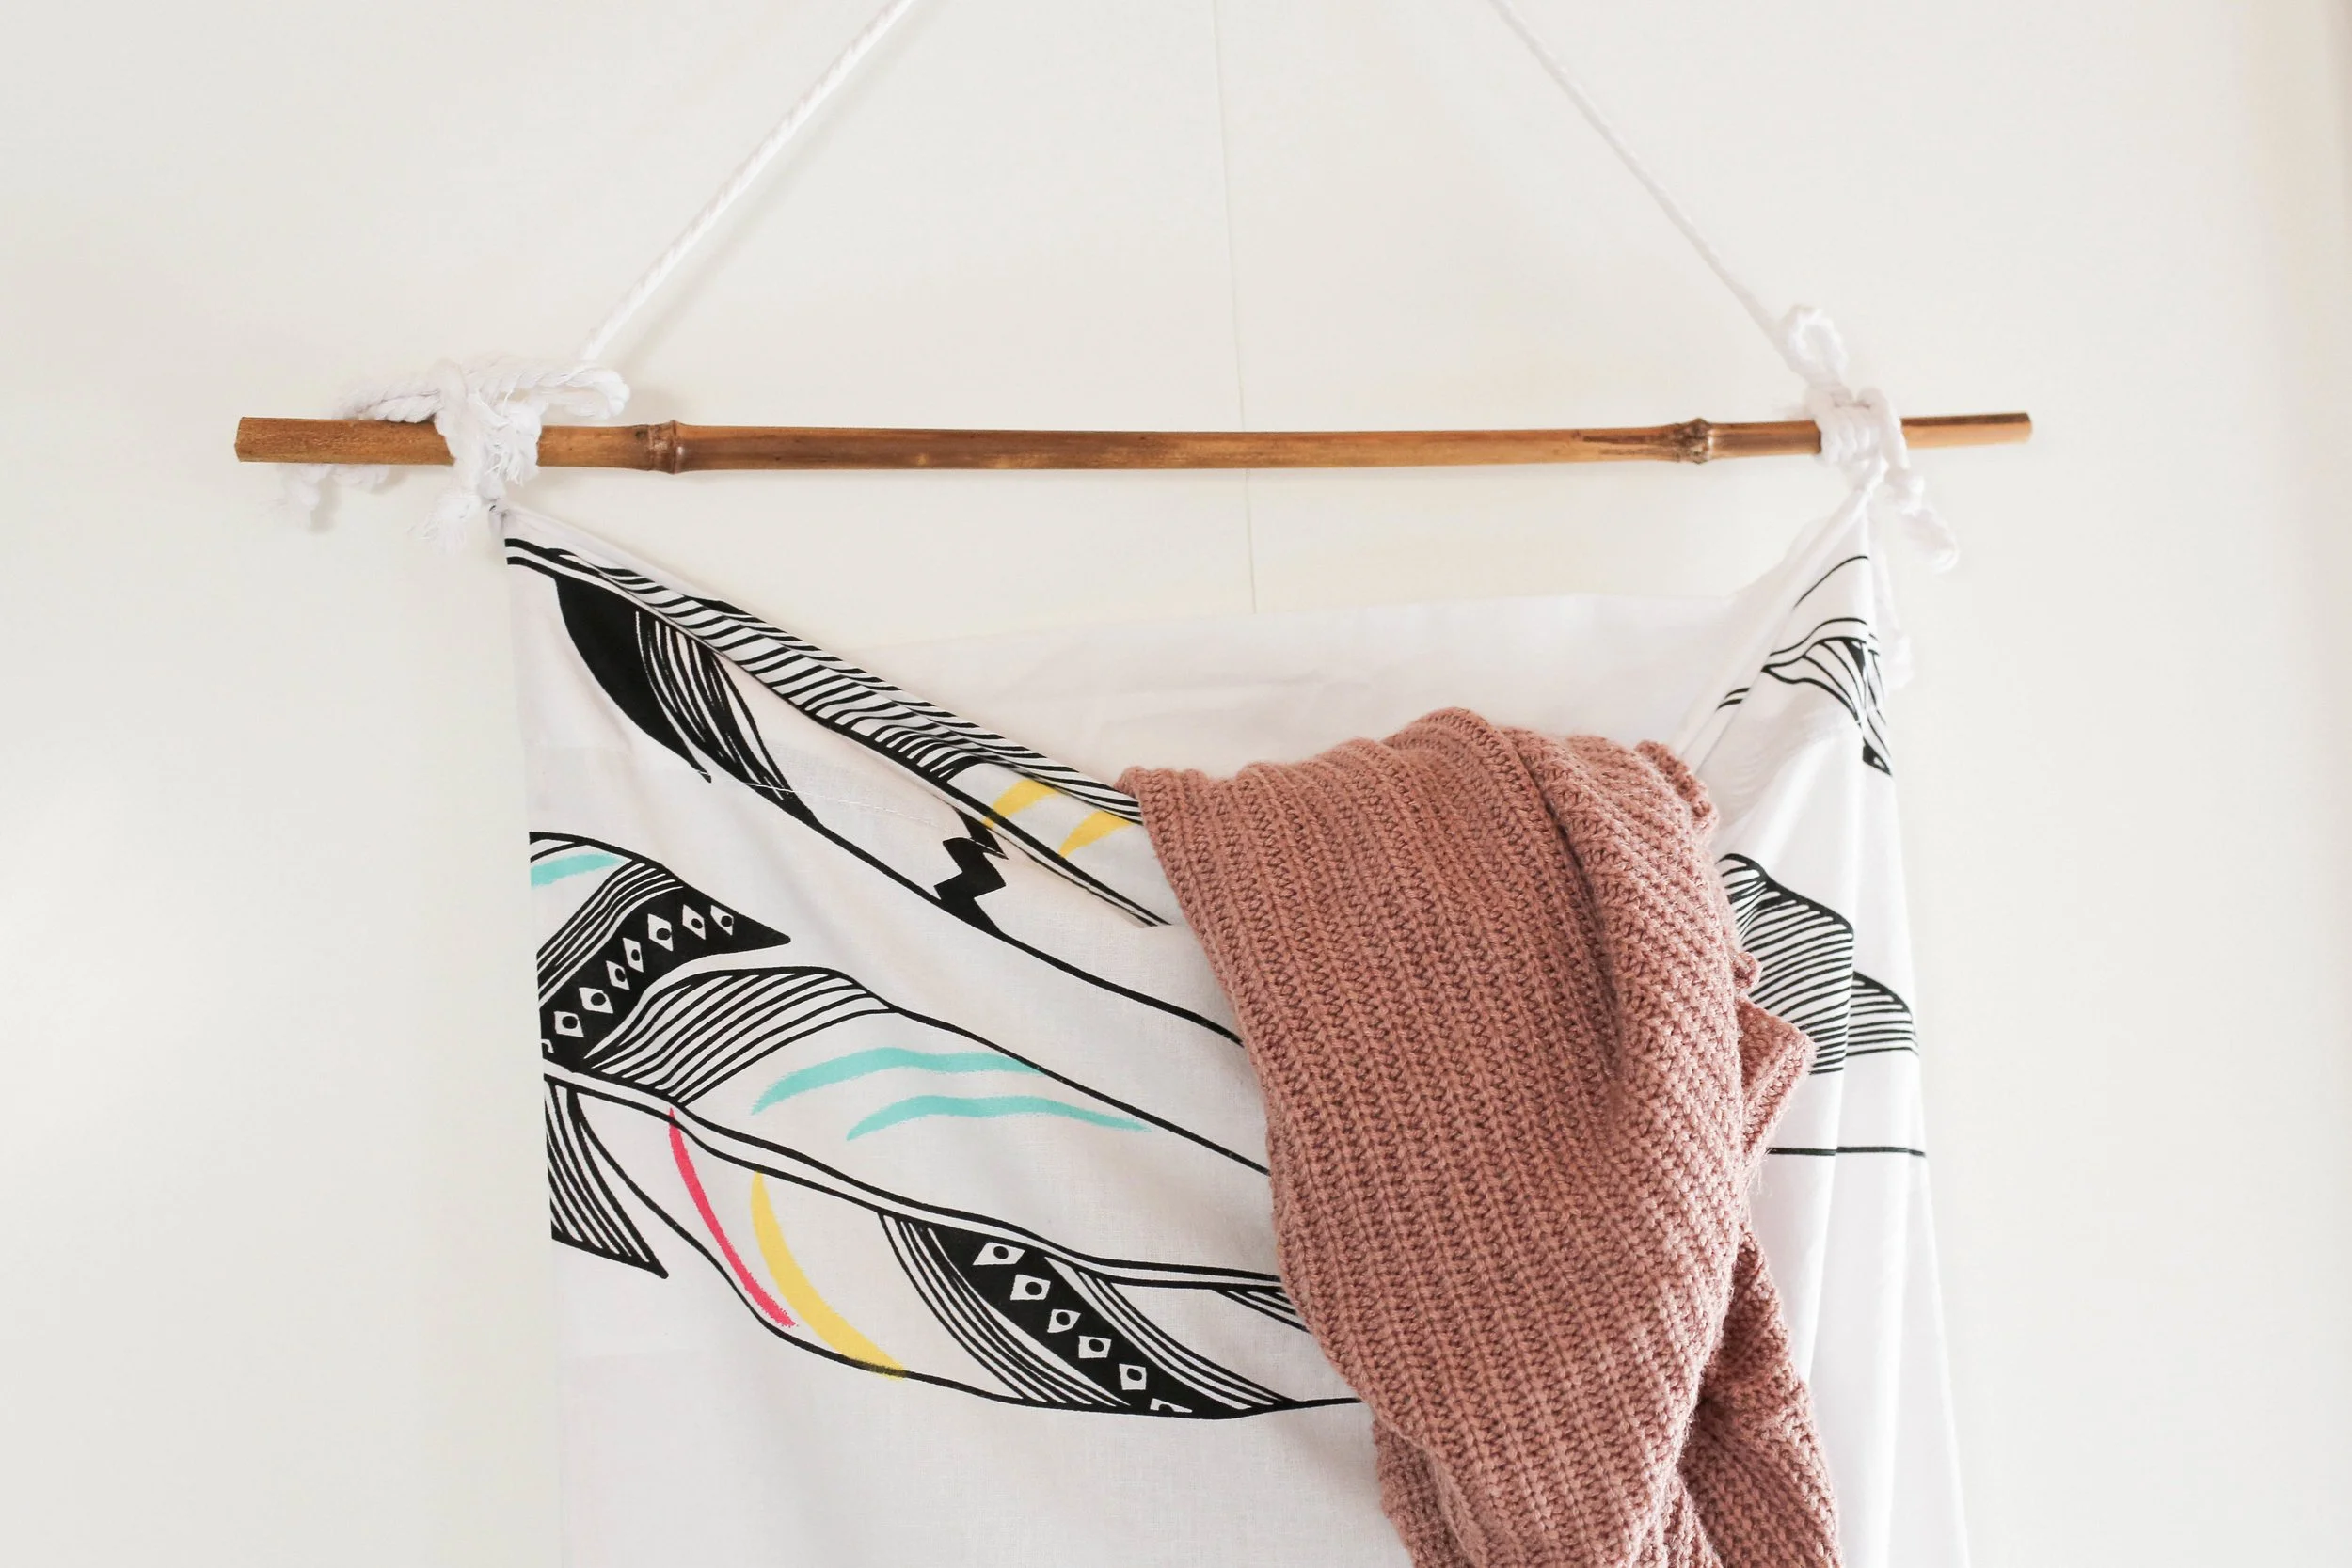
becky's over-the-door storage

MATERIALS:
Over-the-door hook
Pillow case
White rope
Bamboo stick
TOOLS:
Spray paint
Hacksaw
Scissors
Thread + sewing needle

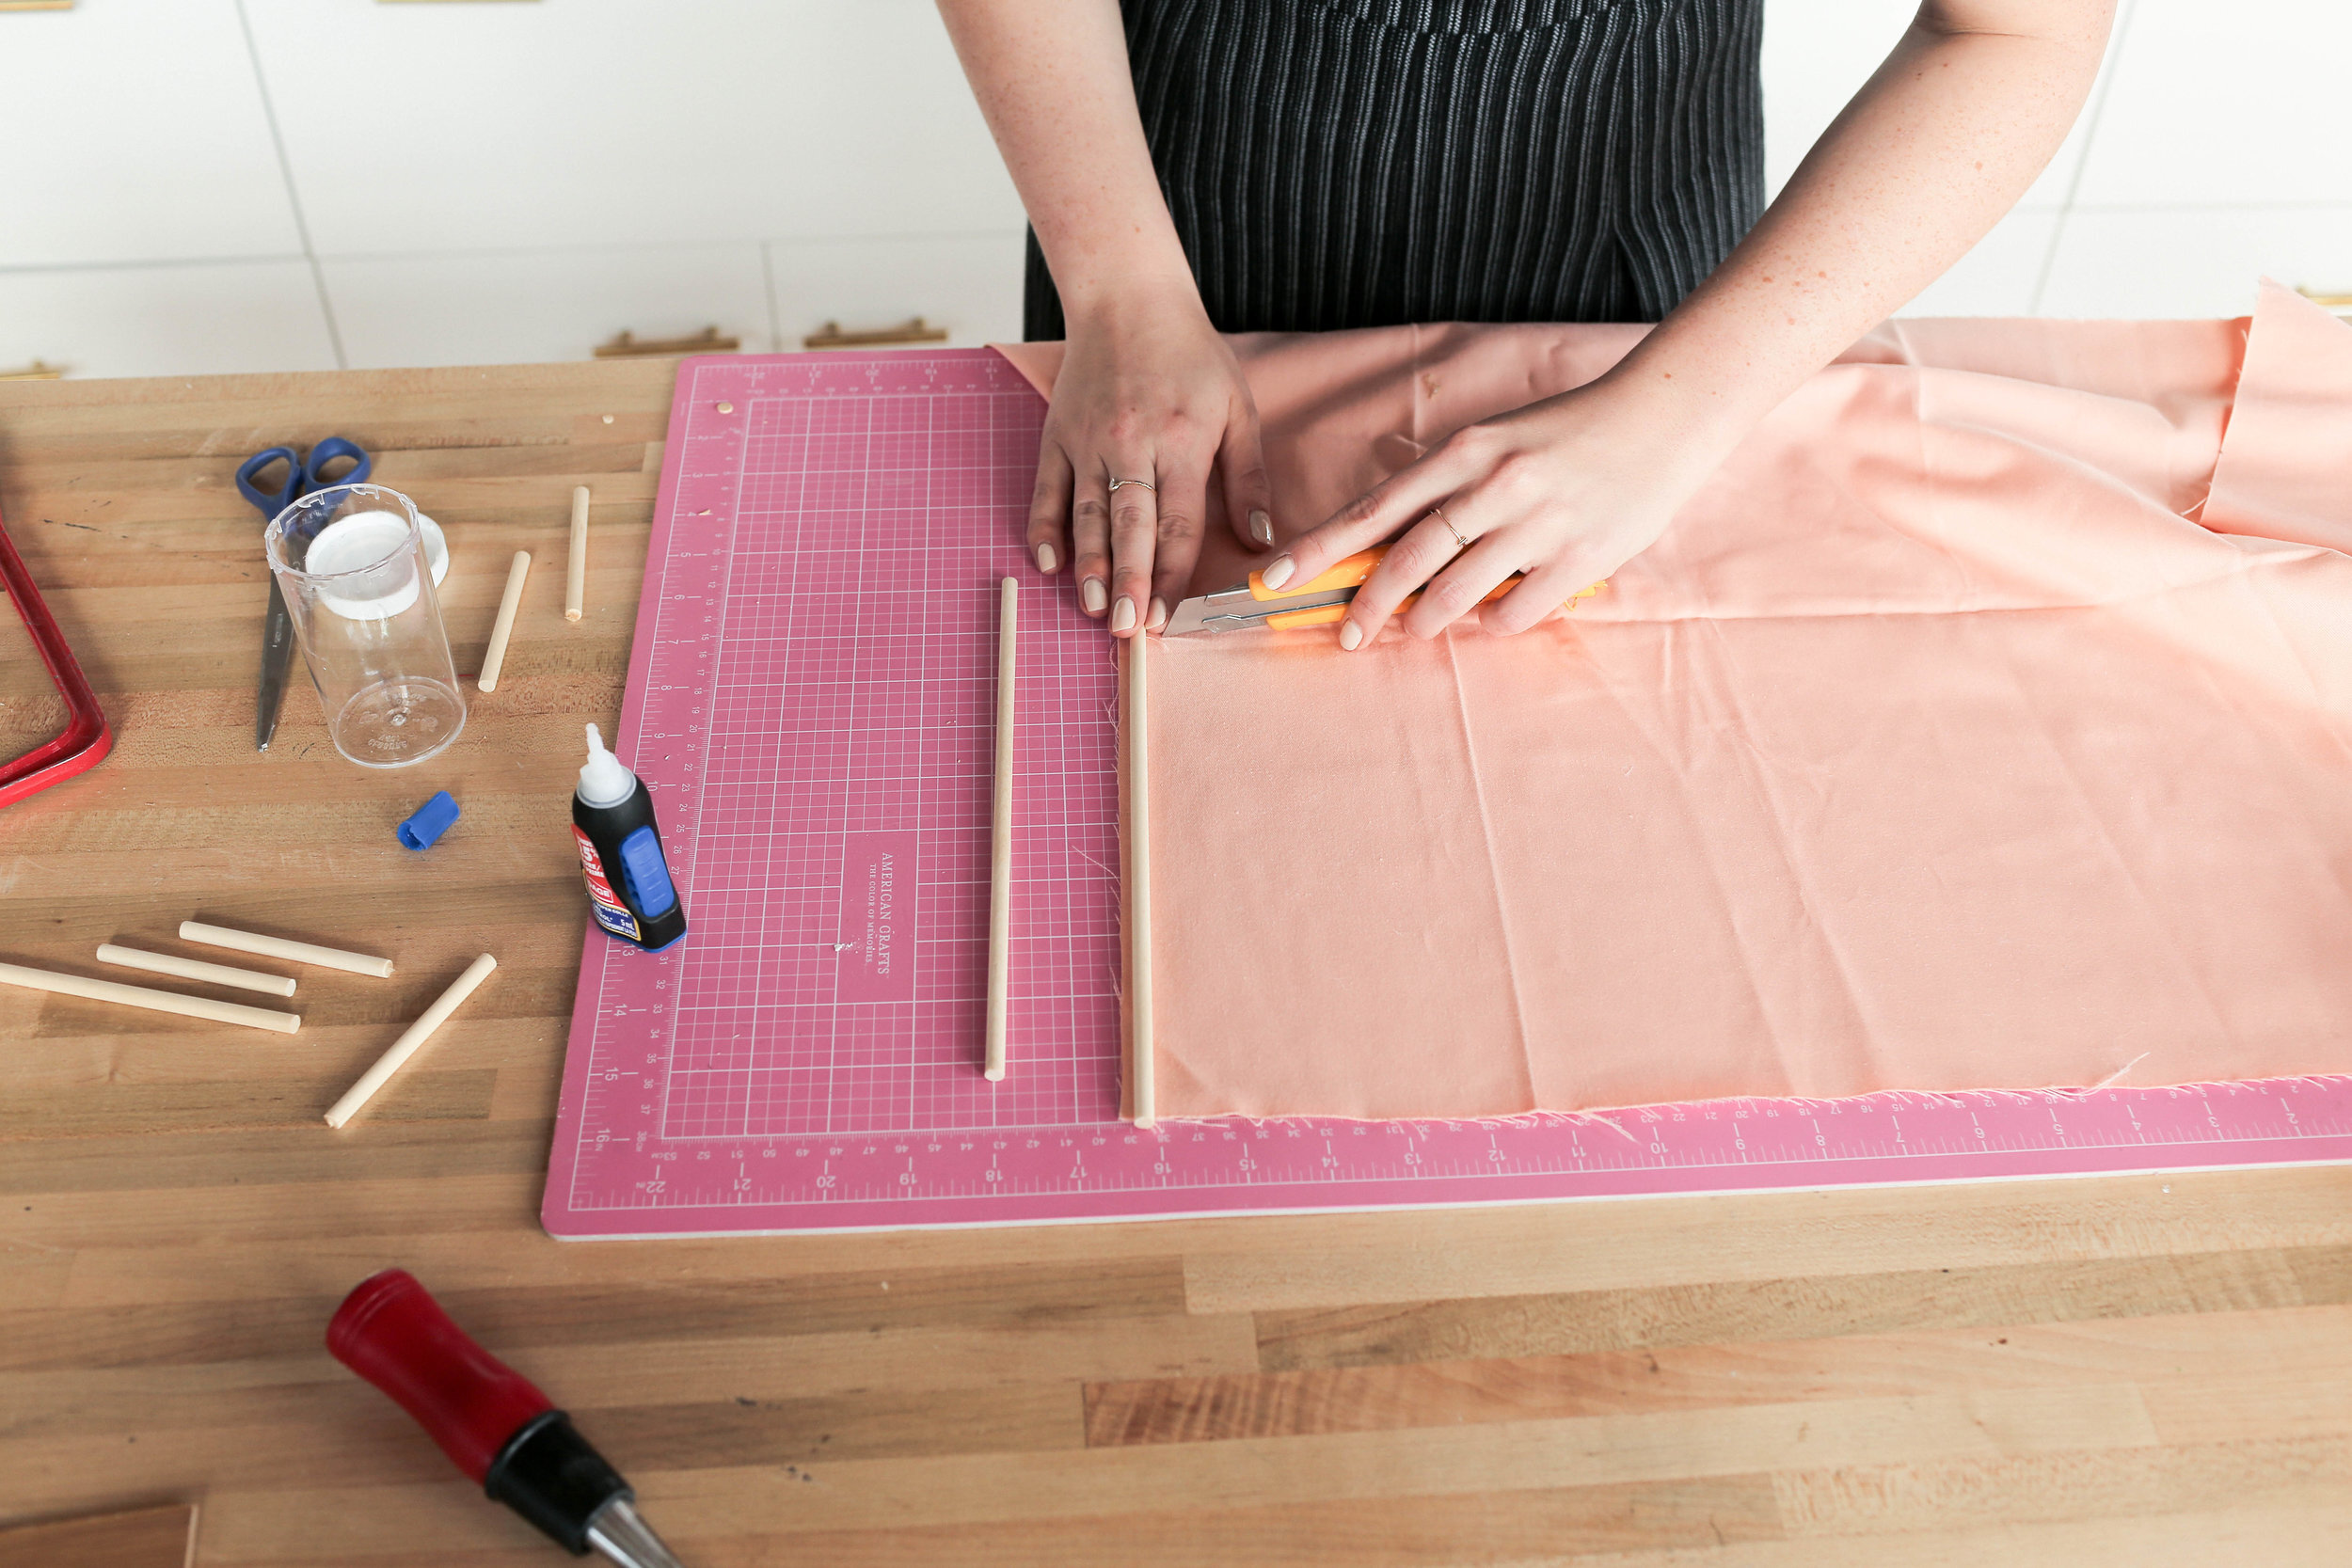
Becky started her DIY by first taking the hook she picked up and spray painting it white! Once the hook was dry, she took it back inside and started working on the support for the bag. She cut her bamboo stick to size, wrapped and tied her white rope to either side of the stick so that it could hang on the hook!


Next she cut two small pieces of the rope and hand stitched the centre of the rope to the corners of the open side of the pillow case. This will allow us to tie the pillowcase to the bamboo stick.


And that’s it! Hang it on your door and it’s ready to be used!


KELSEY’S MAKEUP STORAGE

MATERIALS:
Bamboo tissue box
Dowels
Coloured raffia cord
Wooden craft beads
TOOLS:
Hacksaw
Super glue
Exacto knife

We’ve seen tons of requests for makeup storage and organization, and Kelsey is doing it! She started by removing the bottom of the tissue box. The bottom now will act as the top of our organizer.

Next, she took the dowels she picked up and cut them to the size of the tissue box. She attached them to the inside of the tissue box with super glue, these dowels will act as dividers for different larger items!

Next to make a little makeup hammock! Kelsey cut a small piece of fabric and attached it to two of the divider dowels, leaving one of the dowels free to come in and out of the box. This will make it easier to access any small items like eyeliners or lip products.

Now to decorate the box! She grabbed the coloured raffia cord and the wooden beads and decorated the outside of the box! And that’s it! Add your makeup and you’re good to go!


If you loved this post, check out the video below for more details!