IKEA AS-IS: PET DIYs

You guys have been asking for some DIYs for your pets and we’re here to help! Today we’re going to make some pet DIYs out of stuff that we’ve found in the IKEA As Is/discounted section!
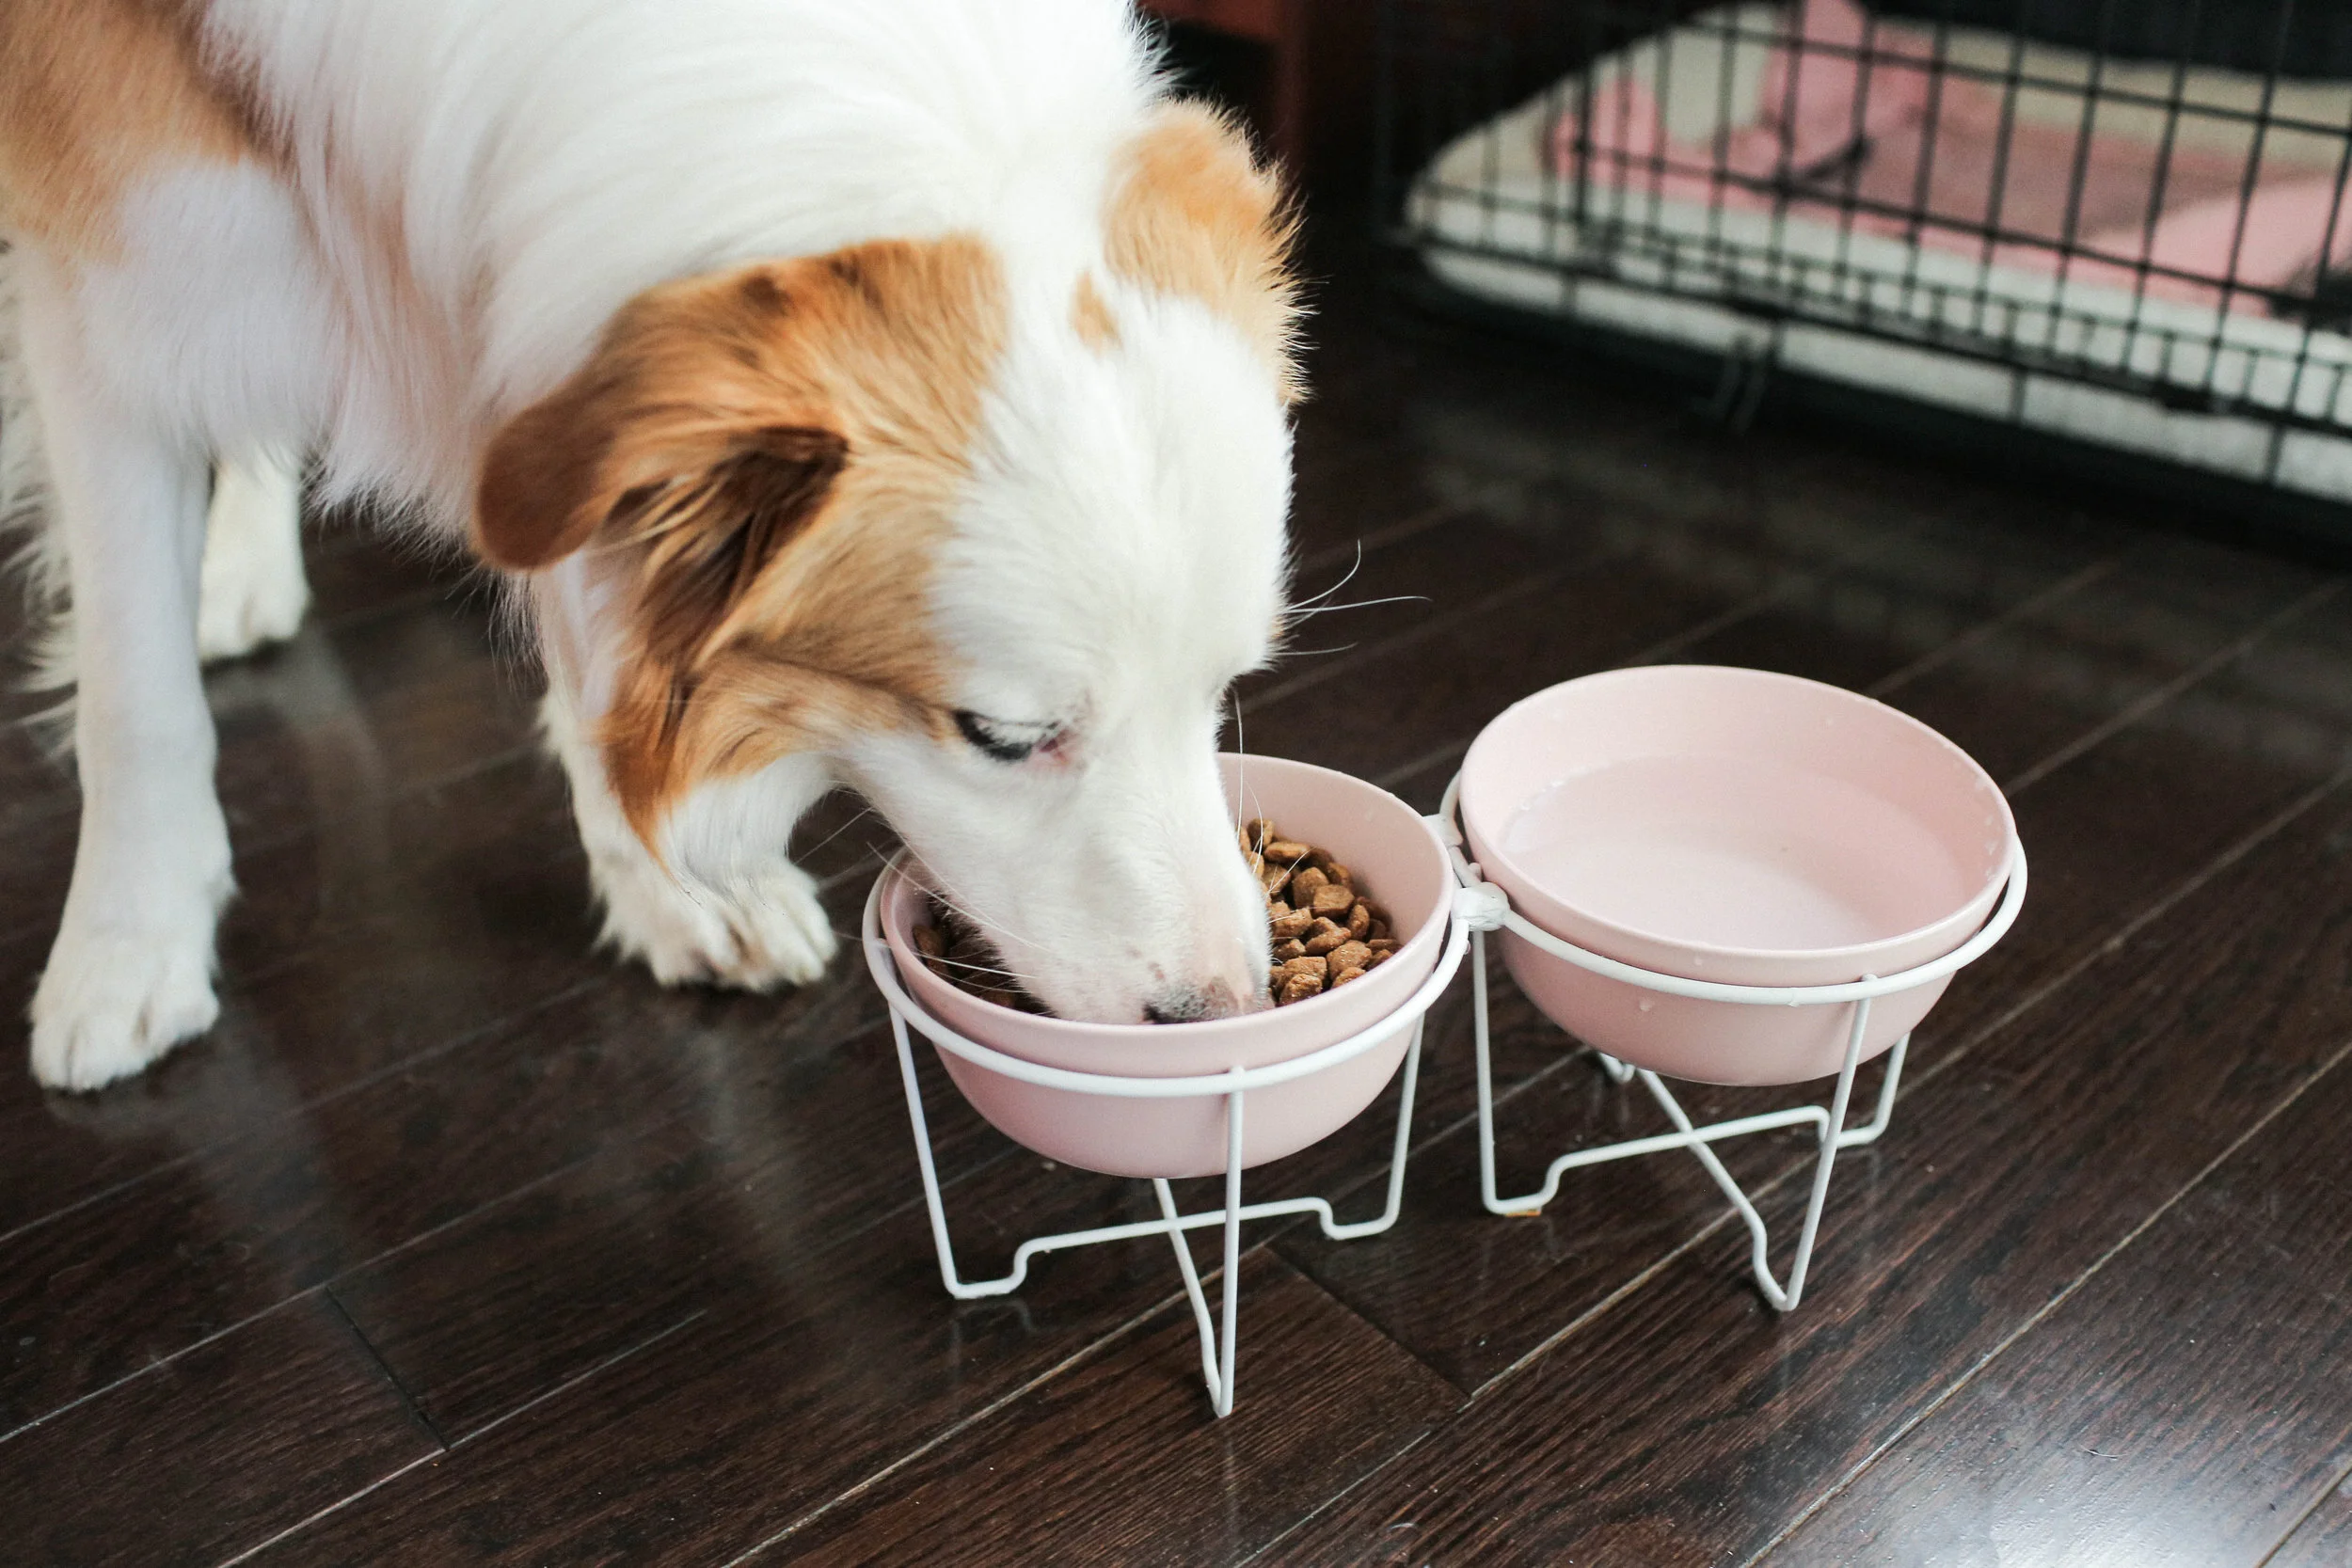
We headed on over to our local IKEA and got shopping! There, we picked up two really cute pink bowls for $1 each, and two black wire plant holders for $5 each to make a diy feeding dish!
We also picked up this $22 cabinet that was originally $36, and a cabinet door that cost us $5. We’re planning to use this to make a cat litter/play station that is cute and functional!
DIY FEEDING DISH

Materials:
IKEA Pink bowls x2
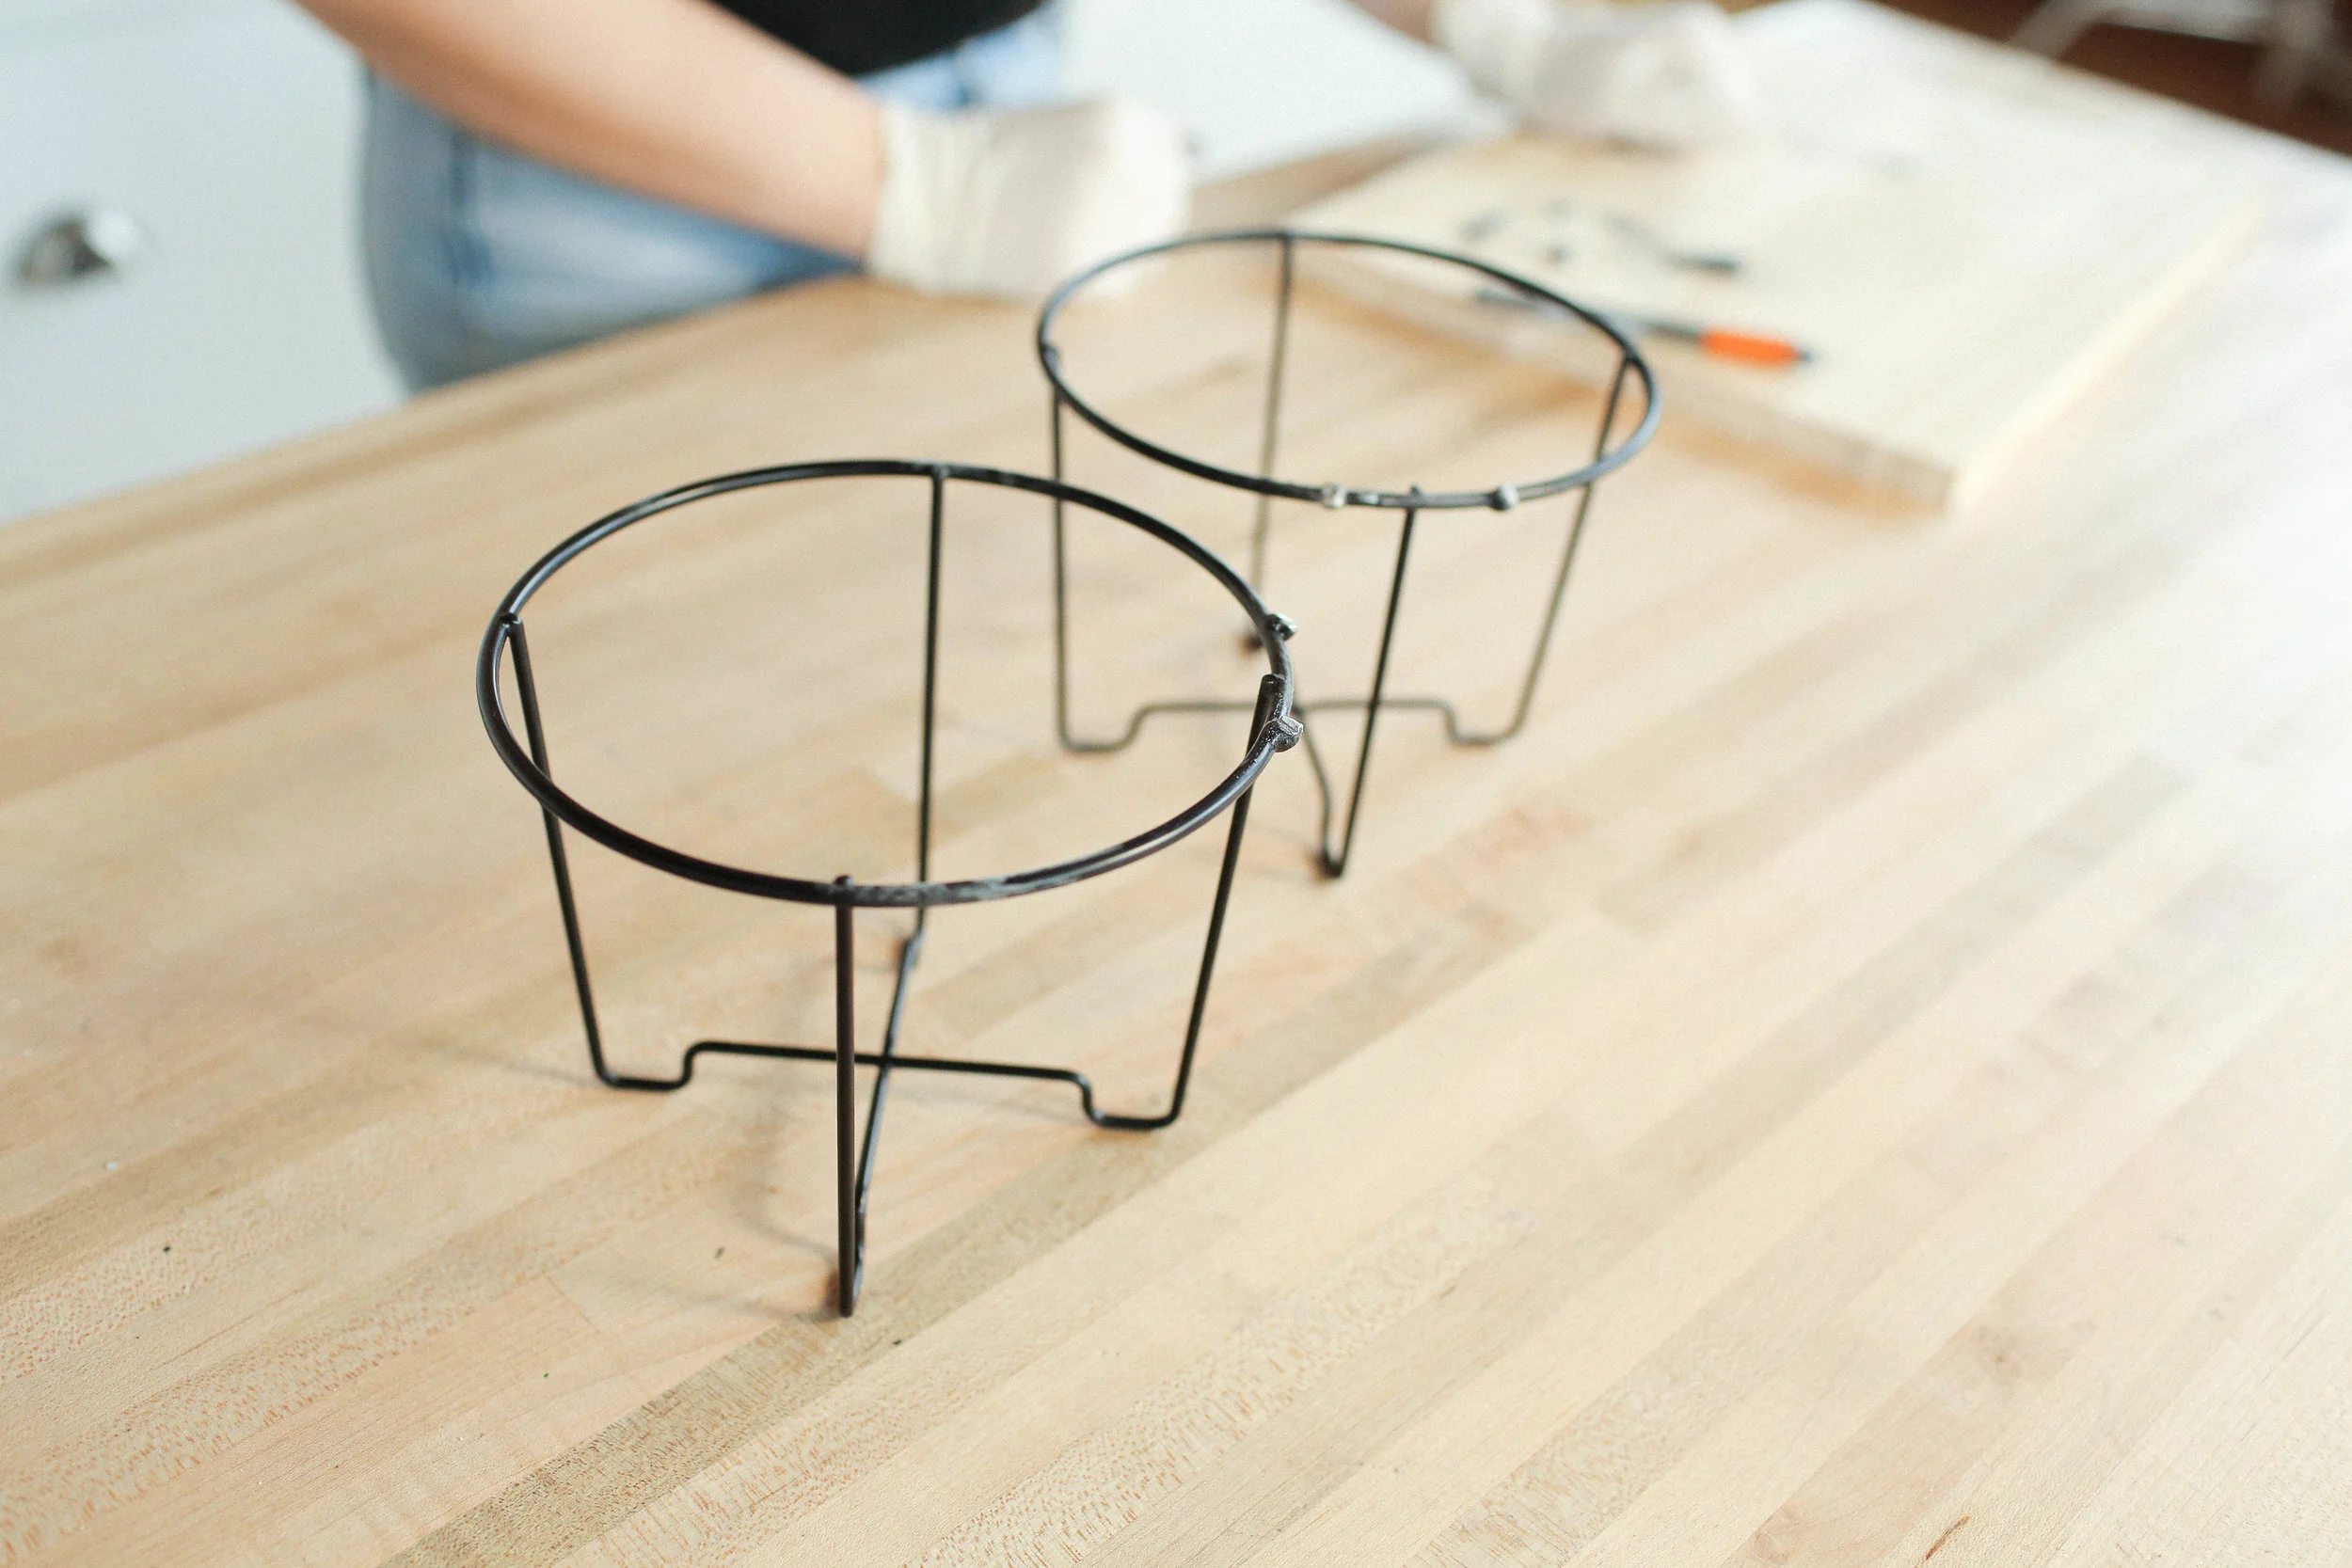
IKEA Plant stands x2
White spray paint
Tools:
Metal hacksaw
Sandpaper
We love our pink bowls the way that they are, so we’re going to put them aside for now and work on the plant stands. We want to attach the two plant stands together, so our first step is to cut off these hooks that are on the stands. We used a hacksaw (that is good for cutting through metal) to get them detached. Be safe! This was kind of hard to do.

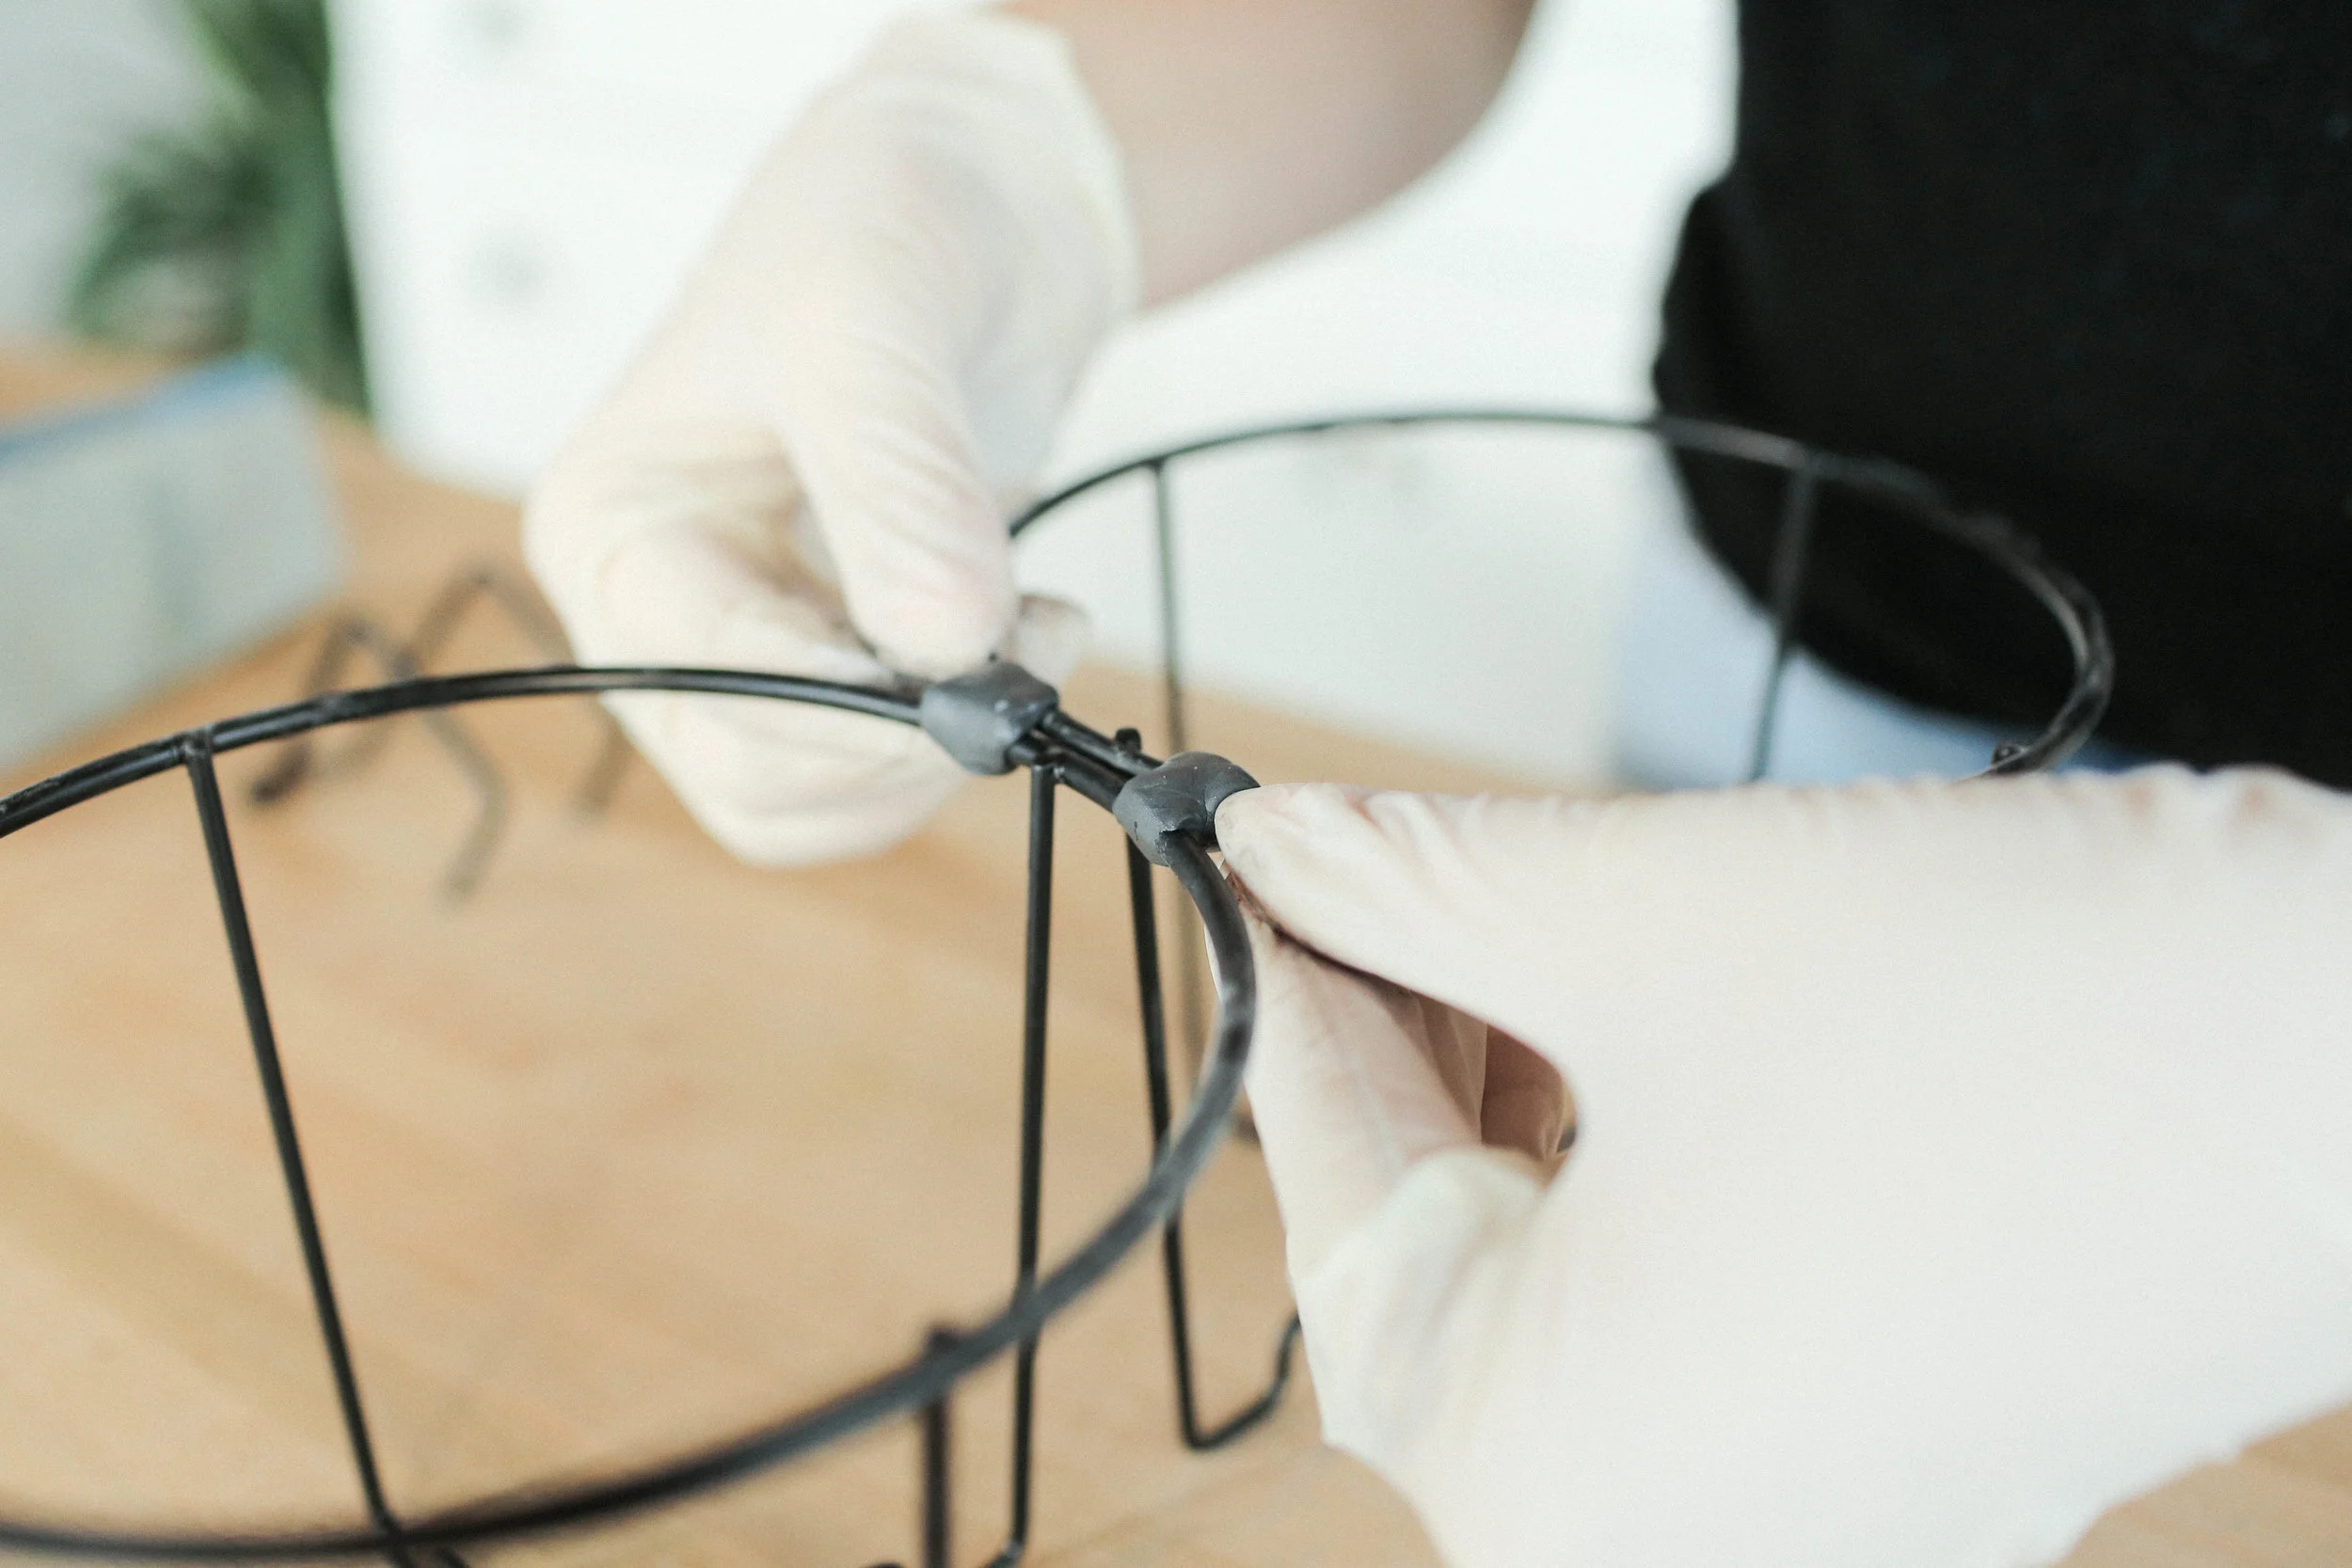
Next, we took some sandpaper to sand away any rough edges before painting. Now it’s time to attach the two plant stands together. We’re going to attach them by the parts that we just cut off. We attached the two sides using a product called Steel Stik. This product is a epoxy putty that will help us attach the two stands together. Simply follow package instructions and wrap the putty around the two stands to attach.

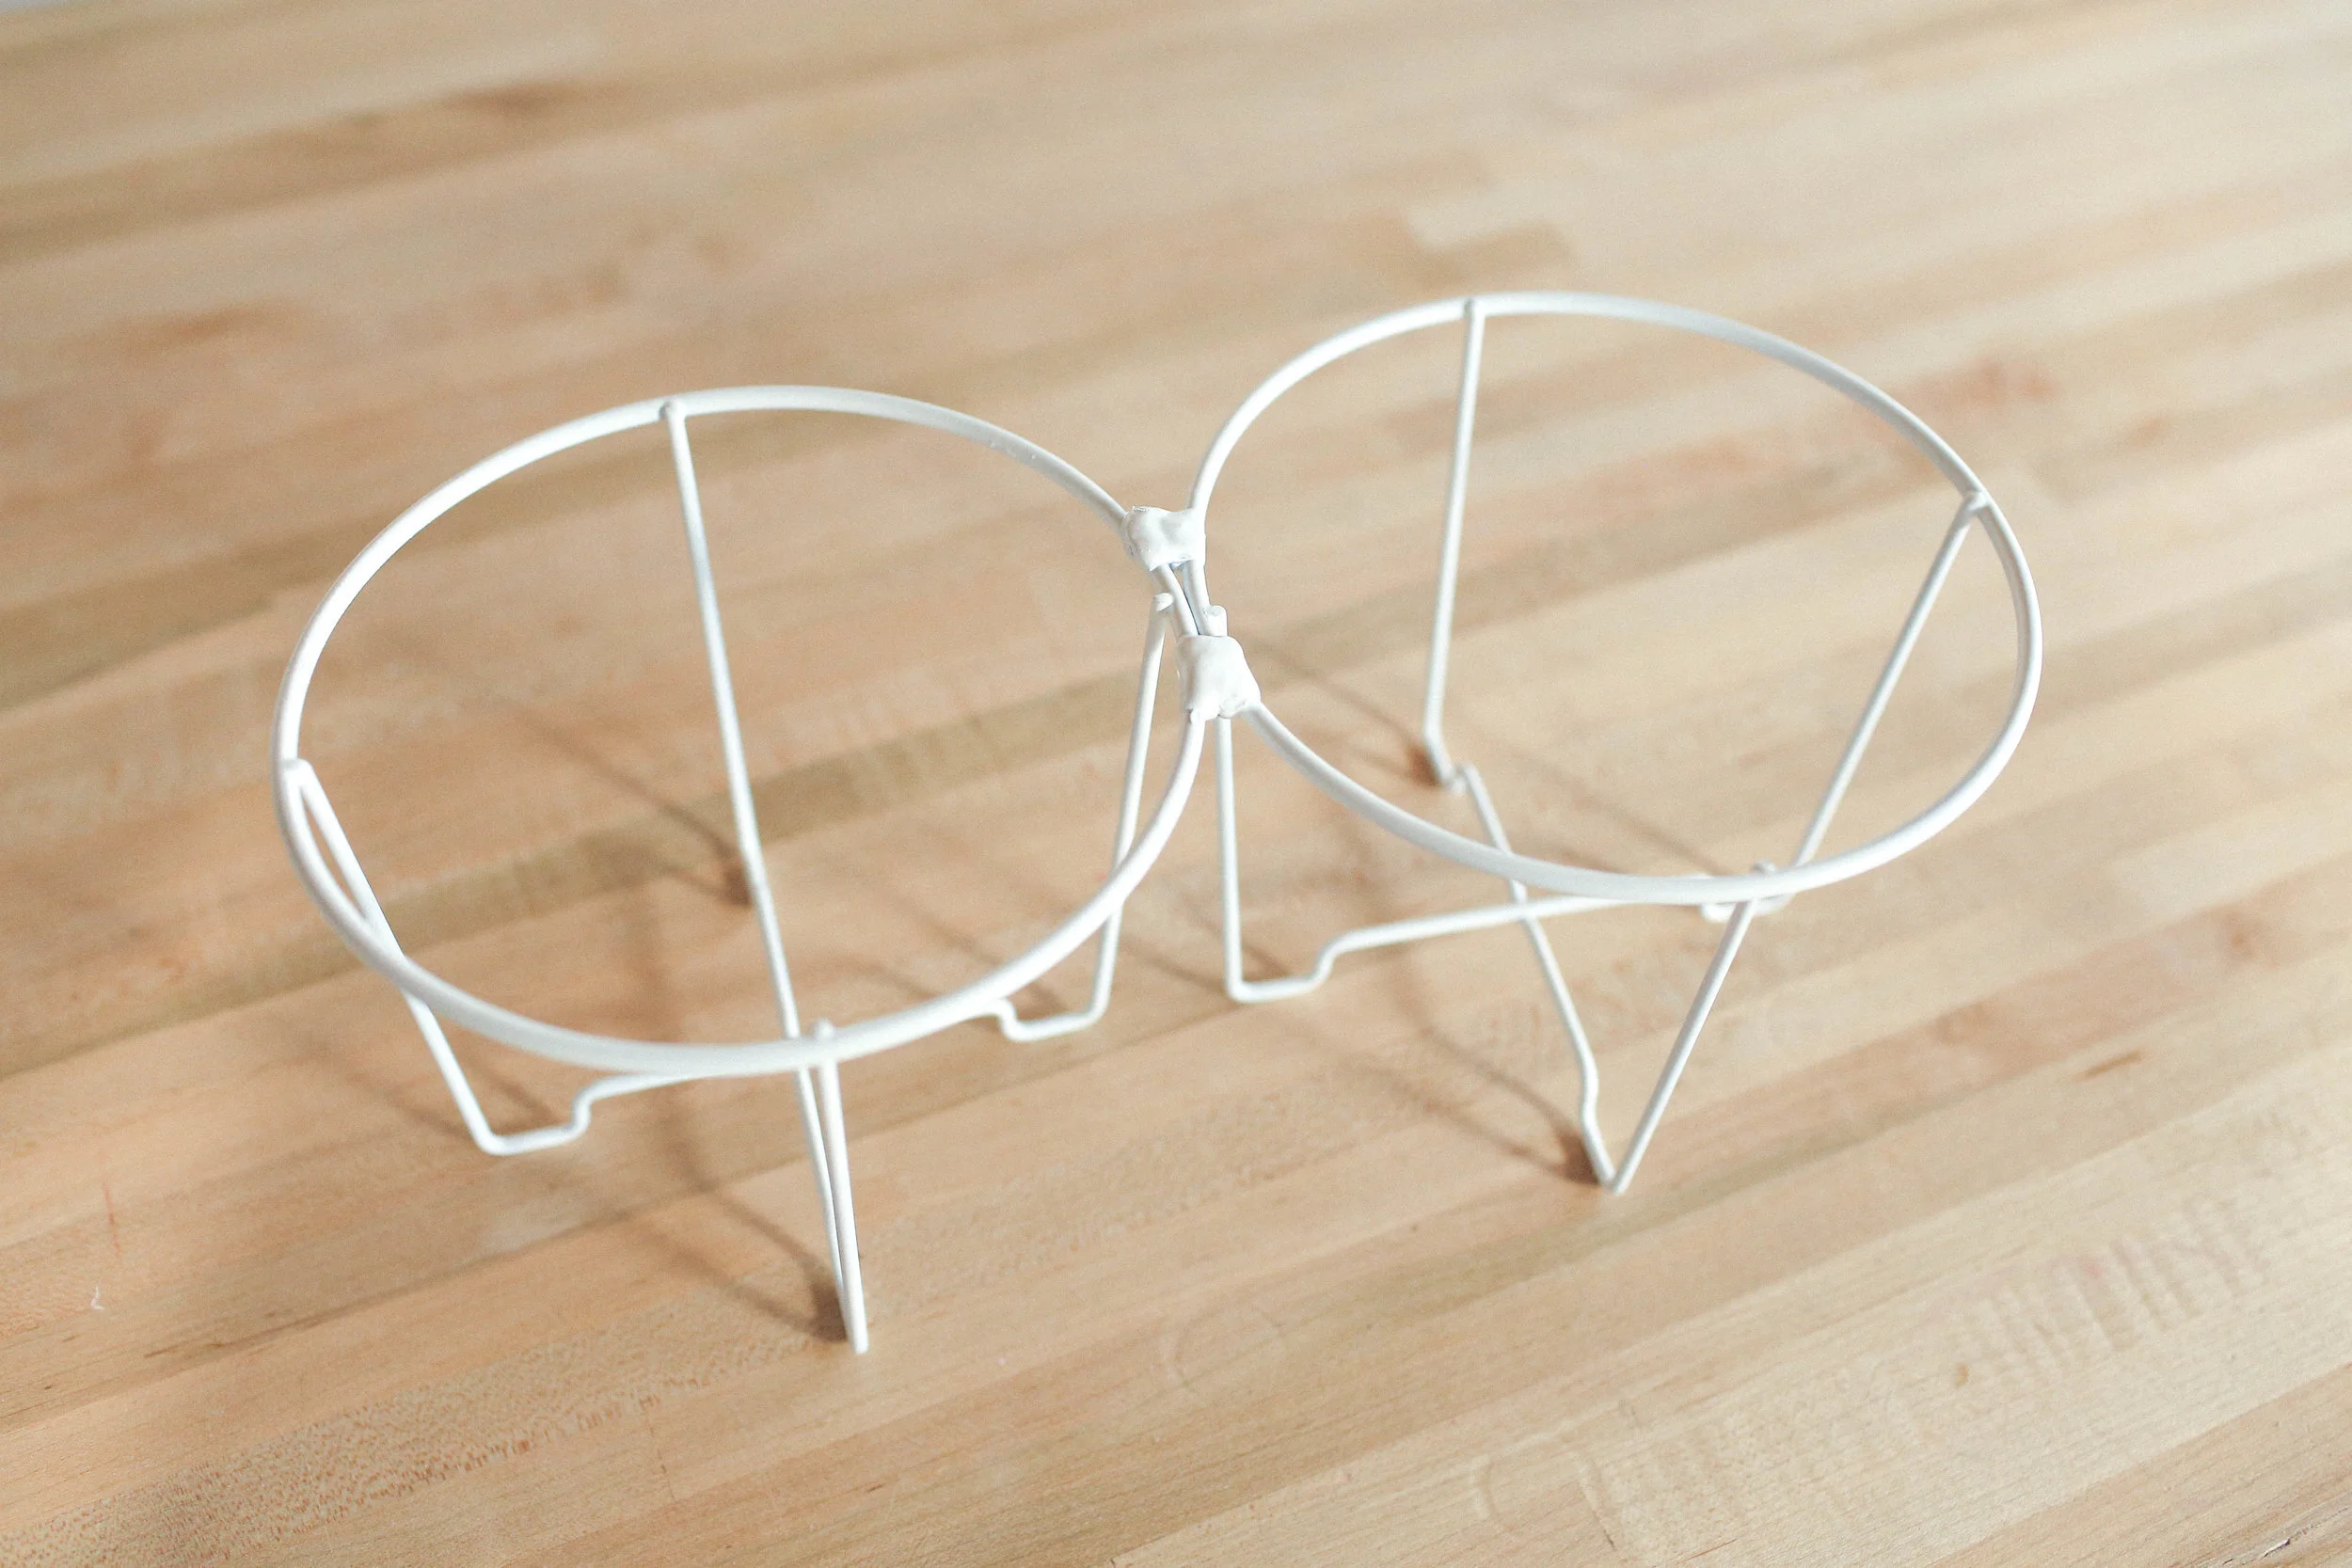
Let the epoxy dry. We’re going to paint the whole thing white to tie the whole project together. Finally, we’re going to add some small dots of hot glue to the bottom of the stands to add grip so that the bowls don’t go flying while your pet is eating! Add the pink bowls into the stand and you are done!


KITTY LITTERBOX

Materials:
IKEA Cabinet
IKEA Cabinet door
Short mid-century modern legs
Cabinet handle
Tools:
Pencil
Ruler
Drill
Circular Saw
Screwdriver
We started by taking apart our IKEA As Is cabinet and retrieved the side of the cabinet that we wanted to have the door for our furry friend to walk in and out of. Next, we traced out the shape that we wanted the door to be and cut it out using a circular saw.


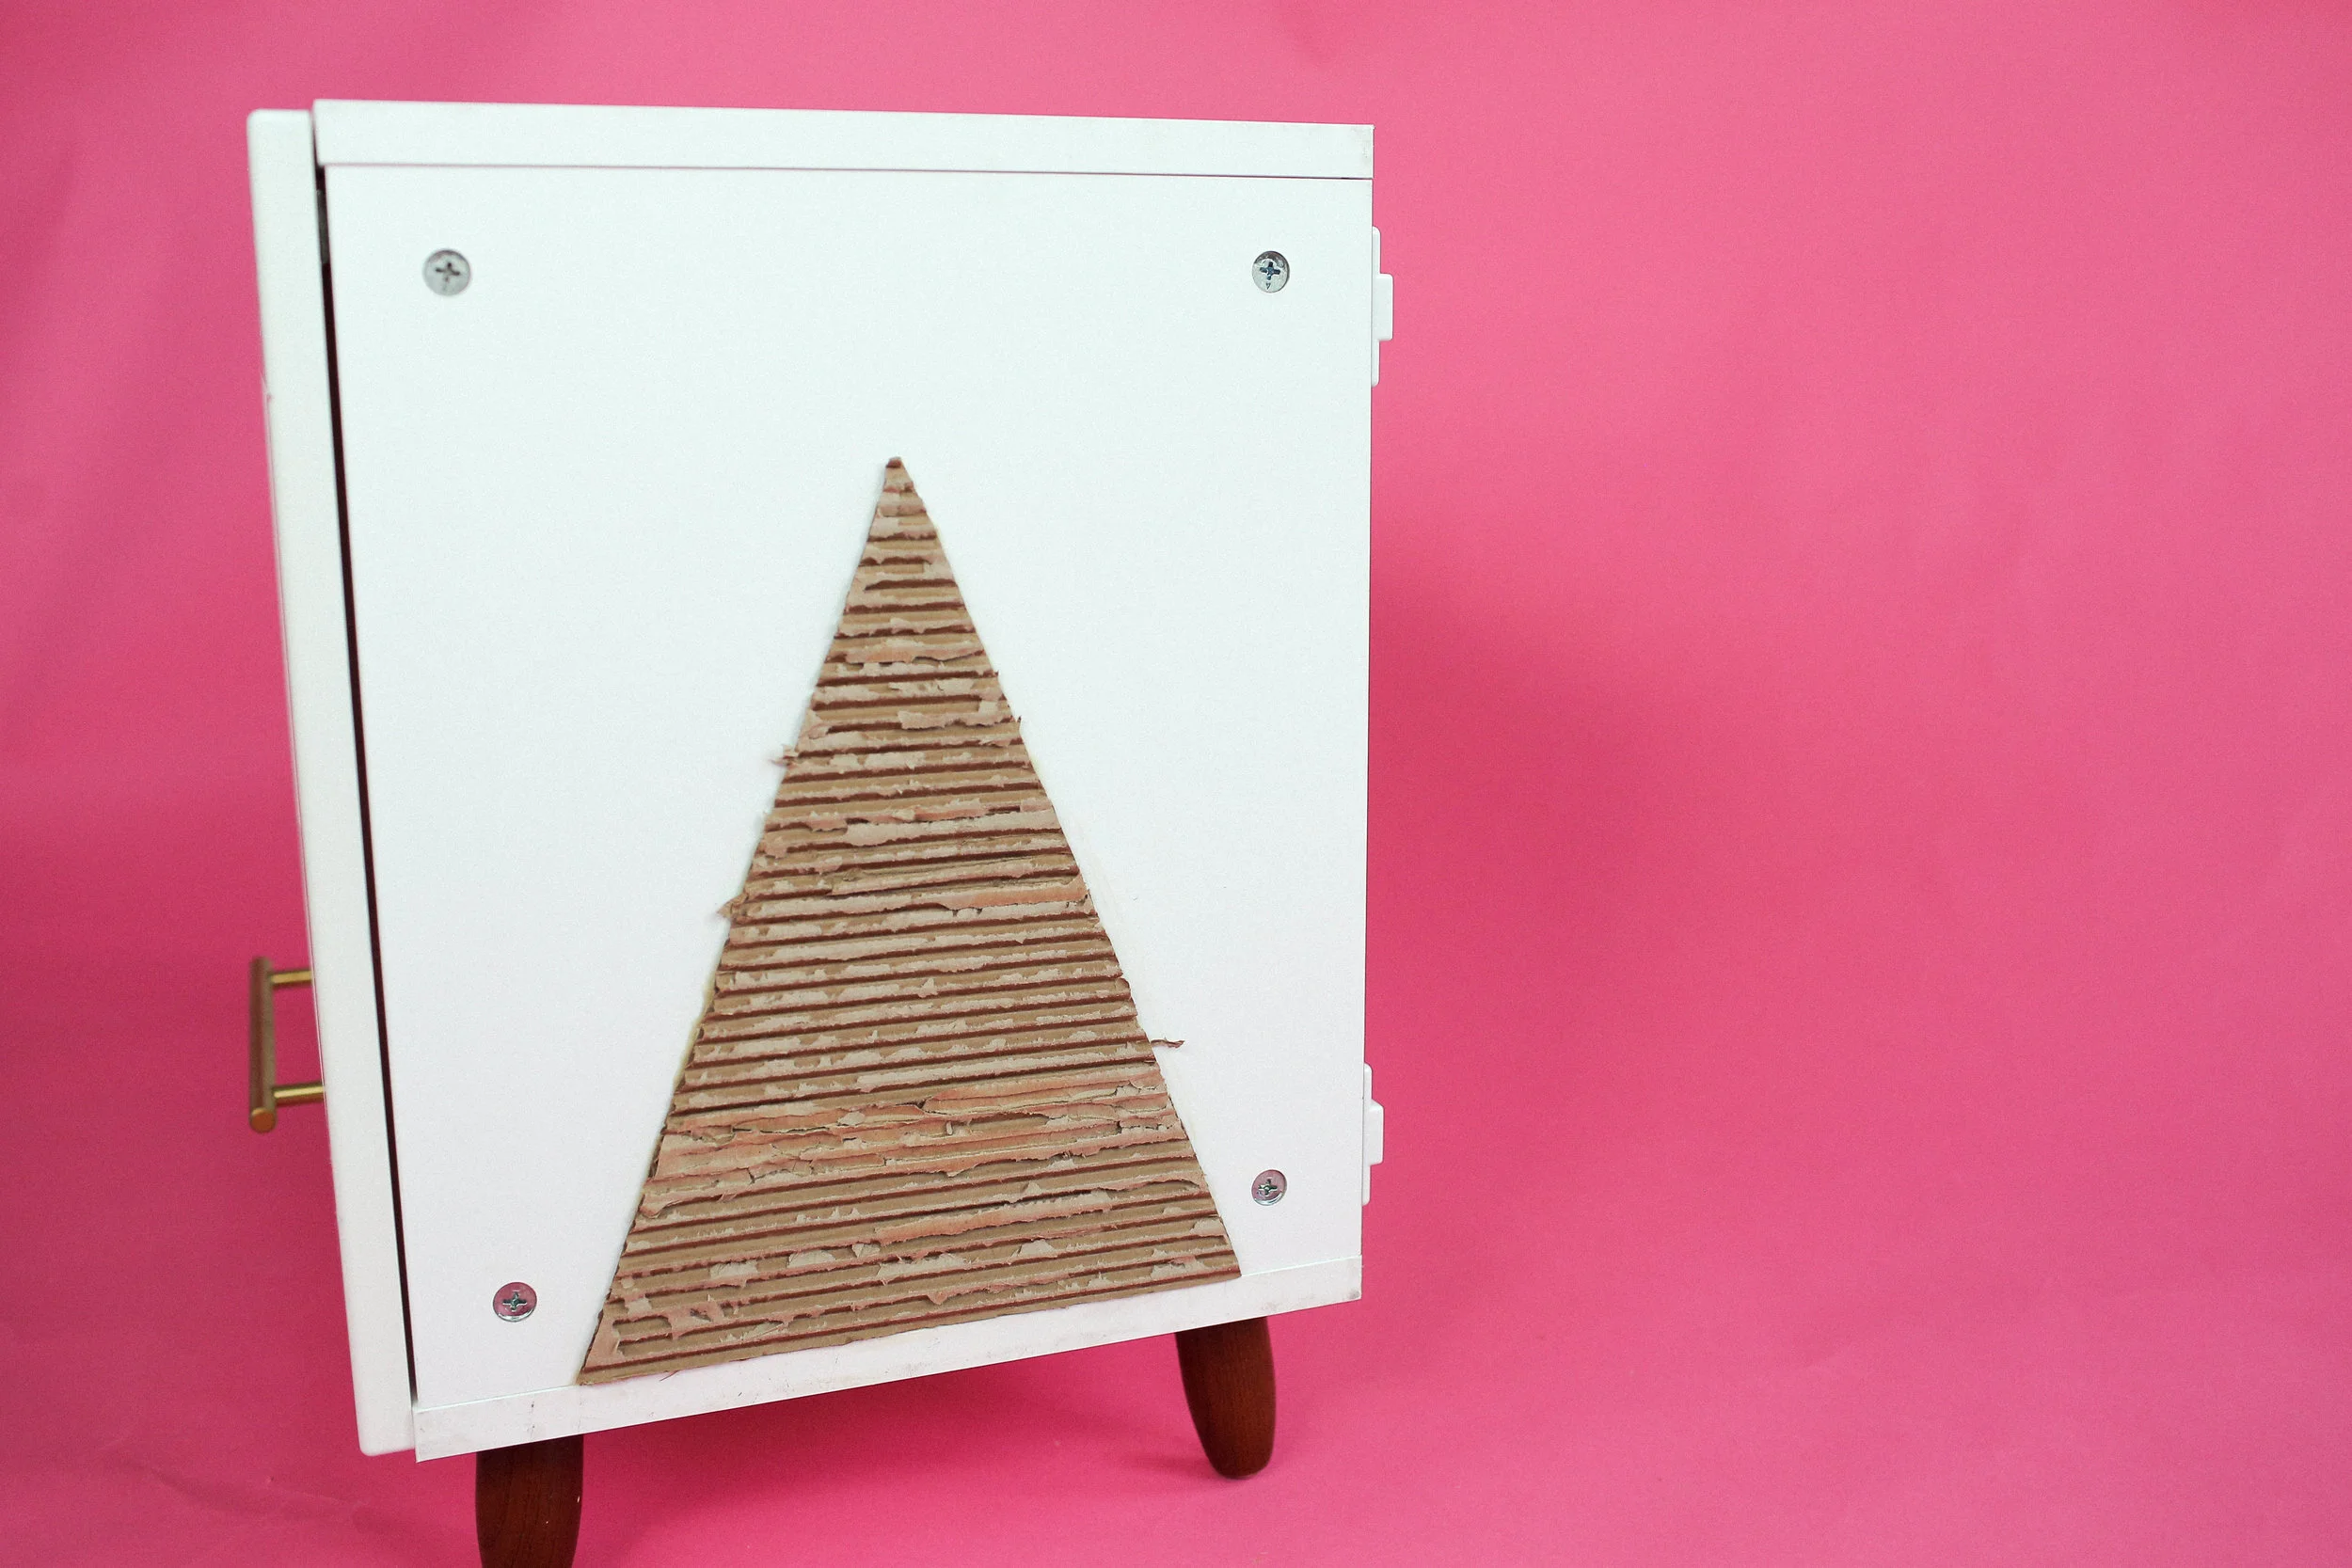
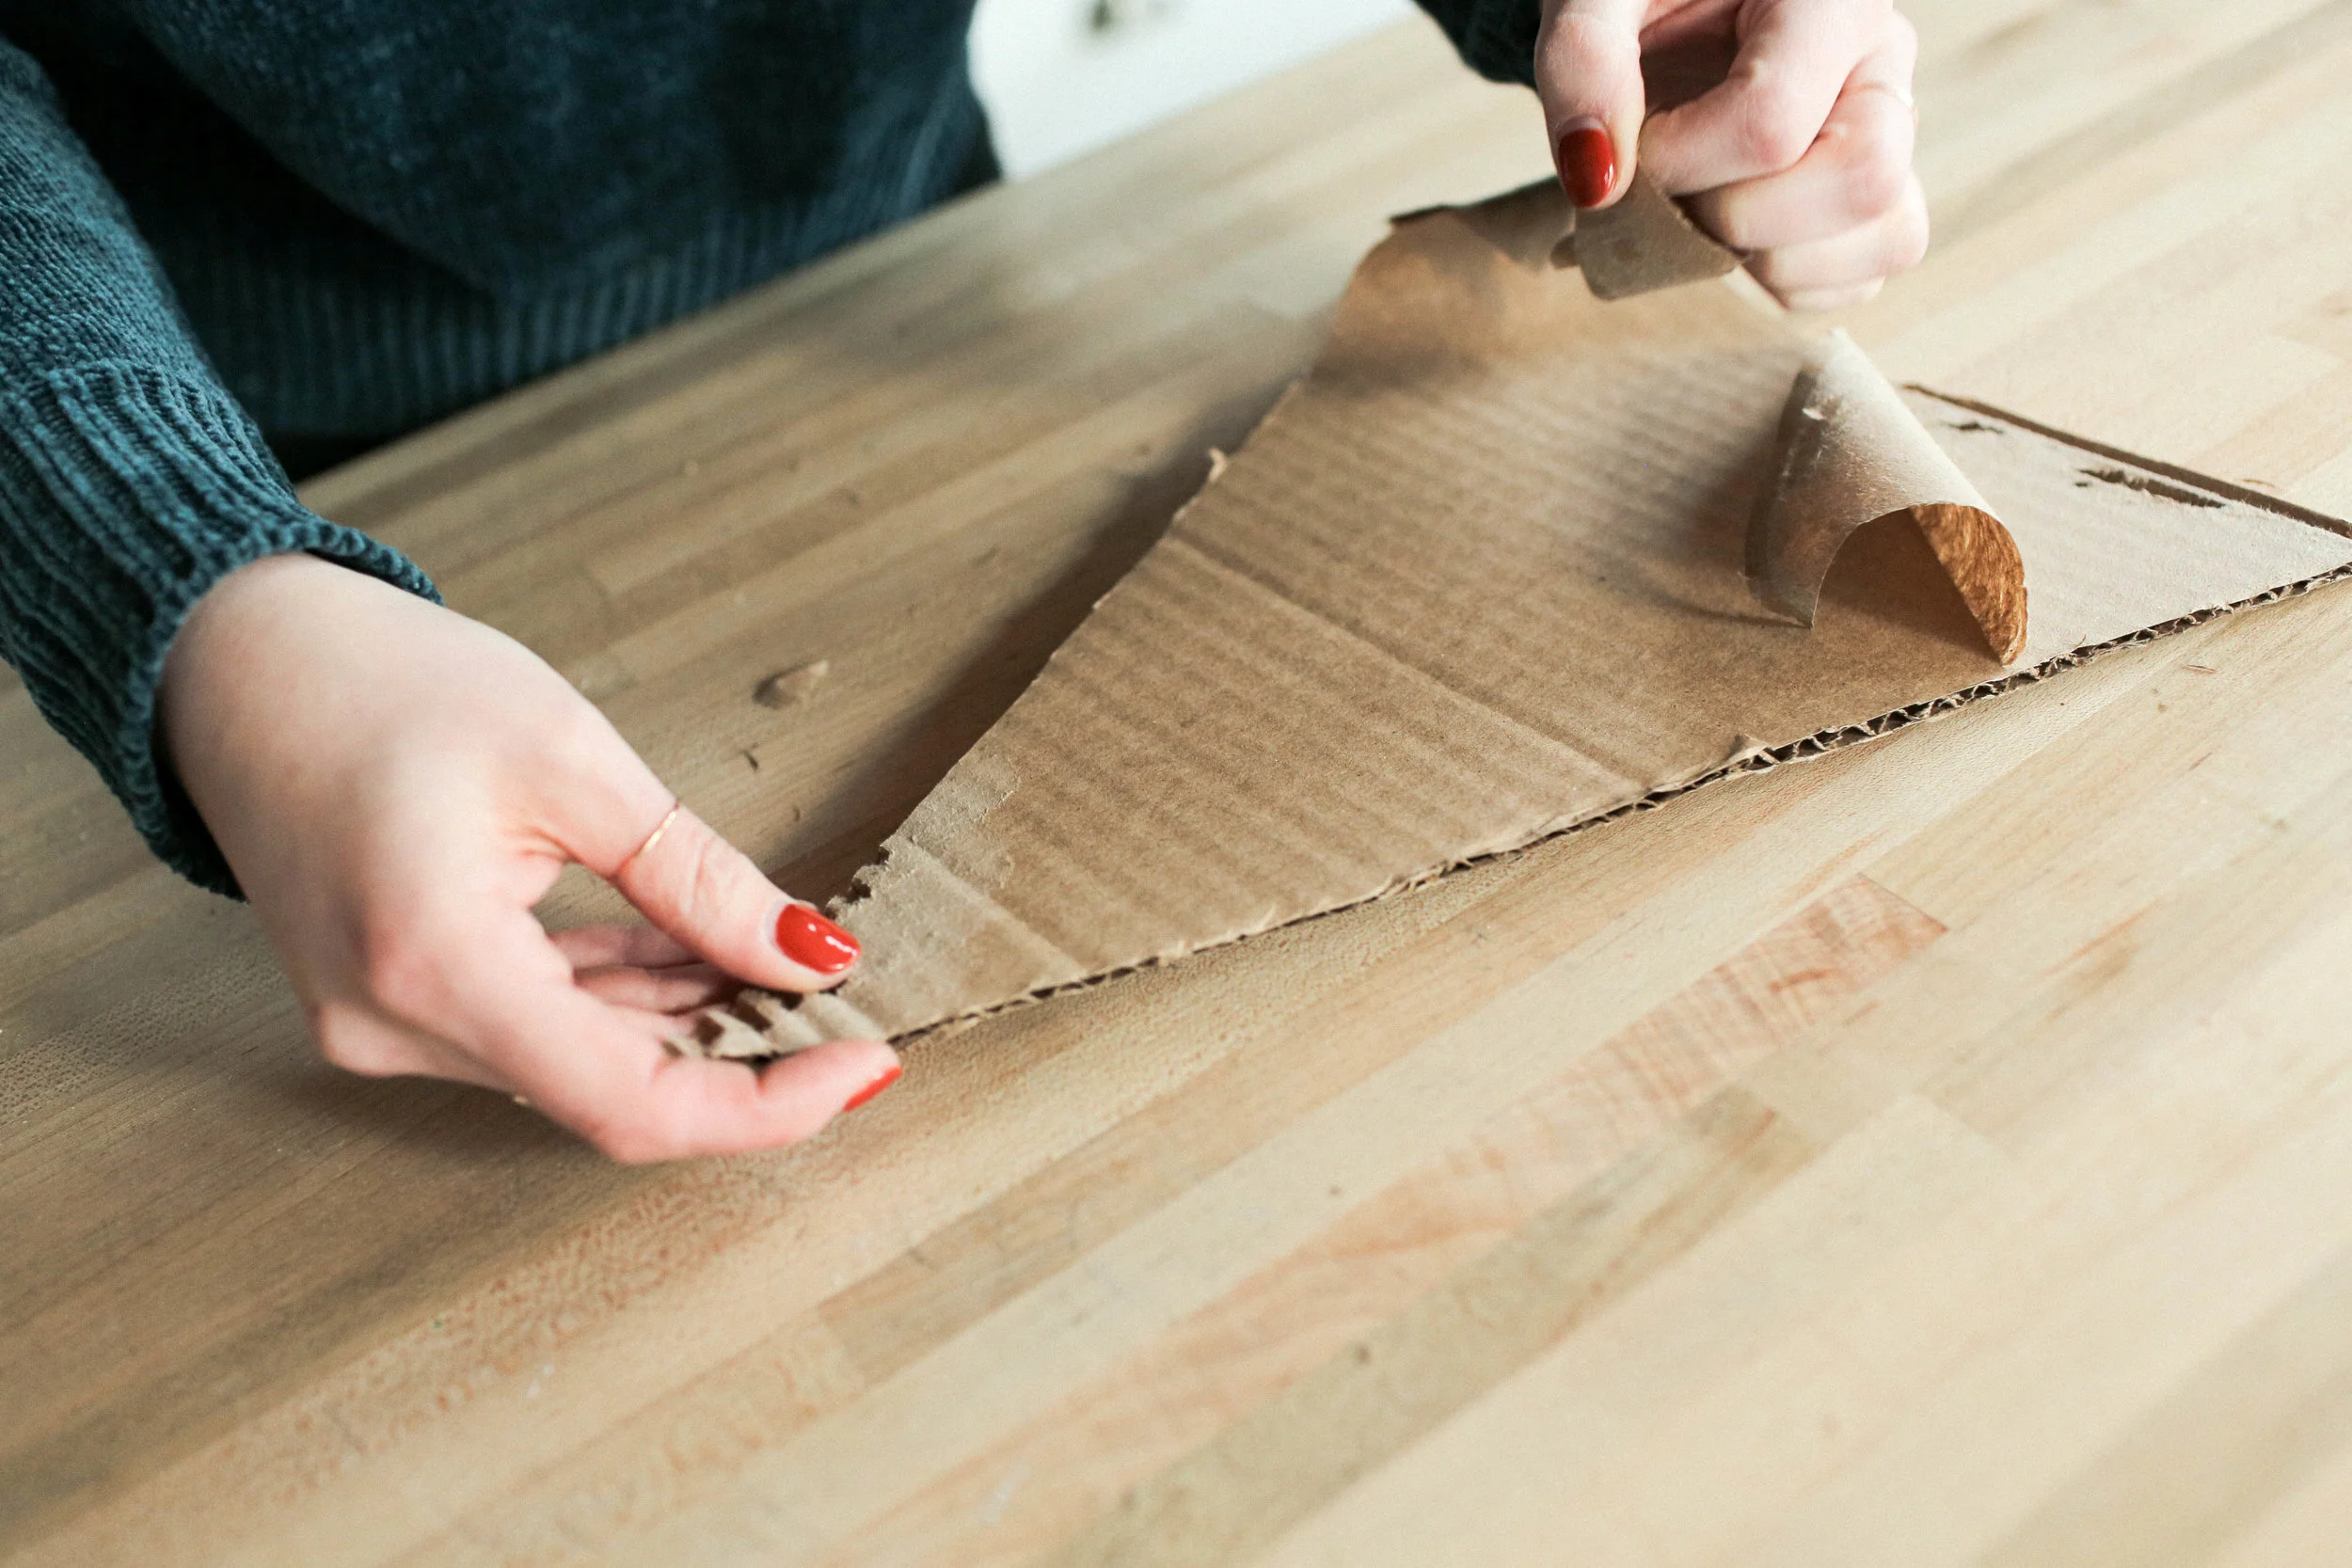
We then went ahead and reassembled the cabinet. Our next step was to add a handle onto the door of our cabinet. We then flipped the cabinet upside down and added some cute mid-century modern legs. We then added the cabinet door to the cabinet. We decided to attach the door to the cabinet so that the door opened up instead of sideways or down! The last step is to add a cat scratcher on the other side of the cabinet. We are going to mimic our triangle theme, and cut out a similar triangle shape out of cardboard and attach it to the other side of the kitty litter box. You can make this triangle out of any material that is your cat’s fave (rope, carpet, ect!). Attach using wood glue.


And that’s it! Hope you guys loved this IKEA As Is upcycle - Pet Edition! If you make any of the things we made today, show us using the hashtag #SorryGirlsSquad. Also be sure to check out the video below!