Farmhouse Cabinet Upcycle
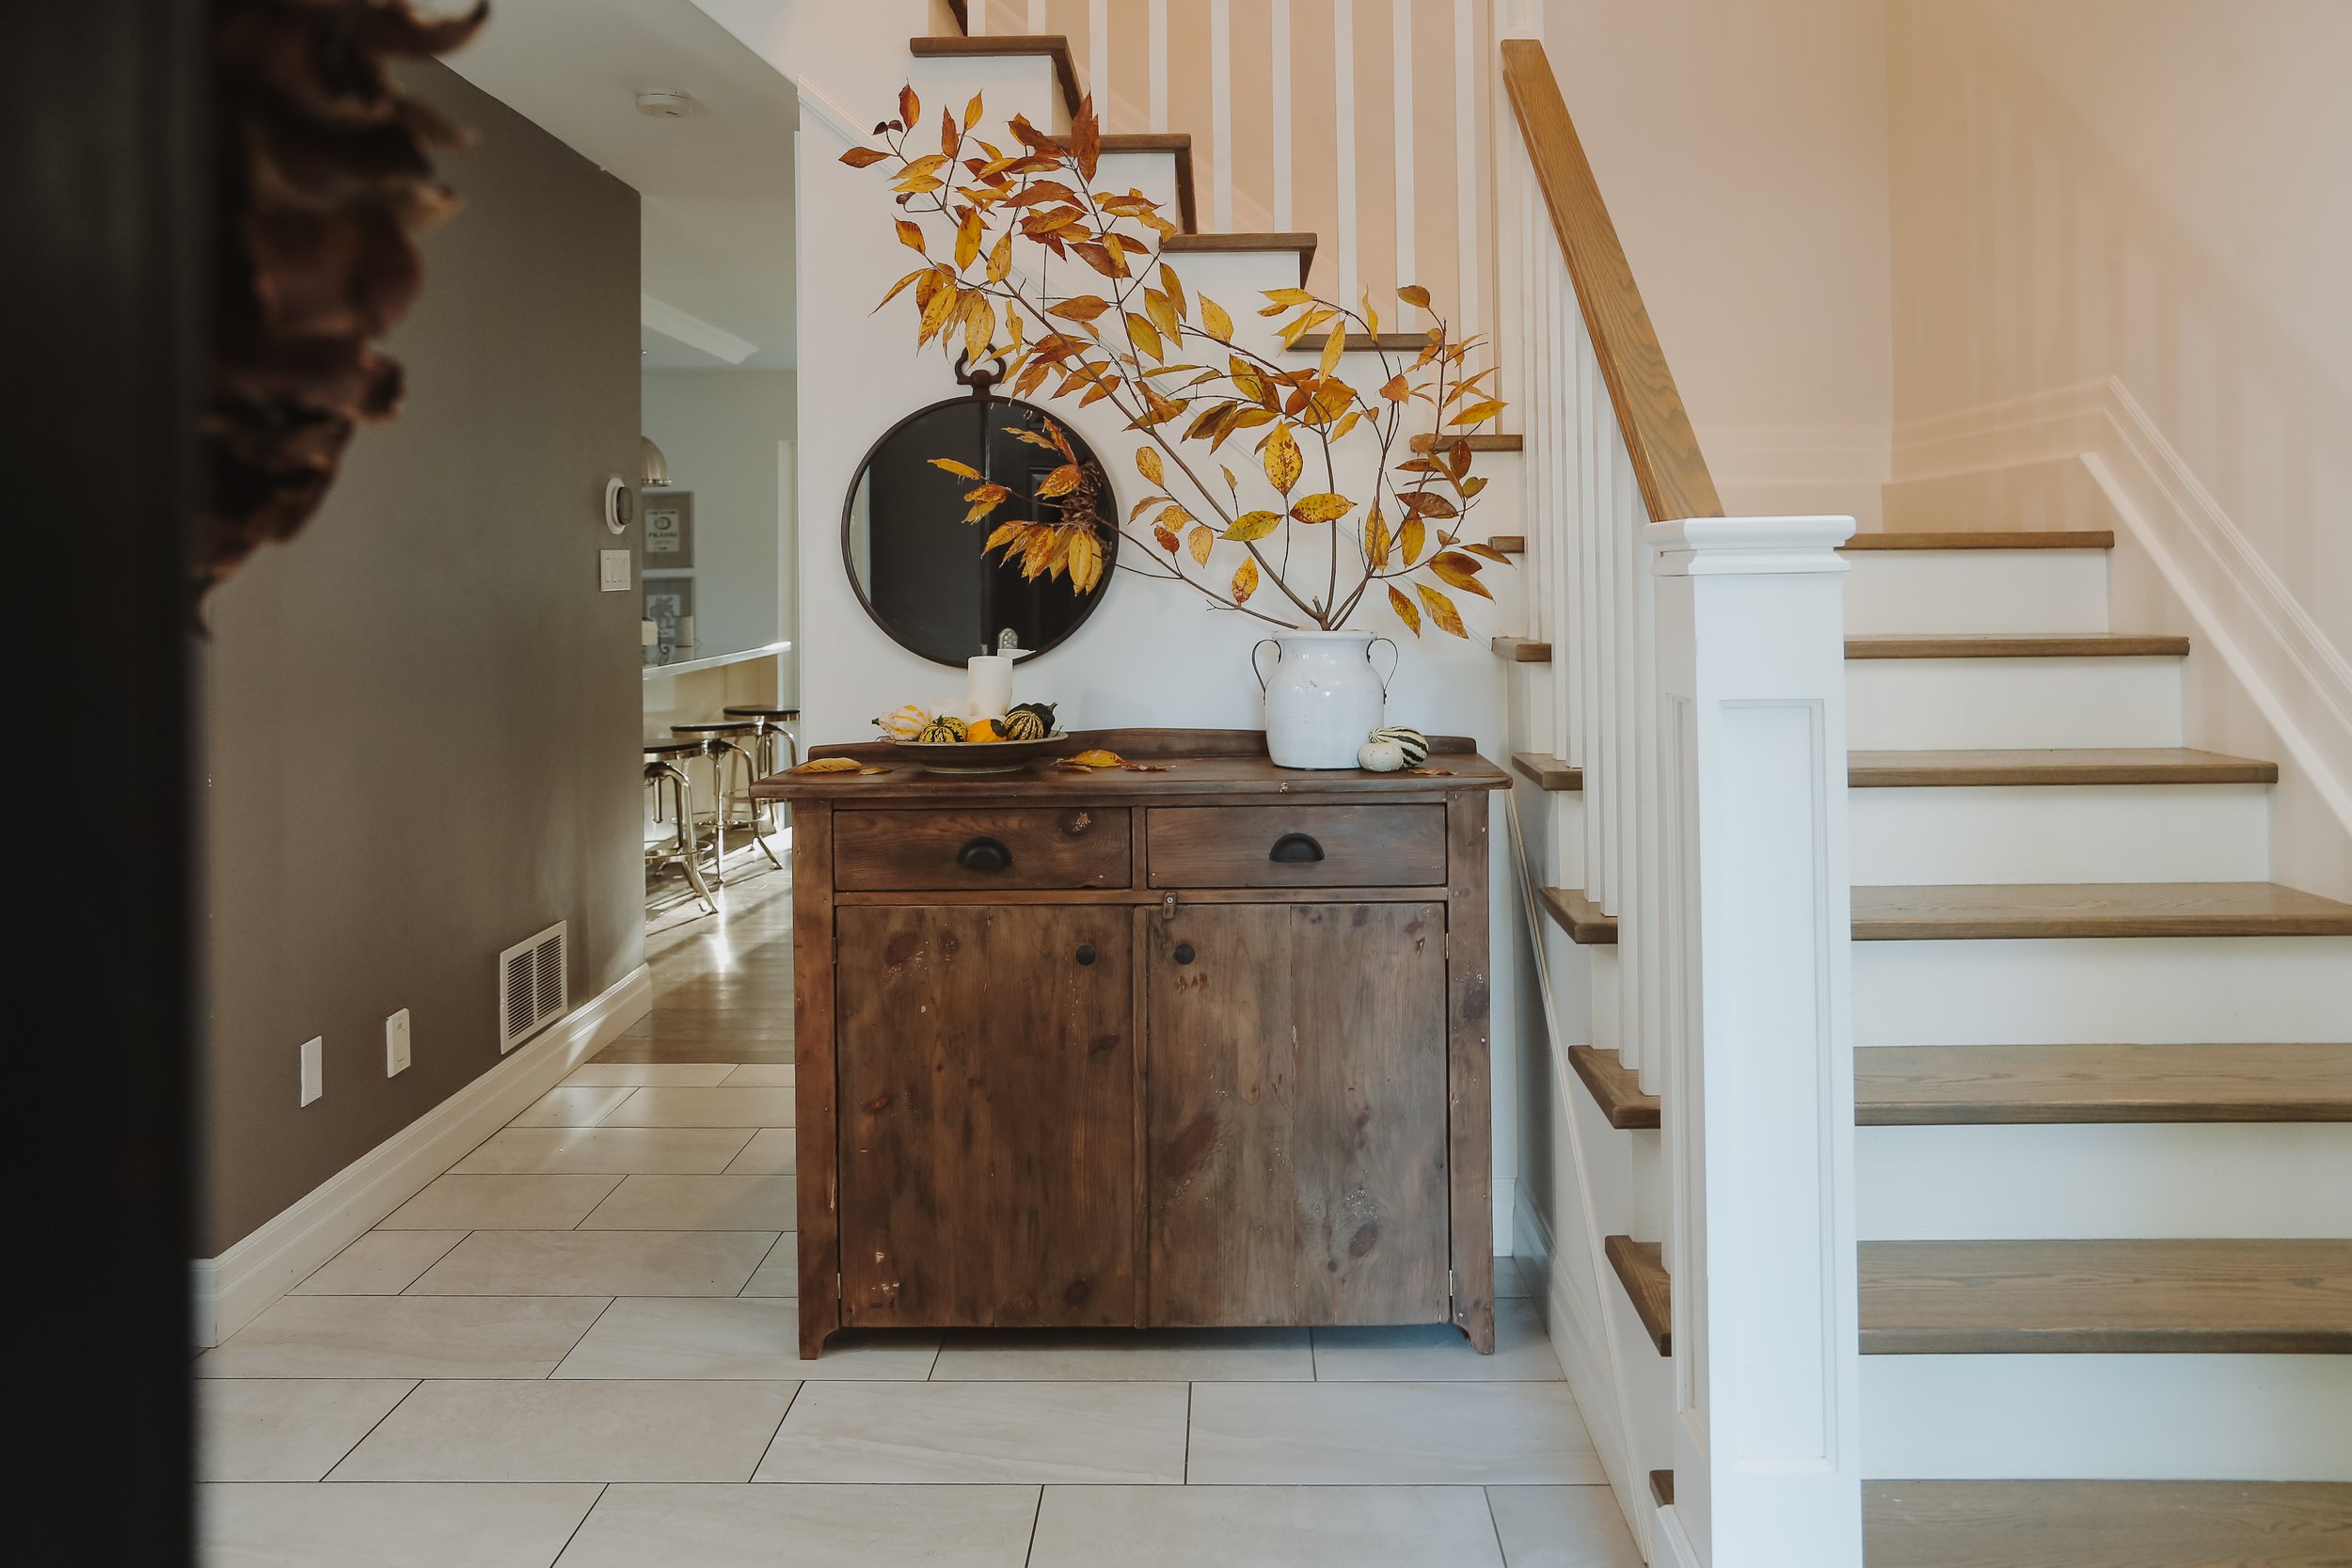
A while back, my mom shared her desire to update the front door foyer area in her home by adding some much-needed storage space under the stairs. She even showed me a cabinet from Pottery Barn that she liked, but it came with a hefty price tag of $800, which was way beyond her budget.
Ideally, she wanted a vintage piece that matched our aged oak dining room table, which is not an easy find. She mentioned that she'd like to spend around $250 on this project, which sparked an idea. What if she commissioned me with that $250 to transform an existing piece? She loved the idea, and that's how this project began.
I decided to work on this project at my parents' house, so before heading there, I stopped by our studio to grab materials and supplies I thought would come in handy. Among the items I picked up was a semi-gel furniture stripper, which is helpful for removing paint, varnish, and stain from wood.
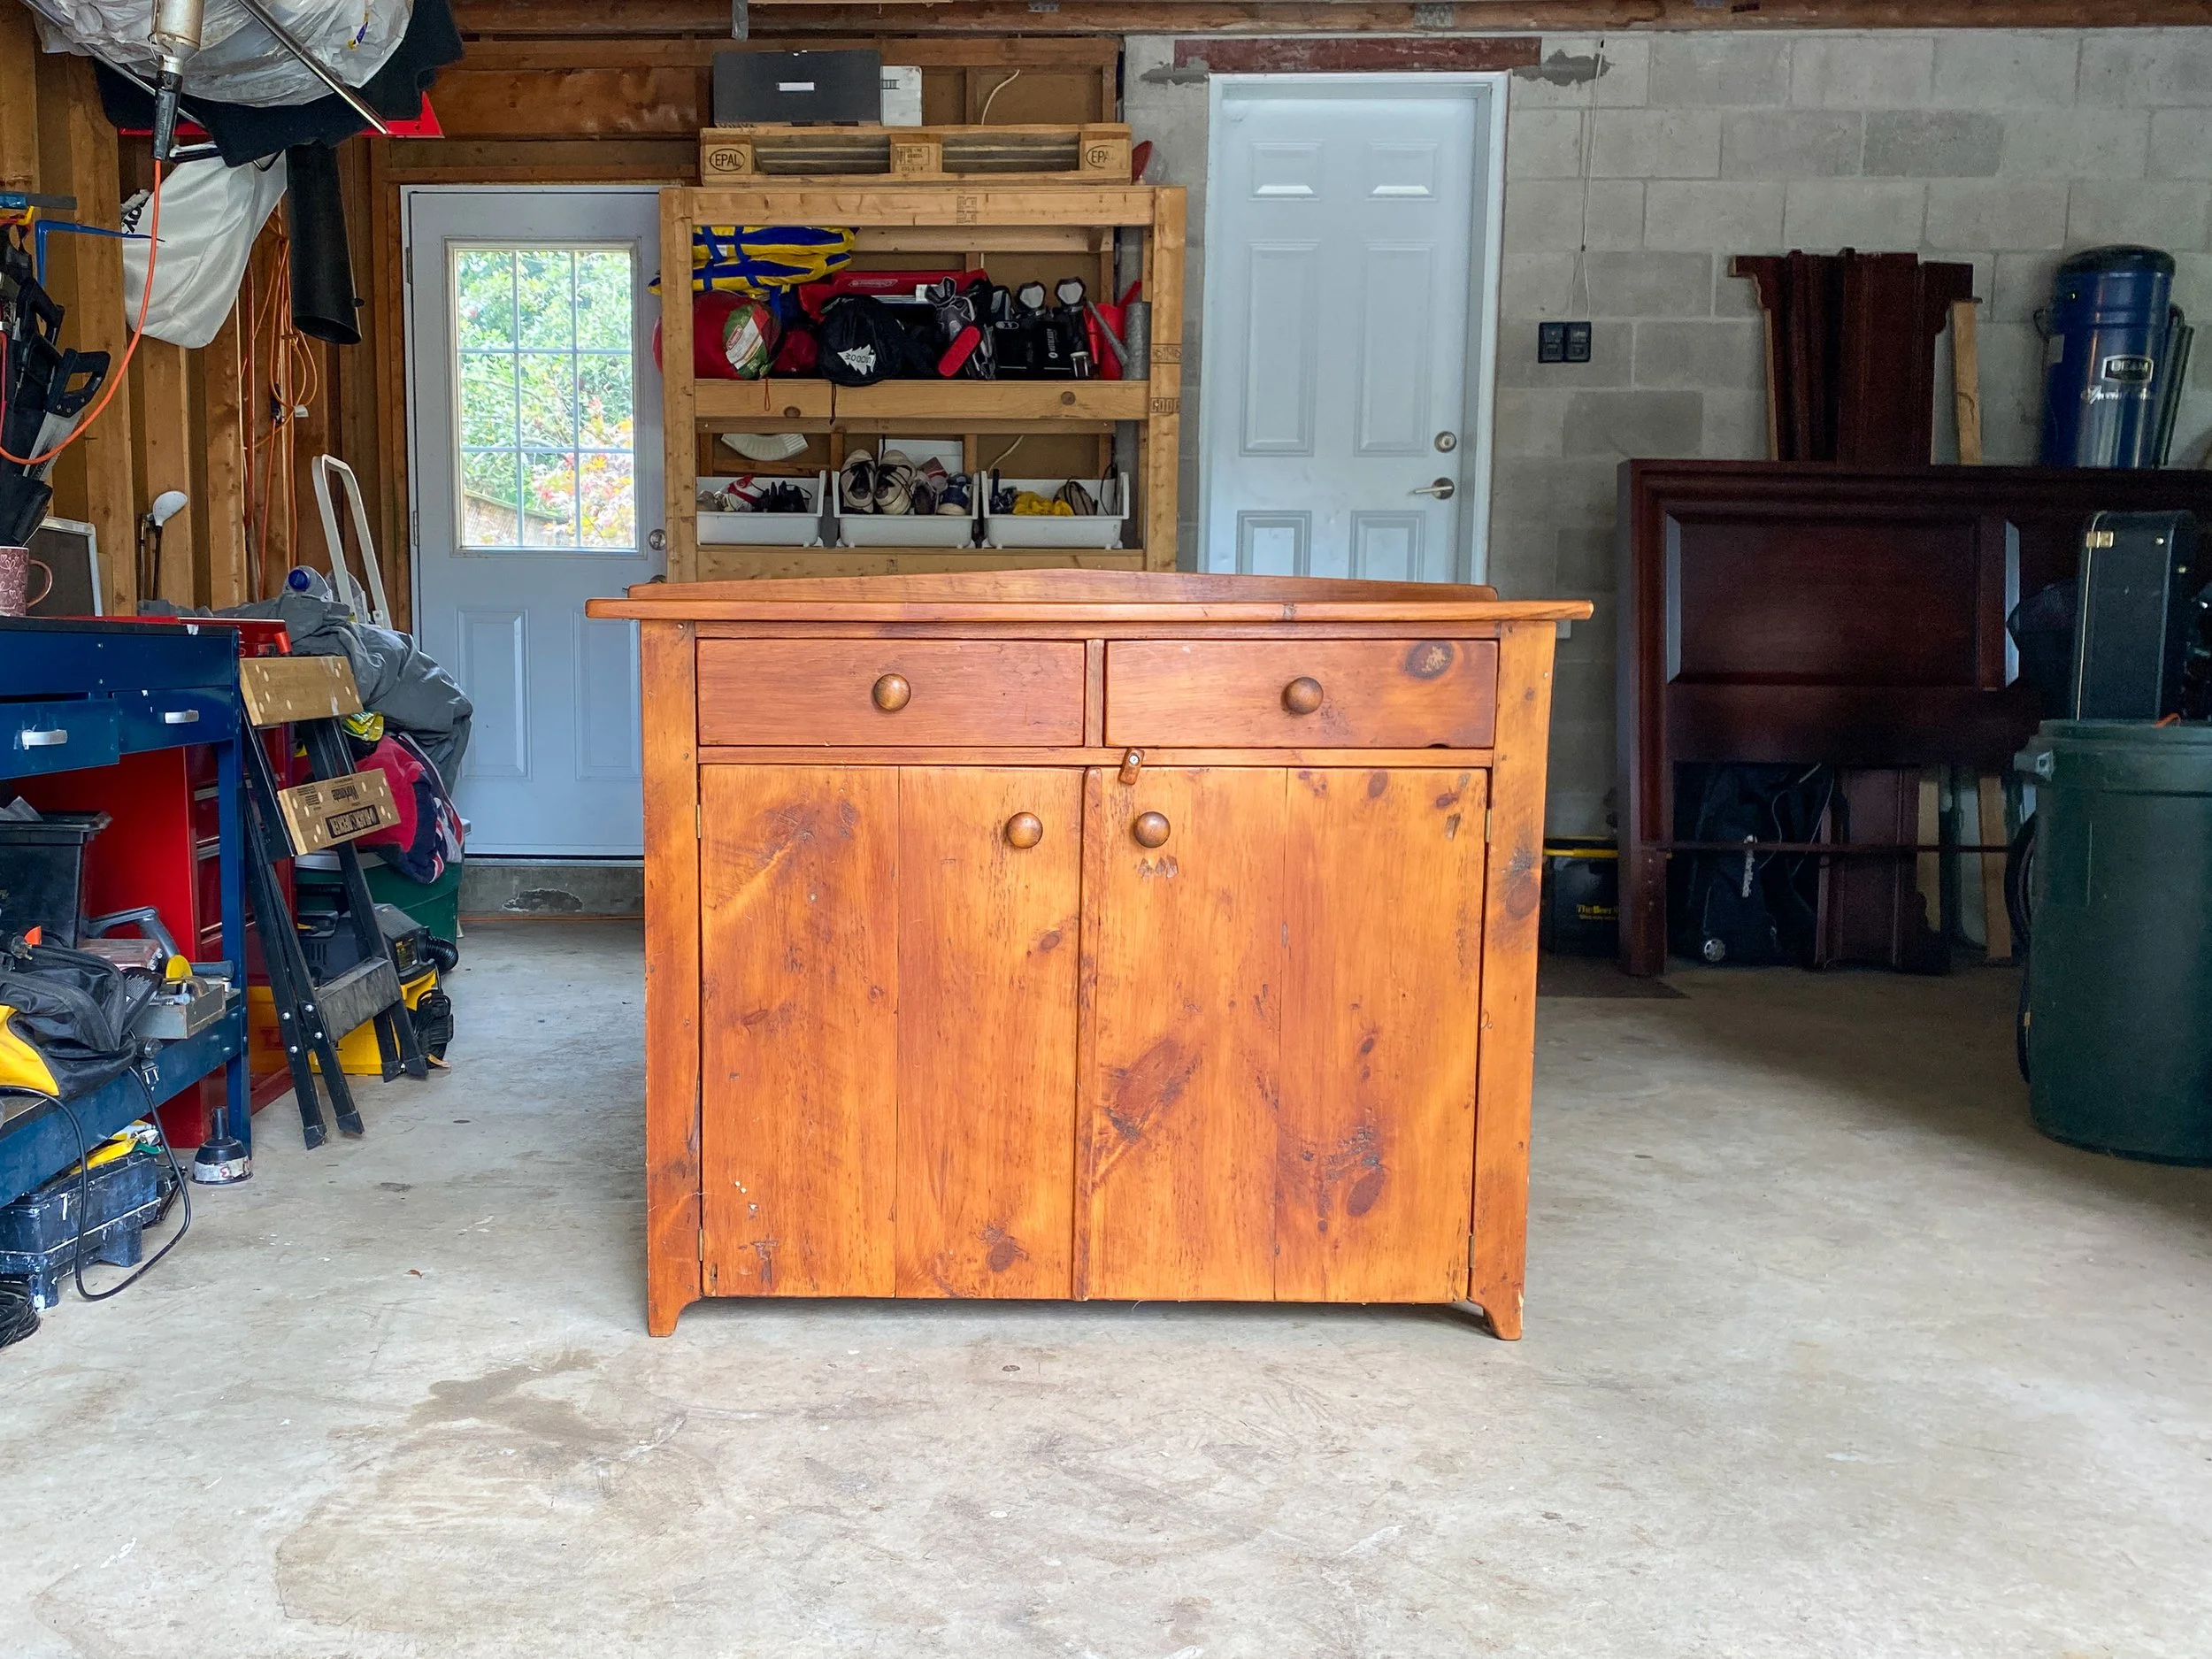
Once I arrived at my parents' house, I stumbled across an old cabinet that wasn't being used. It was actually the perfect size for the project, and I couldn't be happier. I knew it held sentimental value, and with a bit of work, I could make it perfect for the foyer without having to buy a new furniture piece.


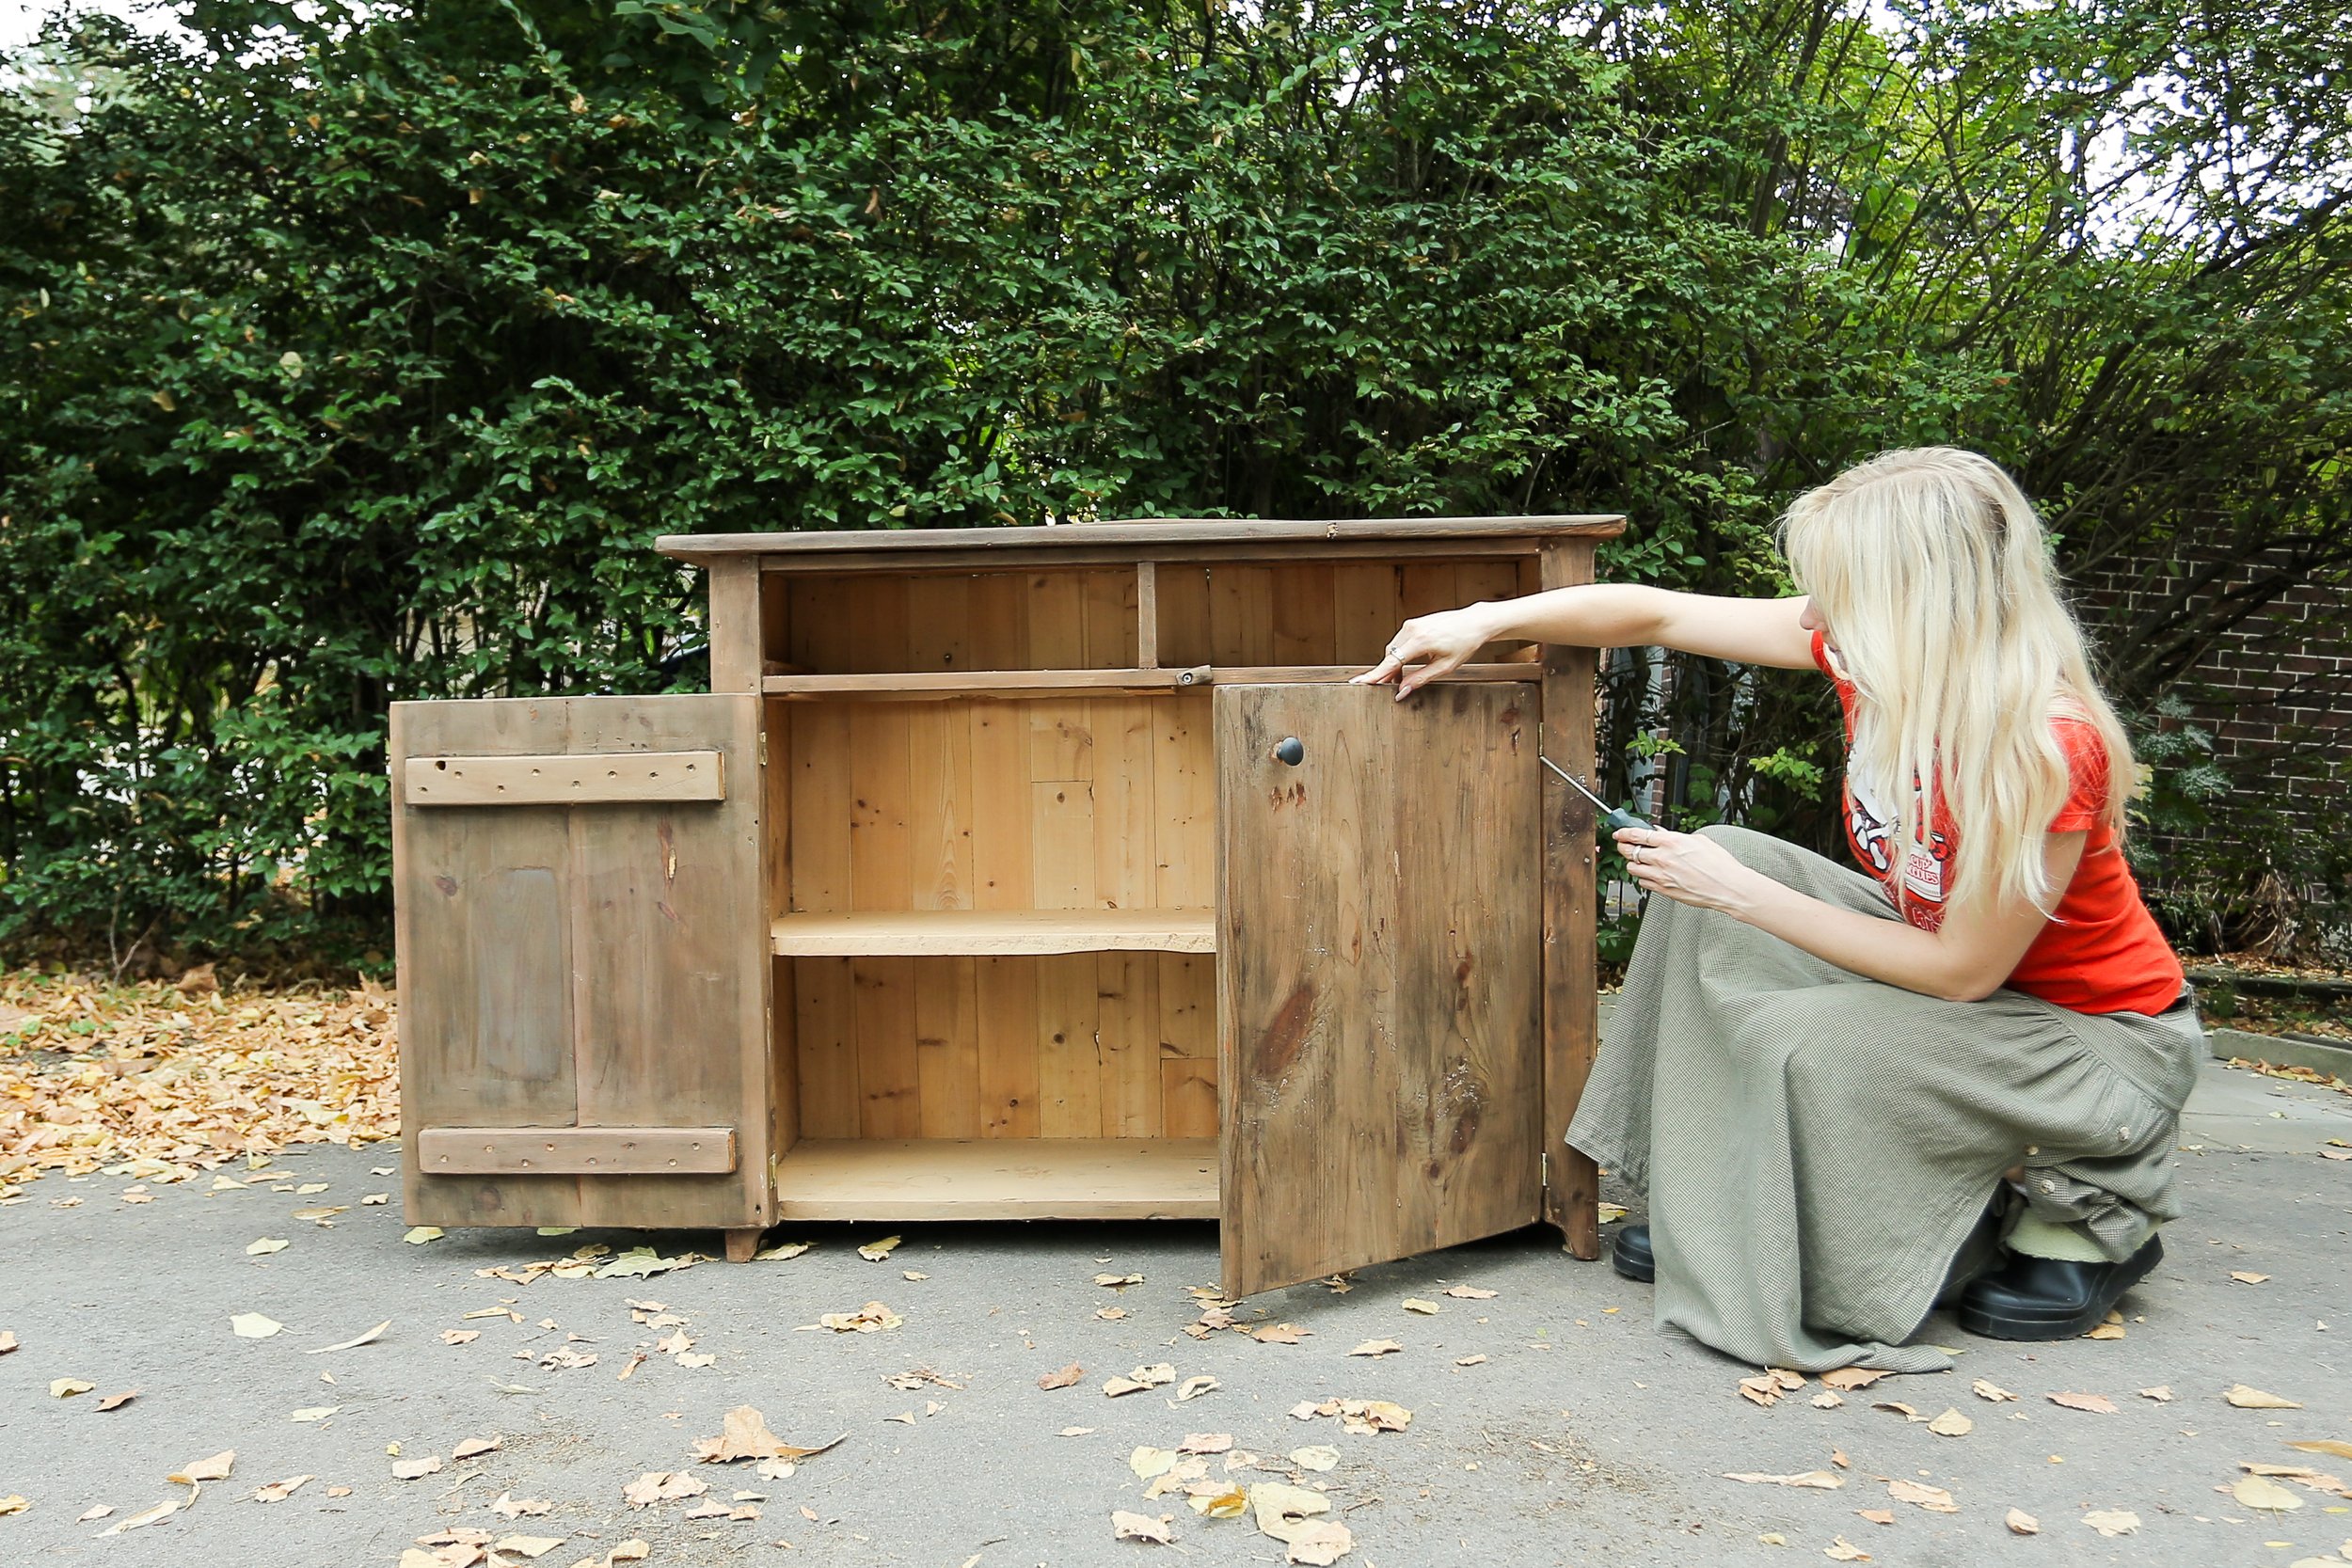
I started by stripping the old finish from the cabinet using the semi-gel furniture stripper. It was a messy and time-consuming process, but in the end, between scraping and sanding the surface, all the old stain and wax came off.


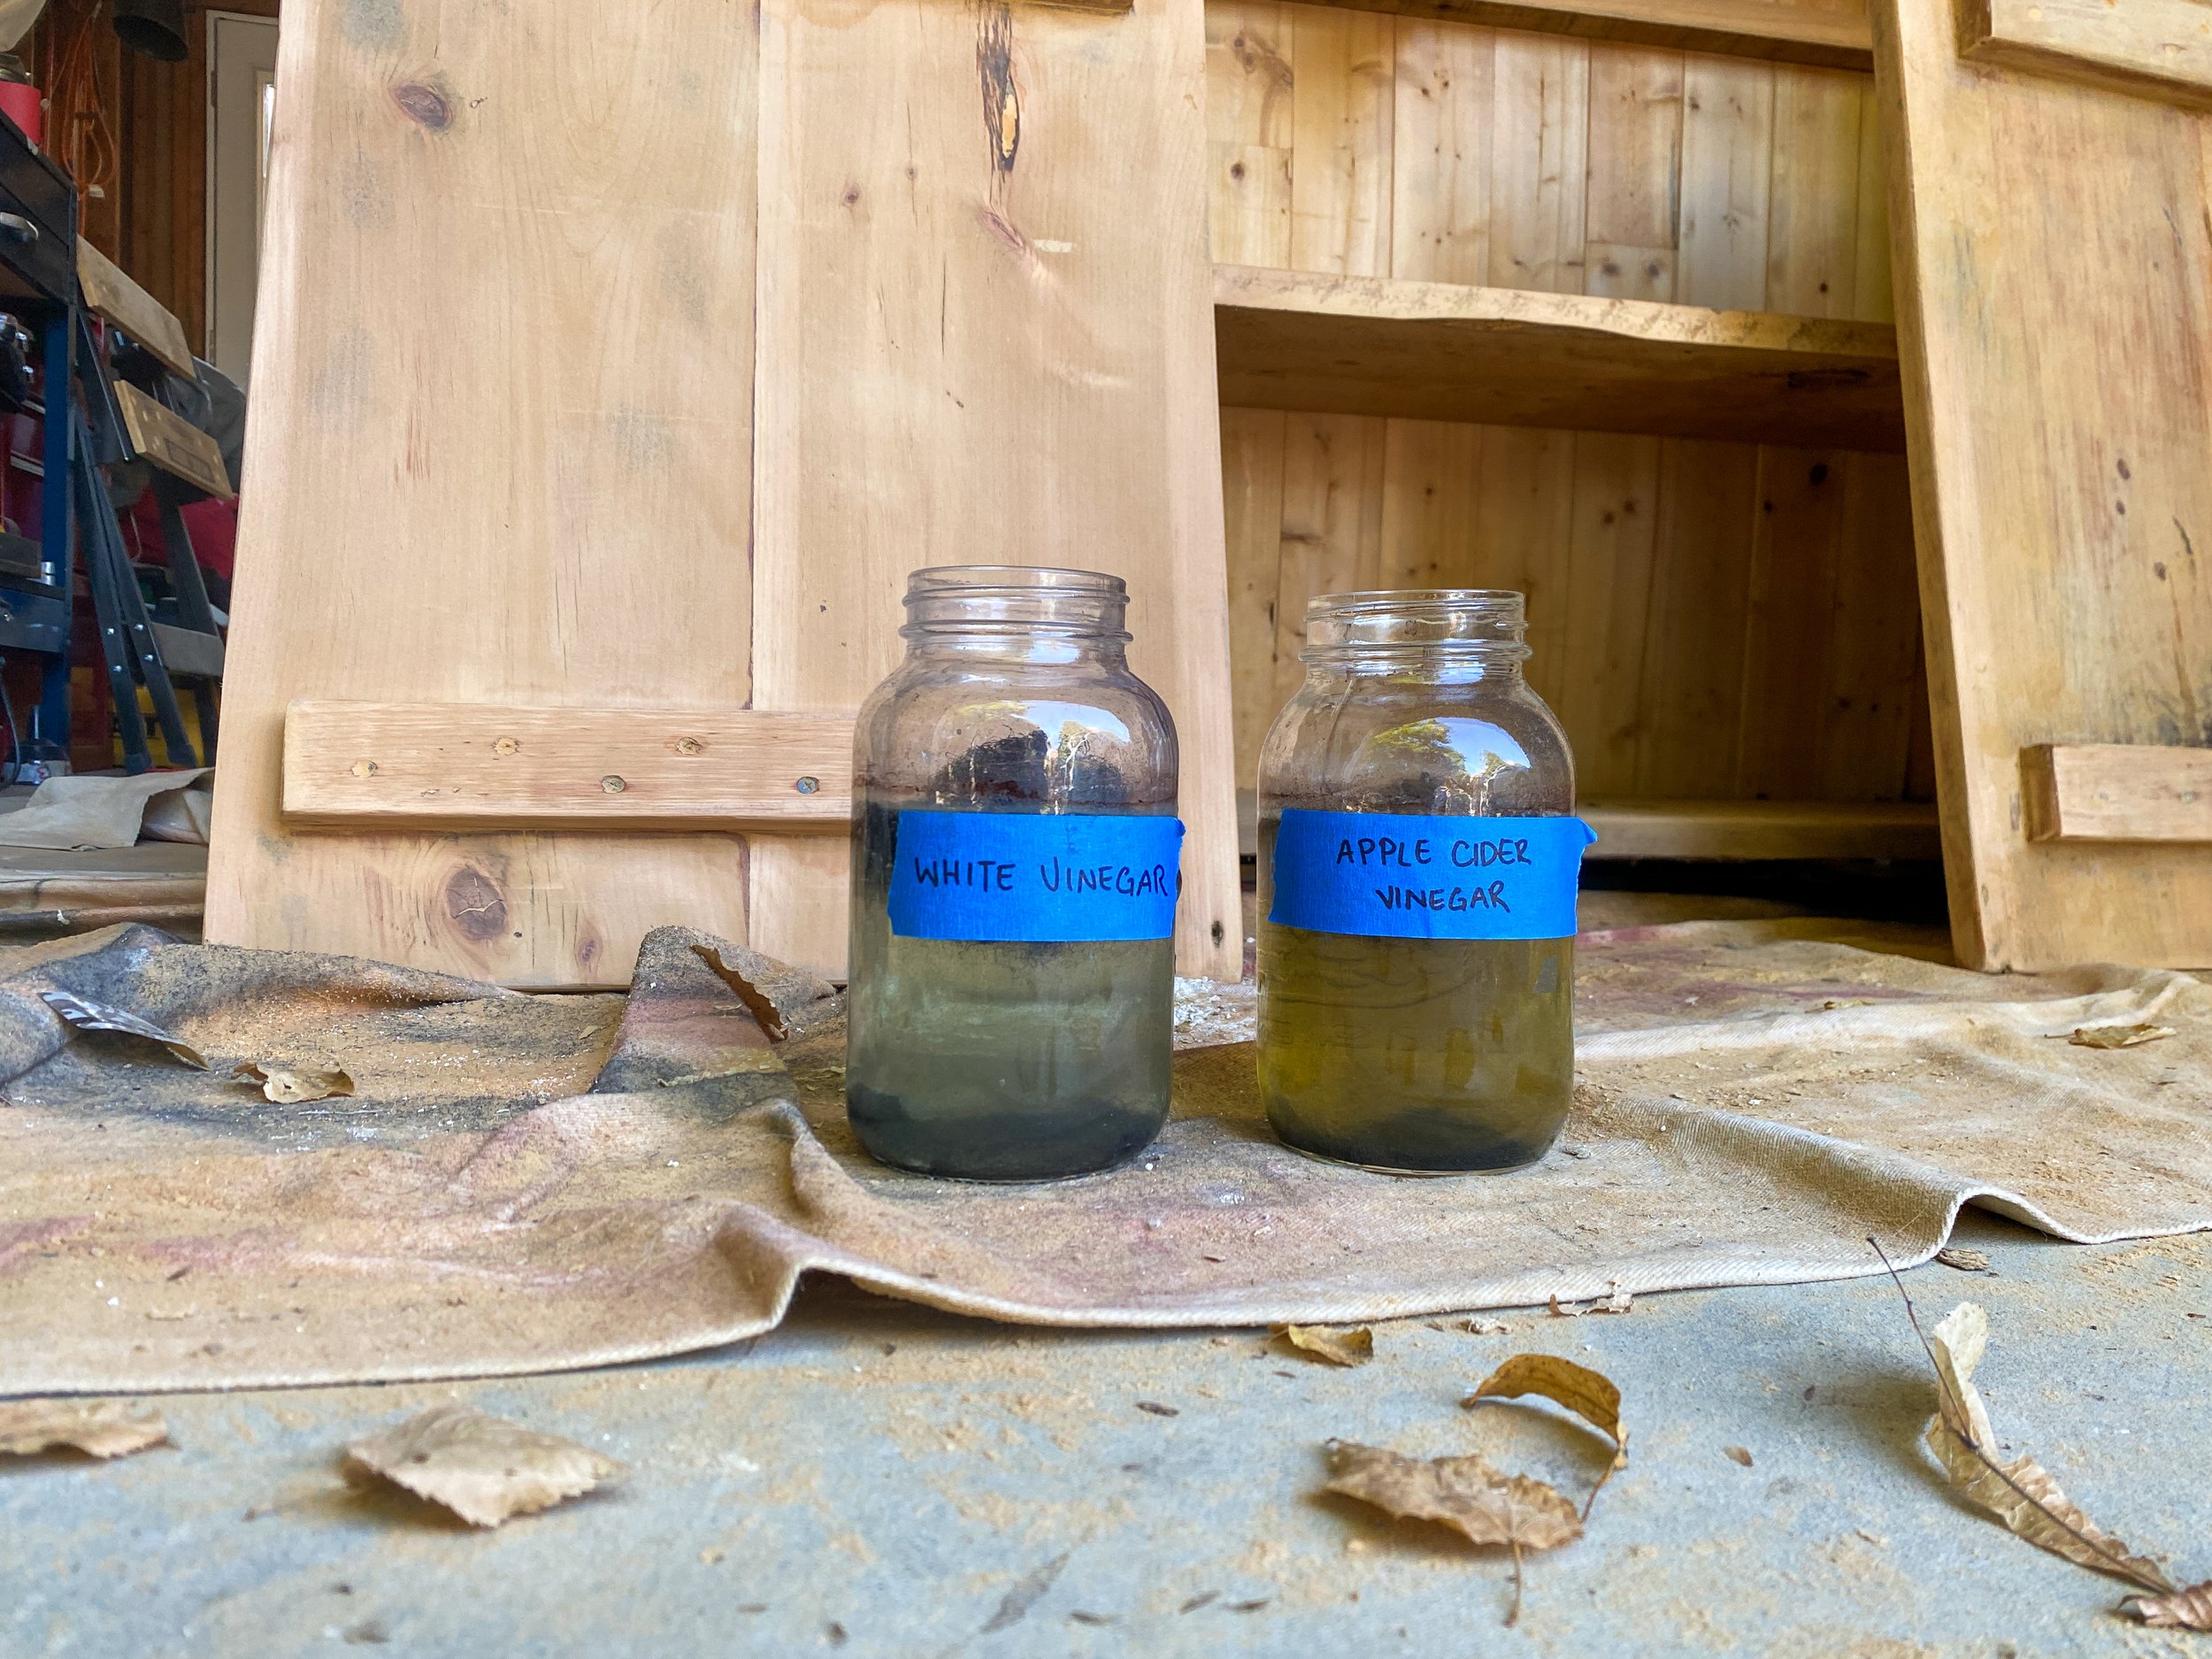
To achieve the desired aged oak look (similar to the oak dining room table she has), I decided to create my own DIY stain. I used a mix of vinegar and steel wool to create an iron acetate solution, which would react with the wood to create an aged effect.


I tested a couple different types of vinegars and after applying the solution and allowing it to dry, I was amazed at how authentic the colour looked. I decided to go with the apple cider vinegar, but I diluted it a bit so it wouldn’t get as dark.

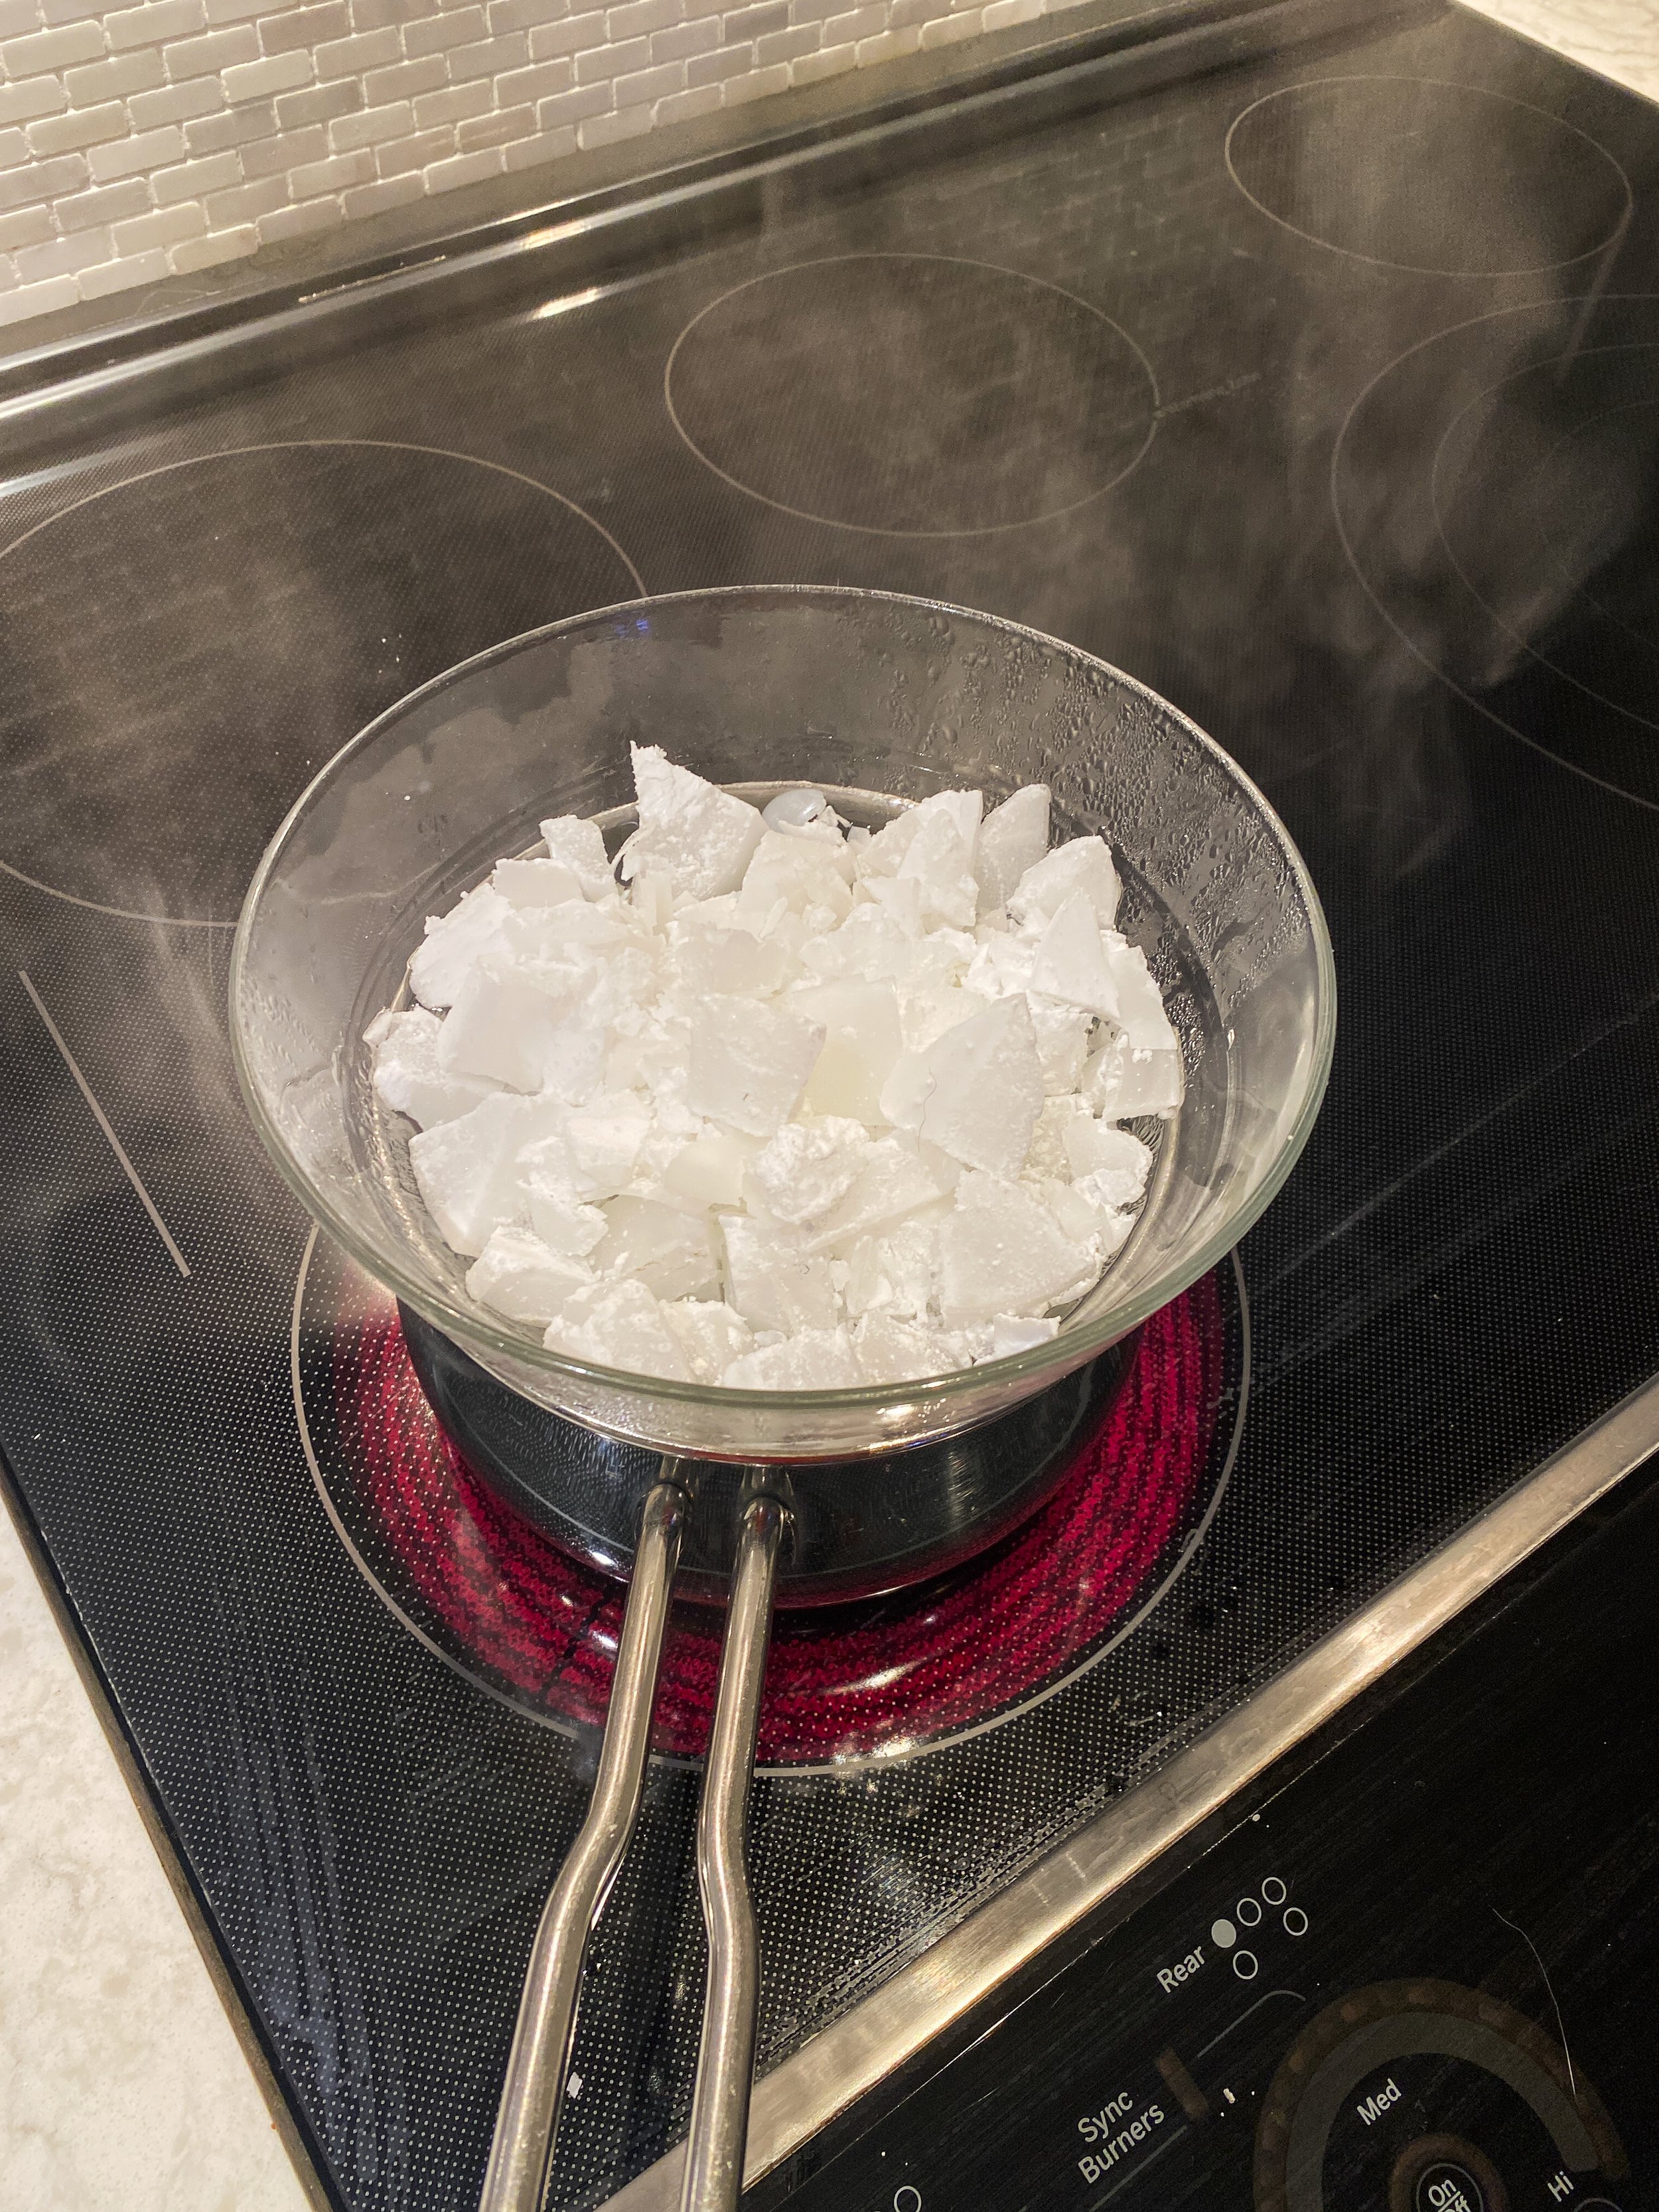
To add some patchiness to mimic the original piece. I used the sander and added more of the DIY stain to achieve the desired effect. With the staining process complete, I sealed the cabinet with paste wax. I chose wax over polyurethane to prevent any potential issues with tannin bleed-through, as the wood was porous from the staining process.
After everything was dry, I added in some spare knobs that we had at our office to give it a similar look to the pottery barn item.
I also decided to style it with foraged branches and colorful leaves that had fallen already! To preserve the leaf’s shape and colour, I melted wax and dipped them in so they wouldn’t wilt, then just hot glued them onto the branches. It added a touch of nature to the piece and completed the look I was going for.


Here is how the final result turned out! I love it and so does my mom! What do you think?