THRIFT FLIP - RECORD CORNER!

Today we got to the thrift store not reaaaally knowing what we wanted to do. We know you guys have been asking for some amazing storage solutions, so we tried to tackle the thrift store with this in mind!
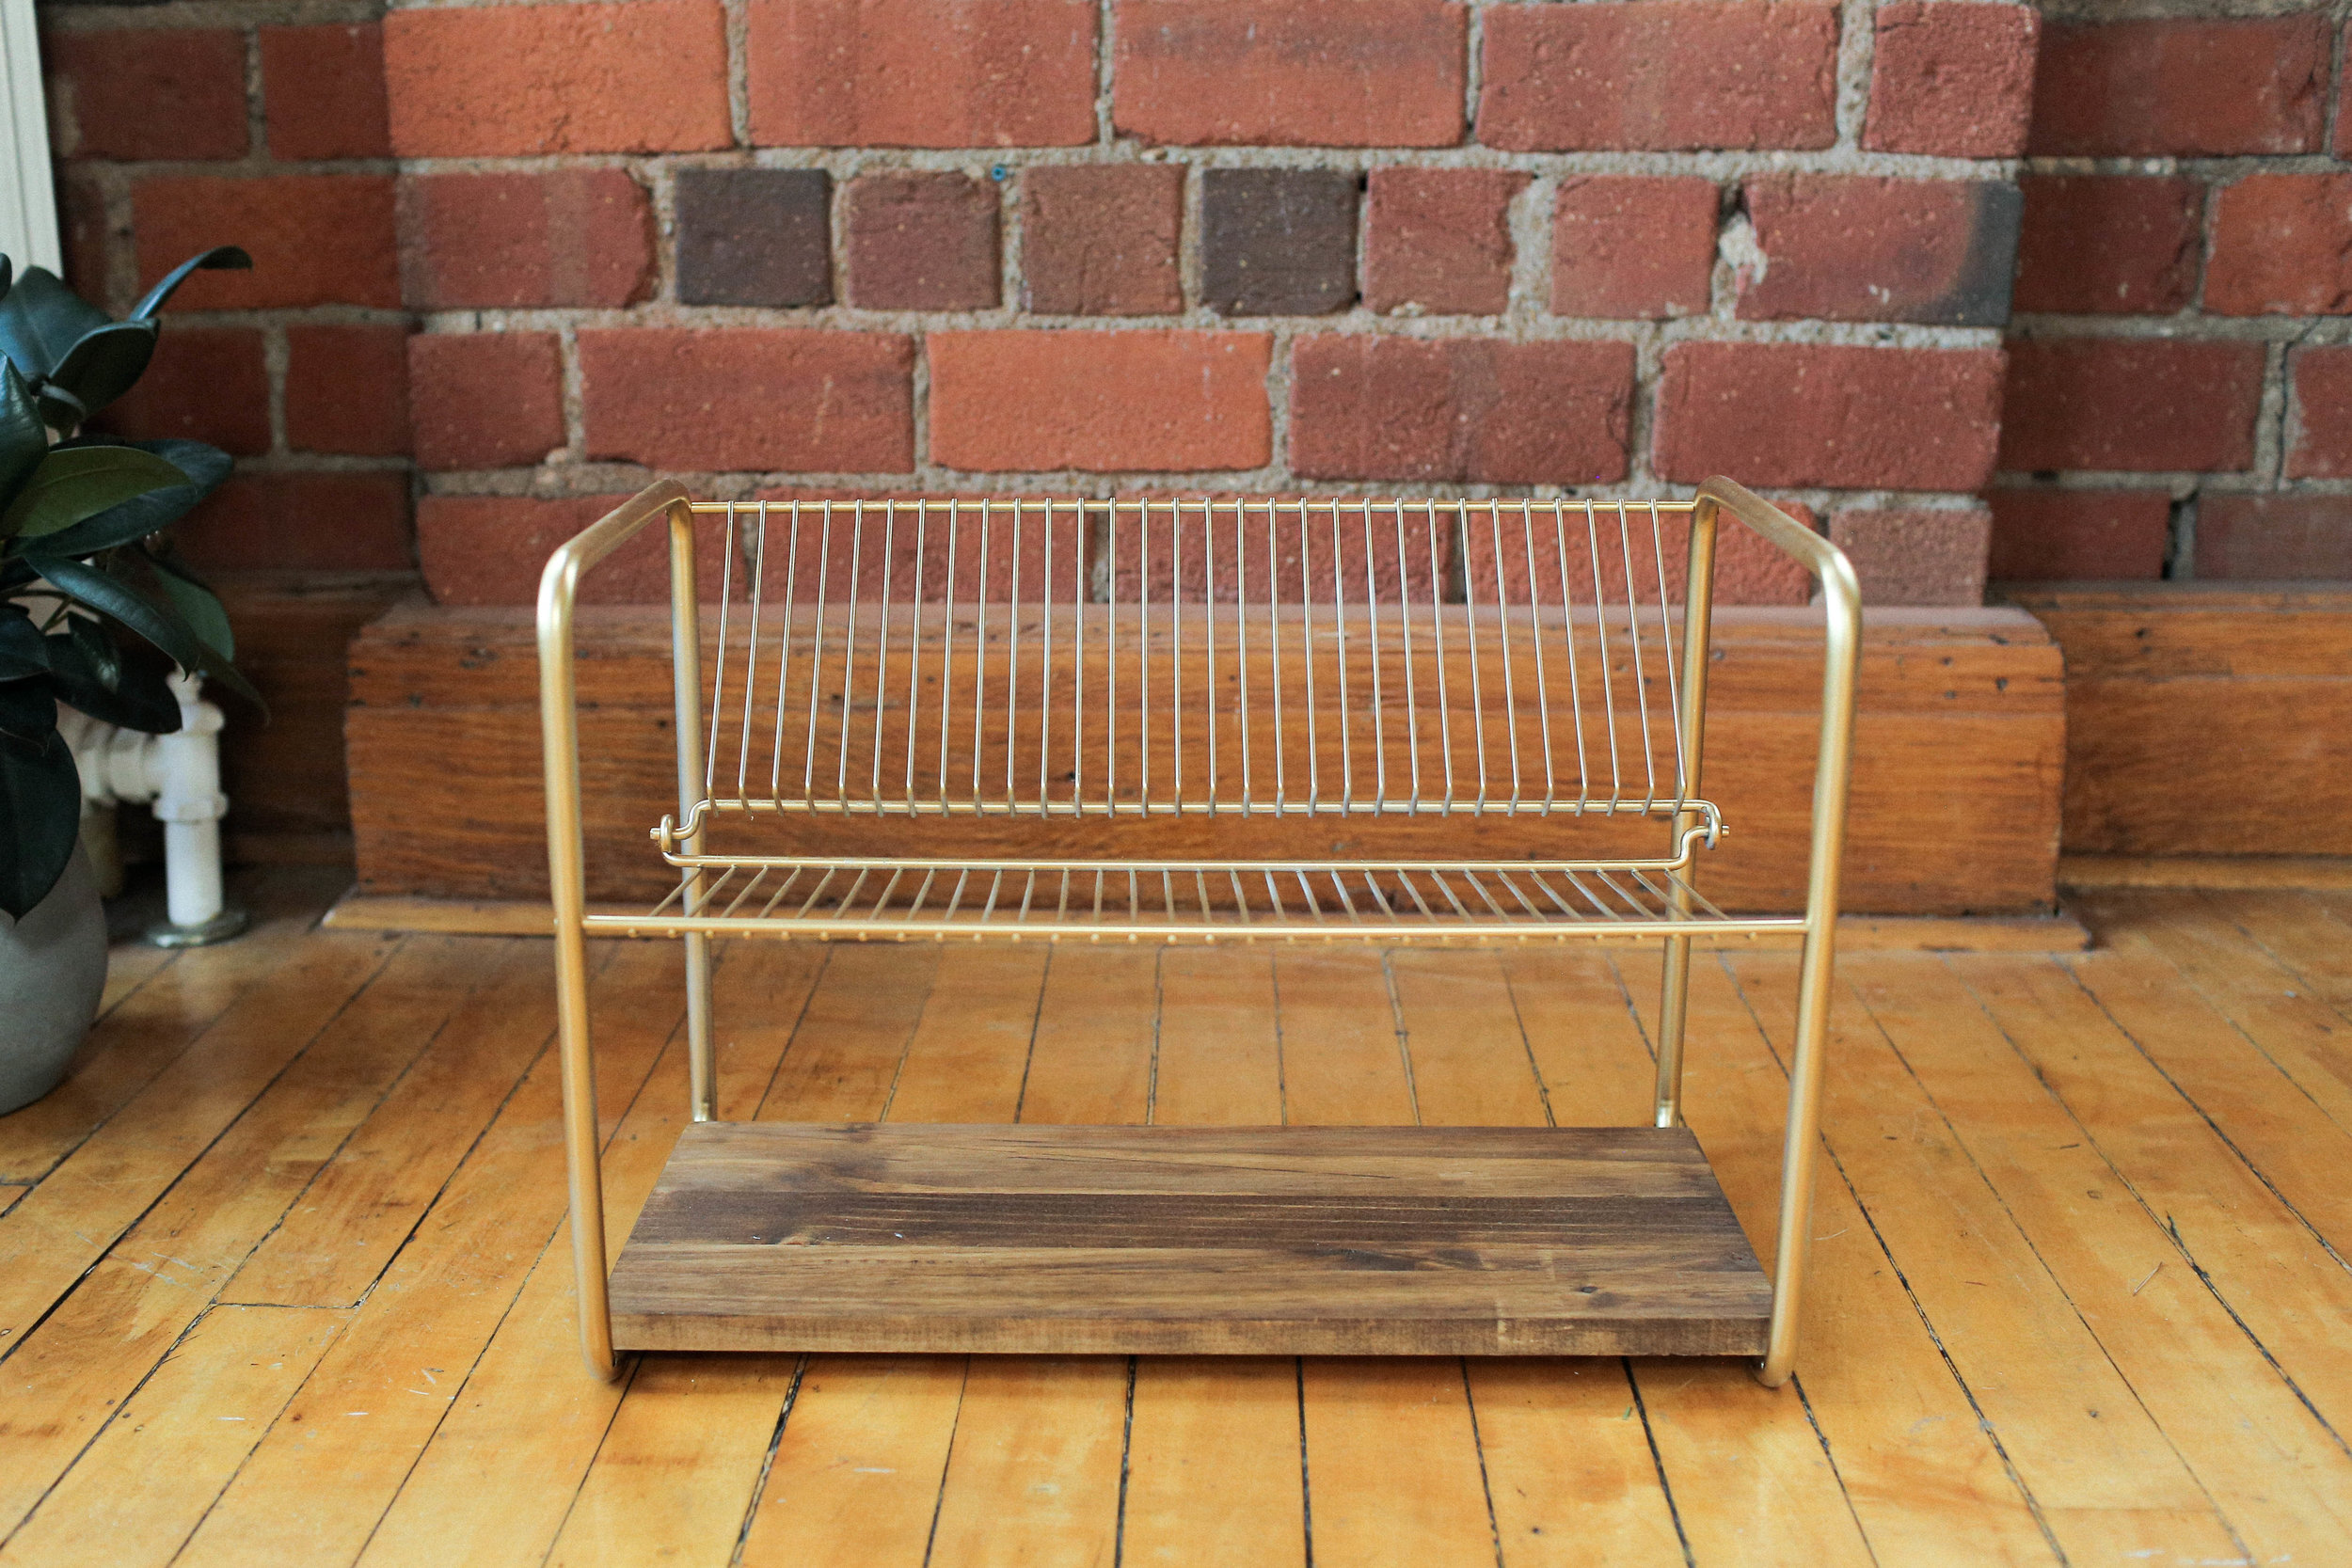
So, we got back from the thrift store with some pretty sweet finds. We definitely did a little bit of personal thrift shopping while we were there (including a sweet watering can, and this incredible vintage chair)… BUT we’re going to put those items to good use in this thrift flip by using them to style the other things we flip! The things we ARE going to flip include this dish drying rack thing (?) which we think will work PERFECTLY as a record holder, and this incredible half-moon shaped wood shelf that we are going to spruce up!
Becky’s Record Holder


Aaaalright! The first thing we are going to do to this dish rack (that totally secretly wants to be a record holder) is give it a fresh coat of paint to spruce it up! We decided to go with this pretty rusted gold colour. But, before we paint, let’s remove the bottom of this tray! It’s dirty, old, and we doing really need it! Make sure to also prime your dish rack before painting it gold!
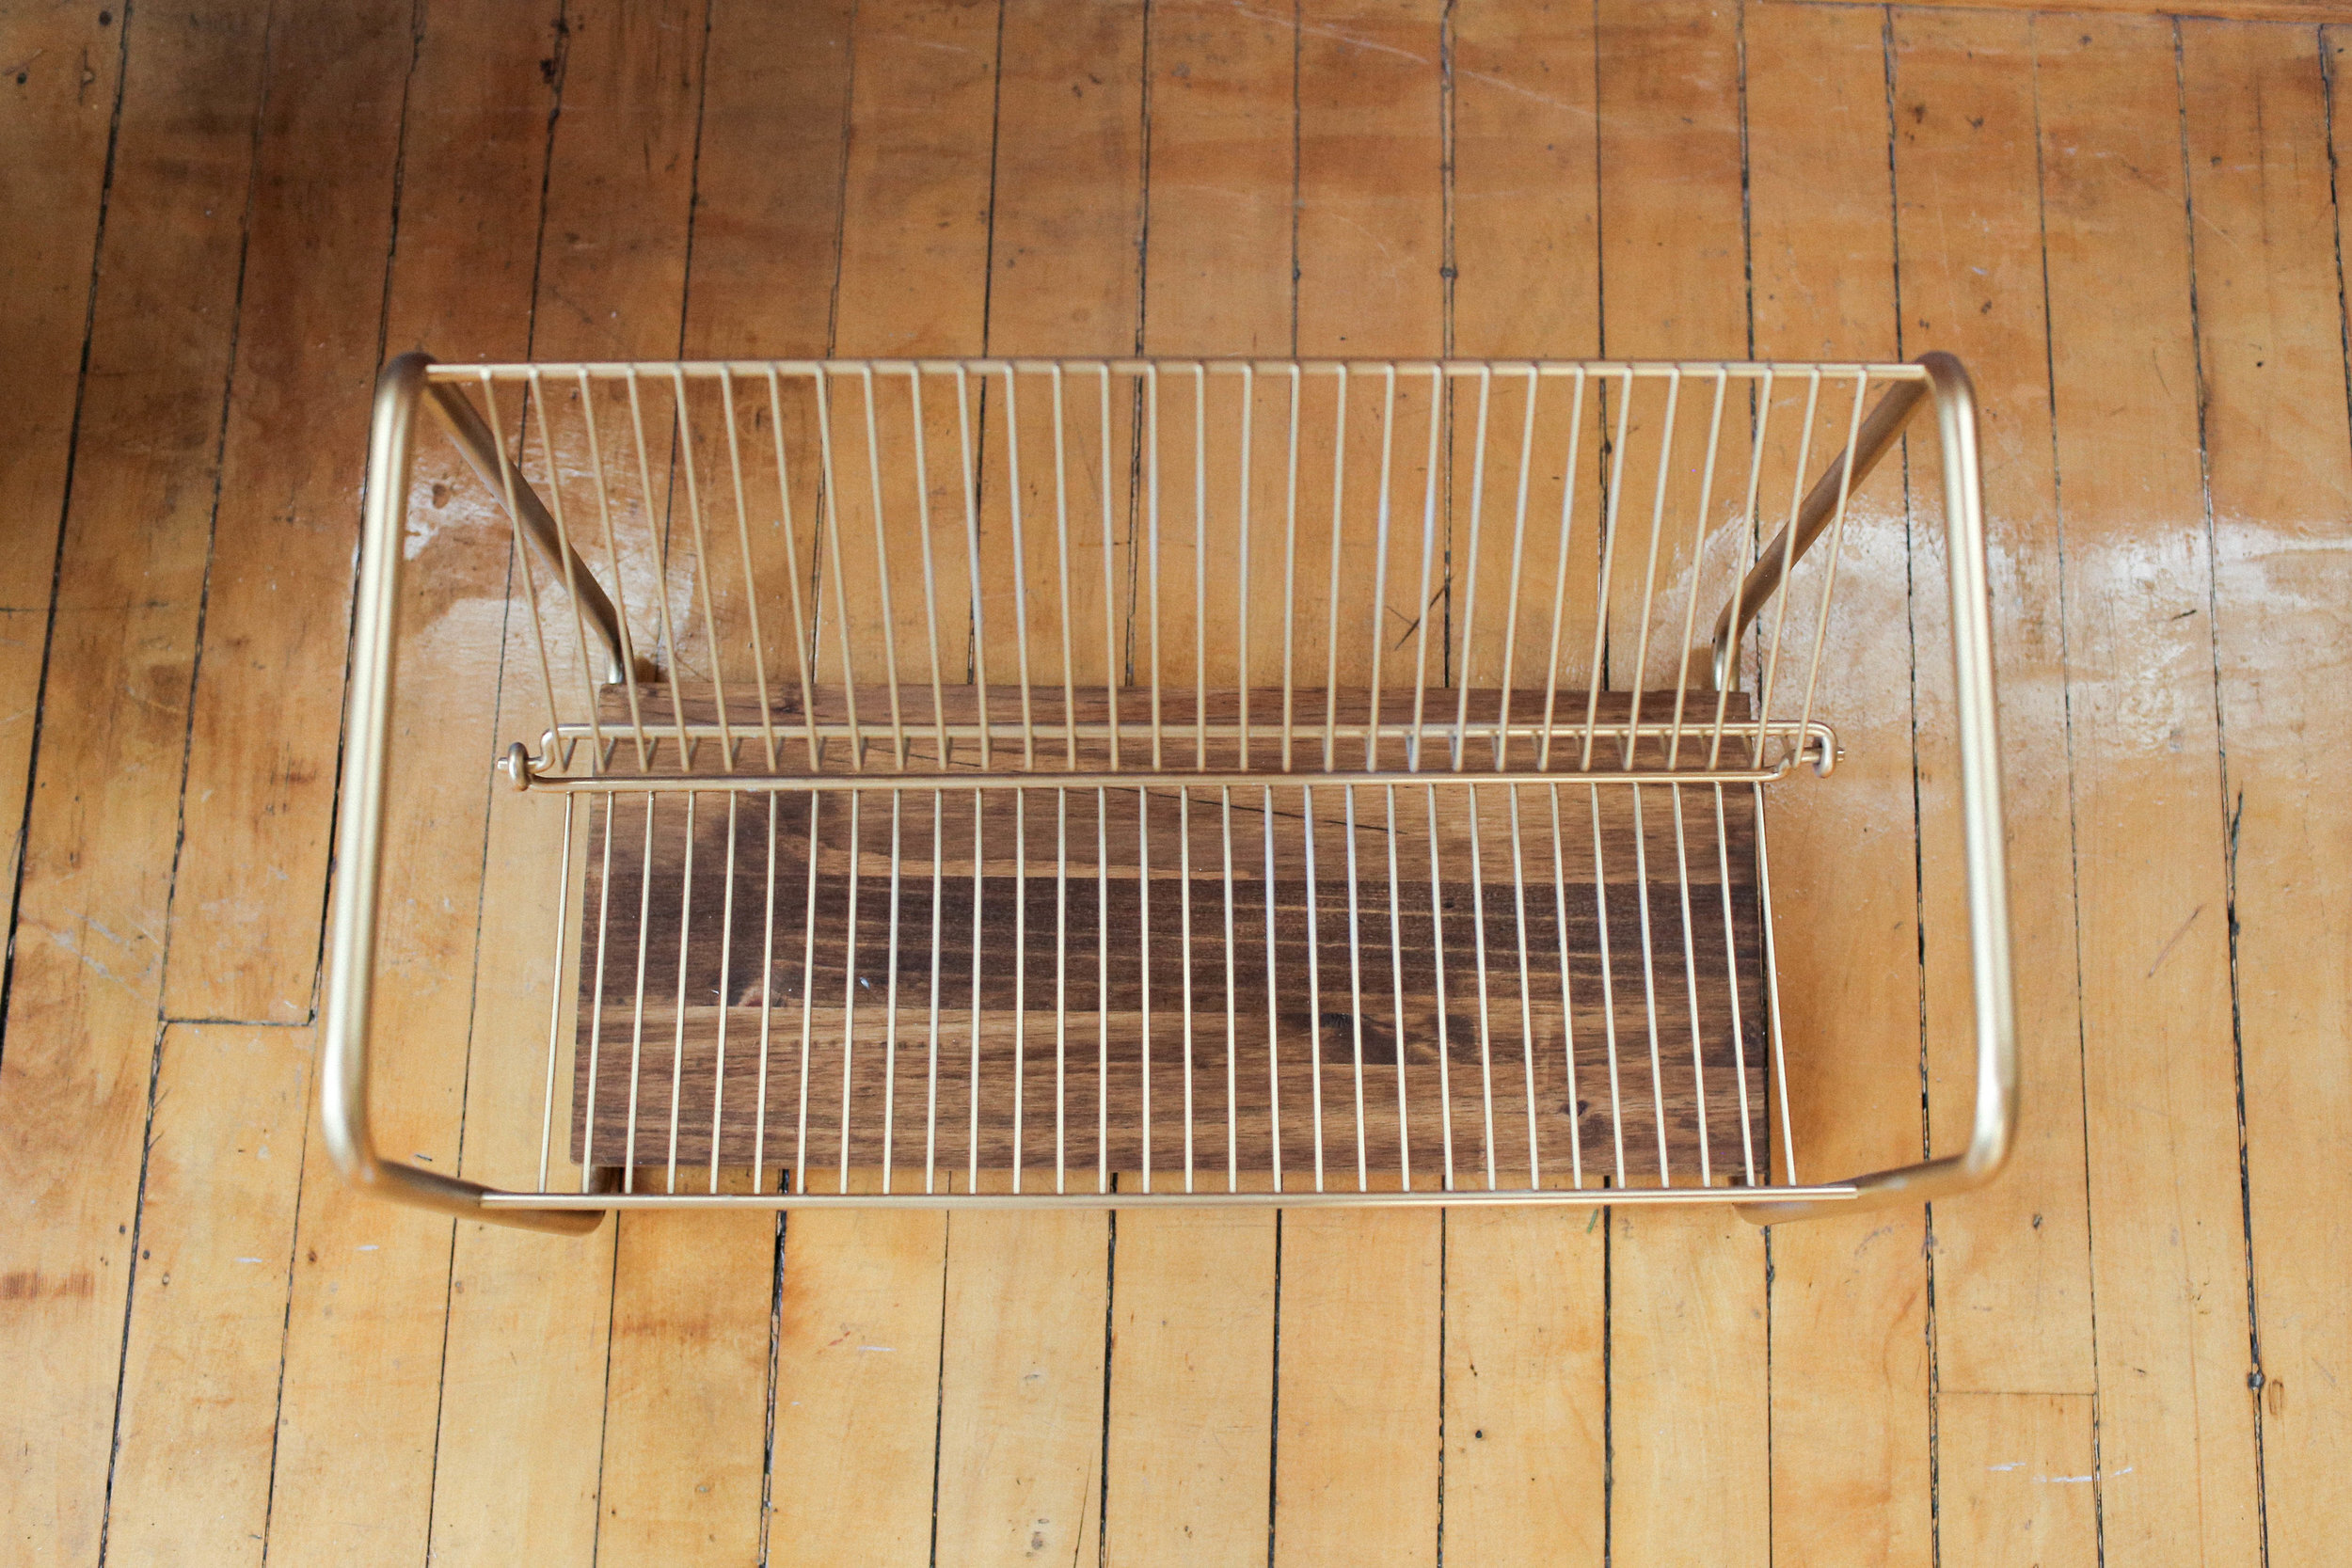
Now that this thing is looking amazing and gold, we are going to add a wood base to replace the old metal one. We grabbed some scrap wood that we had lying around the office, and cut it with a circular saw to fit on the base of our record holder. We sanded this down a bit, and stained it using out fave mid-century modern stain shade (Minwax Wood Finish in Early American… not spon lol). And that’s it! Just pop the wood into the base and you’re golden!

Kelsey’s Half-Moon Shelf
Time to add something special to this already pretty cool half-moon shelf. Let’s start by painting the whole thing gold!

Next, it’s time to add a chain so that we can hang it to the wall. Our first instinct to attaching the chain to the shelf was to use some eye hooks, screw those into the shelf, and attach the chain to them. But, us and the craft store were both fresh out of eye hooks (what?!), so we decided to use a different method. We went ahead and nailed two small finishing nails into the back of the shelf. We made sure not to hammer them all the way into the shelf, and looped the chain onto the nails. We thought this would work… but it kind of didn’t? We realized that the shelf would tip forward or backward if the nails were not placed where the shelves’ centre of gravity was. So, we used the (super scientific) method of balancing the shelf on our fingers to find the centre of gravity, and placed the nail there! It totally worked, and this thing looks incredible. Finish this off by trimming the chain where you’d like, and hanging it on the wall!


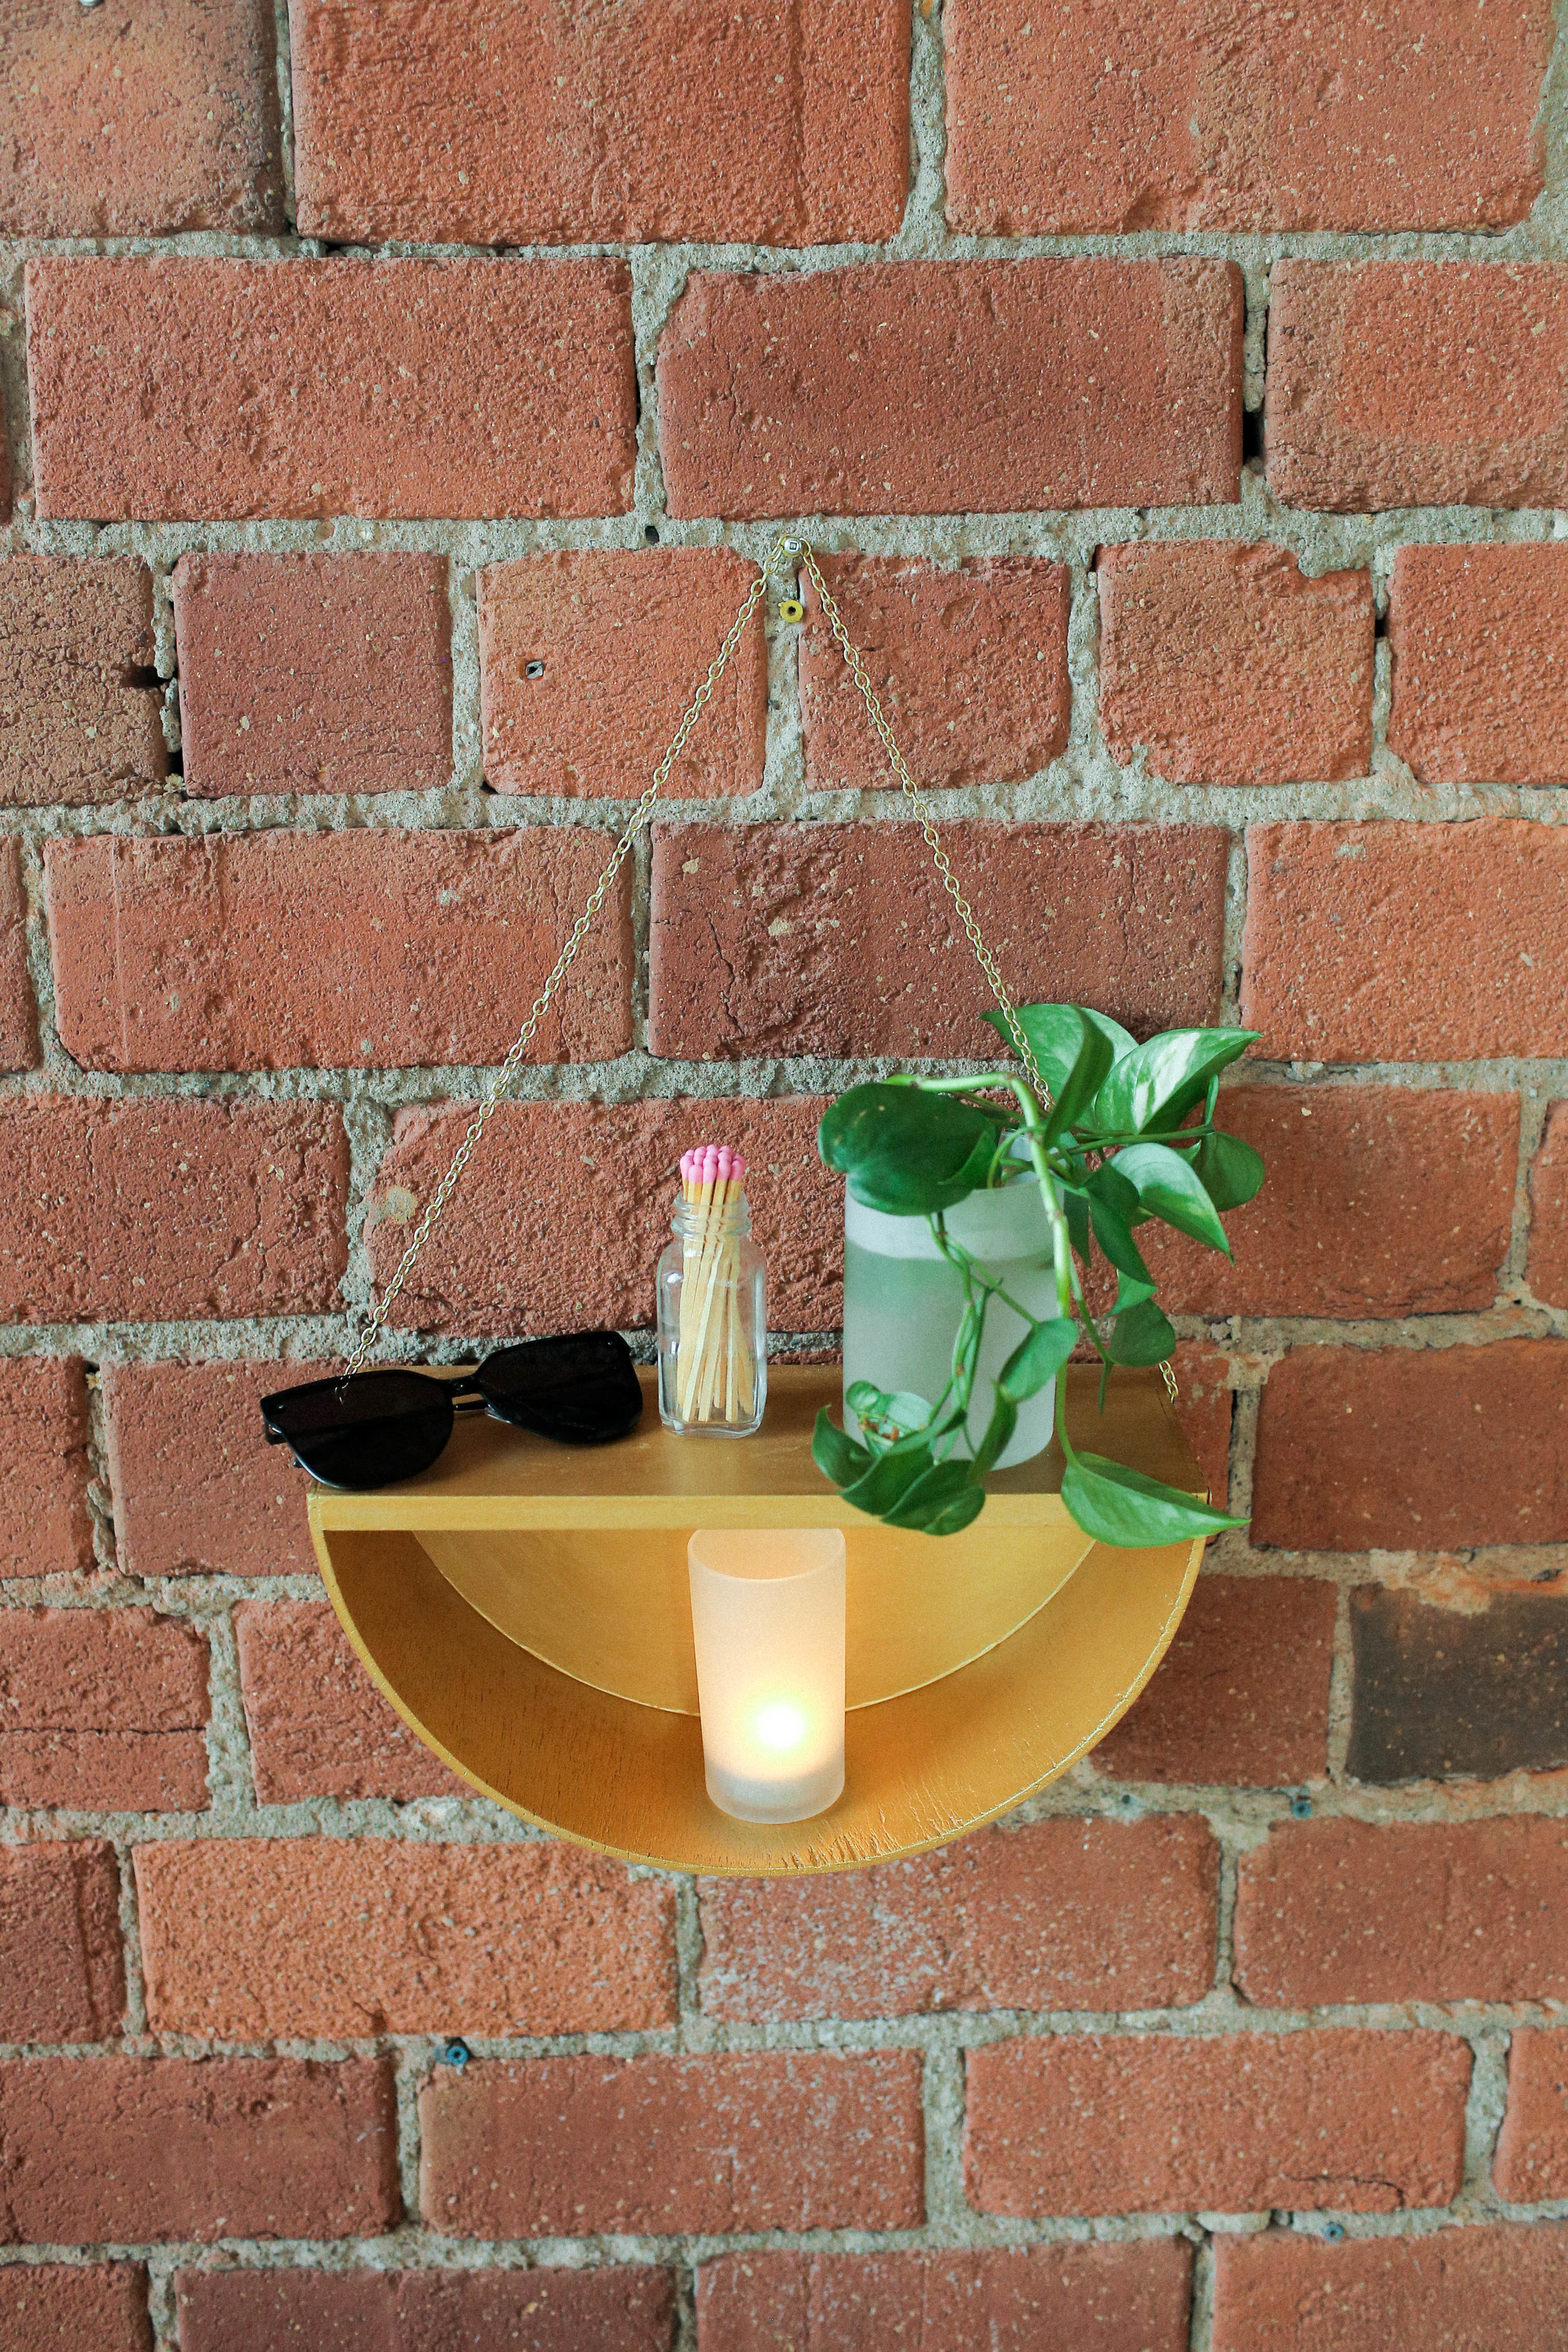

We finished off this thrift flip by styling our shelf and record holder with all of our other amazing thrifted finds and this is what we came up with!


Thank you guys so much for reading! If you make anything you see in this post, be sure to tag us using the hashtag #SorryGirlsSquad! Also be sure to check out the video below for more of us!