HIDDEN STORAGE HACK: Extension Cable in Book DIY

I’m sure you know the struggle of reaching under your desk and bonking your head to plug or unplug a charger of some sort. I had the perfect hack for you!
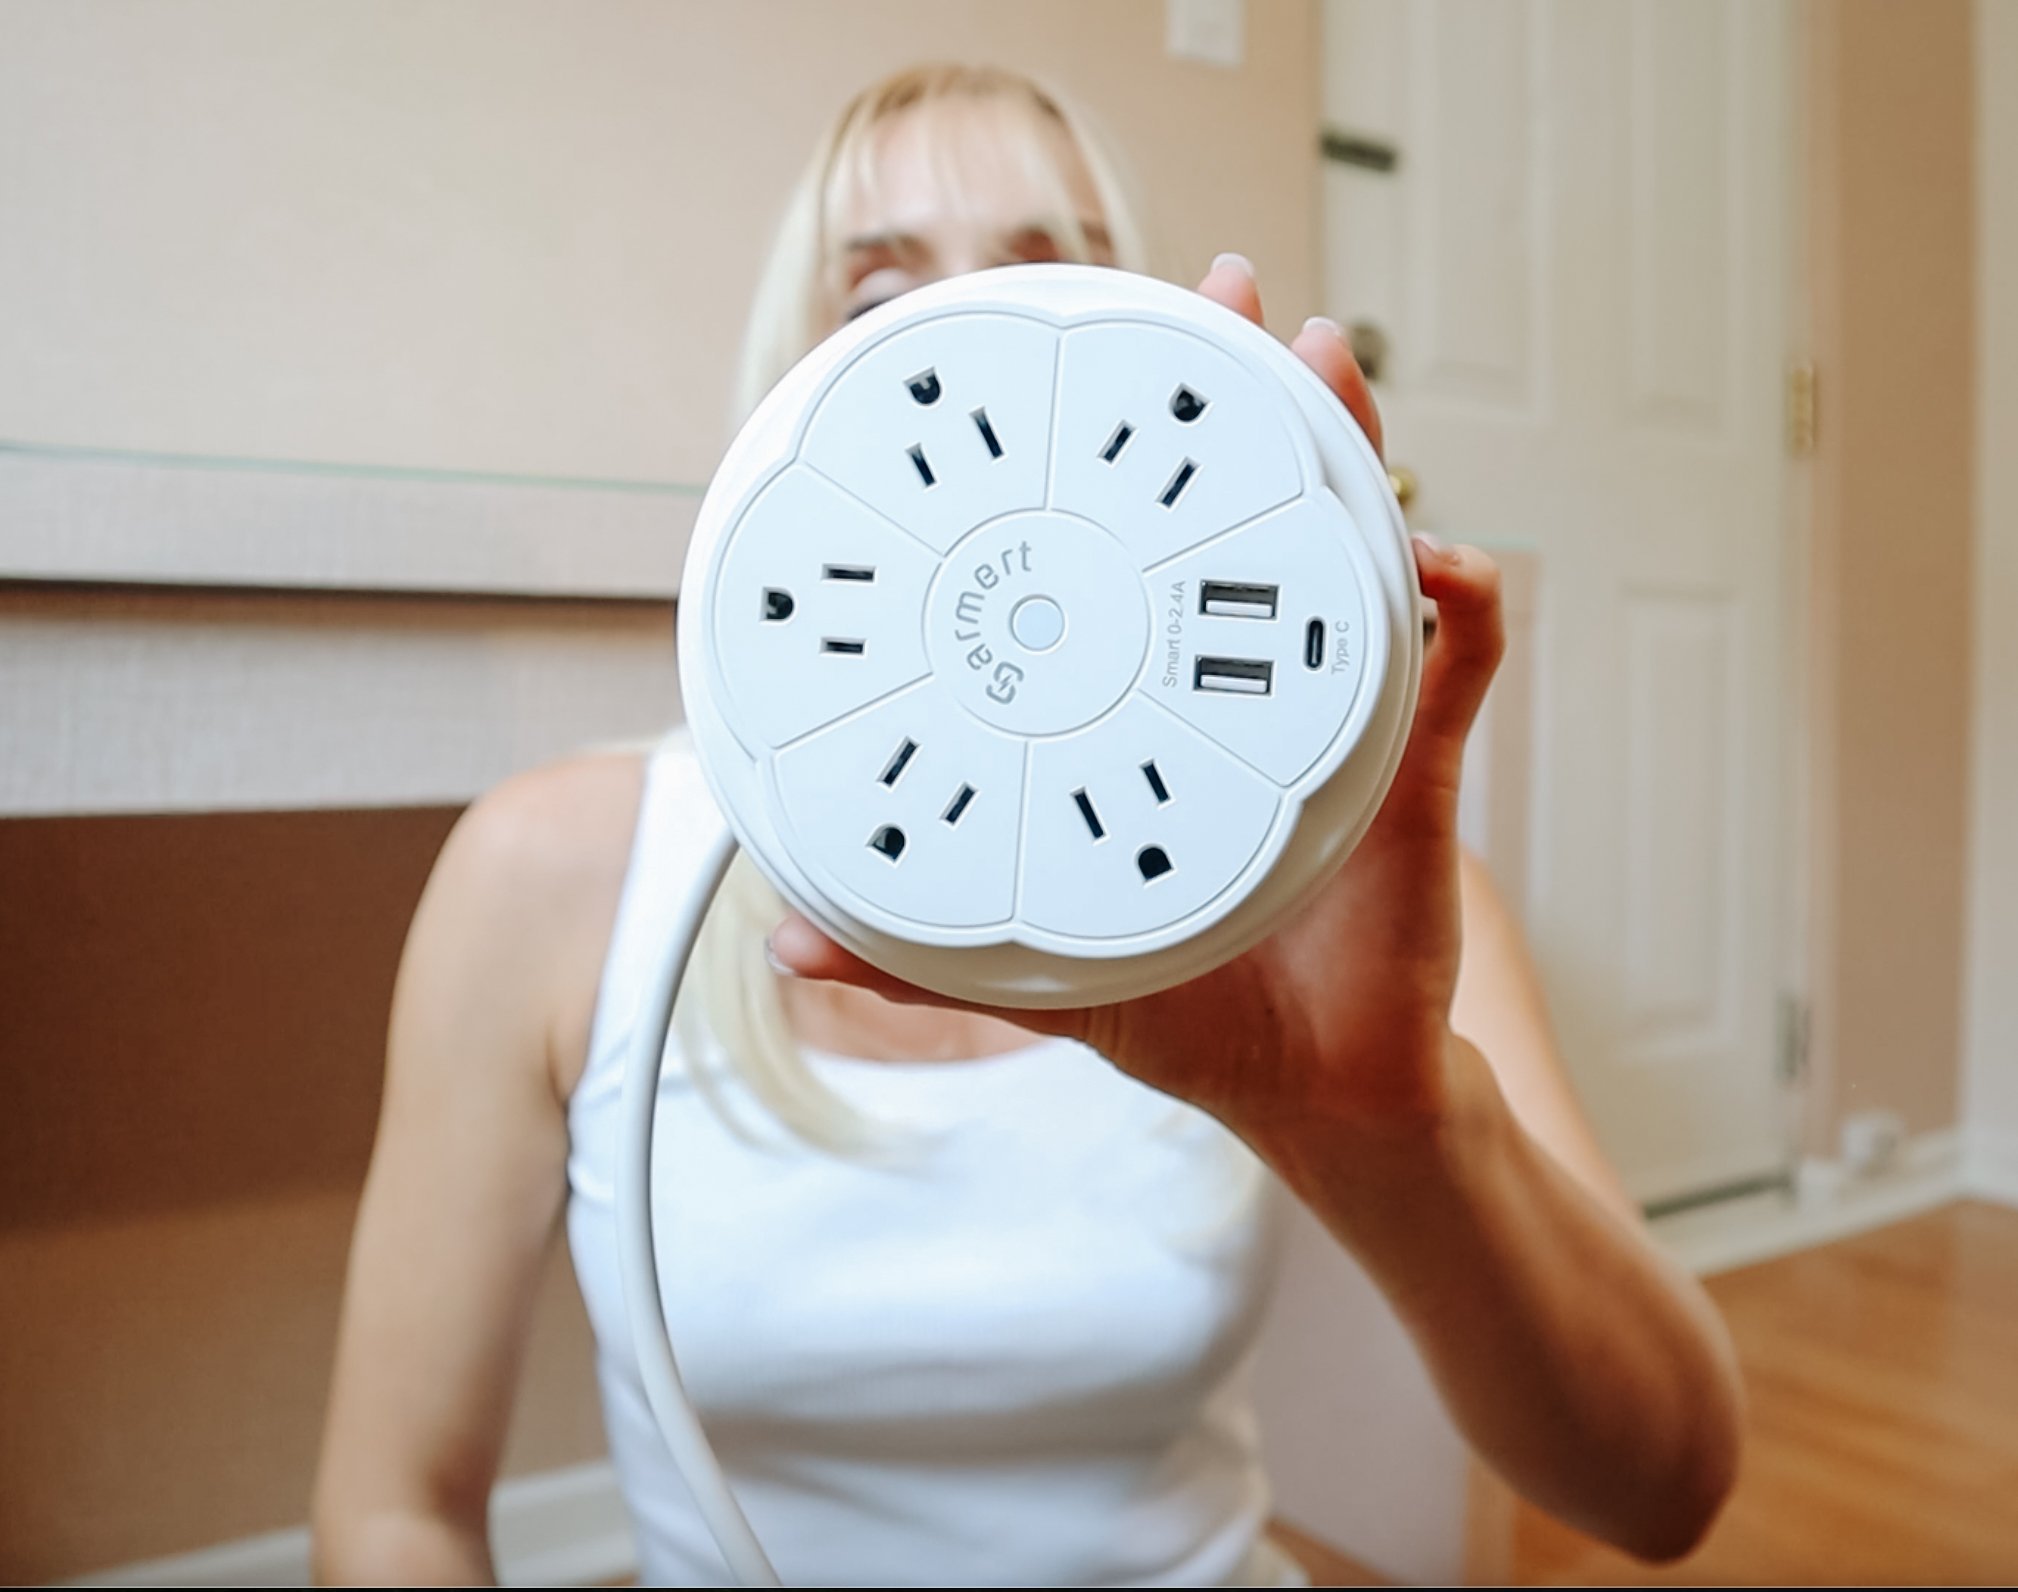
I found this retractable extension chord on Amazon. This is great because the chord can go up into the circle to take up less space.

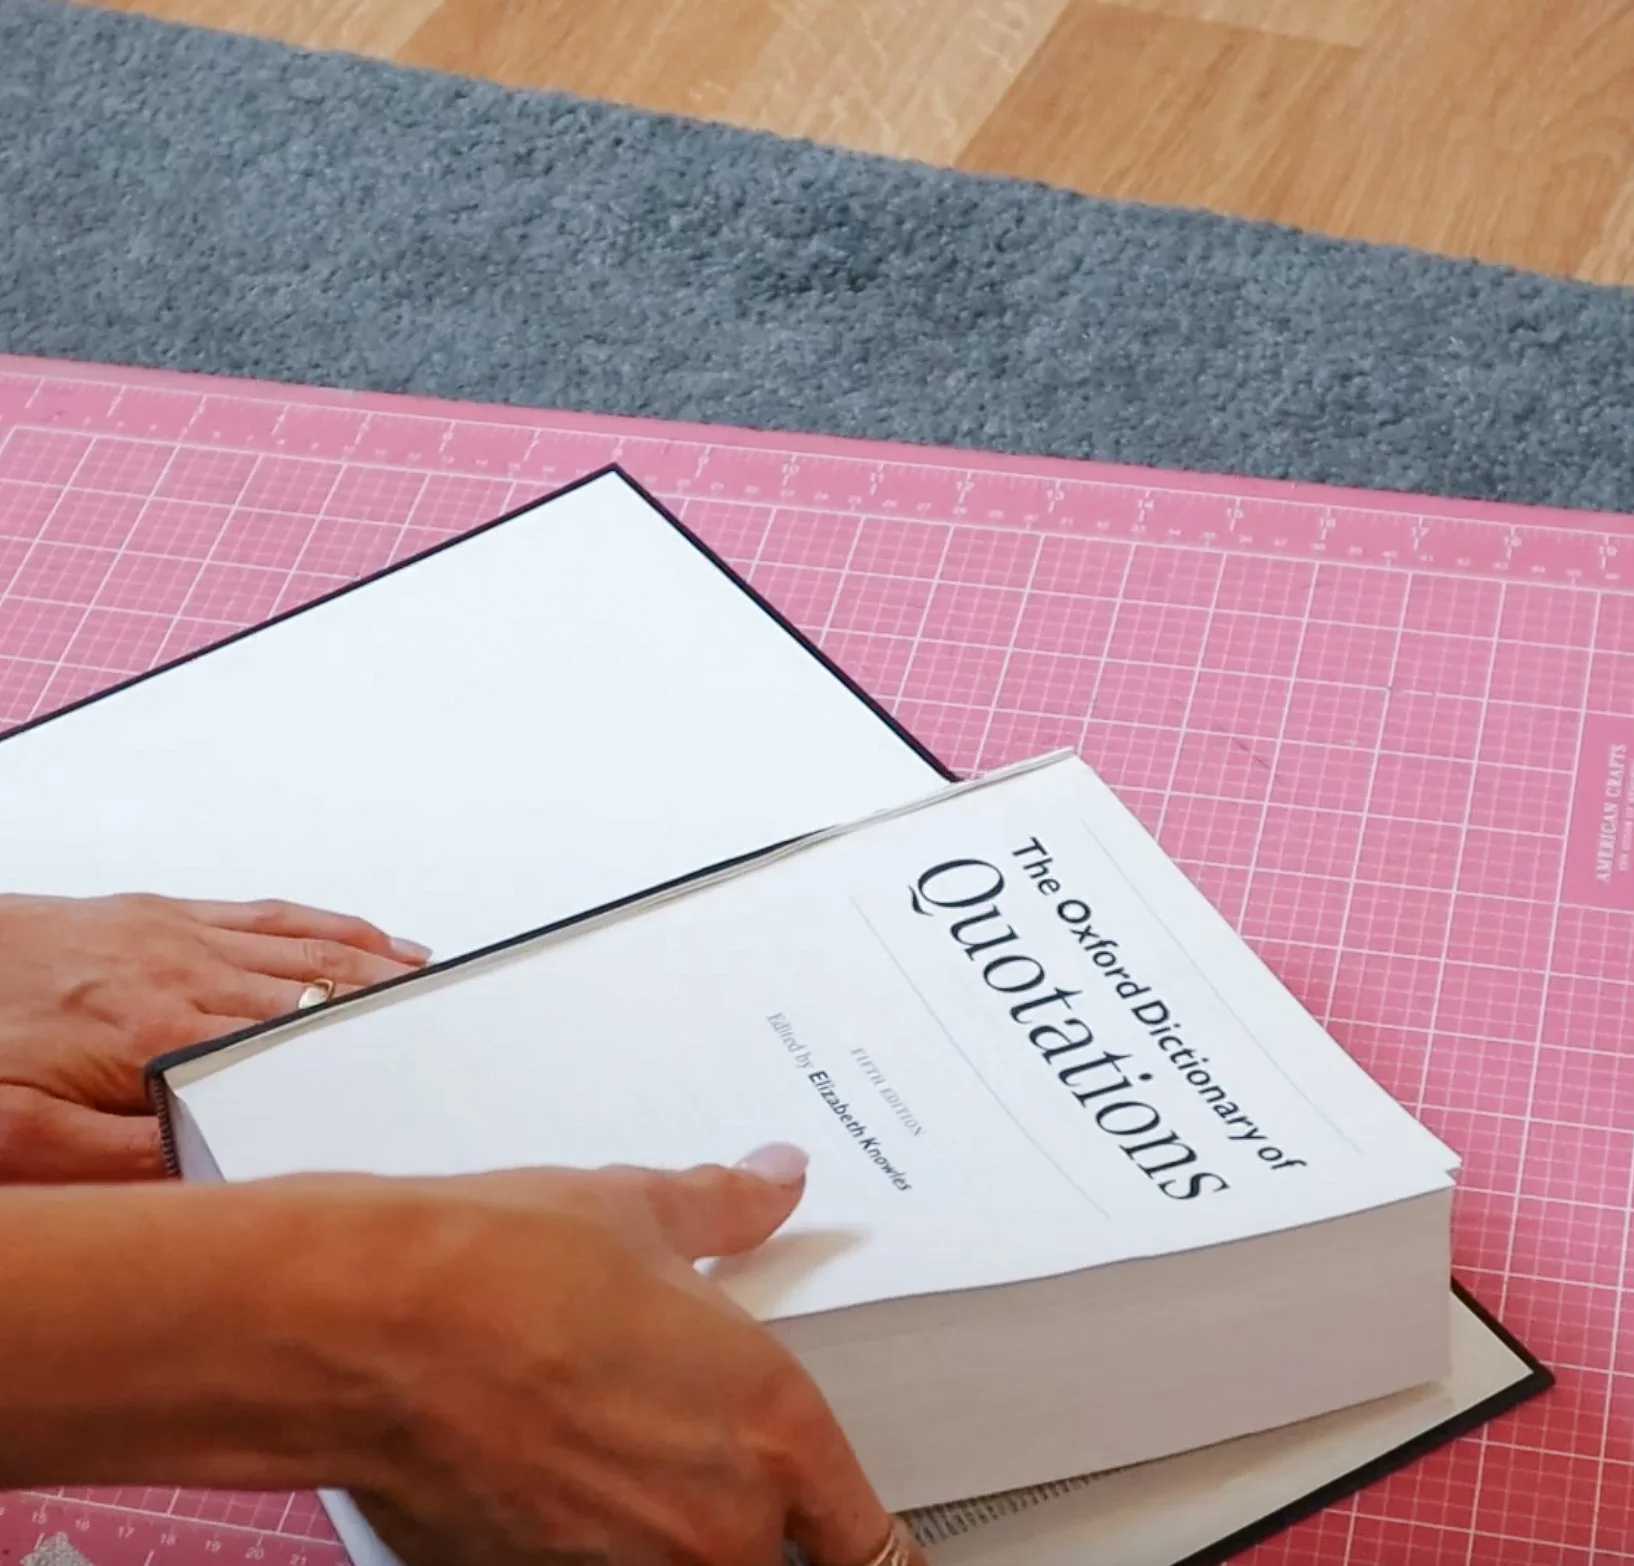
I took to the thrift store and got a book that I liked the cover. Using a utility knife I cut out the inside of the book, making sure to keep it in tack so I can read it later if I want!


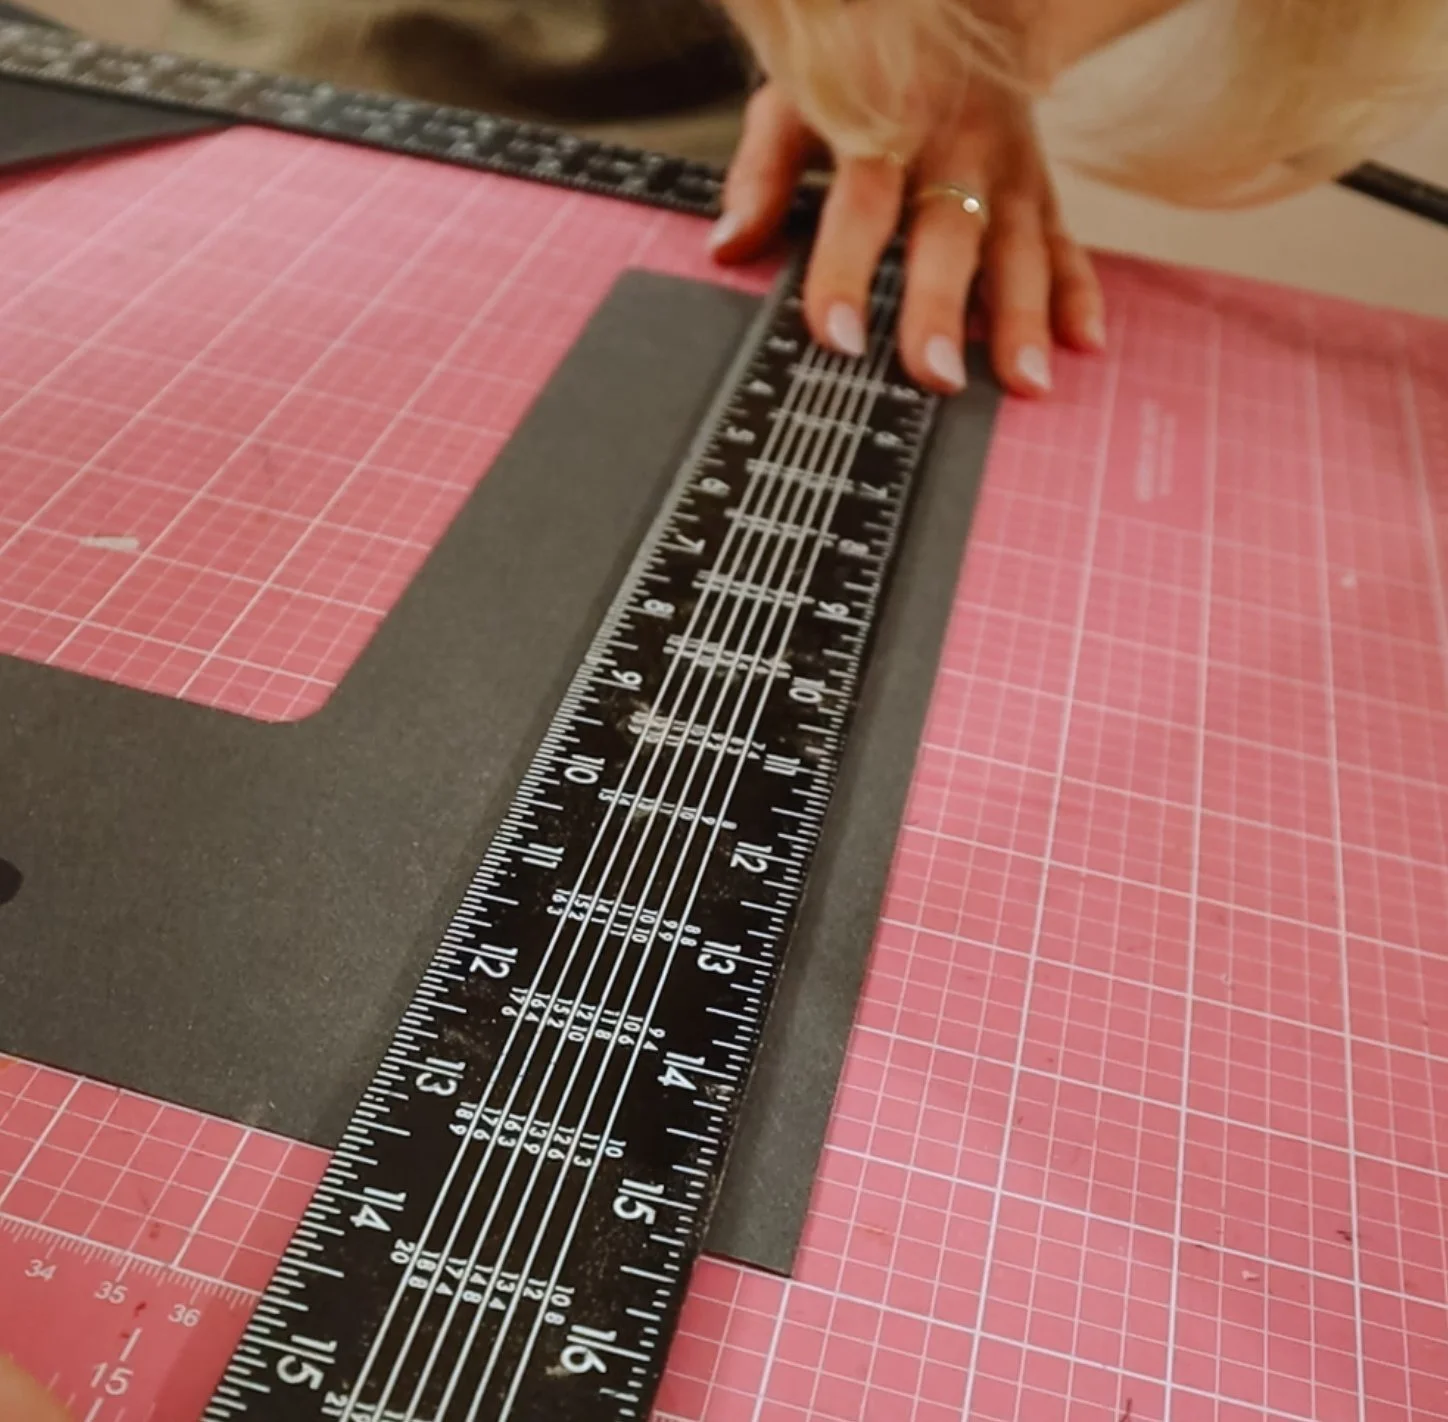
I measured out the width, depth and length of the book and grabbed a sheet of MDF to make a compartment.
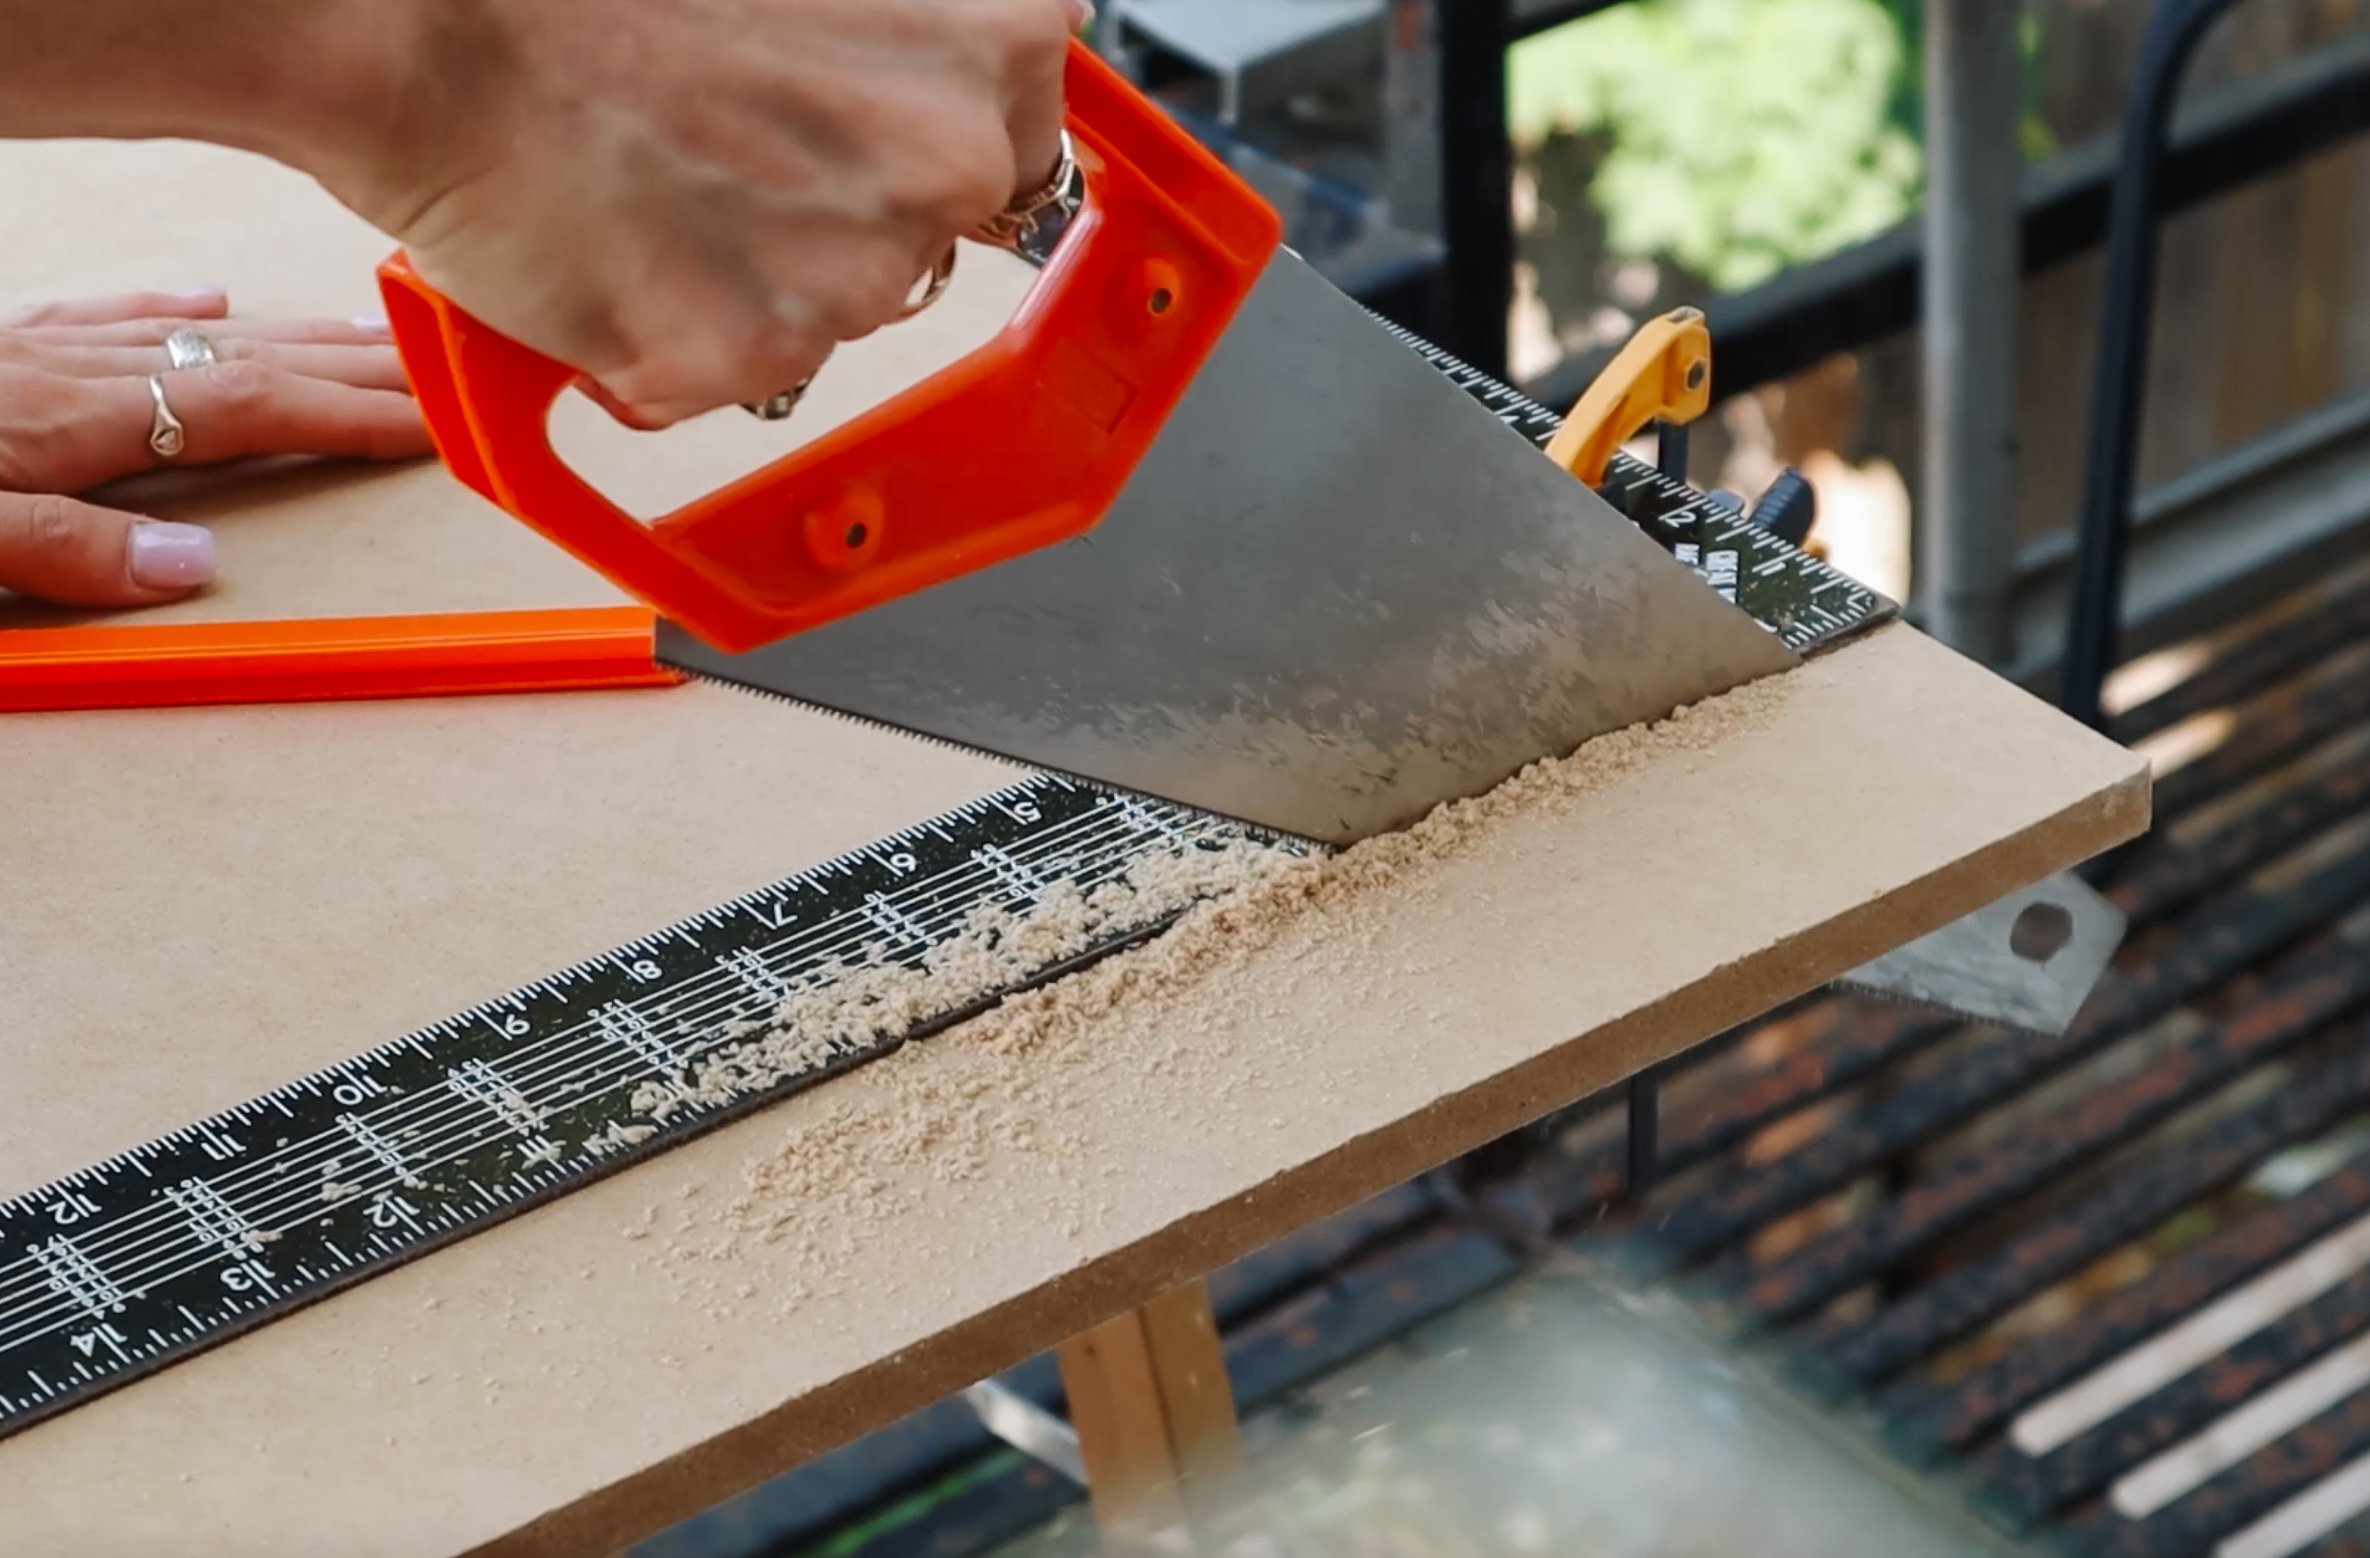
The sheet I am using is ½” thick. To cut this, I am going to take a straight edge ruler and place it firmly on the board. Mark out the thickness I would like to cut and taking my utility knife, I made a score line. Do a couple passes until you are about ¼ way through the board.


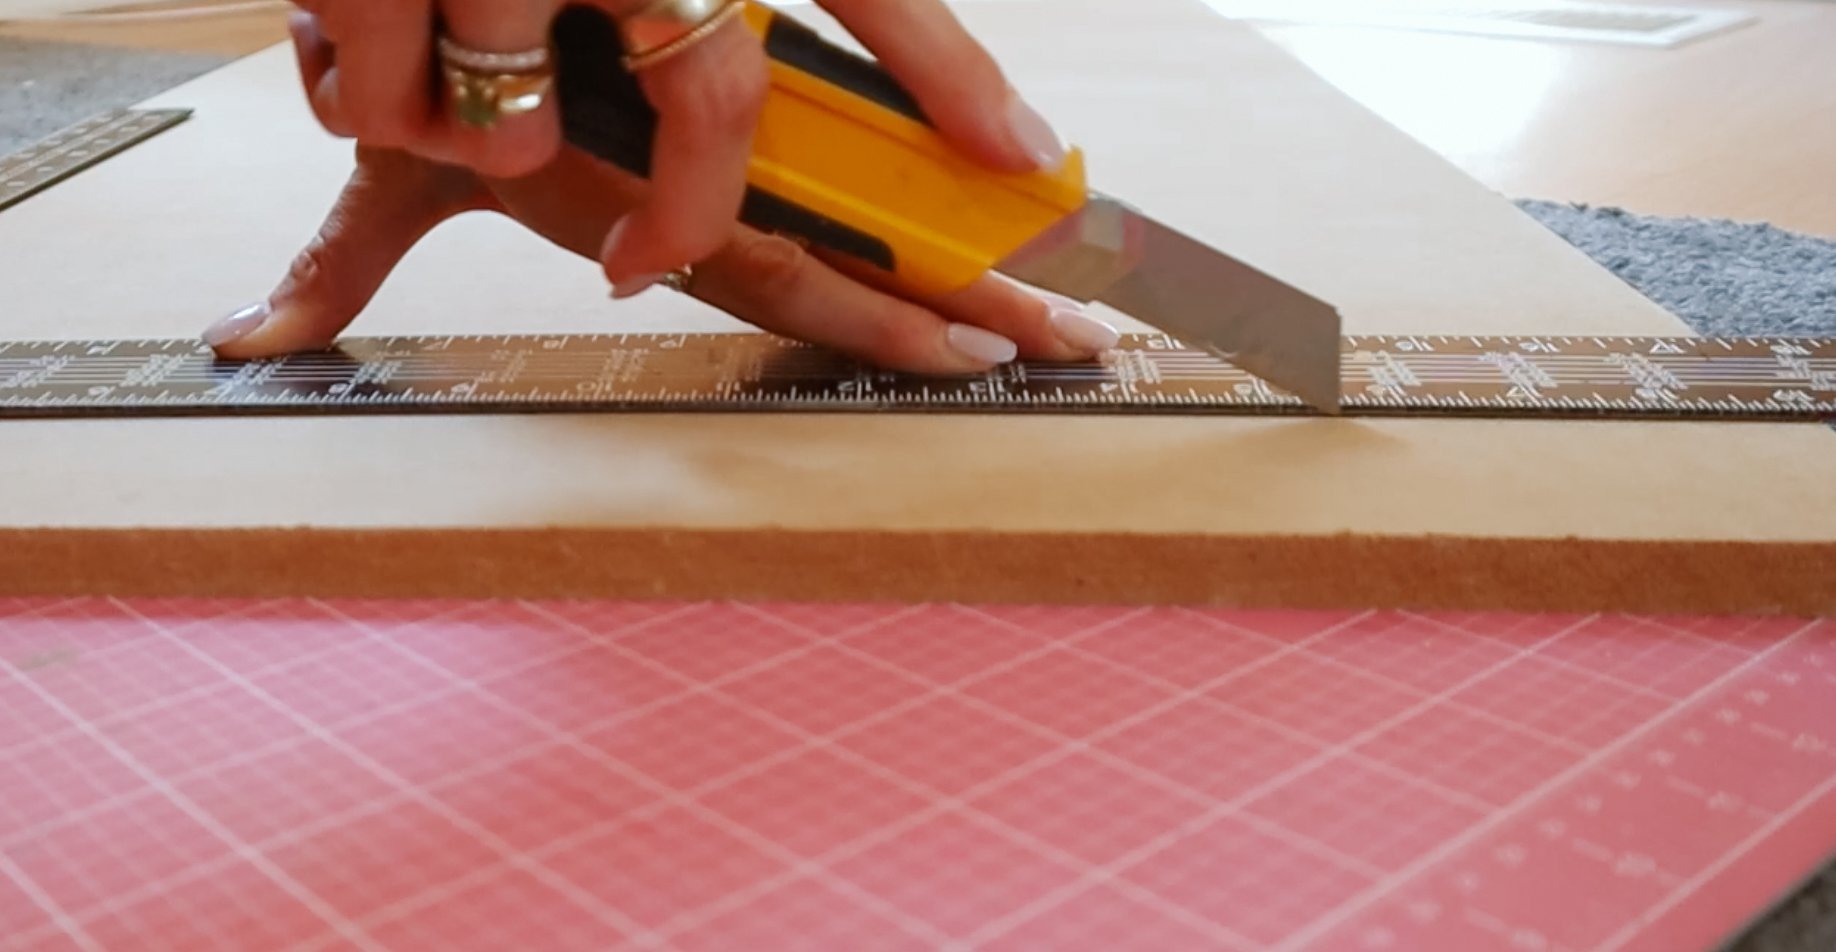
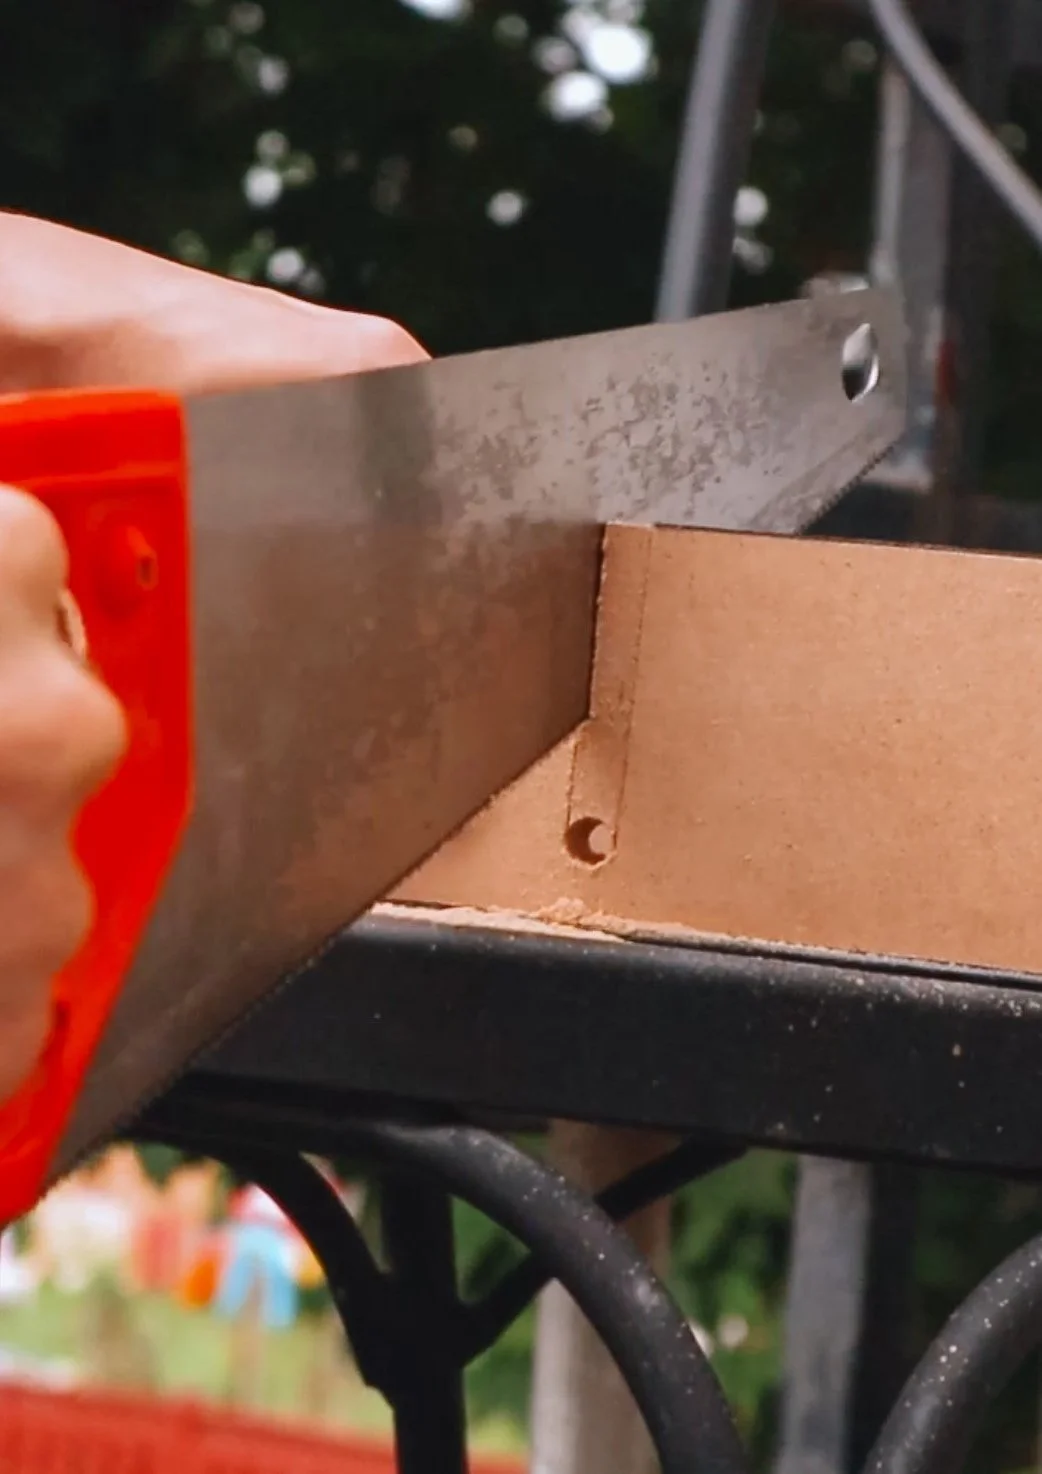
Now, you can cut through the full MDF just using the ulility knife, but to make this process go faster, I grabbed a hand saw to finish off the process. Using a few clamps, I made sure my ruler was lined up to the score line and cut across nice and easily. The score line REALLY helped the process have a much cleaner outcome so I would highly recommend not skipping this step.

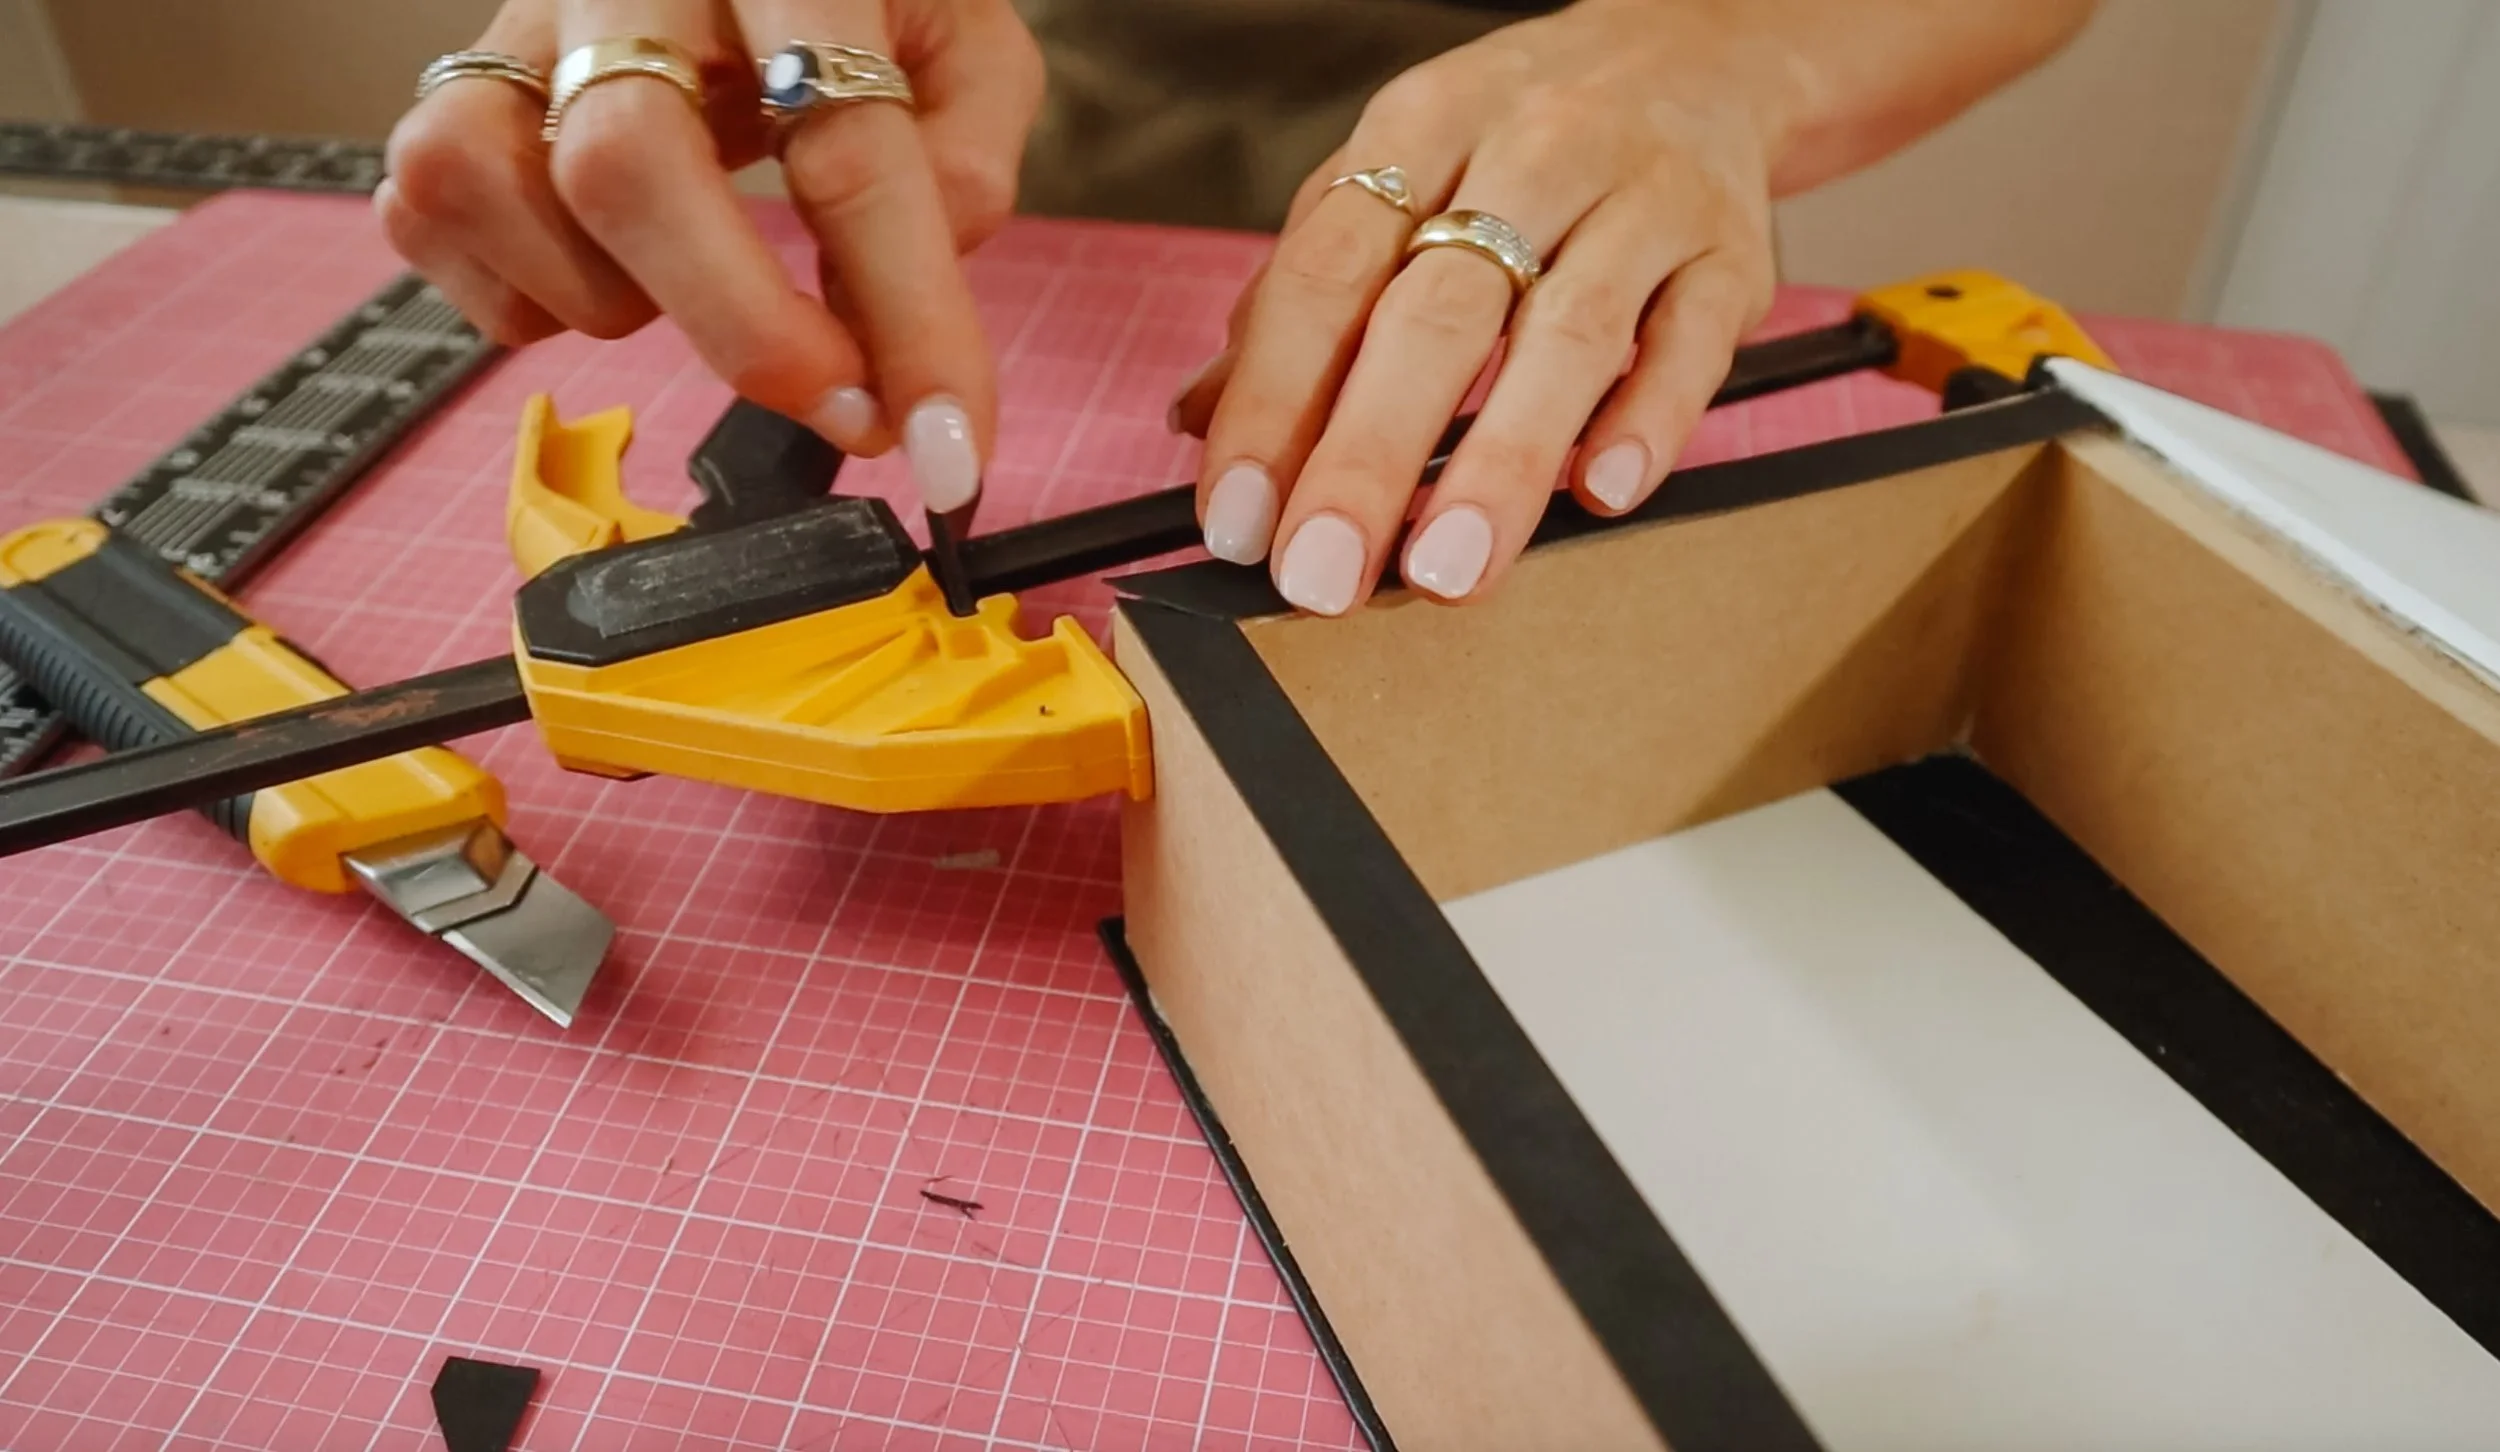
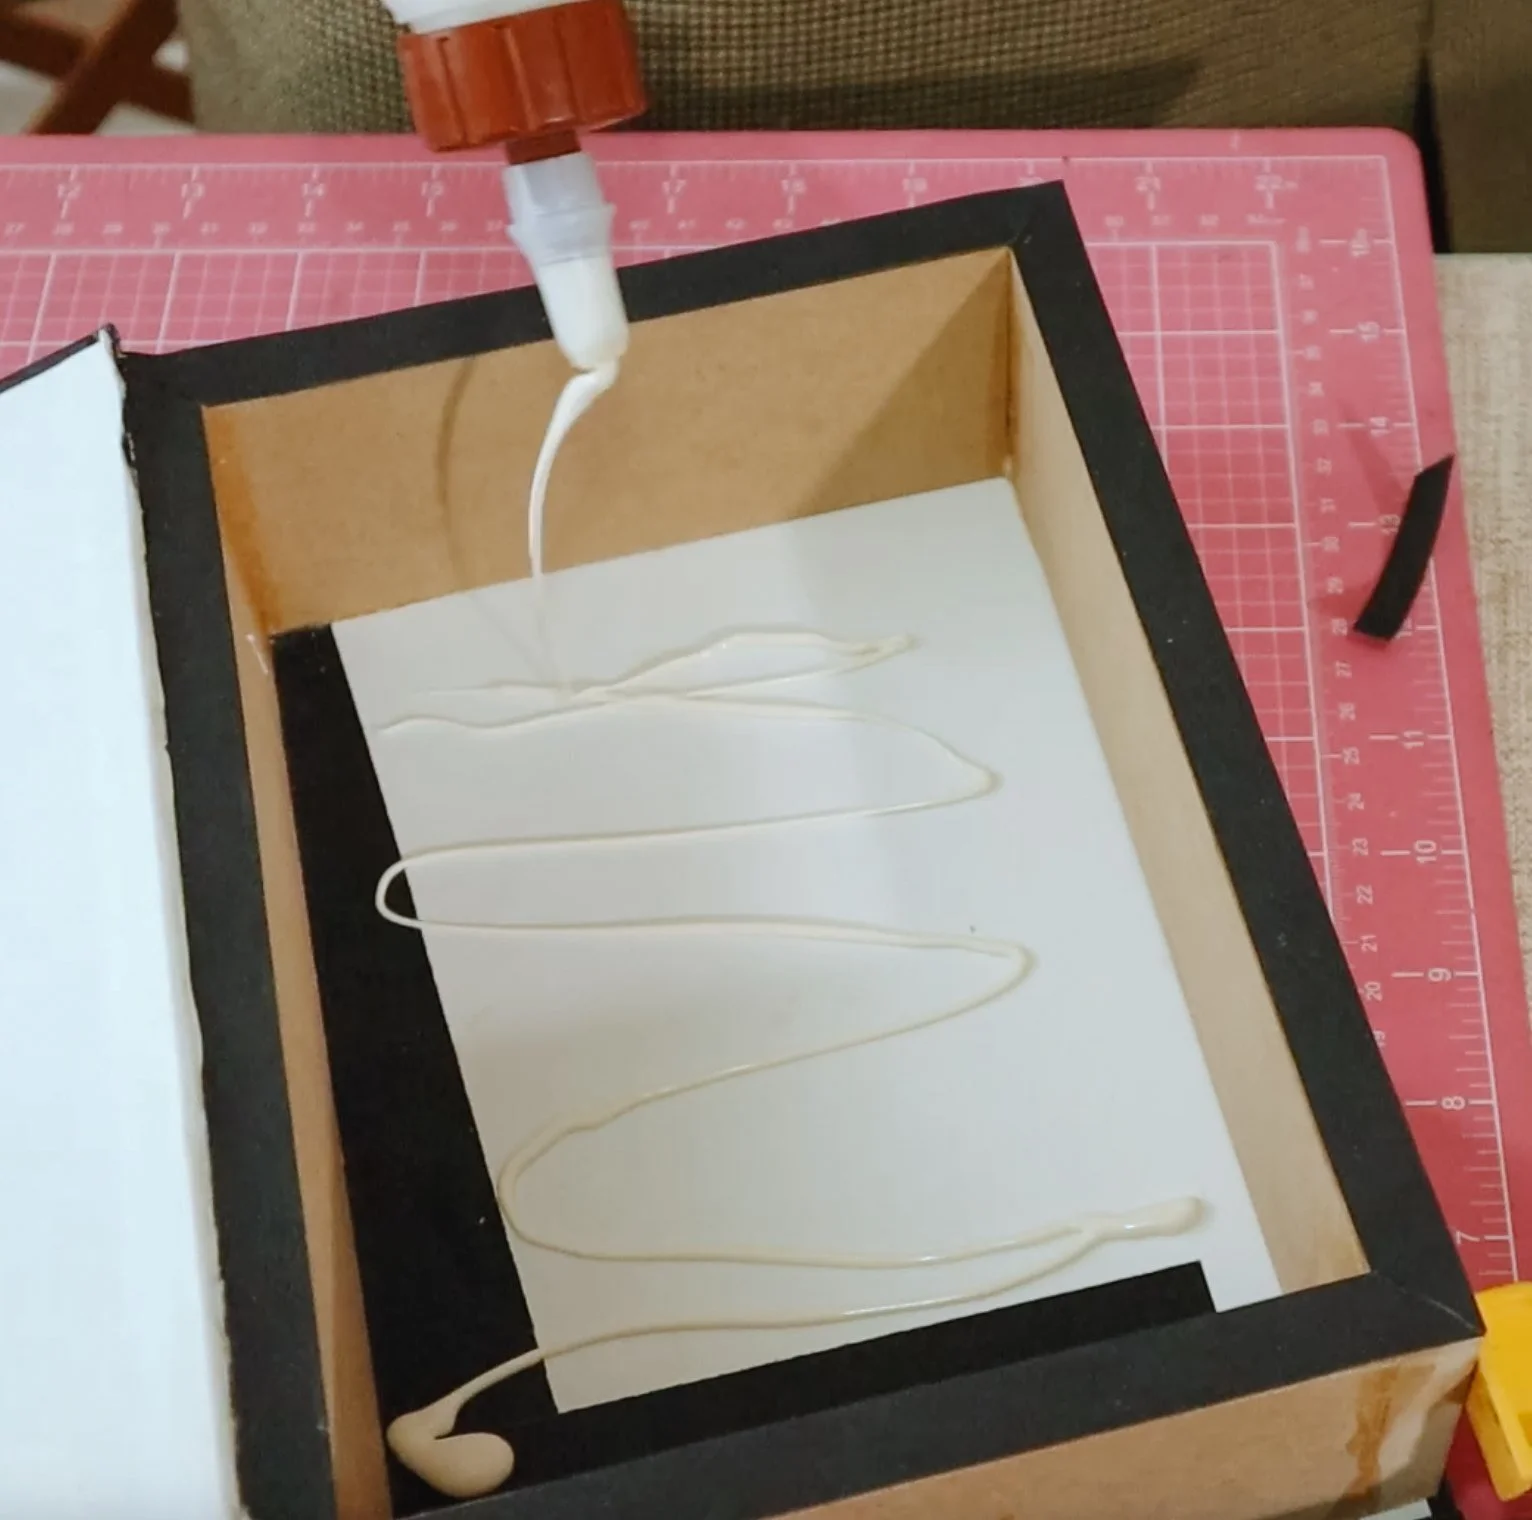
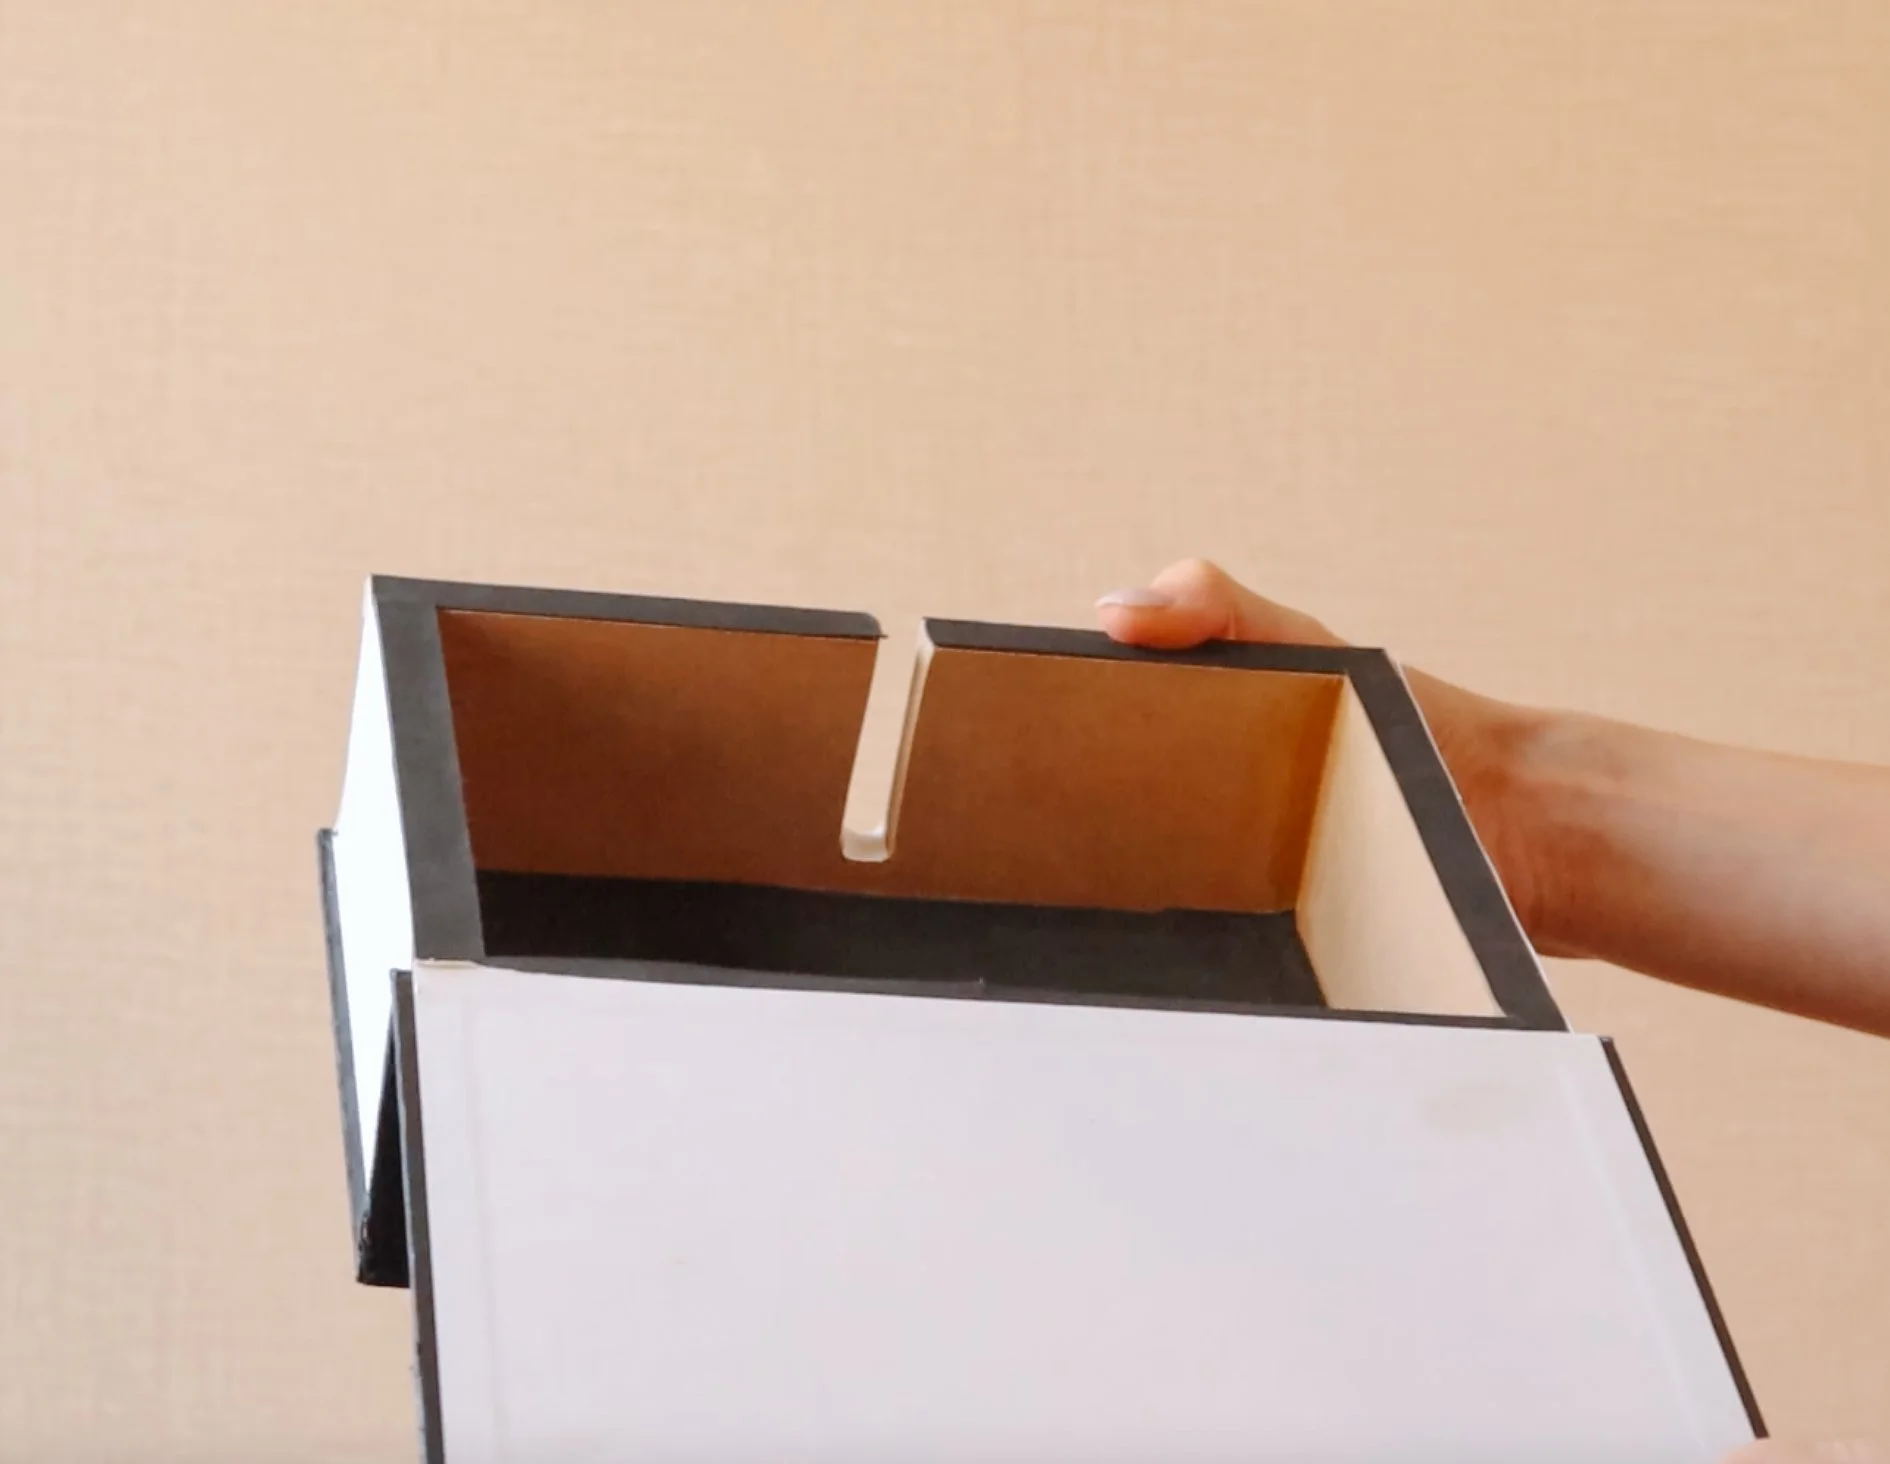
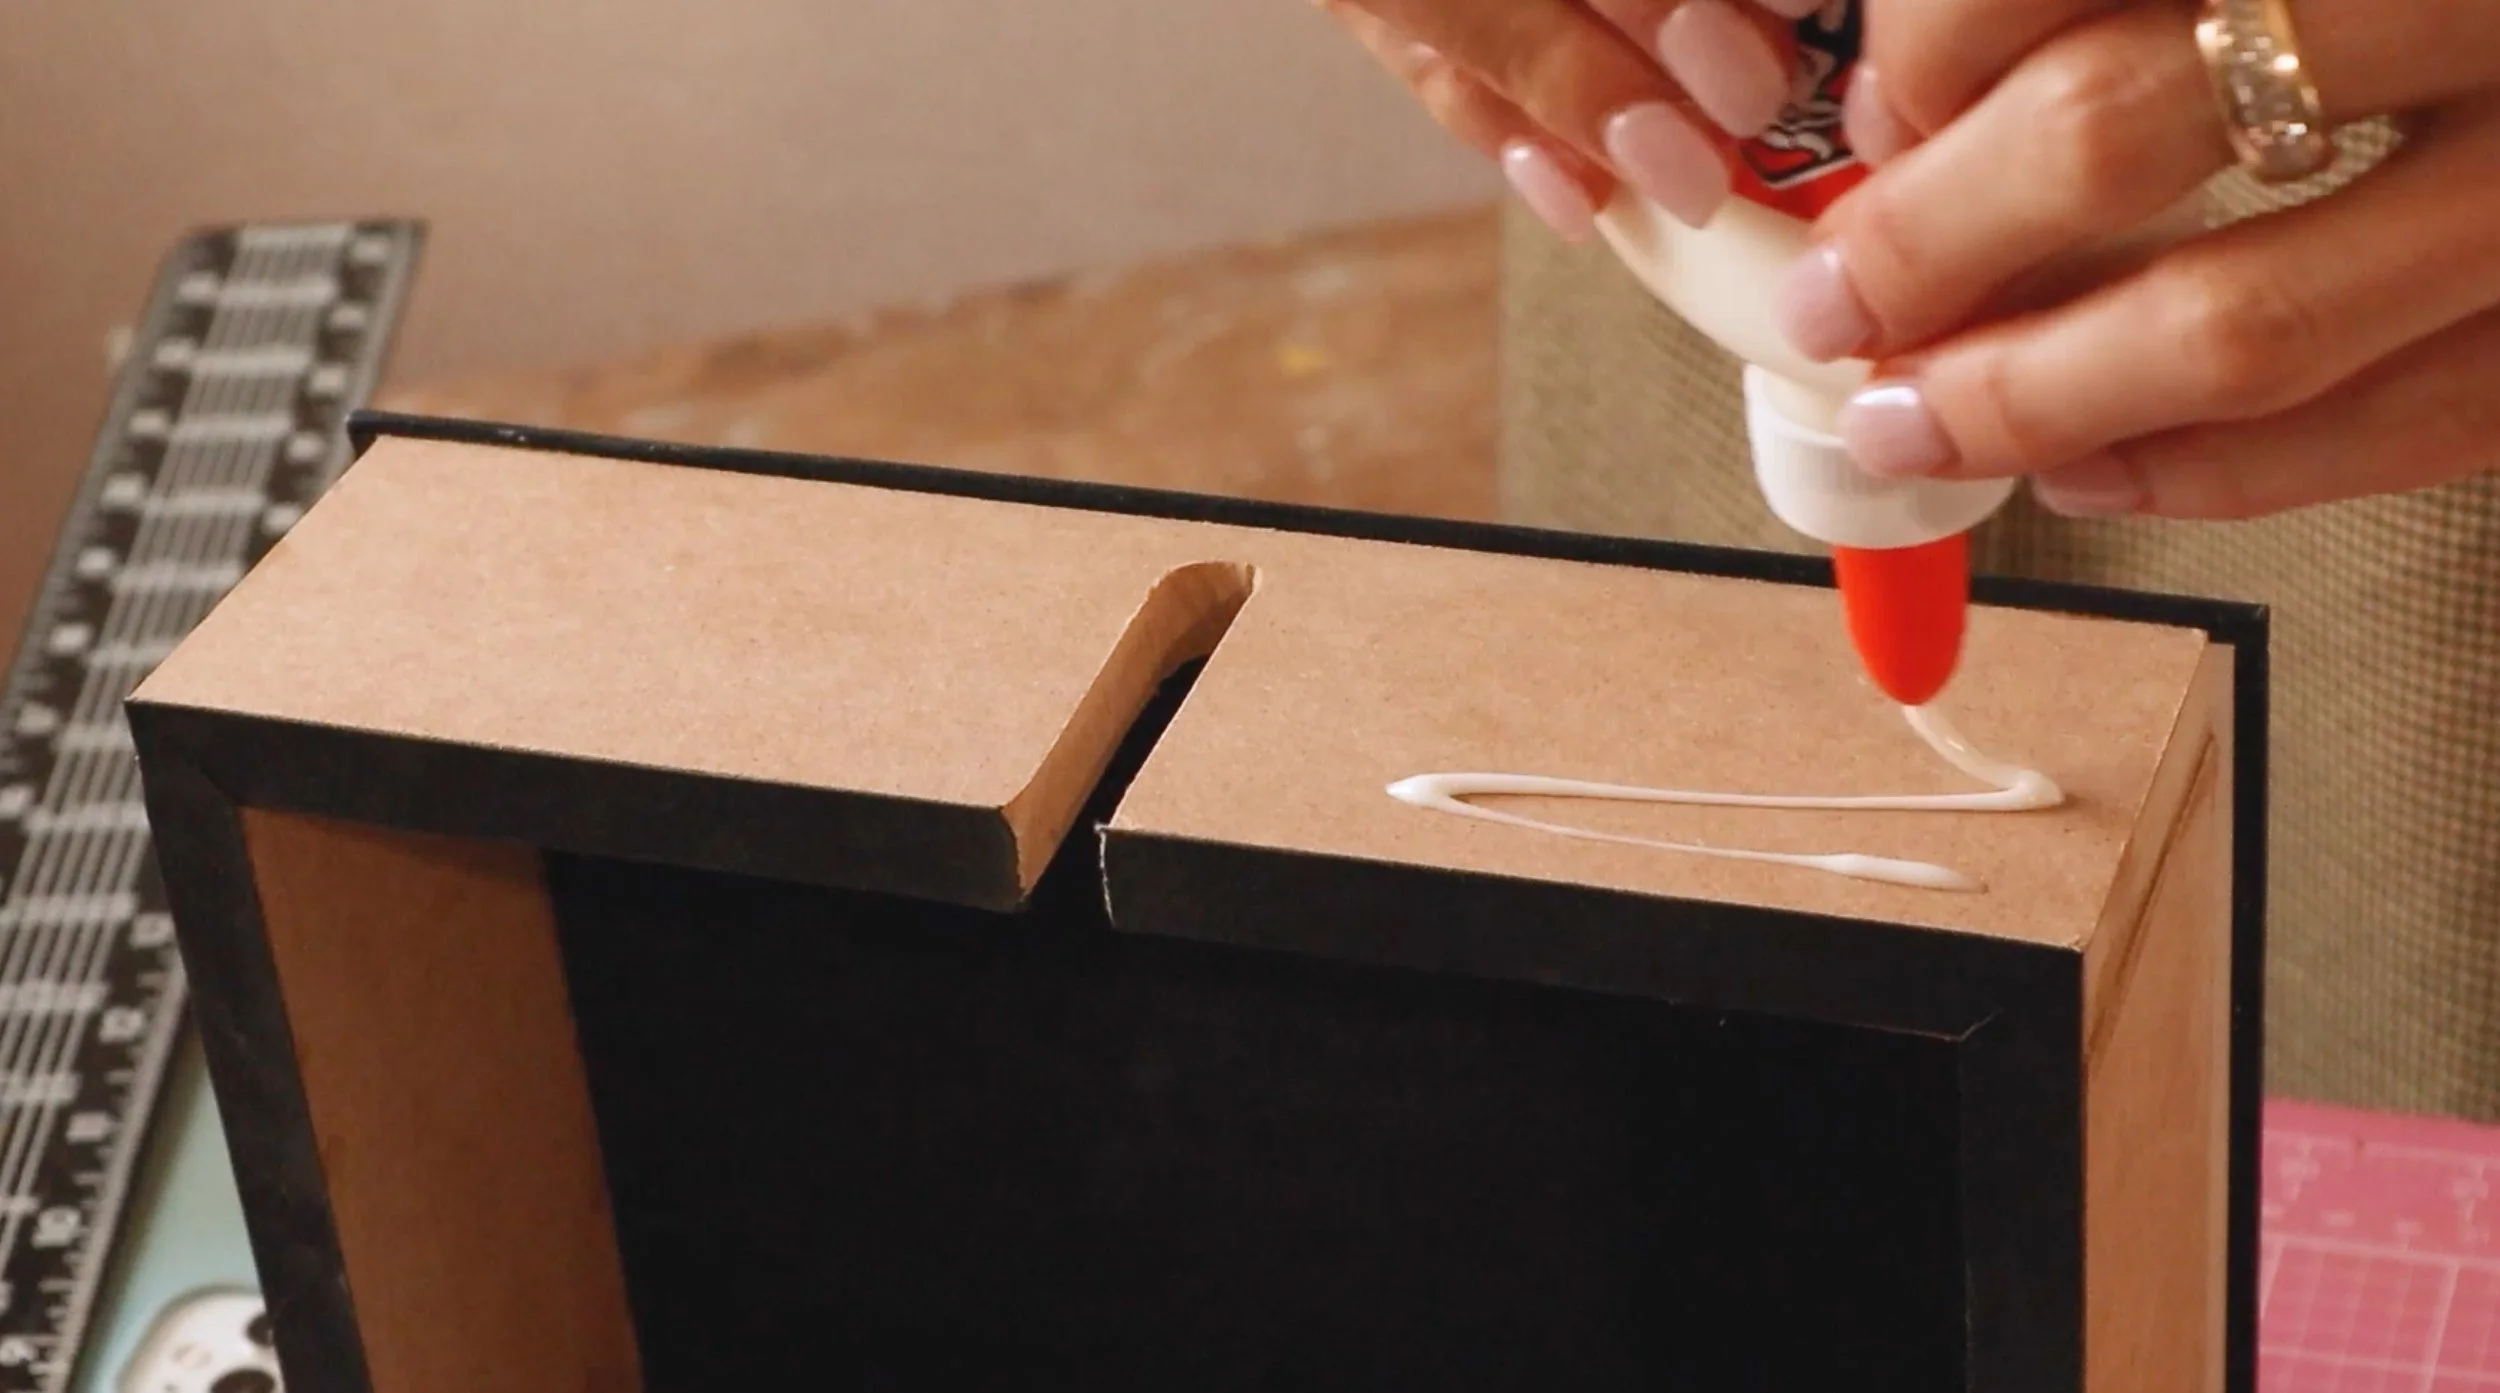
Now all I have to do is construct the box and attach it to the book. Using some wood glue, a clamped it together in a rectangle, then glued the book to the box.
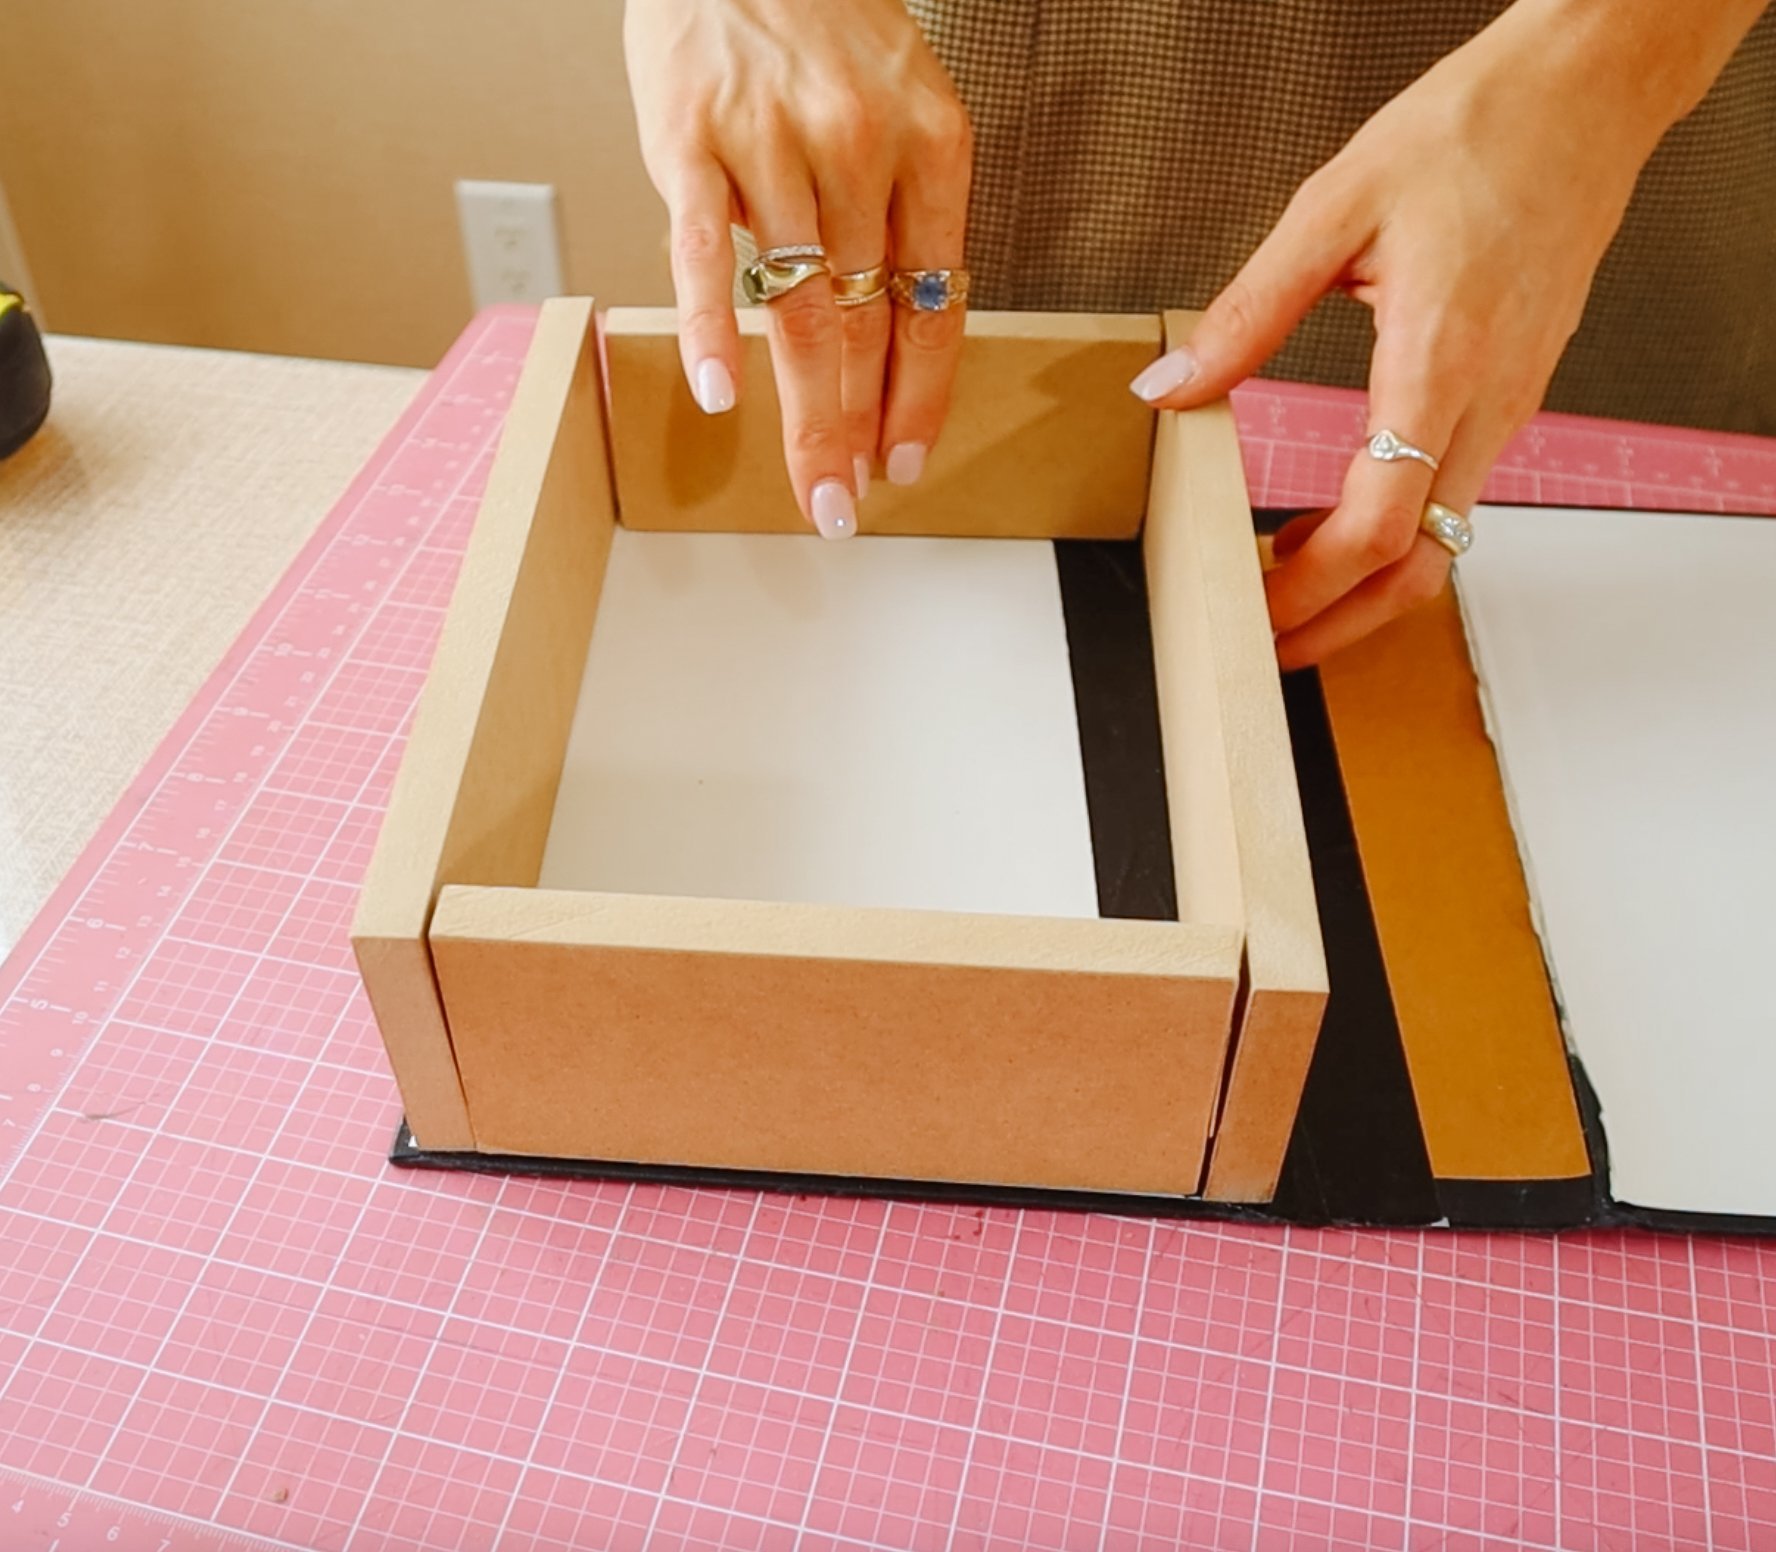


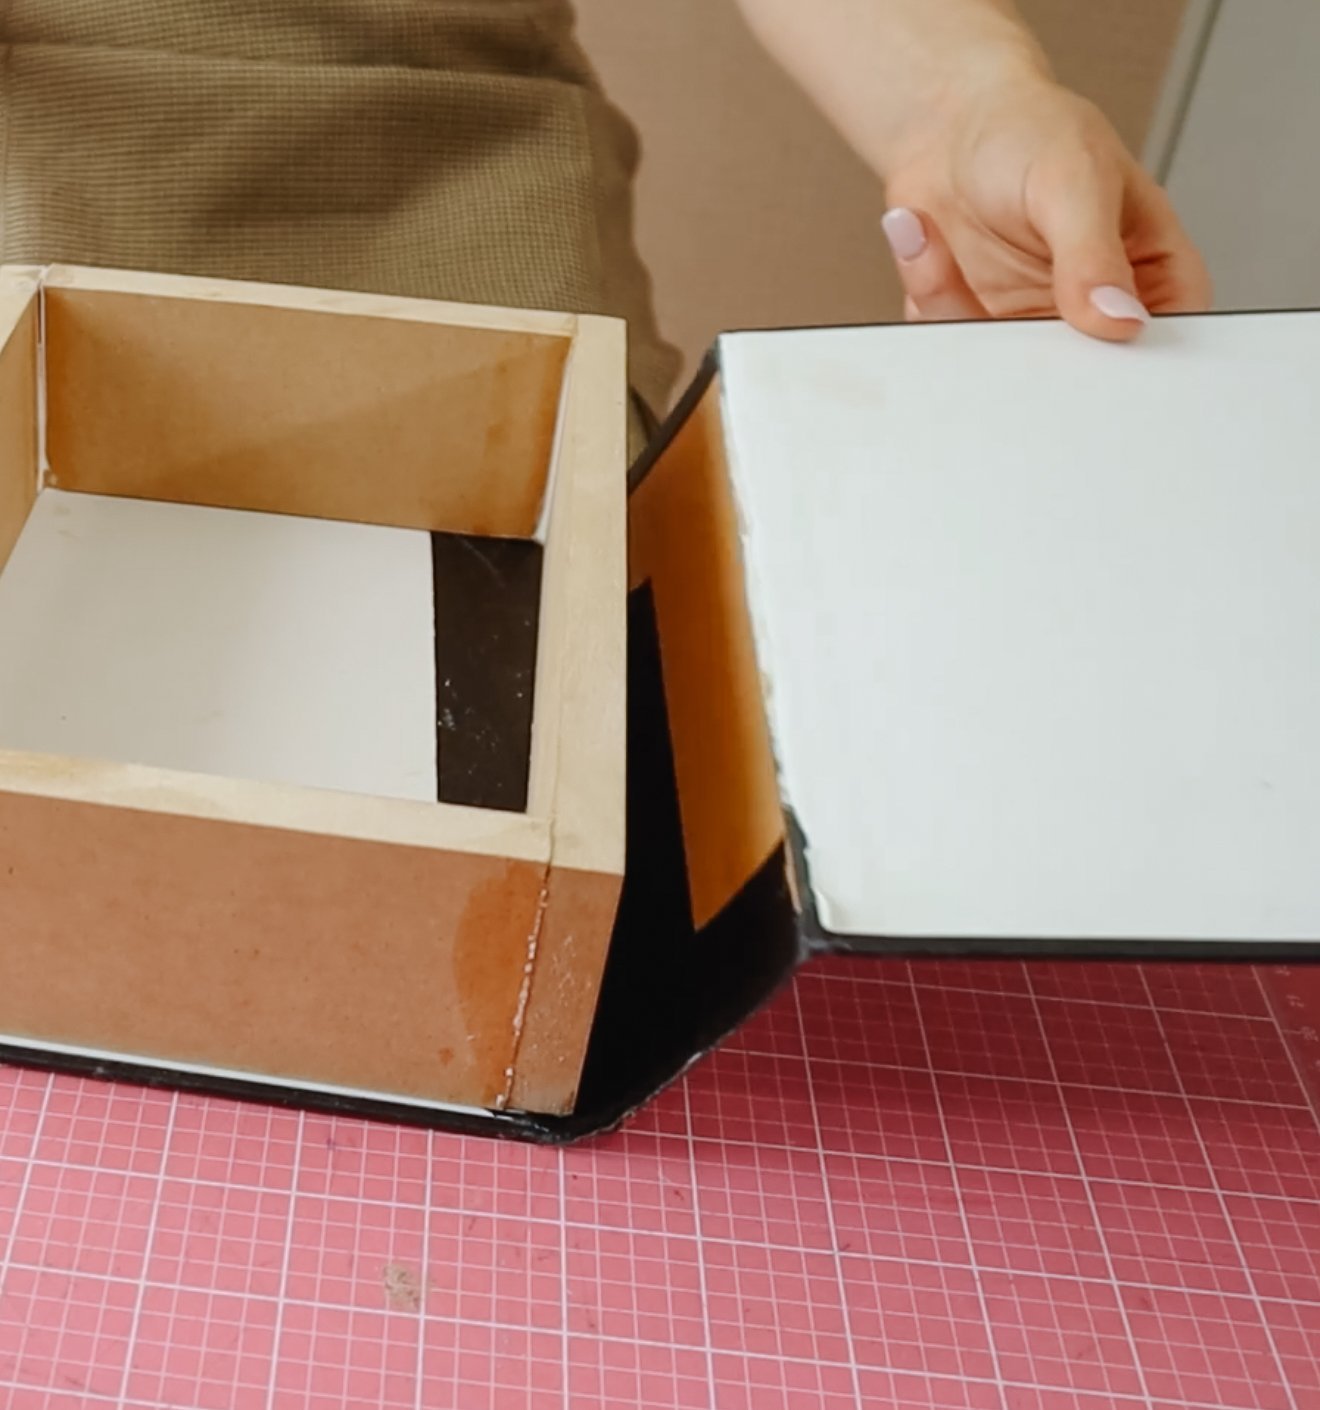
While it dried, I got some faux leather sheets to cover any raw surfaces on the inside to make it look cleaner. I used the same glue and clamps and let it try on the surfaces.
Next, I cut out a little slit in the back of the book so the chord can run through it seamlessly.

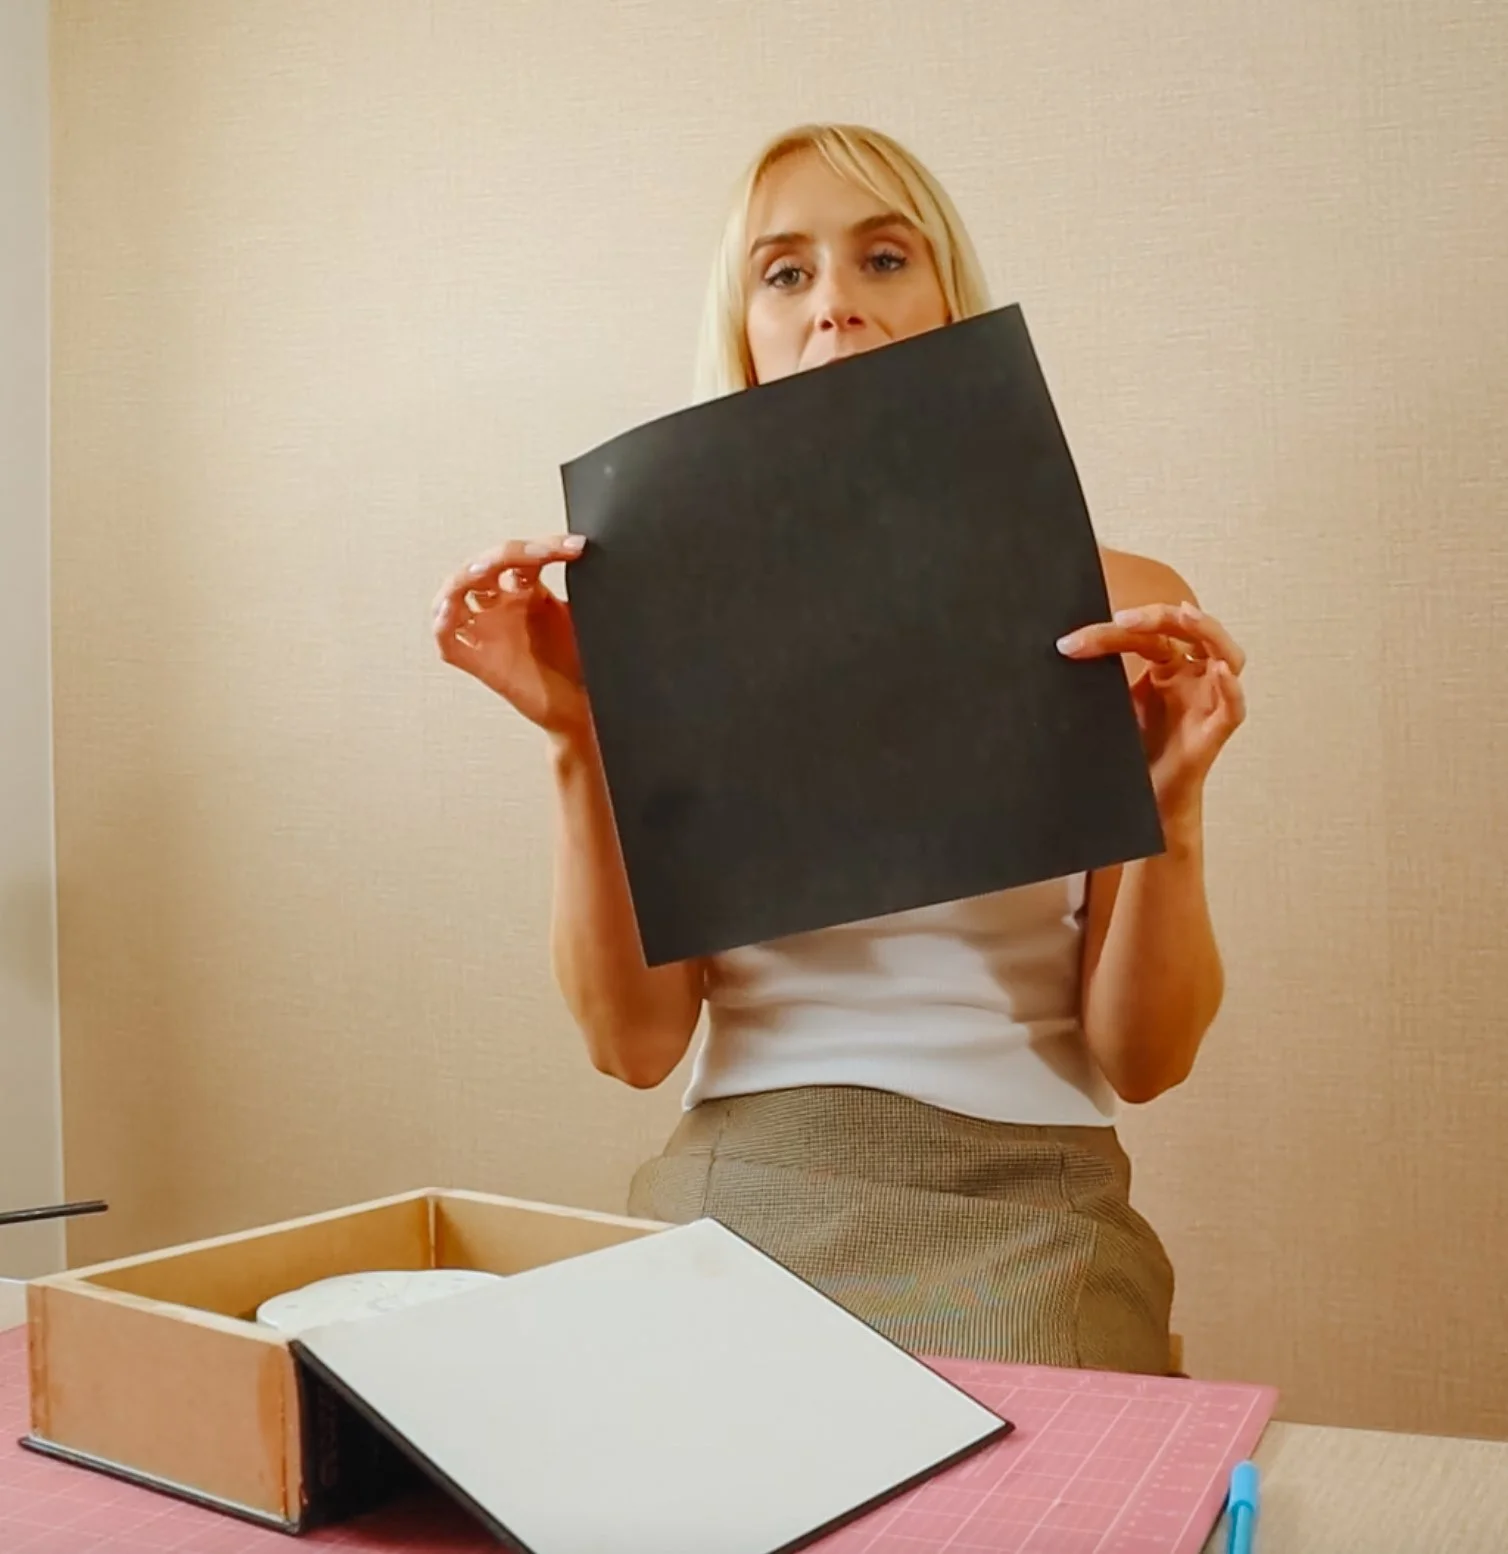
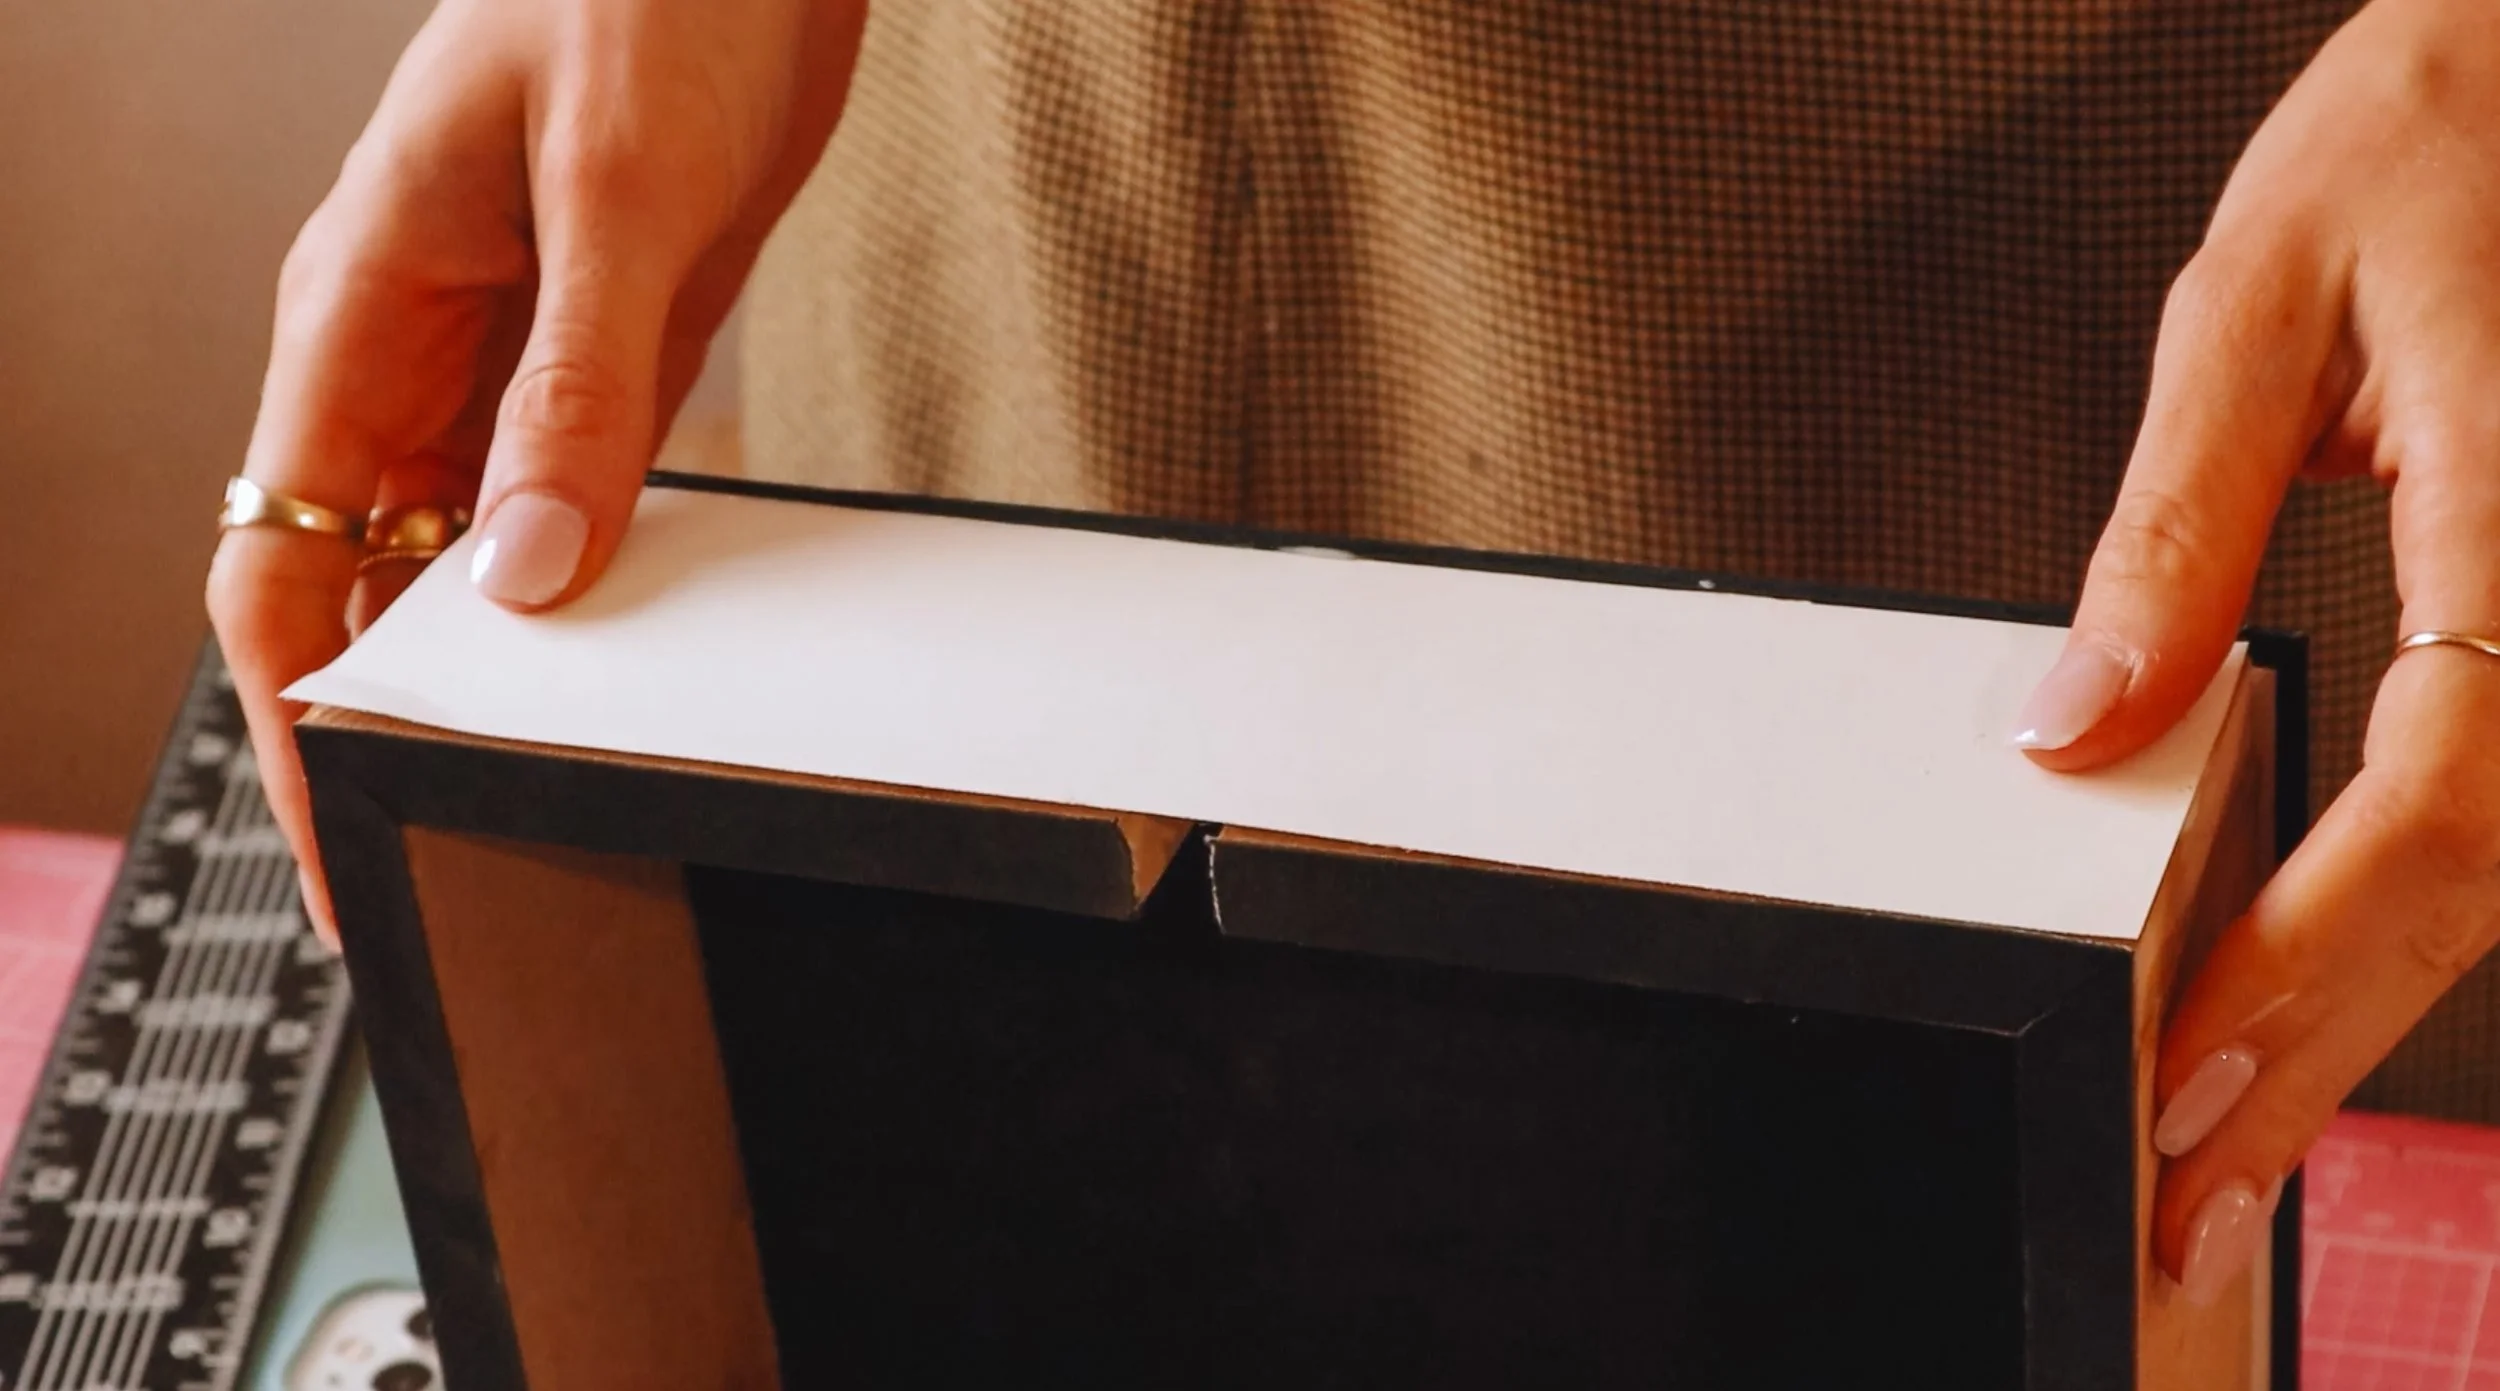
After that was done, I grabbed some thick white paper to cover the outside to resemble pages of the book.
Now you are all done! You can keep your retractable chord in here and bring it anywhere you need!


If you are more of a visual learned and wan’t to see the process from start to finish, check out the following video, where you can see me do this DIY along with a couple other renter friendly office & vanity hacks.
Read Next


Commodo cursus magna, vel scelerisque nisl consectetur et. Donec id elit non mi porta gravida at eget metus.