IKEA HACK: Turning the ‘MICKE’ Filing Cabinet into a Vanity

I’m sure you have seen this MICKE Drawer Unit from IKEA a lot in the past. I have had mine for YEARS now, and it has served me well. It’s definitely a staple for whatever space I’m in because I keep my makeup in it and have honestly started using it as a make-shift vanity. That said, the bottom drawer is meant for filing, so is pretty deep and when I put products in it, wires get tangled, products get lost and it turns into a mess so quickly. That all being said, I have decided to upcycle this bottom drawer to add more beneficial storage in the unit to make it into a rollable vanity. BUT, I want to do this in the most easy and affordable way possible, that can also be customizable depending on the products you use and desire to put in there.

First things first, I grabbed a spare sheet of MDF I had from a past DIY. This is so easy to find, really lightweight and super affordable if you are on a tight budget. On top of all that, it also is possible to cut with NO power tools, so this can be a DIY attainable to anyone!
The sheet I am using is ½” thick. To cut this, I am going to take a straight edge ruler and place it firmly on the board. Mark out the thickness you would like to cut and take a utility knife to make a score line. Do a couple passes until you are about ¼ way through the board.
Now, you can cut through the full MDF just using the ulility knife, but to make this process go faster, I grabbed a hand saw to finish off the process. Using a few clamps, I made sure my ruler was lined up to the score line and cut across nice and easily. The score line REALLY helped the process have a much cleaner outcome so I would highly recommend not skipping this step.


The cuts I made are as follows:
2 pieces - 5” x 9 2/16”
2 pieces - 5” x 3 2/16”
3 pieces - 5” x 8 4/16”
1 piece - 5 1/2” x 9 4/16”
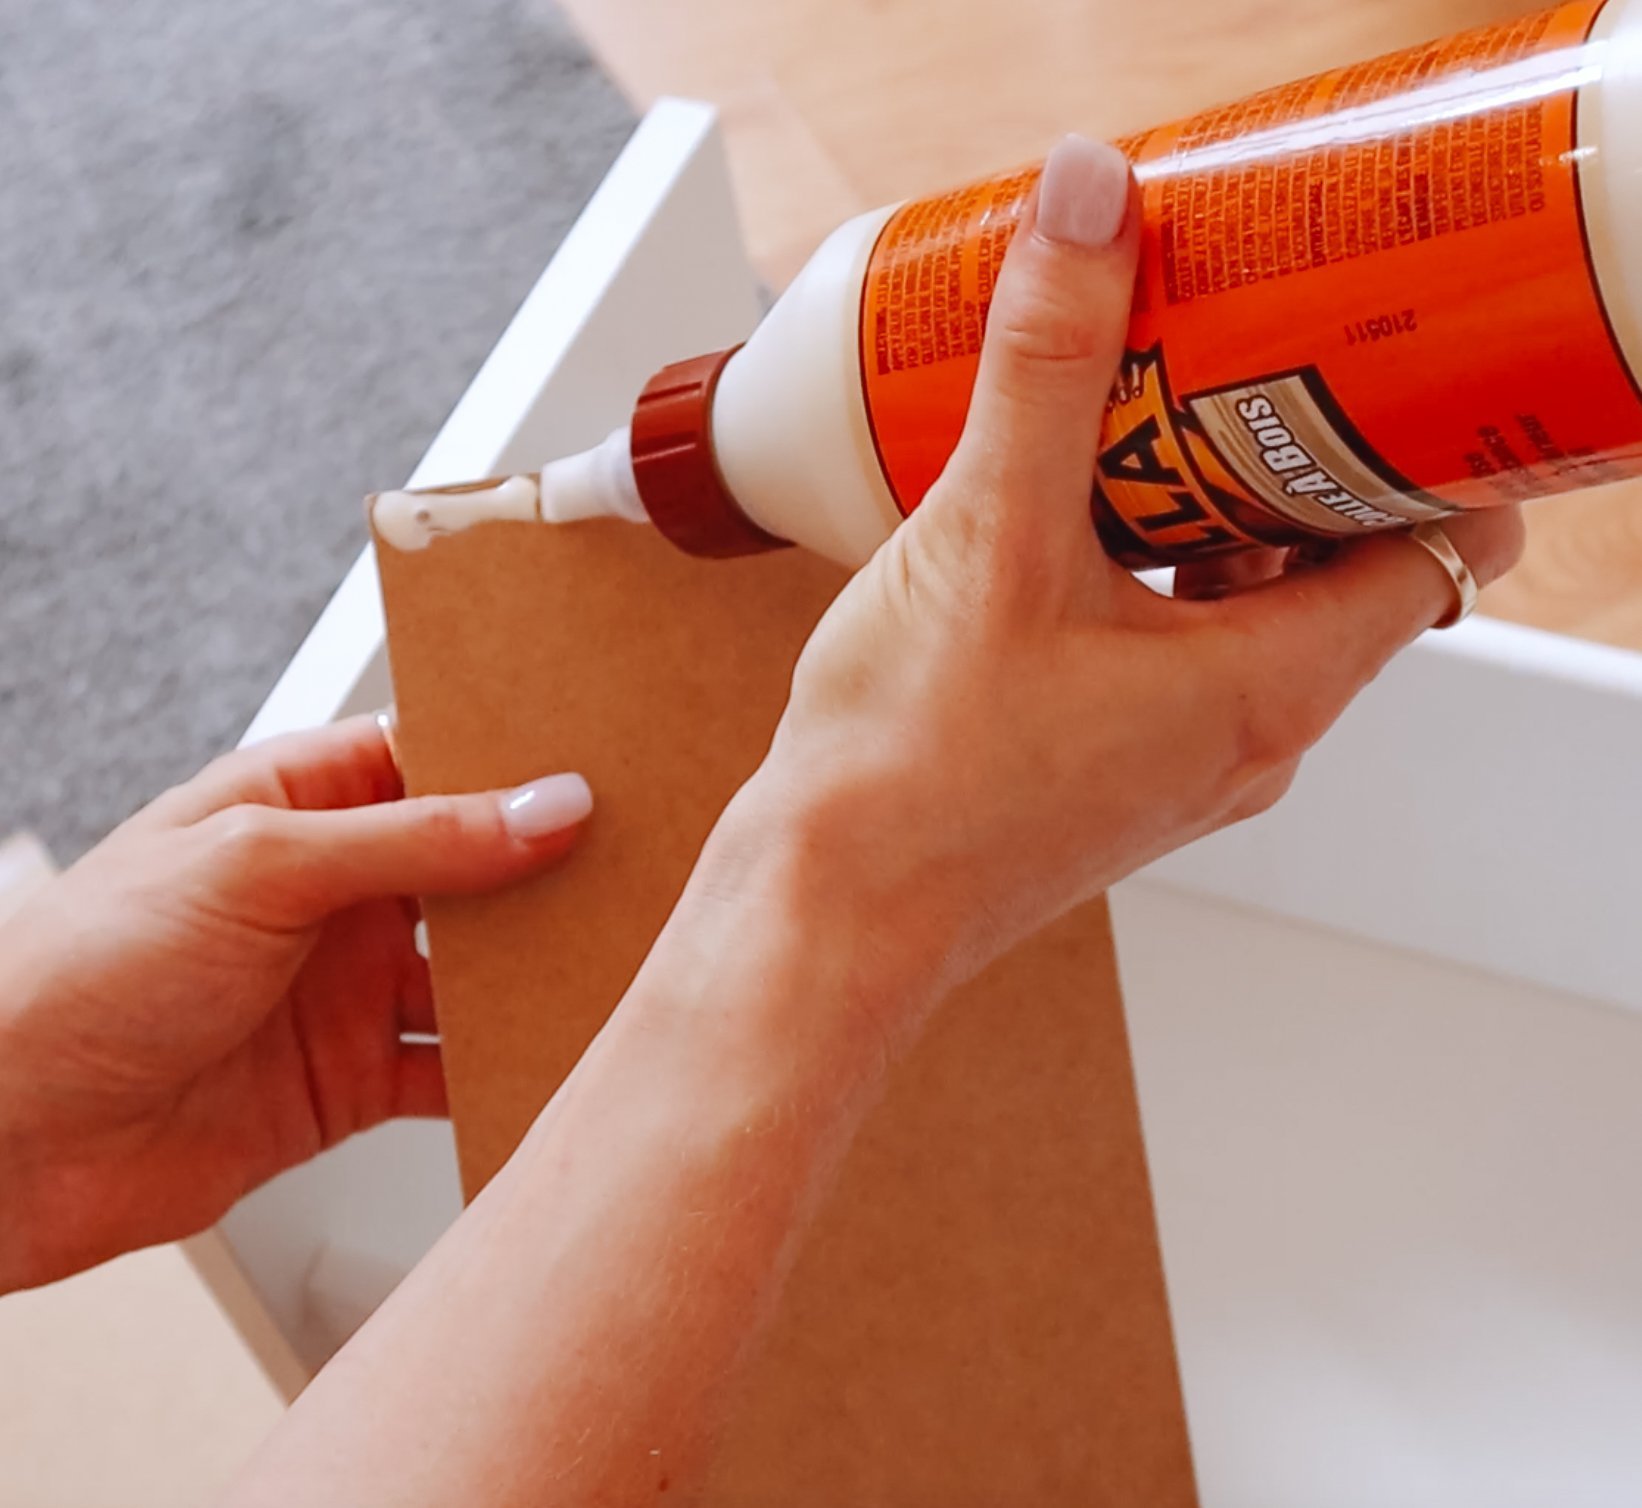
After I was done making these cuts, I glued the frame together and placed it into the bottom drawer as shown below. Make sure to use clamps to hold it into place while you let the glue fully dry.


I put my hair tools in this drawer often, so I wanted the middle compartment to have two holes specifically for the tools to sit in. I grabbed the rest of the MDF I had and cut it out to fit perfectly on top of the middle section, but instead of simply cutting out two holes in the MDF, I found these two boat cup holder replacements on Amazon that I thought would do the trick.
All I did was trace the two lids onto the top of the MDF and using a drill and a jigsaw, I made a pilot hole for the jigsaw, and cut two holes in the mdf for the cup holders. You can also do this without power tools, using a utility knife, but to save some time I used what I had!


Next, I cut out the bottom of the cup holders to allow them more space for the tools to go in.


Glue the piece on top, insert your cup holders and you’re done! It looks like it is meant to be in there. You can paint it to match the white, but I chose to keep it because I like the raw wood look of the organizer.


Now all you have to do is add your items into the compartments and style your mini vanity station!


If you are more of a visual learned and wan’t to see the process from start to finish, check out the following video, where you can see me do this DIY along with a couple other renter friendly office & vanity hacks.