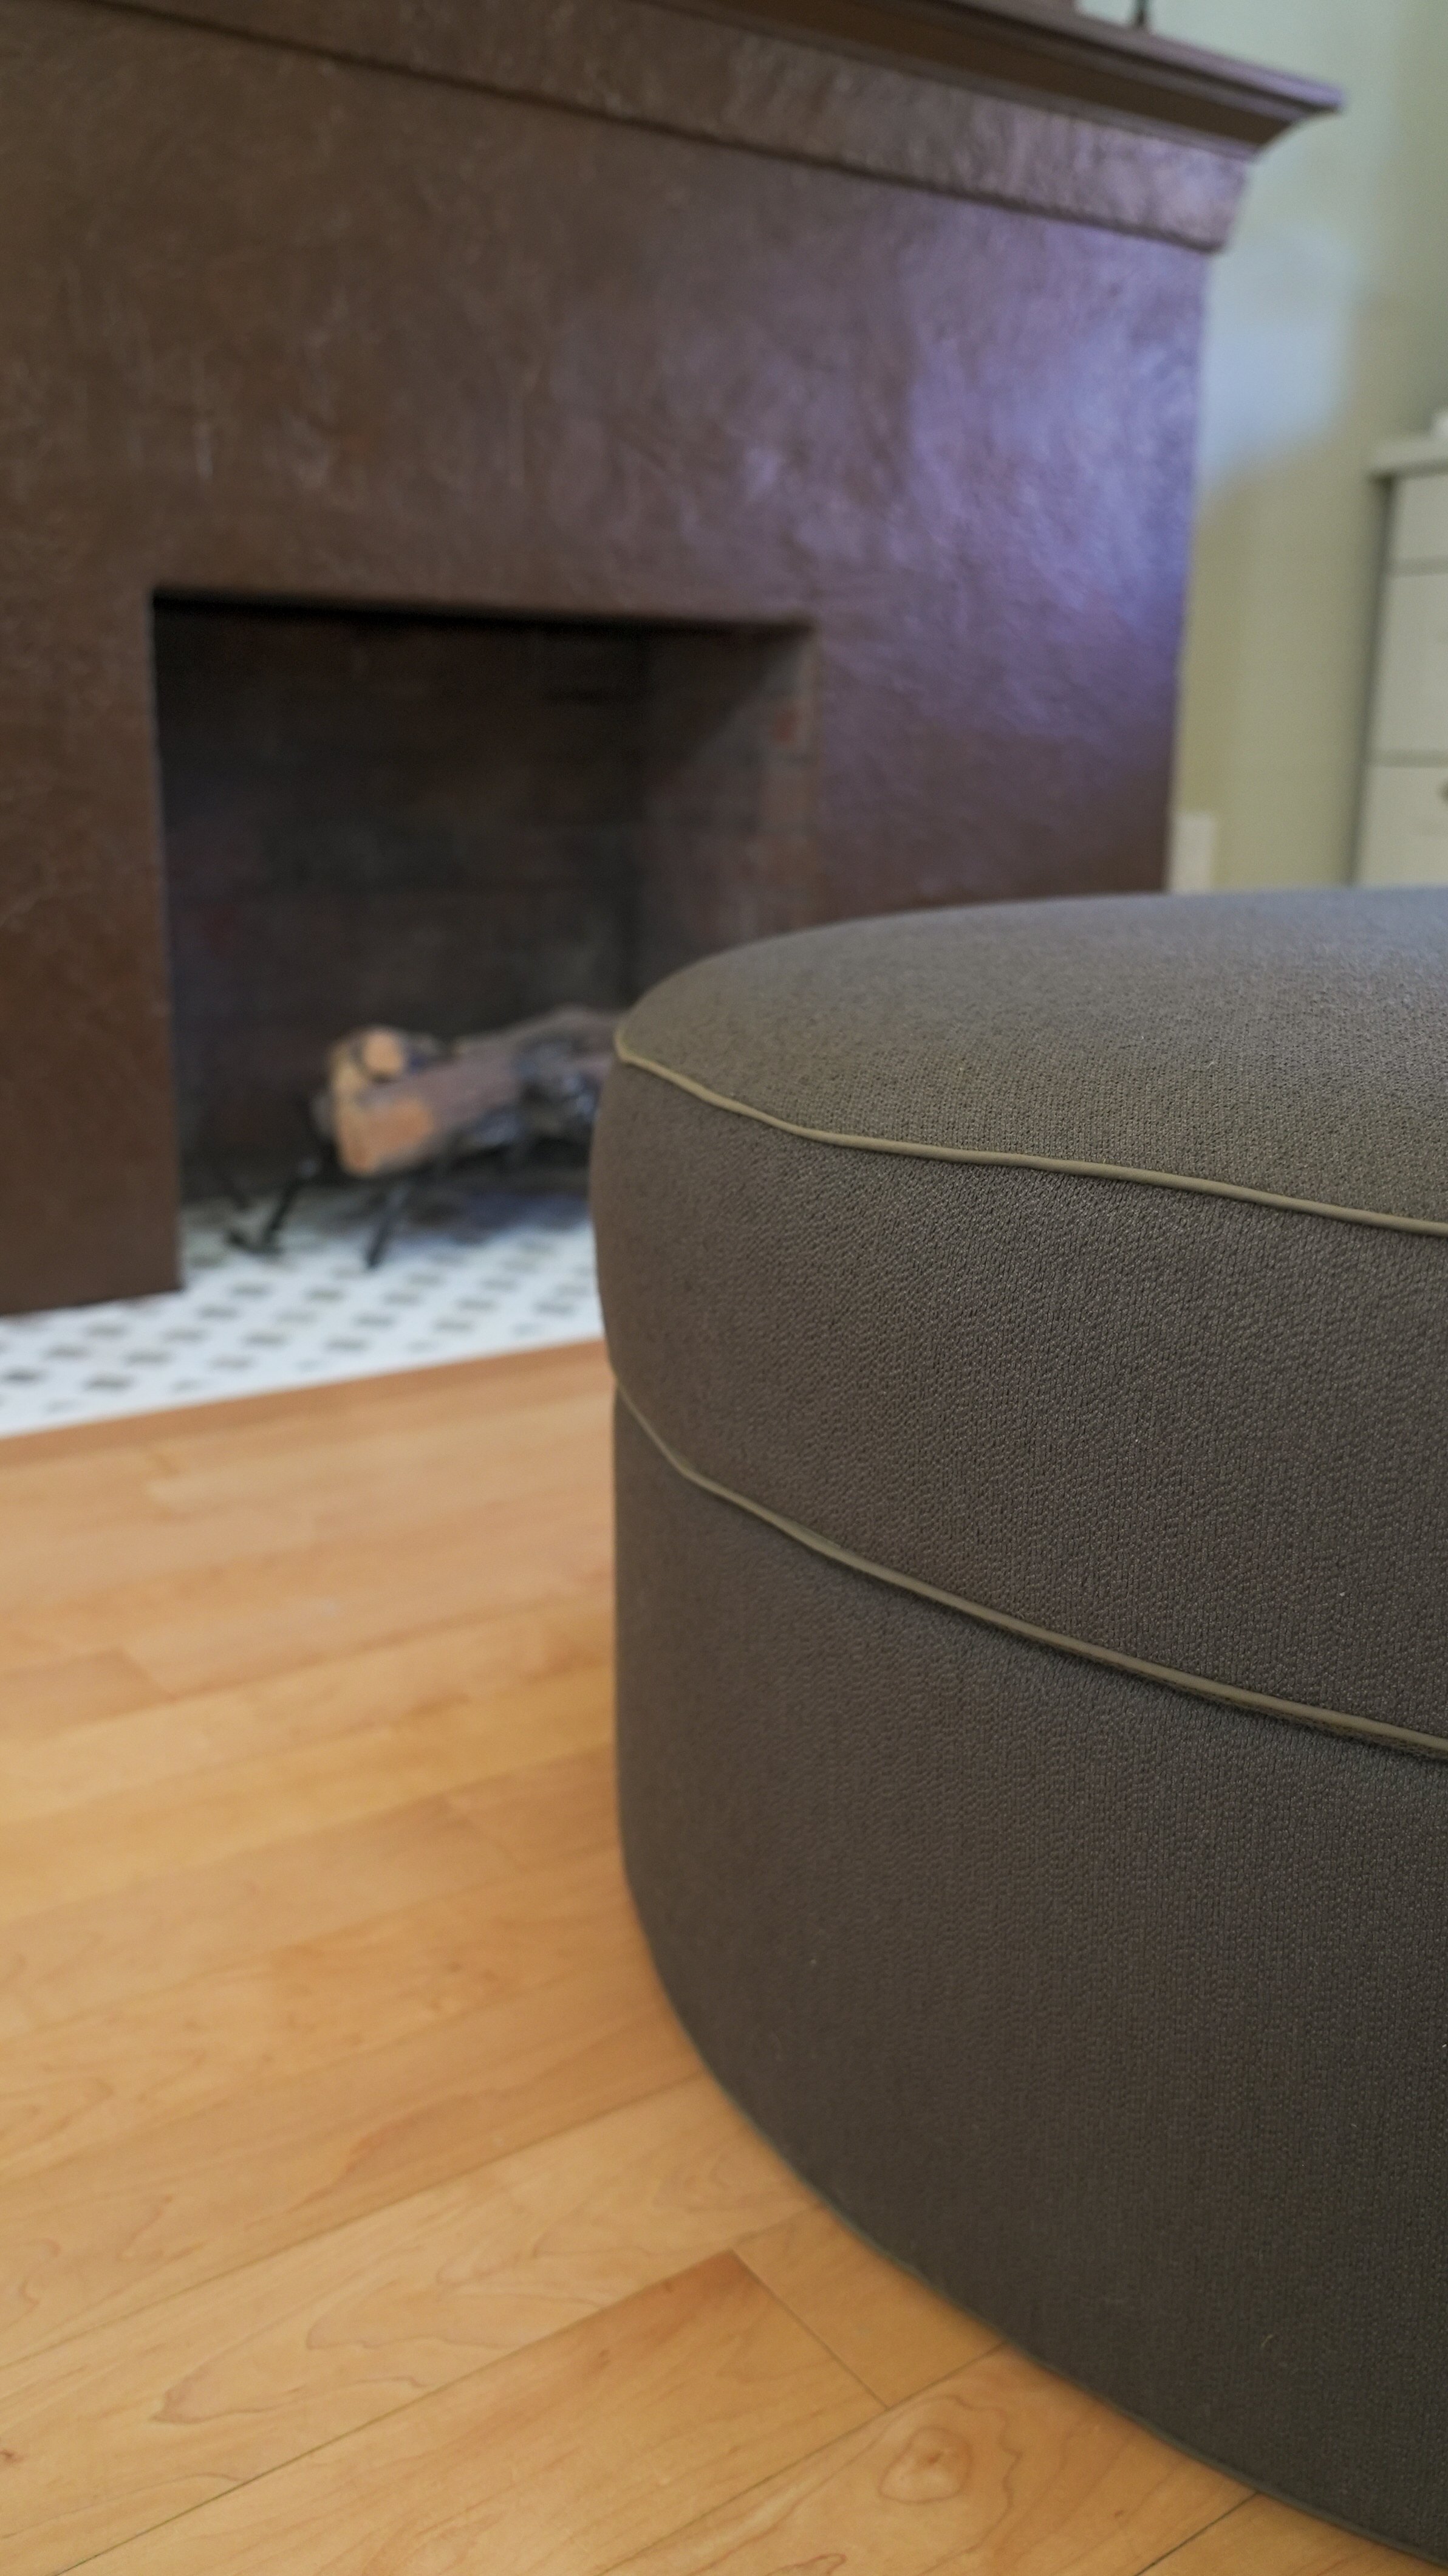
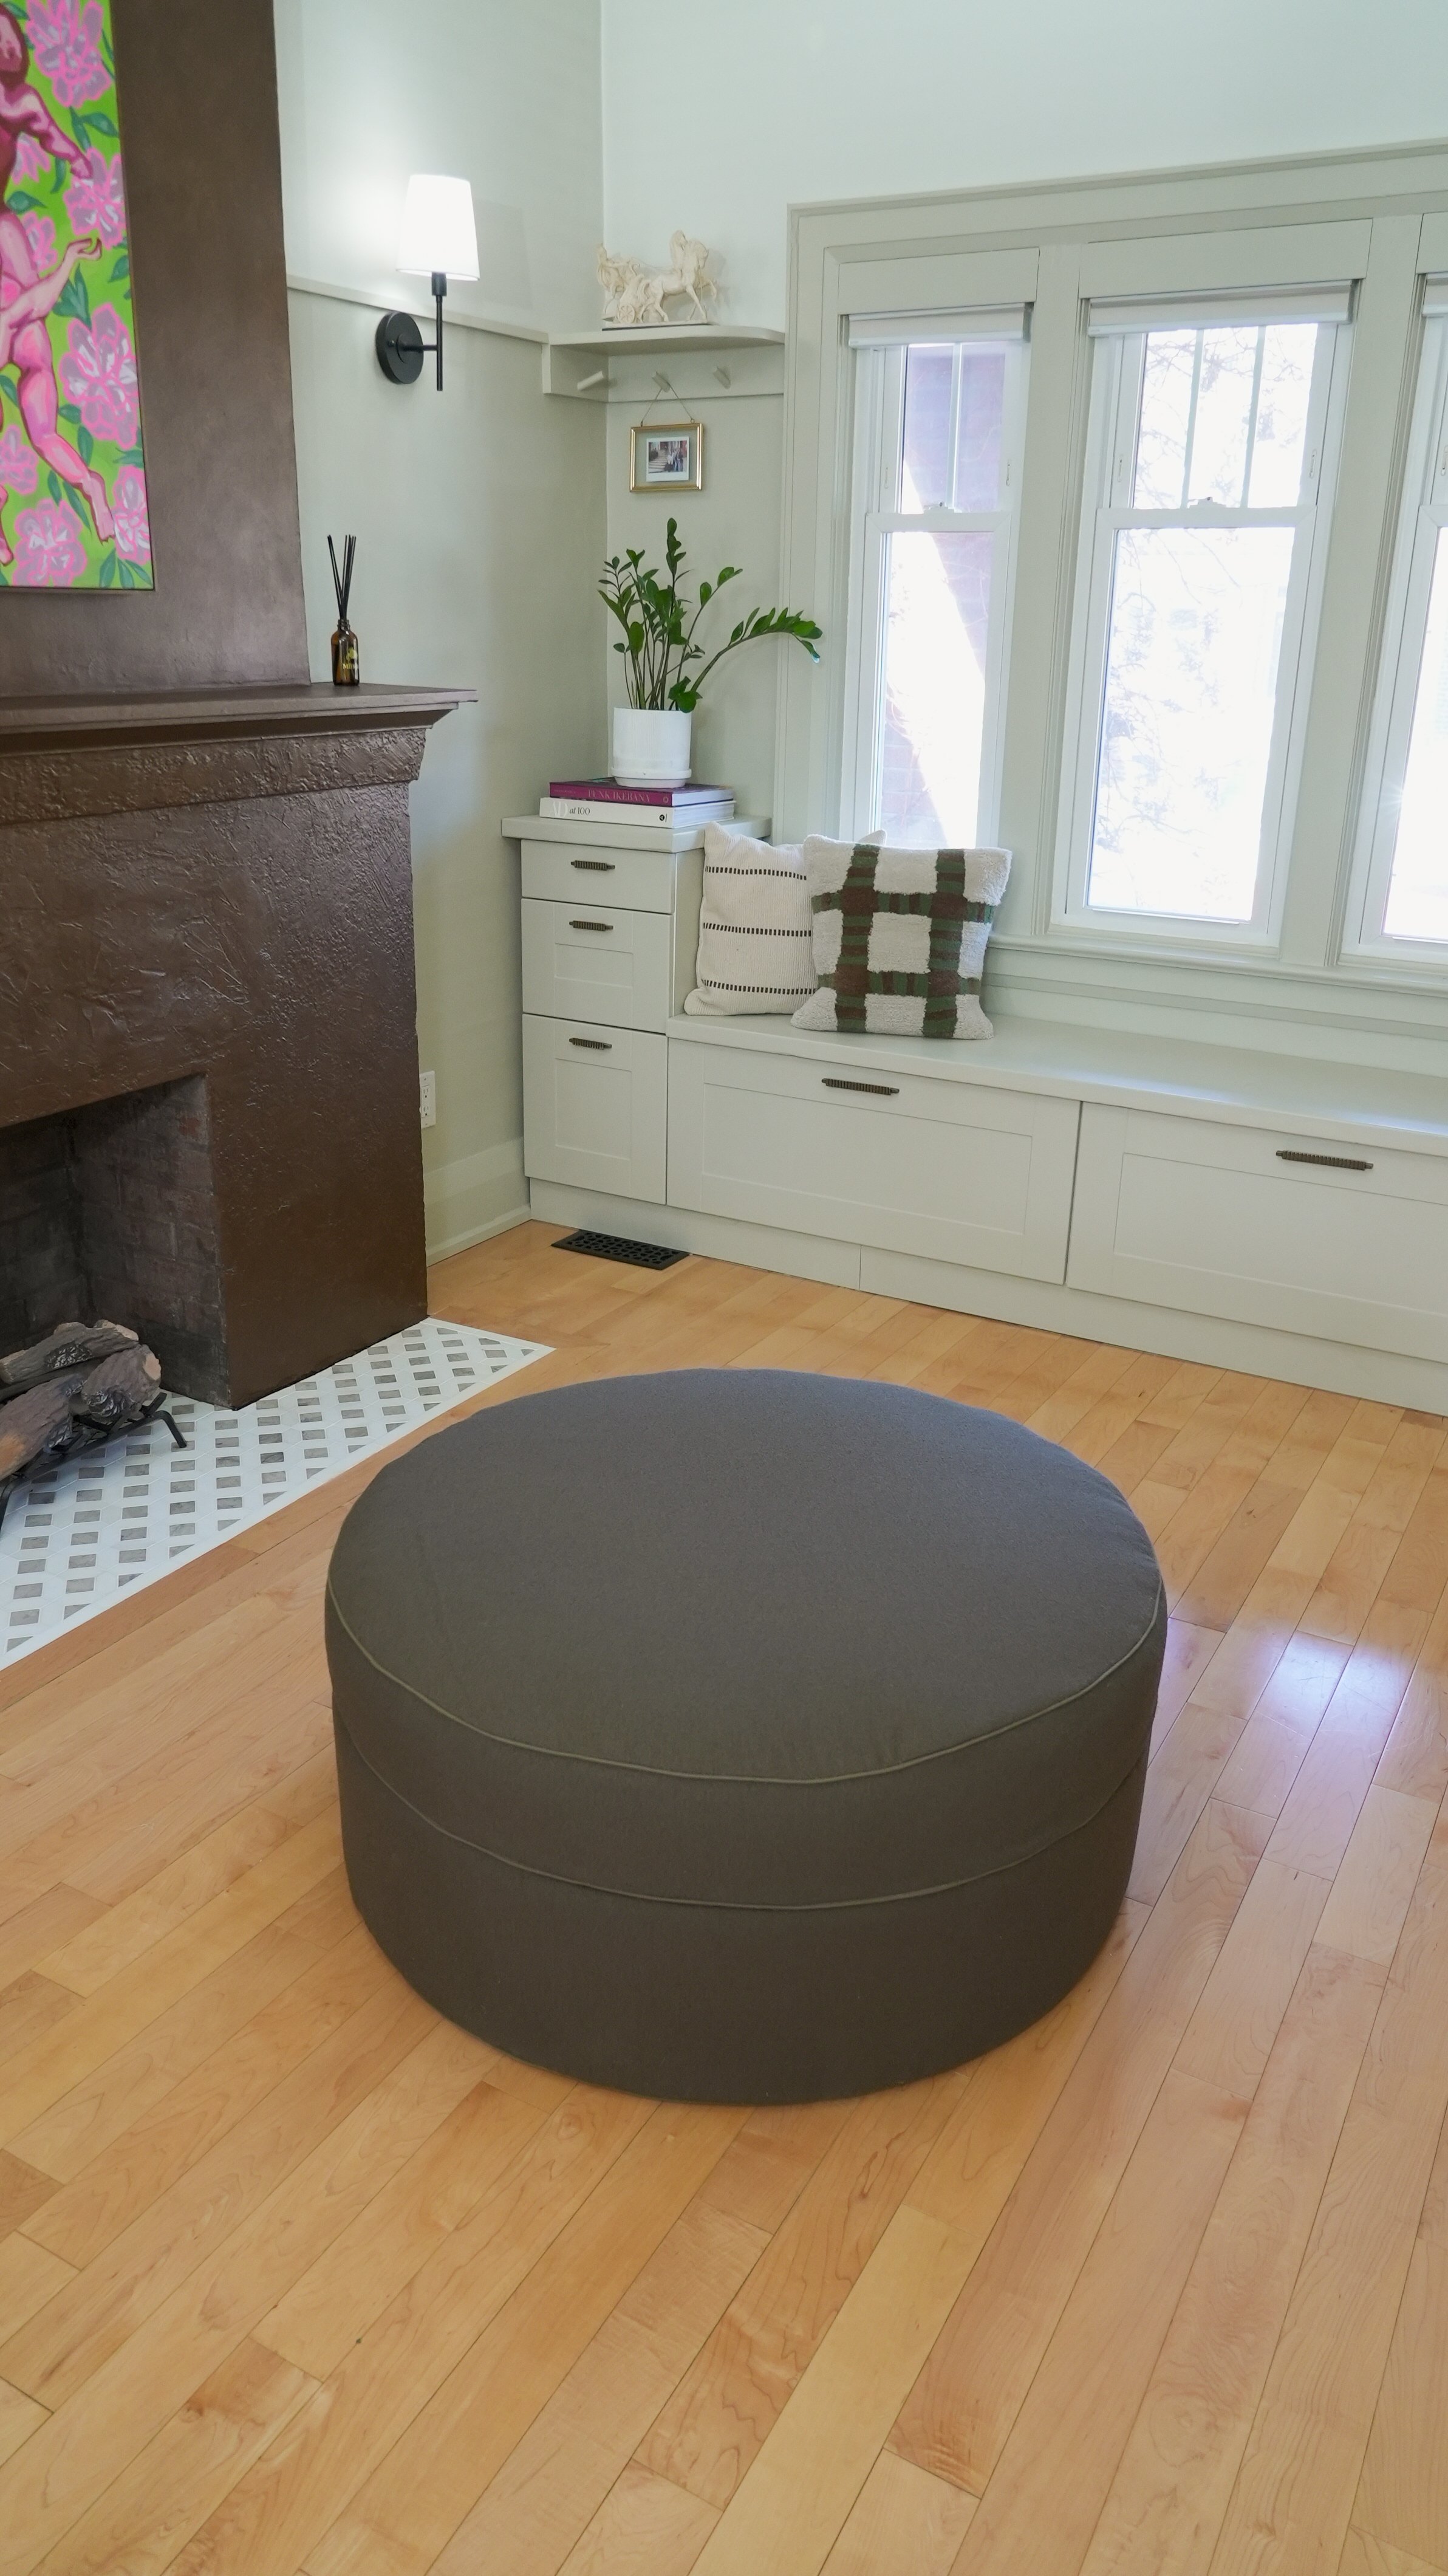
How To Reupholster an Ottoman
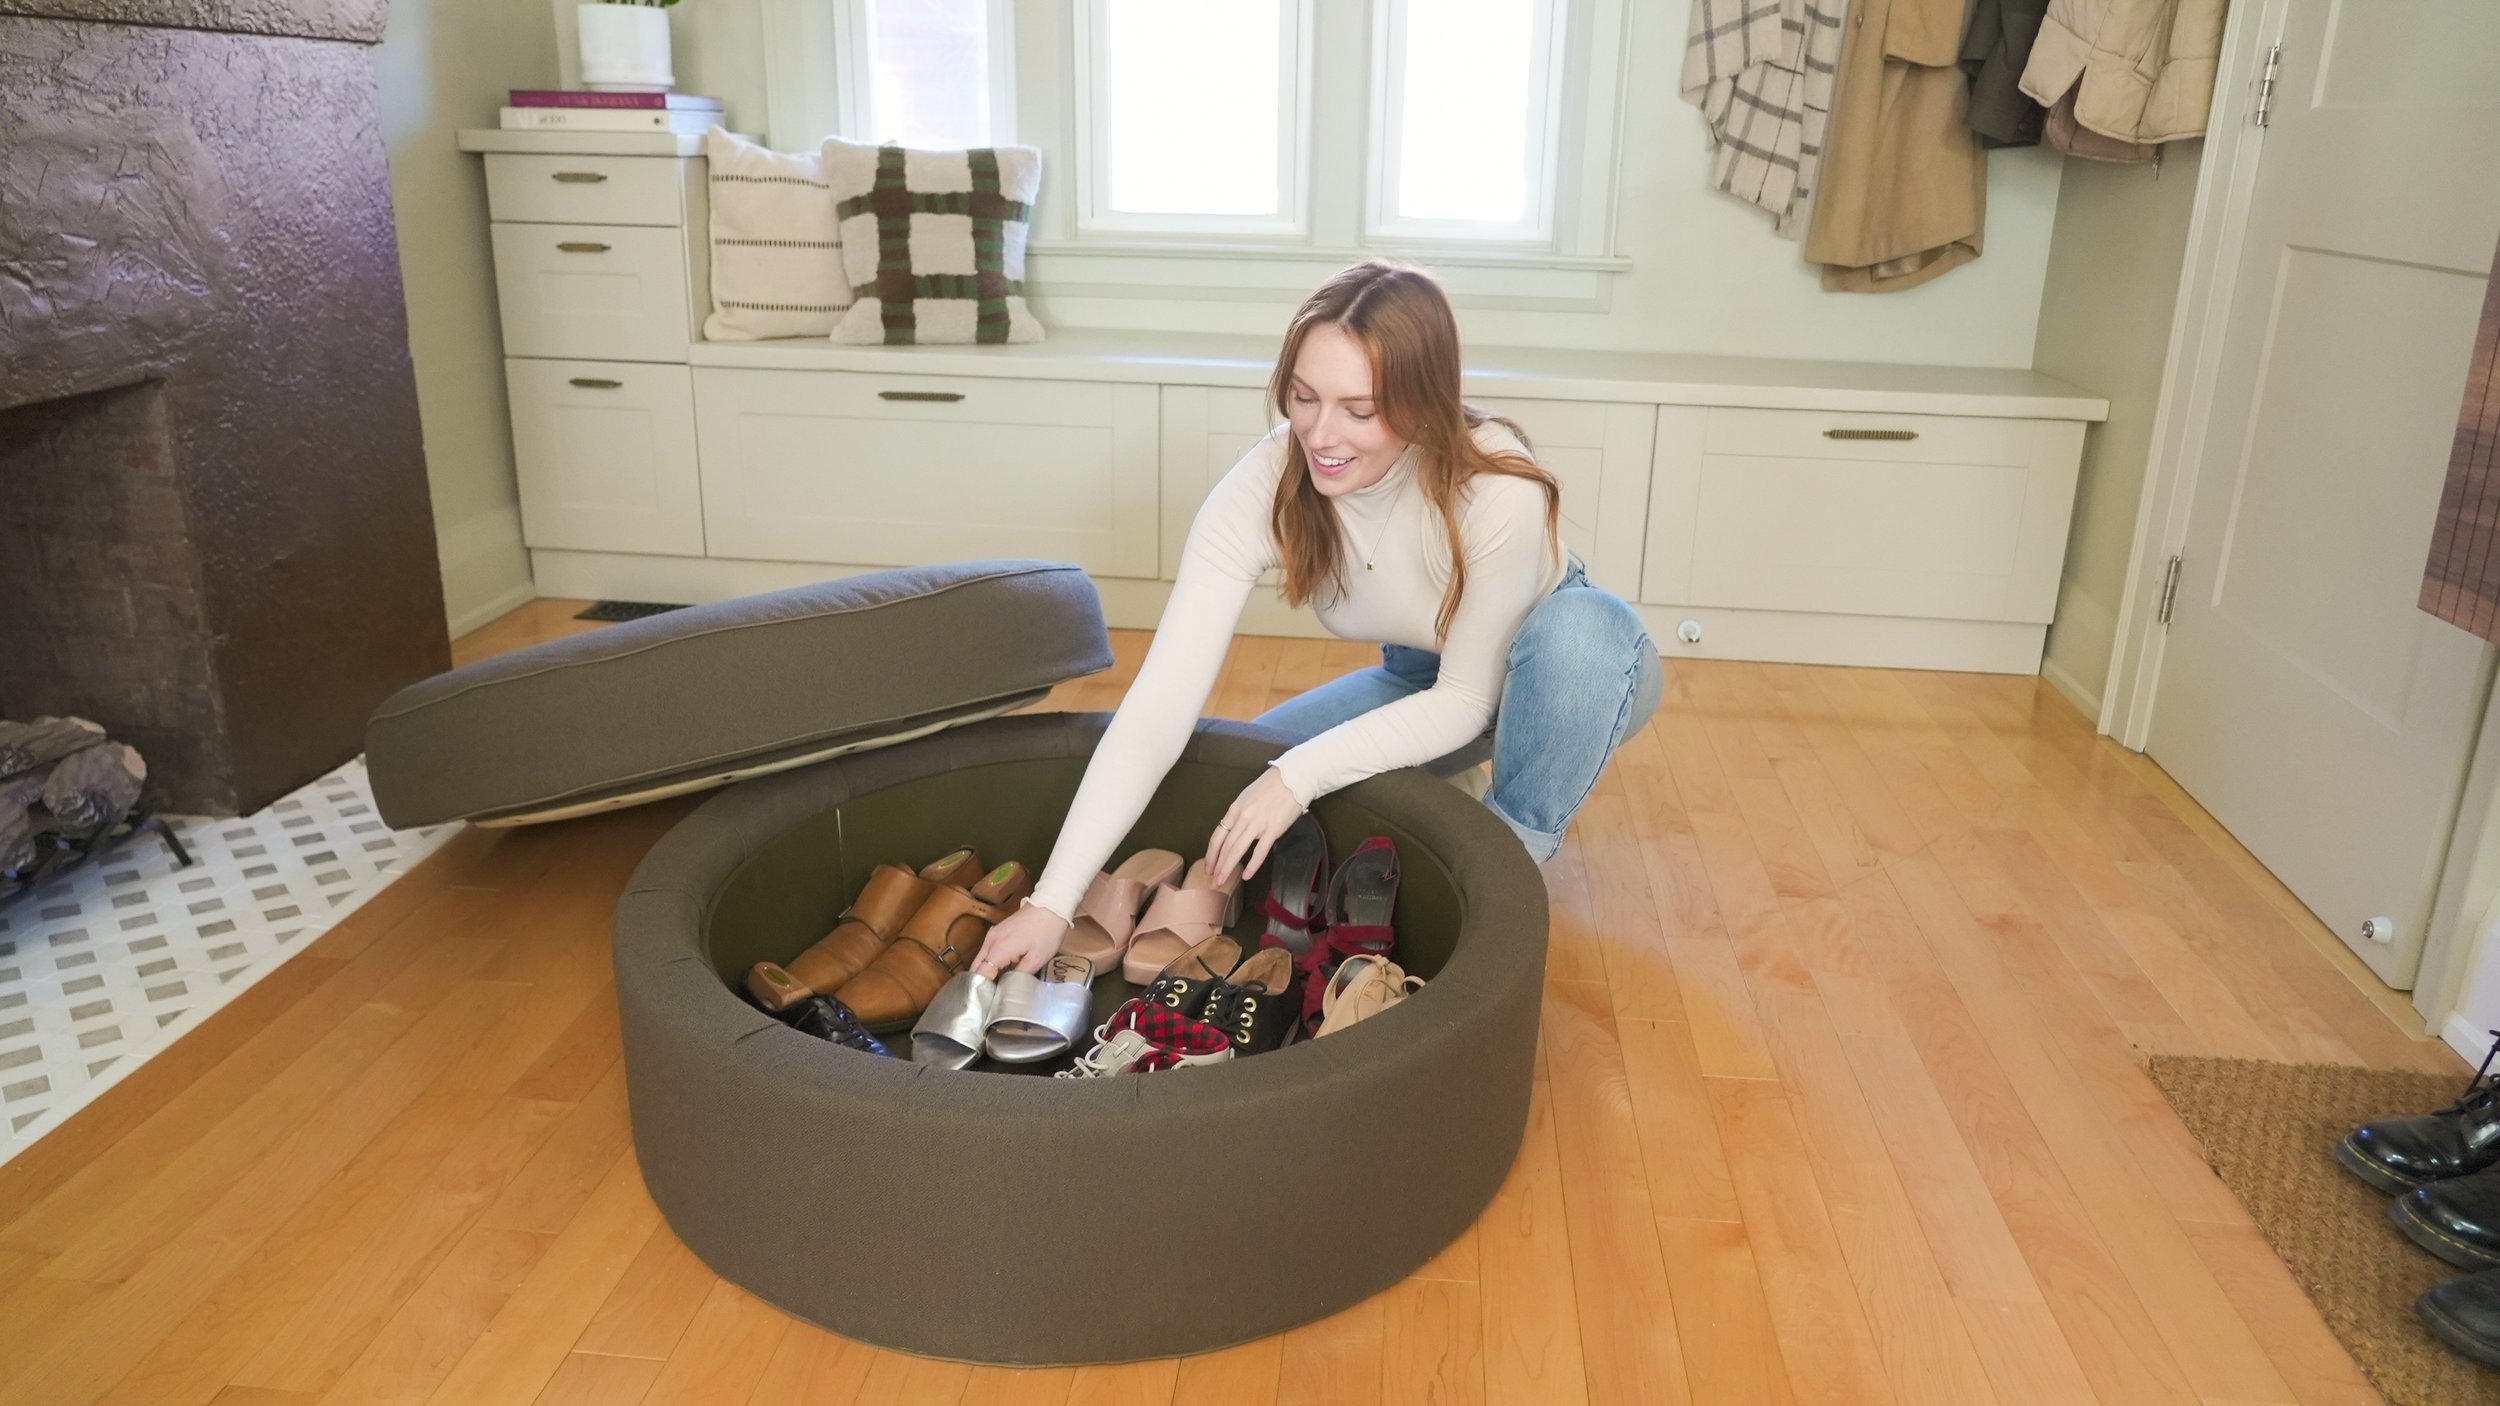
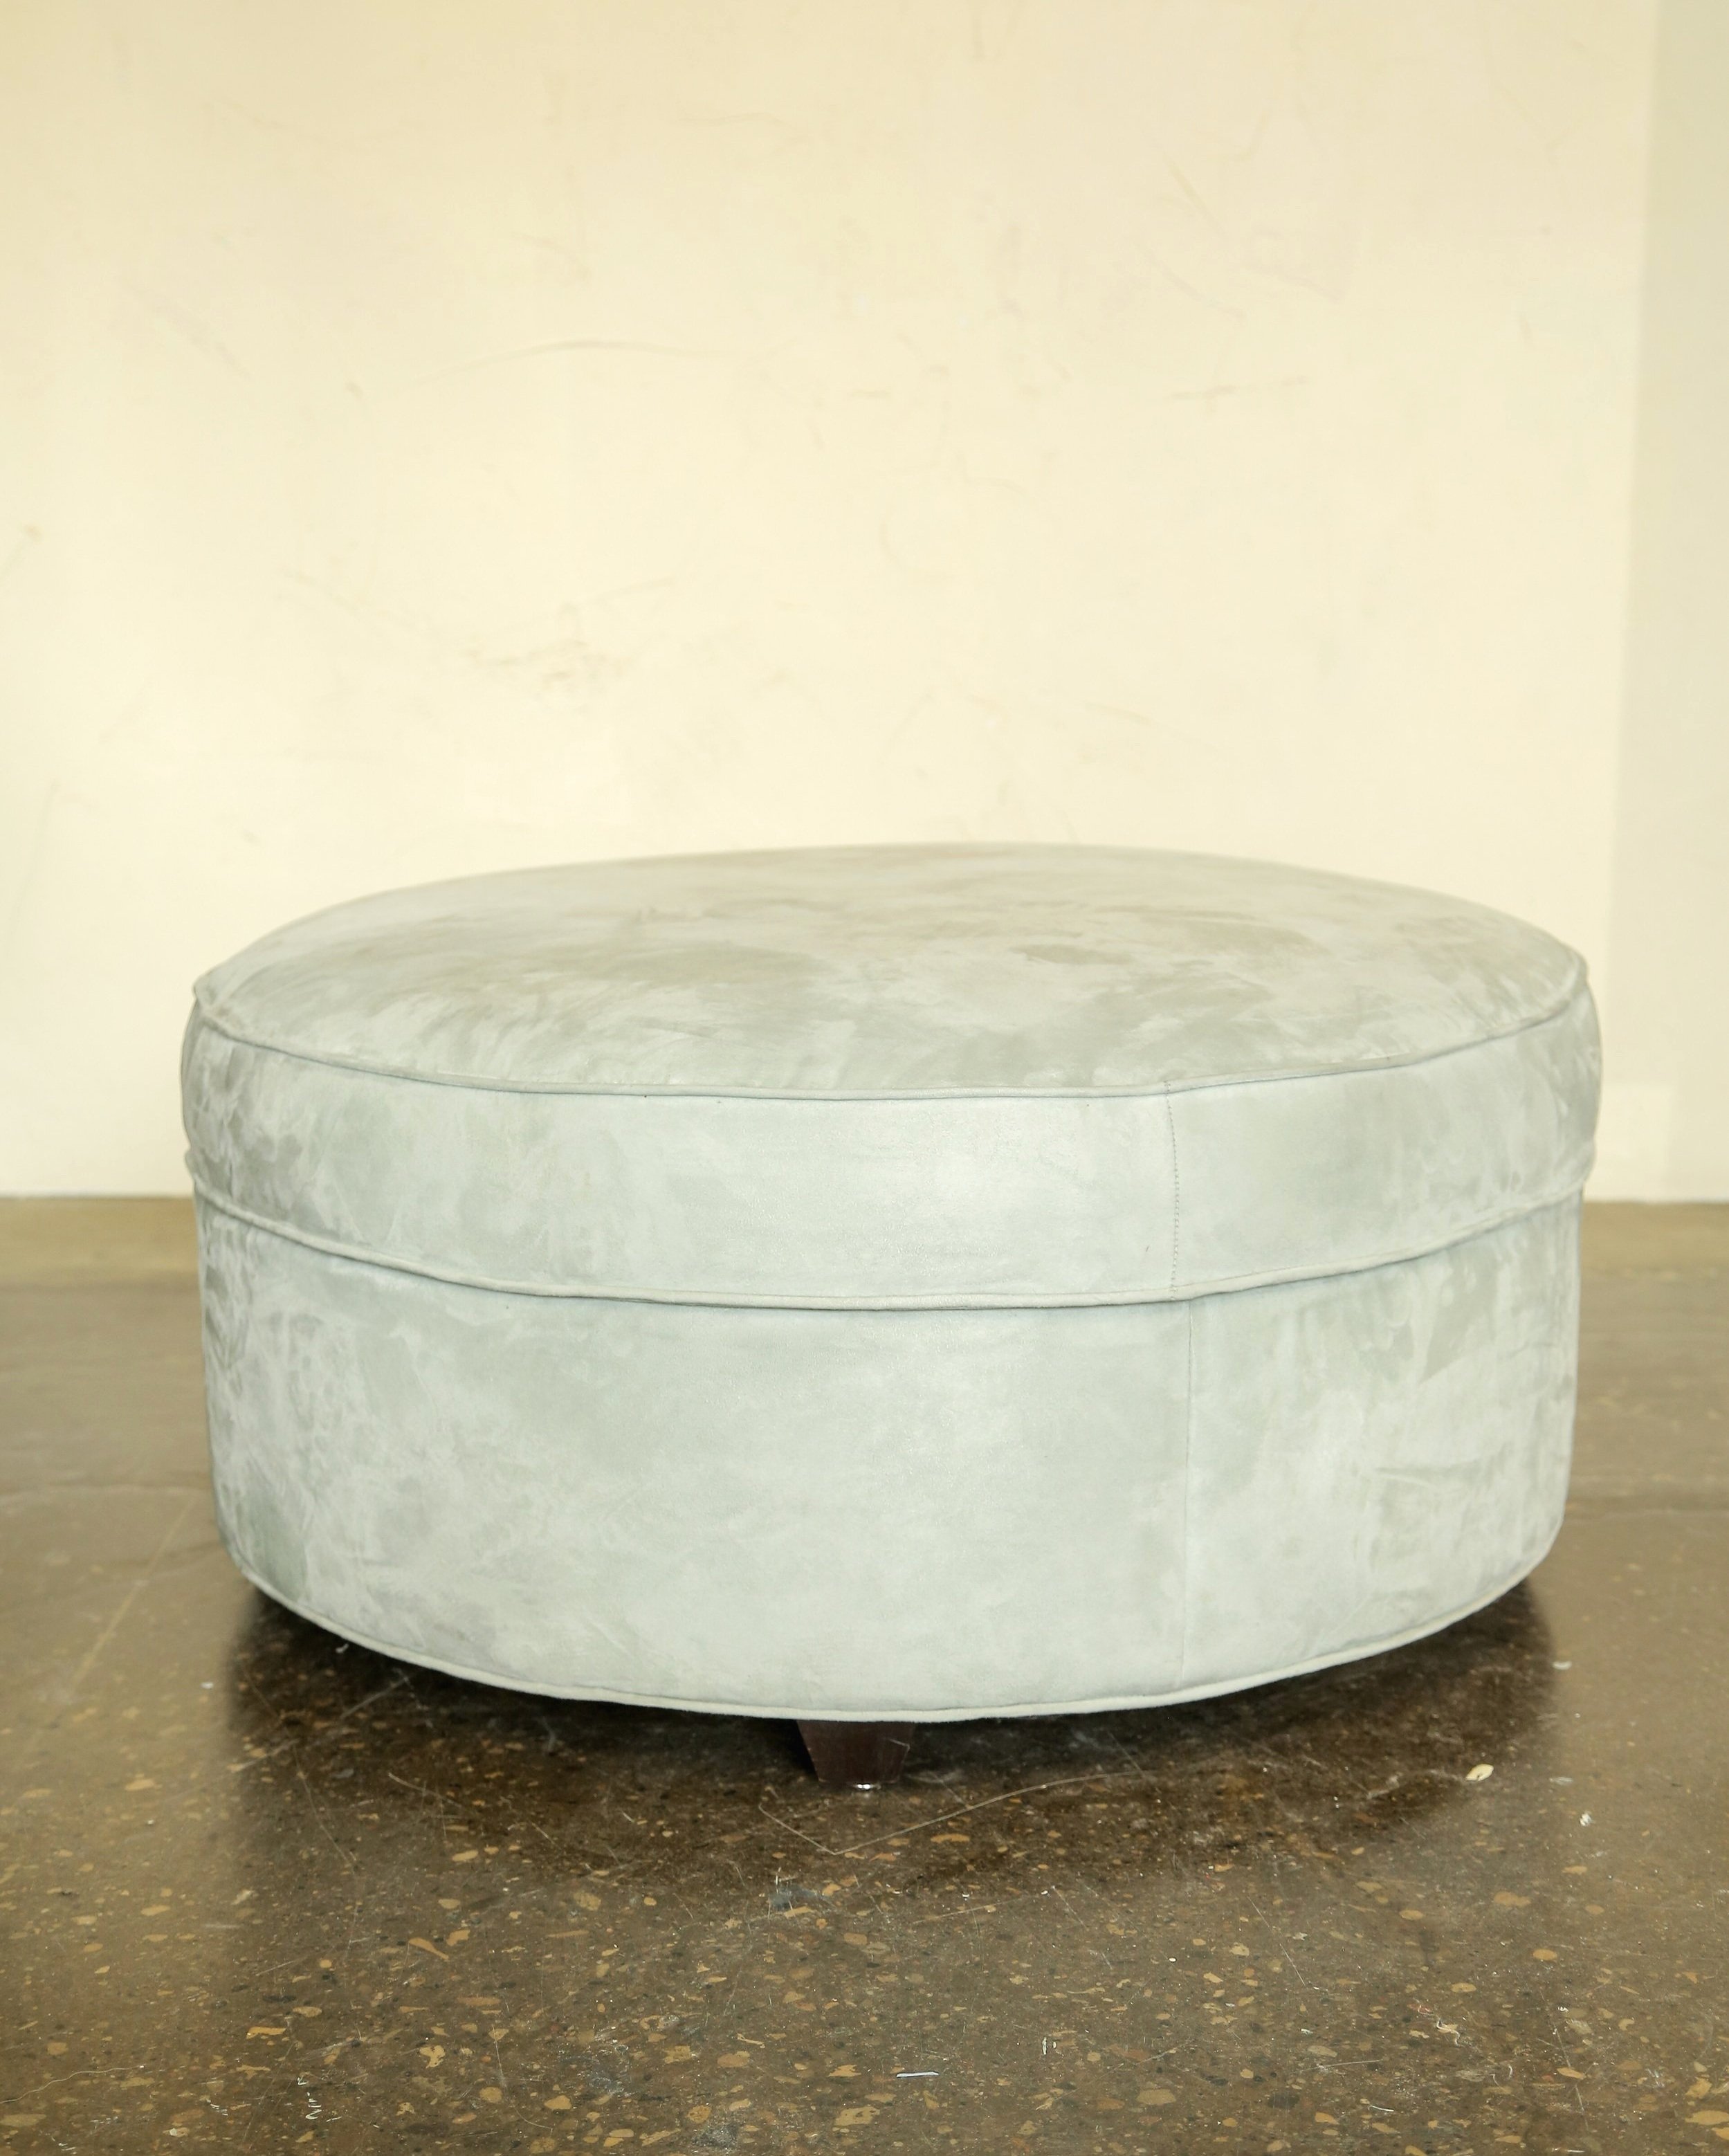
Hi all, Kelsey here! I snagged a secondhand ottoman off of Facebook Marketplace – it had so much potential with its perfect size and ample storage, but needed some serious aesthetic work. I wasn’t into the bluey-gray velvet fabric and on top of this, It wasn’t exactly stain-resistant. So, I got a quote to have it professionally reupholstered – brace yourself – $1,400! That's when I decided to DIY it and share the journey with you.
Materials:
Fabric
Piping
Staple gun
Upholstery tack strip
Hammer
Primer & Primer (optional)
Sewing machine with zipper foot
Patience and determination
Step 1: Measure and Plan
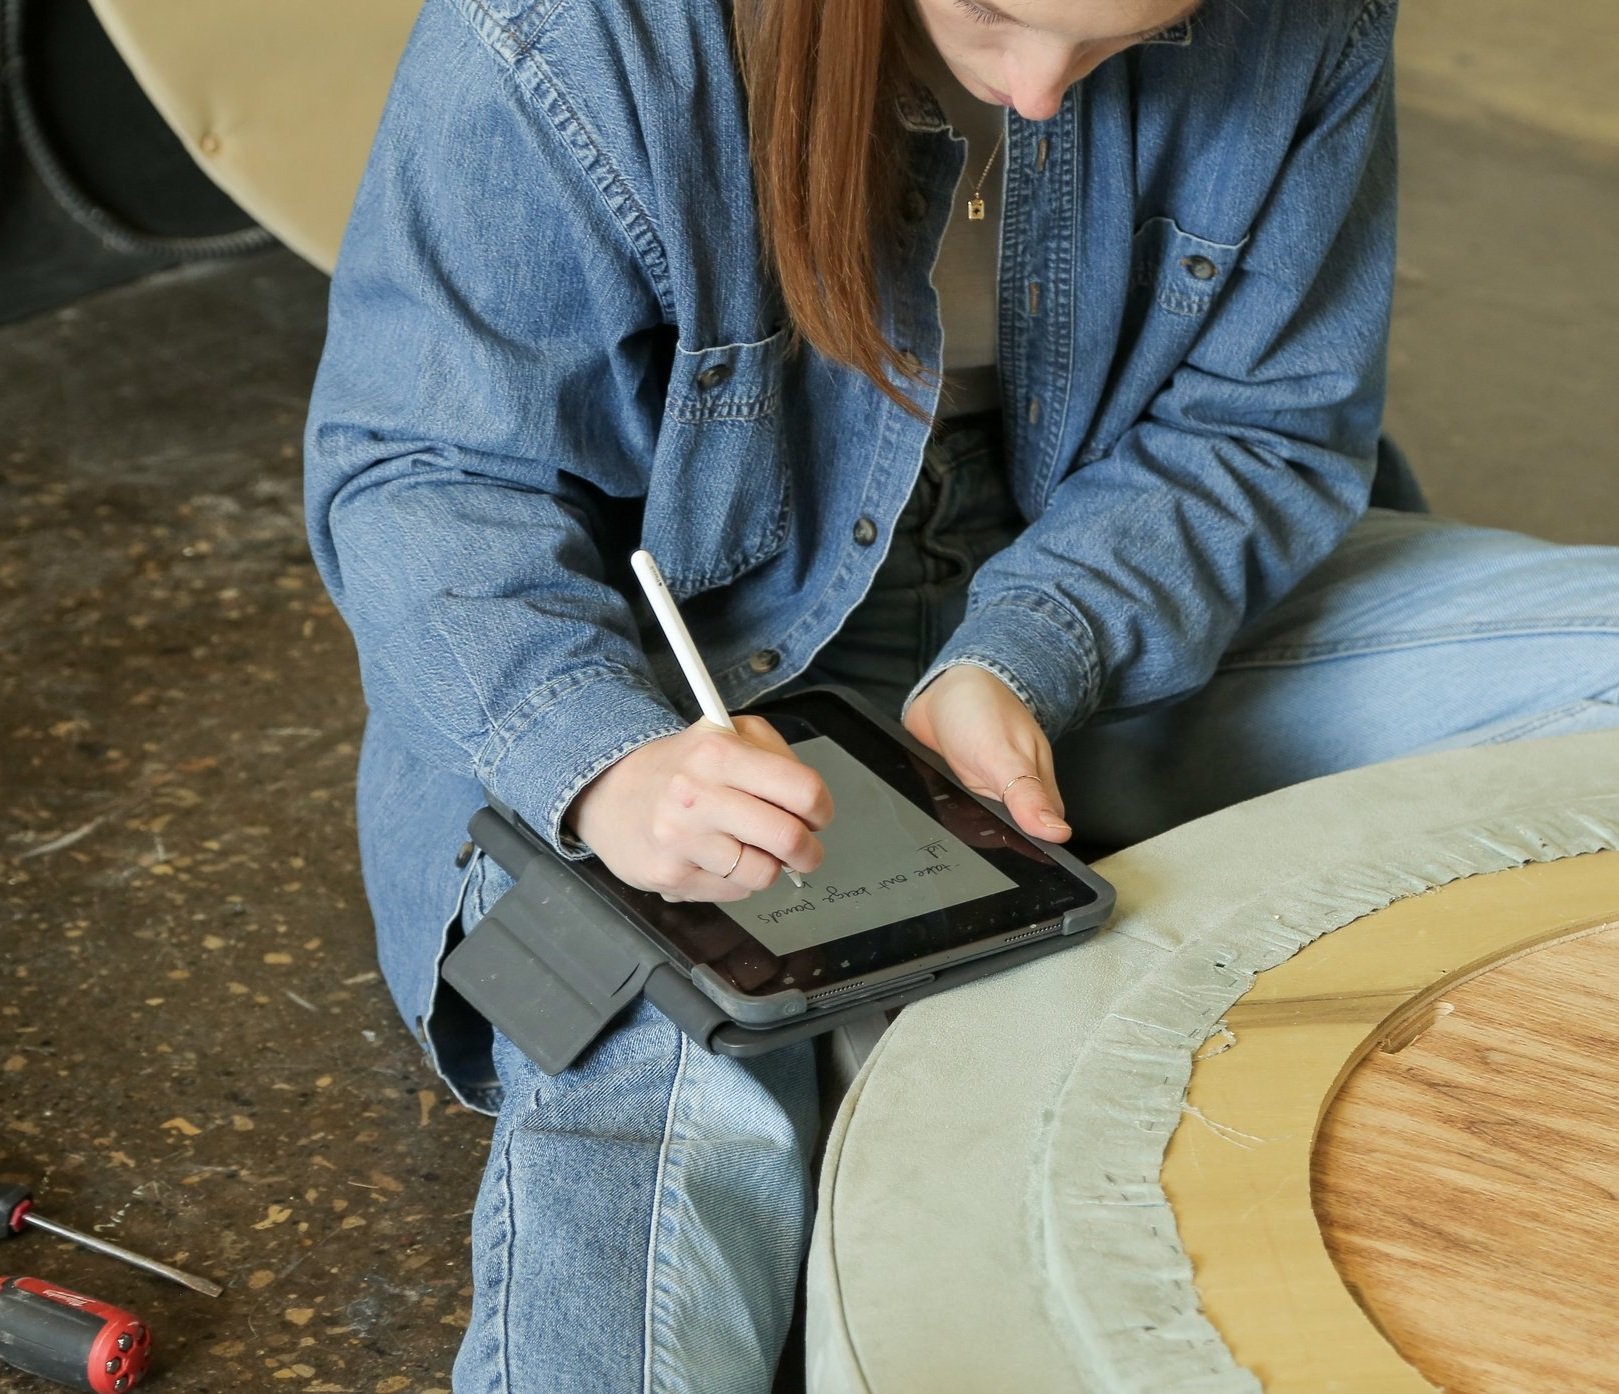
Before diving into the project, measure your ottoman to determine how much fabric you'll need. Take note of any existing piping or seams that you want to replicate in your reupholstering.
Step 2: Fabric Shopping
Head to your local fabric store and select your desired fabric for the reupholstering. Consider factors like durability and stain resistance. Also, pick up any necessary supplies like piping and upholstery staples.
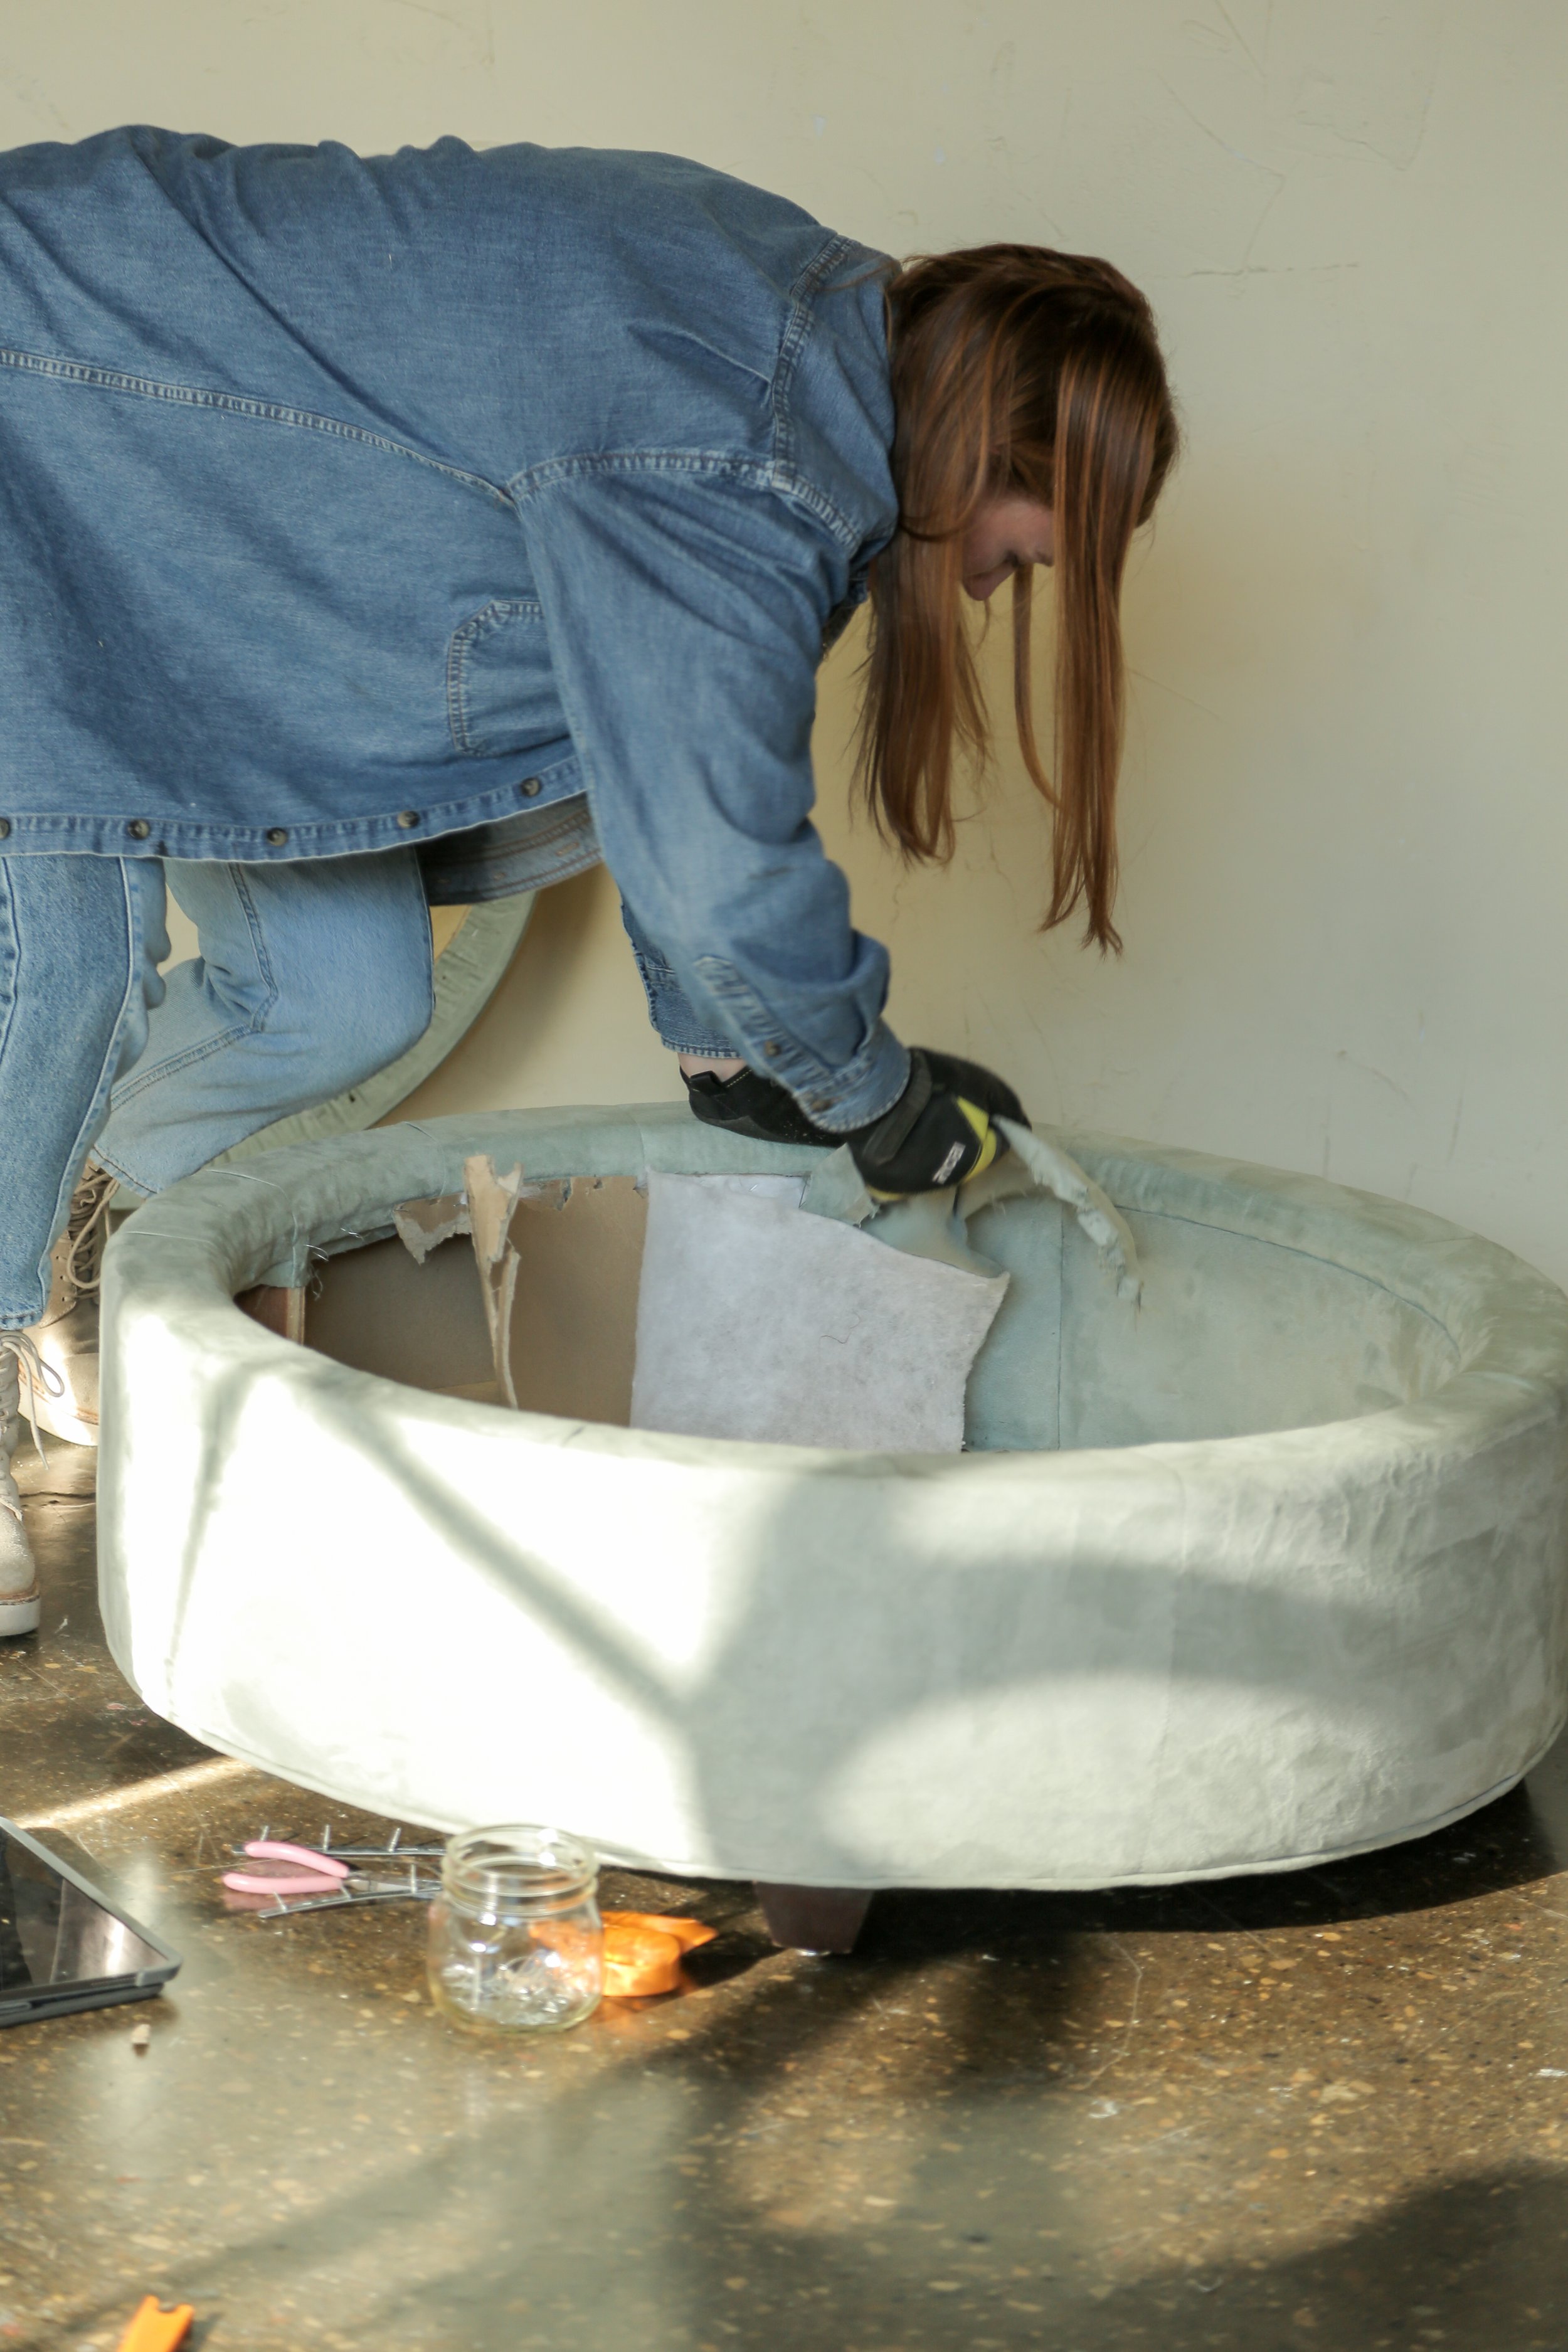
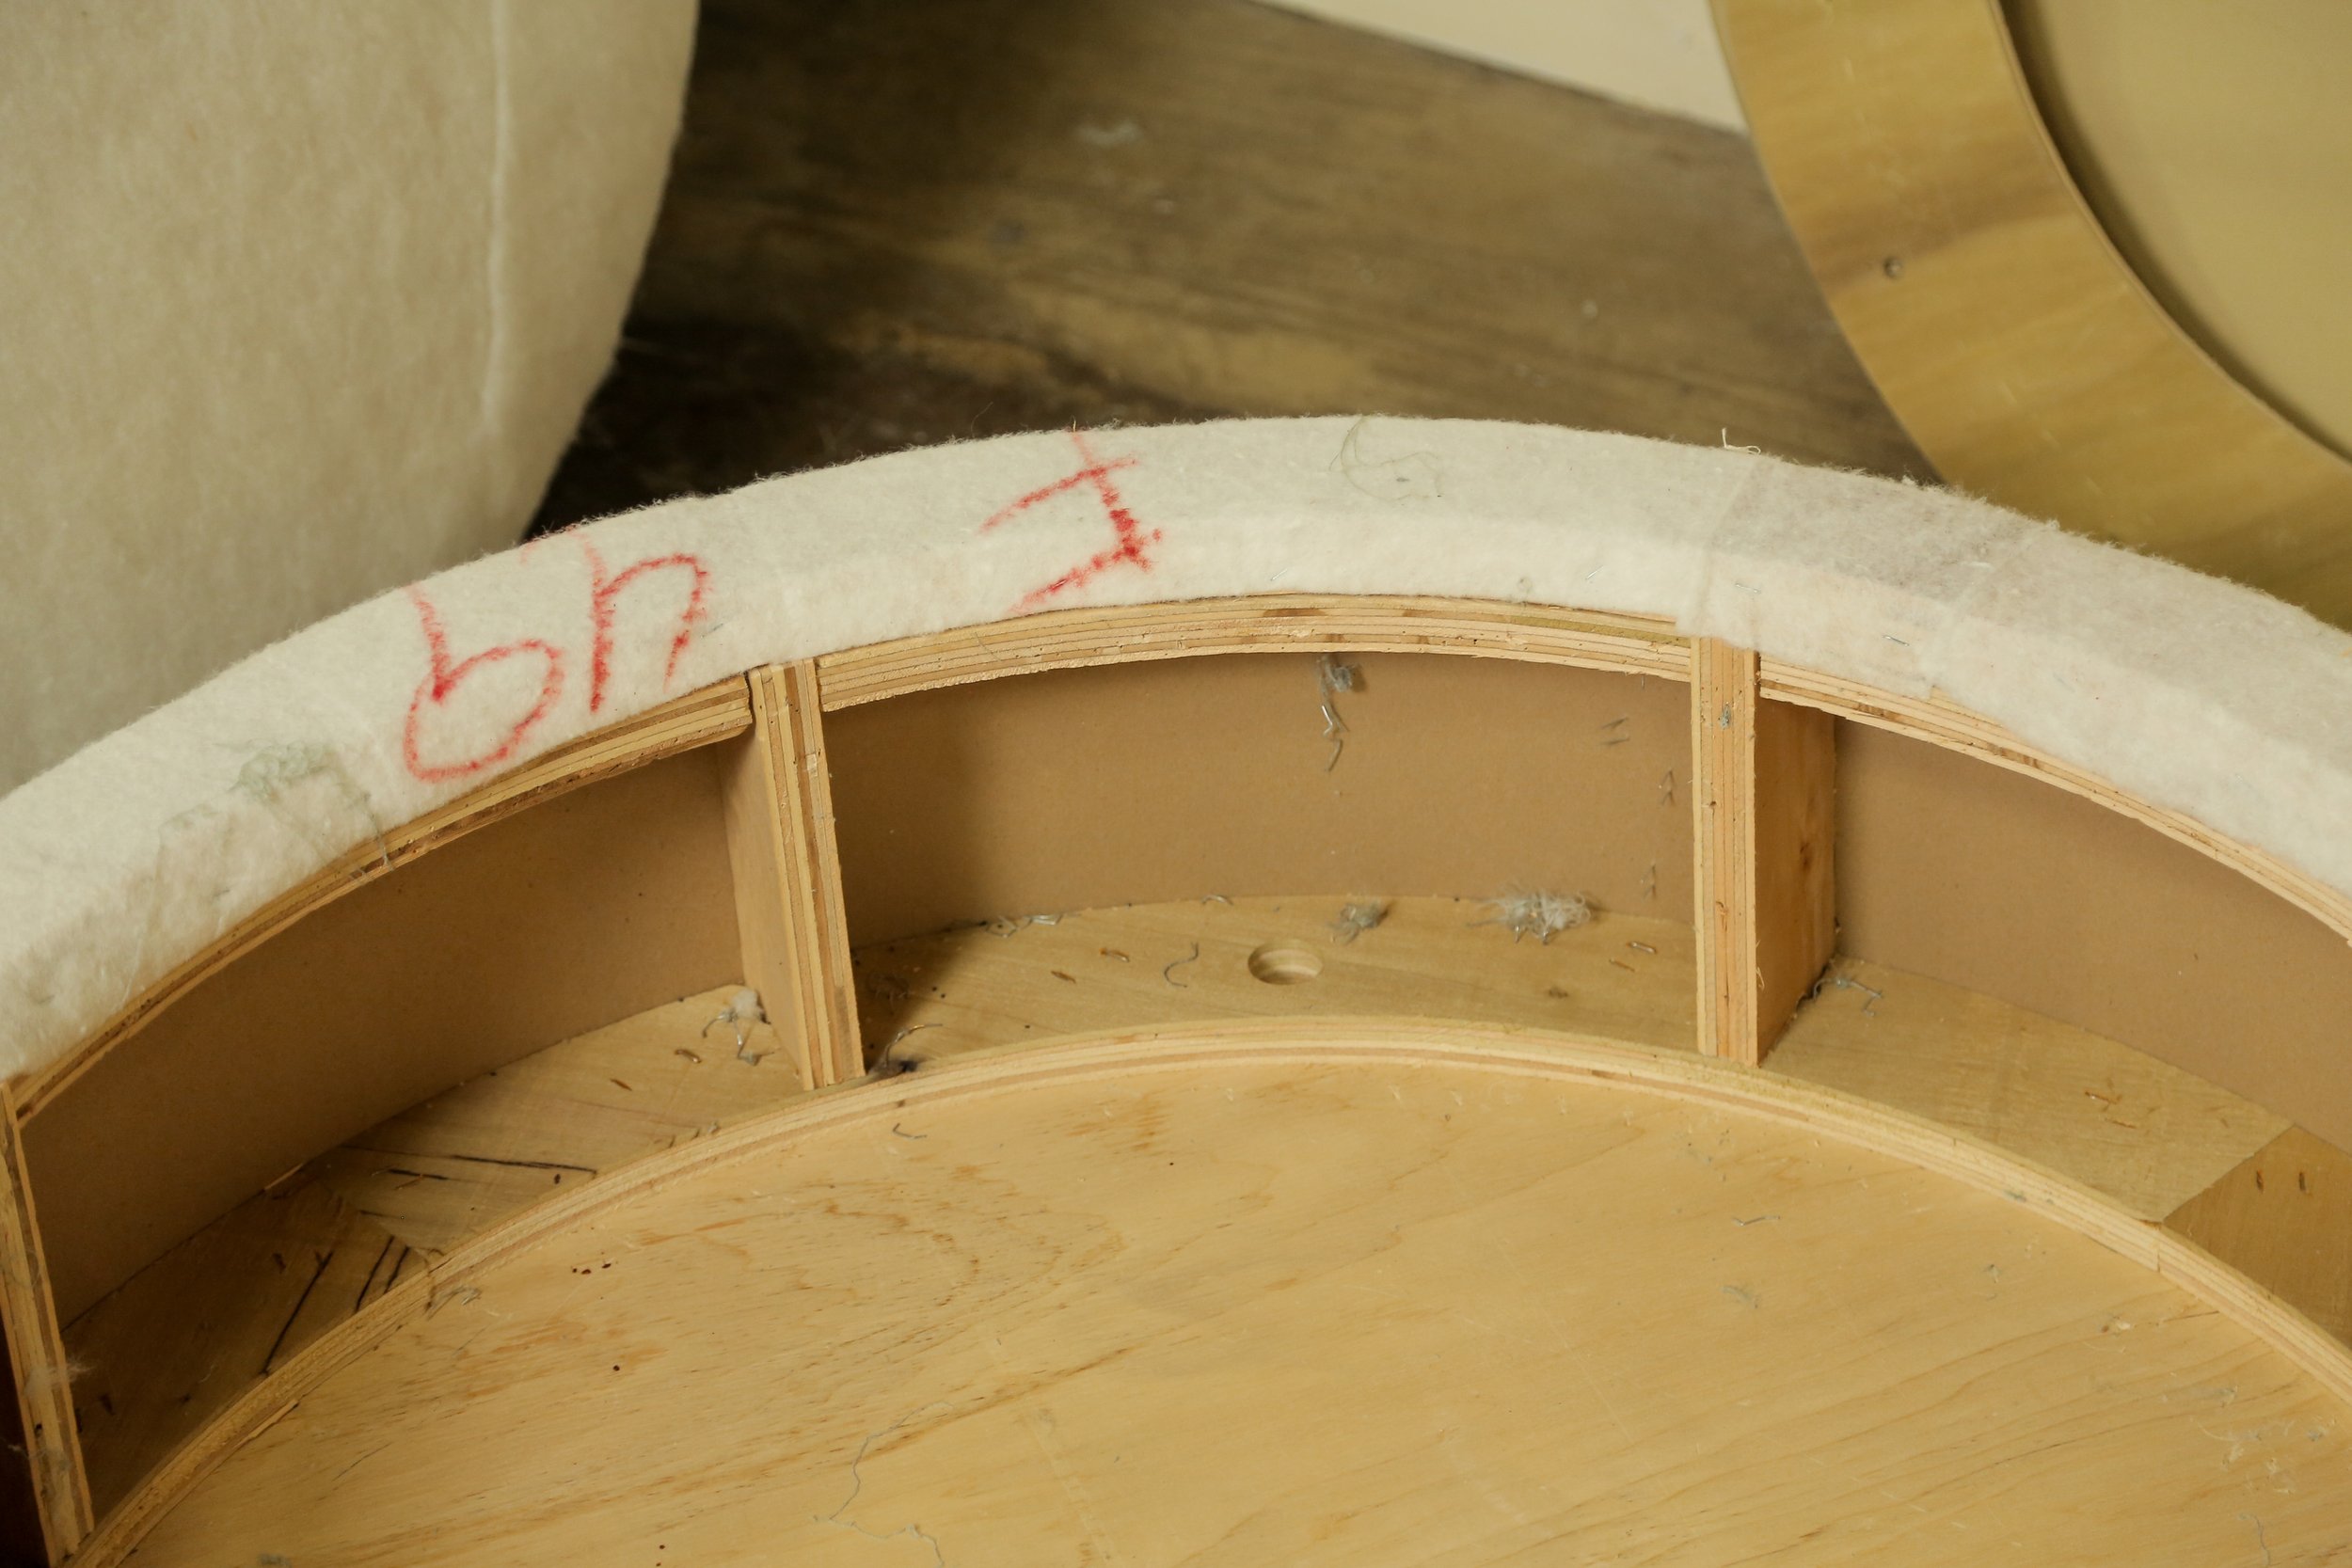
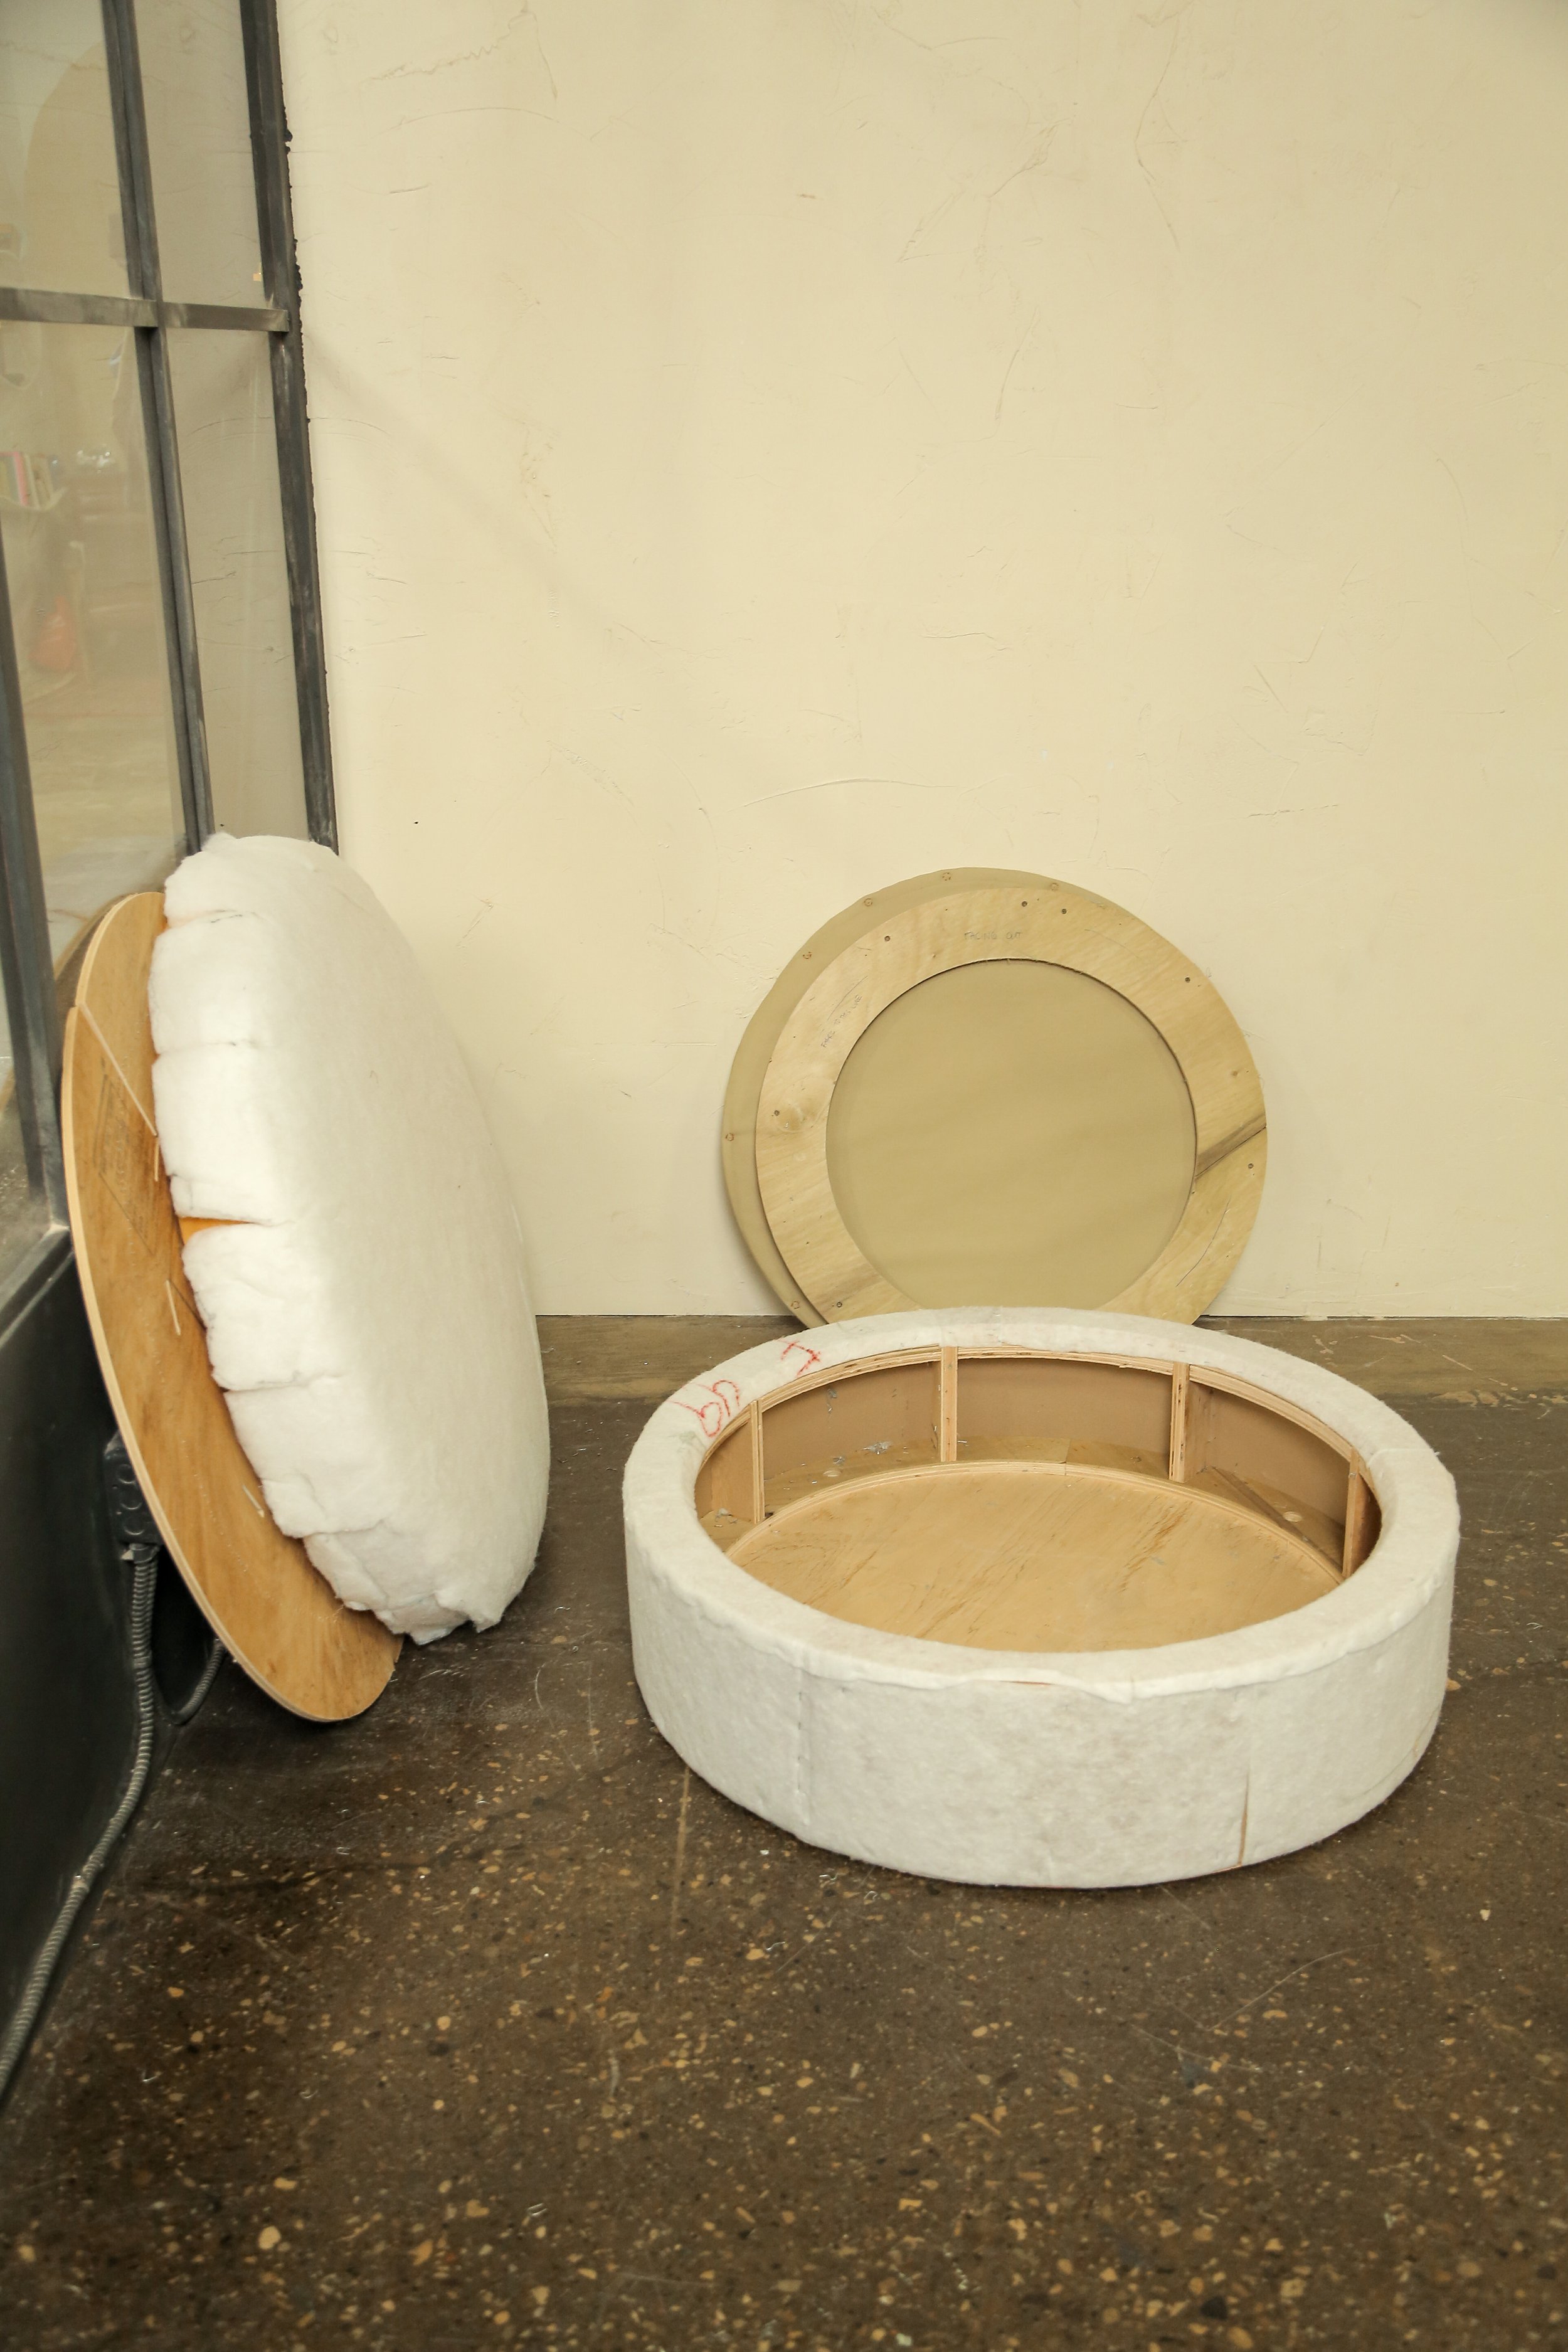
Step 3: Deconstructing the Ottoman
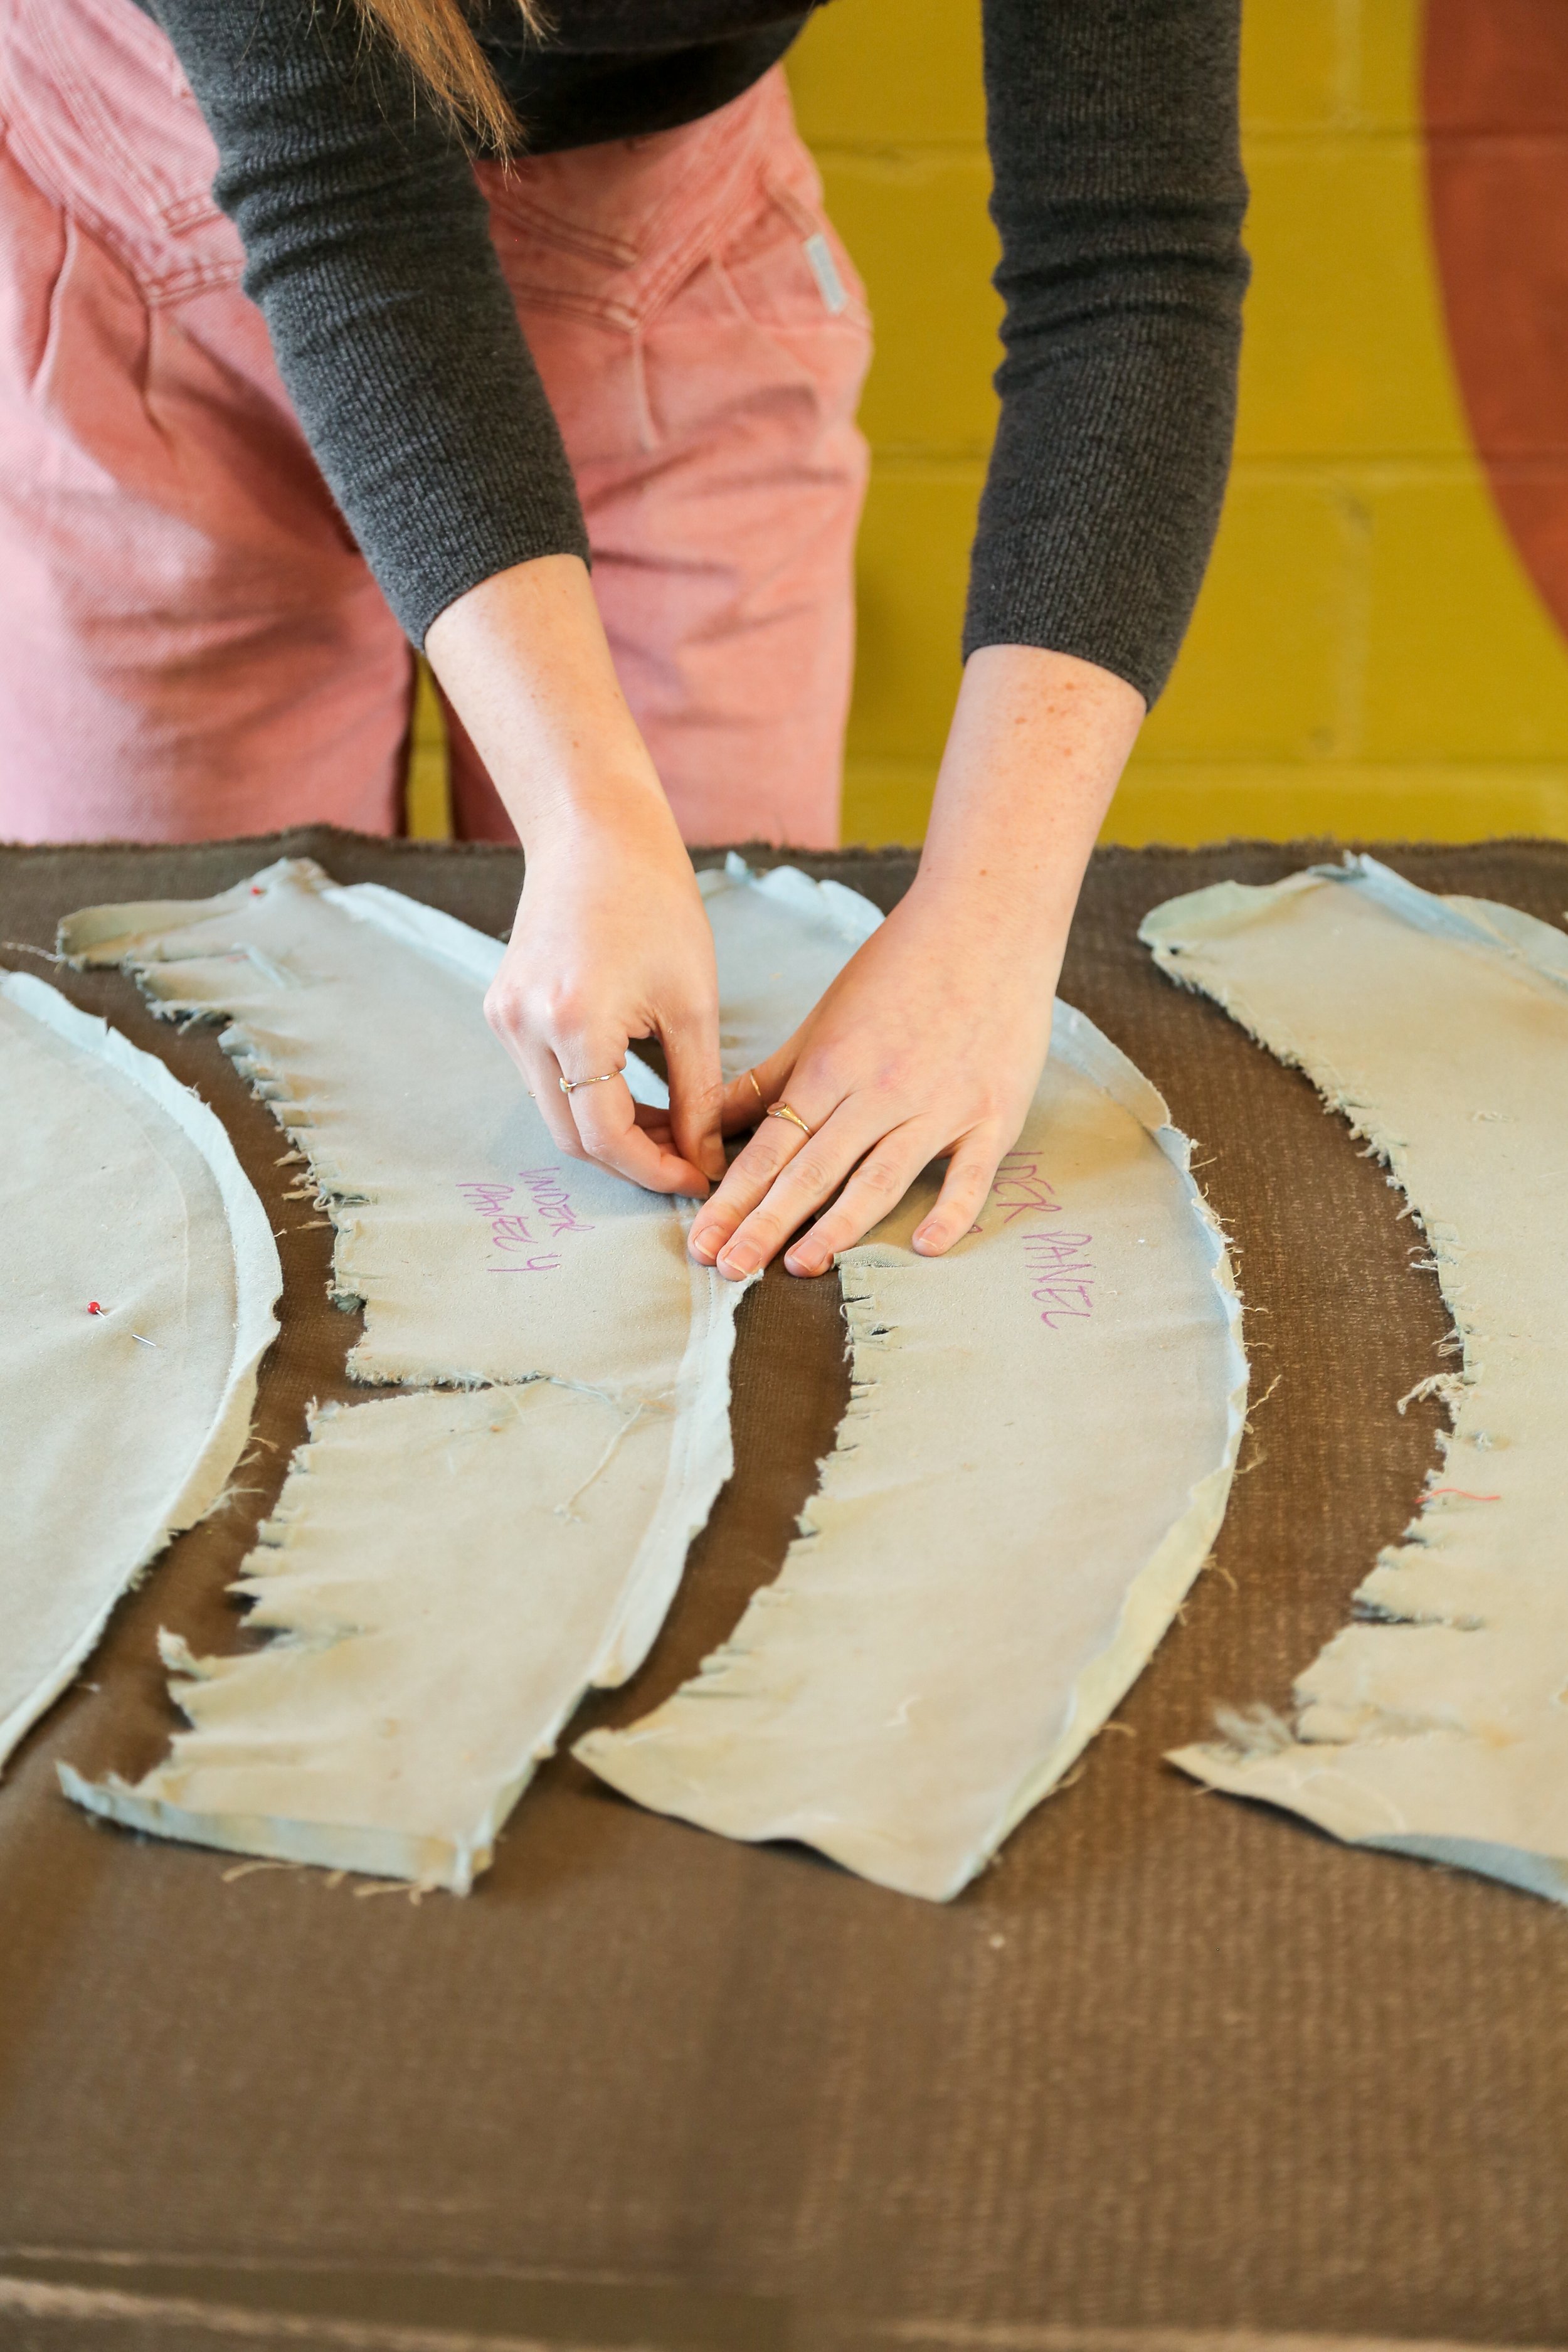
Carefully deconstruct the ottoman, taking plenty of pictures along the way. Keep track of how the fabric pieces are assembled, as you'll use them as templates for cutting your new fabric.
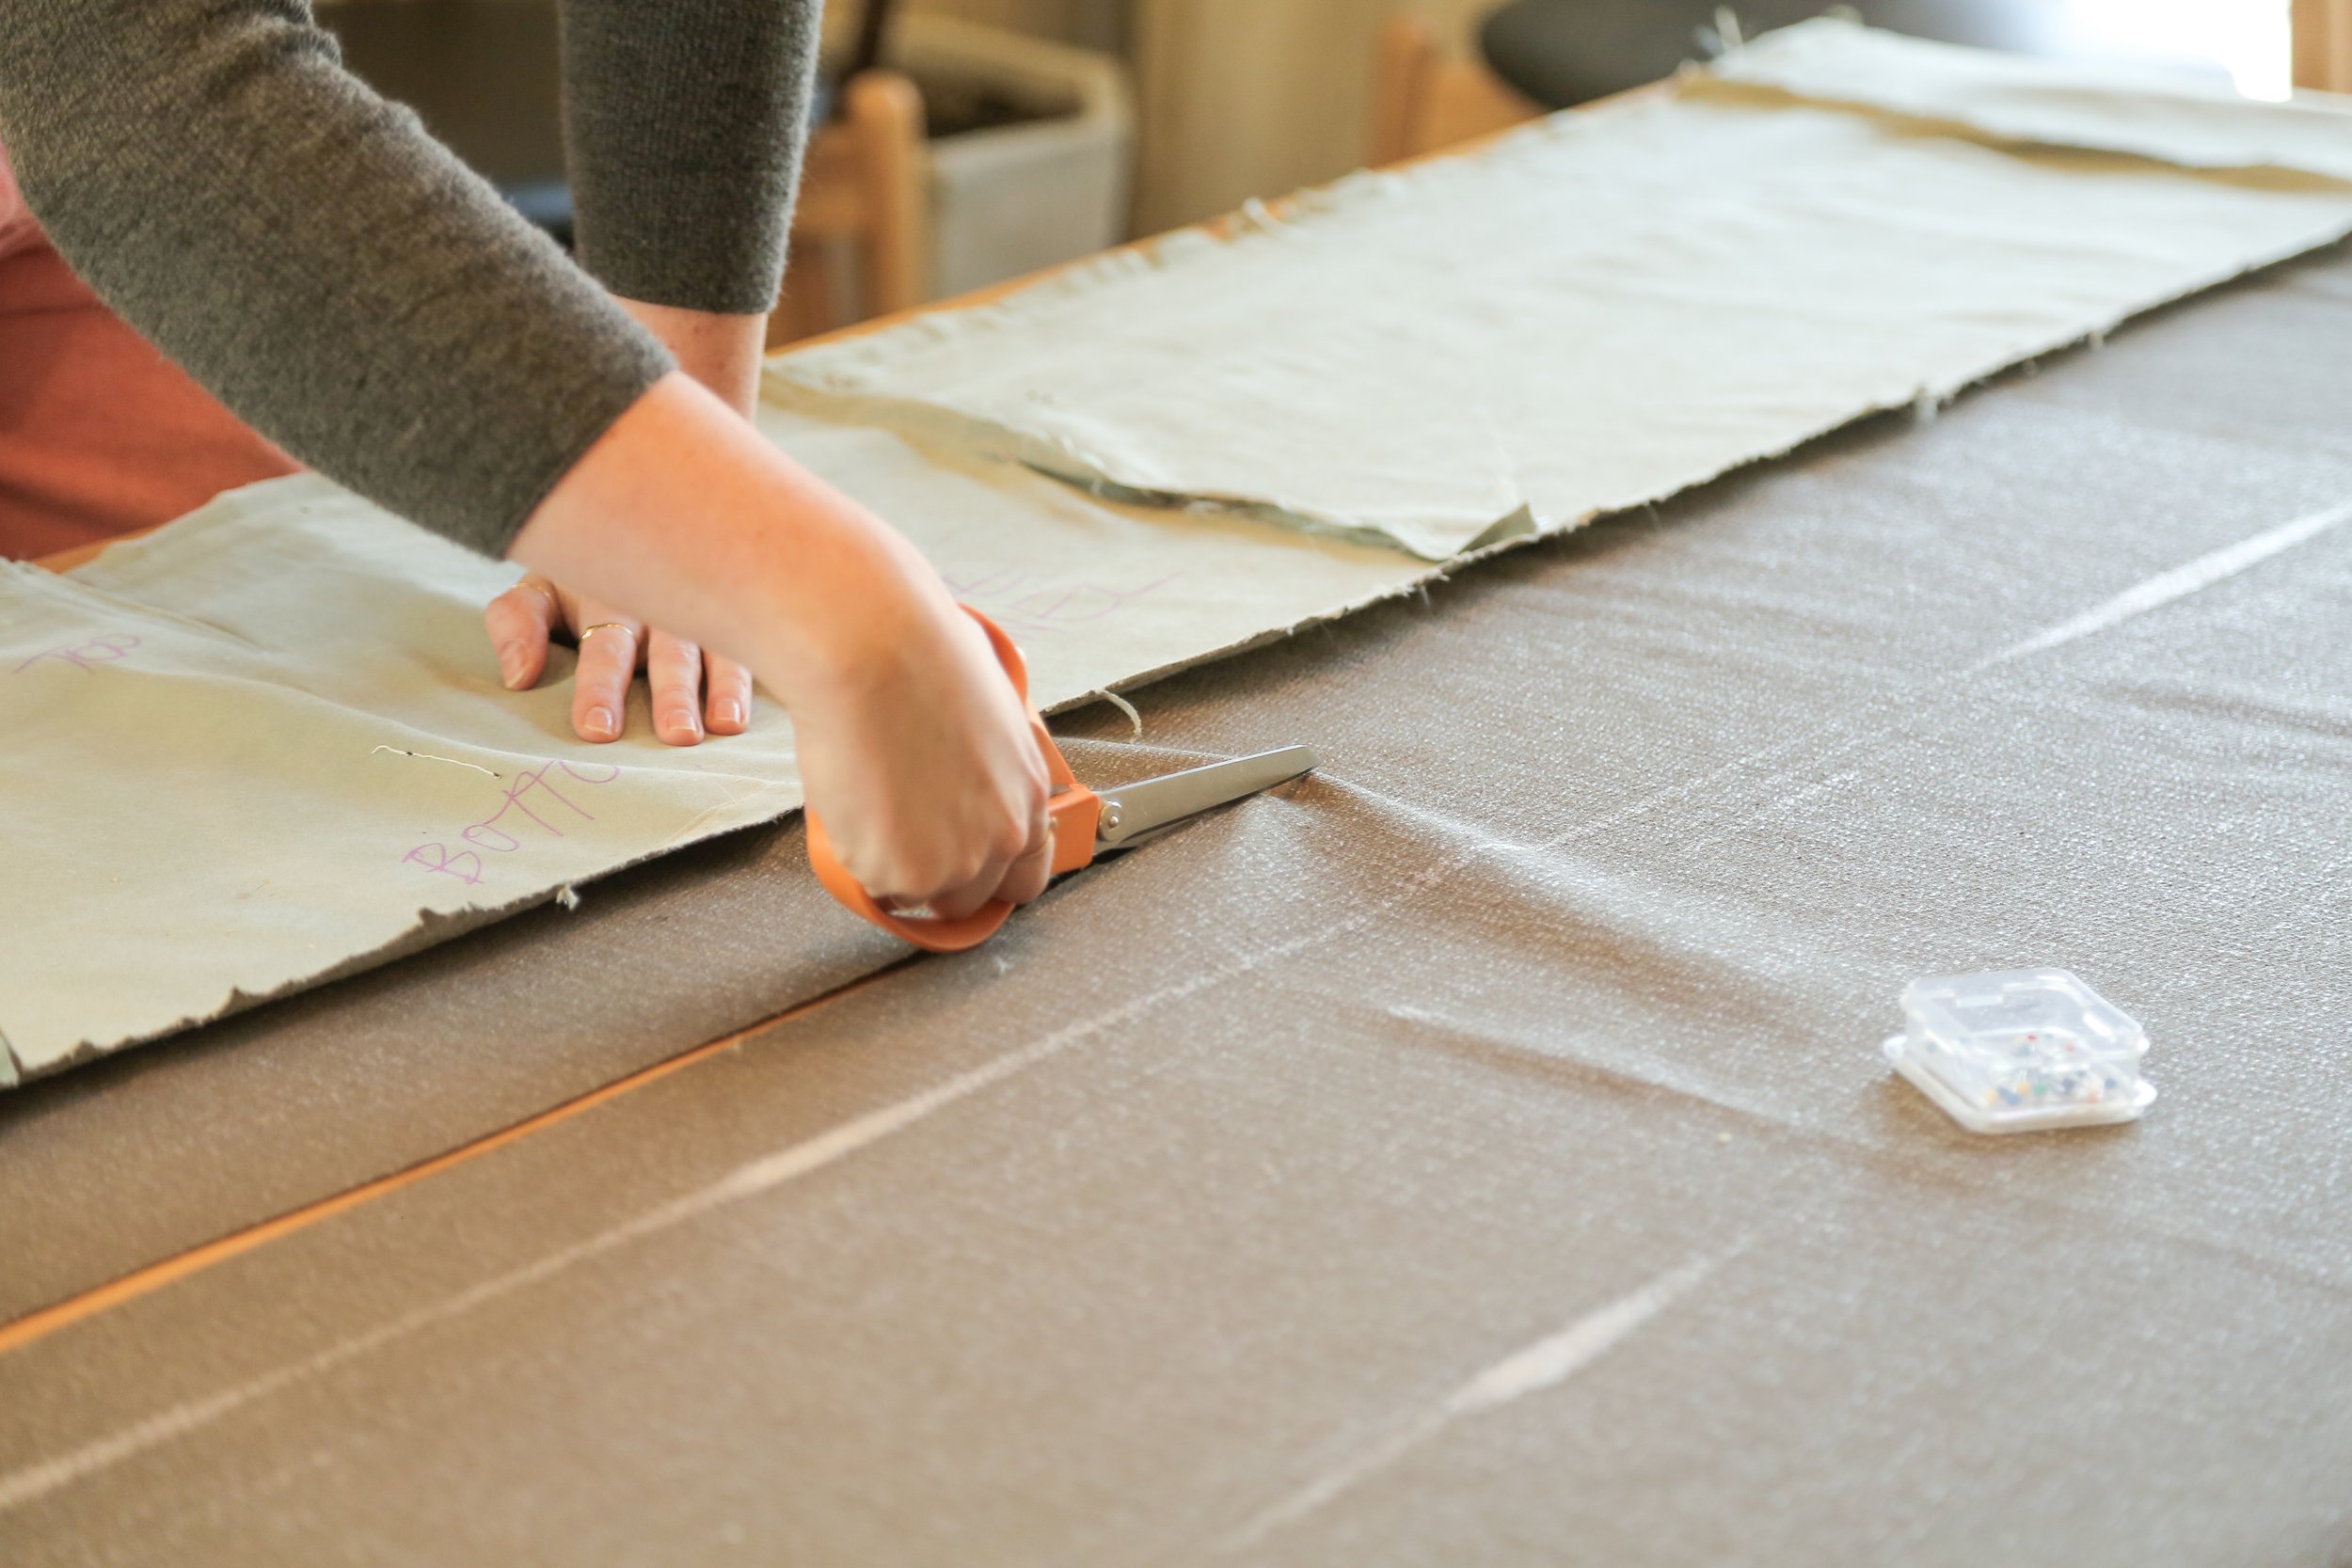
Step 4: Cutting Out New Pieces
Use the old fabric pieces as templates to cut new panels from your chosen fabric. Pay attention to any sewing or seam details that you want to replicate.
Step 5: Sewing (if necessary)
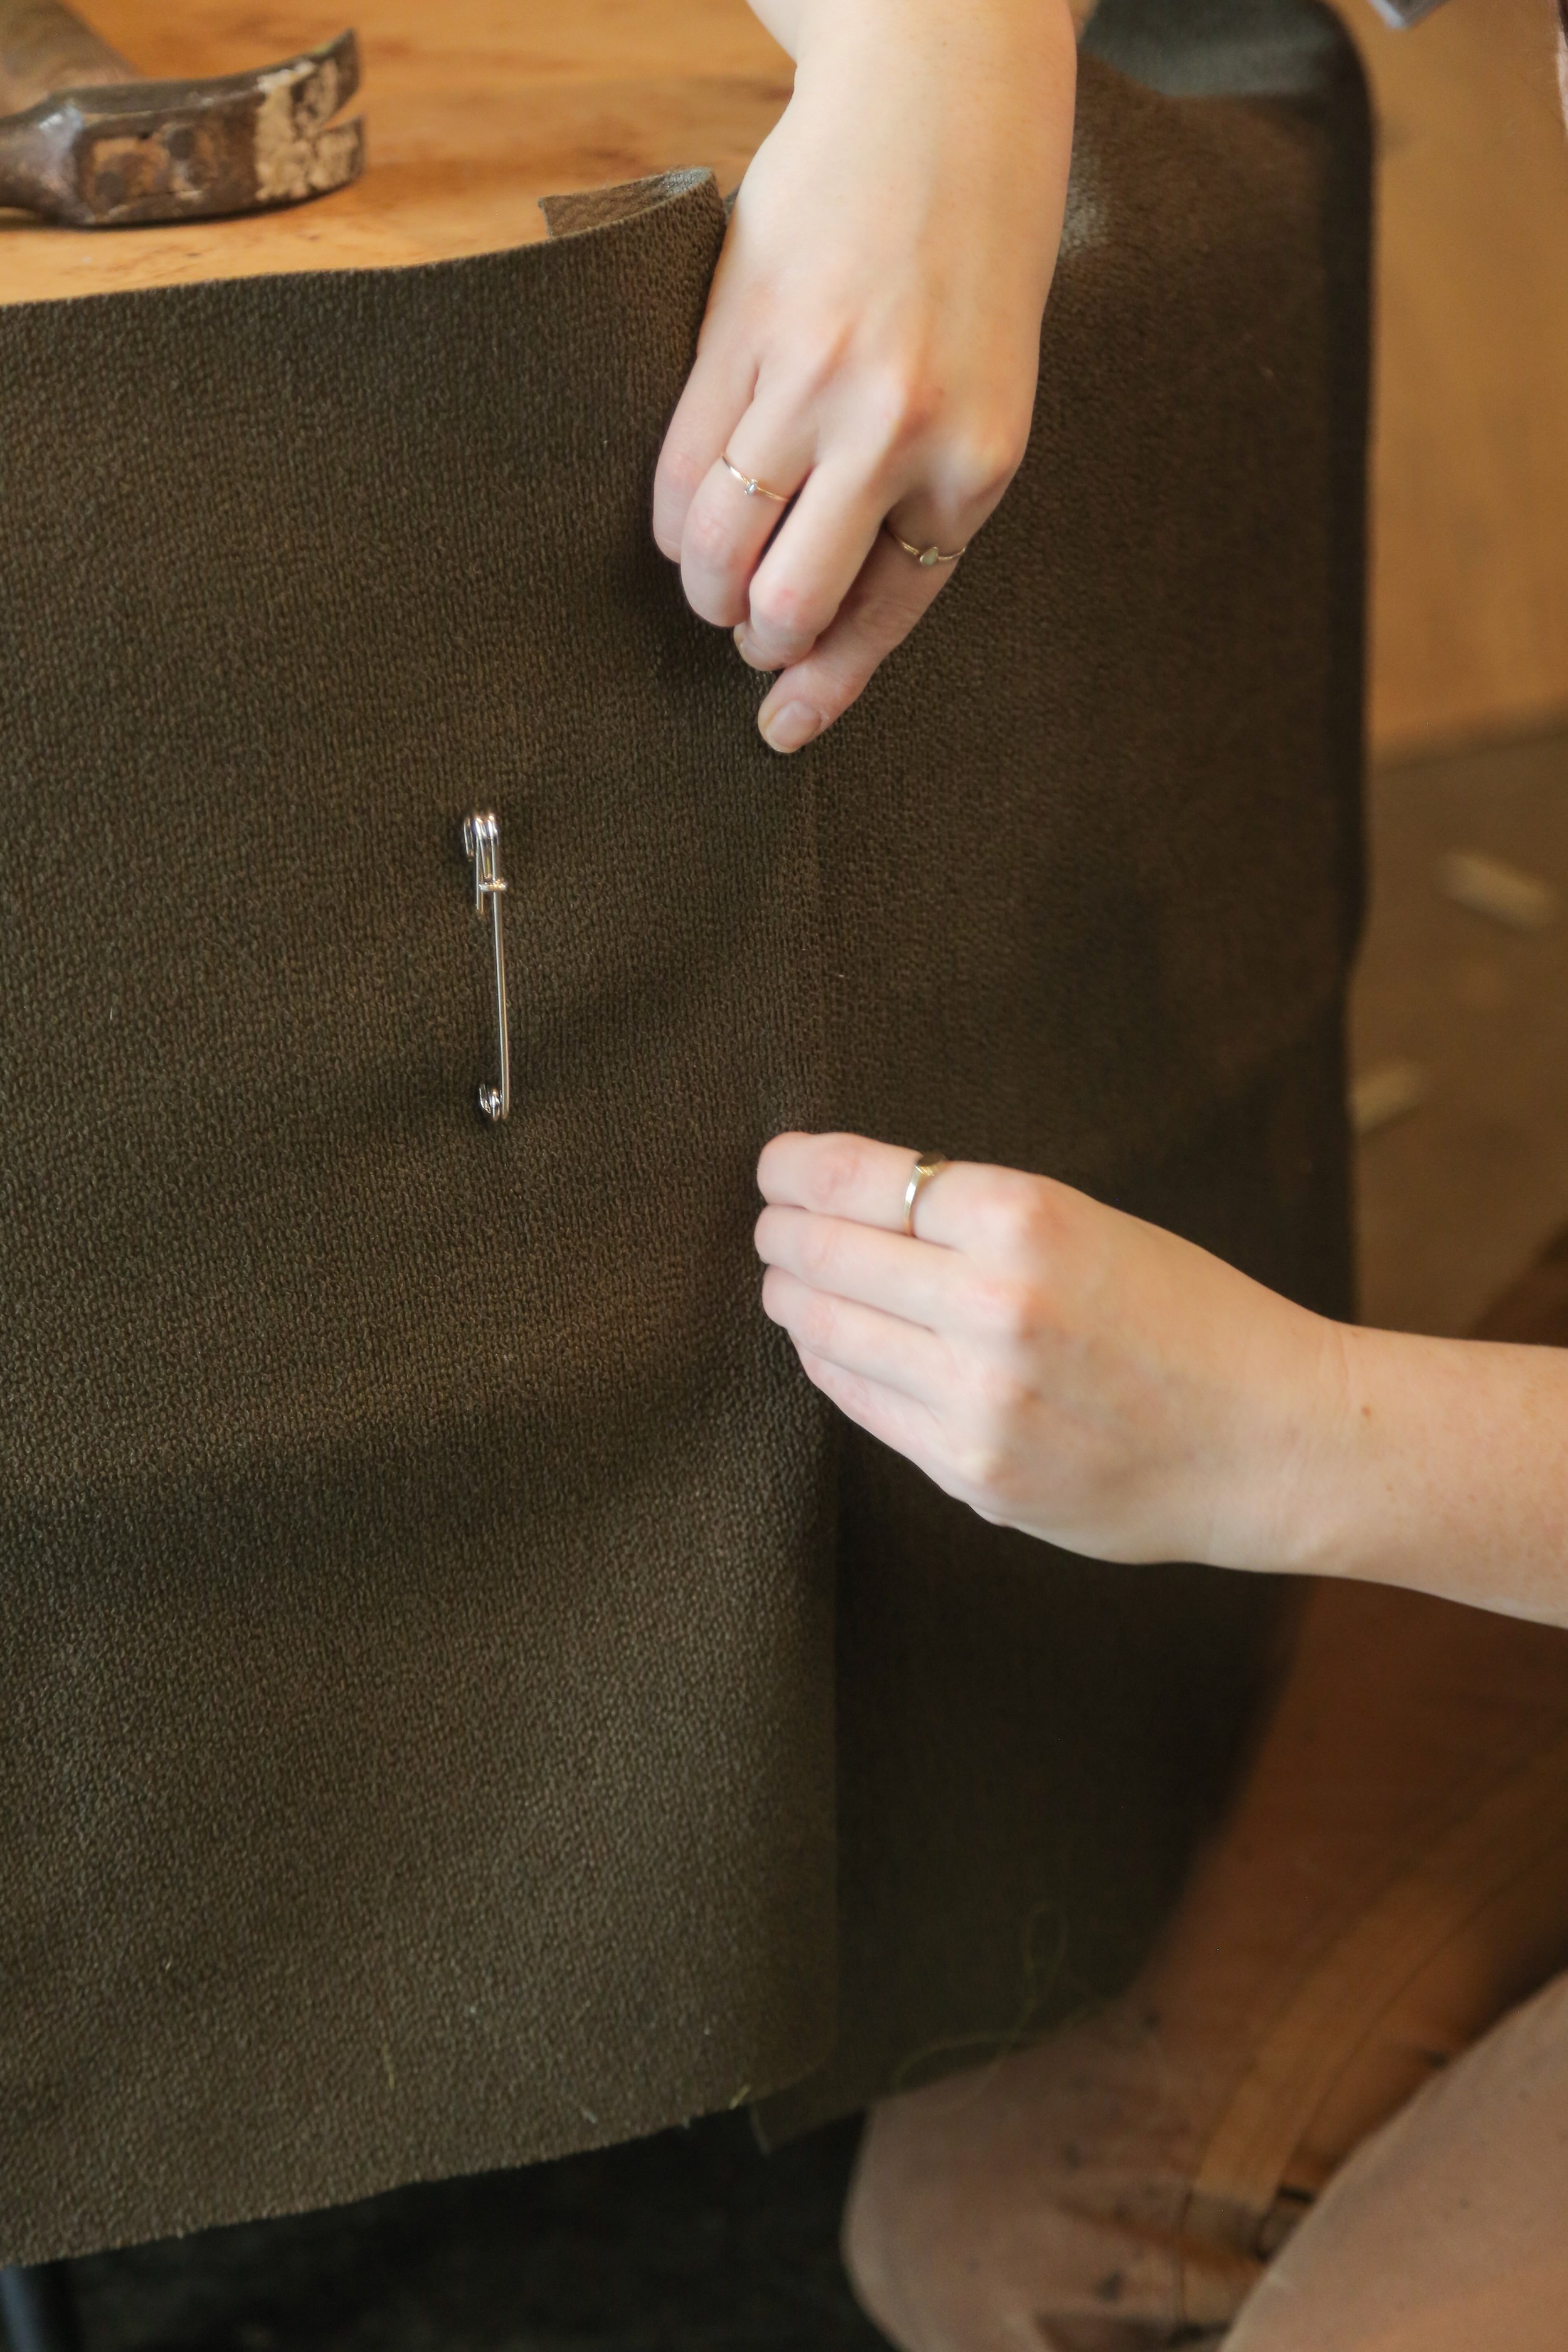
Depending on the design of your ottoman, you may need to sew some pieces together. Focus on sewing the top piece and any seams required for the sides.
Step 6: Adding Piping (Optional)
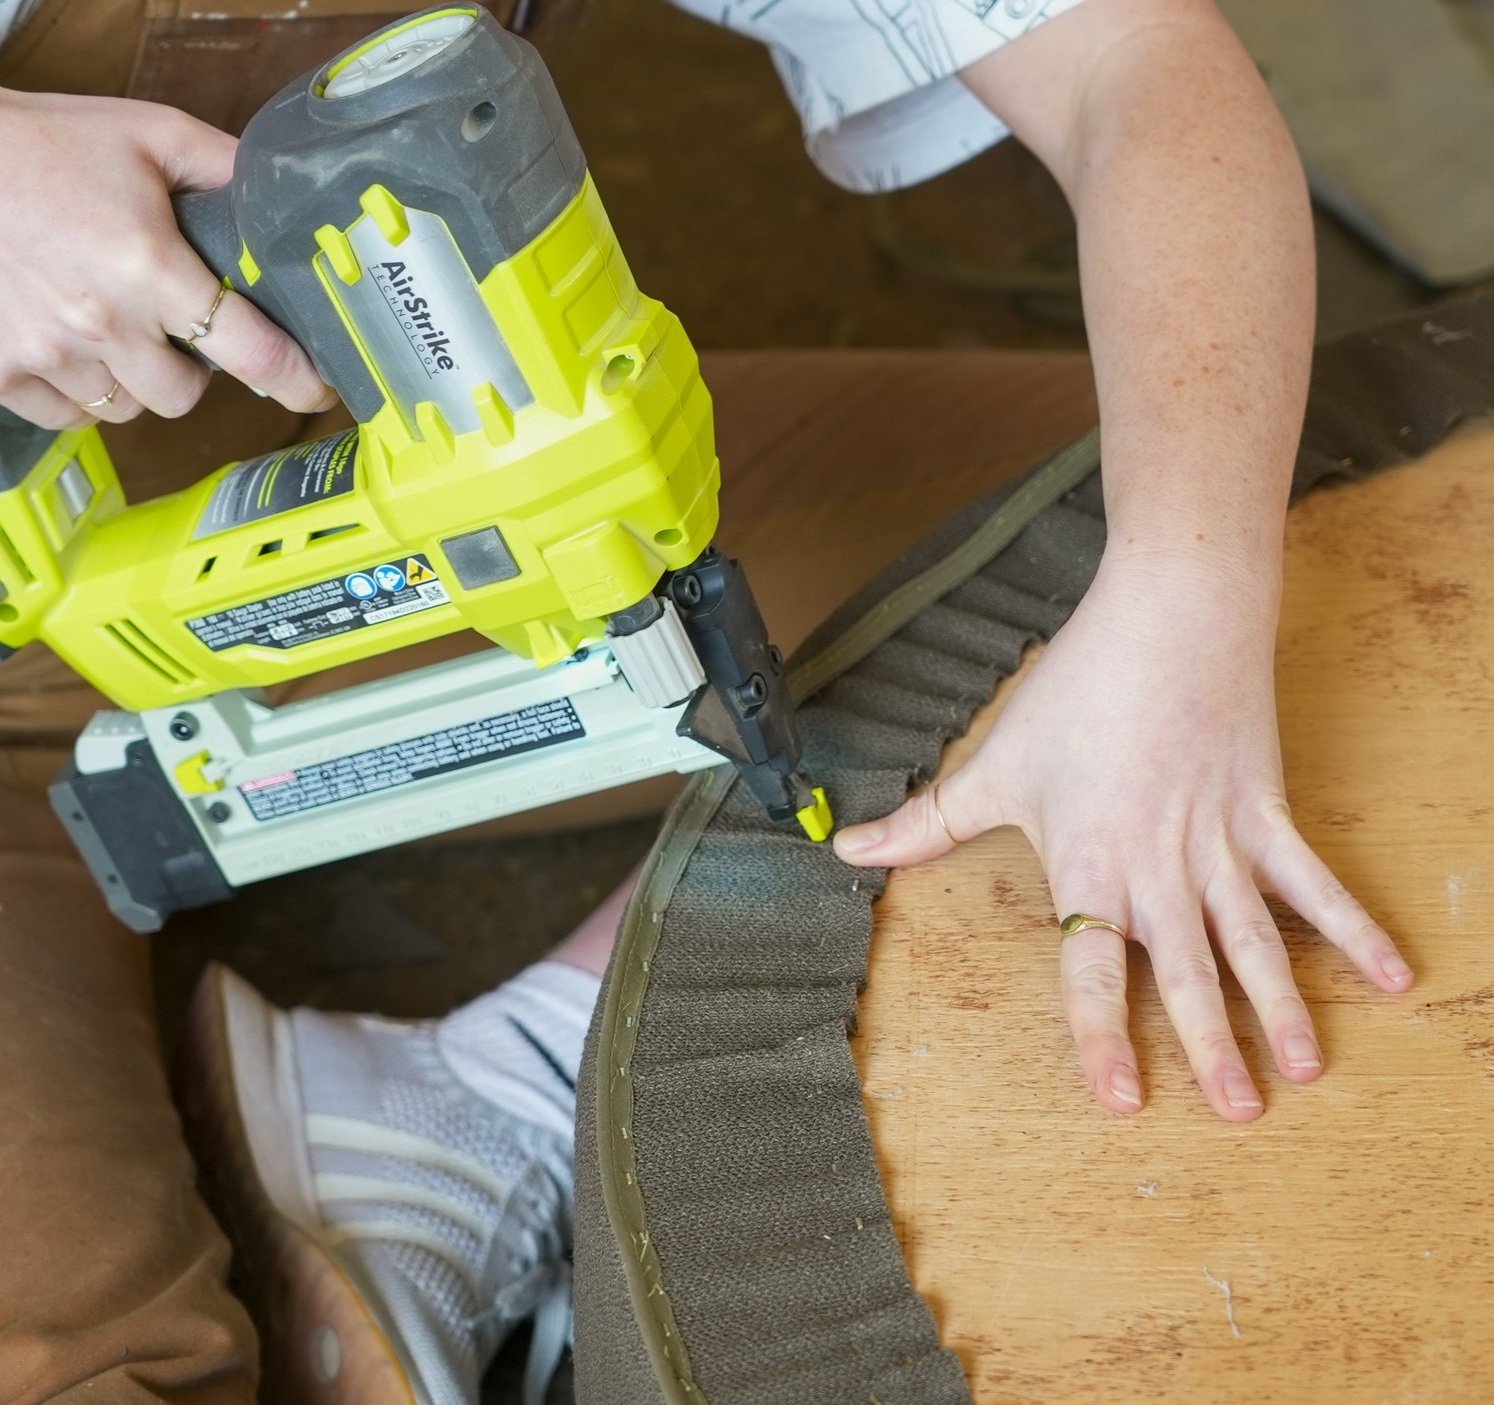
If you're including piping, carefully attach in between the seams of the ottoman using a zipper foot on your sewing machine. Ensure the piping is neatly sewn and matches the design of the ottoman. You can also attach piping using a staple gun along the bottom edges of your project.
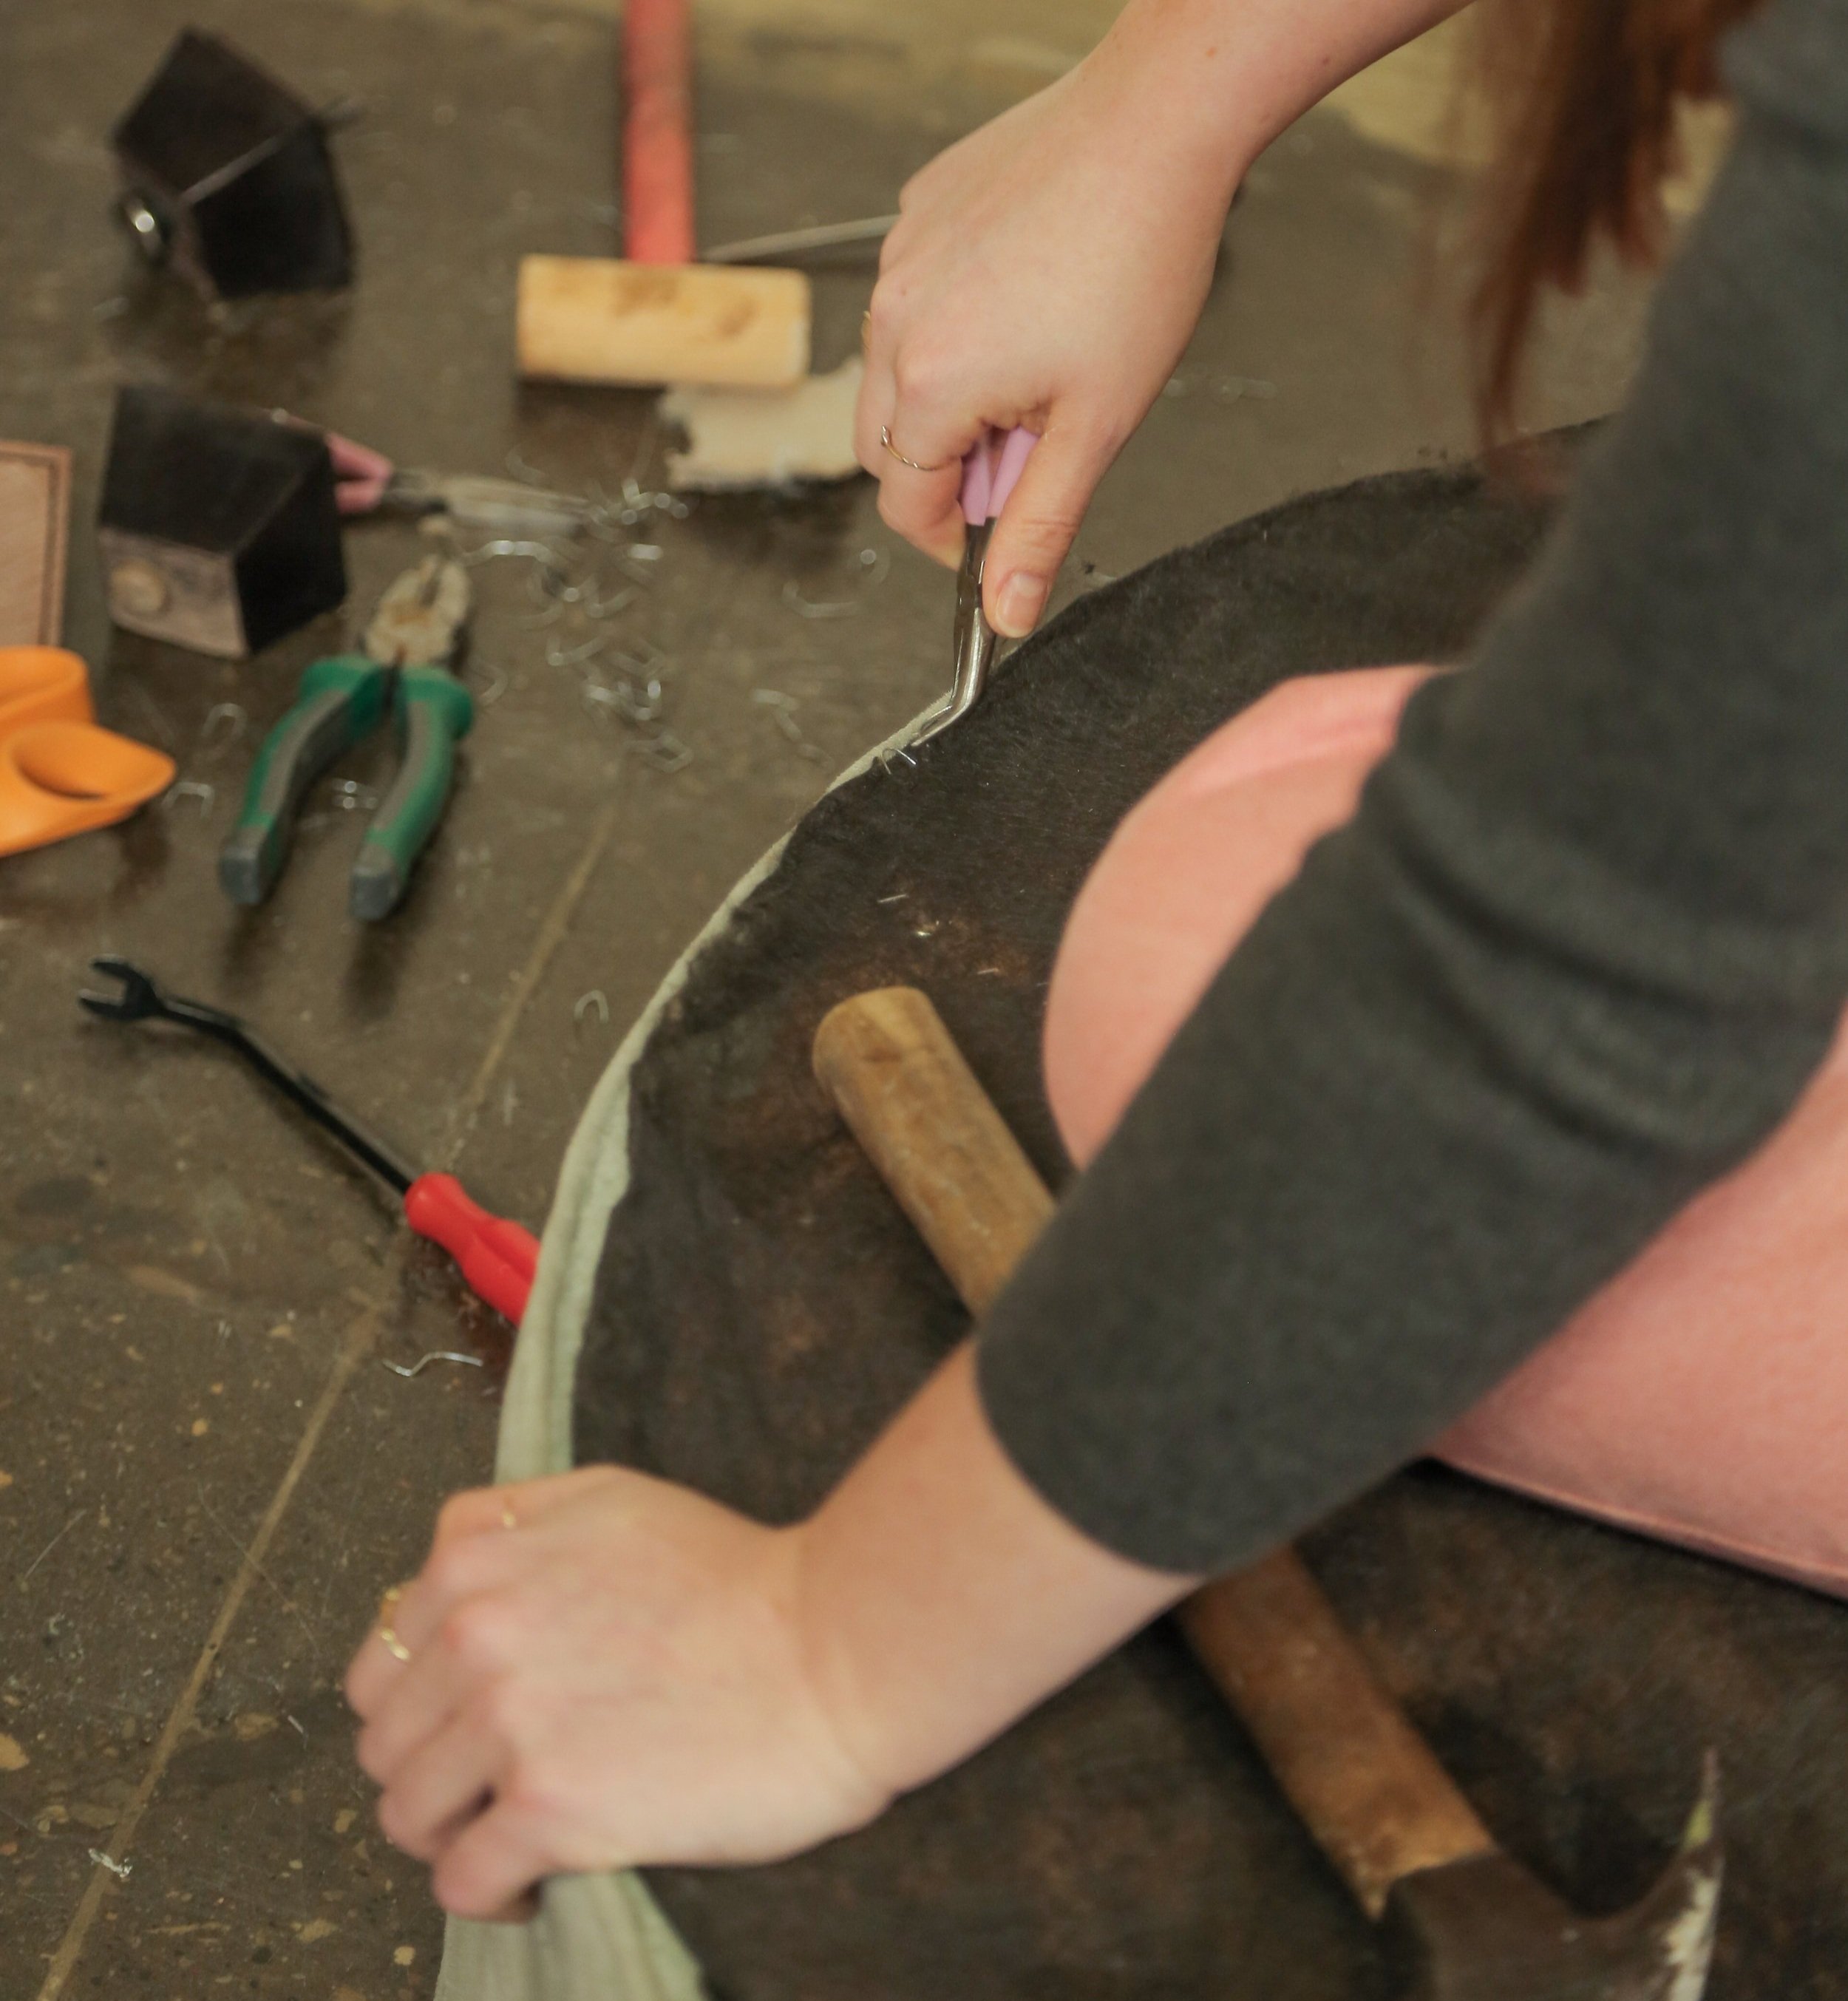
Step 7: Attaching the Fabric
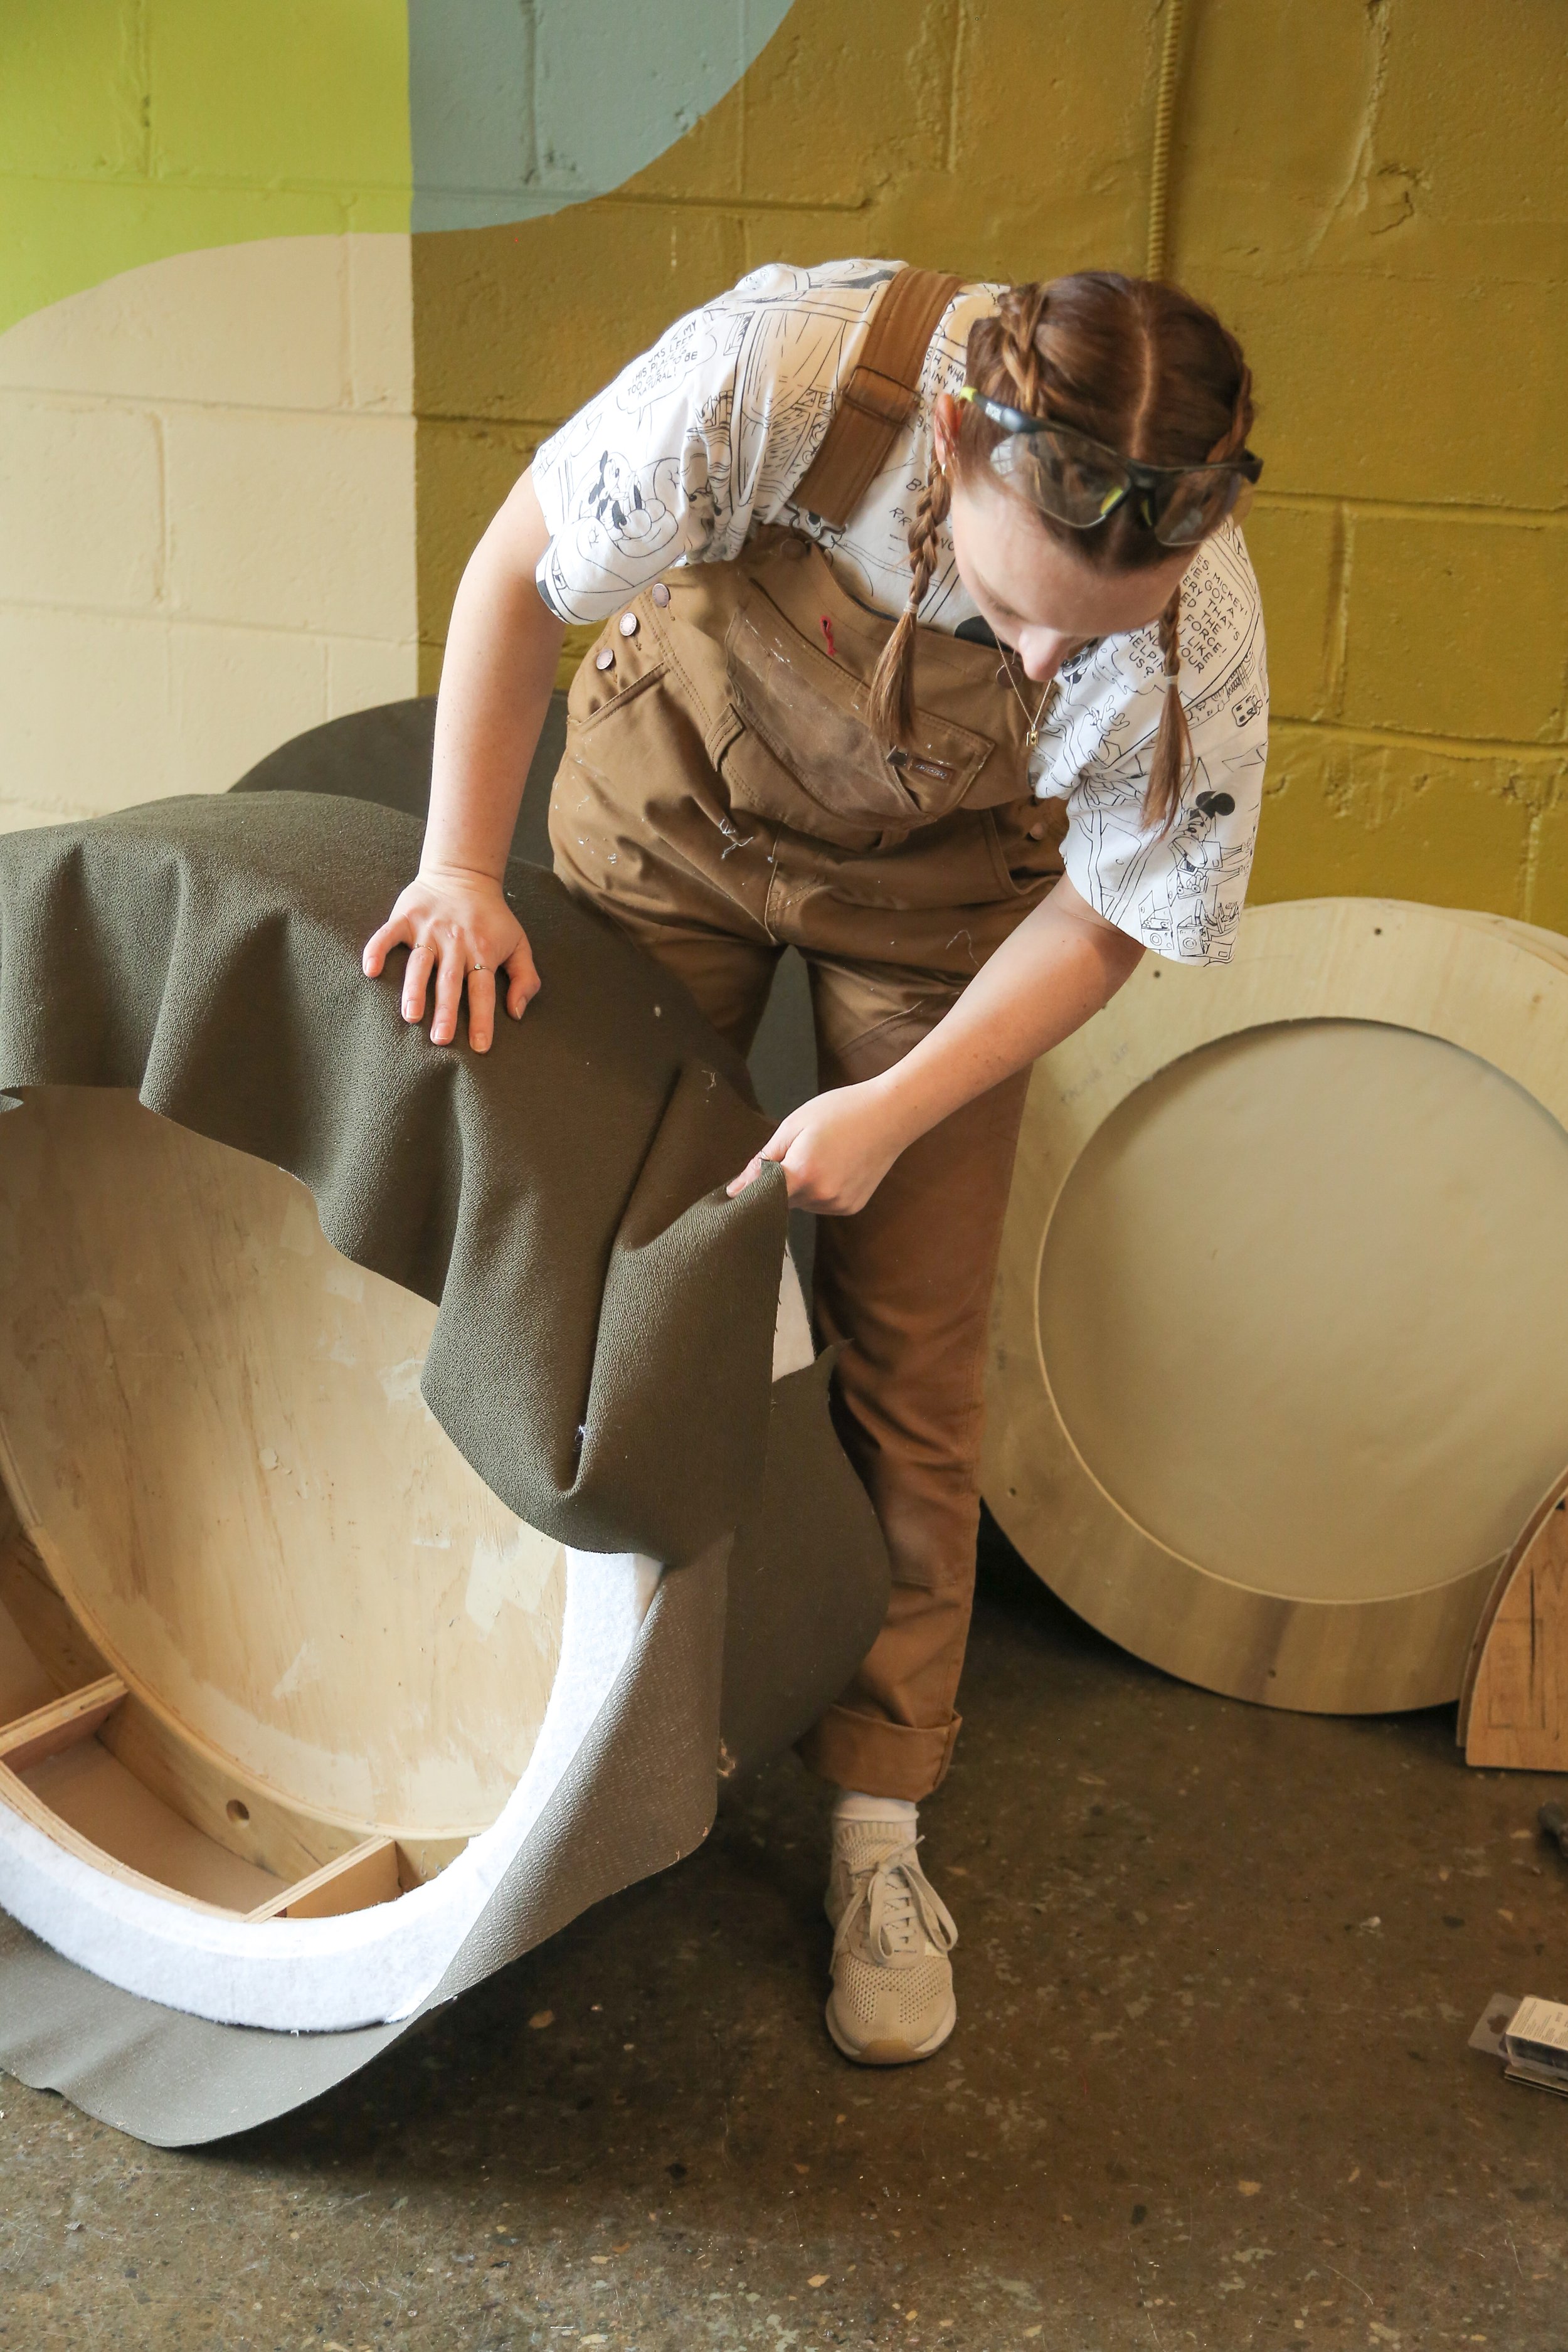
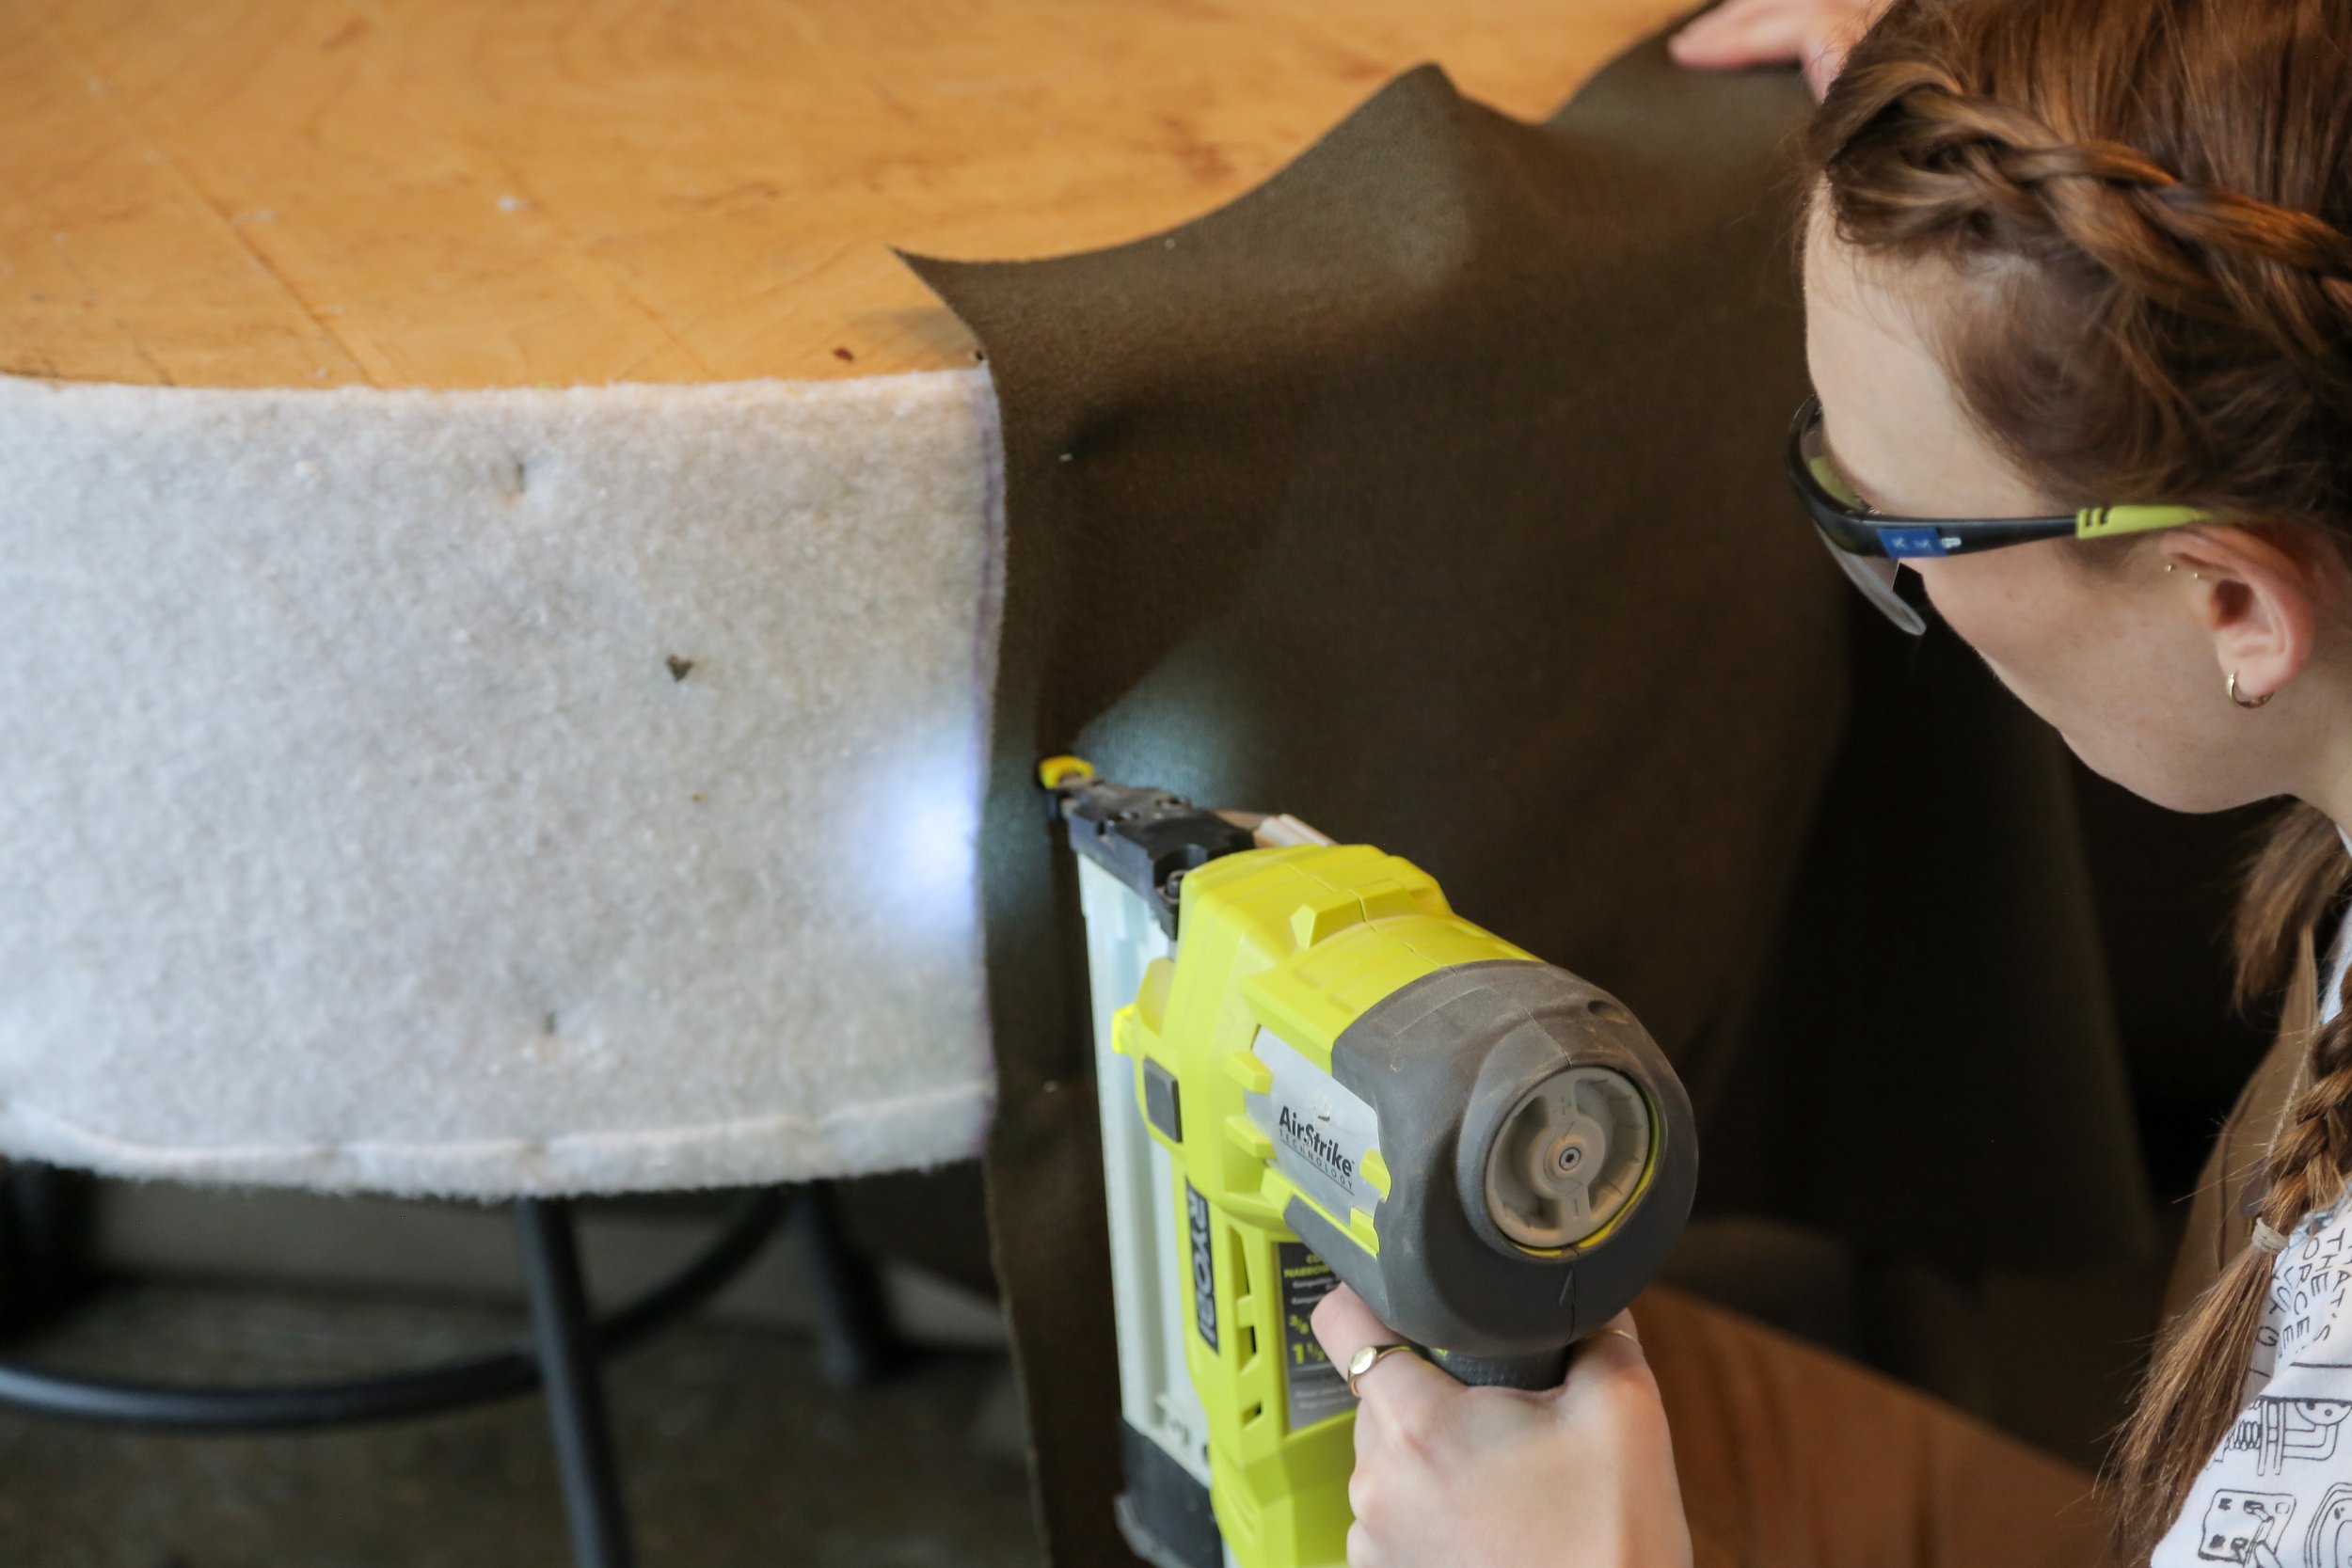
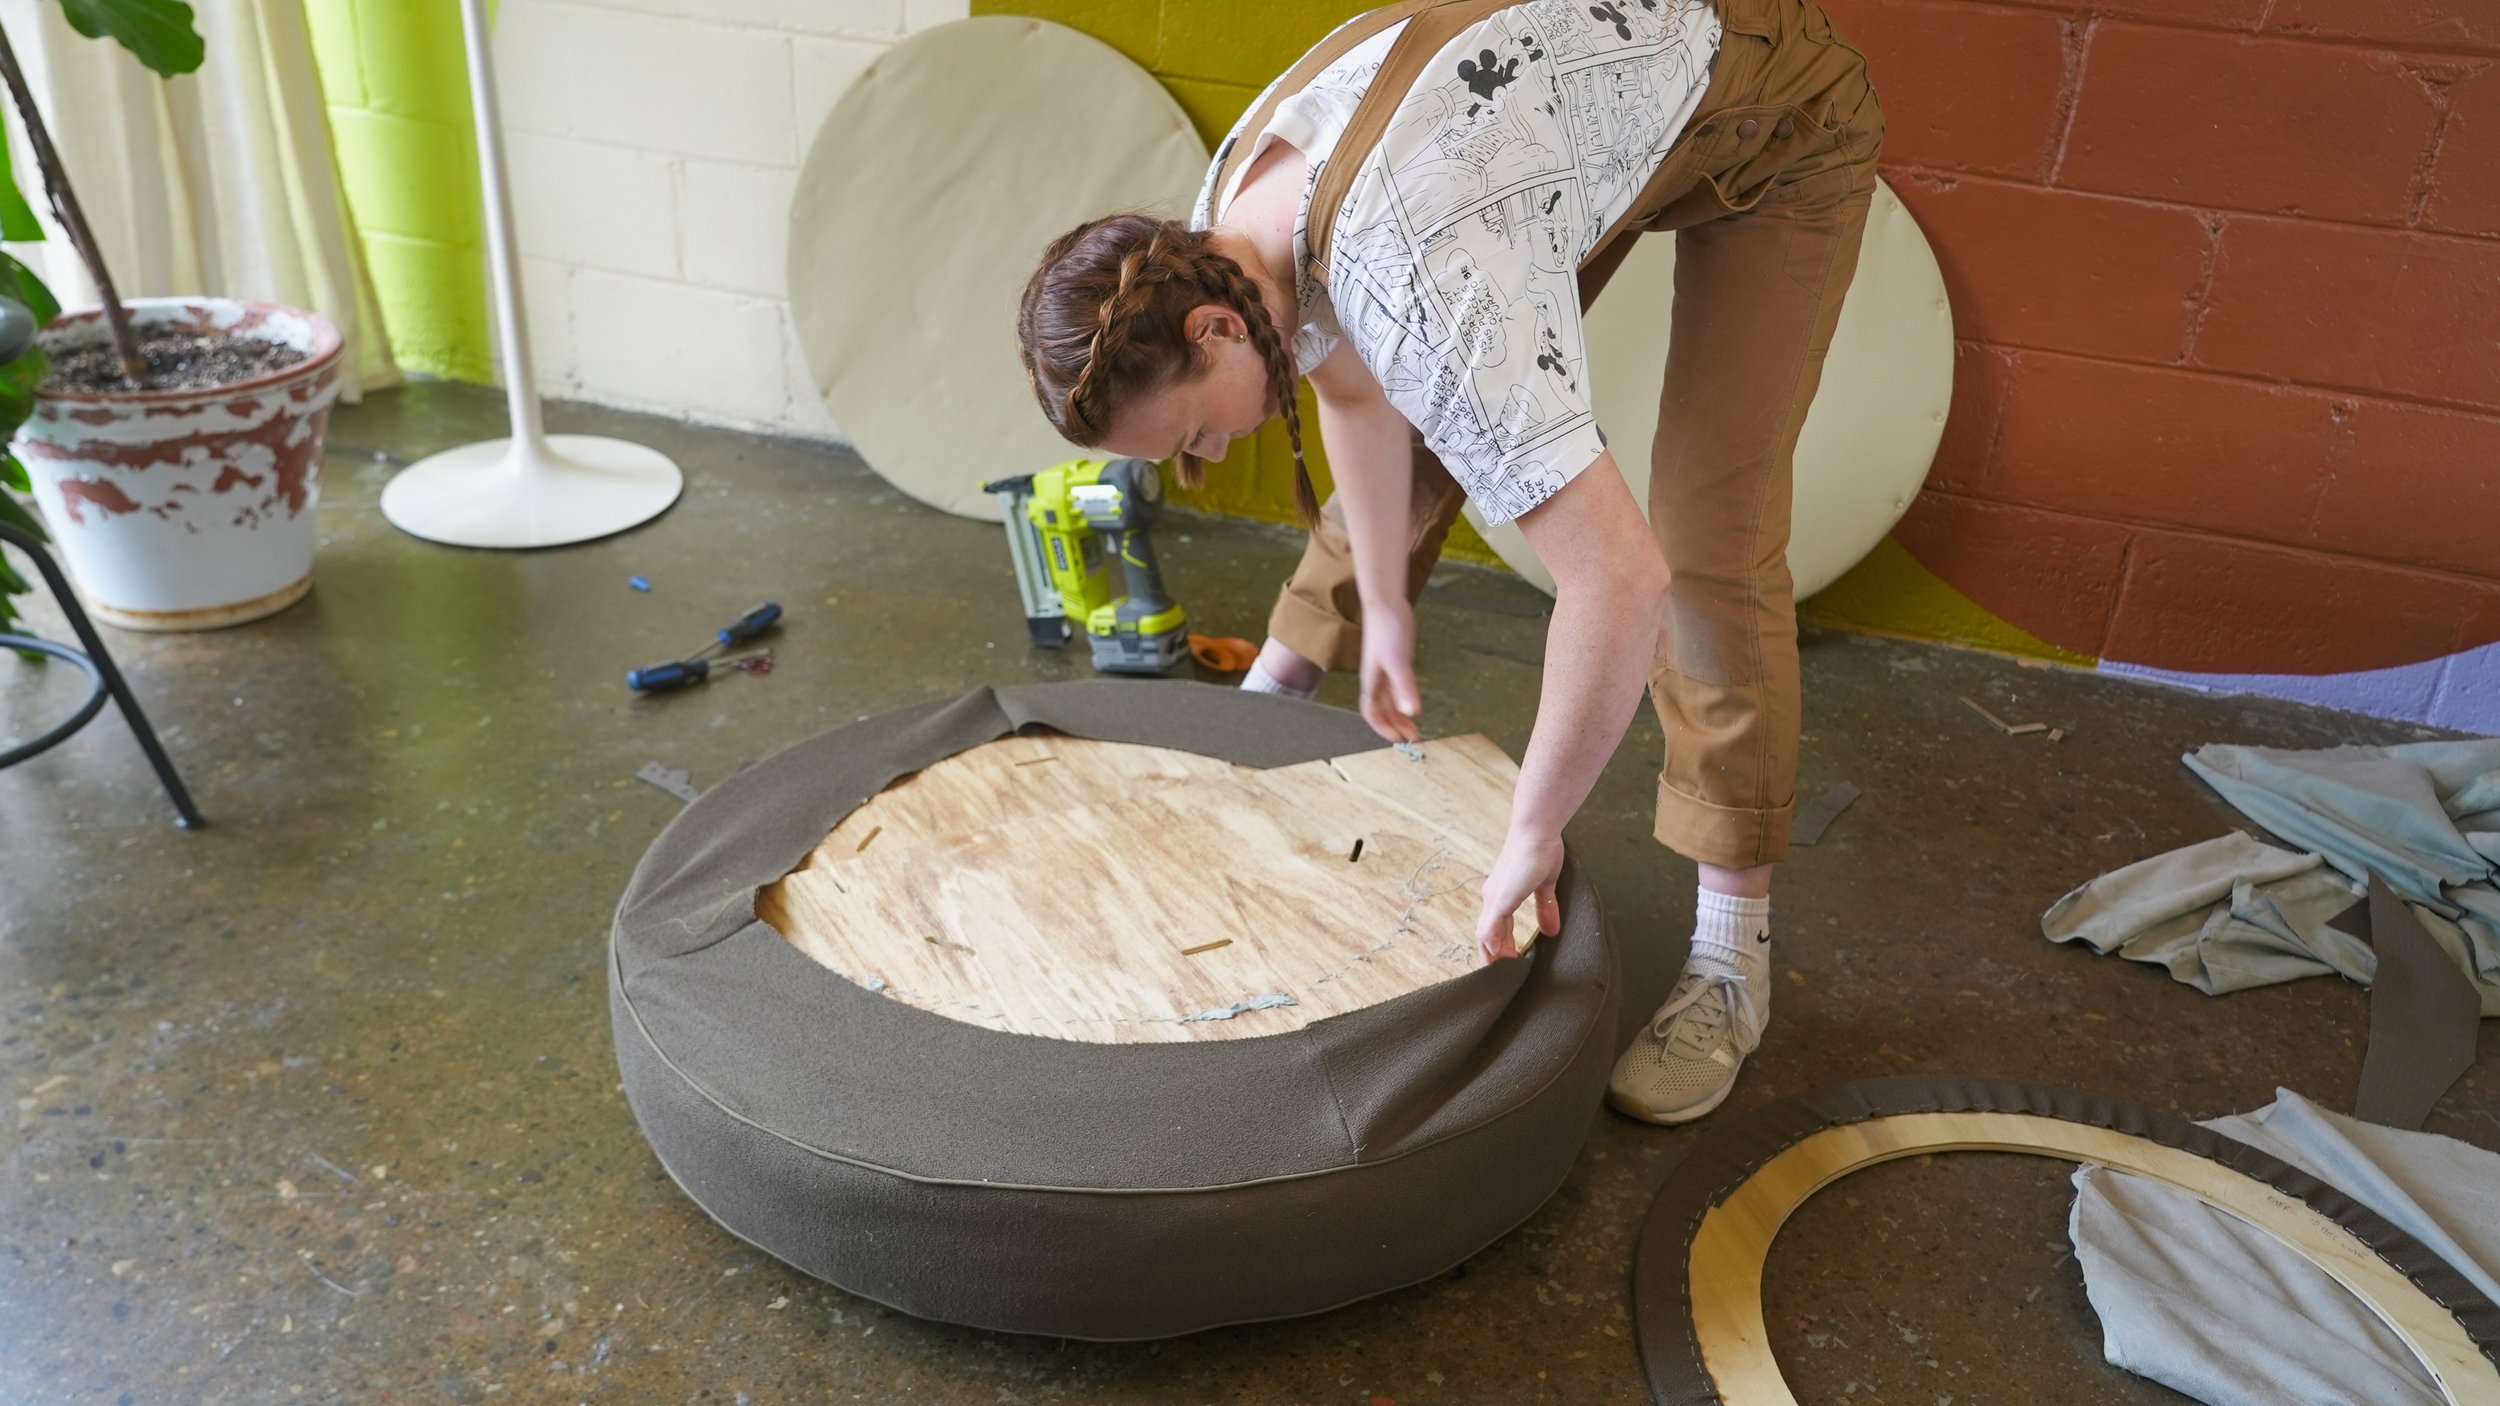
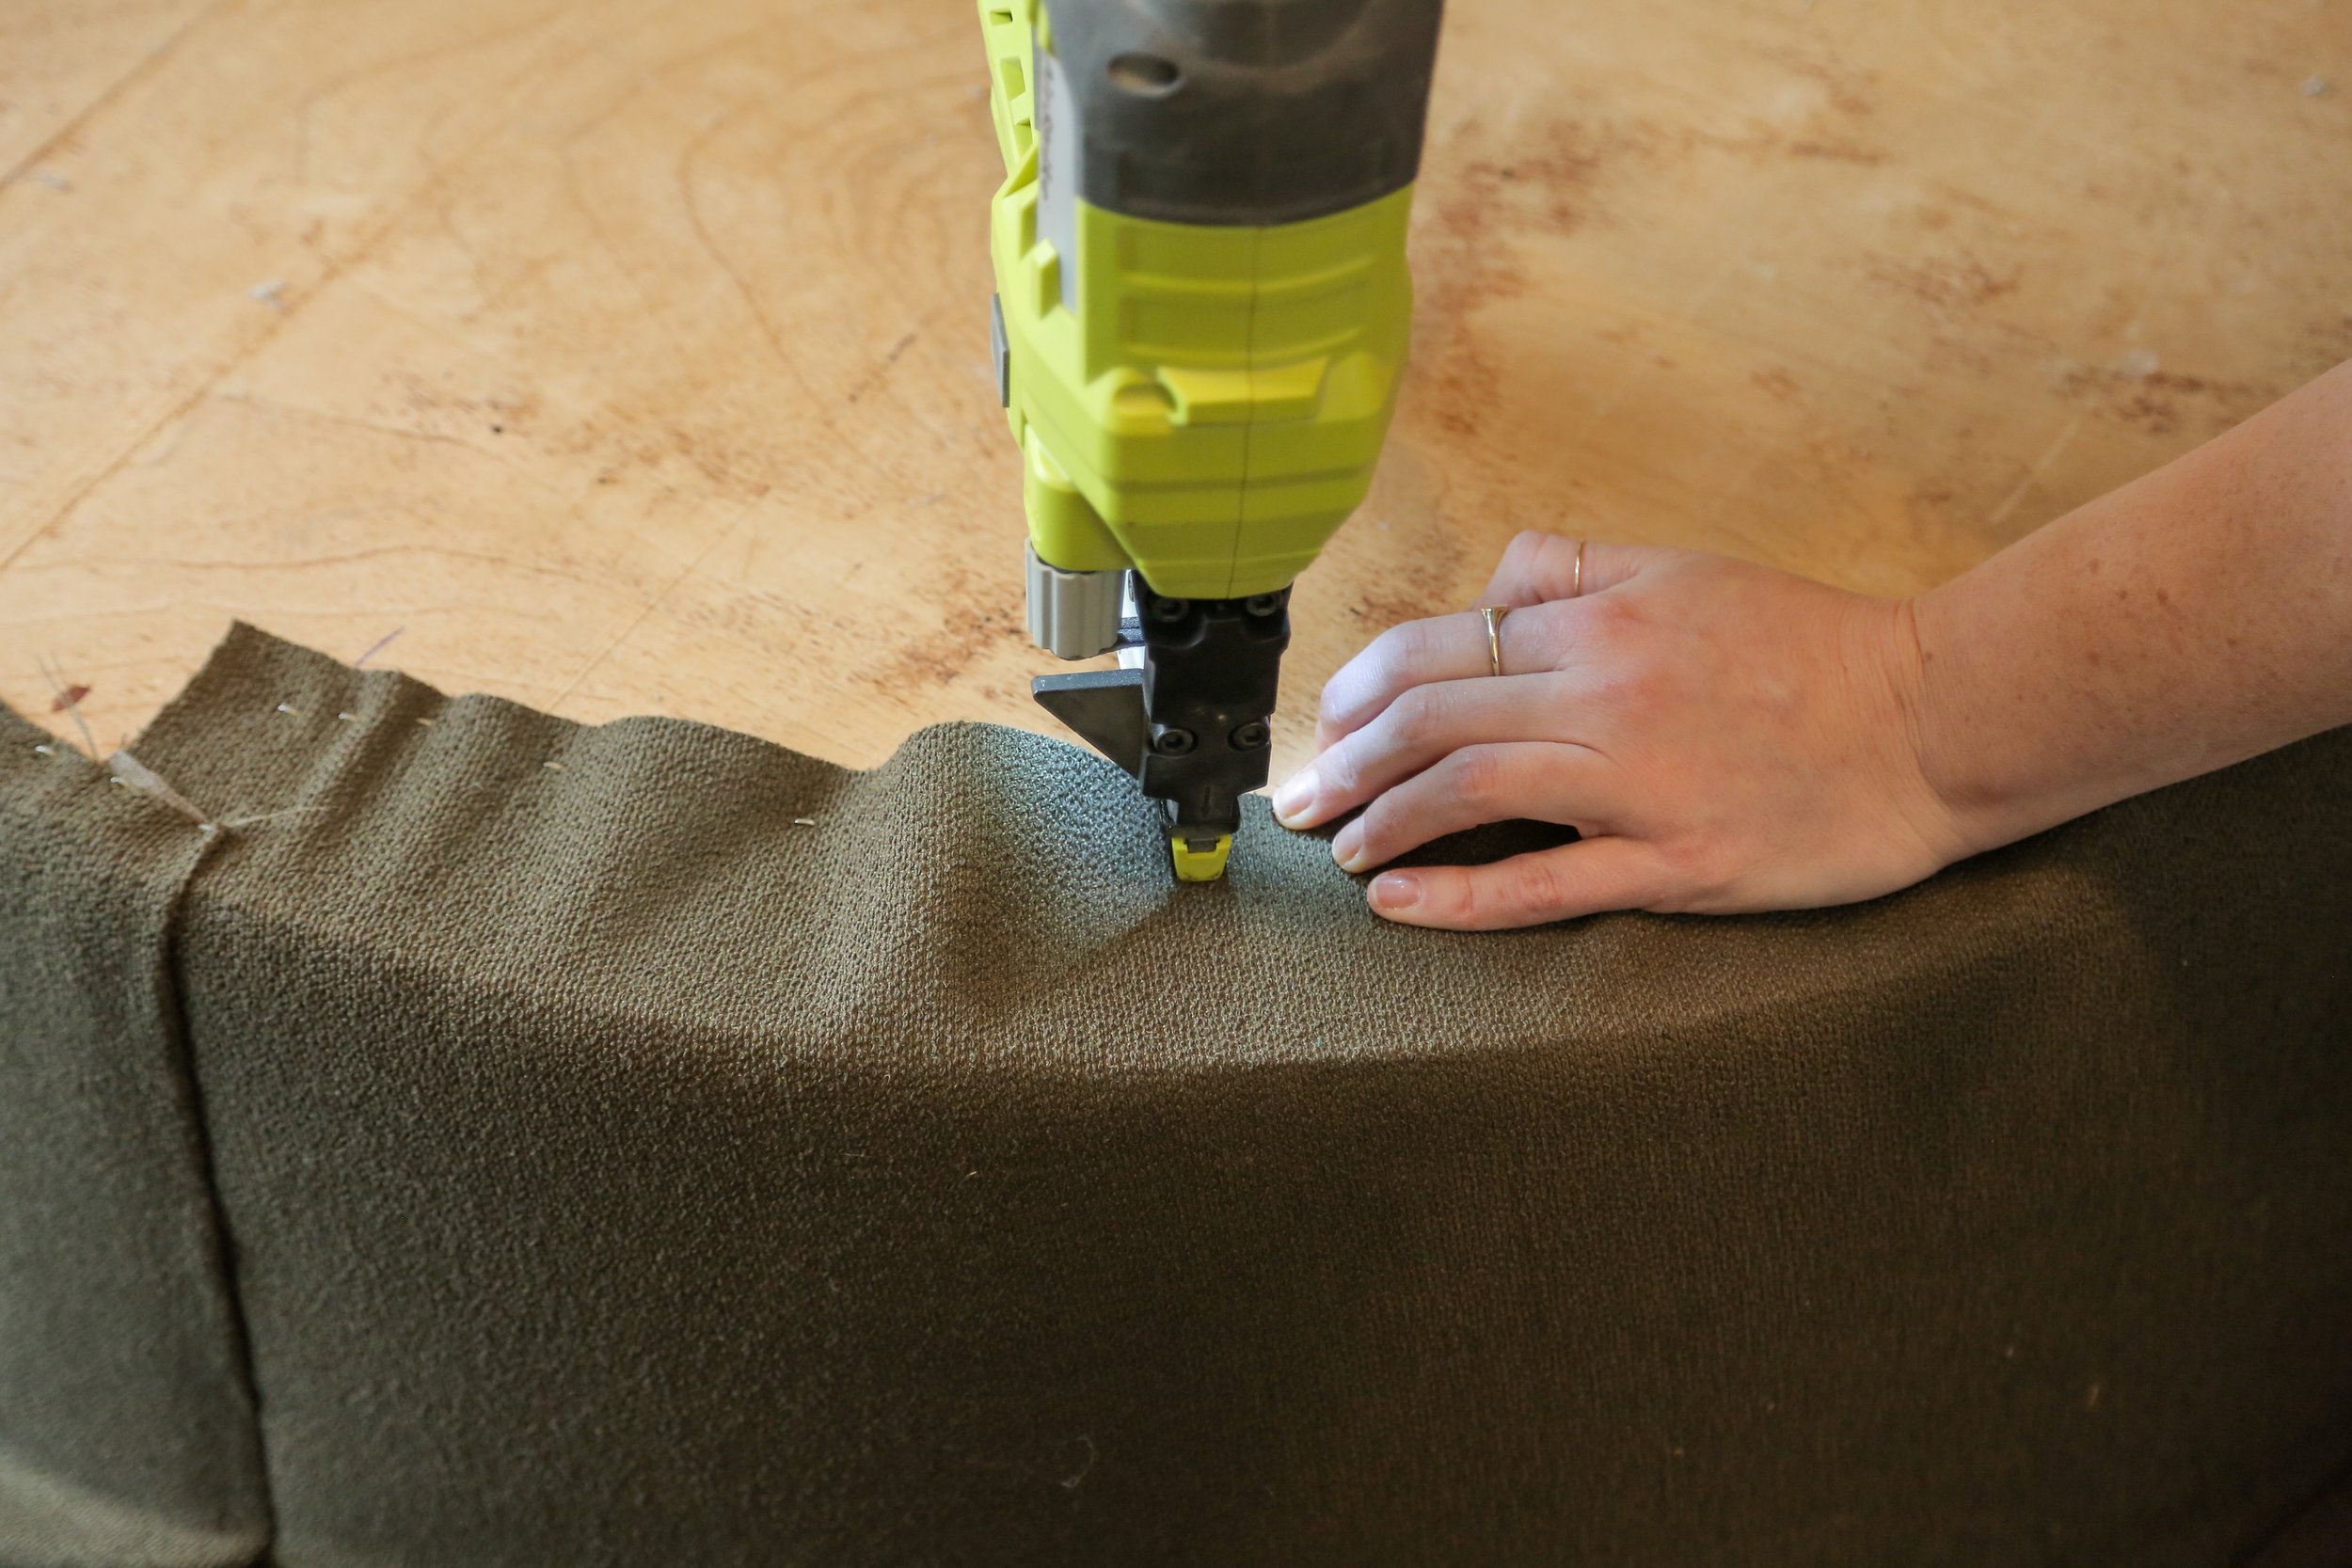
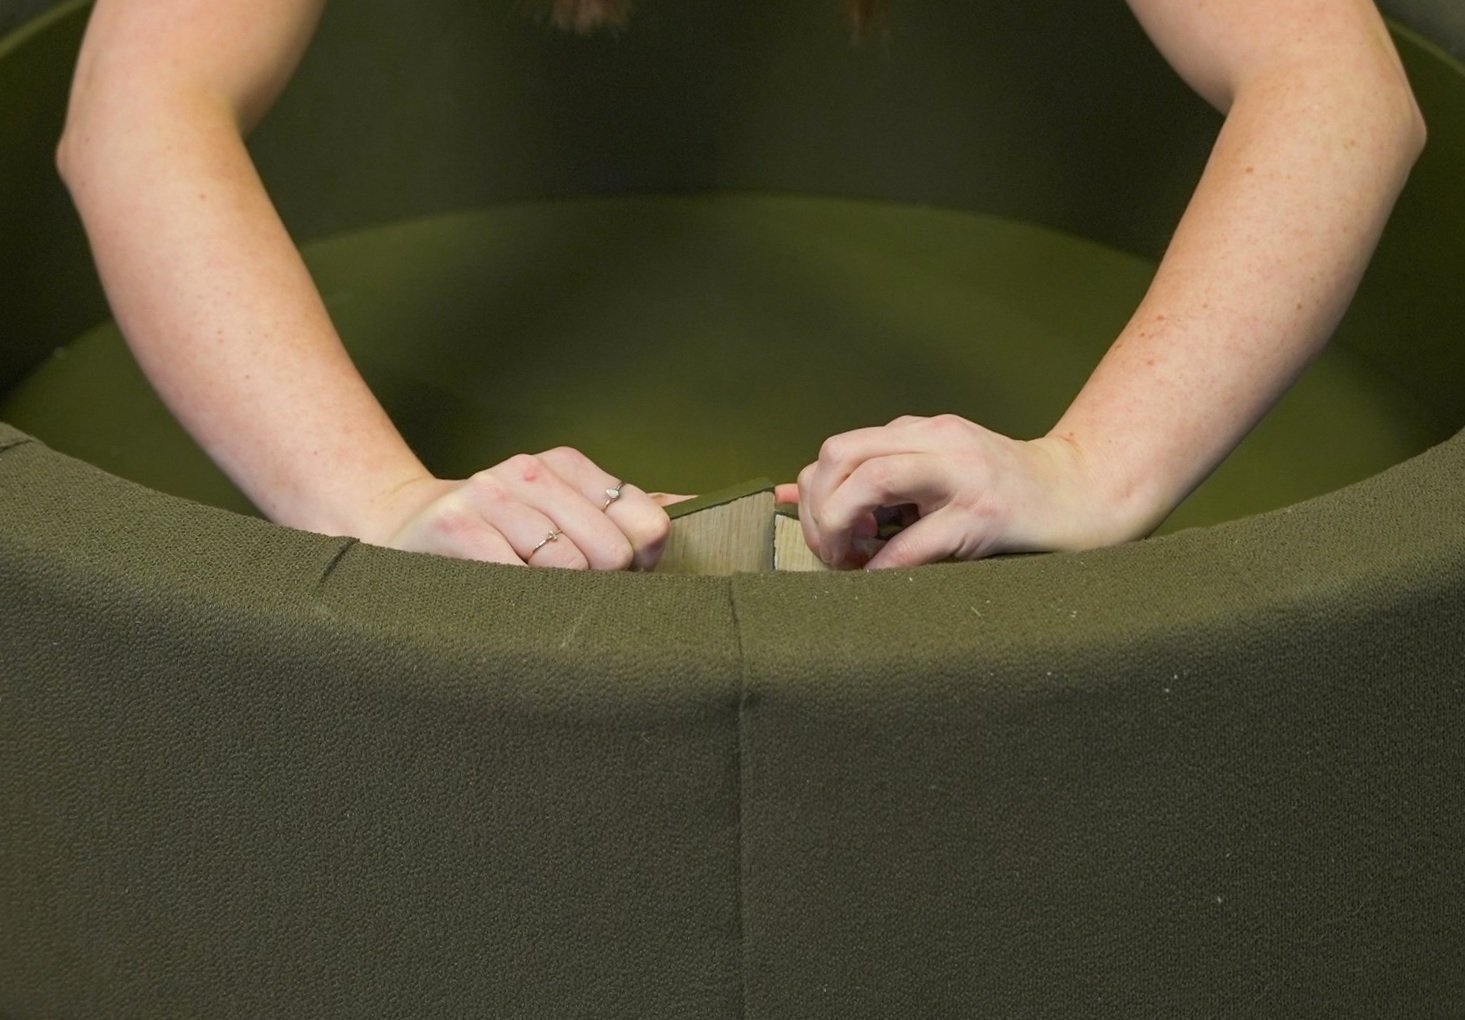
Begin by attaching the fabric to the ottoman frame. Use a staple gun to secure the fabric in place, starting with the base and working your way up to the sides and top.
Step 8: Final Touches
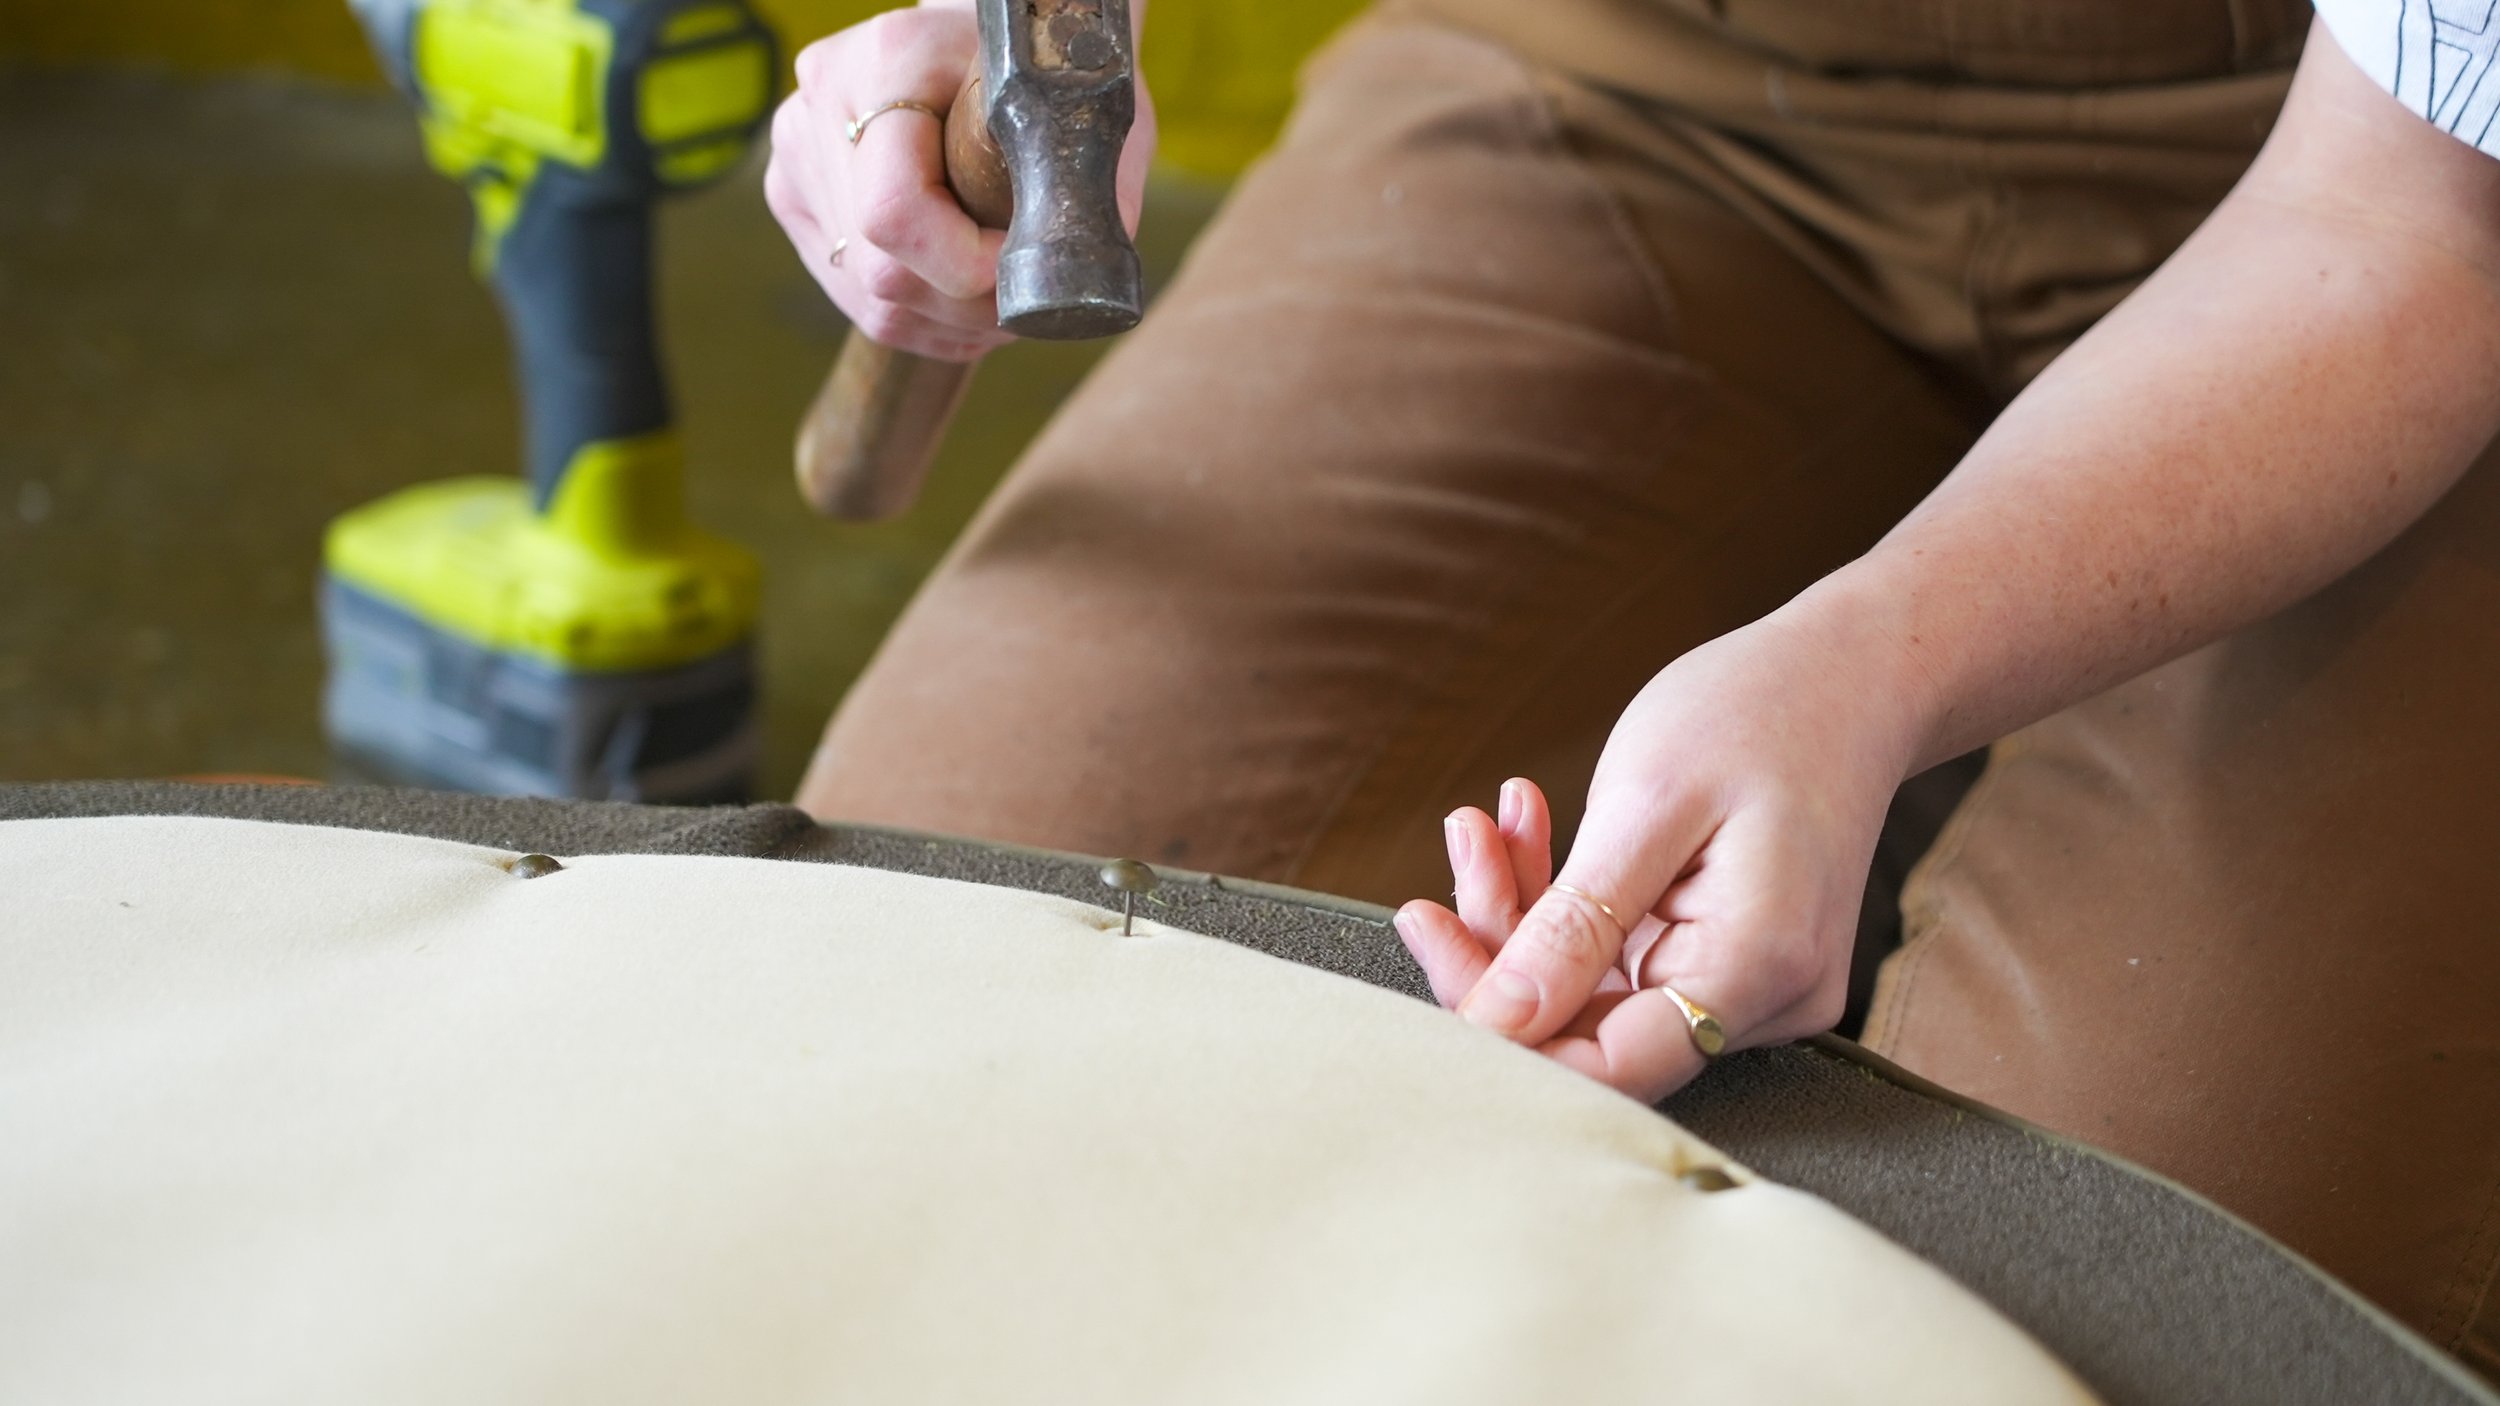
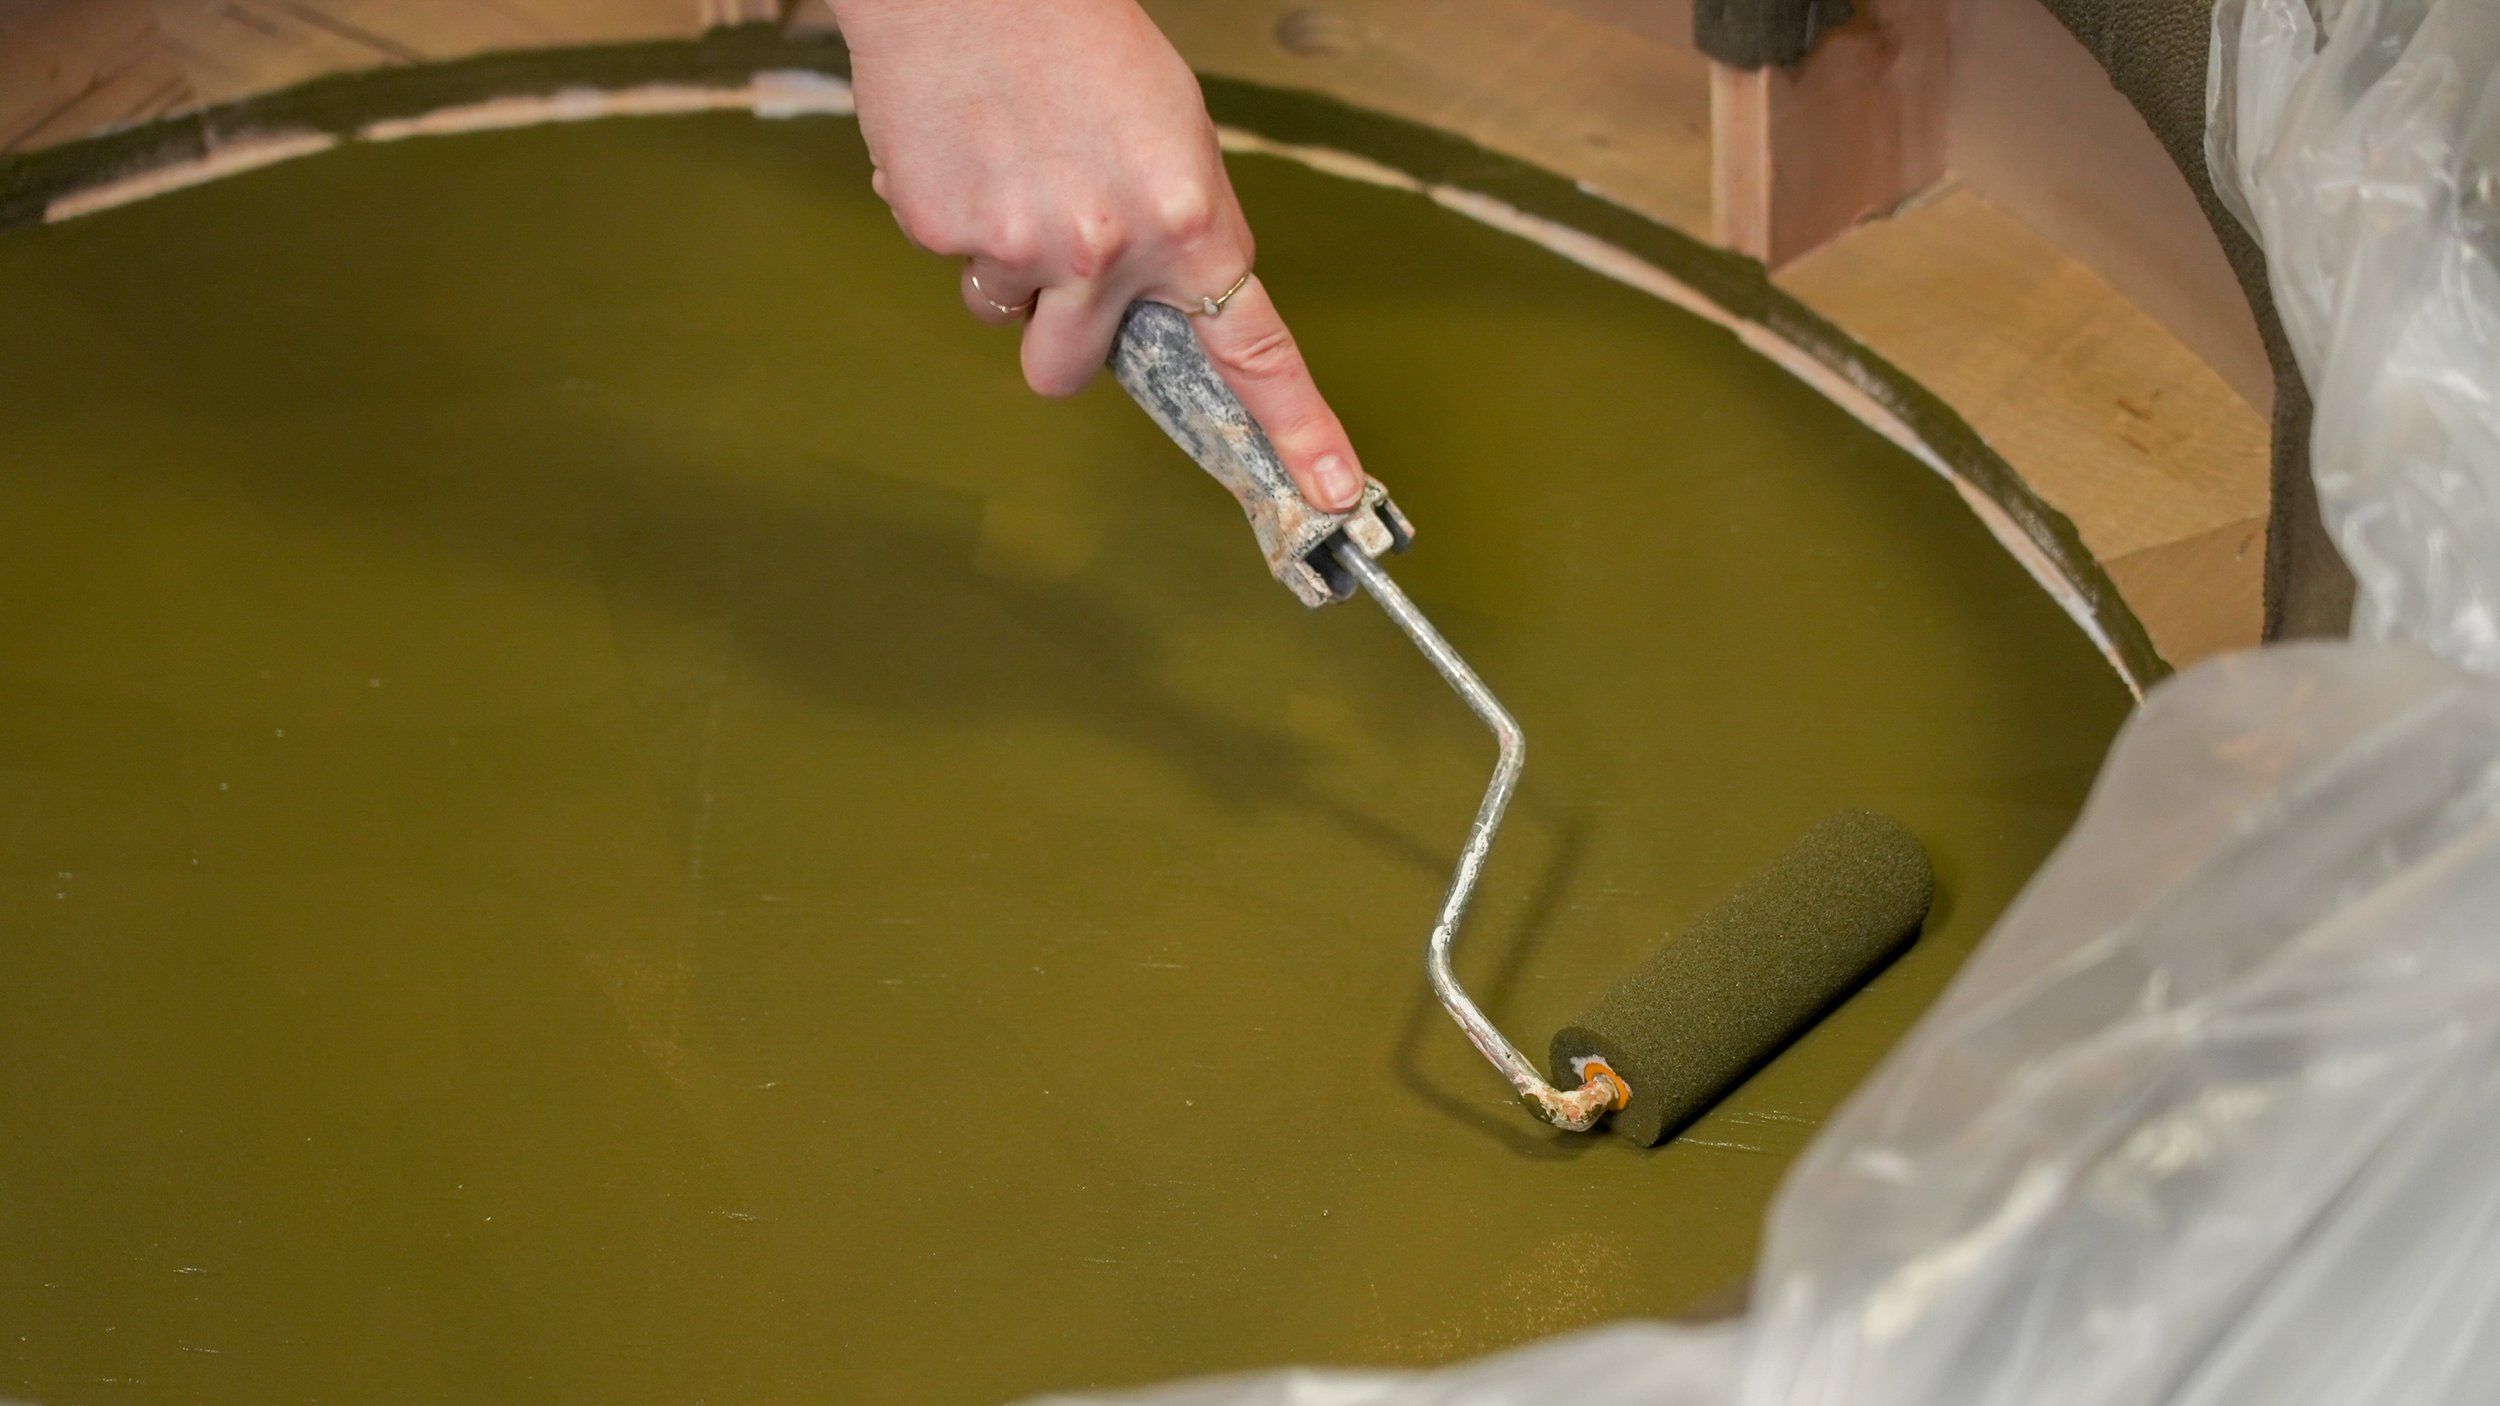
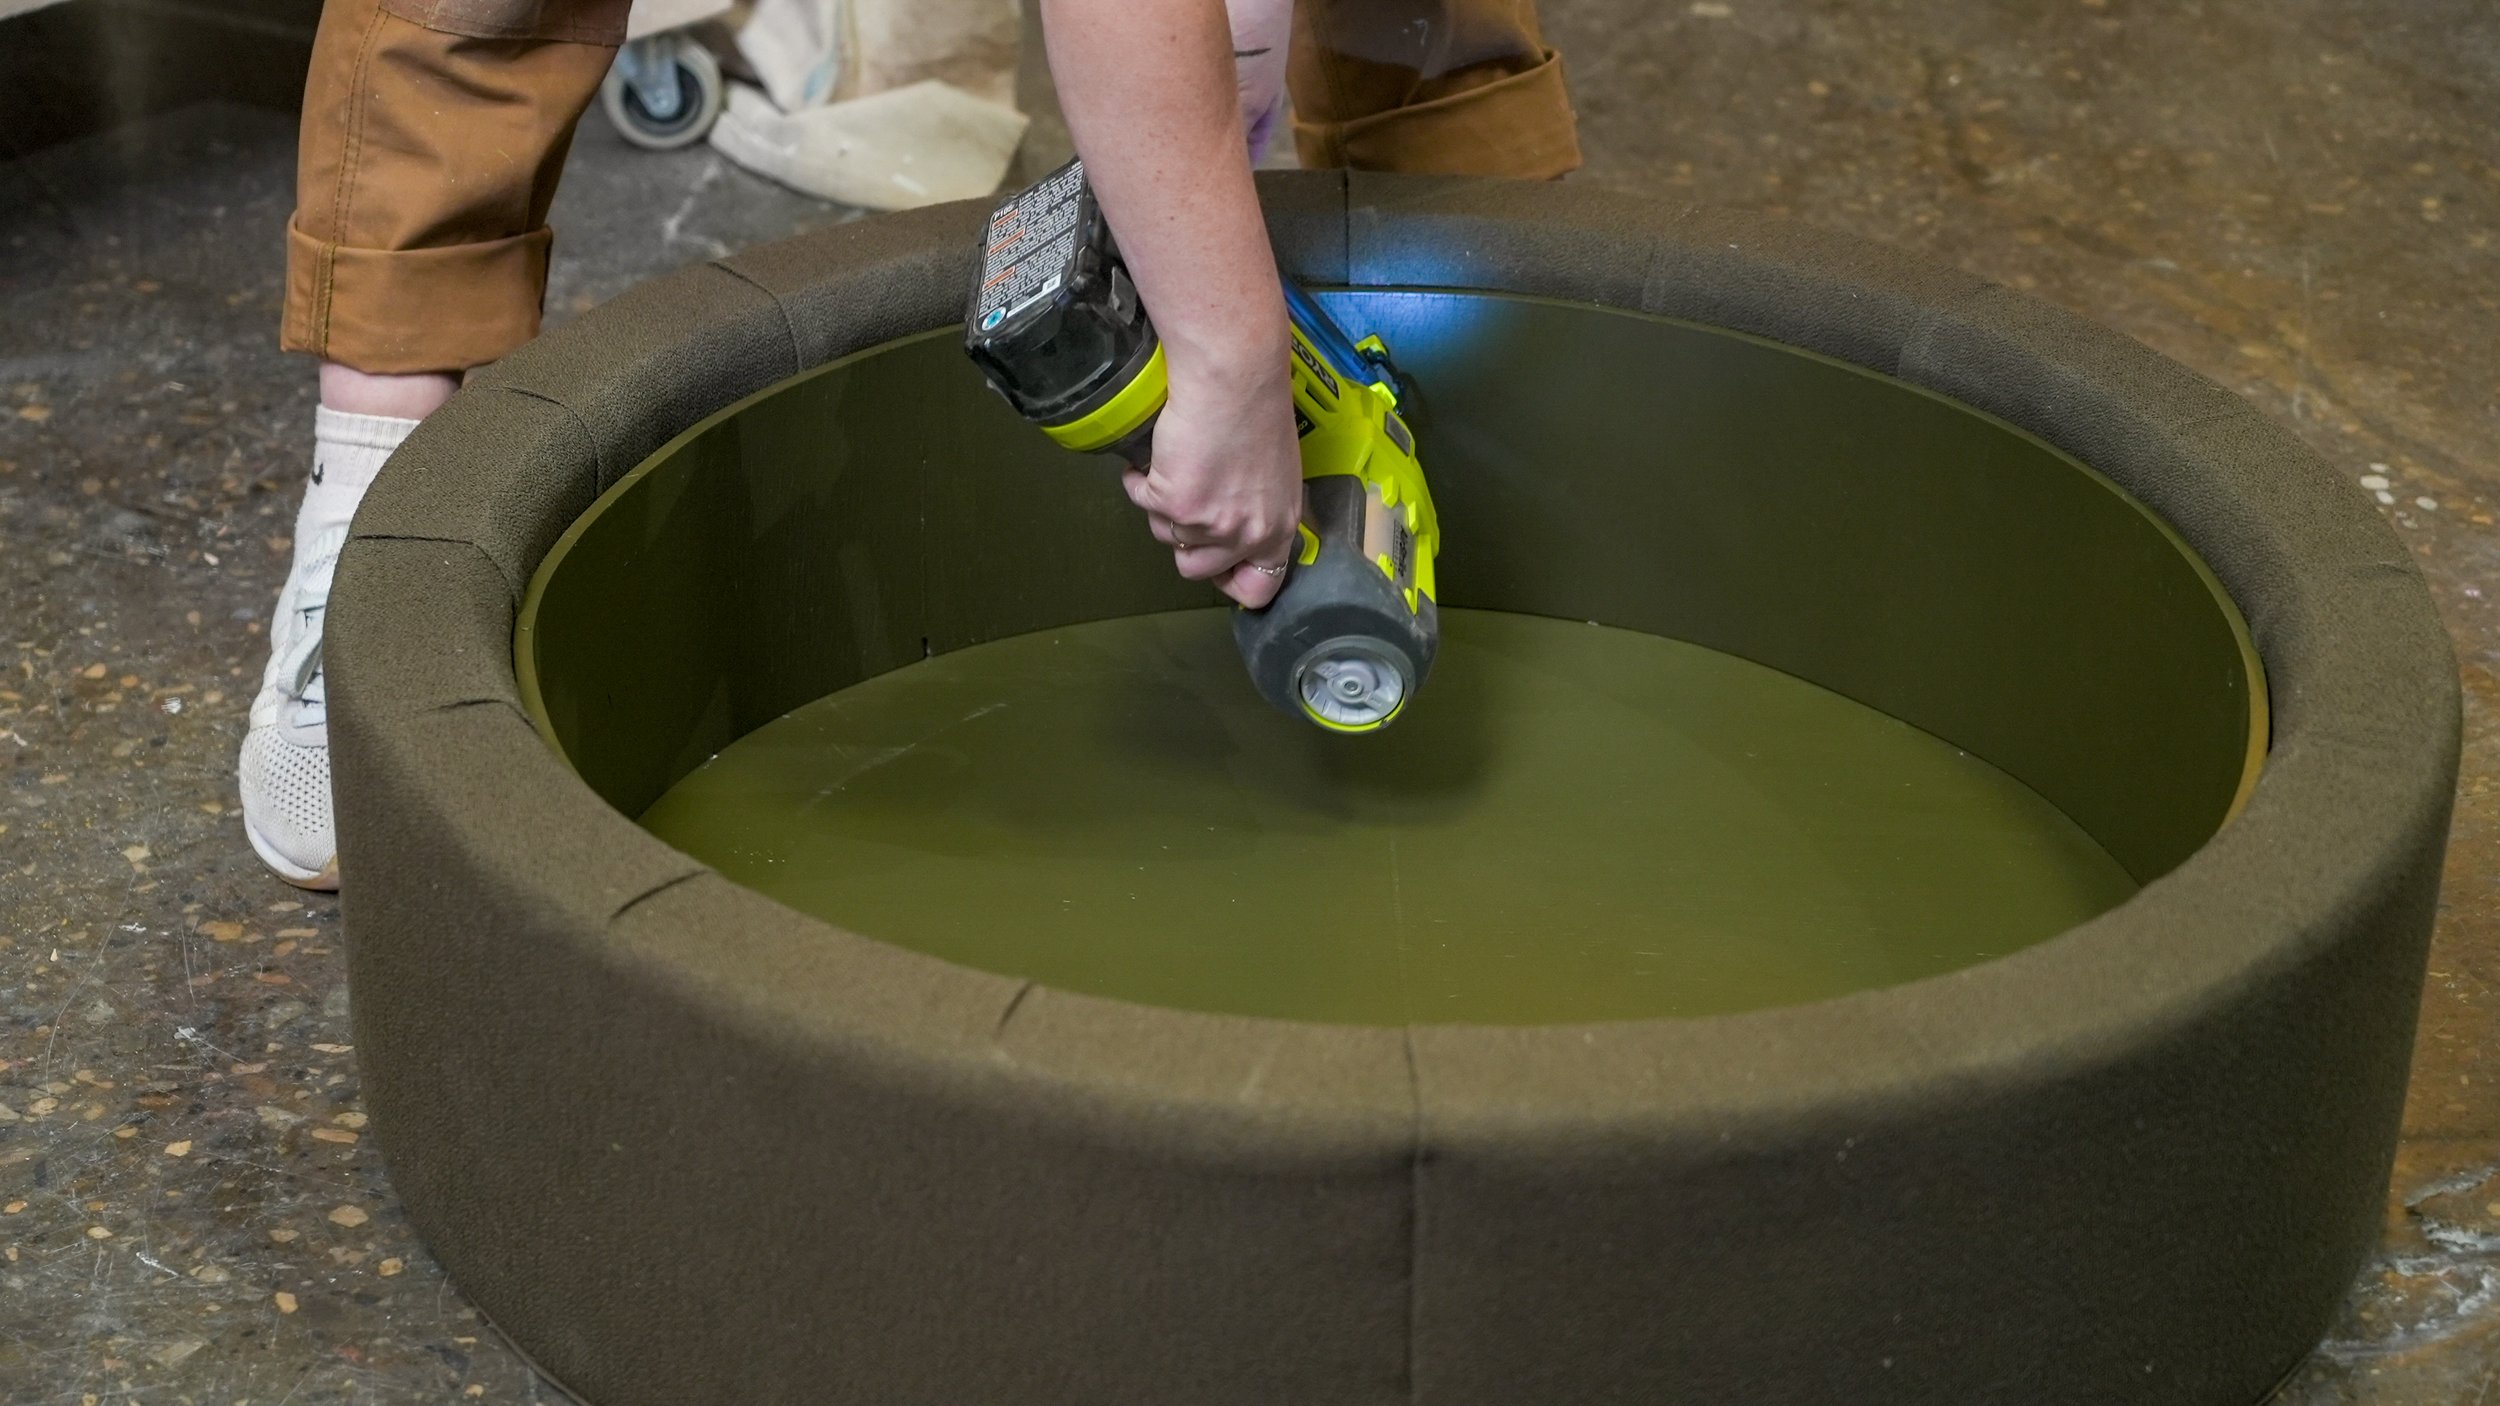
Once the fabric is securely attached, trim any excess and add any finishing touches, such as felt feet to protect your floors. Consider priming and painting the interior for a polished look.
Step 9: Reassemble
Put all the pieces back together, ensuring everything fits snugly.
Final Result:
Watch the DIY video below.

