DIY Hanging Canvas Organizer
Hey, Kelsey here! In this DIY blog post, we'll guide you through the process of creating a hanging canvas organizer.
Materials Needed:
Drop cloth or sturdy fabric
Grommet kit
Scissors
Sewing machine (or sewing kit)
Pins
Measuring tape
Marker
Inspired by the need for customizable storage for craft supplies, this project is perfect for anyone looking to declutter their space in a unique and practical way.
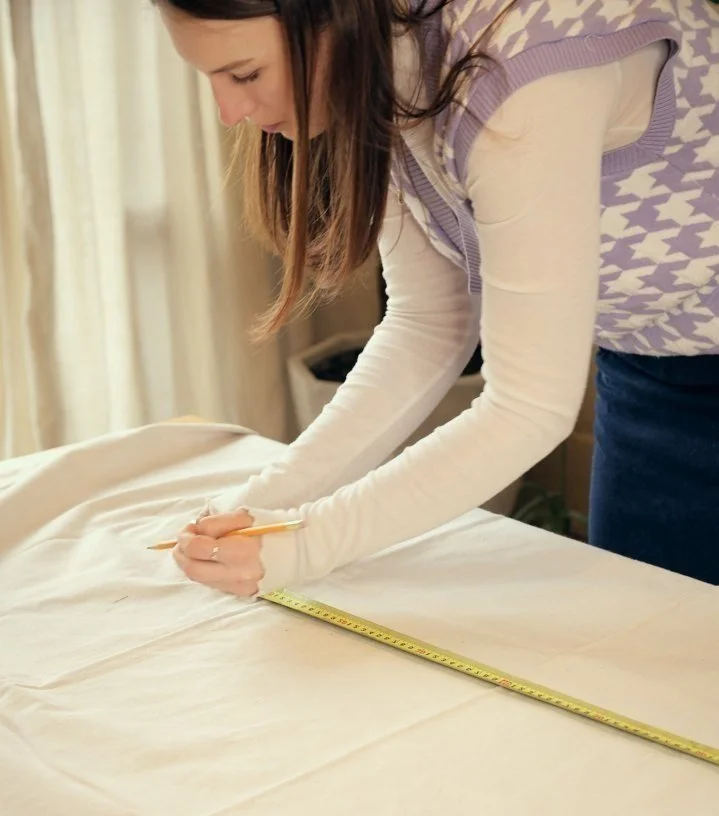
Step 1: Measure and Cut the Canvas
Start by measuring the dimensions of the space where you plan to hang your organizer. Cut the drop cloth or fabric to the desired size, keeping in mind the dimensions of the door or wall space where it will be mounted. Ensure all the edges are hemmed to prevent fraying.
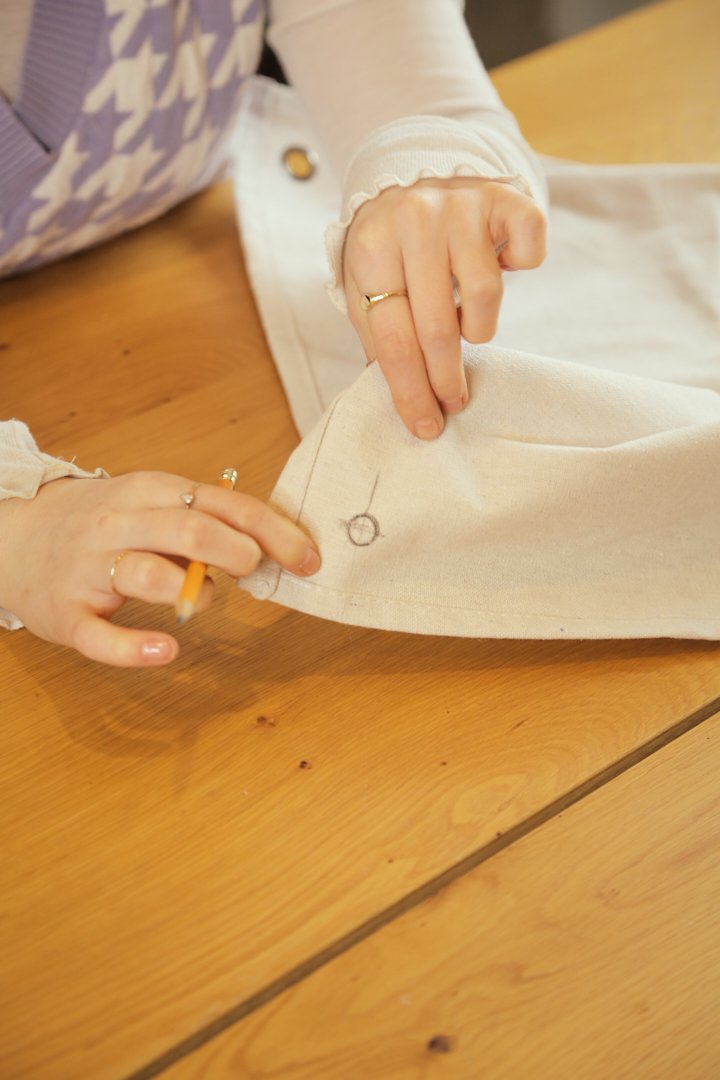
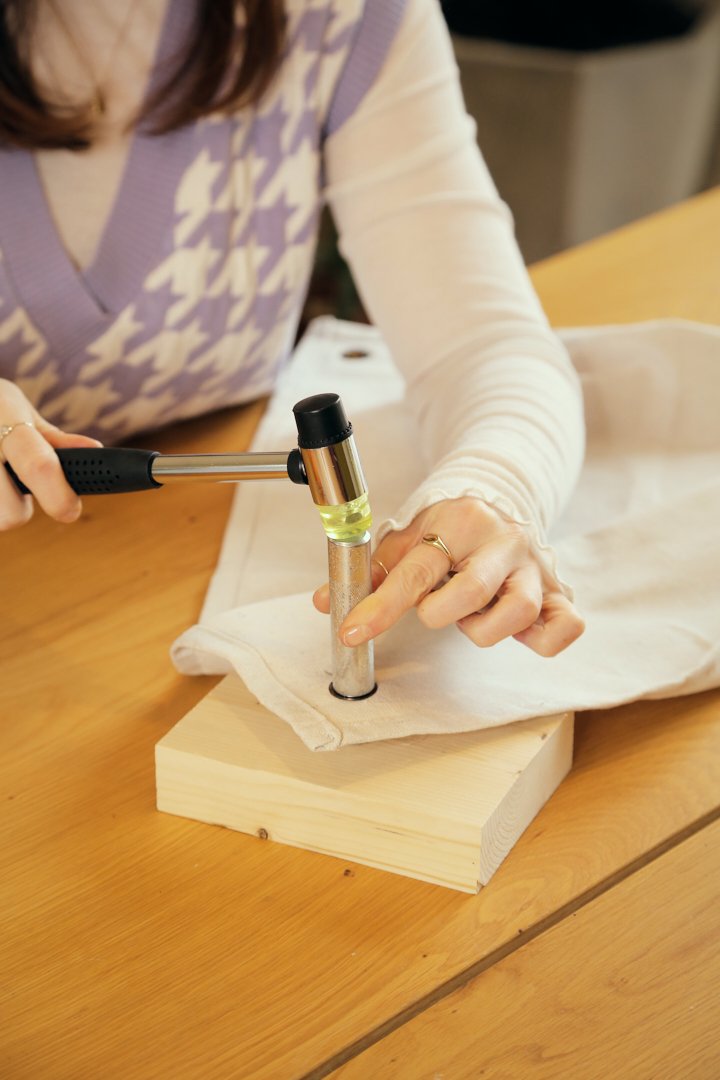

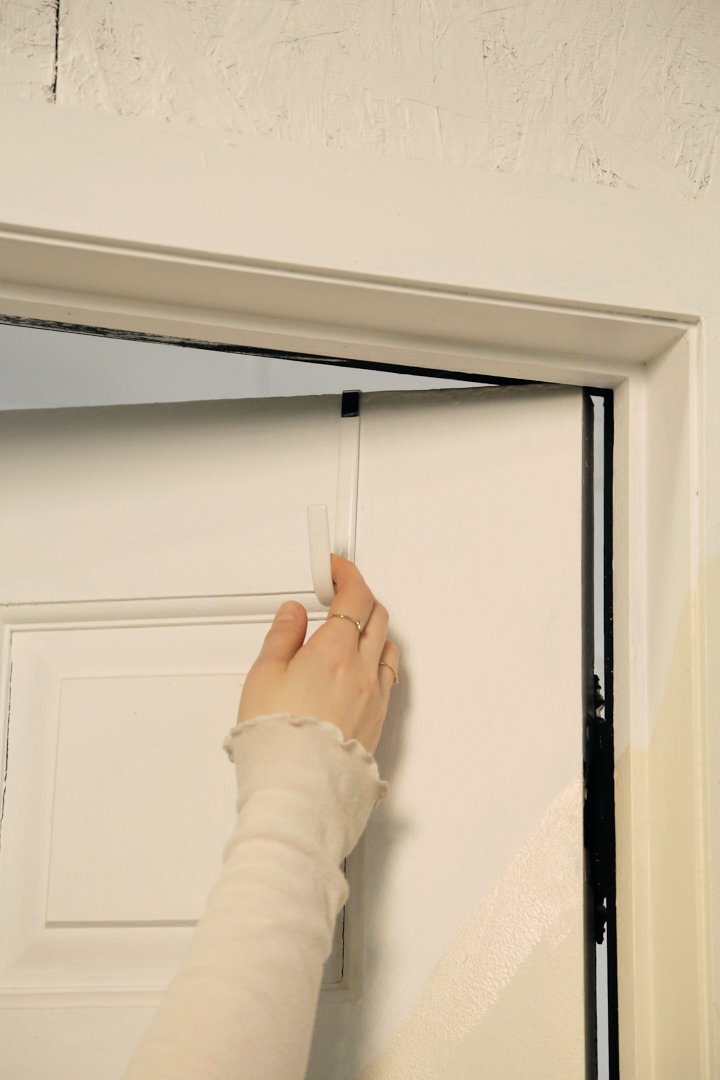
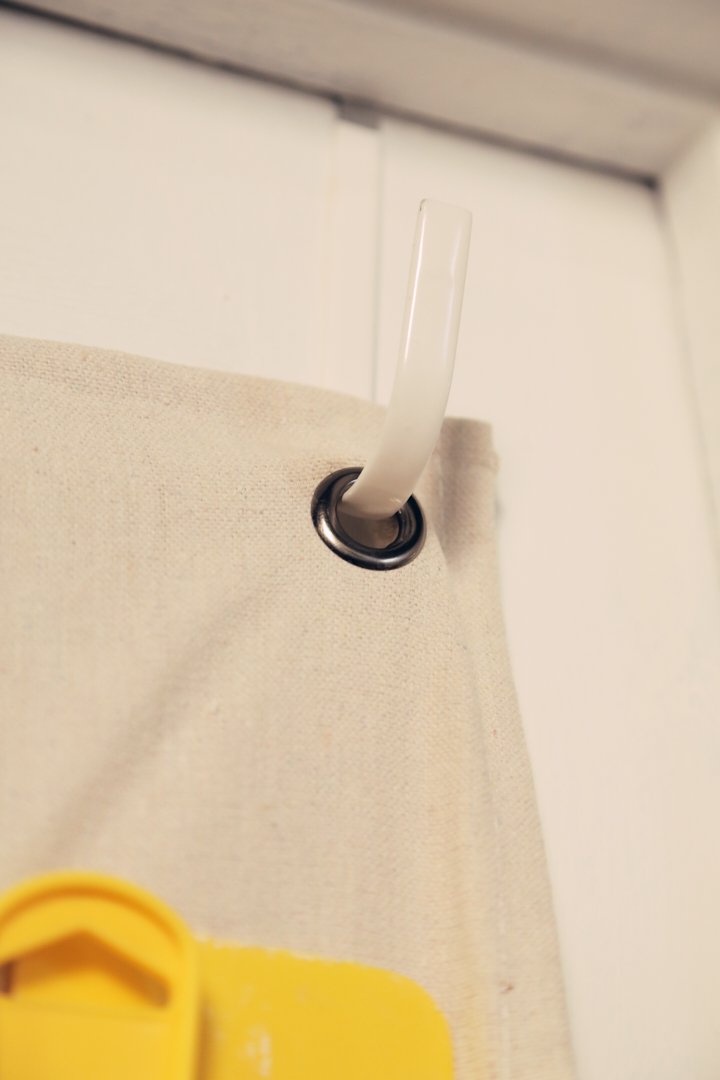
Step 2: Add Grommets for Hanging
Using a grommet kit, add grommets to the top of the canvas. Choose a color that complements your fabric and space. Follow the instructions provided with the grommet kit to ensure proper installation. Grommets will allow you to easily hang the organizer on hooks or over-the-door hangers.
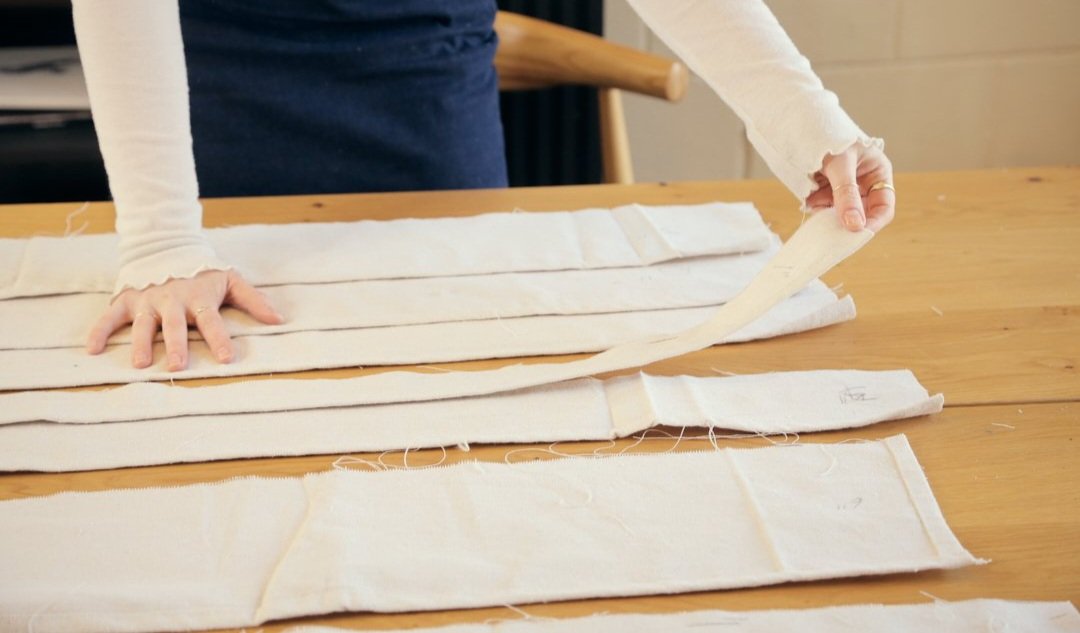
Step 3: Cut and Prepare Pocket Panels
Plan out the layout of your organizer and determine the sizes of the pockets you'll need. Cut bands of material from the drop cloth, ensuring they are wide enough to accommodate your items and vary in height according to your needs. Mark the dimensions on the fabric to guide your cutting.
Step 4: Hem and Sew the Panels

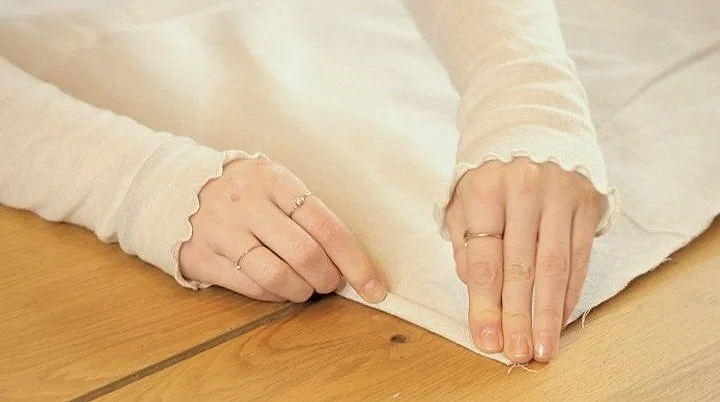
Fold and hem the bottom top side of each pocket panel to create a clean finish. Pin the panels onto the main canvas, ensuring they are evenly spaced and aligned. While pinning make sure to fold the bottom edge to create a clean hem.

Securely sew the panels to the canvas, reinforcing the stitching at the top and bottom edges for durability.
Step 5: Create Compartments
Following the layout you created, mark vertical lines on each pocket panel to create compartments for different items. Sew along these lines to divide the pockets and prevent items from shifting or falling out. Be sure to reinforce the stitching at the top and bottom of each compartment.

Step 6: Final Touches
Inspect your organizer for any loose threads or uneven stitching. Trim any excess fabric and ensure all seams are secure. Your hanging canvas organizer is now ready to be filled!
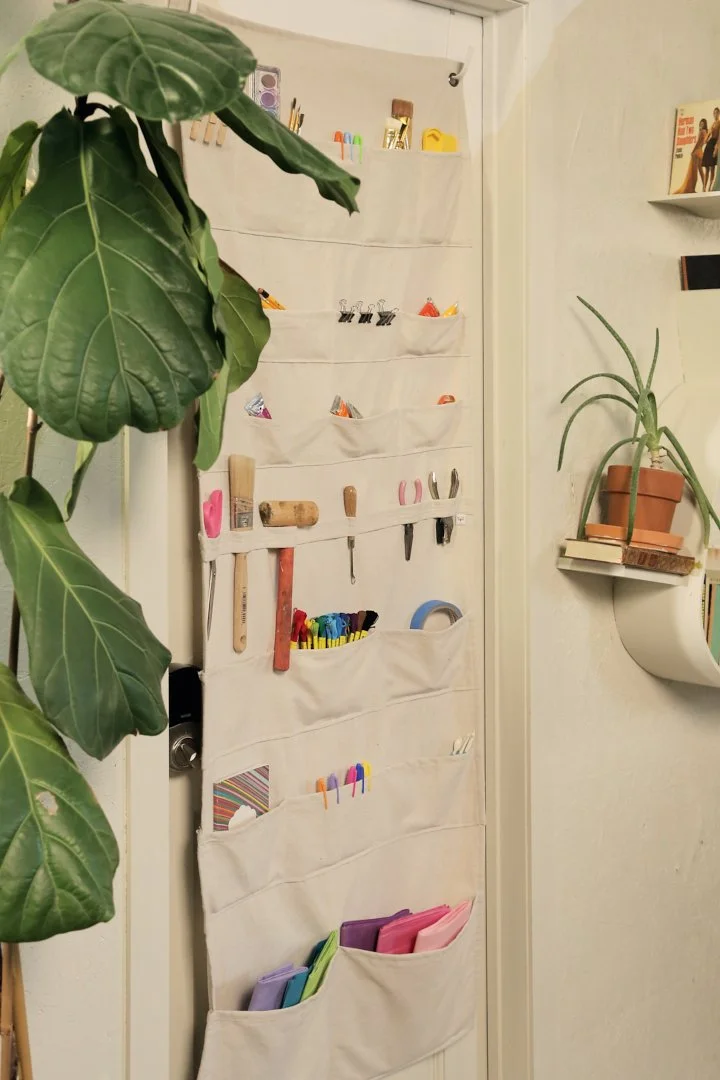
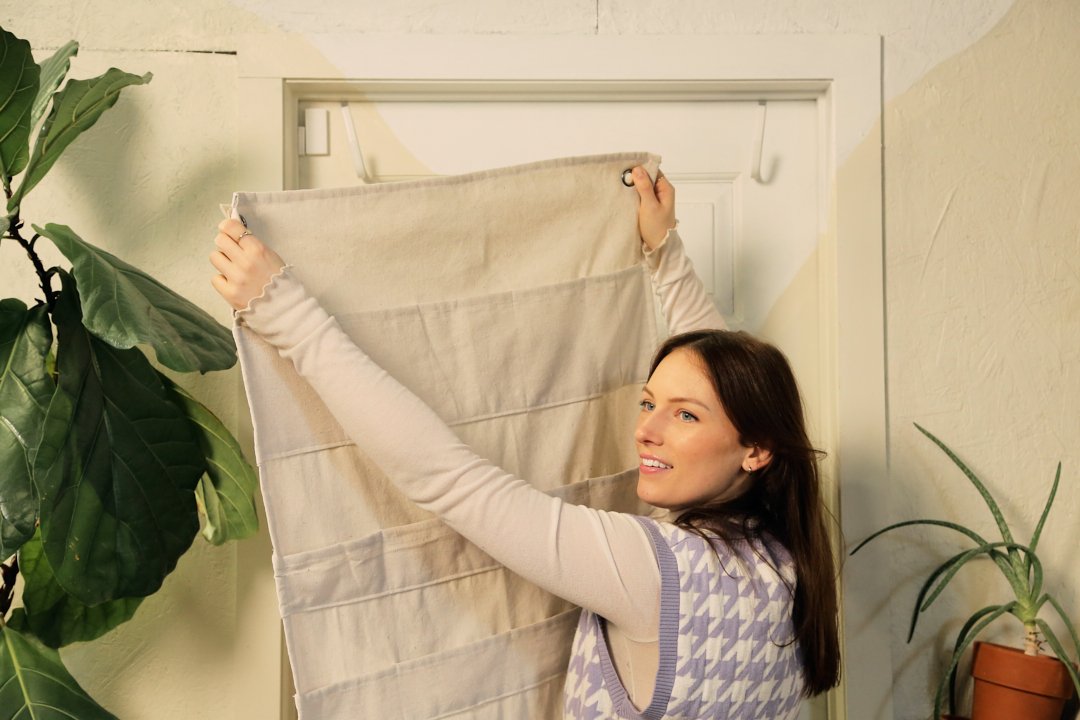
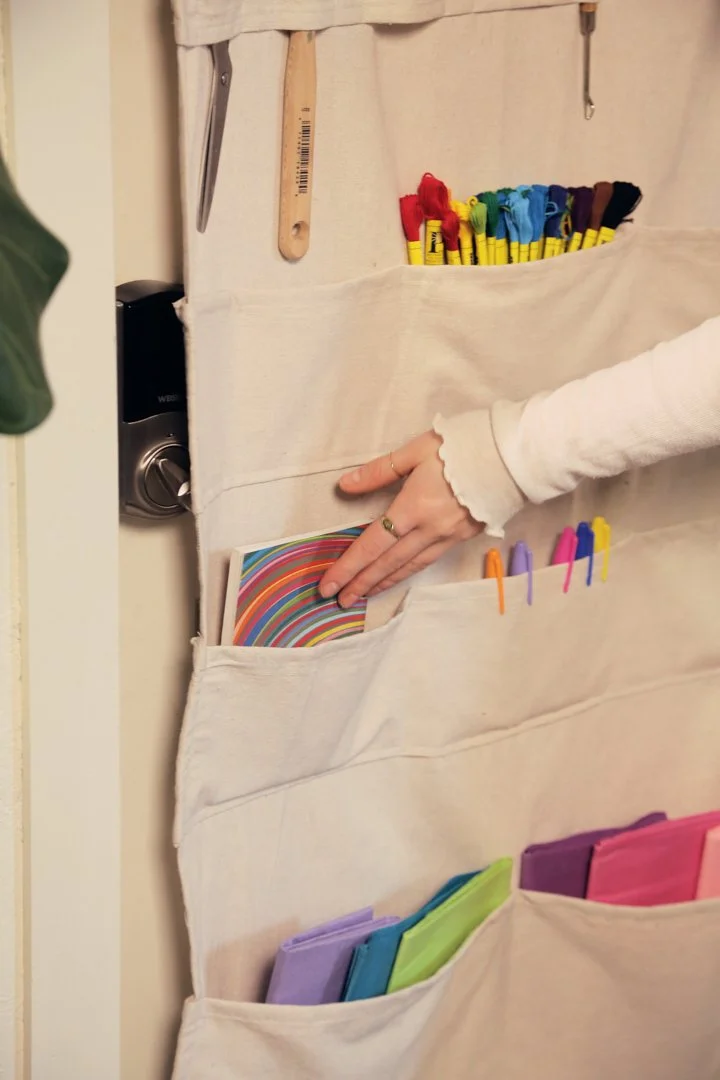
Hang your newly created organizer on the wall or door using hooks or over-the-door hangers. Fill each compartment with your craft supplies, tools, or other essentials. Step back and admire your customized storage solution!
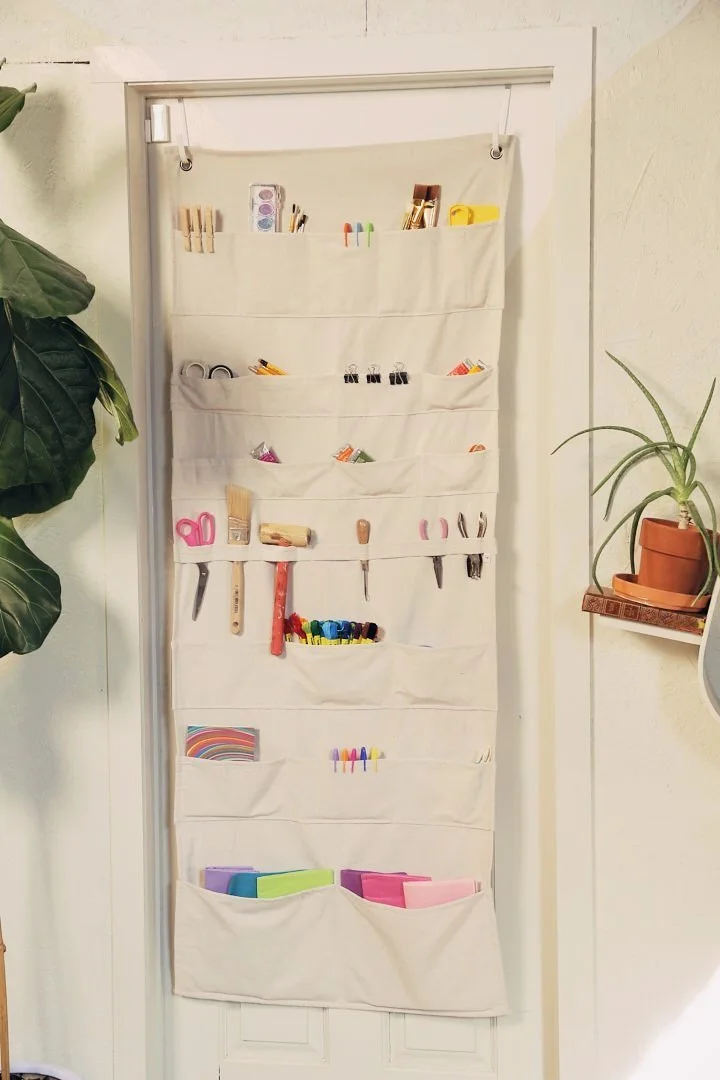
Final Results
Step back and admire your customized storage solution!
Watch the DIY Video below.