Easy DIY Travel Patch Quilt

Hey everyone, it's Becky! As some of you may already know, I'm a huge fan of road trips, and even more so, national parks. (You can catch glimpses of my adventures on Instagram @beckyylynne). During my travels, I've made it a tradition to collect patches from the parks I visit. I recently pulled out my collection and realized that I hadn't put them to use at all (womp womp). So naturally… I decided to DIY a quilted map tapestry for the patches to sit on that’s both perfect for my space and for reminding me of those one-of-a-kind travel stories! Read on for a super easy tutorial on how I made this super fun piece.

Materials
Assorted thrifted fabrics (bedsheets, tablecloths, scrap fabrics, etc.)
Quilted comforter or coverlet
Scissors
Iron on adhesive spray
Sewing machine or sewing kit (optional)
Measuring tape
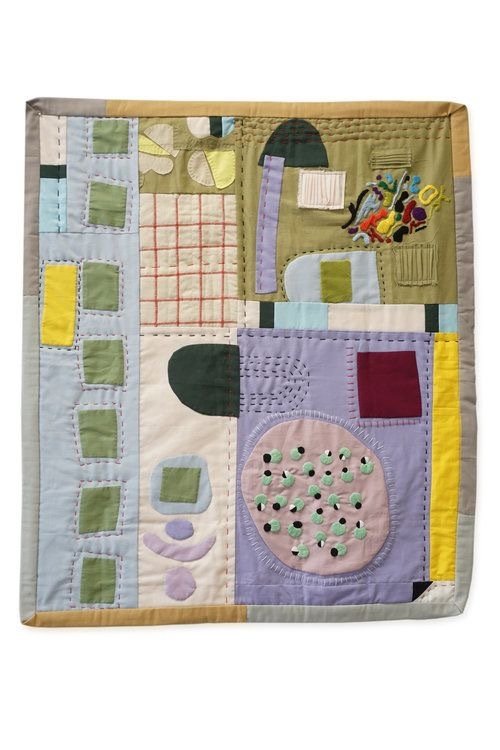
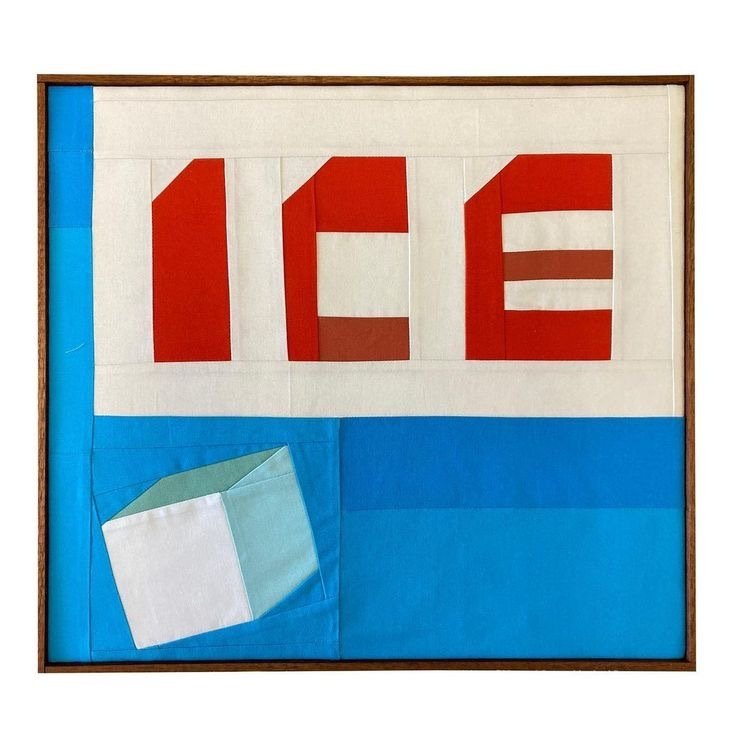
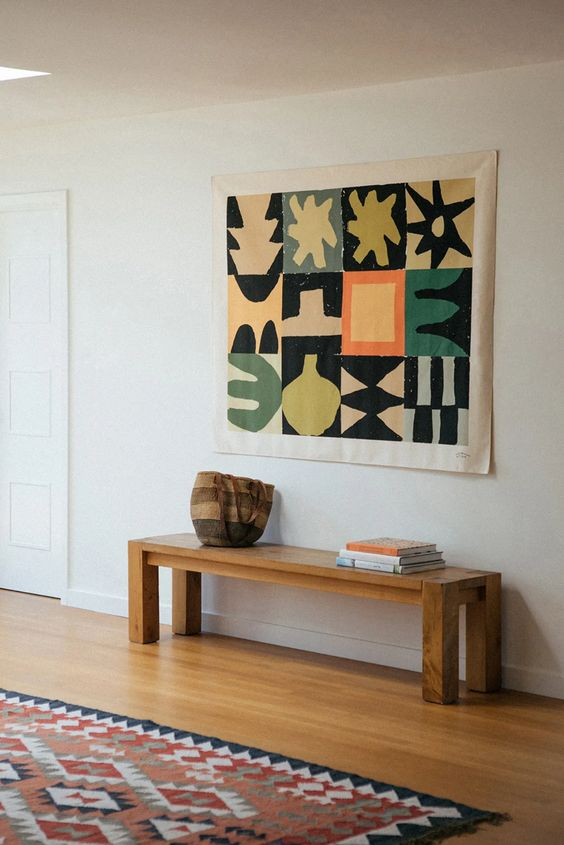
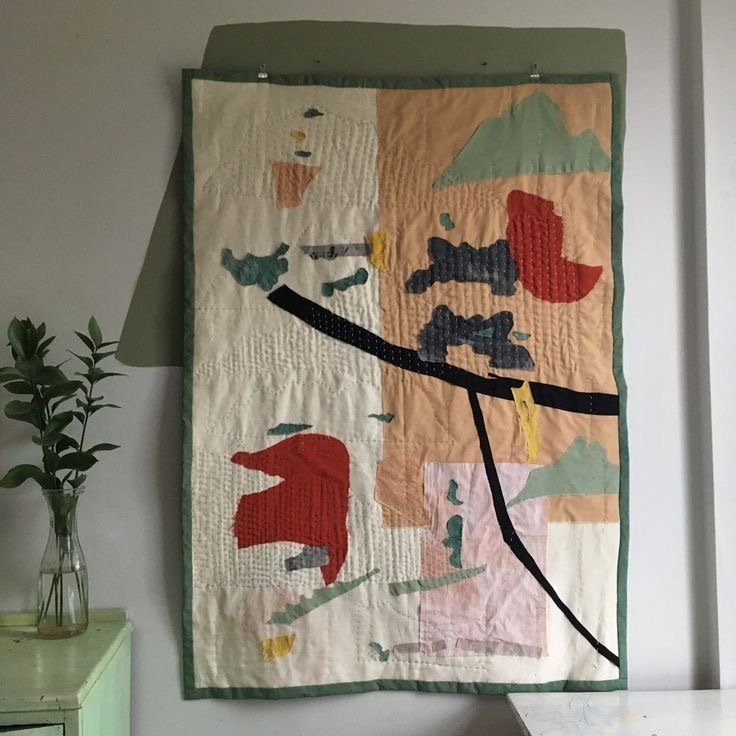
THE INSPO
Step 1: Plan out the design and measurements
I personally wanted this tapestry to be widely on display in one of my most used spaces, the breakfast nook. I measured the space and then determined how large my tapestry could be with some wall space around each side for a nice framing effect.
Step 2: Creating a template for the fabric cuts
Since my patches spanned traveling across Canada and the USA, that’s the map I used as a reference for my template. ** Note** My map looks a little more abstract than geographically accurate; with the different colours representing the different bioregions of Canada and the USA. (Also for the sake of simplicity…and not giving myself carpal tunnel from cutting out every single province and state). I planned out which fabric would be used for each state and province and then labeled the regions accordingly. Once I was happy with the look of my template, I printed it out in a large enough size and cut out my pieces. You can grab the template I made here!


Step 3: Prep the base (comforter)
I trimmed my quilted comforter to the desired size, then used the leftover fabric to cover each raw edge and securely sewed it down to complete the hem.
Step 4: Pin down paper templates and cut out coloured fabric


Step 5: Arrange and attach the shapes to the quilted comforter
I arranged my cut out fabric shapes on the quilted comforter and played around until I liked the look of everything all together. After this I used an iron transfer adhesive spray to attach my pieces onto the quilt.


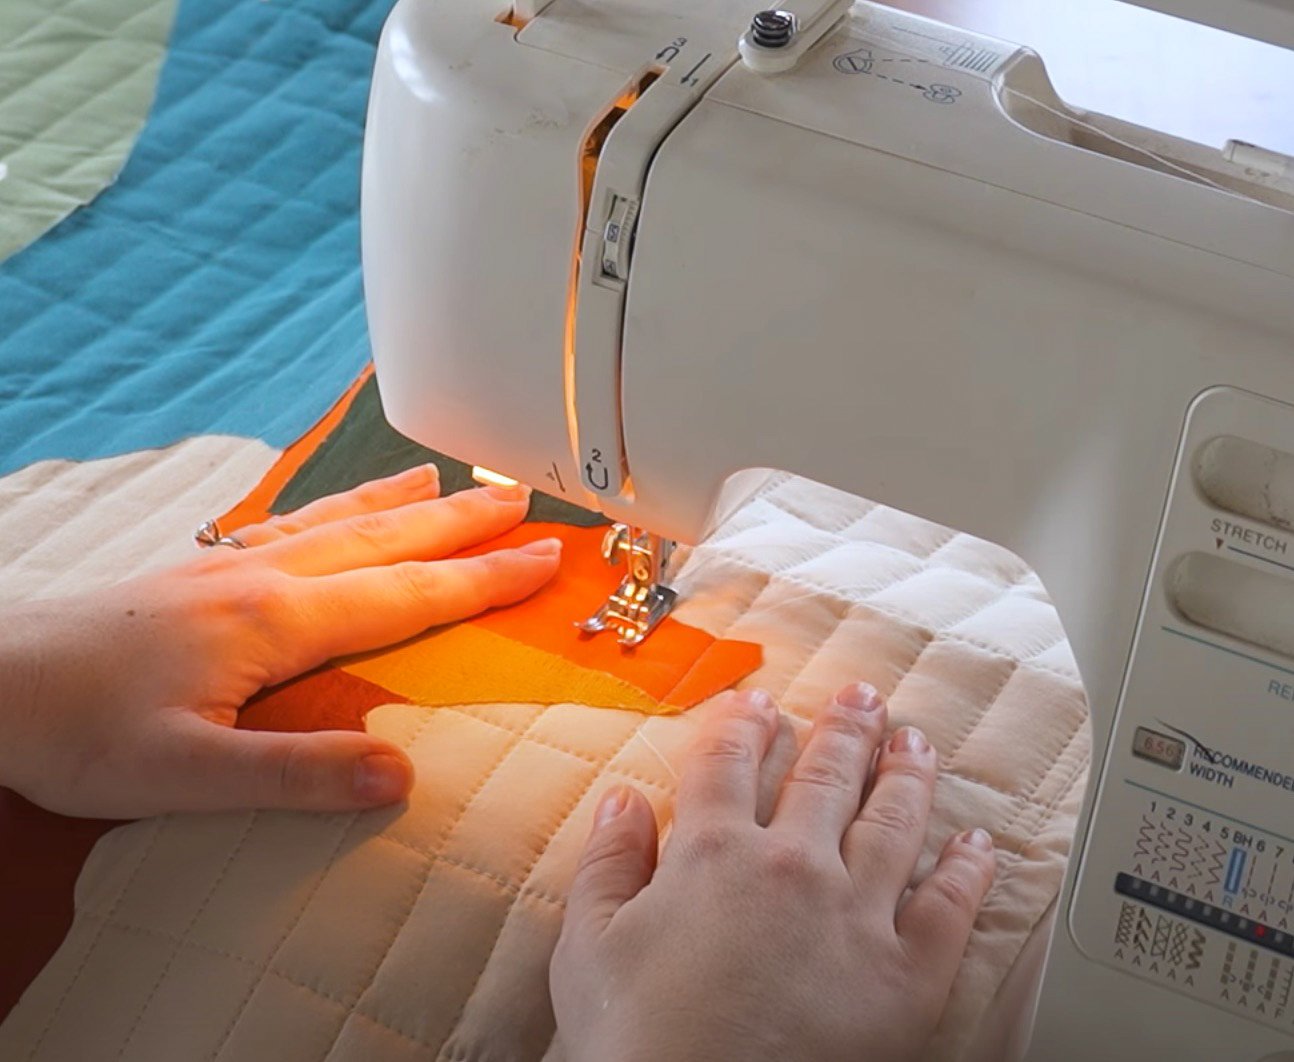
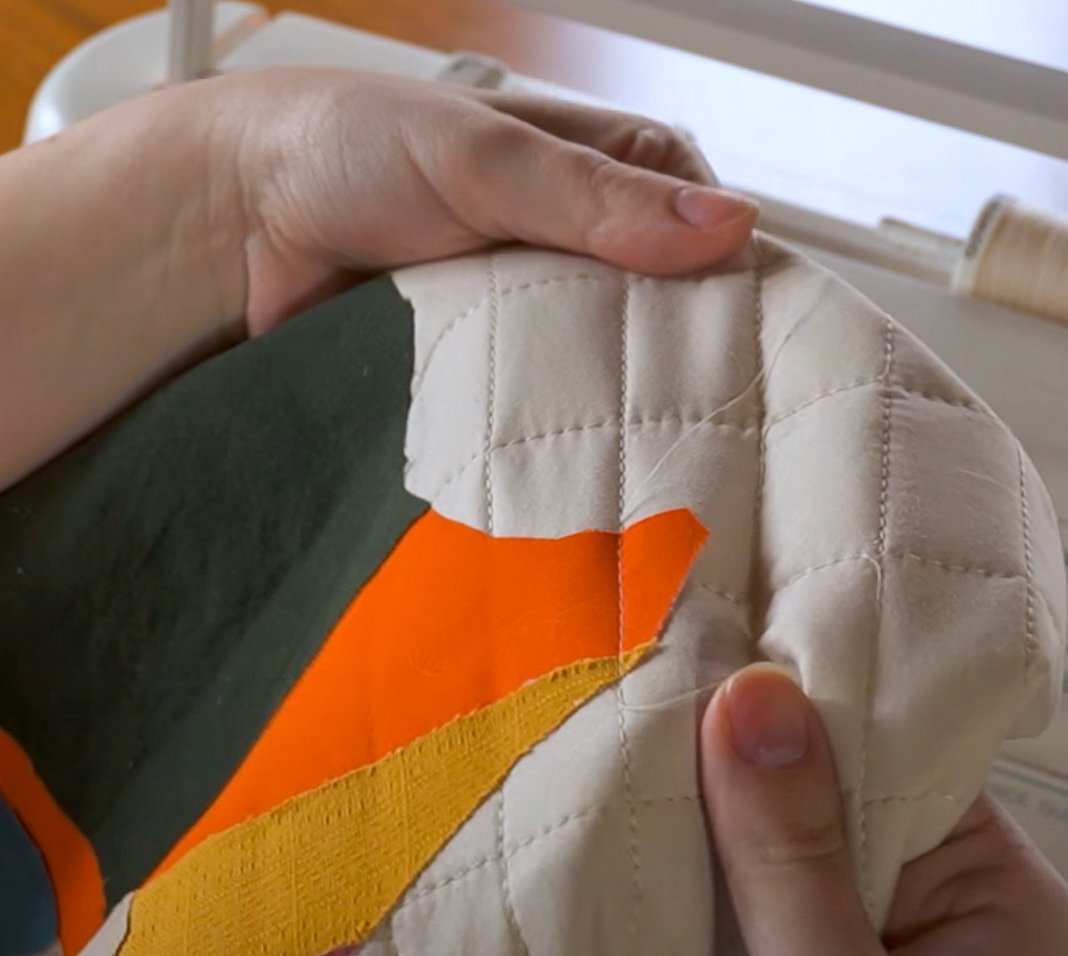
Step 6: (optional) sew down grid lines
This step is totally optional but to make my piece feel more professionally finished, I extended the already existing grid lines of the quilt by sewing through the ironed on map pieces to continue each line.
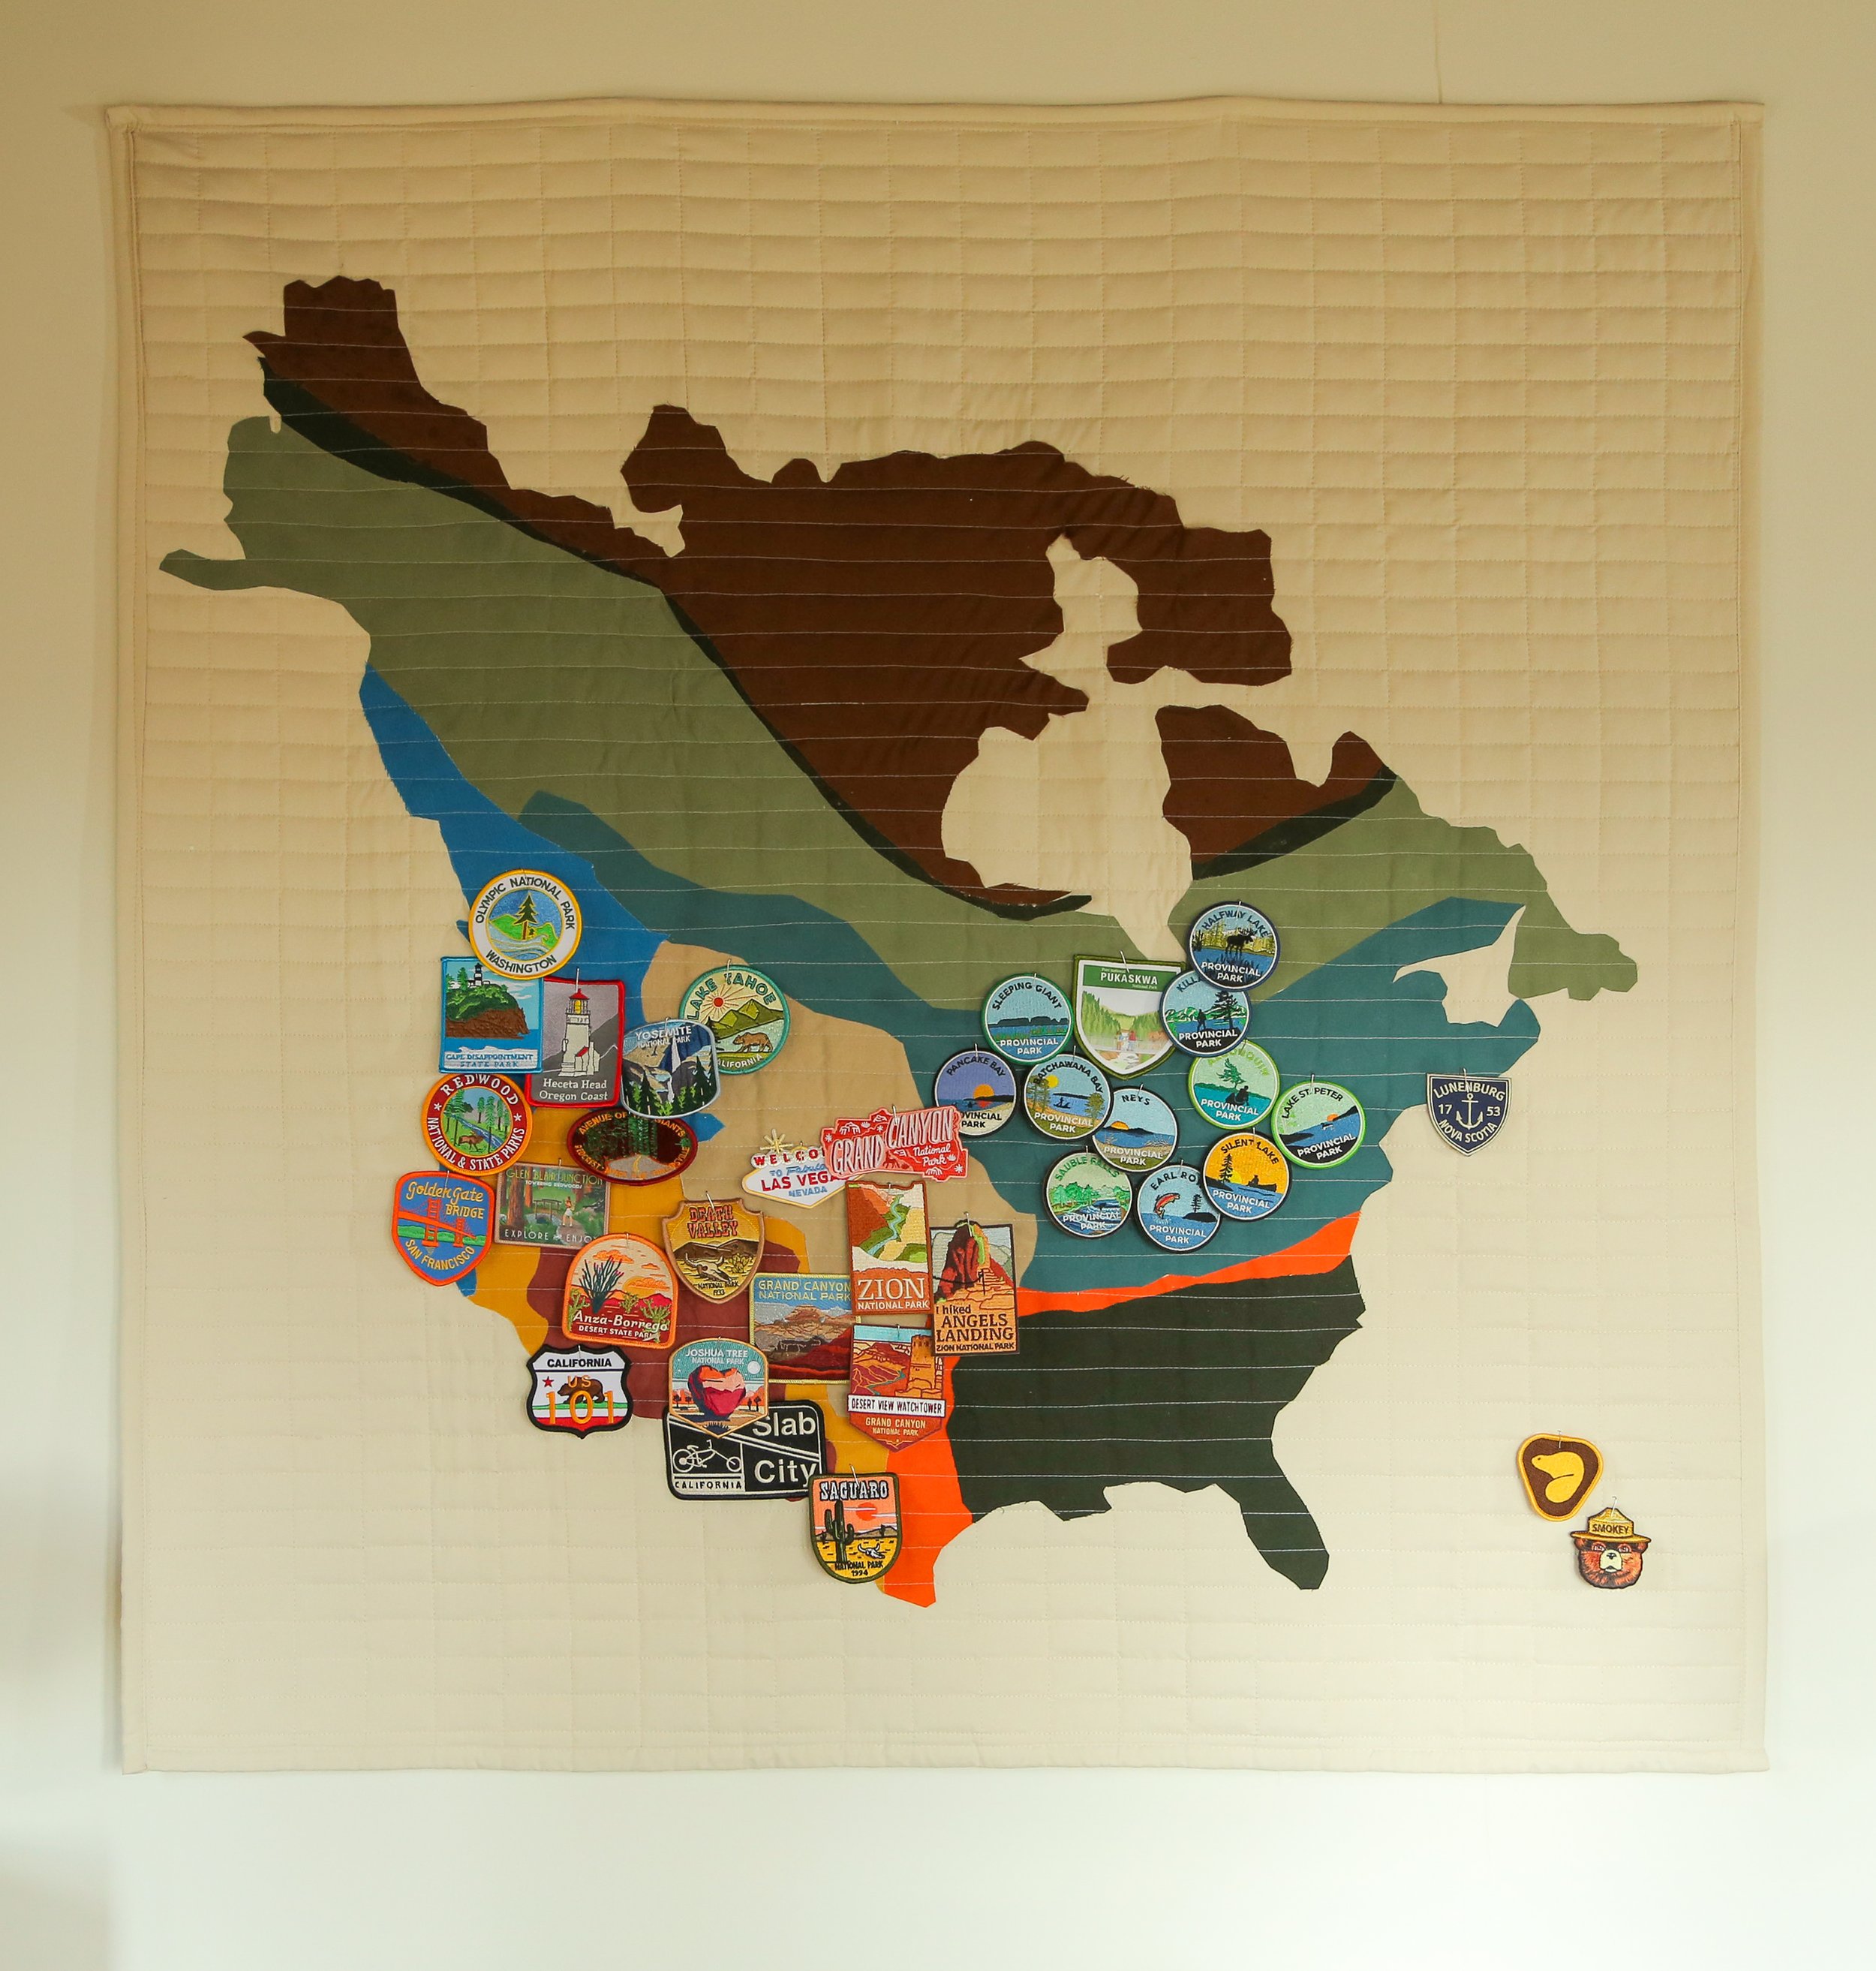
Step 7: (the super fun part) attach the patches!
With coil less pins, I went through and attached my patches to the map locations I had collected them from. This part was super fun for me because as I was attaching everything, I got to think about all of my trips and remember the amazing memories I created.

Final Result:

Watch the DIY video below!