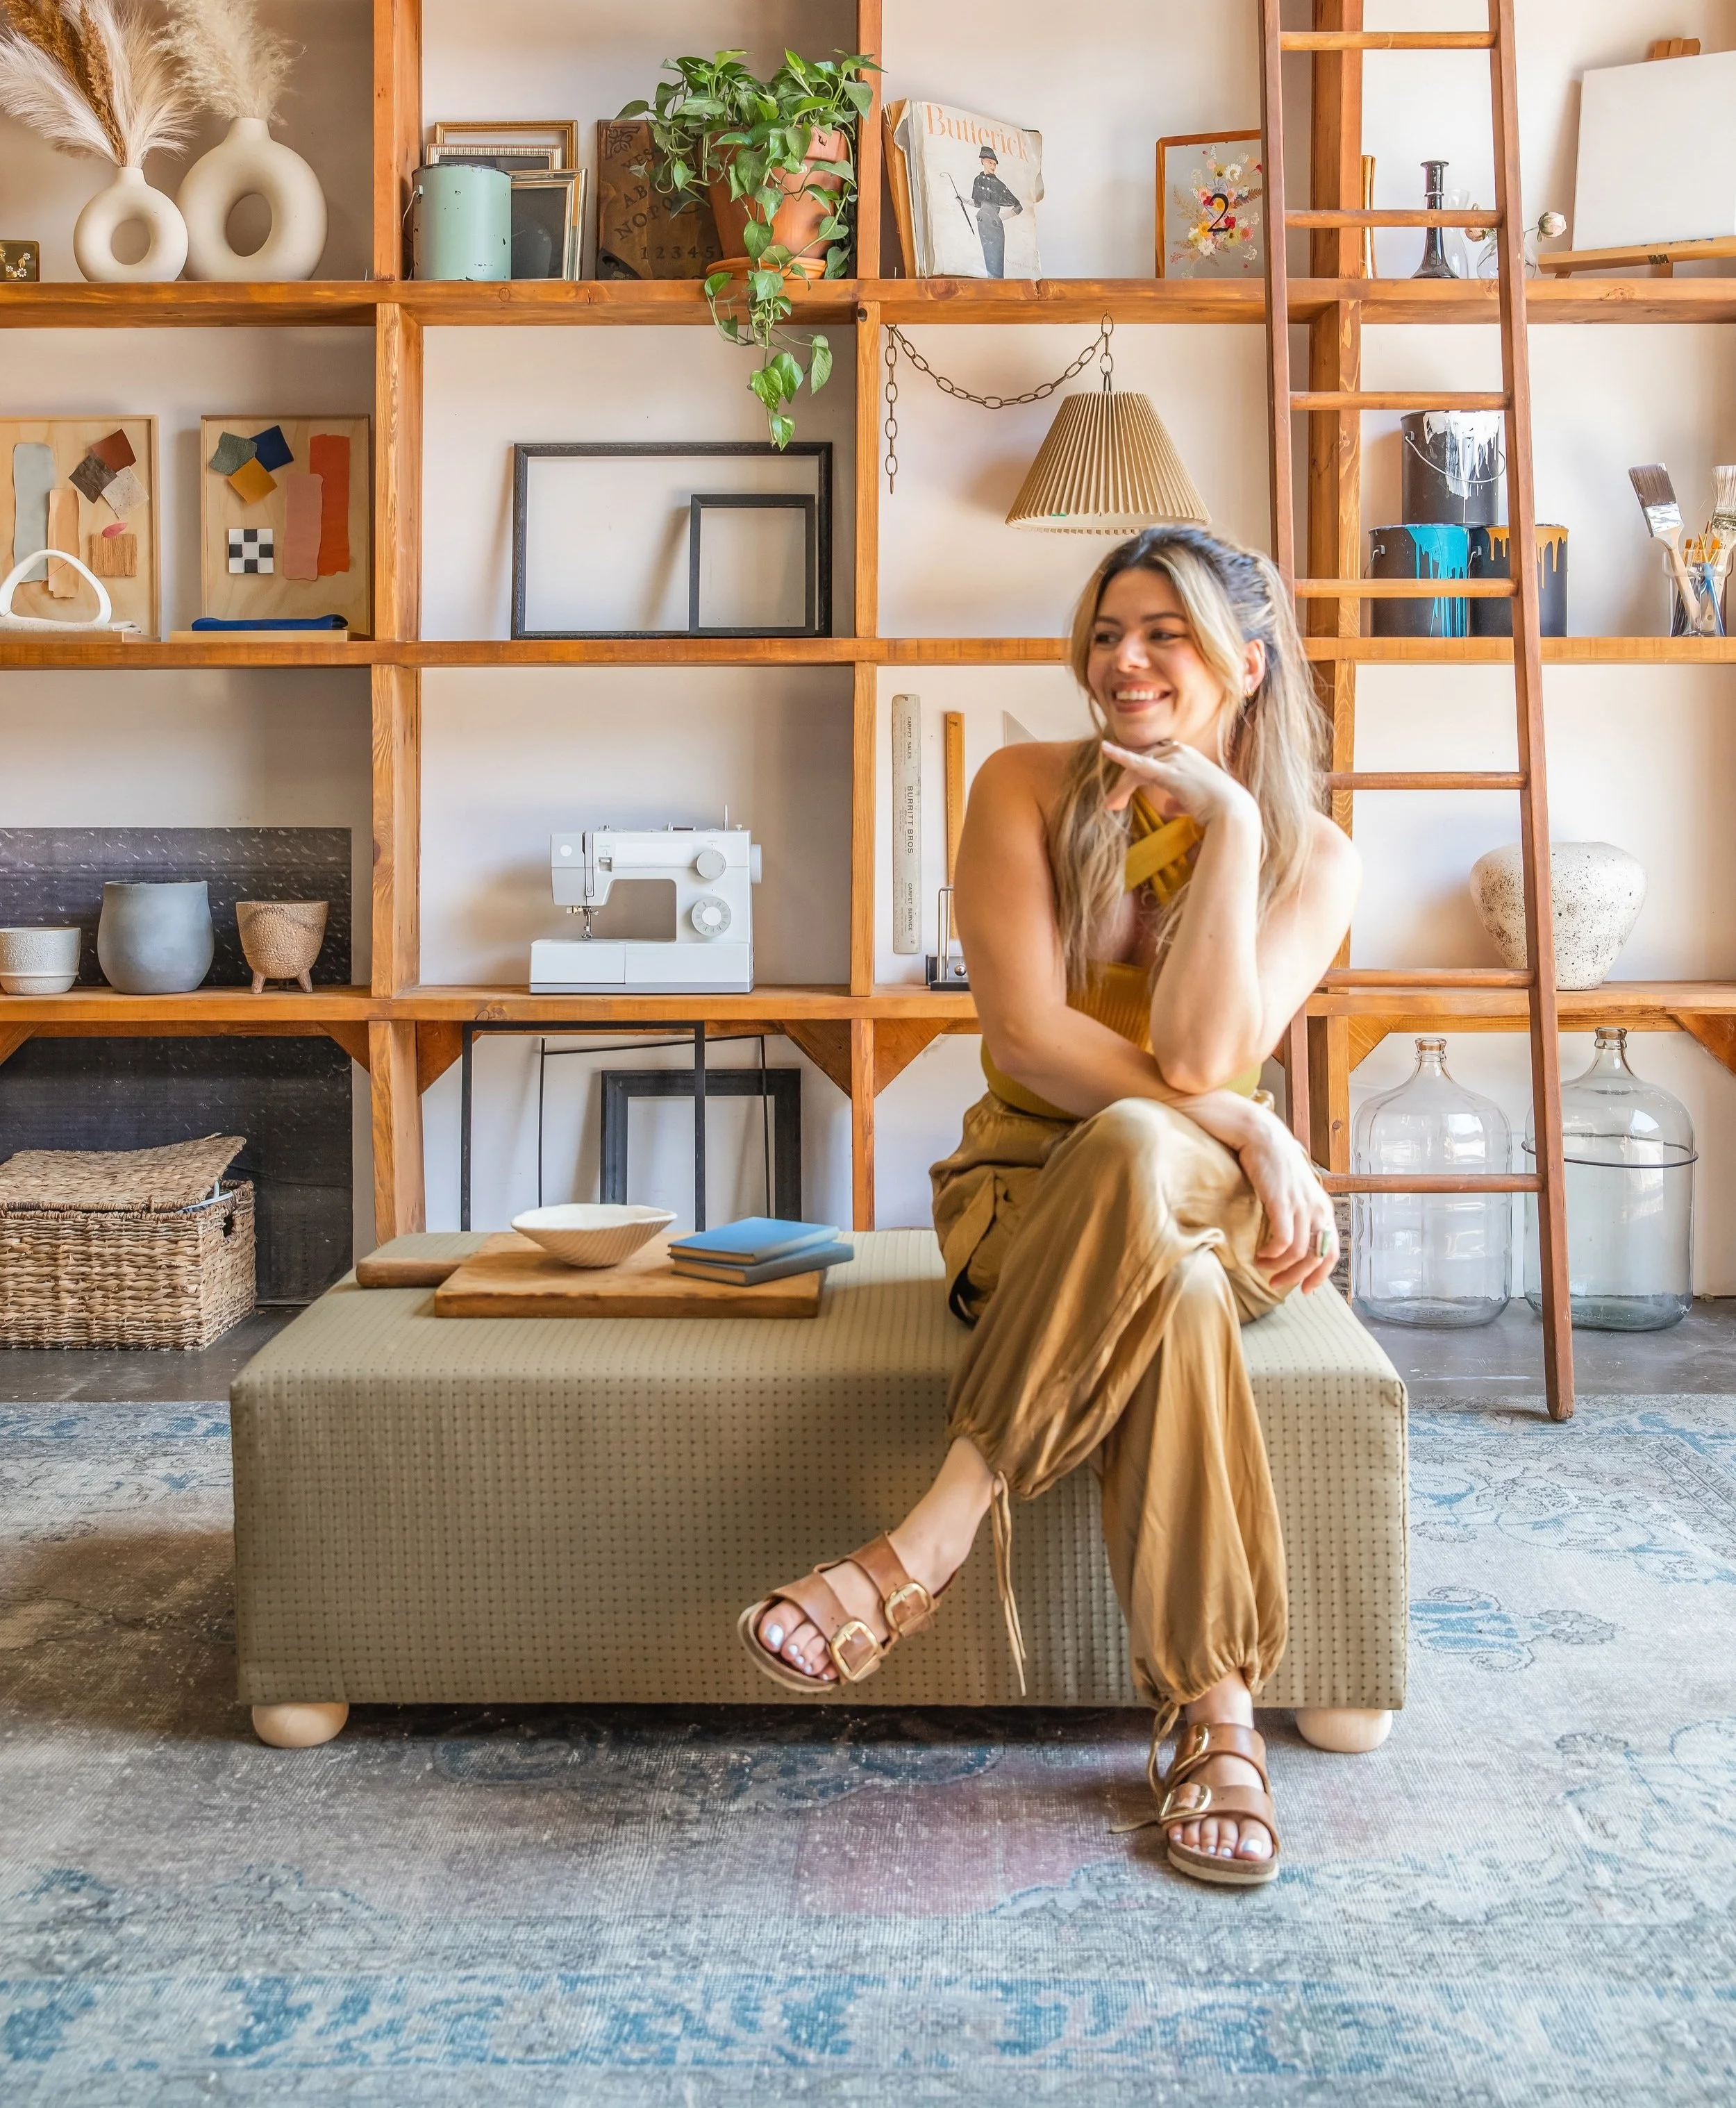
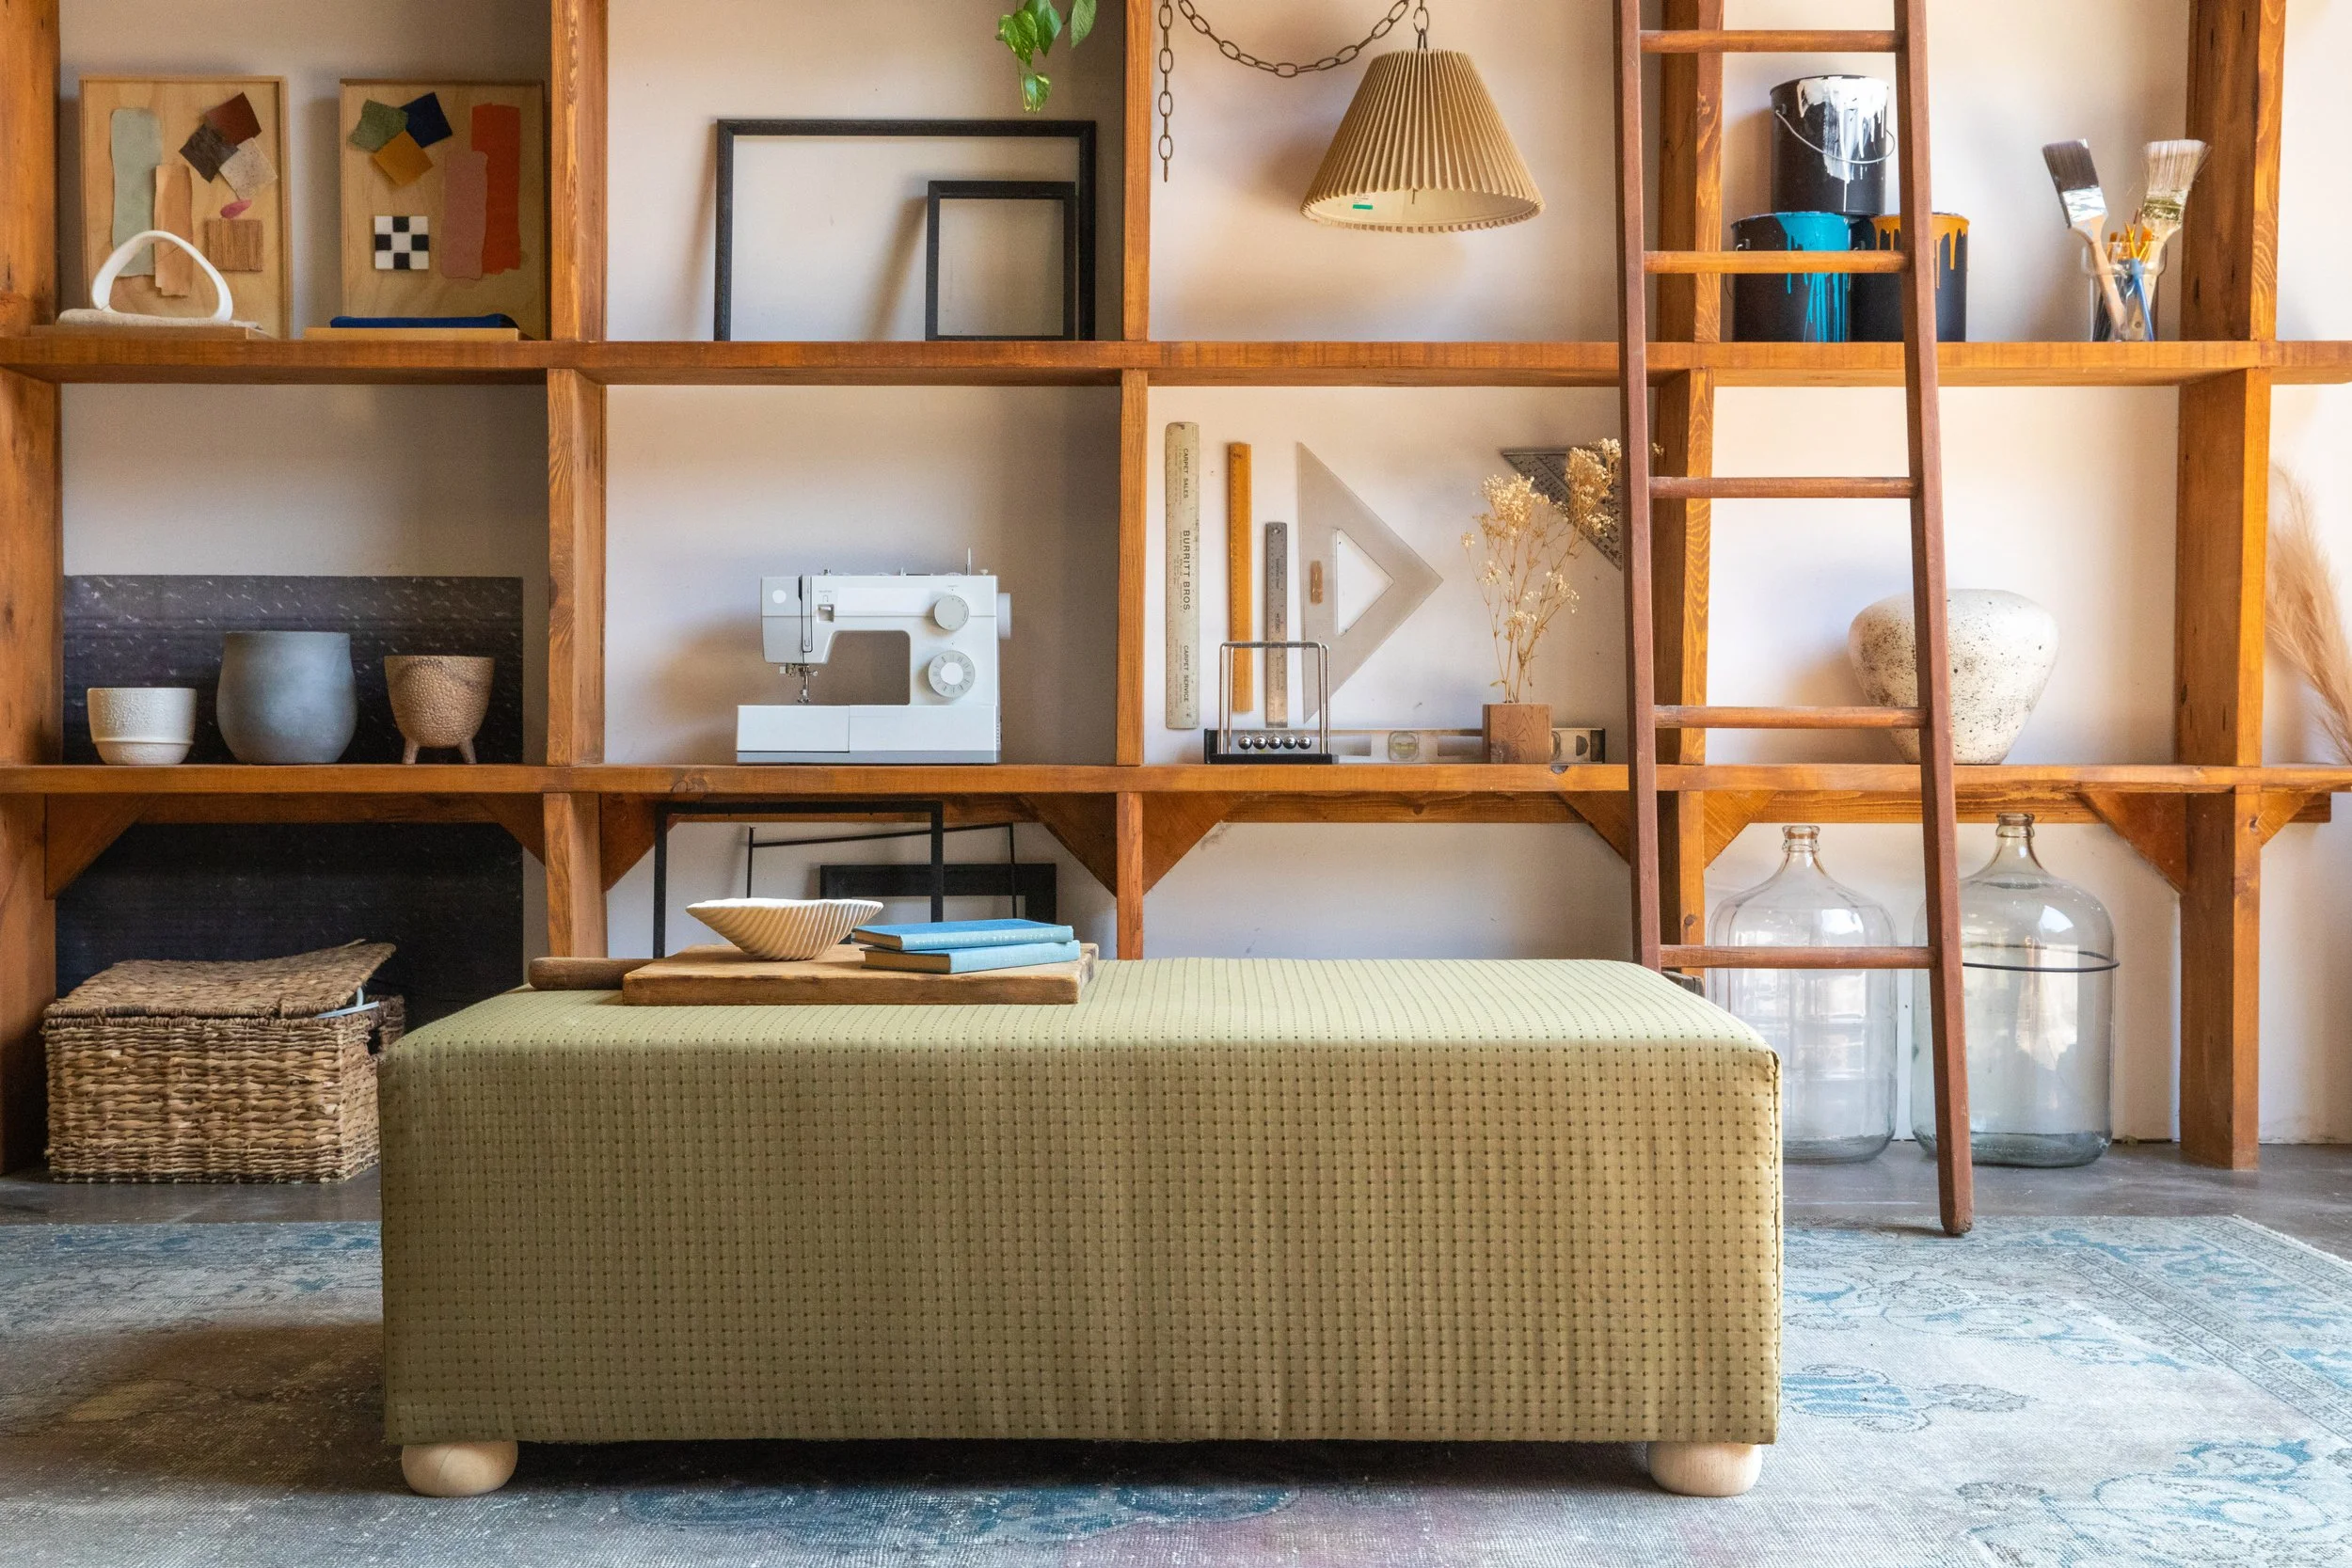
Custom Upholstered Ottoman
Hi everyone - Becky here! Have you ever had your eye on one of those stylish, oversized ottomans that also function as a coffee table, only to see the price and quickly close the tab? I’ve been there! So, I decided to create my own and save a bit of cash.
This DIY is way easier than you think and super customizable to fit your style and space! If you’re not sure what your design style is yet, no worries—check out our ultimate room makeover course! It’ll help you figure out your style and give you all the tools and confidence you need to tackle a full room makeover!
The inspo
Materials:
3 pieces of 1" x 12" x 8' pine boards (or similar)
1 piece of 2" x 4" x 10' wood
Construction screws
Wood glue
Upholstery foam for the ottoman cushion
Fabric for covering the ottoman
Batting (optional)
Staple gun
Upholstery needle (for final touches)
Bun feet (optional, can be any style you like)
Step 1: Measure and Cut Your Wood
Decide on Dimensions: Determine the size of your ottoman based on your space. I have my dimensions and cuts listed here to follow but this is all adaptable!
Cut the Boards:
1" x 12" x 8': 2x 44.25”
1" x 12" x 8': 2x 27.25 & 1x 28”
1" x 12" x 8': 3x 28”
2" x 4" x 10': 1x 43.5” & 4x 11.25”
Step 2: Assemble your Base Box
Create a Box Frame: Using 2 x 44.25” pieces and 2 x 27.25” pieces, assemble them into a rectangular box using wood glue and construction screws.
Add Support: Using your 4x 11.25” pieces, add support to each inner corner of your box. Glue and screw them in.
Using your 43.5” piece, add a support bar to fit the length of your ottoman, glue and screw this in on either side.
Using your 4x 28” pieces, lay the planks out evenly on the top side of your ottoman, gluing and screwing them down securely (all planks should touch, creating your seat top).
Tip: Drill pilot holes to prevent the wood from splitting.
Drill a hole in each corner of the ottoman (through the top of your 11.25” pieces) for adding your feet in later on.
Step 3: Prepare for Upholstery
Pick Your Fabric: Visit a fabric store to select colors and patterns. Bring home samples to decide what works best for your space.
Lay Out the Foam and Batting: Adhere the upholstery foam on top of the box to create your cushion. Optionally, add batting for a softer finish.
Step 4: Upholster the Ottoman
Start with Batting: Lay the batting over the foam and staple it to the underside of the box. It’s easiest to work upside down.
Tack Down the Fabric: Place your chosen fabric over the batting. Pull it tight and staple it down, starting from one side and working your way around.
Handle the Corners:
Cut excess batting, leaving about an inch to fold over.
Tuck the corners neatly and staple them down.
Finish the Fabric:
Fold the fabric edge under and staple it securely. Trim off any excess fabric for a clean look.
For a polished finish, use a curved upholstery needle to blind stitch the edge corners. This makes your ottoman look neat and professionally done.
Step 5: Attach the Feet
Flip the Box: Turn your box upside down.
Attach Bun Feet: Screw on your bun feet or any other style you choose.
THE finished product
Watch the full DIY video below!


