DIY Fabric-Covered Pinboard
Hey! Kelsey here! I don’t know about you, but I’ve been getting very tired of cluttered mail and paperwork piling up in my house. So I want a solution that will keep everything organized, is easily accessible AND also aesthetic. So in this step-by-step DIY blog post, I'll guide you through the process of creating a fabric-covered pinboard that not only serves as a functional organization tool but also fits really well into your space.

Materials Needed:
Soundproofing panels
Fabric of choice (I used repurposed coffee bags)
Utility knife
Spray adhesive
Stapler
Paint and primer
Pins
Screws and decorative screw caps
Drill
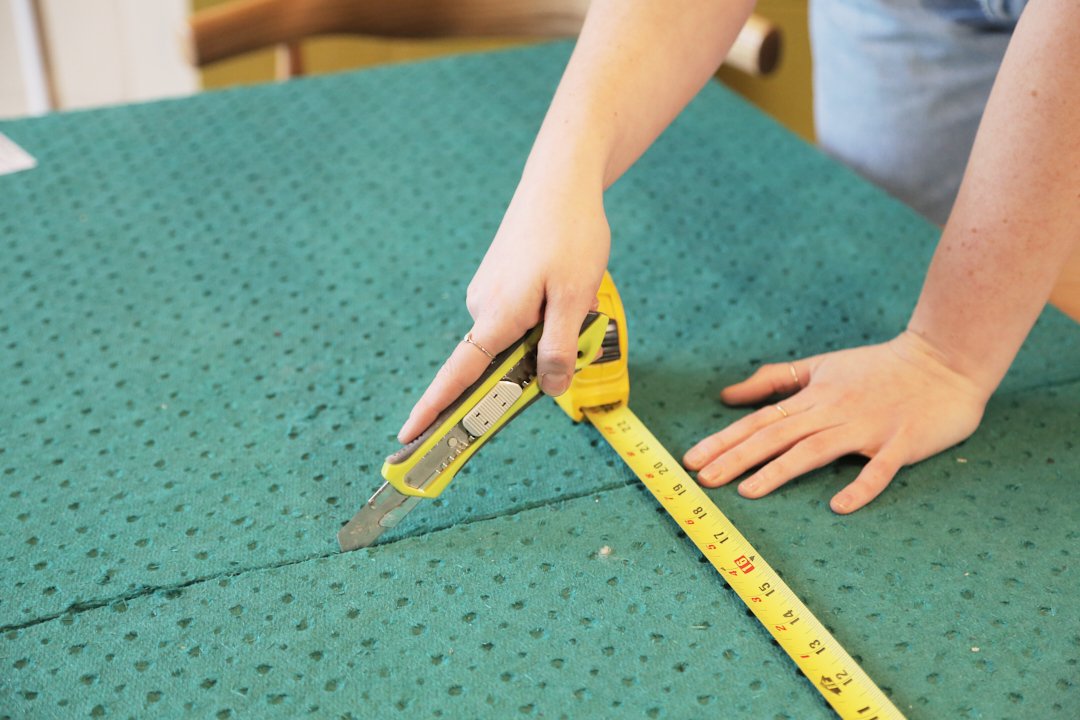
Step 1: Choose Your Base Material and Cut to Size
Instead of opting for a traditional cork board, soundproofing panels make for an excellent alternative due to their density and affordability. Head to your local hardware store to pick up a panel that suits your desired size and budget. I used SONOpan Soundproofing Panels (You’ll cover this in fabric later).
Using a utility knife, carefully cut the soundproofing panel to your desired dimensions.
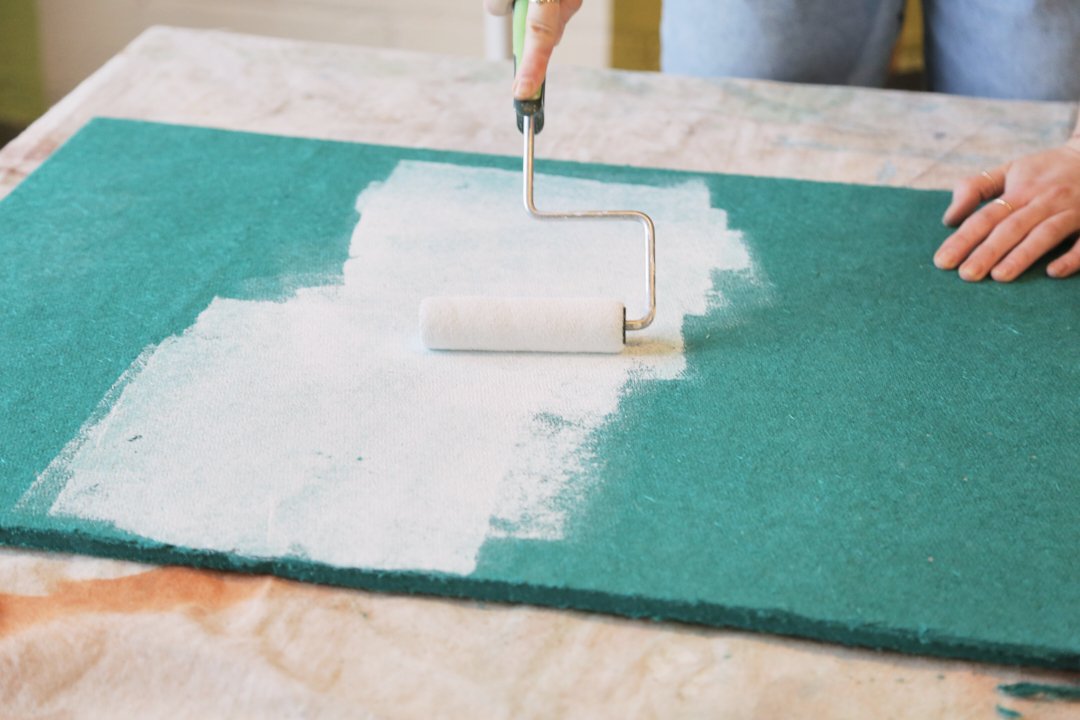
Step 2: Paint the Soundproof Panel (Optional)
If the original color of your panel shows through the fabric, consider giving it a coat of your final paint color. This step is optional but can help the panel better blend in with your fabric.
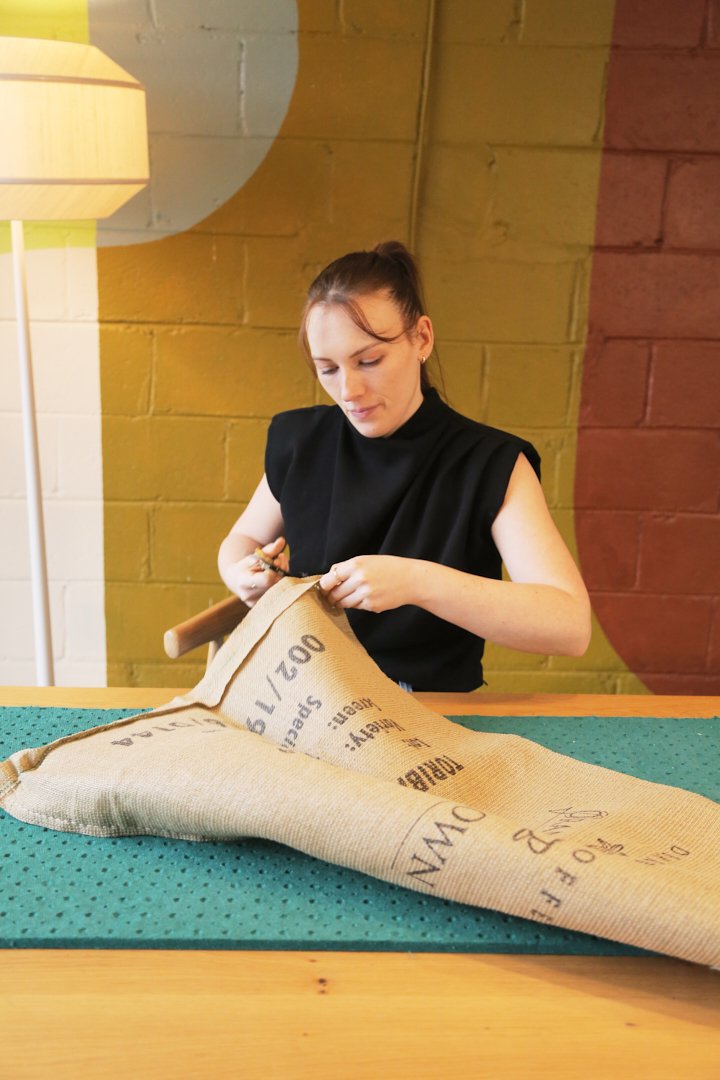
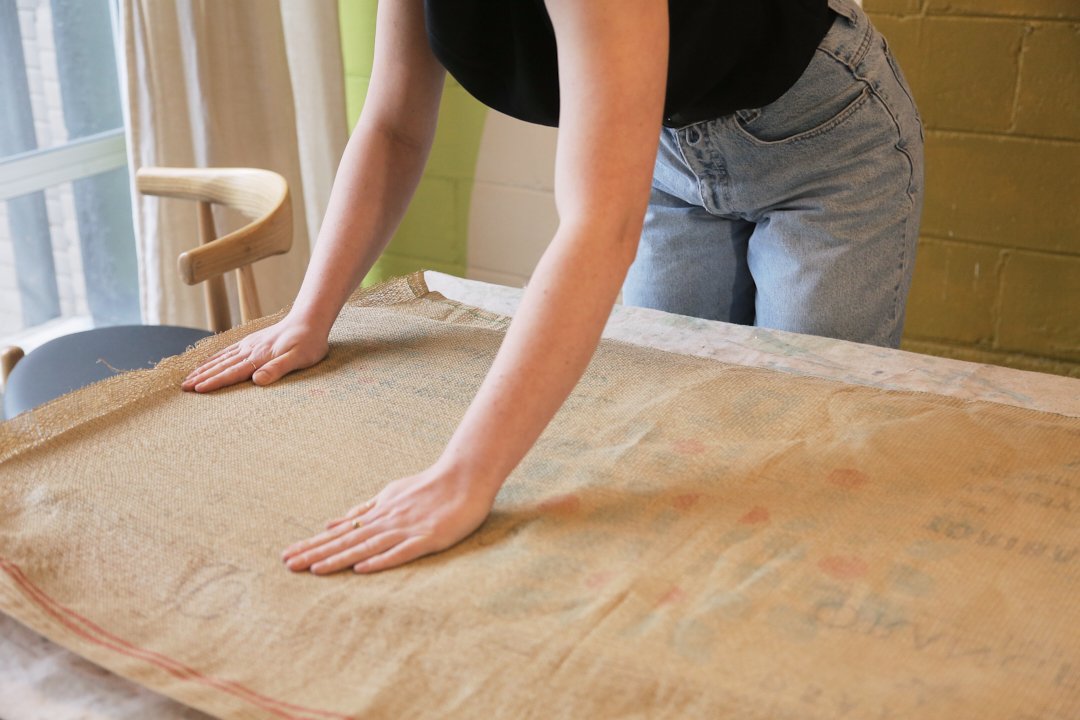
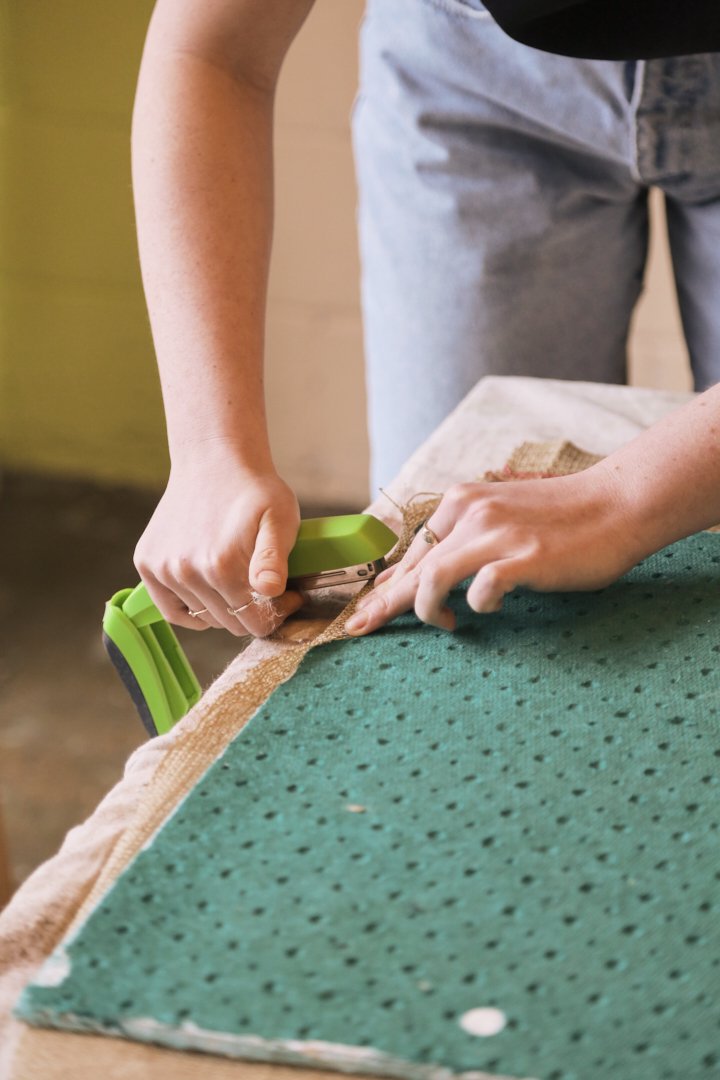
Step 3. Cover your Panel in Fabric
To cover your panel in your chosen fabric (I repurposed coffee bags, but you can use any fabric you have on hand), use spray adhesive to glue on your fabric. Smooth it down to ensure a smooth and wrinkle-free surface. Then wrap your fabric around the edges and staple the fabric tightly onto the panel.

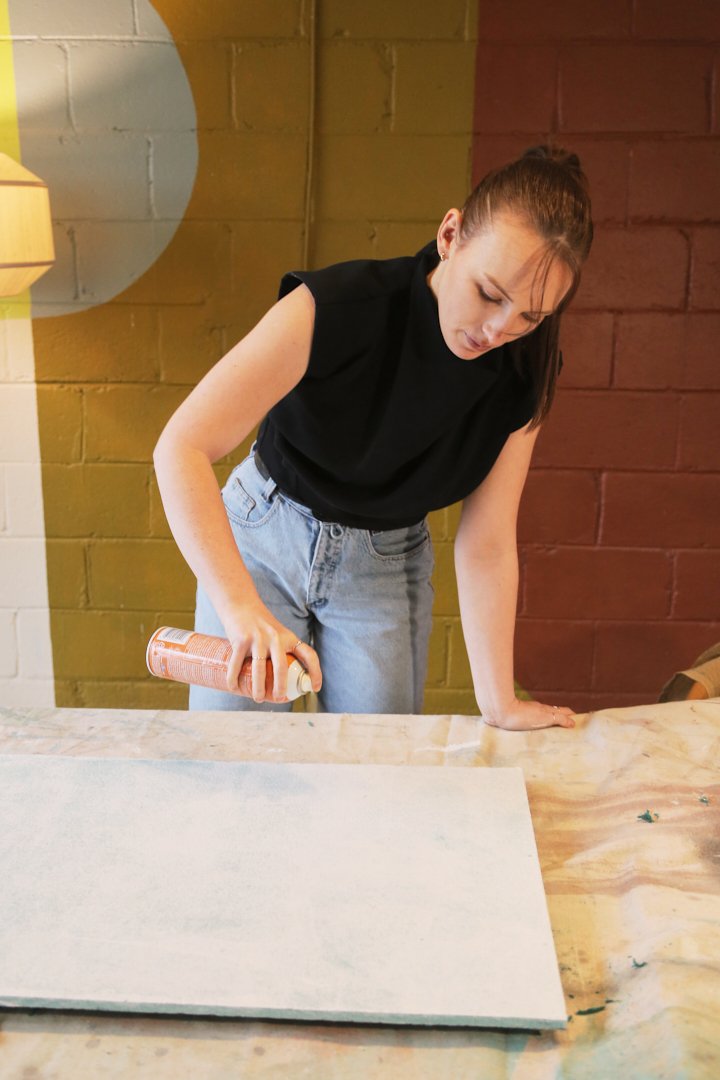
Step 4: Prime and Paint (Optional)
Give your entire pinboard a coat of primer followed by your preferred paint color.
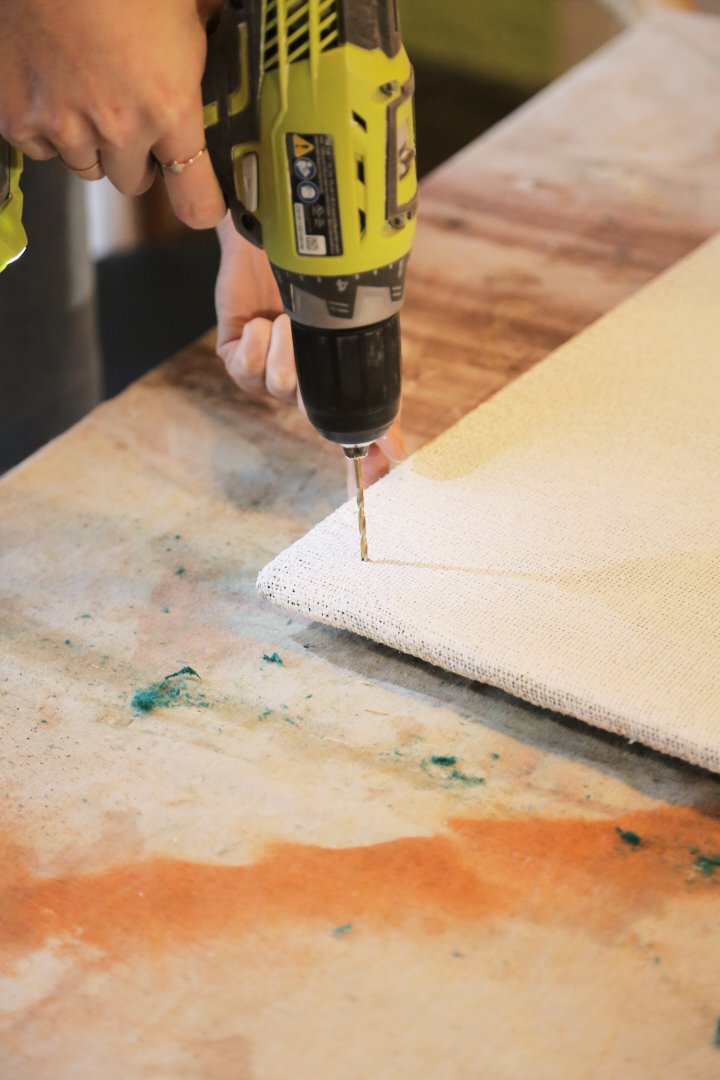
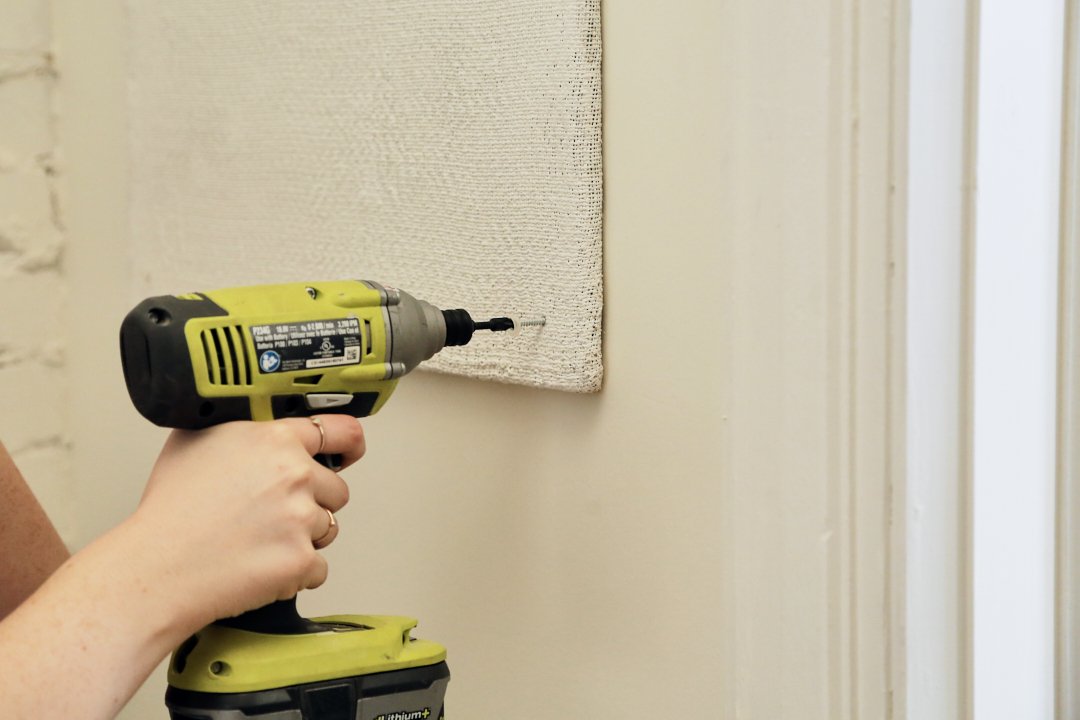
Step 5: Install on the Wall
Mark the corners of your pinboard and drill small holes at each point. This is where you'll feed screws through to attach the board to the wall. To conceal the screws, use decorative screw caps for a polished finish.
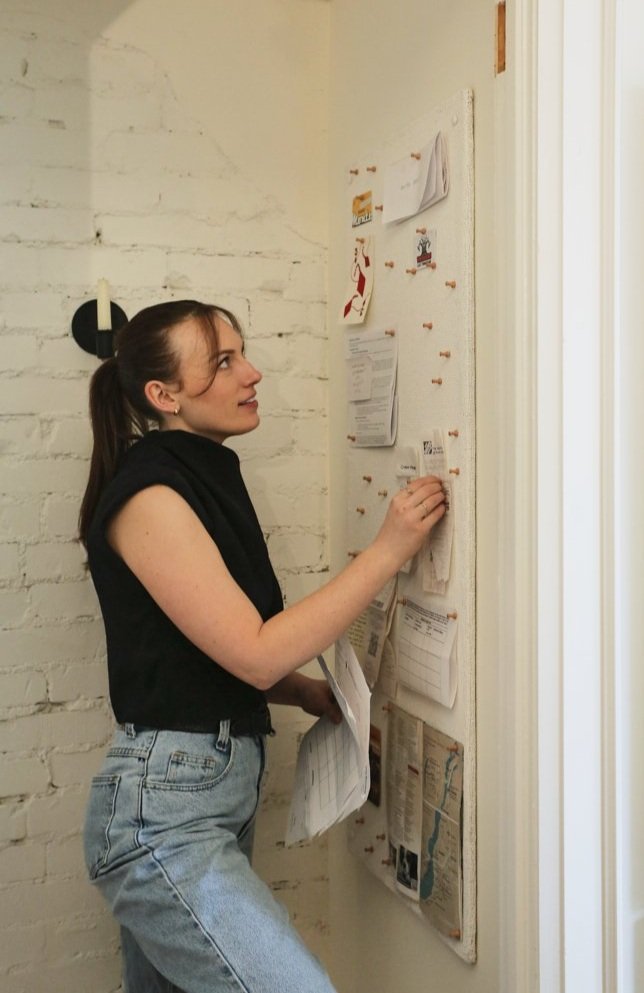
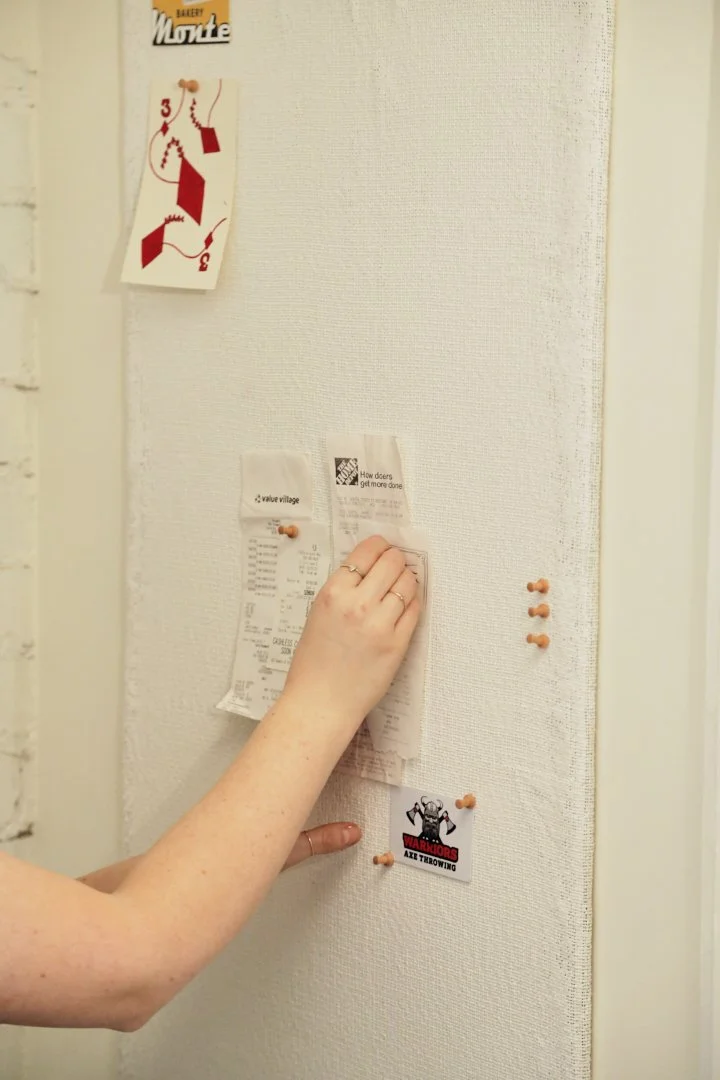
Step 6: Secure with Pins
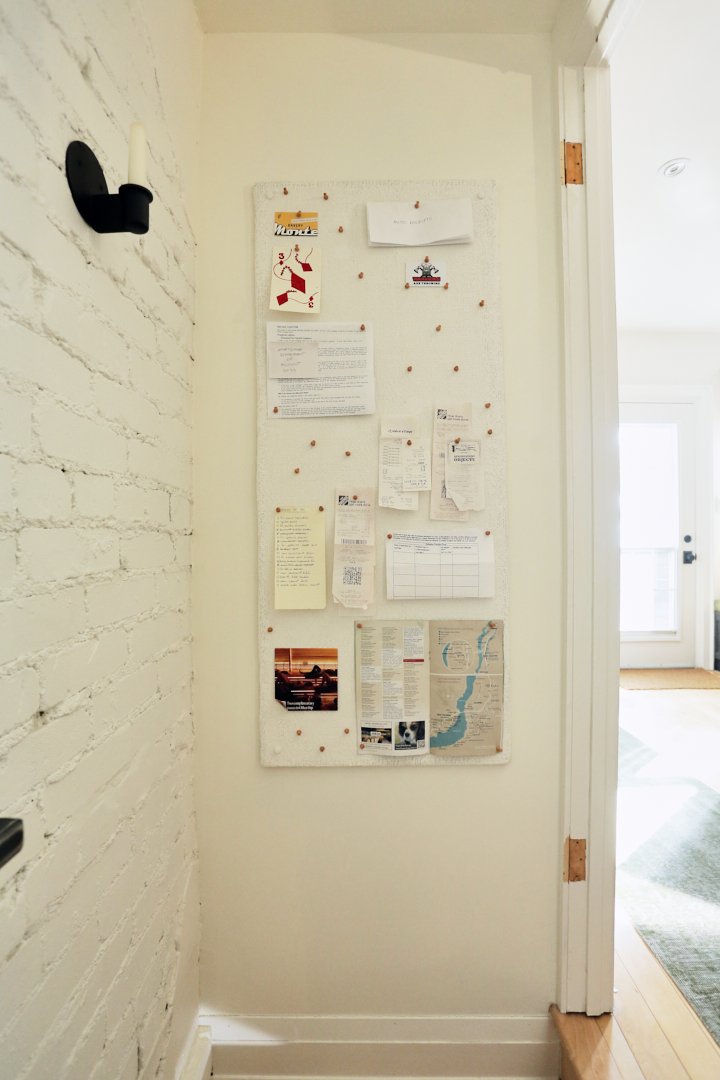
Once installed, it's time to add functionality to your pinboard. Use pins to secure notes, memos, and other items to the fabric-covered surface. Get creative with how you arrange your items to maximize organization and visual appeal. Take a step back and admire your beautifully organized paperwork!
Final Results
Watch the DIY video below.