Extreme Kitchen Renovation in my 100-Year-Old Home
Taking on a kitchen reno is honestly really scary and daunting (this doesn’t go away once you start, it’s over and I still feel stressed about every decision). Not only is it inevitably going to be expensive and routine disturbing - but there are also a million things to consider in the design process! In this blog post, I walk you though my kitchen makeover, product info, and the decisions I made in the hopes it might make your reno, future reno, or even small kitchen upgrades run a little smoother.
Before
When I first moved in to my home in 2020, the kitchen had some issues that I knew that I would eventually need to address. That said, due to the cost and the fact I just wanted to use the kitchen before deciding what I needed in the space, I decided to make a couple small budget friendly changes until I was ready for the big thing.
So I turned the outdated, lime green, early 2000’s kitchen into a cozy and neutral space by doing some small updates like painting the tile and handles, hooking up a pendant light, adding some thrifted finds, and switching out a doorknob. I was happy with how this turned out, but always looked forward to making it the dream space at the right time.
For more details about this transformation, check out this blog post here.

kitchen when I moved in
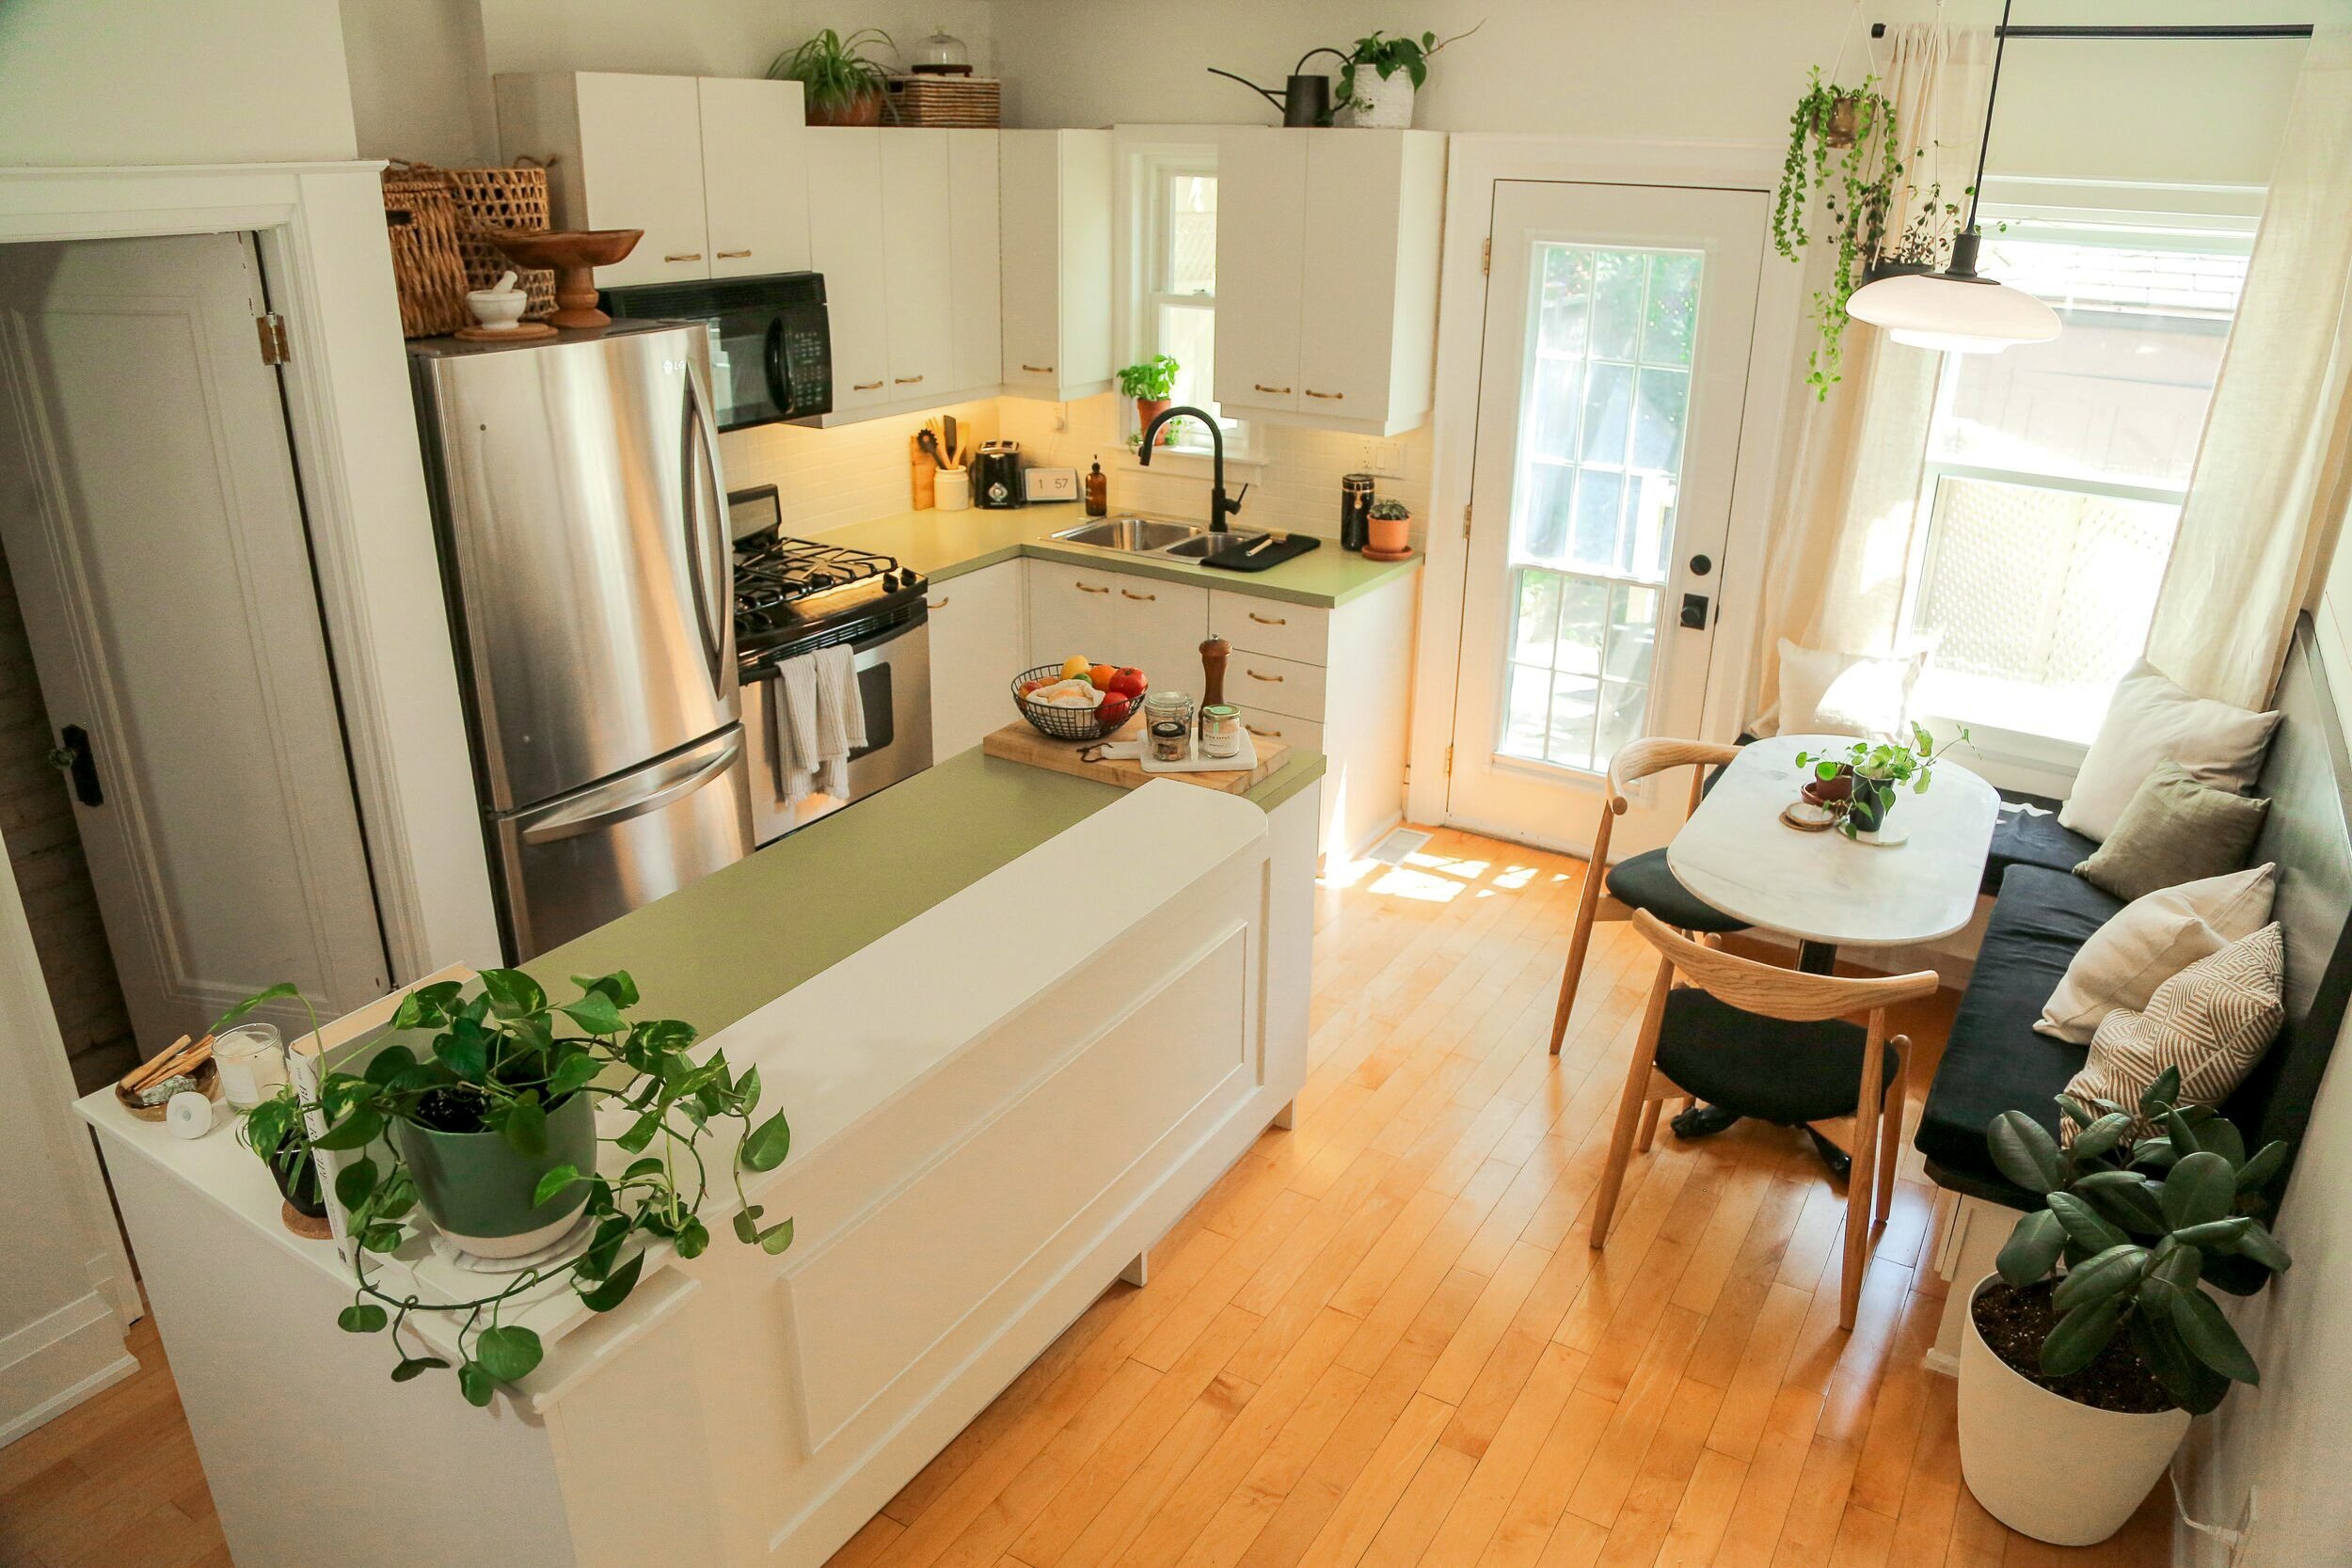
kitchen after my budget friendly makeover
Problem Areas
After living with this kitchen for a while, I compiled a list of problem areas that I wanted to address during the renovation.
appliances
too many small appliances on the counter/ difficult to pull them out on a daily basis
large appliances weren’t a good fit for the space (large fridge door, clunky microwave-exhaust) or didn’t function well (dishwasher)
fridge and stove right beside each other makes it look unintentional
better exhaust fan so that I don't smell fish for days after cooking
cabinets
they don't go all the way to the ceiling and are mounted unevenly
super clunky between window and door
all-white/ flat cabinets are lacking in detail and interest
storage
want a mix of open and closed storage
make use of space above cabinets
nook bench has small (useless) drawers
layout
I wanted to change this big-time but in the end the current layout was pretty good and worked for the small space
island: large and clunky (how can this be “softened” in such a small space)
aesthetics
more natural materials and textures for an interesting but timeless design: cozy, earthy, classic.
electrical
hardwire light over kitchen nook
more outlets for appliances and an outlet on the island
light fixture hardwired over island
Demo / Planning

Once I had a plan, it was FINALLY time to tackle this kitchen again (but for good this time). I did hire a contracting and design team to help with the project management and connections to trusted trades. Honestly, next time I would like to take on doing the project management myself so that I can work at my own pace guilt-free and the expertise I was hoping to get by using a contracting team was not really something I found to be valuable.
Something that made a HUGE difference during my kitchen reno: I did have a second small kitchen upstairs. At this point I had recently taken over the top suite in my home because my partner moved in and we needed some more space. Some serious props to anyone who has lived without a kitchen during a reno. Takeout, hot plates, and microwaves can only be tolerated for so long.
First step was to demo all of the existing cabinetry, cabinet maker to measure the space, then the contractor repaired the flooring and walls where necessary, created the stove exhaust duct, and added new electrical (above island, above nook table, on wall for my APPLIANCE GARAGE (<<this!!) This demo happened a full six months before my kitchen was complete.
WHAT TO EXPECT: KITCHEN RENOVATION PROCESS
Design
I generally knew what I wanted my kitchen to look like, but I didn’t necessarily make all these decisions right off the top. There are pros and cons to this. Largest con: if you’re deciding on tile, colours, countertop, layout AS YOU GO then you are going to set your schedule back. If you make these decisions in advance, you will not be waiting for your tile to come in or for a pro to answer questions or get a quote. The down-side, it means you can’t see your choices IRL BEFORE you commit. I went the slow route: cabinets were in THEN I made a sink choice, once my counterop was installed, THEN made my backsplash decision. Next time, I would try to make more decisions up front. That’s scary because I always want to second-guess my choices but in the end you can let your samples guide your decision-making, then you have no chance to second-guess because guess what babe? Tile is ordered, no going back.


Cabinets
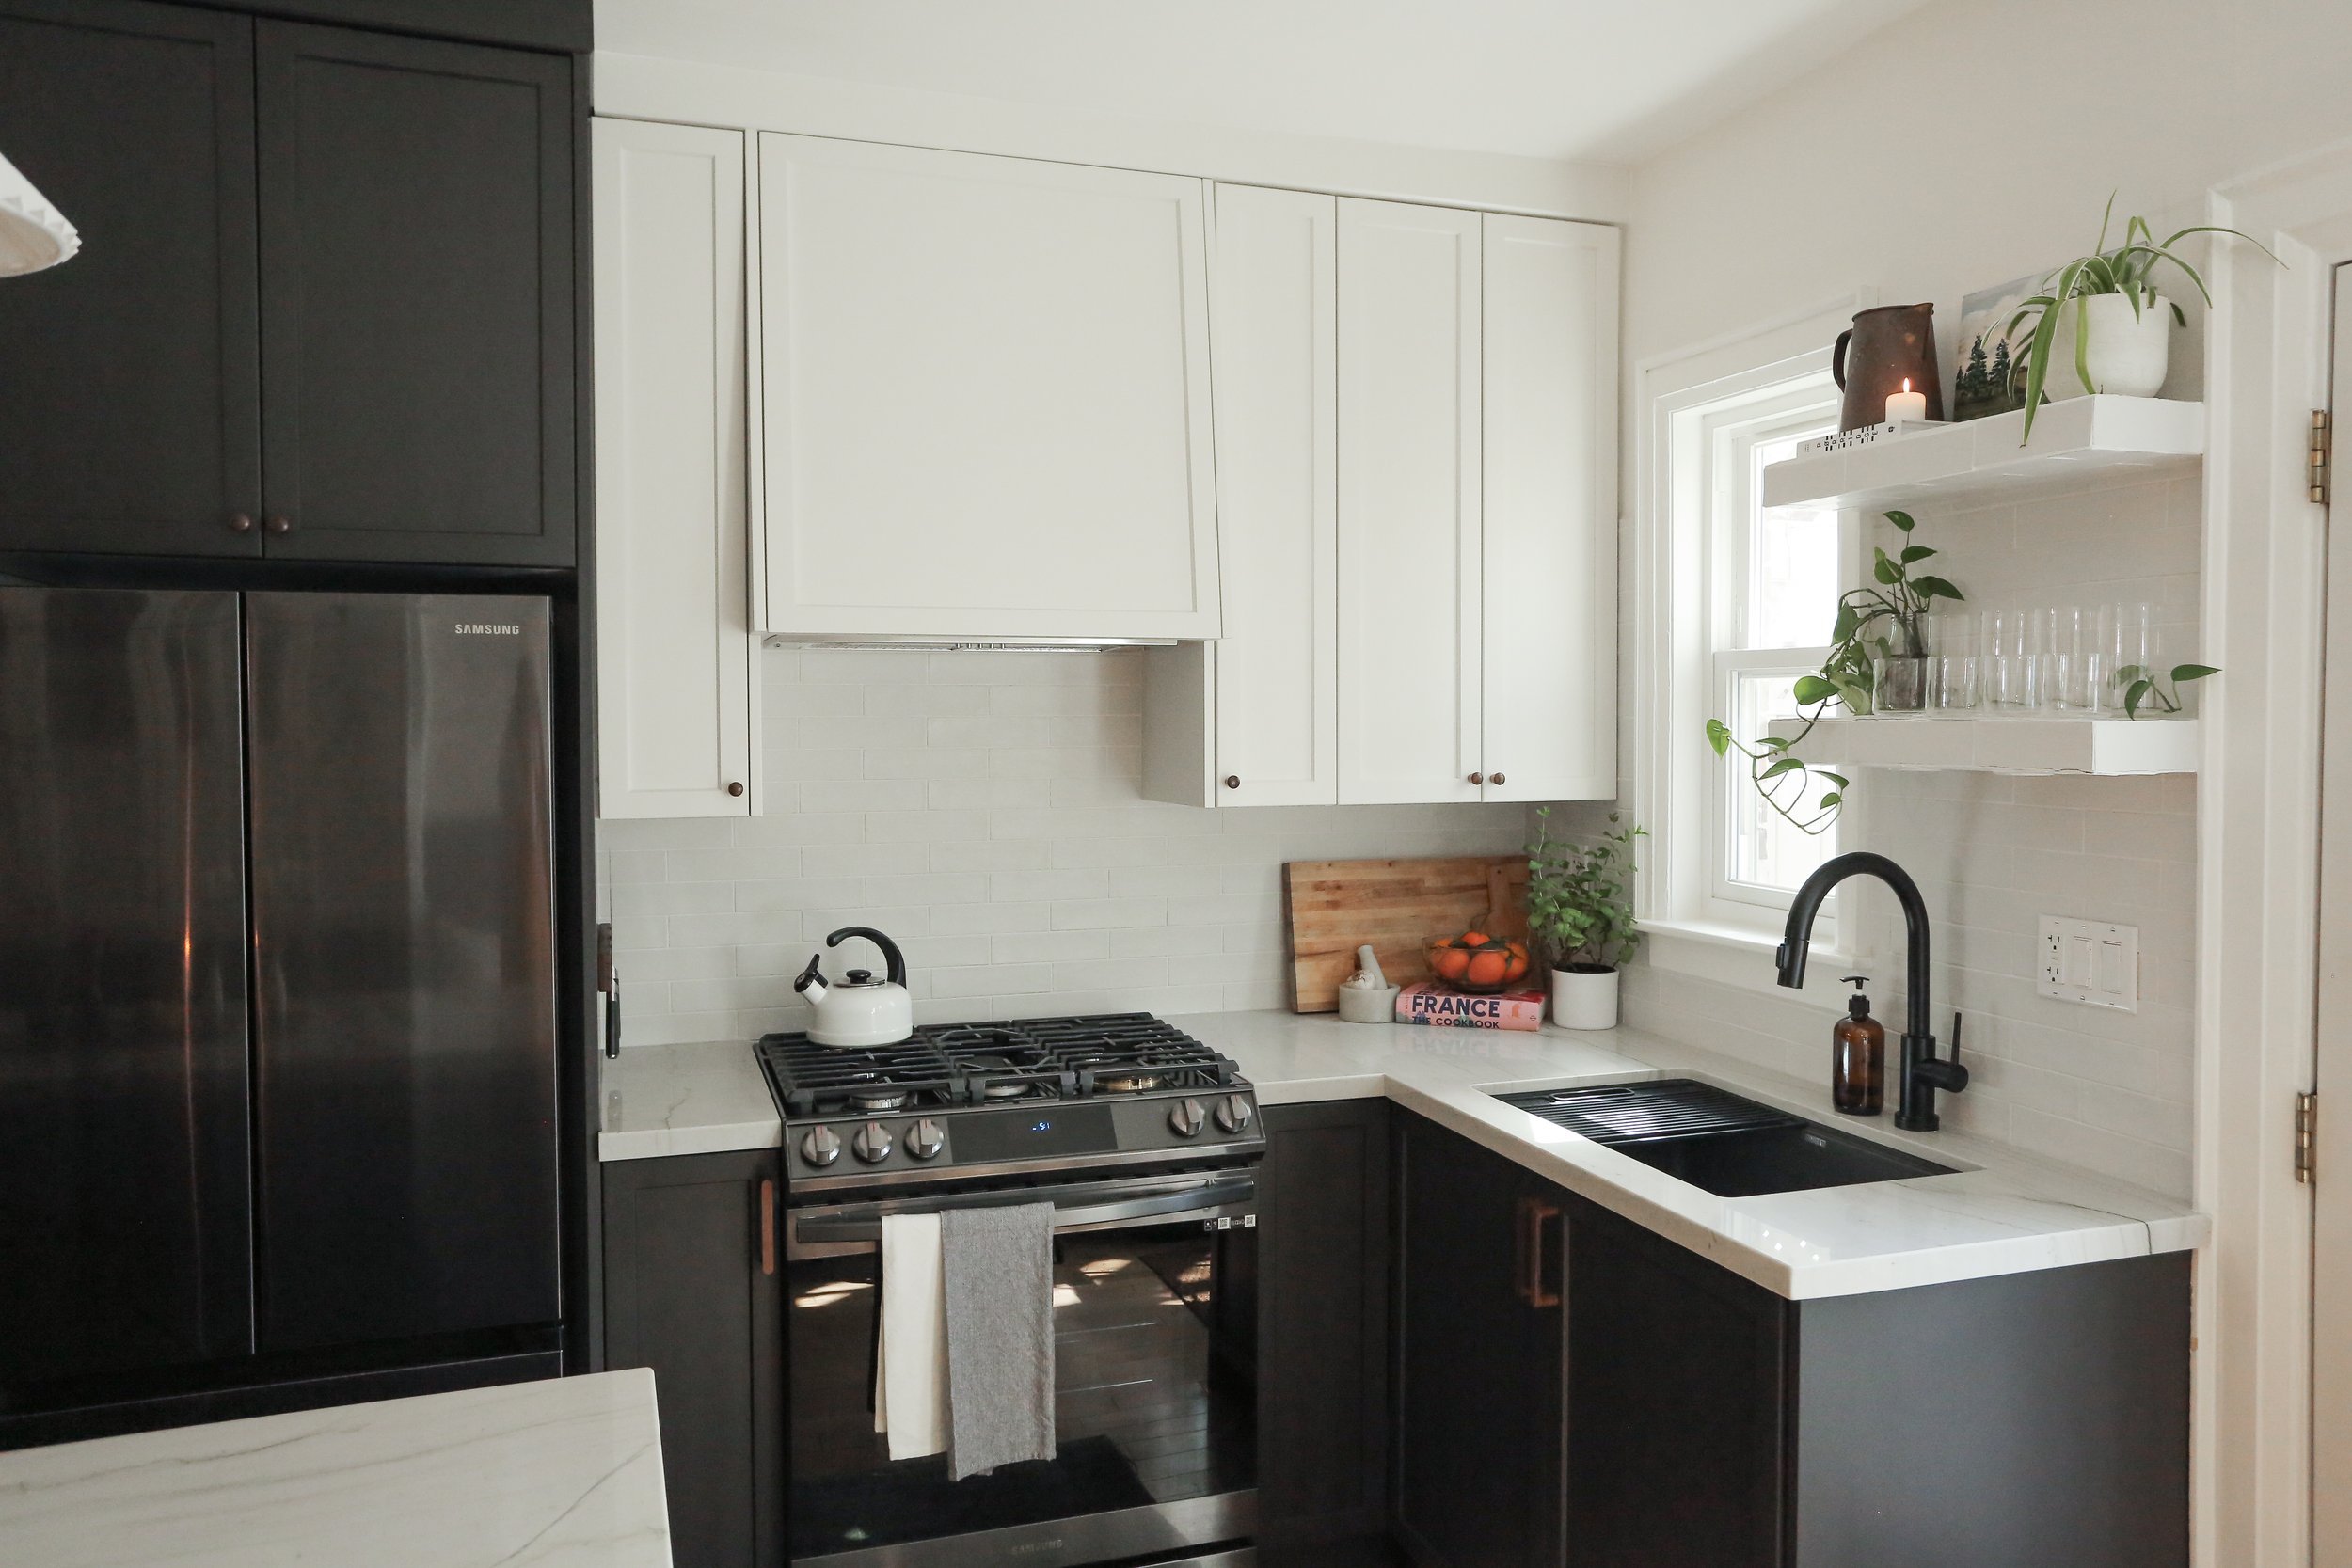
One of the longest tasks was waiting for the kitchen cabinets to be constructed as I went with custom due to my small kitchen and need to use up every inch and corner. This took about three months for me between construction and finalizing design. If possible, I would push for these cabinets to be constructed BEFORE your space is demo’d but it’s going to depend on how your cabinetmaker works, if you’re doing custom vs store-bought, or how much other work your space needs (plumbing, electrical etc). Aesthetically, I chose dark lower cabinets to match the black stainless steel appliances I had my eye on from the beginning (and ordered in the very beginning because I was afraid of delays - jokes on me, they sat in my garage for half a year). The lower cabinet colour is Black Beauty by Benjamin Moore while the upper cabinet colour is White Dove (same colour as my walls). These were professionally painted by the cabinet maker.

Sink
Not much to say here except I went with a large sink even though I was worried about the amount of space it would take up. I handwash a decent amount of dishes so a workstation sink that wouldn’t take up additional countertop space for dishes was the way to go. Oh! Also, I couldn’t find a white granite or porcelain that matched my countertop sample, (I was carrying it around with me to suppliers) so I ended up going with black so that I didn’t fail at trying to match the white/grey tone… annnnd?? I actually love it! It matches the appliances and it kinda looks like the sink sinks (lol) into the dark lower cabinets. My final sink choice and my back-up option (slightly more affordable) are linked here and also at the end of the blog post, along with other links to items around my kitchen.
Countertop
I really wanted porcelain! There are some relatively eco-friendly human-made options that look like natural stone but with more durability and sustainable manufacturing practices. I was pretty upset when due to my rounded-corner island choice, I couldn’t do a built-up edge (which is how curved corners are currently achieved) since porcelain isn’t usually thick and doesn’t have the stone image “printed” on the edges, only on the top. That being said, I am really really happy with my decision to go with a natural quartzite (Terra Bianca by Stone Tile). My runner-up was a marble (Calcutta Verde by Stone Tile) but was NOT willing to deal with the upkeep that comes with choosing tile for your kitchen. Also my final choice is a little more muted (and timeless?) which I like for my small space.


Tile
OKAY so this whole decision relied on a few things:
a) cabinet colour
b) countertop colour
c) will the shape work for my floating shelf idea?
Where there used to be a large clunky cabinet, I wanted to put in two open floating TILED shelves. I was inspired after seeing an episode of Queer Eye where there was a long tiled pink shelf. I wanted to do something different than the countertop-into-backsplash-into-shelf idea I had been seeing and wood shelves were just too easy ;)


After much consideration I ended up going with a brick shape that had some organic movement, in a matte white, placed in a staggered design. I was really loving the organic square shapes but the right look was too large for a shelf front.


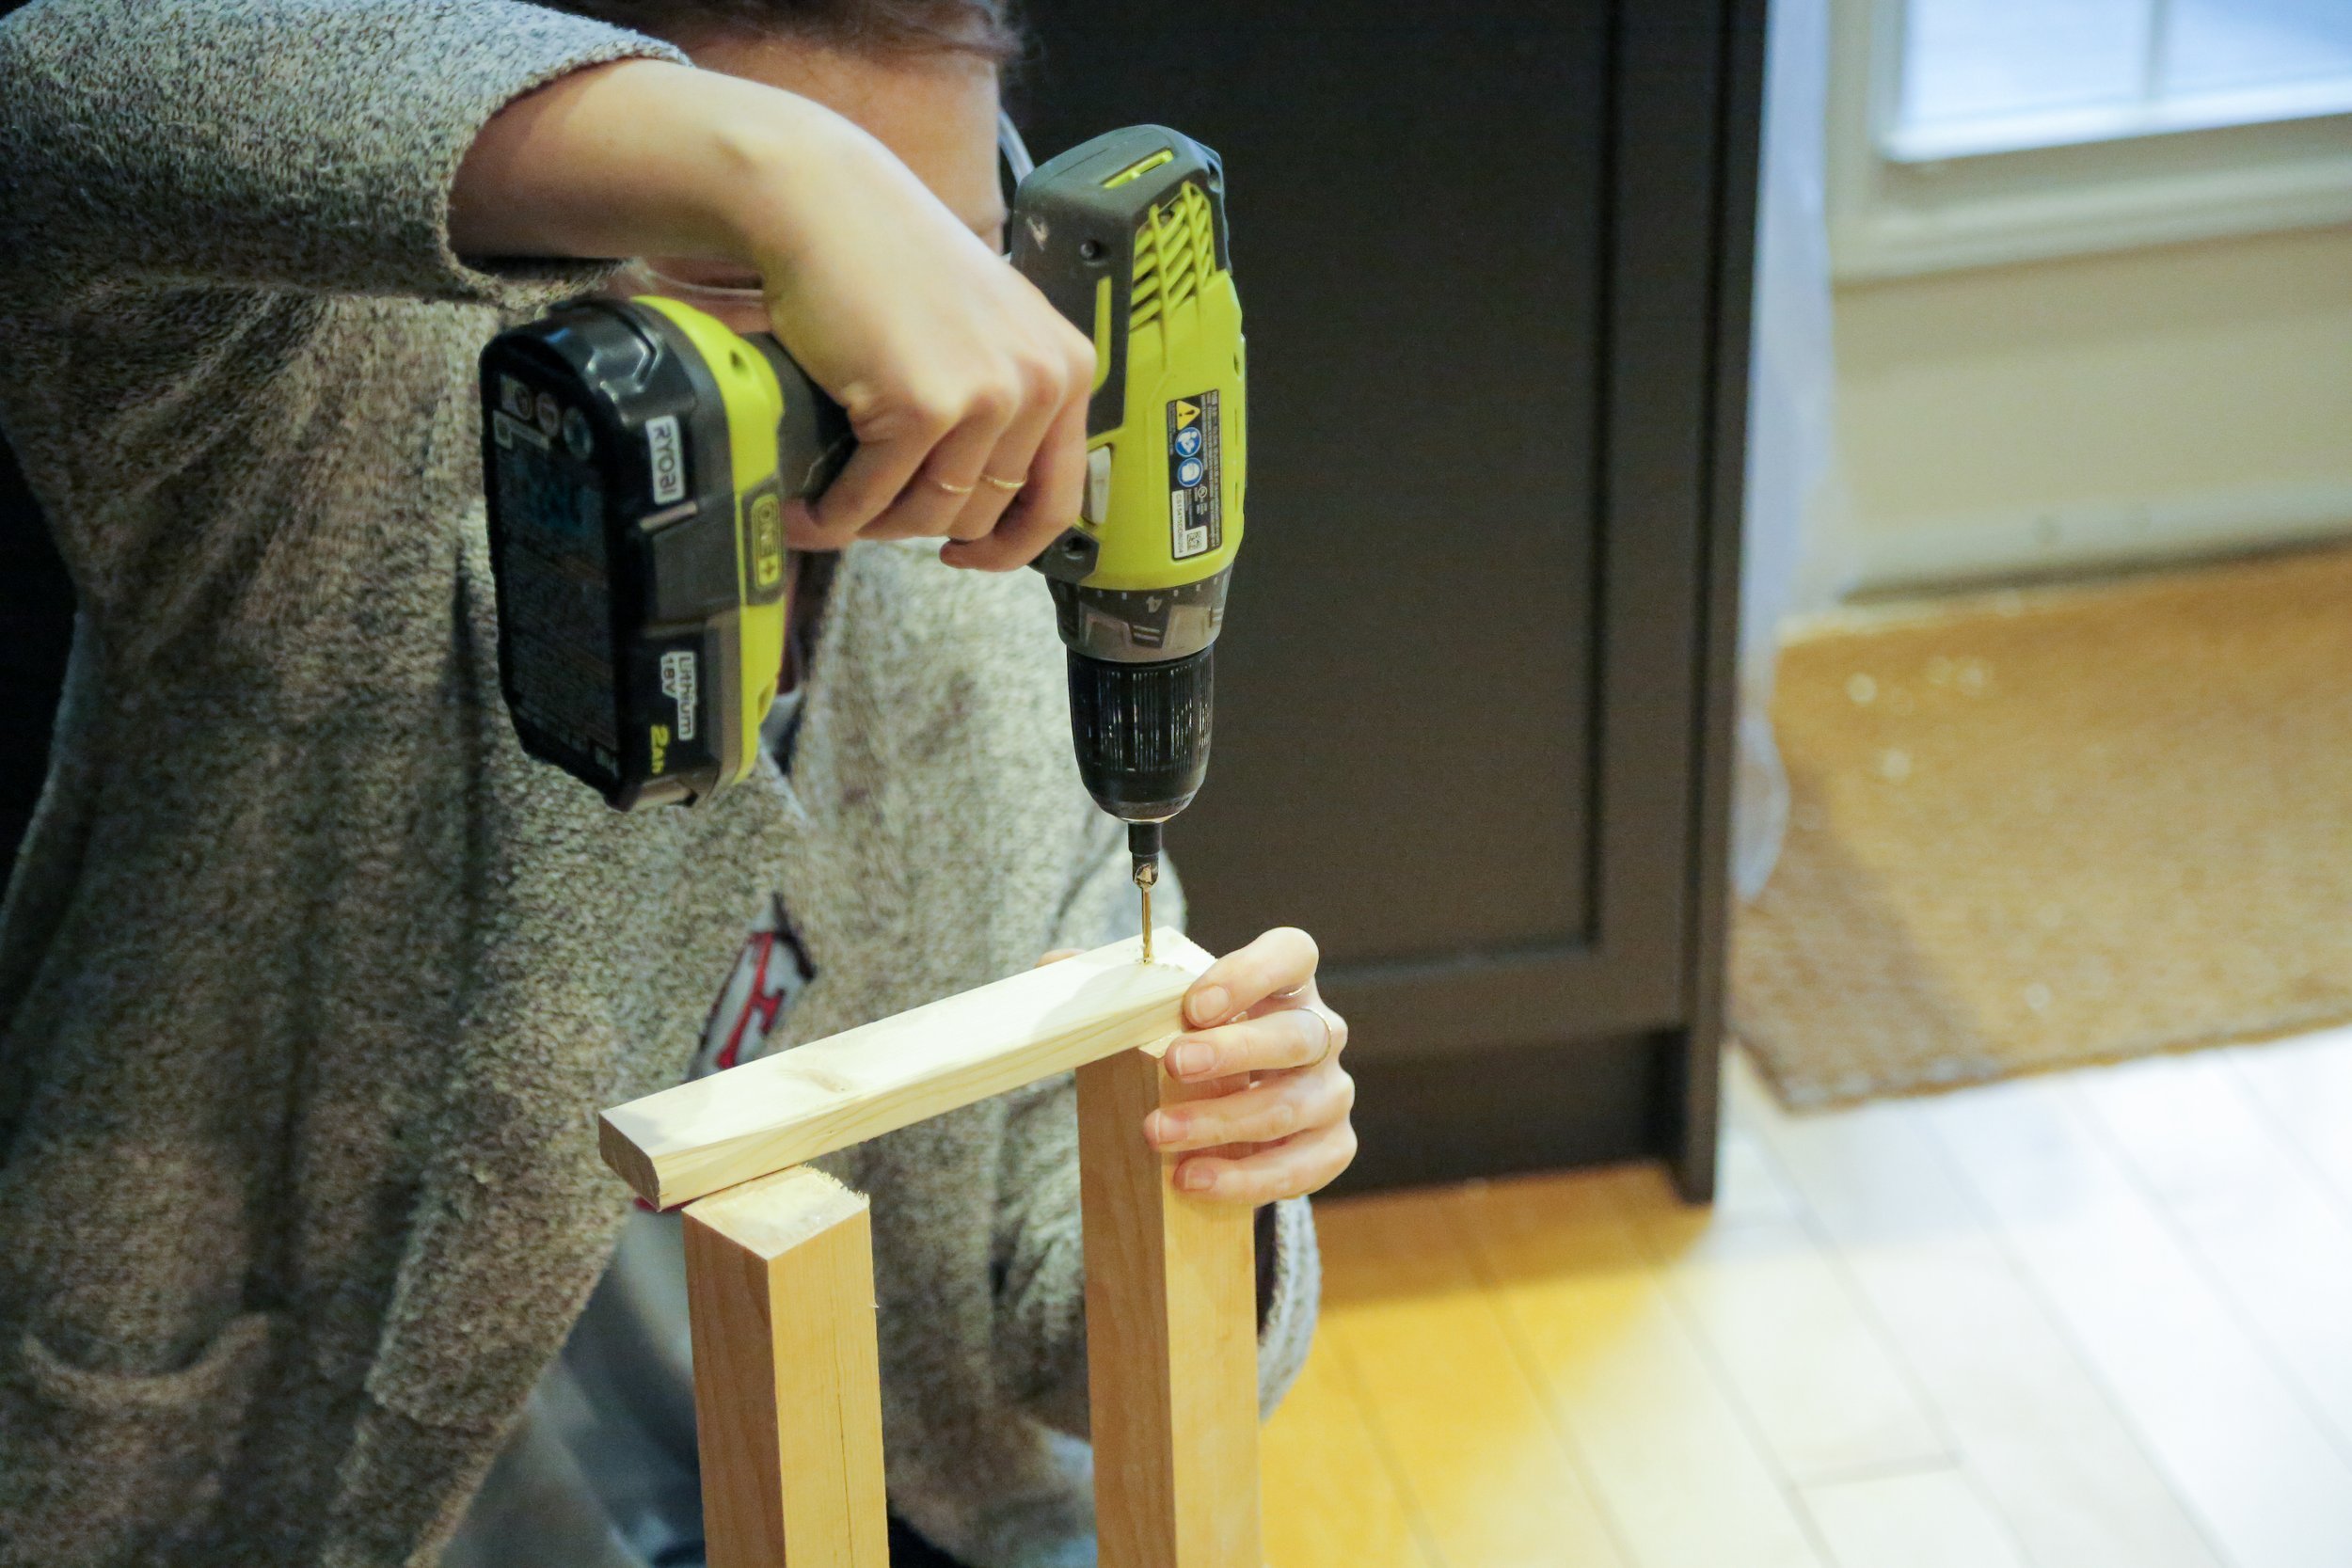
I will say this is a place I did not succeed. I made my own shelf frames, attached them to brackets BEHIND the wall so that they were sturdy and floating. The tiler did the tile job and in the end the shelf grout is cracking. This could be because the wood/ MDF is not responding well to the moisture in the tile adhesive, but ultimately these shelves will have to be retiled. Sad (and expensive) mistake but what can you do? It’s a learning process and I feel as though I did everything I could. I consulted multiple people while building the shelves and had a professional complete the job…


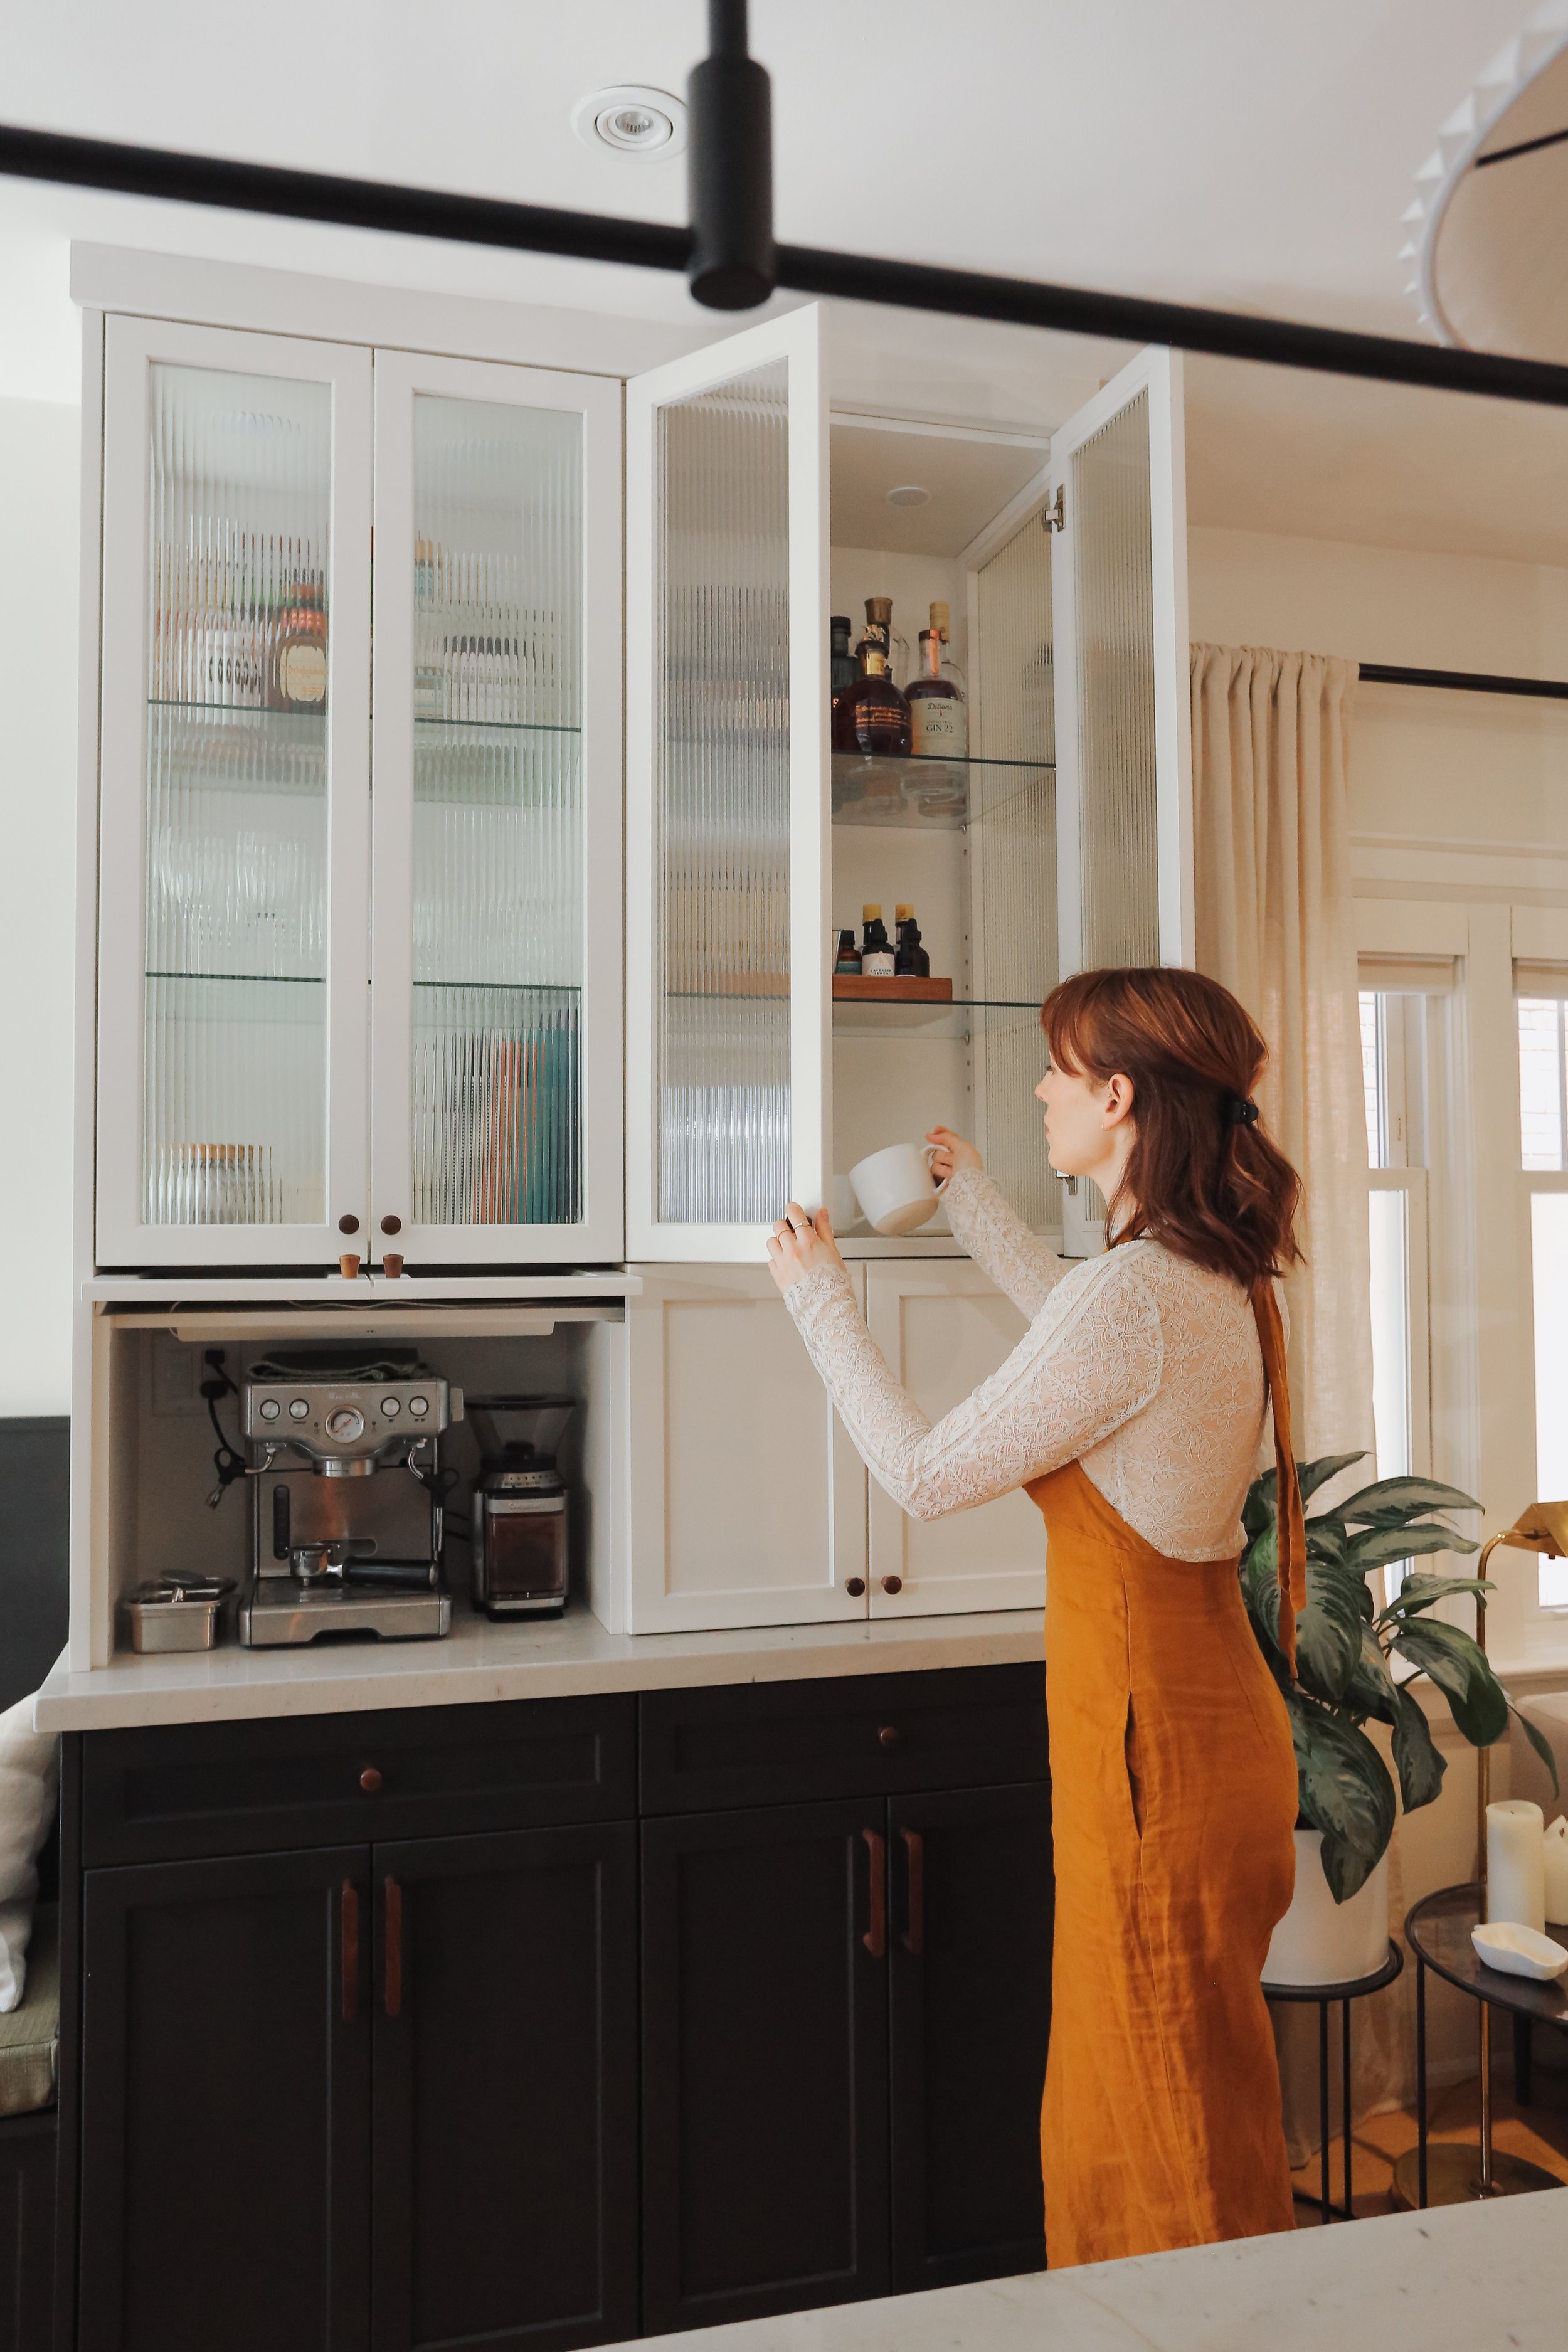
THE fluted-glass-bar-cabinet & appliance garage
Once upon a time I upcycled this cabinet for additional storage in my kitchen. This piece walked so the new concept could run. I designed this new cabinet to be basic lower-cabinet storage on the bottom, an APPLIANCE GARAGE in the middle, and a glass cabinet for barware etc. on the top. If you don’t know what an appliance garage is, it’s a space designed in some fashion to hide appliances but keep them easily accessible to use on a daily basis. I will say I’m disappointed I wasn’t able to fit more appliances but after living without a microwave for 6 months, we decided it was important for us to have one to save energy when heating up leftovers and crafting quick lunches. So LUCKILY the smallest microwave I could buy fit on one side while the coffee station lives on the other side.
A while ago on Pinterest, I saw a picture of a counter-mounted glass cabinet with GLASS sides and my jaw dropped. This is pretty much what I had imagined but I never considered glass sides. Glass sides would be perfect since my space is small and I wanted as much light to flow through as possible. It also adds a gorgeous moment of interest to the sides of such a large unit that has now become a focal-point in the space.
Before

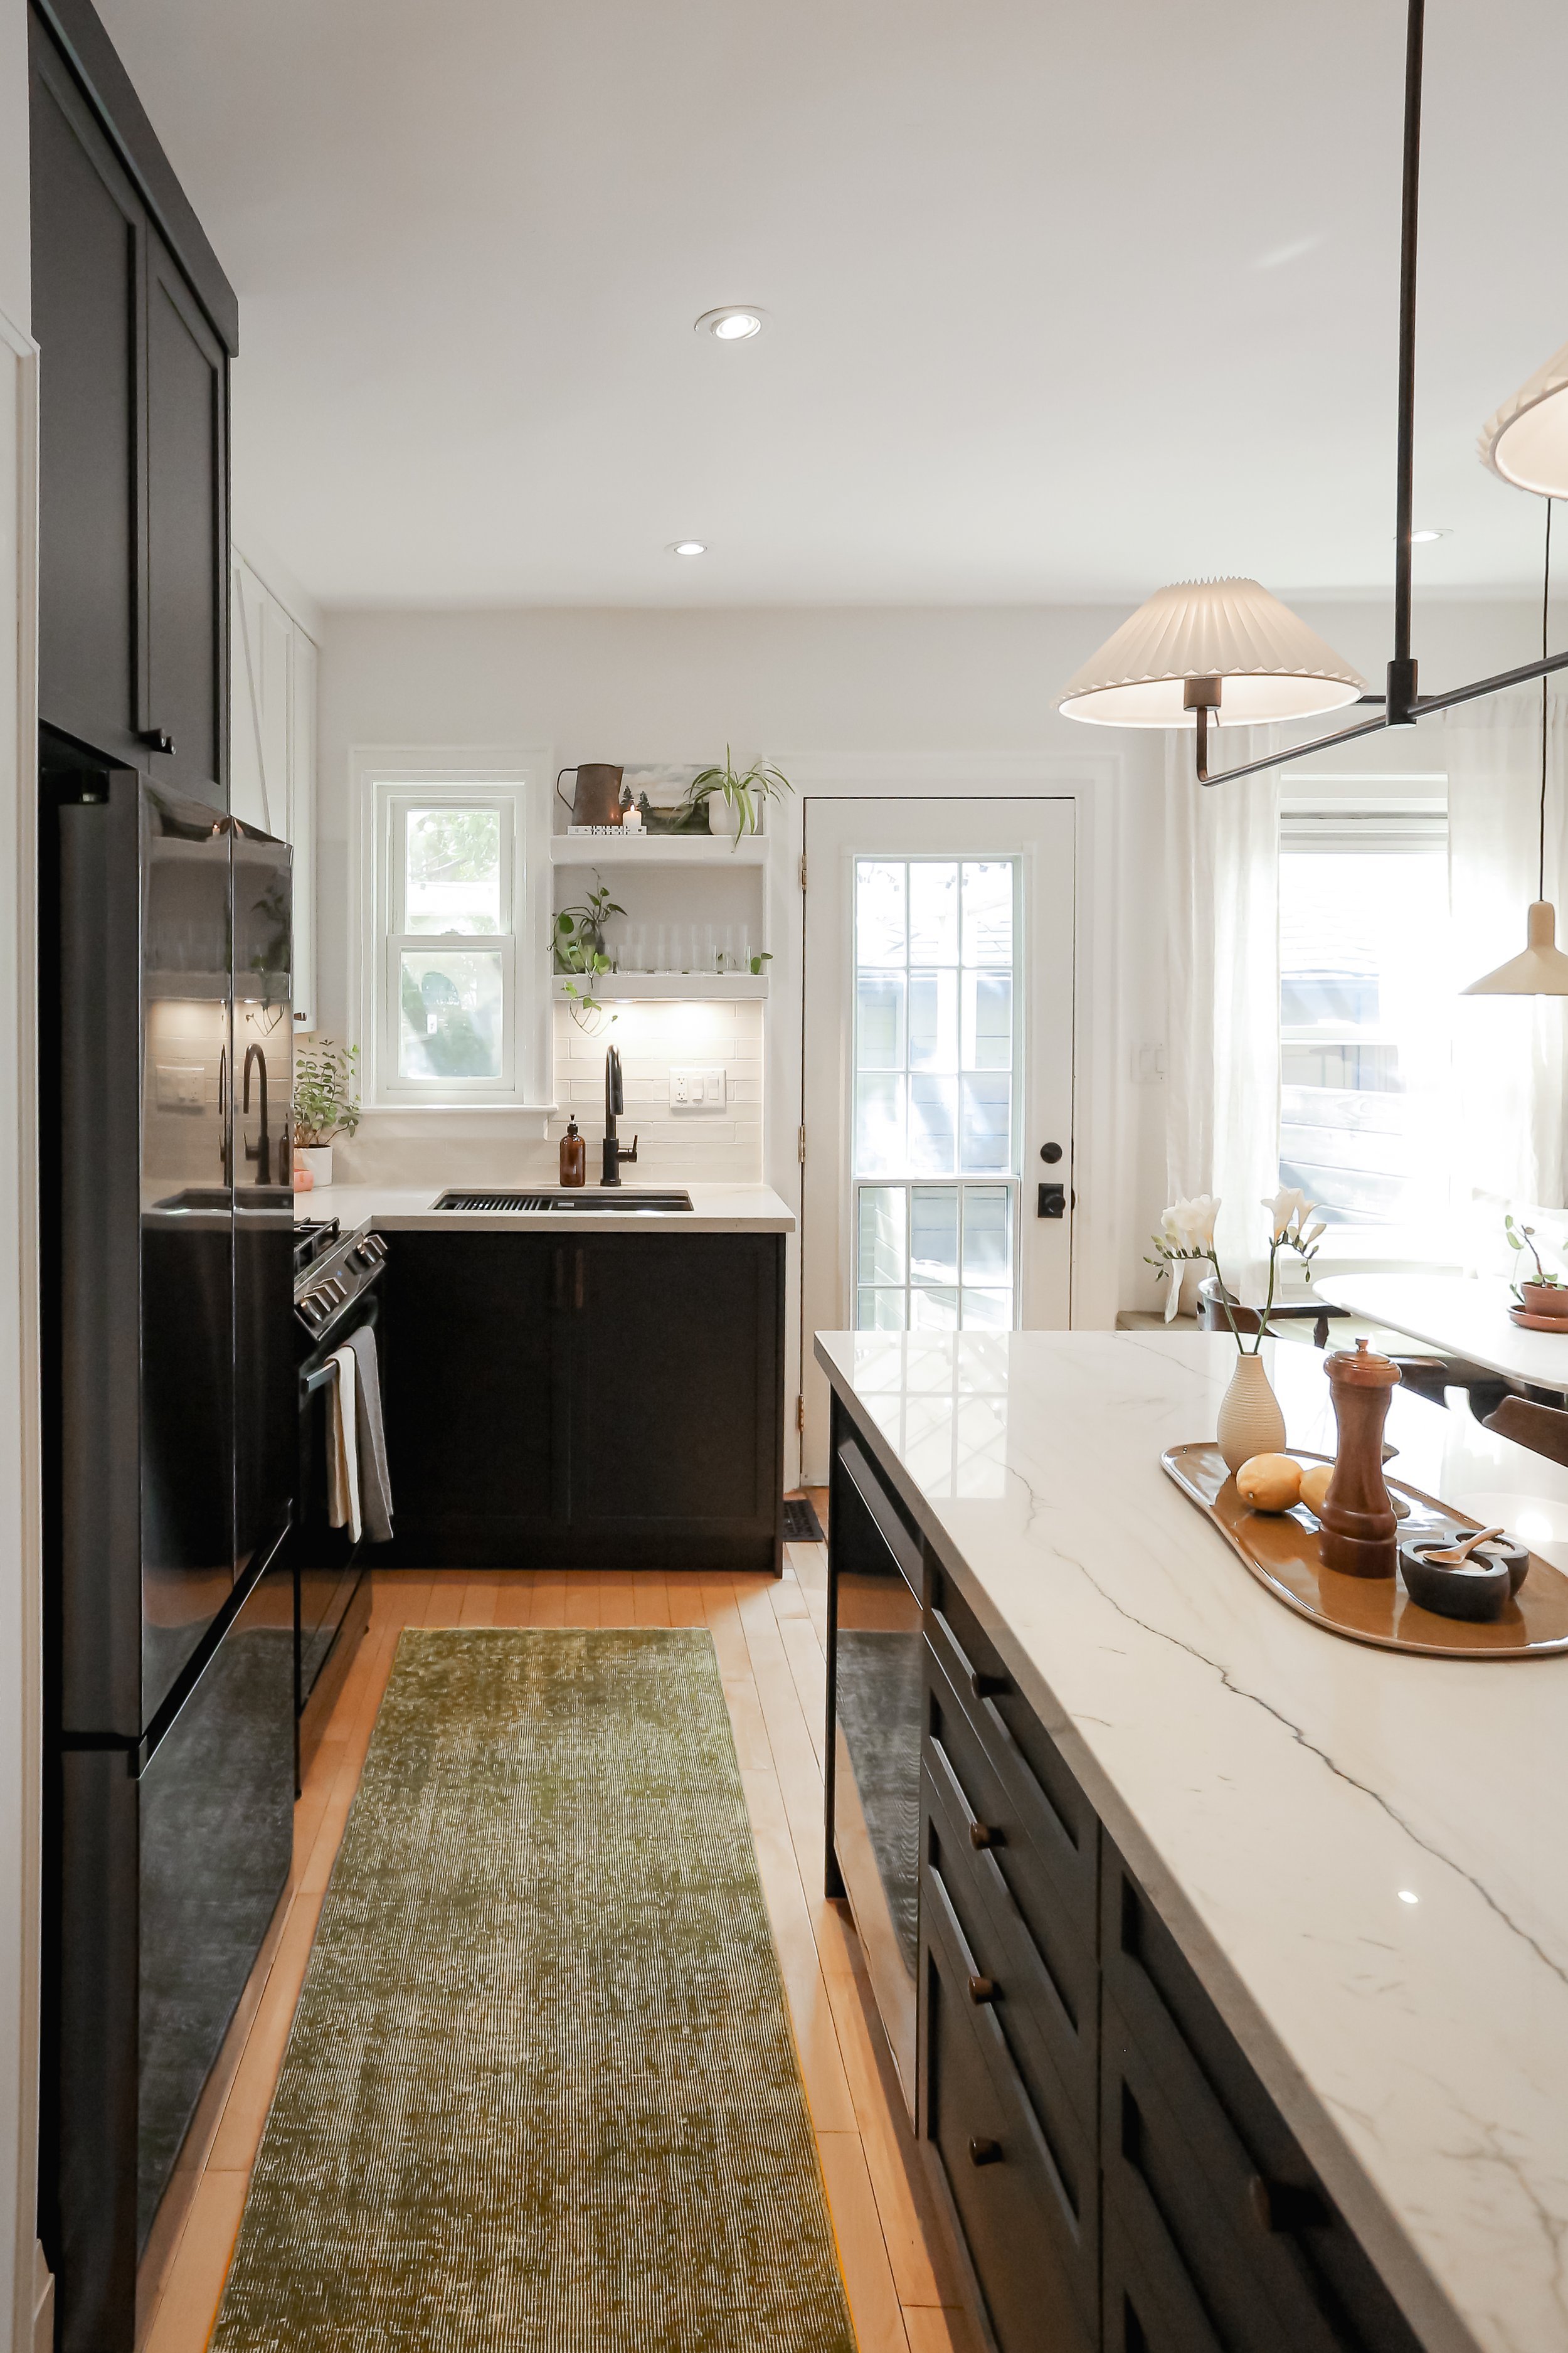
Now

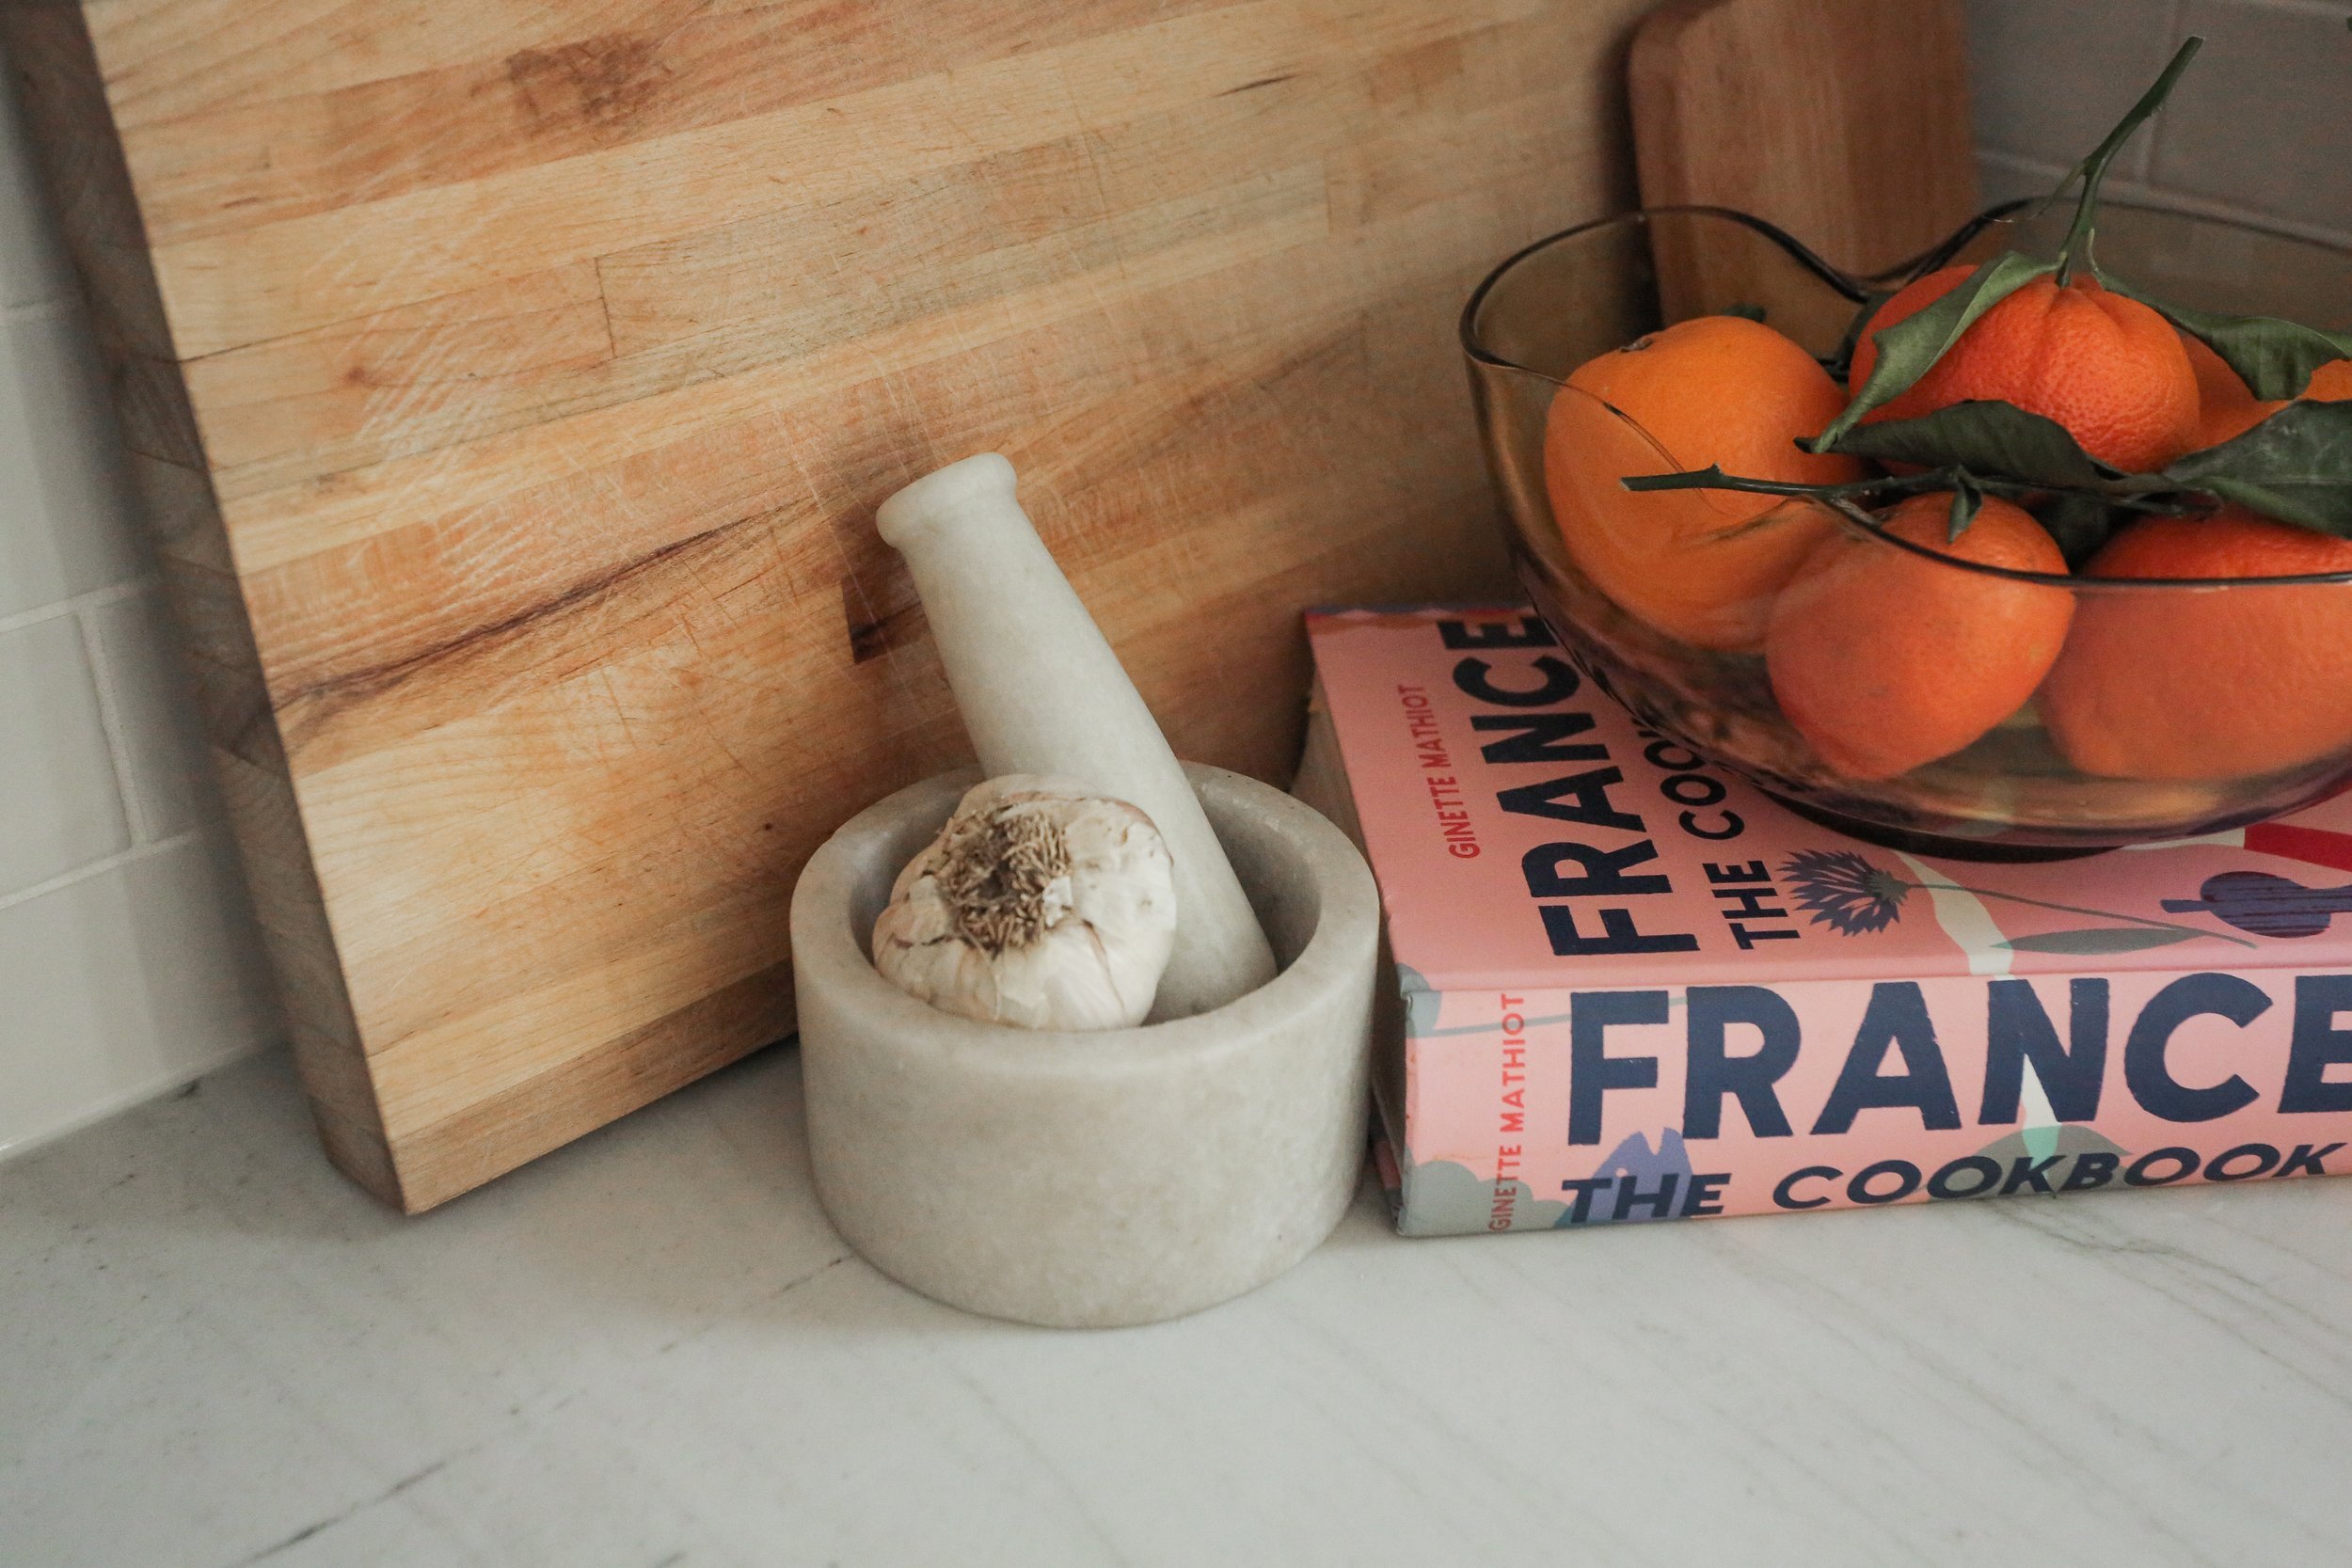
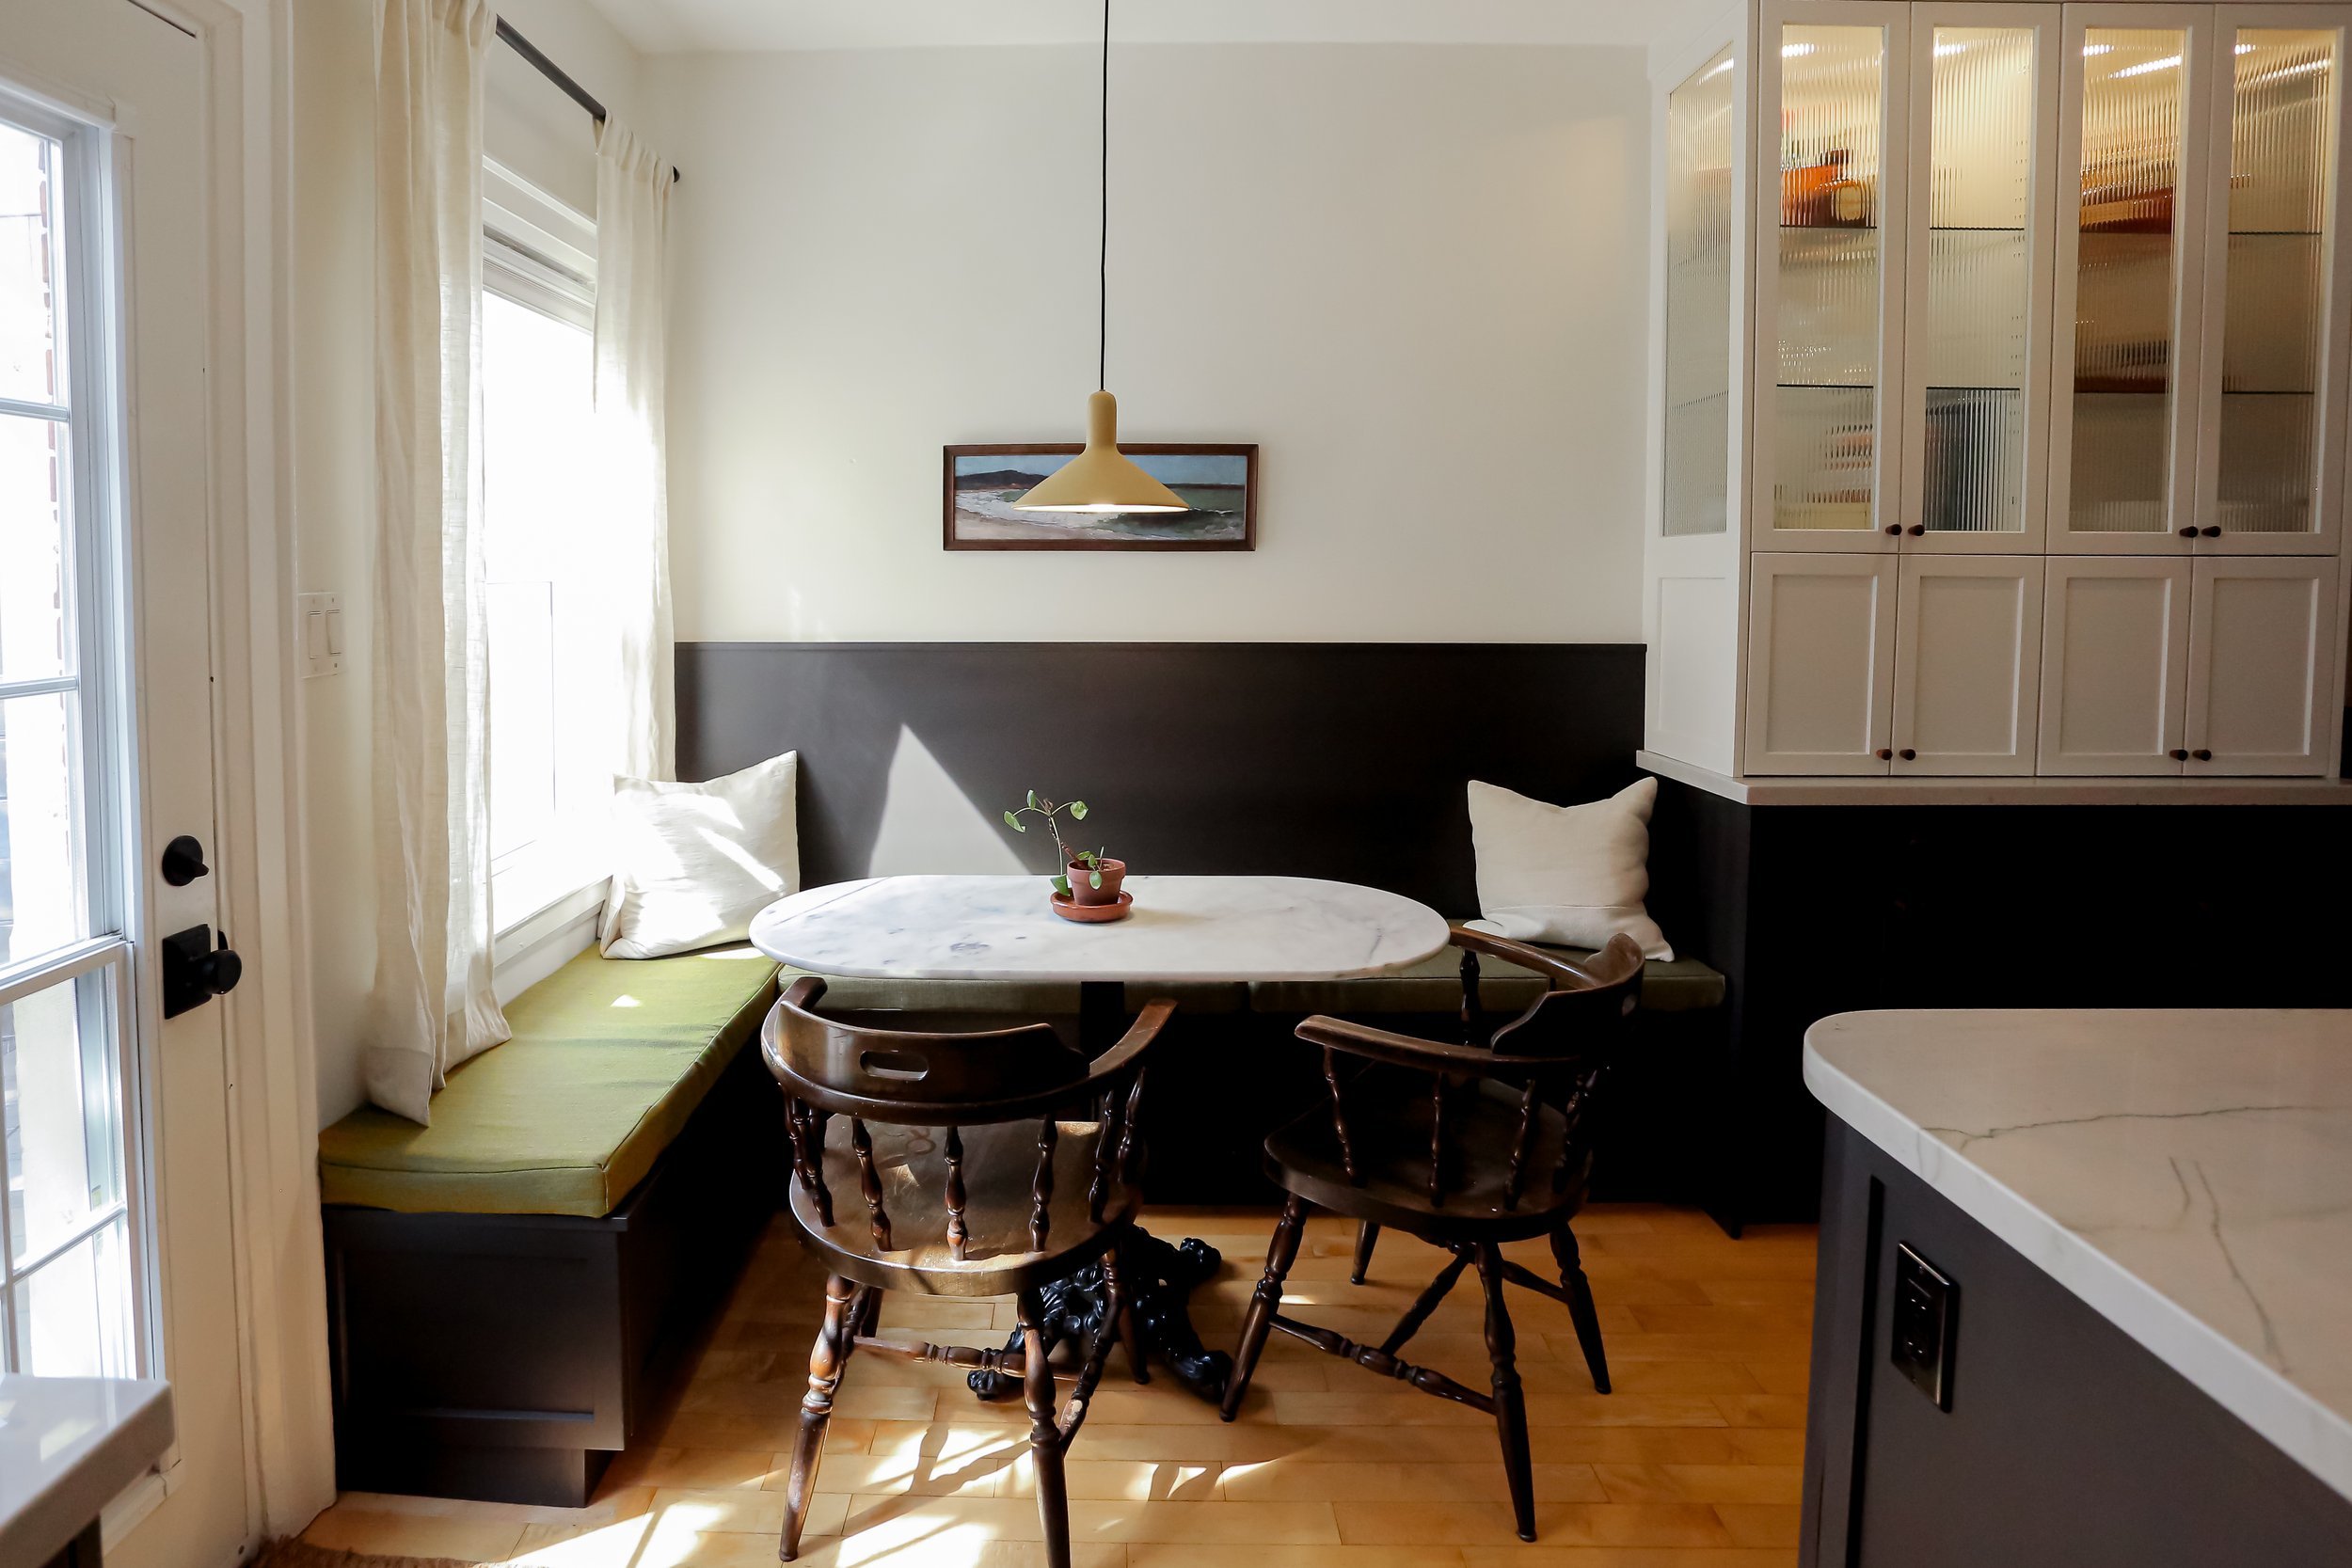
Decor, lighting, and final touches

To bring everything together, you know I thrifted as much as I could! Vintage wood chairs were $10 each on facebook marketplace, the pendant was also from fb marketplace for $35 and I painted it for a little pop of colour. The picture frame was thrifted and the art is from The MET open access gallery (aka free!). If you want to know the hack on how to make a PRINT look like a REAL PAINTING, that tip and trick is linked here. The table I already had (second-hand sourced), curtains I sewed a while back, and the cushions I made new to fit the new benches. Look at all of that large storage!!

The island moment! For the light: I couldn’t find anything second-hand that was the right vibe but it worked out because while I waited it eventually went on sale (over $100 off). I think it’s a good mix of classic and modern. The curved edges on this island is pretty unique (if I do say so) and has already come in handy while guests gather around OR if my partner and I want to work at the island and stand on either side.

I’m excited to live with and use this kitchen, and figure out where it makes sense to add some more colour. Kitchens are hard, we want a cozy space but we don’t want clutter as it ultimately is a place where we need to prepare meals and have a clean, organized area to do so. That’s why I love items like a mounted walnut magnetic knife block. It’s decor but also functional. Or on my tiled shelves (WIP/ RIP) function meets design with a plant clipping and cup storage.
Shop my kitchen
rug shop (one of a kind, but similar ones here) : https://bit.ly/43NvpuN
wooden knobs: https://bit.ly/41vTynS
handles: https://bit.ly/3oAB5rX
anthropologie light: https://bit.ly/3LkPQbb
smallest microwavehttps://bit.ly/3KZb1hz
tray made by artist fabrica ateliea : https://bit.ly/3AjPmf5
artwork : https://bit.ly/43U4ux9
knife block local: https://bit.ly/41Onzix
sink : https://bit.ly/3LkNtVE
alt. more affordable option of my sink: https://bit.ly/3H0hAiP
C’EST FIN ON THE KITCHEN
I’m so glad to be done this space. They say the journey is part of the fun (for most things) but honestly, I would not be mad if I didn’t have to go through a kitchen journey again anytime soon. I find having to make decisions that feel so finite very overwhelming and intimidating. BUT having a space that functions pretty well (let me know if you want the kitchen regrets TEA in the comments over on the YouTube channel or on our discord), and looks and feels like home was very worth it! At the bottom of this page I have all of the kitchen links in one place and any I missed through this post.