Closet Room Upgrade (IKEA Hack, DIY Gallery Wall + more!)
When I first moved into my house, to store my clothing, I set up some filing cabinets and drawers I already had (pictured below). That said, I knew this was only temporary, and when my partner Elliot moved in with me we decided it was time to upgrade this space to have more storage for both our clothes.

So I took some measurements and decided to reach out to a contractor and get a quote on how much it would be to get exactly what I wanted. So I drew up some rough plans for the wall.
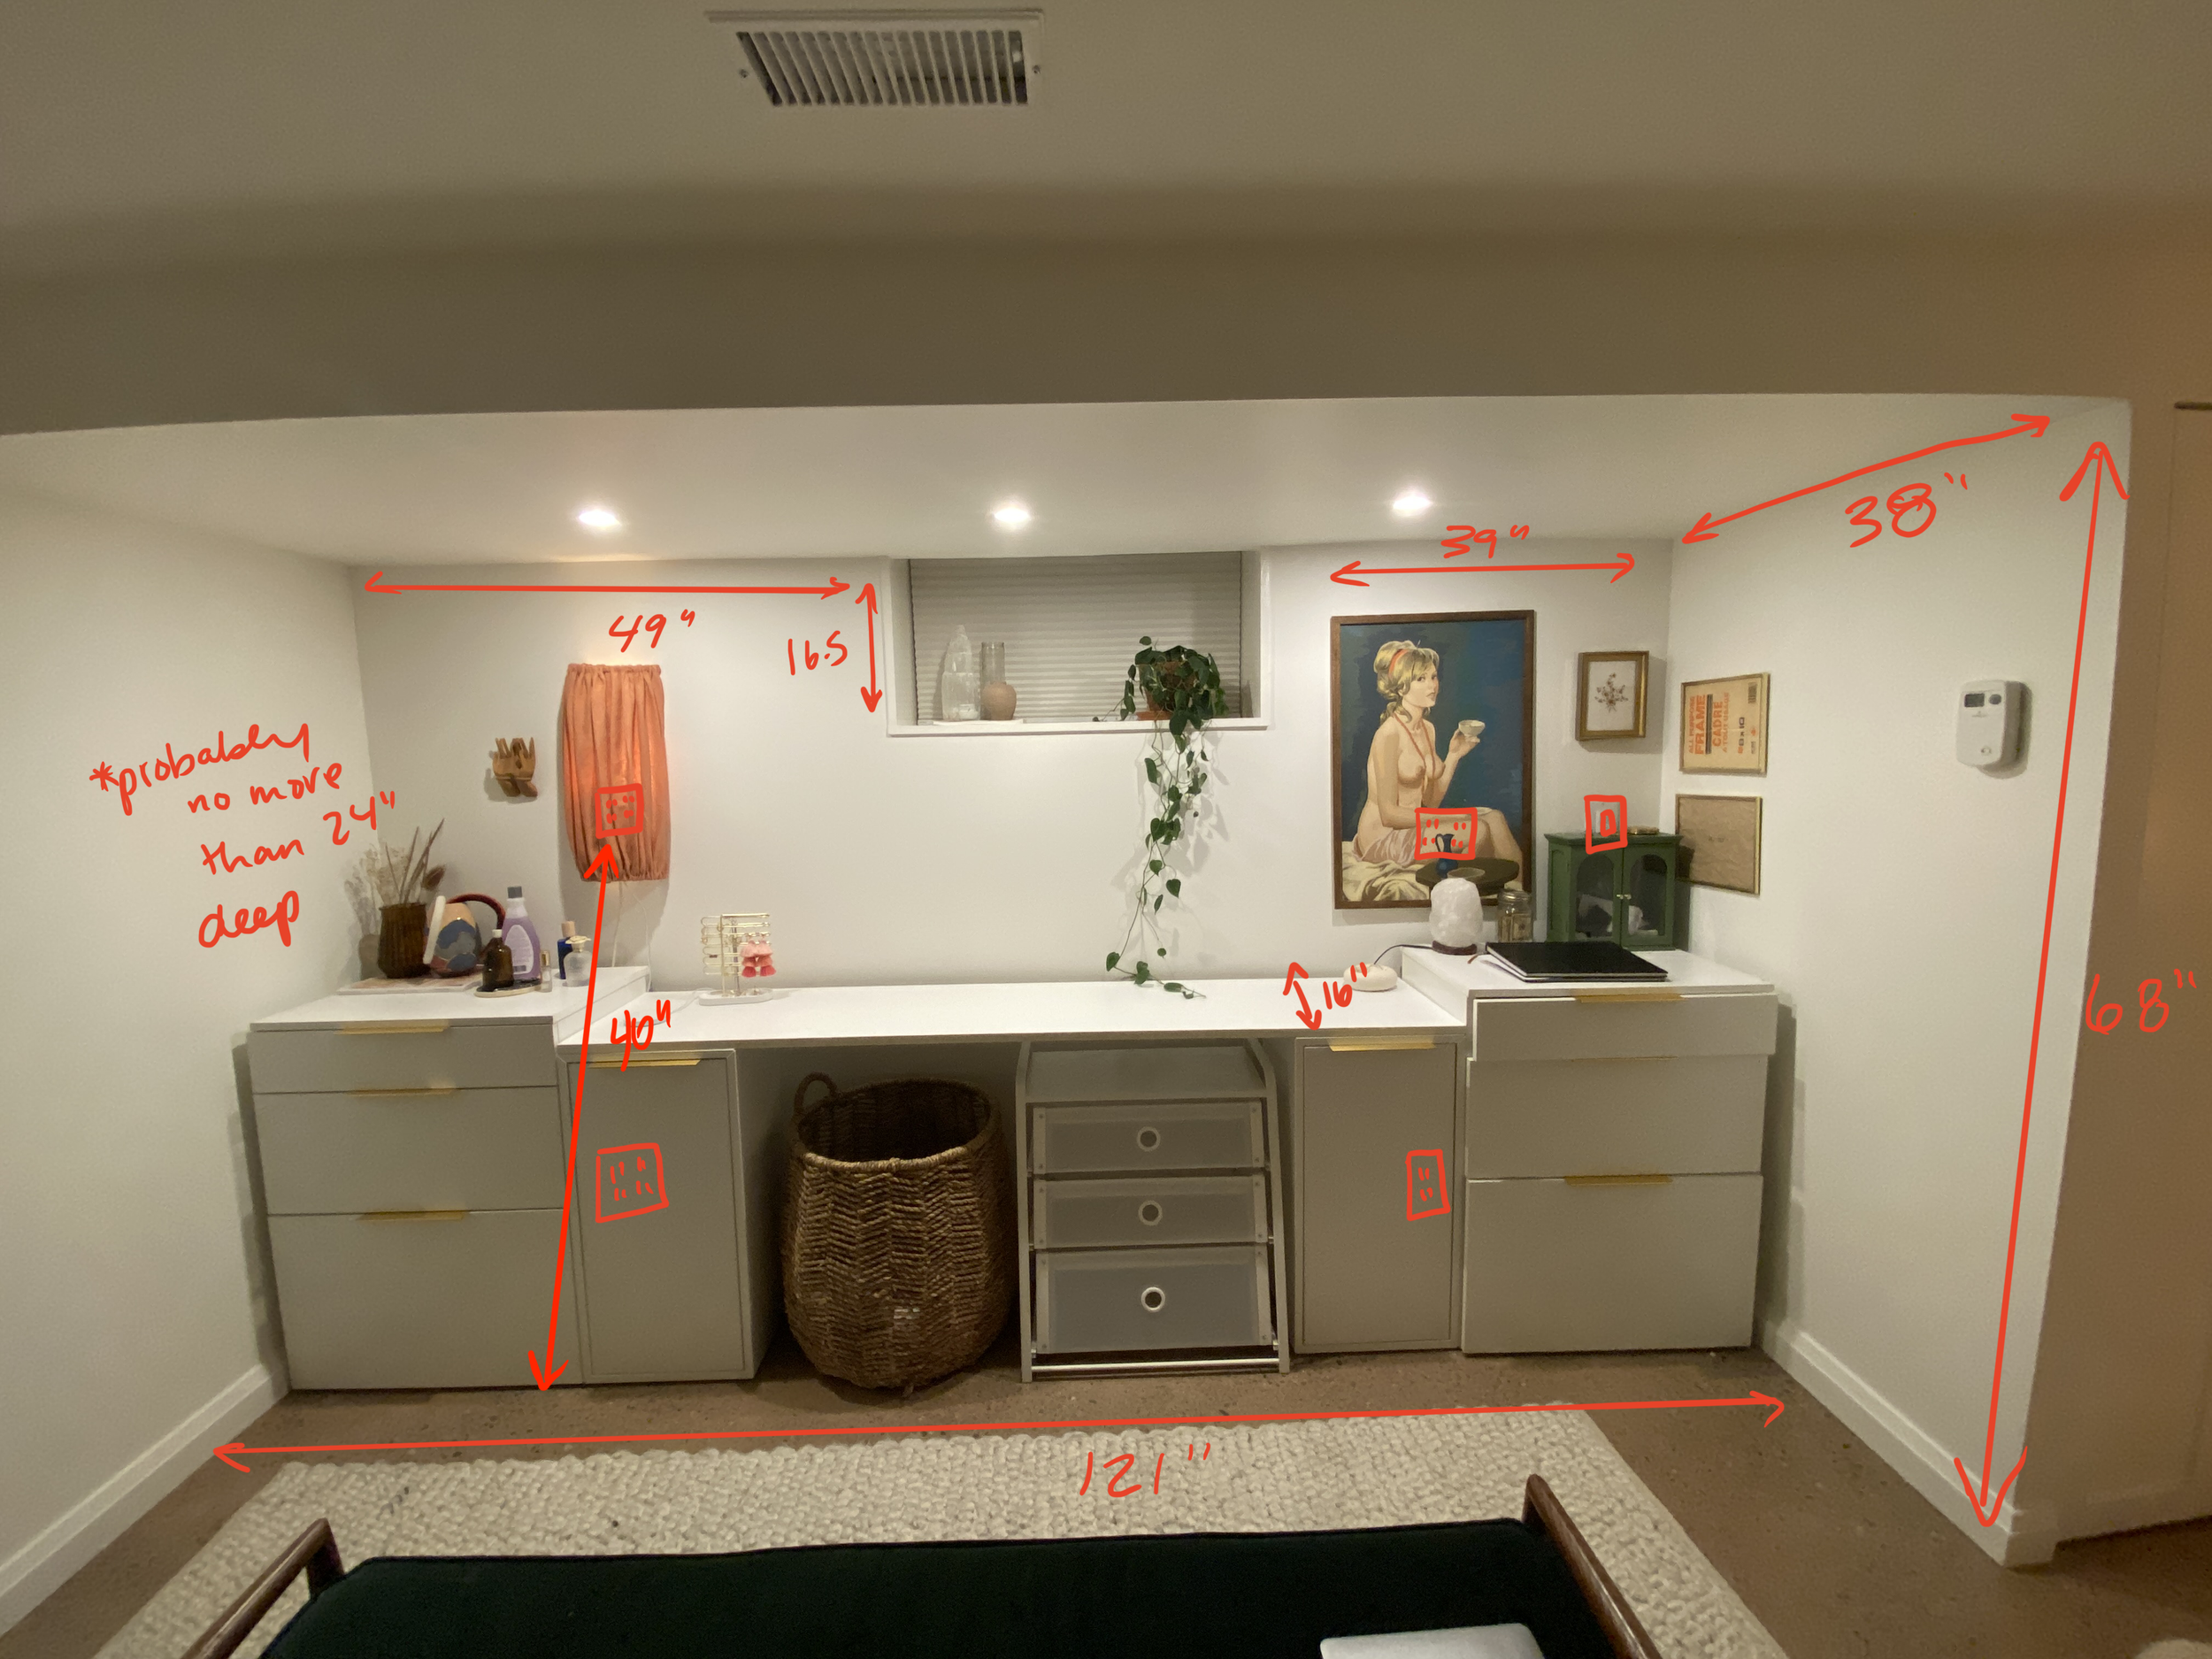


After sending over these plans, I got a quote from the contractor and let’s just say … I am not willing to spend $12K on this. So that’s when I decided I would just do it myself.
I headed over to the IKEA website and found this Malm dresser collection, which essentially looked exactly how I wanted the custom drawers to be made. That said, no matter what combination I got, it would be too wide for my wall, so I needed to figure out how to hack them to work for my specific measurements.

I decided I would need one 6-drawer unit and two 3-drawer units, and after around a month of searching, I was able to find all three pieces on Facebook marketplace, as these are pretty standard and easy to find pieces.
I placed the 6-drawer and one 3-drawer unit on either end of the wall and used the third piece to fill in the gap, where I will be keeping my hamper basket. Here is how I did it.

I took apart the last 3-drawer unit to keep the top, back and front beams. I started by cutting the top to the exact size of the gap between the dressers. Next I used the front beams that were separating the drawers, and cut them down to the depth of the dresser, for the table top to be able to sit on something.


By simply drilling those pieces on the side, covering up the back, and placing the tabletop on top, I now have made it look like a complete built in on the wall!


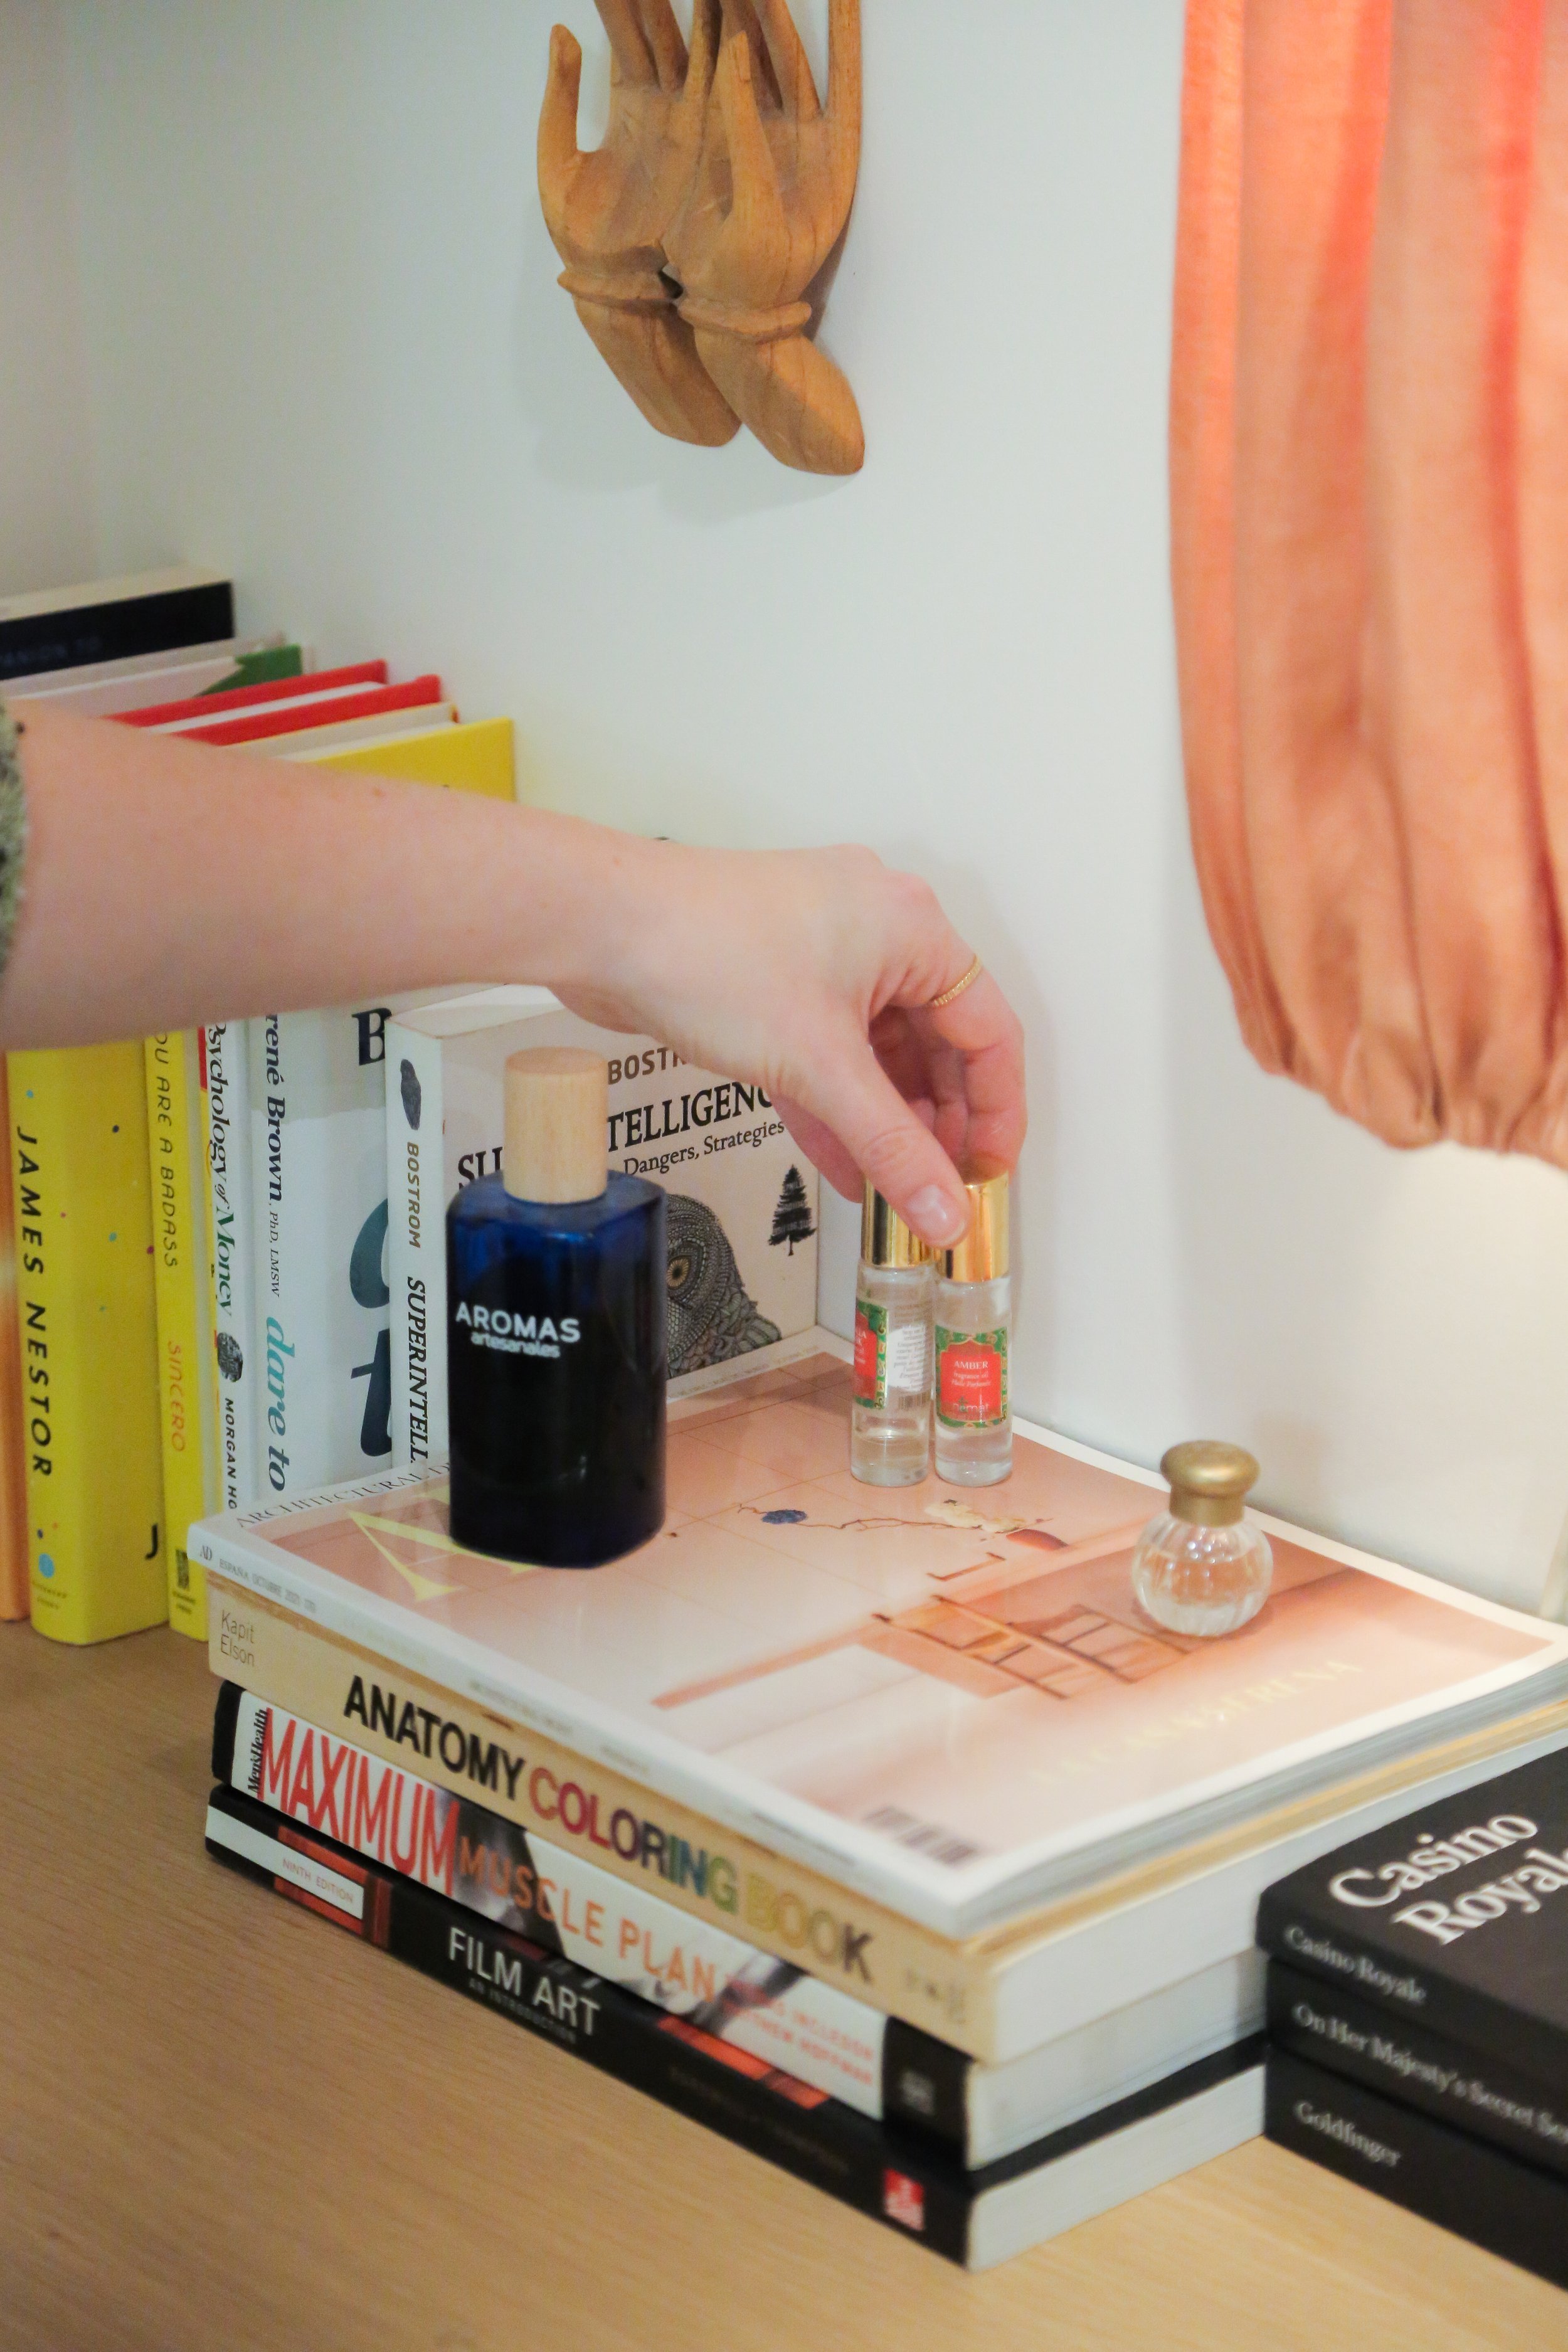
To cover up the gap between the wall and the drawers, I used books and decor pieces to style it all while being practical in disguising that they aren’t built in.

Next, I decorated the blank walls behind using some wall decor I already had and art prints and works all from Partial.
[Partial is an] art platform and marketplace destination for art collectors to discover outstanding emerging and established artists, and for artists to be introduced to a new, engaged audience of collectors and art enthusiasts while also further establishing their careers. - (Partial : About Us)
You can use Partial to rent art! This allows you to try it out for a month before committing to a purchase, and if you like it, the money you rented goes towards to purchase! We have found this is a great way to discover new artists and works that we wouldn’t have found otherwise.


Here is the final result! What do you think of the styling? The storage space has been an instant hit for me and Elliot, so I would say this is a win for sure!


And as ALWAYS, you can watch the full process from start to finish here: