Breakfast Nook Makeover | That 70s House
If you have been following along our socials, you would know that I (Becky) recently moved into a new house outside of the city. It has been my mission to turn this farmhouse into my dream retro mid century modern home. In December, my family made the decision to celebrate the holidays at our house this year for the first time because we just moved into a house with a lot more space to host. That said, we needed a space to eat our Christmas dinner, so it was time to tackle the dining nook in my new house.
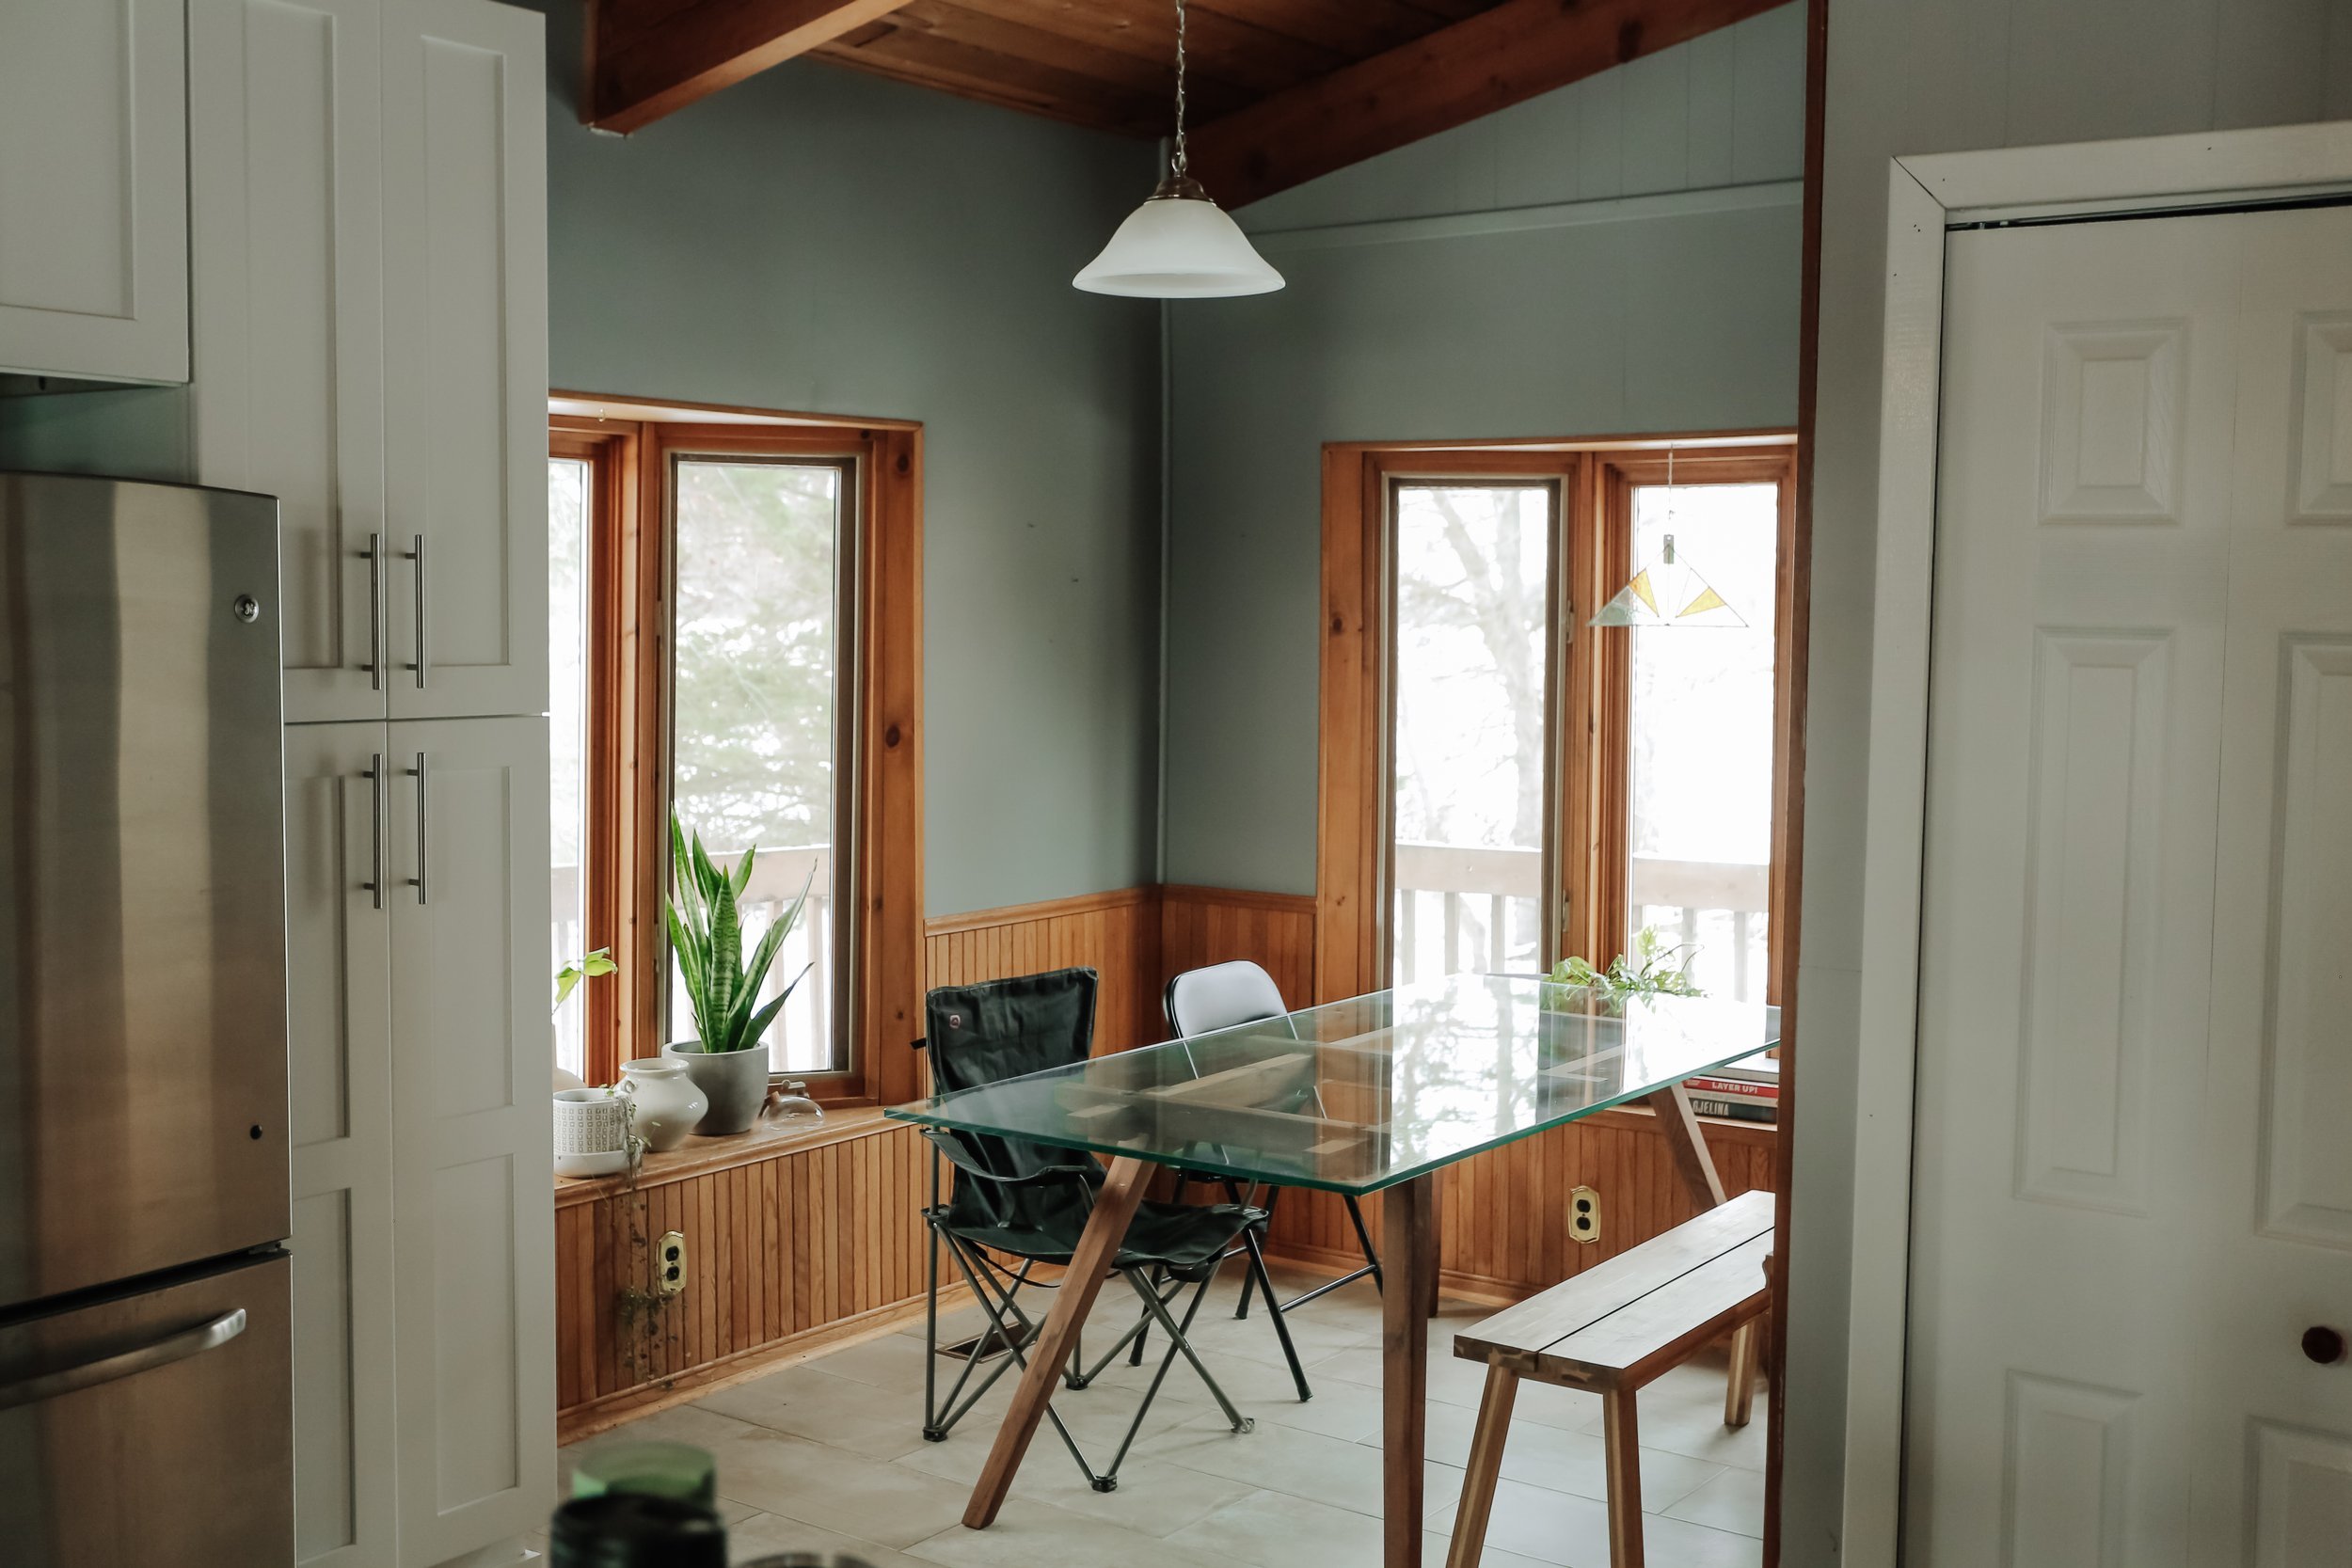
Before
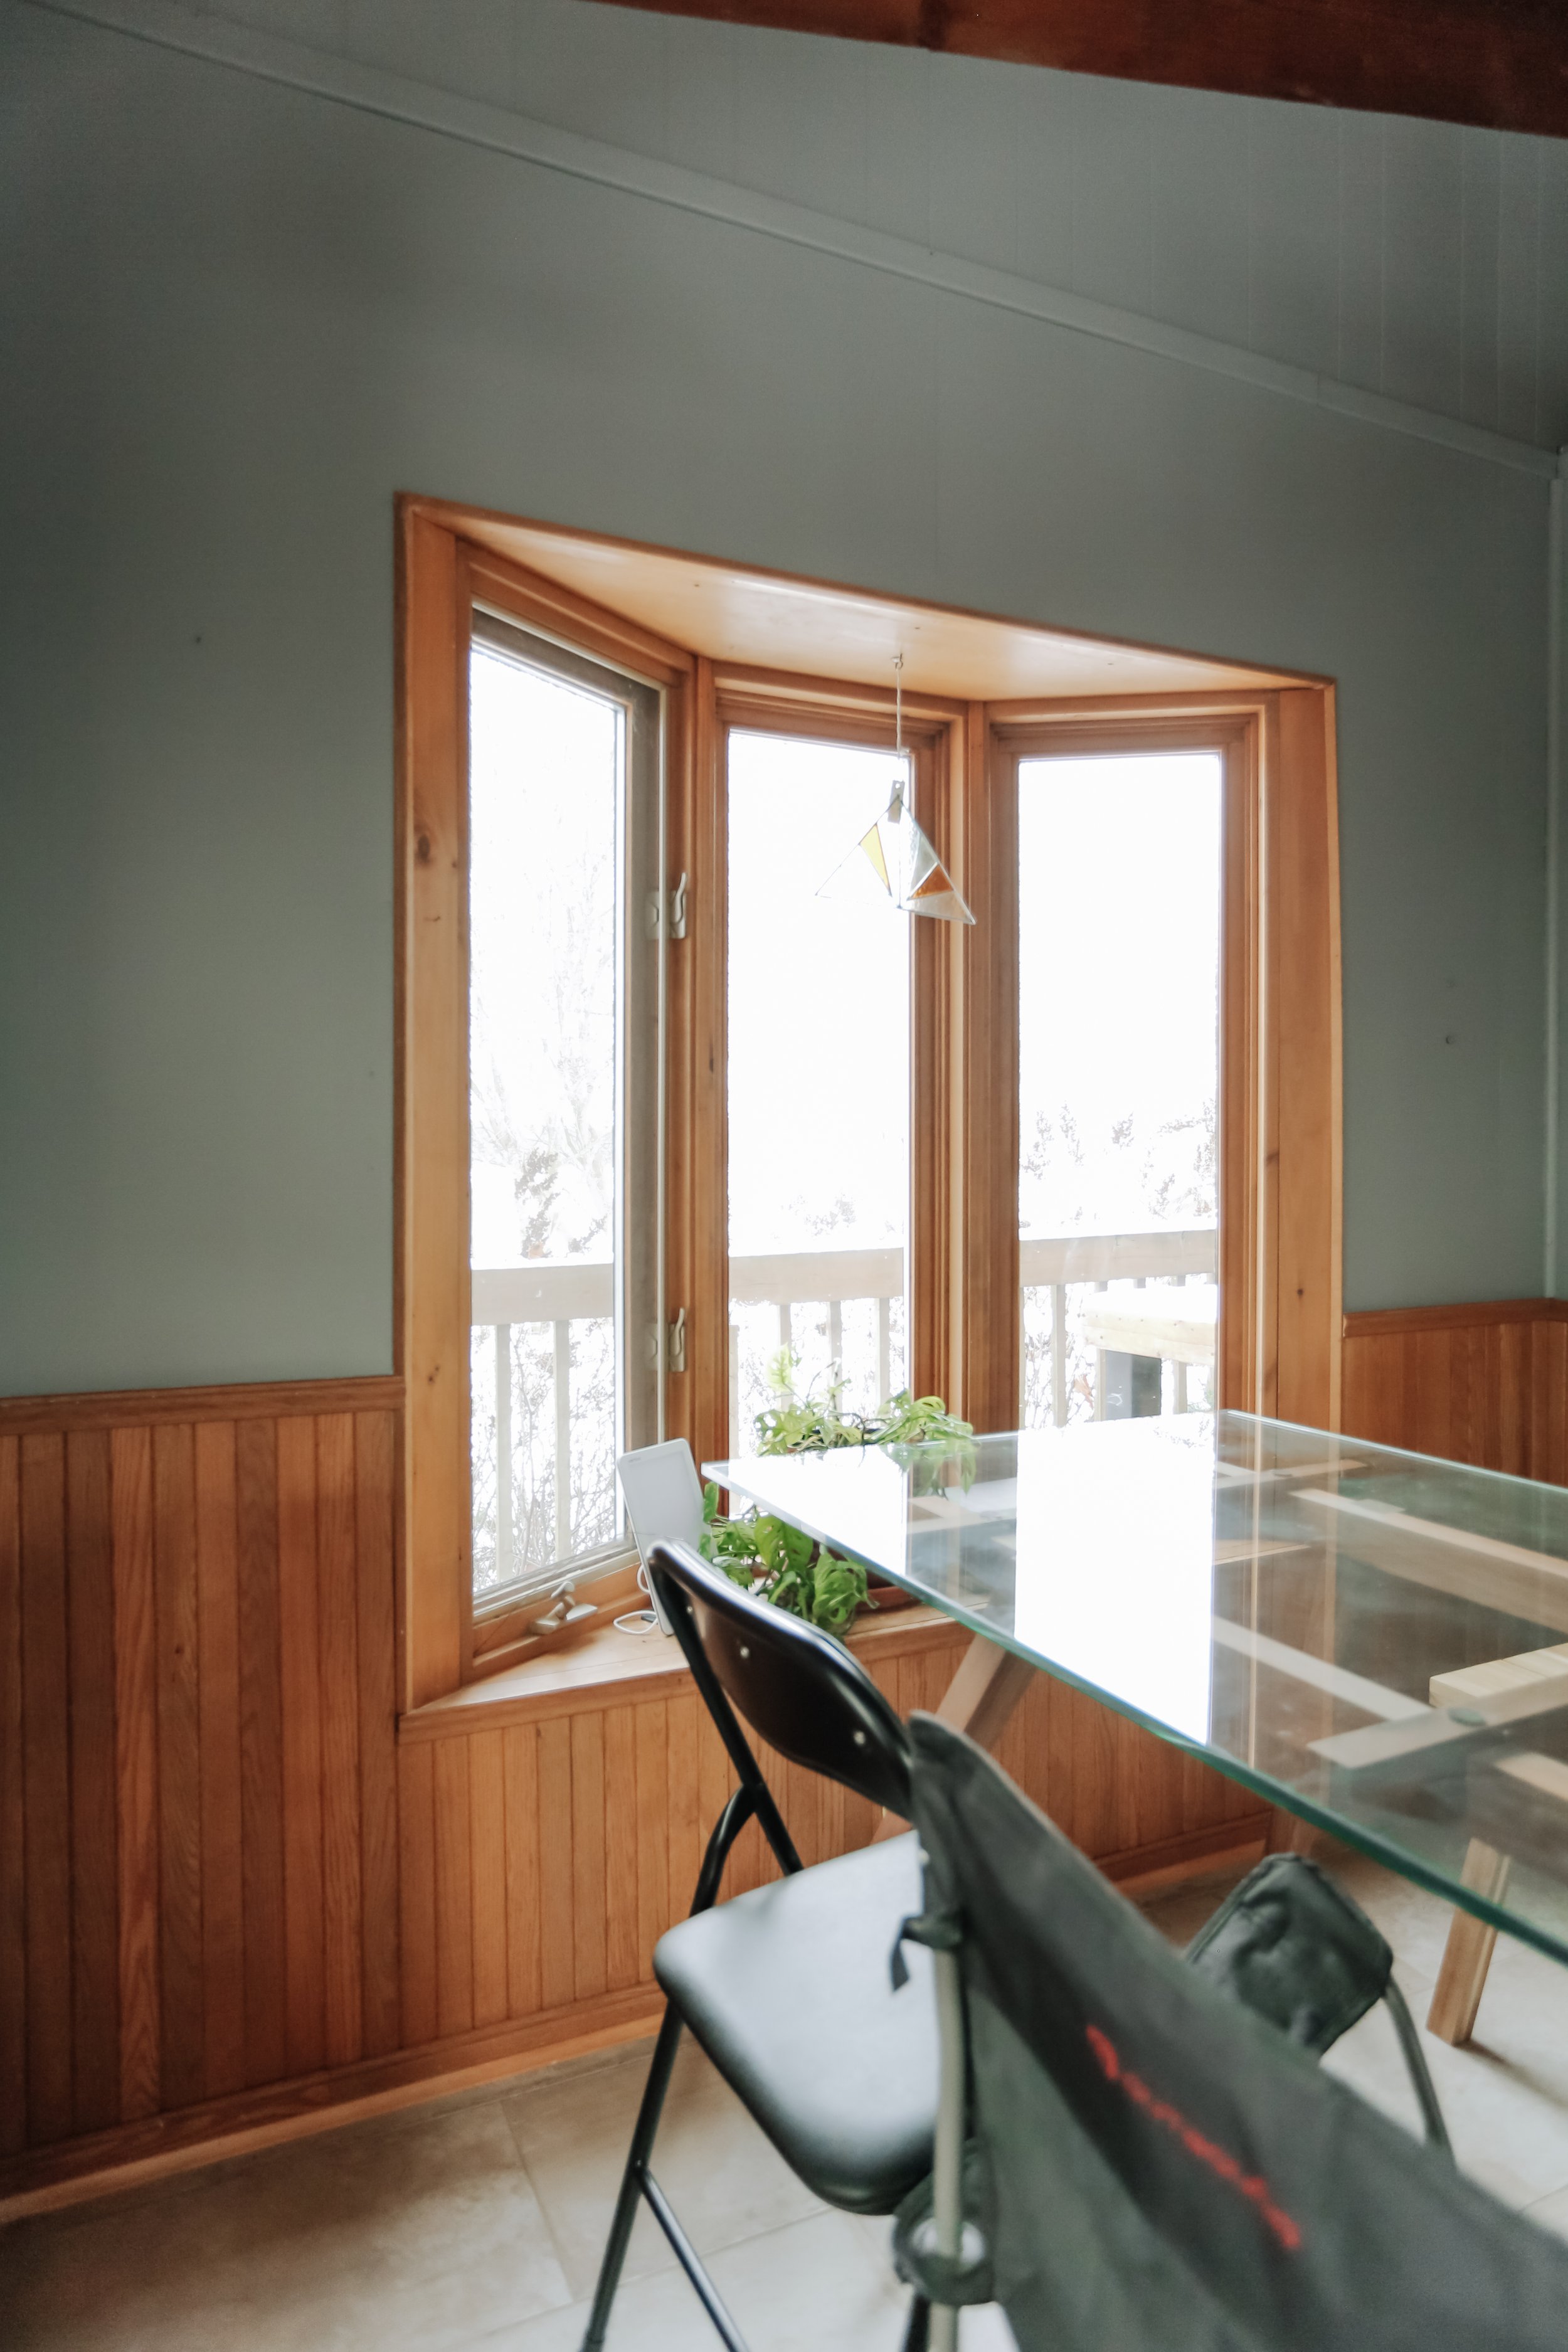
So this is what we started with : the kitchen table from my old house, a wood bench and two foldable chairs (aka, defs in need of an upgrade). What was already great about this space was the light from the windows and the wood tones on the walls. This dining nook definetly had some great potential. So now it was time to brainstorm…
Inspiration and Plan
First things first, I took to Pinterest to gather some inspiration and came up with the idea of having an L shaped couch in the corner to create a cozy feel that resembled a 70s dining room nook. Here are a couple of pictures I saved for some creative juices to flow.
After I came up with my basic vision, I hopped on Facebook Marketplace and found a vintage couch and an old kitchen table that I knew could be turned into beautiful pieces for this space. I also remembered that at my family cottage, there were a couple white retro looking chairs outside in the snow, and made a mental note to take two for this makeover. Lastly, I found a really cool light fixture that would match the couch perfectly and snatched that up too!
After collecting all my items, I made a quick mockup of how I wanted to space to look overall.
Kitchen Table DIY
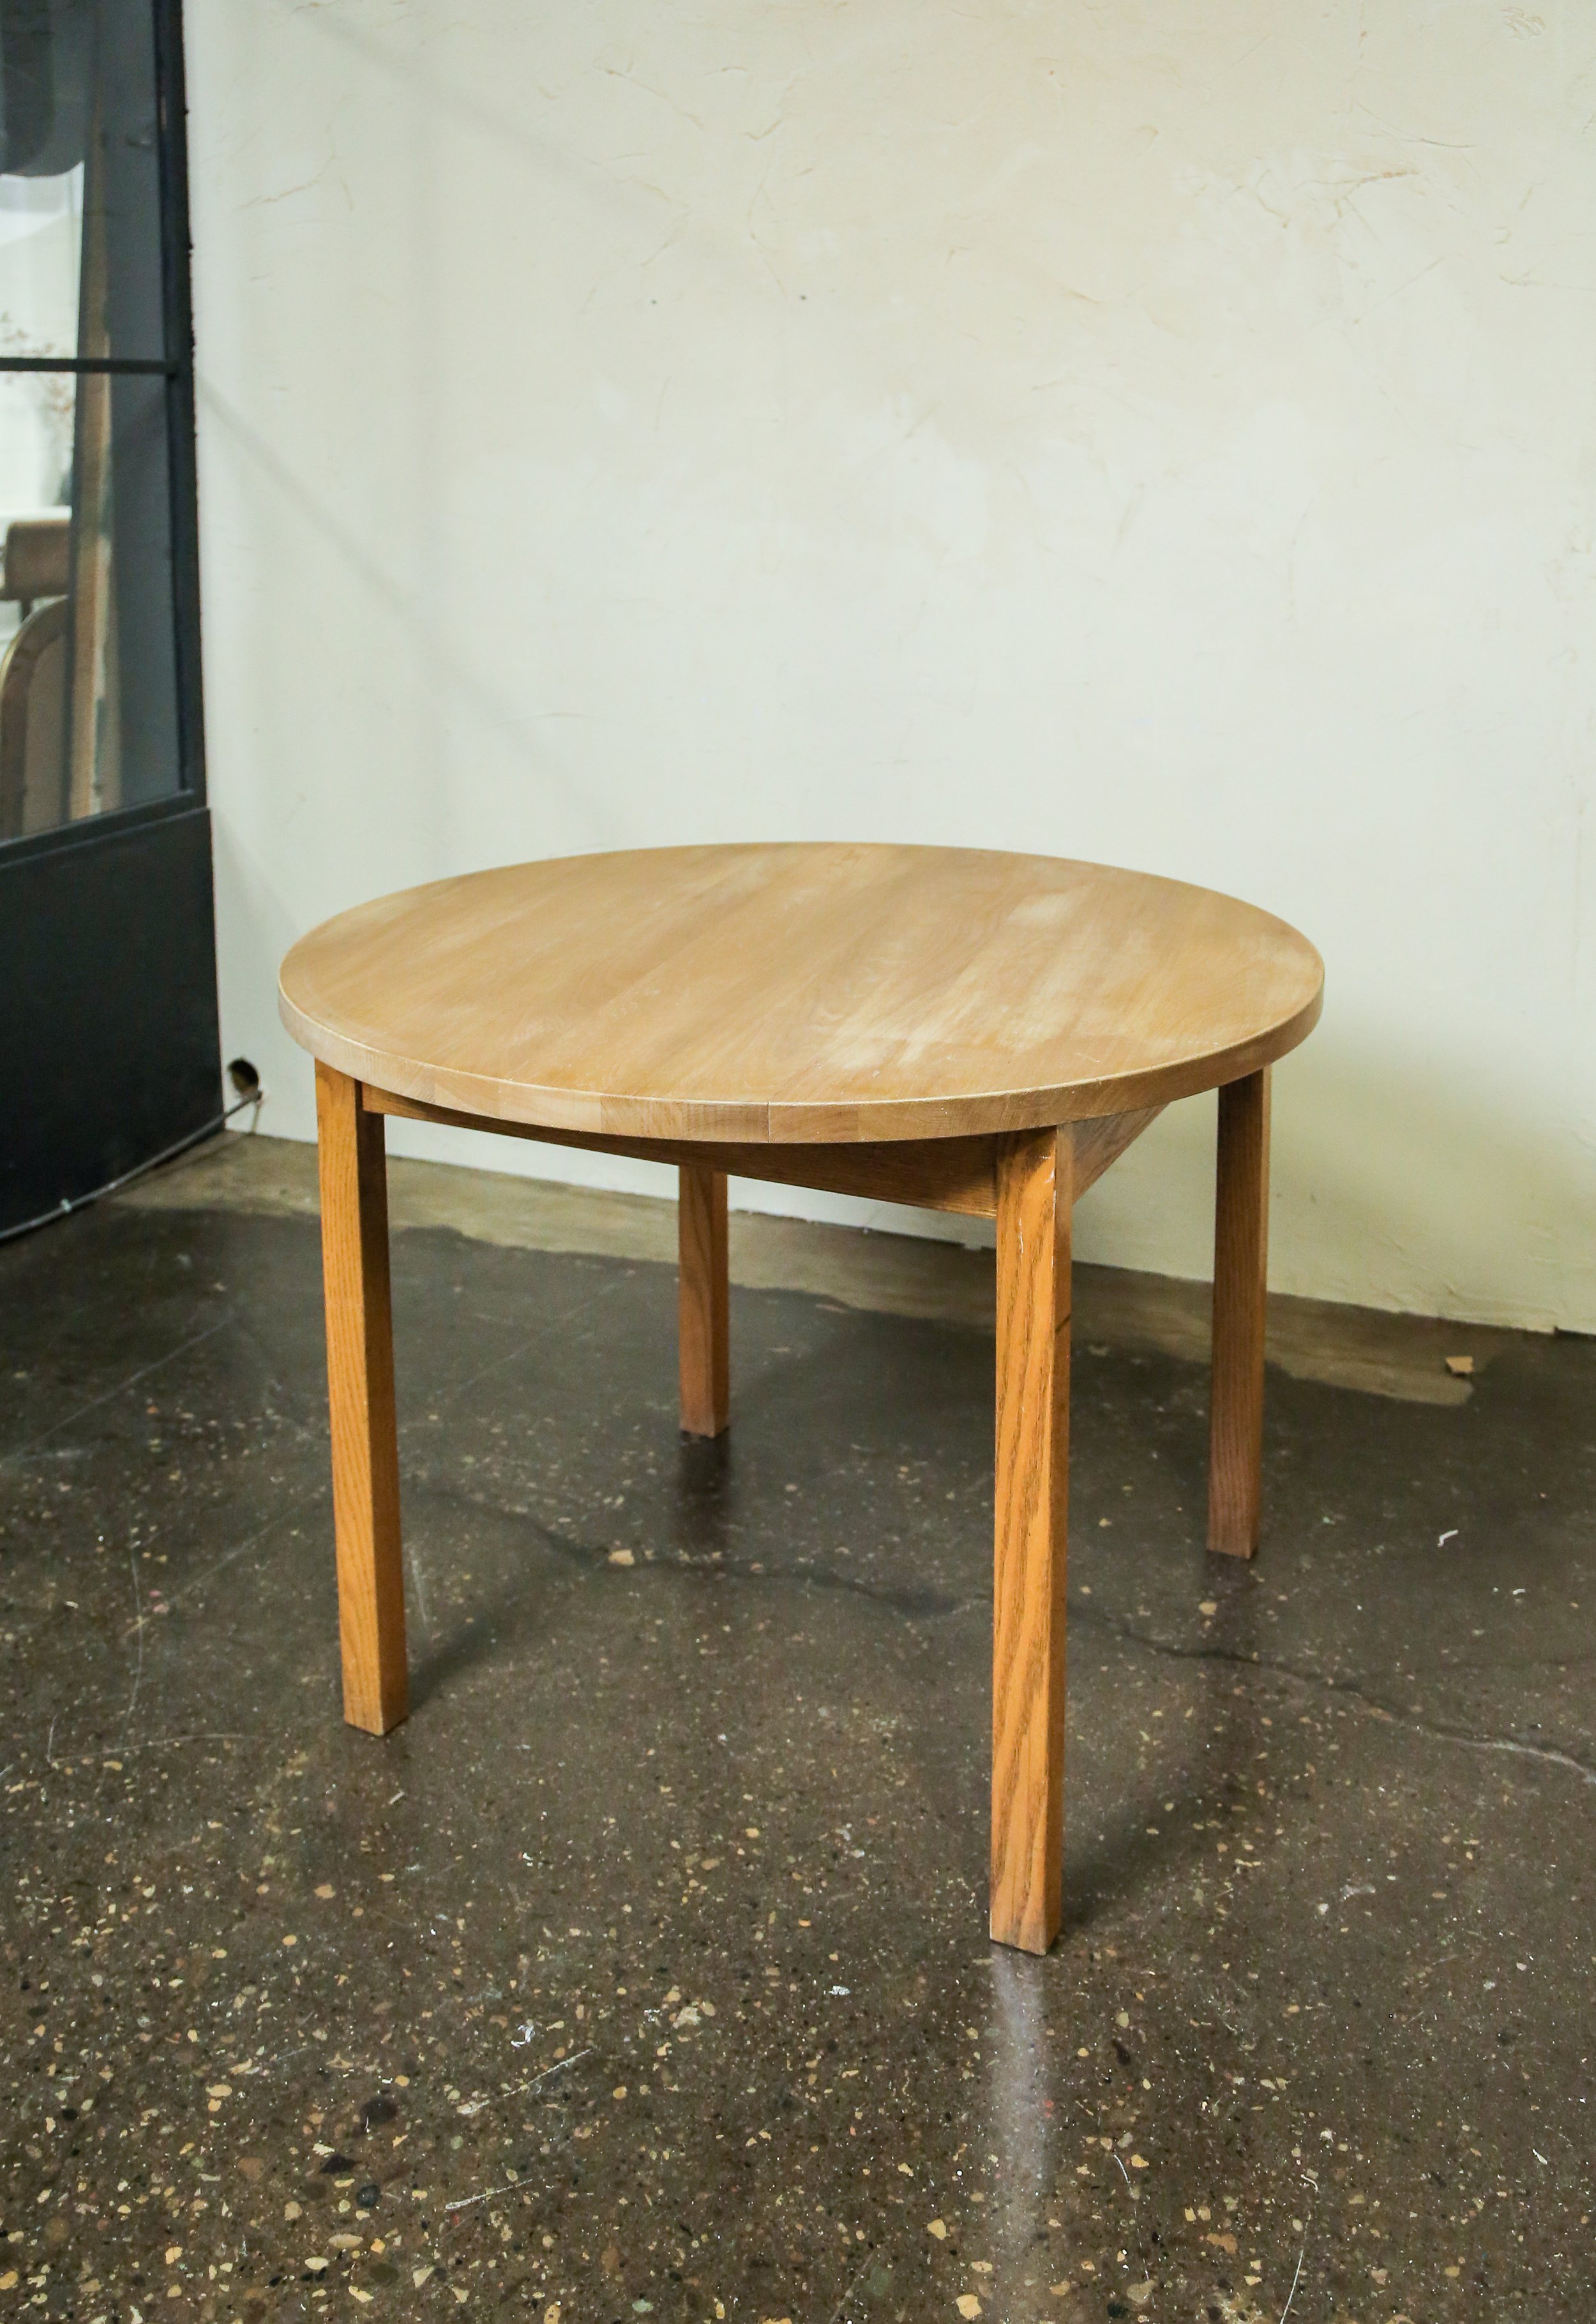
For a while, I had been seeing this STUNNING Crate & Barrel kitchen table all over and was obsessed with it. That said, I am not obsessed with the price tag, and knew that I could make it for less, so when I found a round kitchen table on marketplace, I knew I could figure out a way to make the bottom.
With a little DIY magic, I took off the legs of the pre-existing table and created a new base. To watch an in depth tutorial on how I did this, check out the video linked at the bottom of this blog post to see the step-by-step process.
Seating DIY / Upcycle
Now it was time to tackle the seating situation. I knew that I loved this couch and these chairs, but the height of the couch was much too low to use as a practical dining table seating, so I built a base for the couch to sit on that matched the wood on the wall panels, to almost create a “built-in” look.
Next, I cleaned up the chairs by filling in the holes and spray painting it with a durable layer of white and top coat. I then grabbed some fabric that matched the couch well and sewed together two cushions to make the seats a bit more comfortable to sit in for long periods of time.
Again, for the step-by-step process of either of these upcycles, check out the full videos to watch me do it!
All together, I think the final results of both of these second hand seating finds turned out amazing!
Final Results
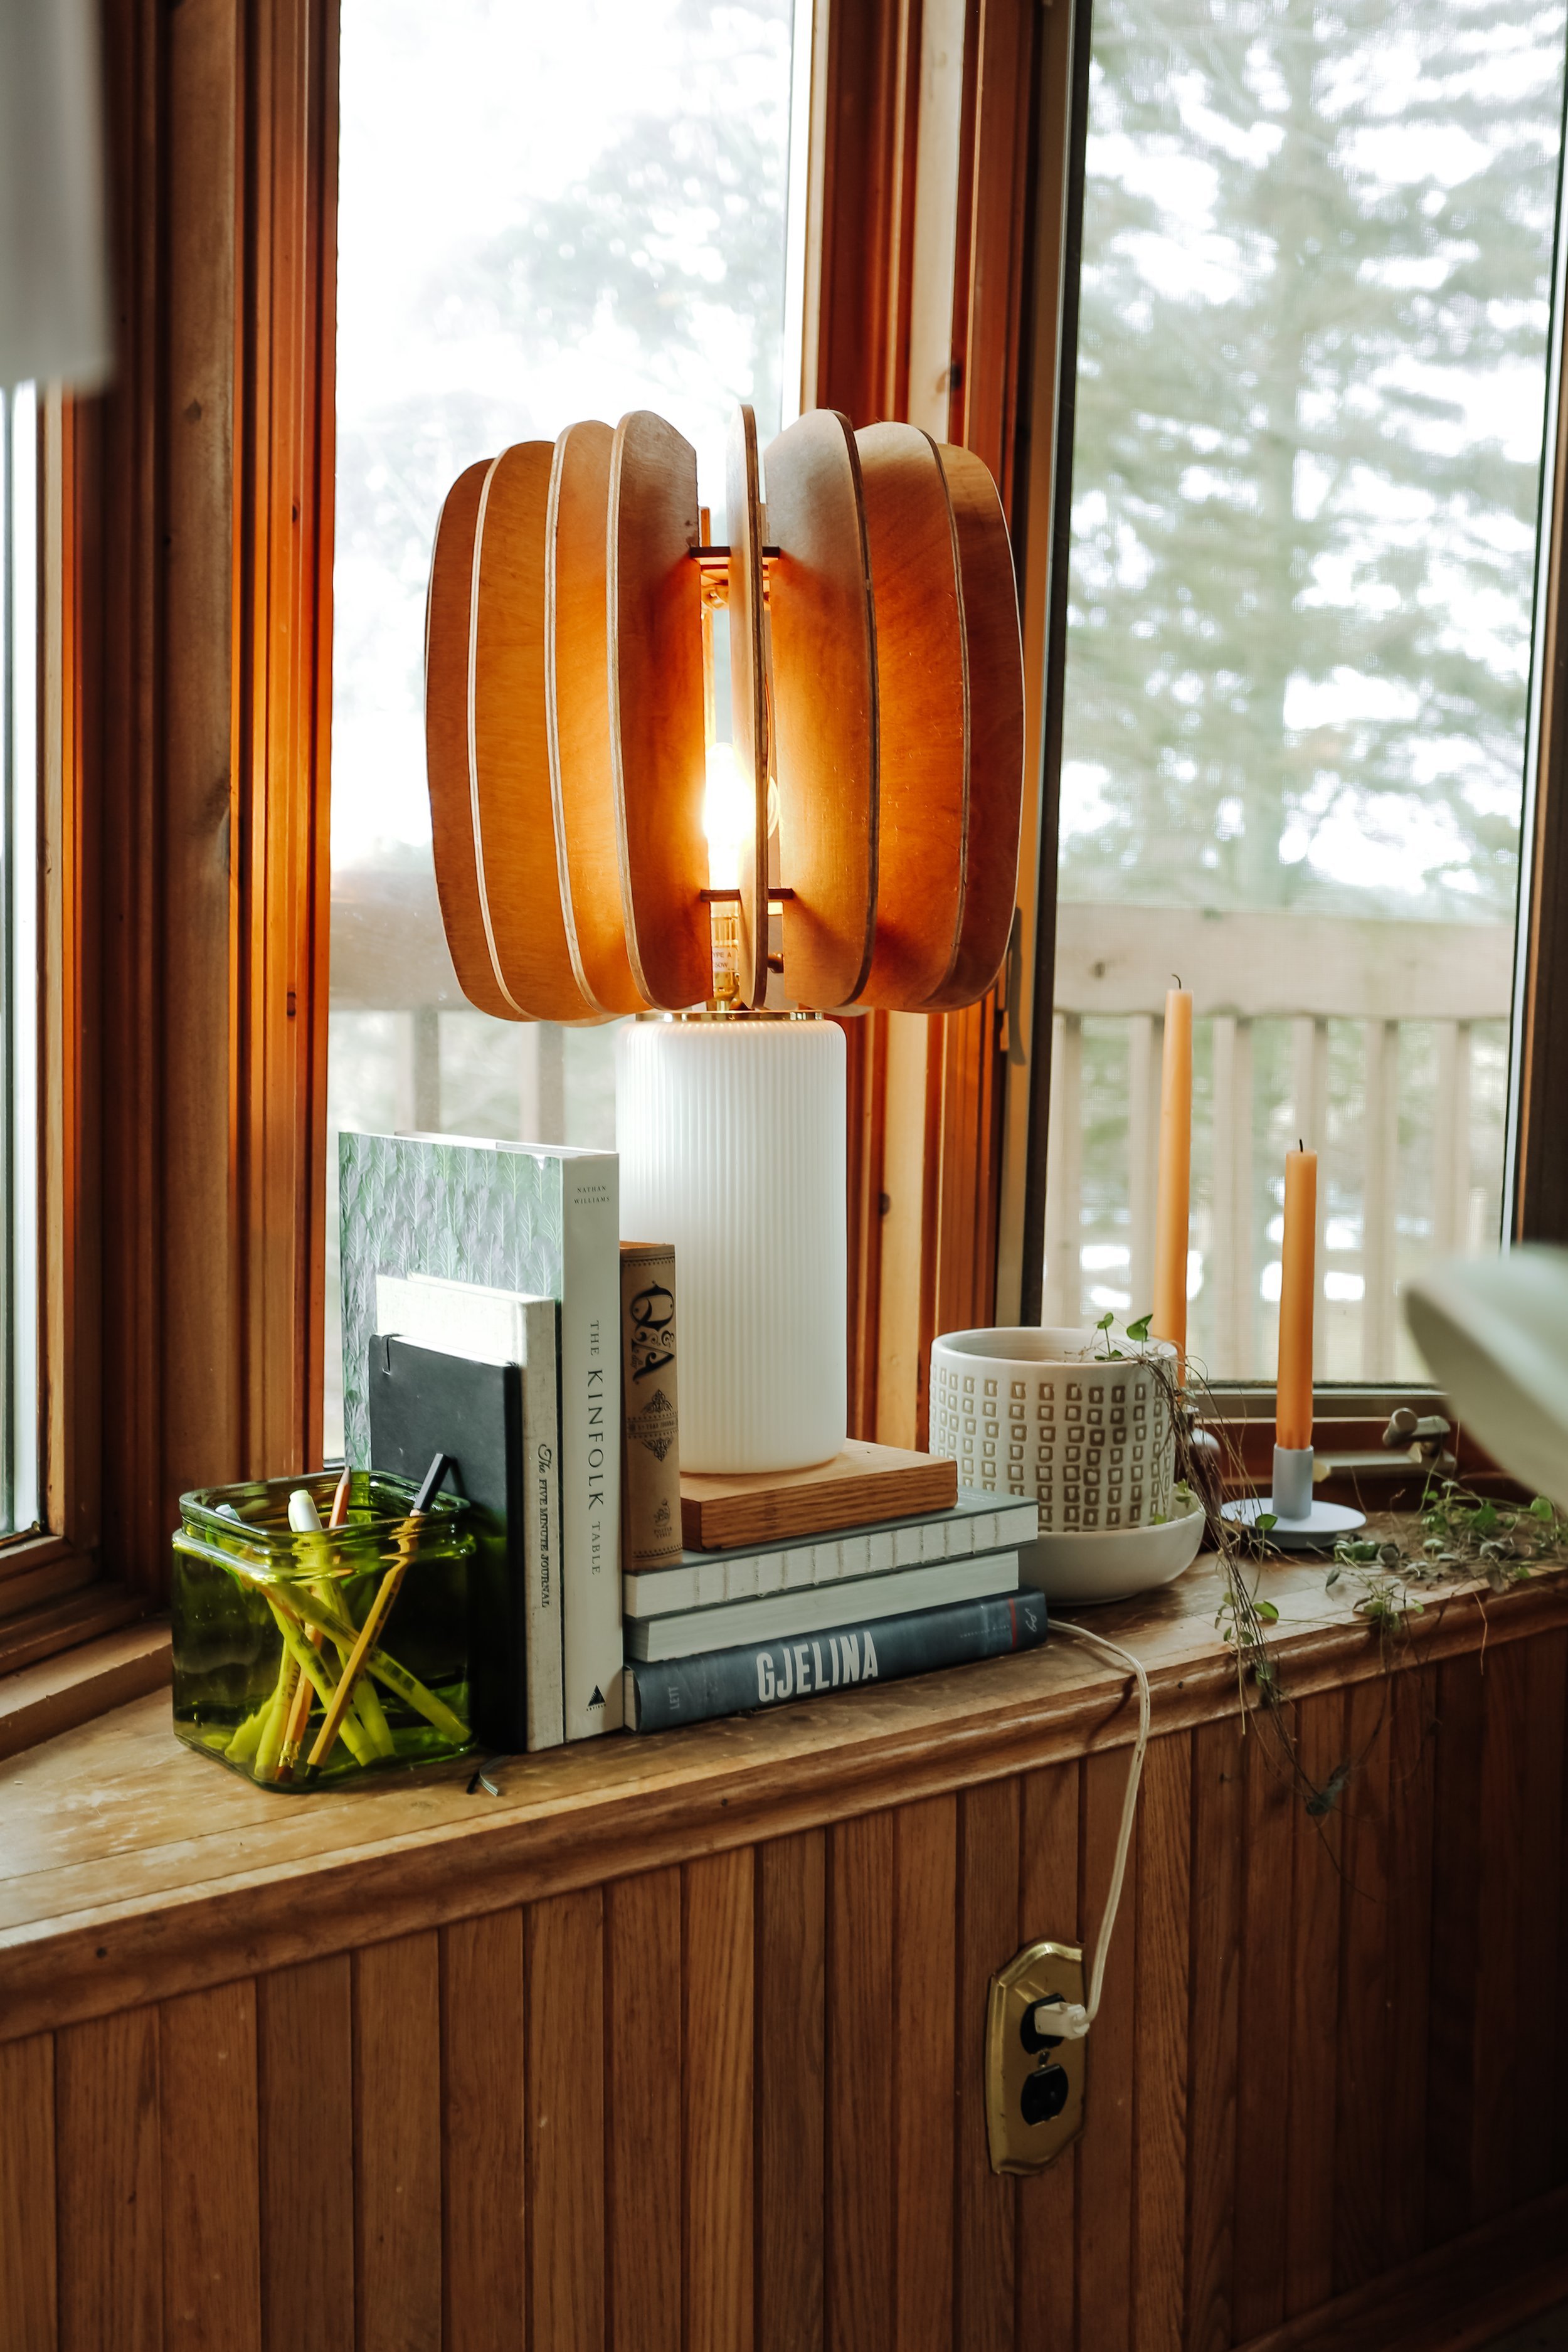
So now it was time to bring everything together with some final touches, like lighting, plants and decor elements. What do you think of the final dining nook?


