We Built a DIY Wall Divider for Our Studio Makeover - Loft Vibes
Loft Vibes is the series where we makeover our office space into the studio space of our dreams! Season 4 is coming to an end, and our new industrial garage space is almost complete! To watch the previous episodes, check out our playlist here. We also have blog posts for ALL the spaces we’ve already done including the storage room, office, lounge boardroom, kitchen, entryway, vanity, and bathroom! Today we’re taking on the last big space - our filming studio!
BEFORE
If you saw our storage room makeover then you know that we put up a huge storage room in the middle of our office to keep our tools in, then plastered and painted the outside, and basically left it like that to be completed, well, now! The plan for this space is to leave it quite open to give us options when filming or shooting content, but we also want it to function well which is why we’re adding a HUGE plexi-glass and wood divider wall to section off this room.
We’ve done a plexi-glass divider wall like this before for our good friend Wendy, but this one is going to be A LOT bigger. Luckily our friend Chris from Woodchip Werks agreed to give us a helping hand in designing and installing this wall. We used large plexiglass sheets held in place by wood beams and plywood, securing it to the ceiling with taut wires. Once it was up, we painted the wooden parts black to match the rest of the industrial vibe. This wall is going to keep any DIY sawdust inside this space, and help a bit with noise while filming. We couldn’t build a real wall because of the heater on the ceiling, so this was the next best option!
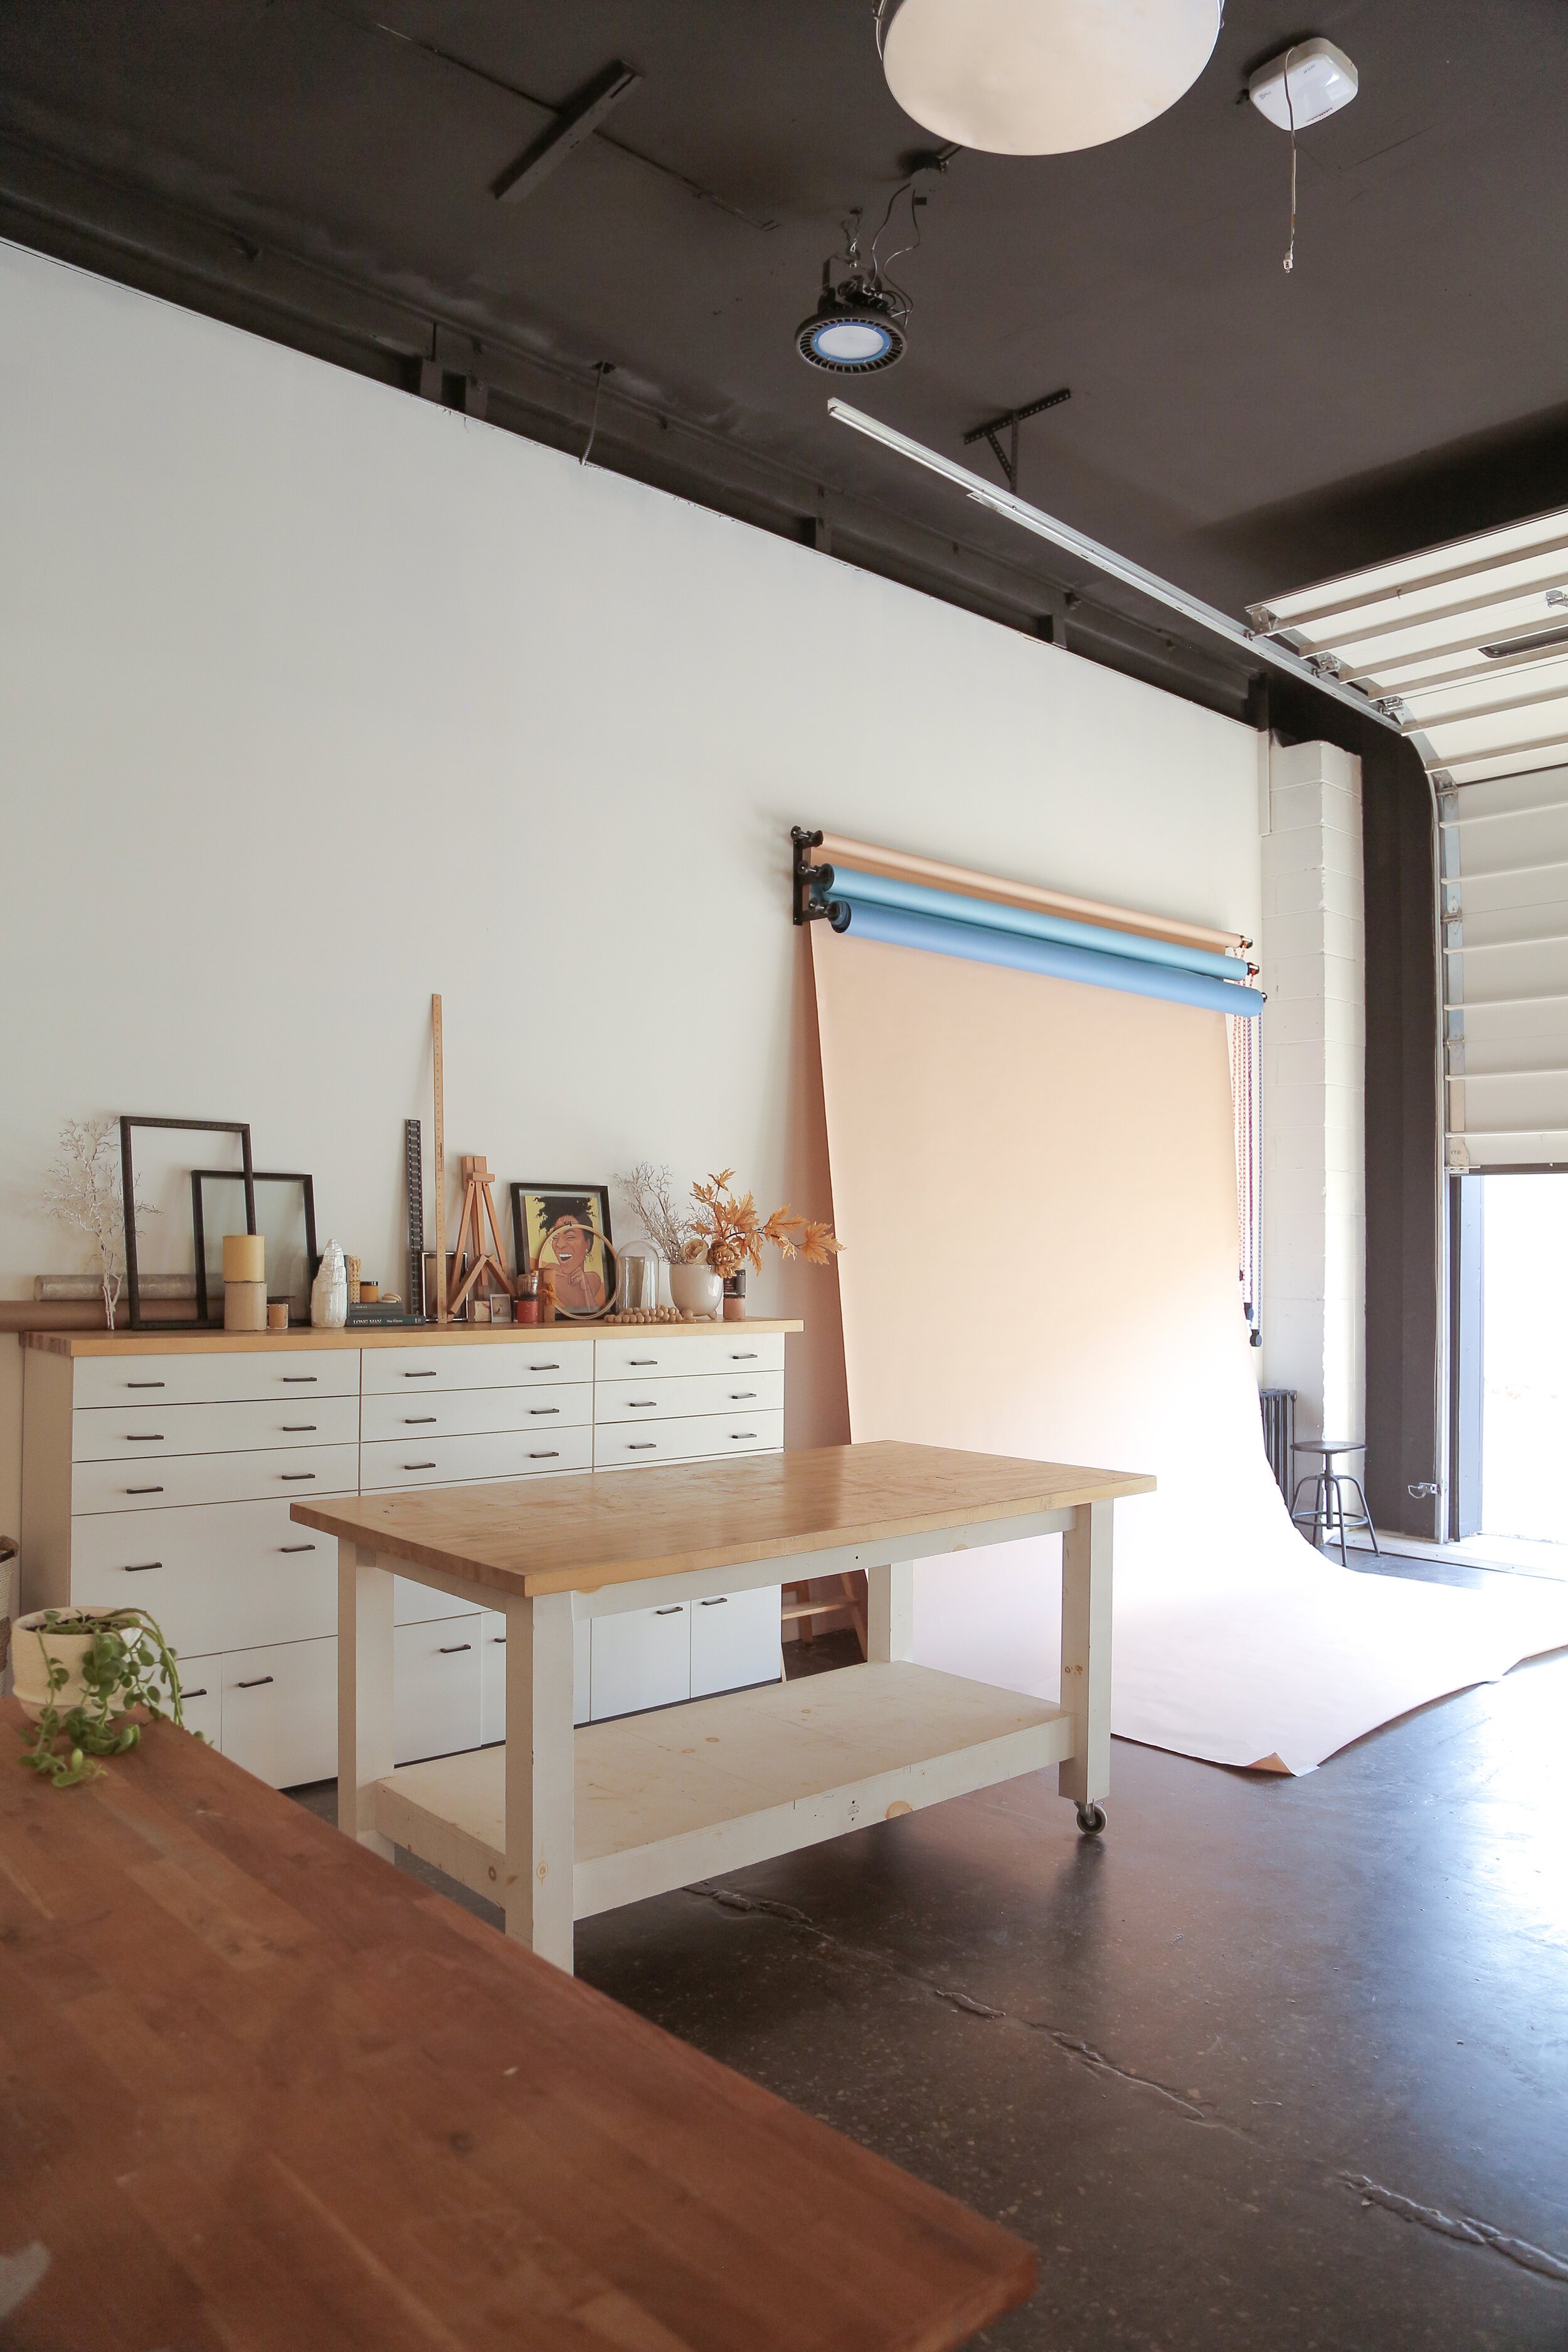
Once the wall was complete we had to reinstall our classic DIY drawers and butcher block mantle. It took a bit to figure out the proper layout of this space, but keeping the drawers against the side wall gives us multiple backdrops to film against.
You might recognize our rolling kallax unit work tables from a previous Loft Vibes season. While we still love this DIY, we wanted to spruce it up a bit and add a backing to one side so that it will keep items in the shelves rather than having them fall out the back. And of COURSE we went with a DIY tambour effect, which if you didn’t know, is literally ALLLL over our office (re: sideboard DIY, bathroom makeover & entryway makeover).
To finish off the big moments in this space we installed a seamless paper roller to the back wall which will help us keep our rolls clean and tidy. After some final touches check out our new studio space!
AFTER
This is the last big makeover in our new office and it’s a little bittersweet to be finishing up the work we started over 7 months ago, but it’s so fitting that we end it with the biggest and most important space. We’re so excited to film all of our future videos here and start working on new makeovers! If you want to see the whole video, check it out below!
shop our style
Small white planter: https://bit.ly/3lSFrVb
Big white planter: https://bit.ly/3kGpuzG
Seamless paper roller: https://bit.ly/32UaAzY
Black handles (similar): https://bit.ly/2IKF7t5
Pocket door handle: https://bit.ly/2IMES08


