Eco-friendly DIYs!
Today we have four super easy DIYs that are going to help you be more eco-friendly!
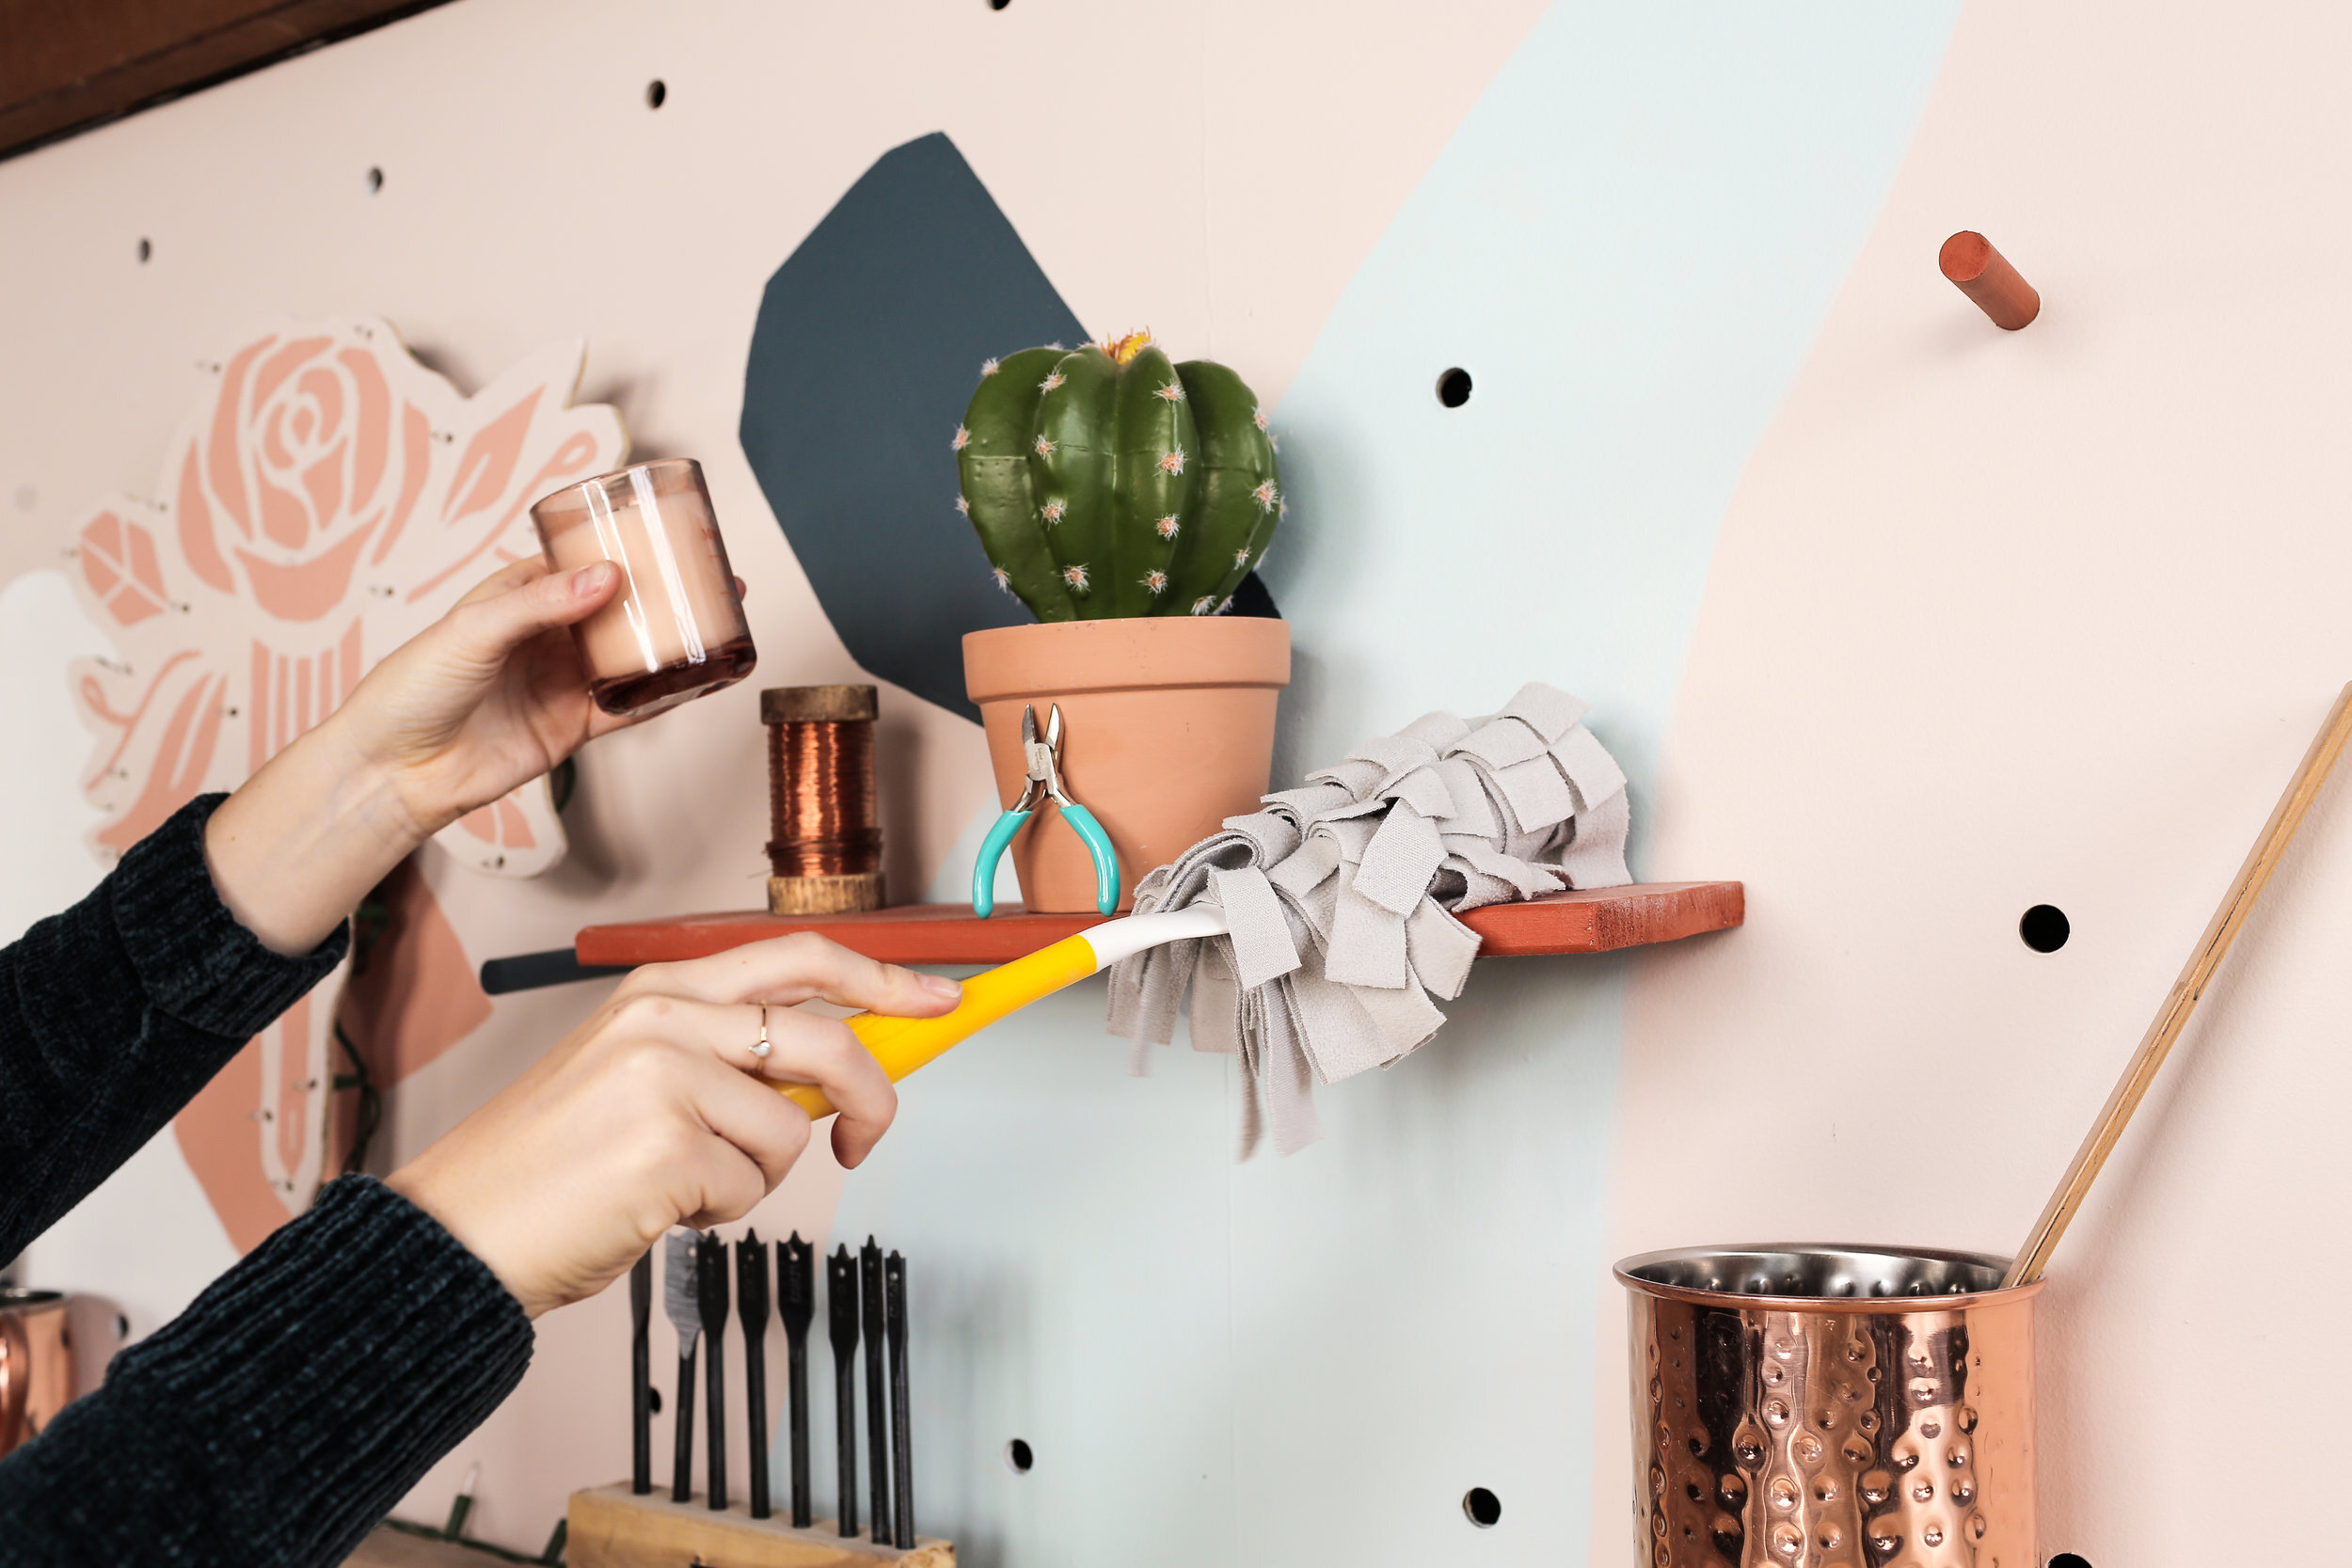
REUSABLE DUSTER PAD
WHAT YOU’LL NEED:
An old fleece sweater or blanket
Old duster handle
Sewing machine
Scissors
Start by laying out your sweater and cutting out two rectangles that are big enough to cover the head of your duster handle. Then, lay your first rectangles over a new part of the fleece and cut out two more rectangles that are a little bigger than the first ones. Then, cut out two layers that are thinner than both sets of rectangles. Now, you will have eight rectangles, two smaller but square, two thinner, and four larger.


Next, go ahead and stack the pieces with all four larger pieces in the middle, the two medium pieces sandwiching the larger pieces, and finally the thinnest pieces sandwiching all of that! Sew this straight up the middle, through all of the layers. Once sewed, grab the two innermost layers on either side of the middle seam and sew a line an inch or so away from this middle seam. Do this again to the other side of the middle seam. This will create tubes that will allow our swiffer handle to slide in to.
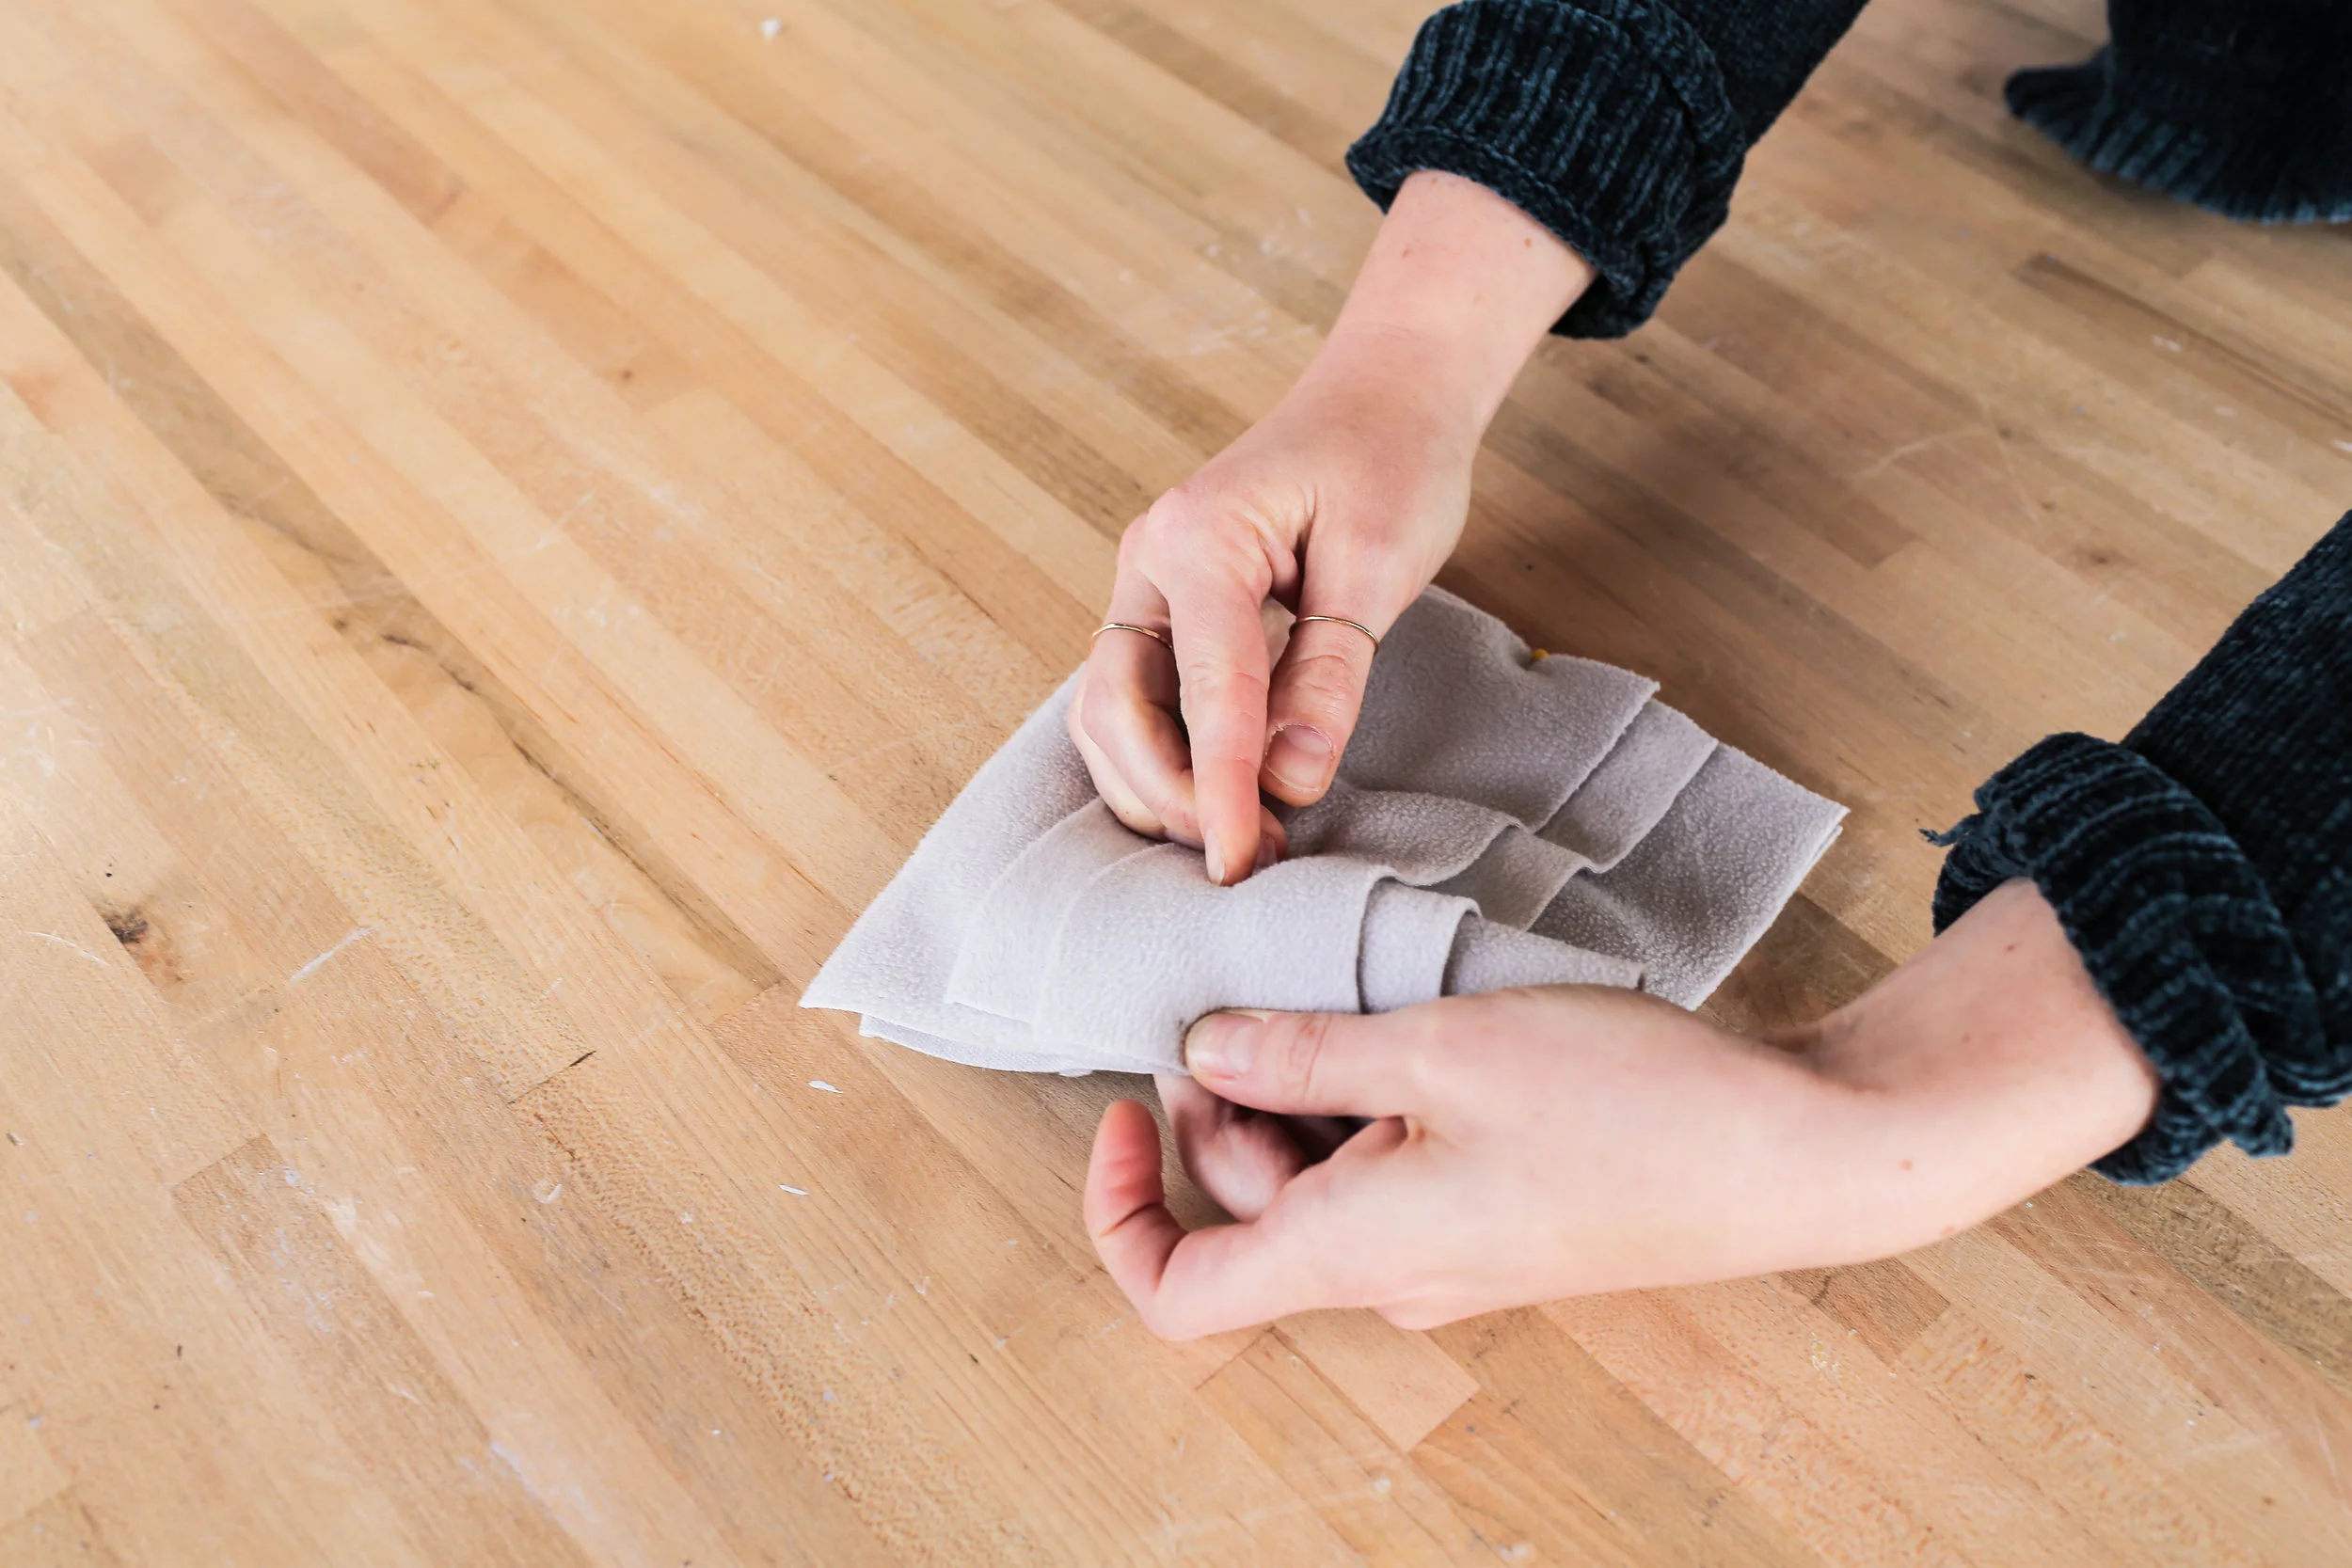


The final step is to cut little strips out of each layer! Just make sure not to cut through any of your seams. Click here to buy reusable duster pads!

DIY DRYER BALLS
WHAT YOU’LL NEED:
Lage headed needle
Old pair of pantyhose
Start by grabbing your wool yarn and wrapping them around three fingers ten times. Next, slip it off of your fingers and wrap the yarn around this bundle in the opposite way ten times. Continue wrapping like this, switching directions, until you end up with a tennis ball sized ball! Once your ball is the right size, take a large headed needle and thread your yarn through this. Push the needle through the ball a few times until the thread runs out!
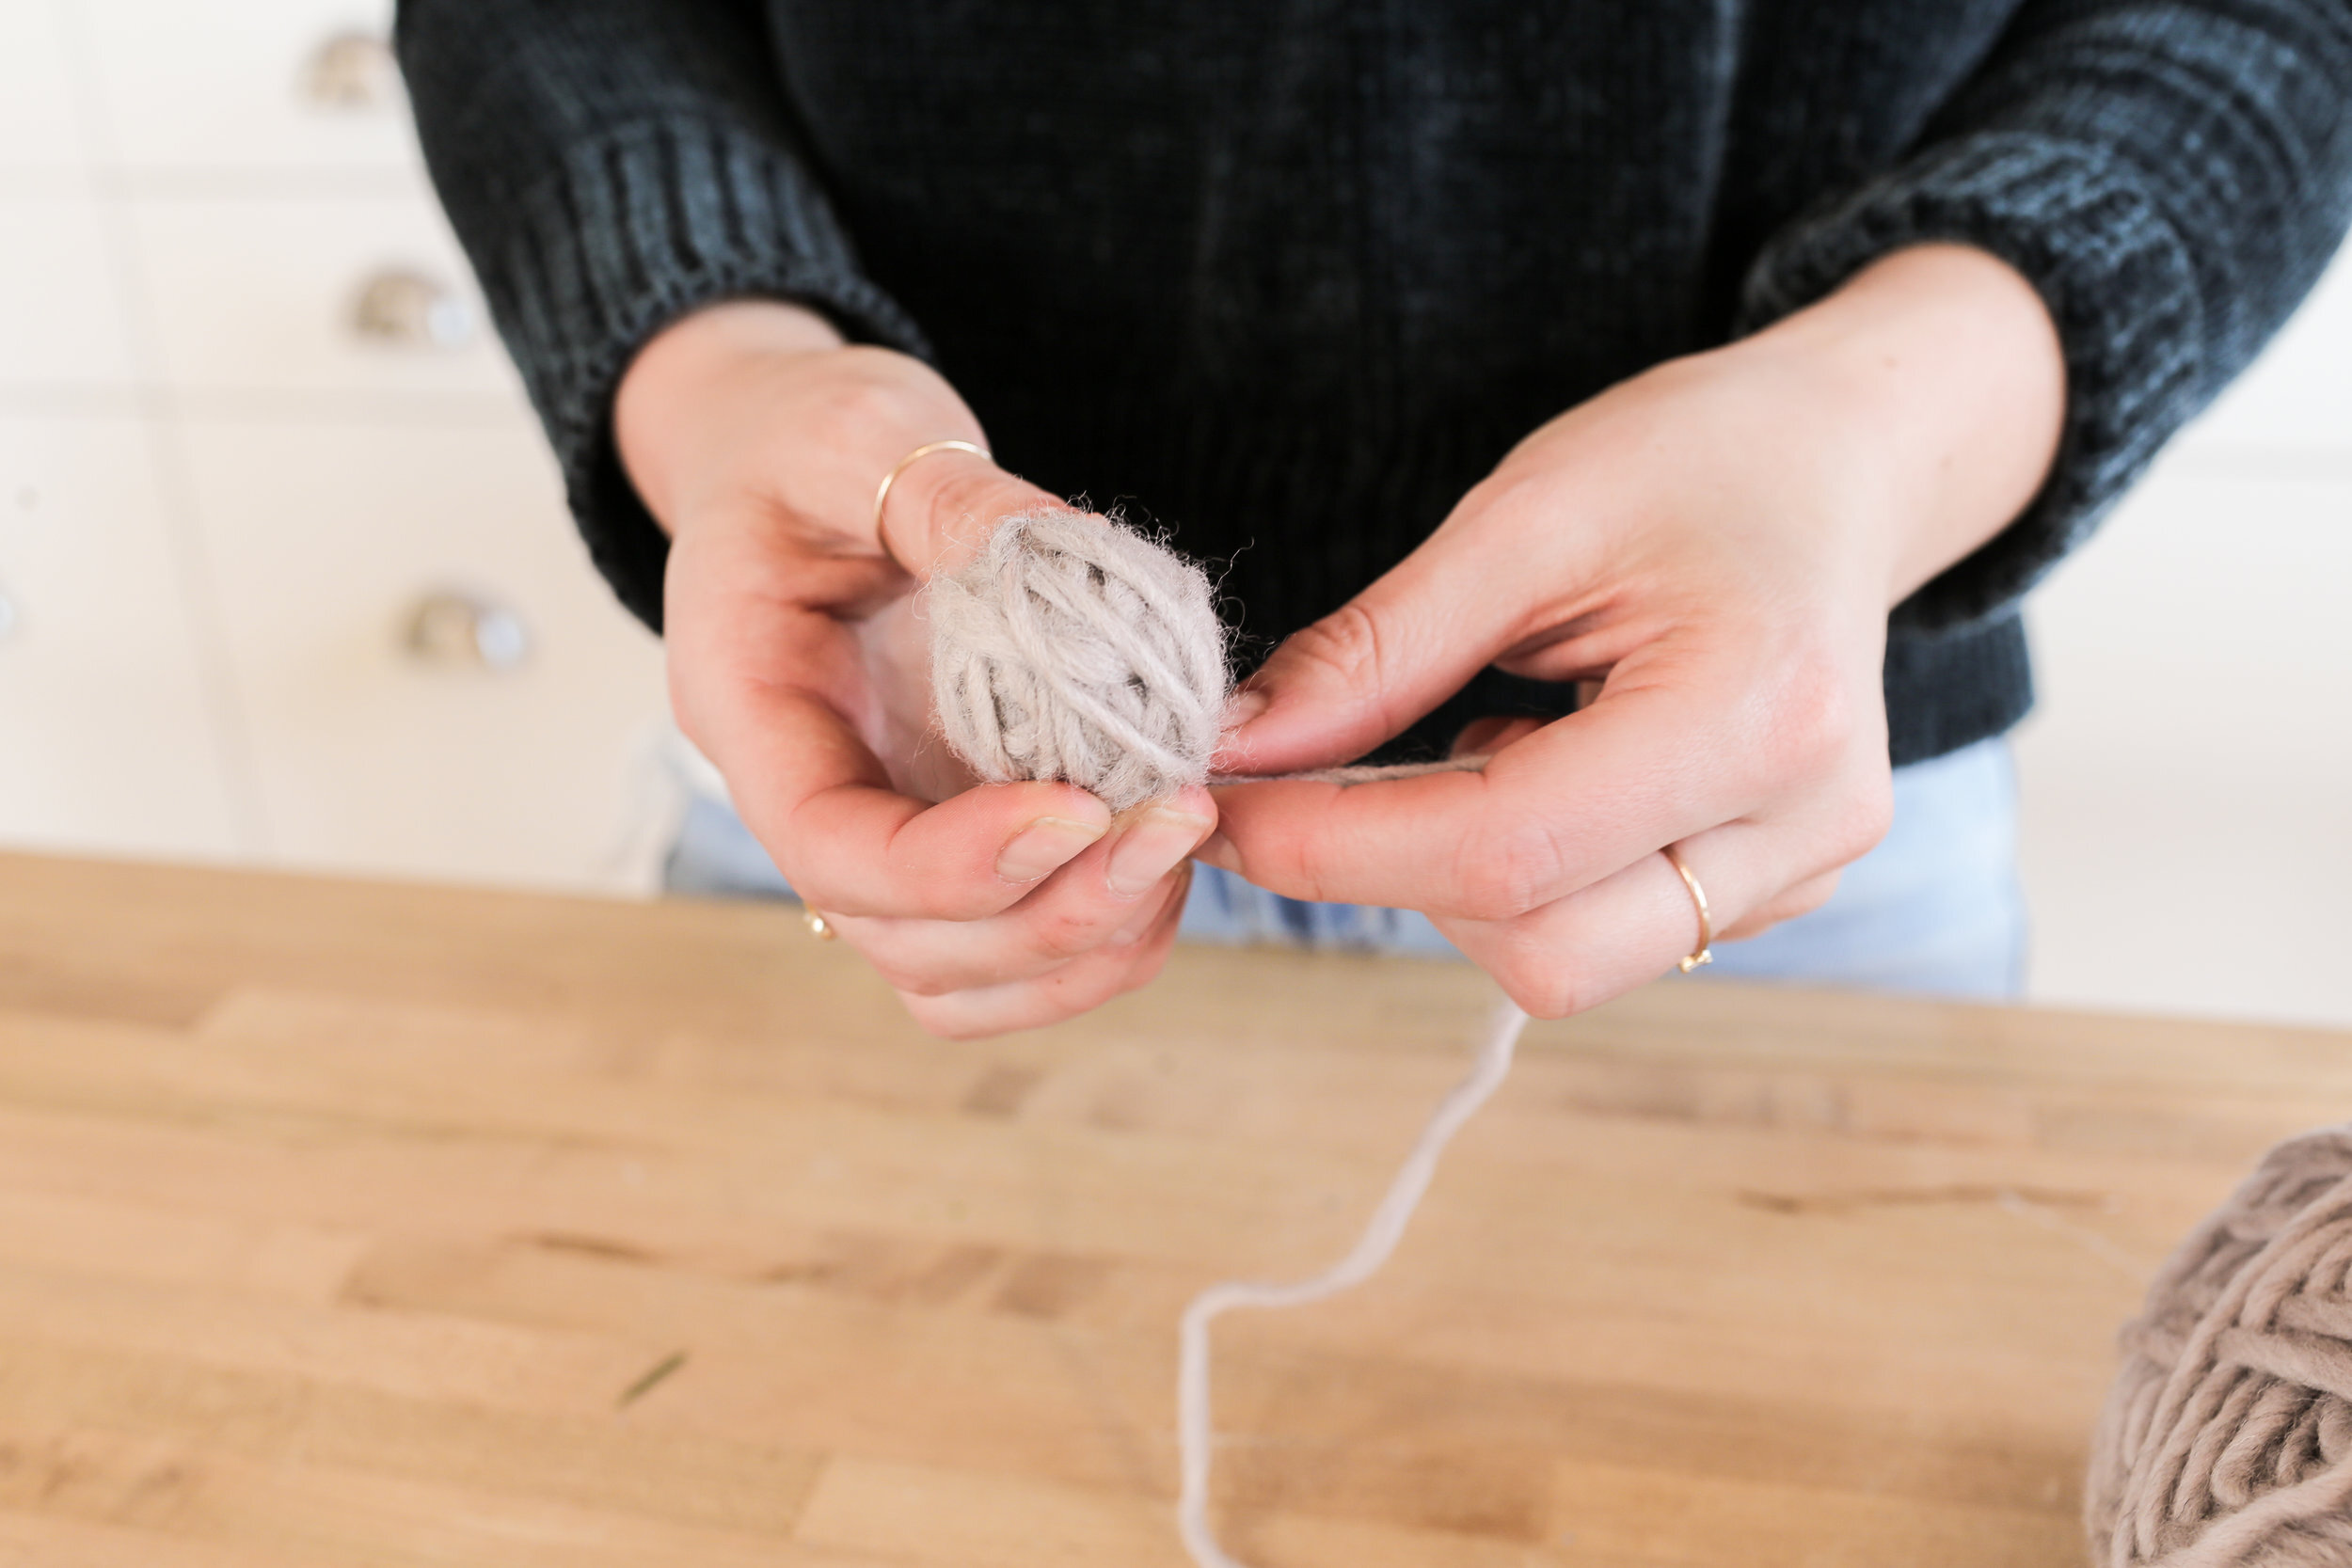

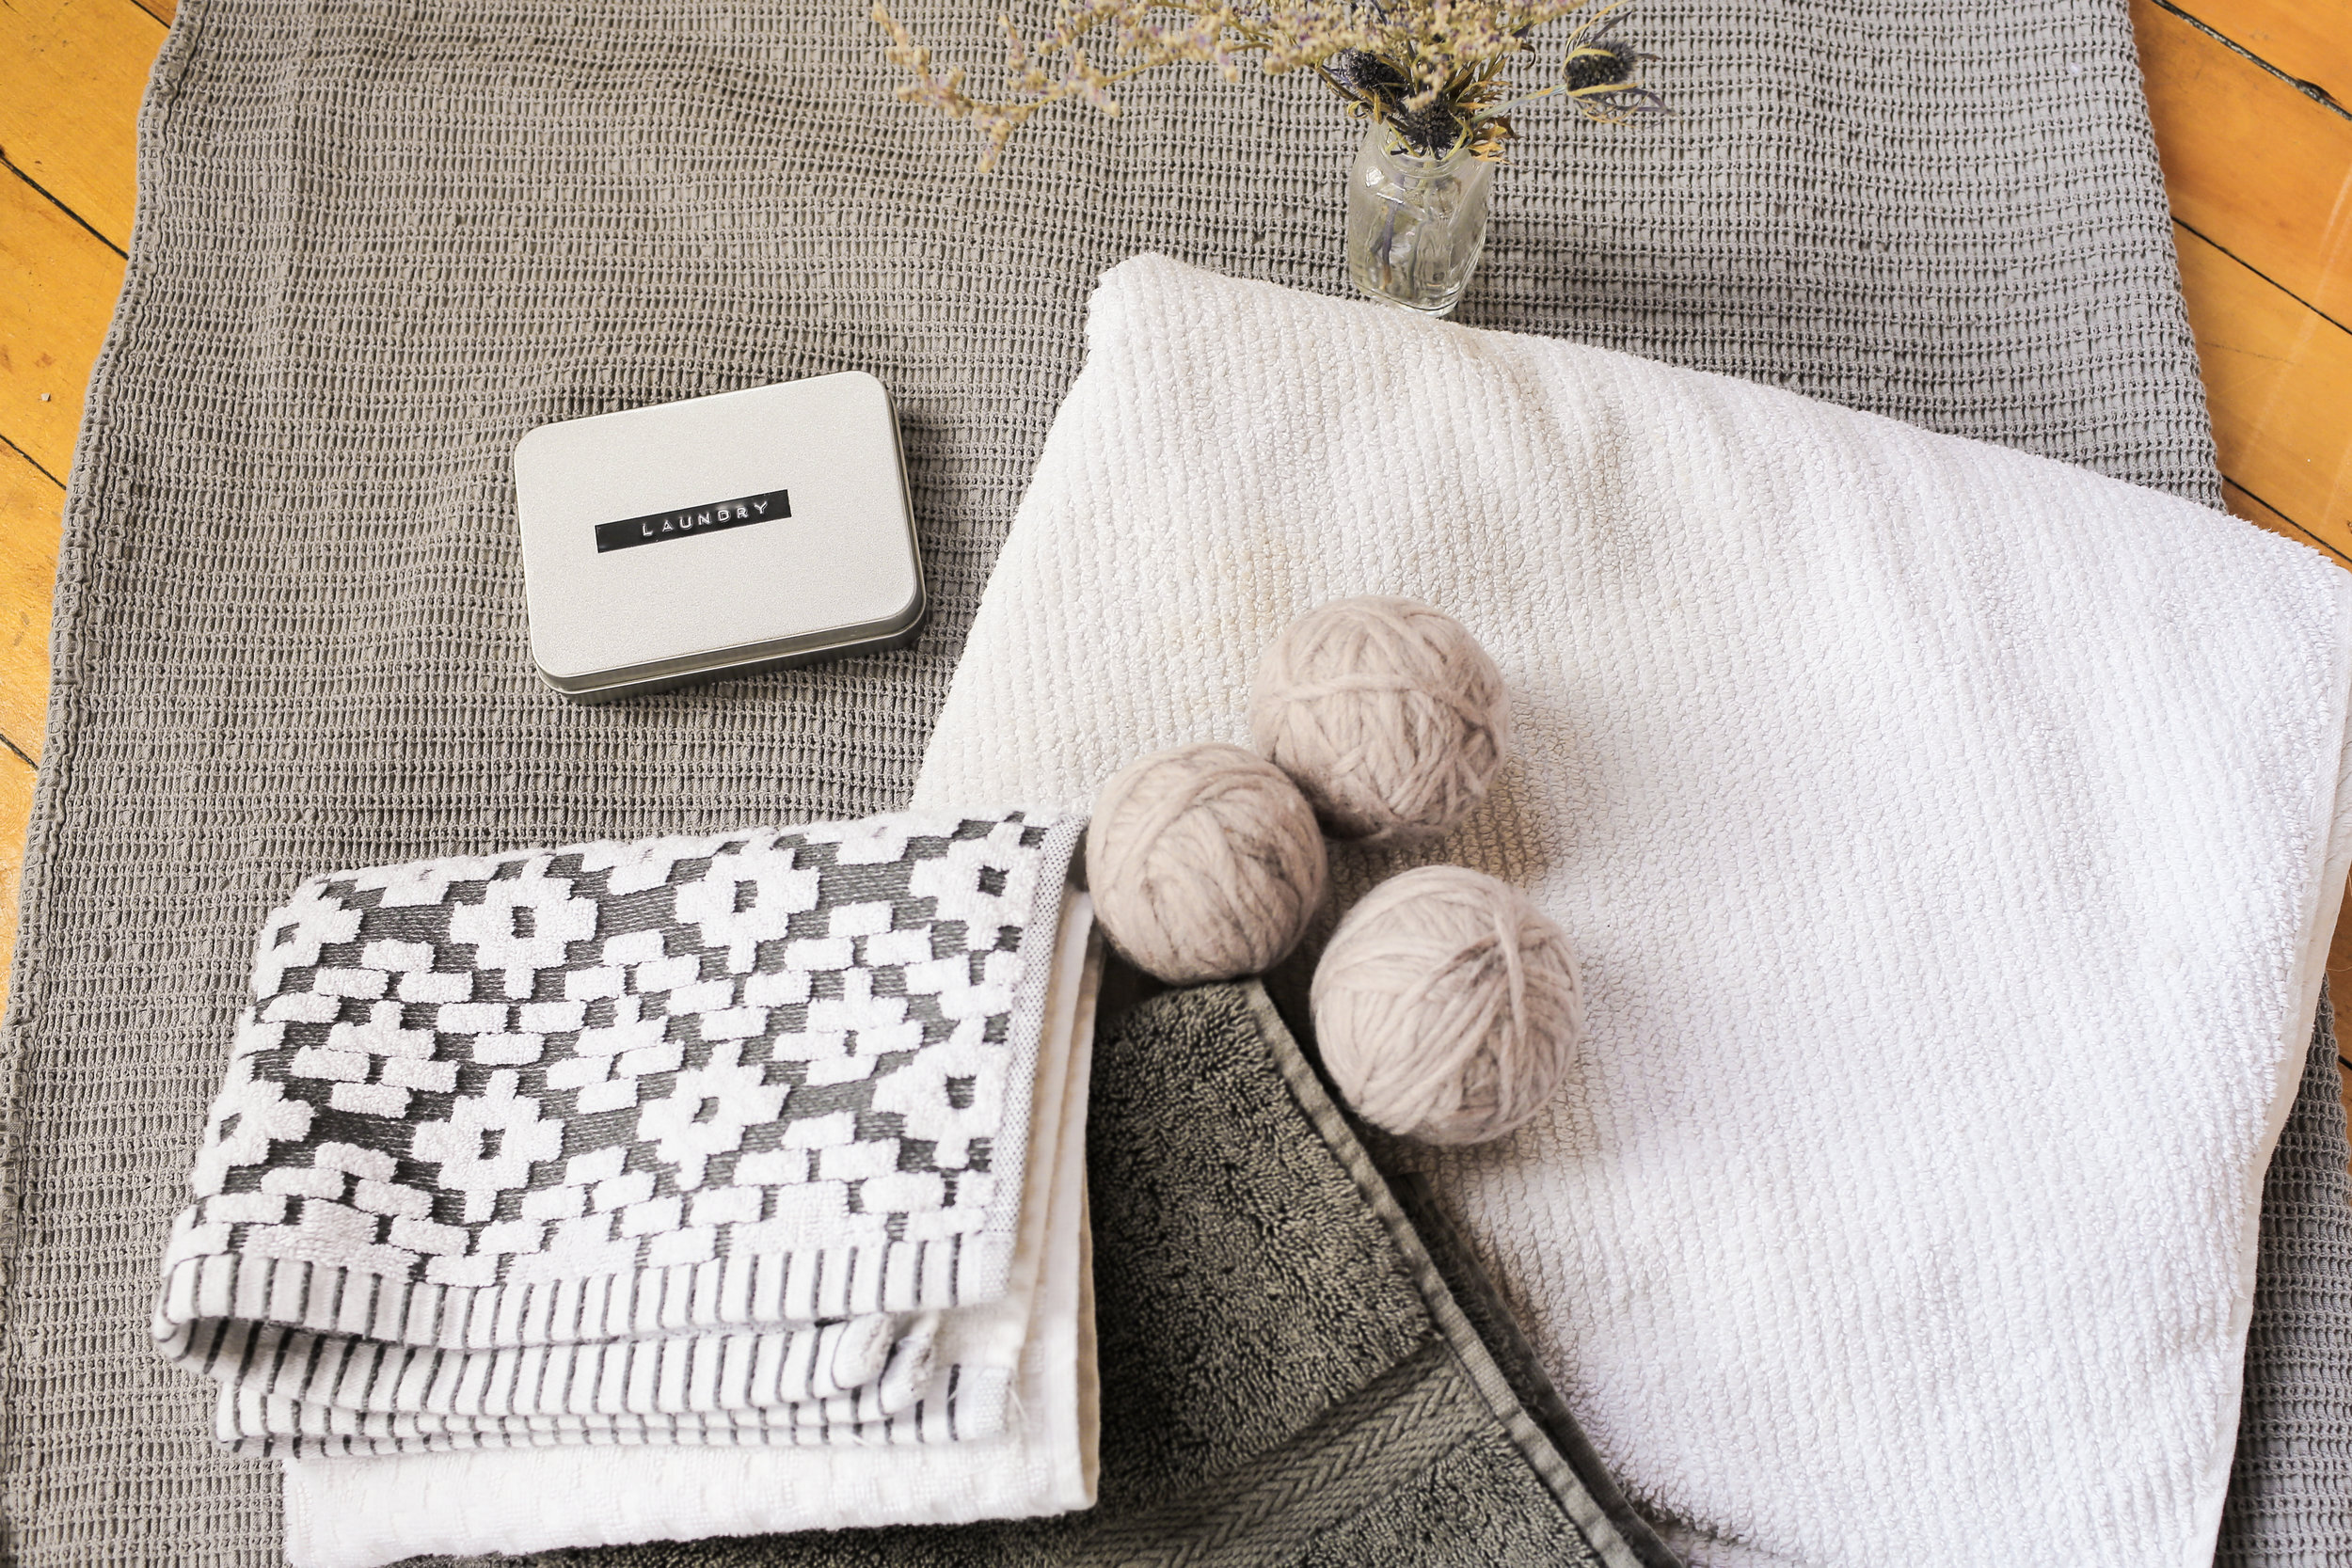
Next, grab an old pair of pantyhose and cut off the foot. Put your yarn ball into the pantyhose foot and tie it shut with acrylic yarn. Time to give this a wash! Put the dryer ball in a washer on the hot setting, and then in the dryer again on the hot setting. Once dry, take the panty hose off and it’s ready to use! Go ahead and drop essential oils onto your dryer balls before use to add a nice scent to your laundry! Click here to buy drier balls!
DIY COFFEE FACE SCRUB
WHAT YOU’LL NEED:
Used coffee grinds
Brown or coconut sugar
Coconut oil
Vanilla
Bowl
Next up we’re going to use those old coffee grinds from your reusable k-cup or your french press, whatever you use to make coffee - and make them into a diy face scrub! I actually was gifted a homemade coffee scrub once and loved it so I’m so glad I can finally make my own.
You’re going to need used (but semi fresh) coffee grinds, brown or coconut sugar, melted but not warm coconut oil, and vanilla. In a bowl mix ¼ of the coconut oil, ½ a cup of coffee grinds and ½ cup of the brown sugar. From there I’m going to mix it up while trying not to dissolve the coffee or sugar so make sure your coconut oil isn’t too warm. Once mixed we can add in 1tbsp of vanilla and continue to mix. I then added my mixture to a airtight container. It definitely was a little too liquidy for my liking but once in the fridge for a bit your scrub will be the right consistency. You can keep your scrub in or out of the fridge for about a month but just keep an eye on it to make sure it doesn’t start smelling funky. Great gift idea!
To use, rub the scrub into your skin for a couple of minutes and then wash off. Can be used on your face but it’s even better on the body! To exfoliate your skin and leave it hydrated because of the coconut oil.

REUSABLE MOP PADS
WHAT YOU’LL NEED:
Old towel
Velcro
Scissors
Sewing Machine


For this DIY you’ll need an old towel which you probably have laying around your house. If not, anything terry cloth and absorbent will work. Cut a large H shape out of your fabric, making your horizontal piece wider and the vertical strips thinner. These will wrap around your mop to hold it in place. Sew a hem all the way around to prevent fraying. Once your H is completely sewn, take some velcro and attach it to the vertical strips of your mop pad. Once you’re happy with the placement, you can use some stitches to reinforce the velcro. It’s as simple as that, now you have a reusable mop head to use instead of the disposable ones. To use it, wet the mop head or floor with the cleaning solution of your choosing. You can make your own cleaning solution like the one we made in our last eco hacks video, you can find it here! We really love this idea and as with some of these diys, you can find buy versions which are linked here.

