10 Small Space Hacks
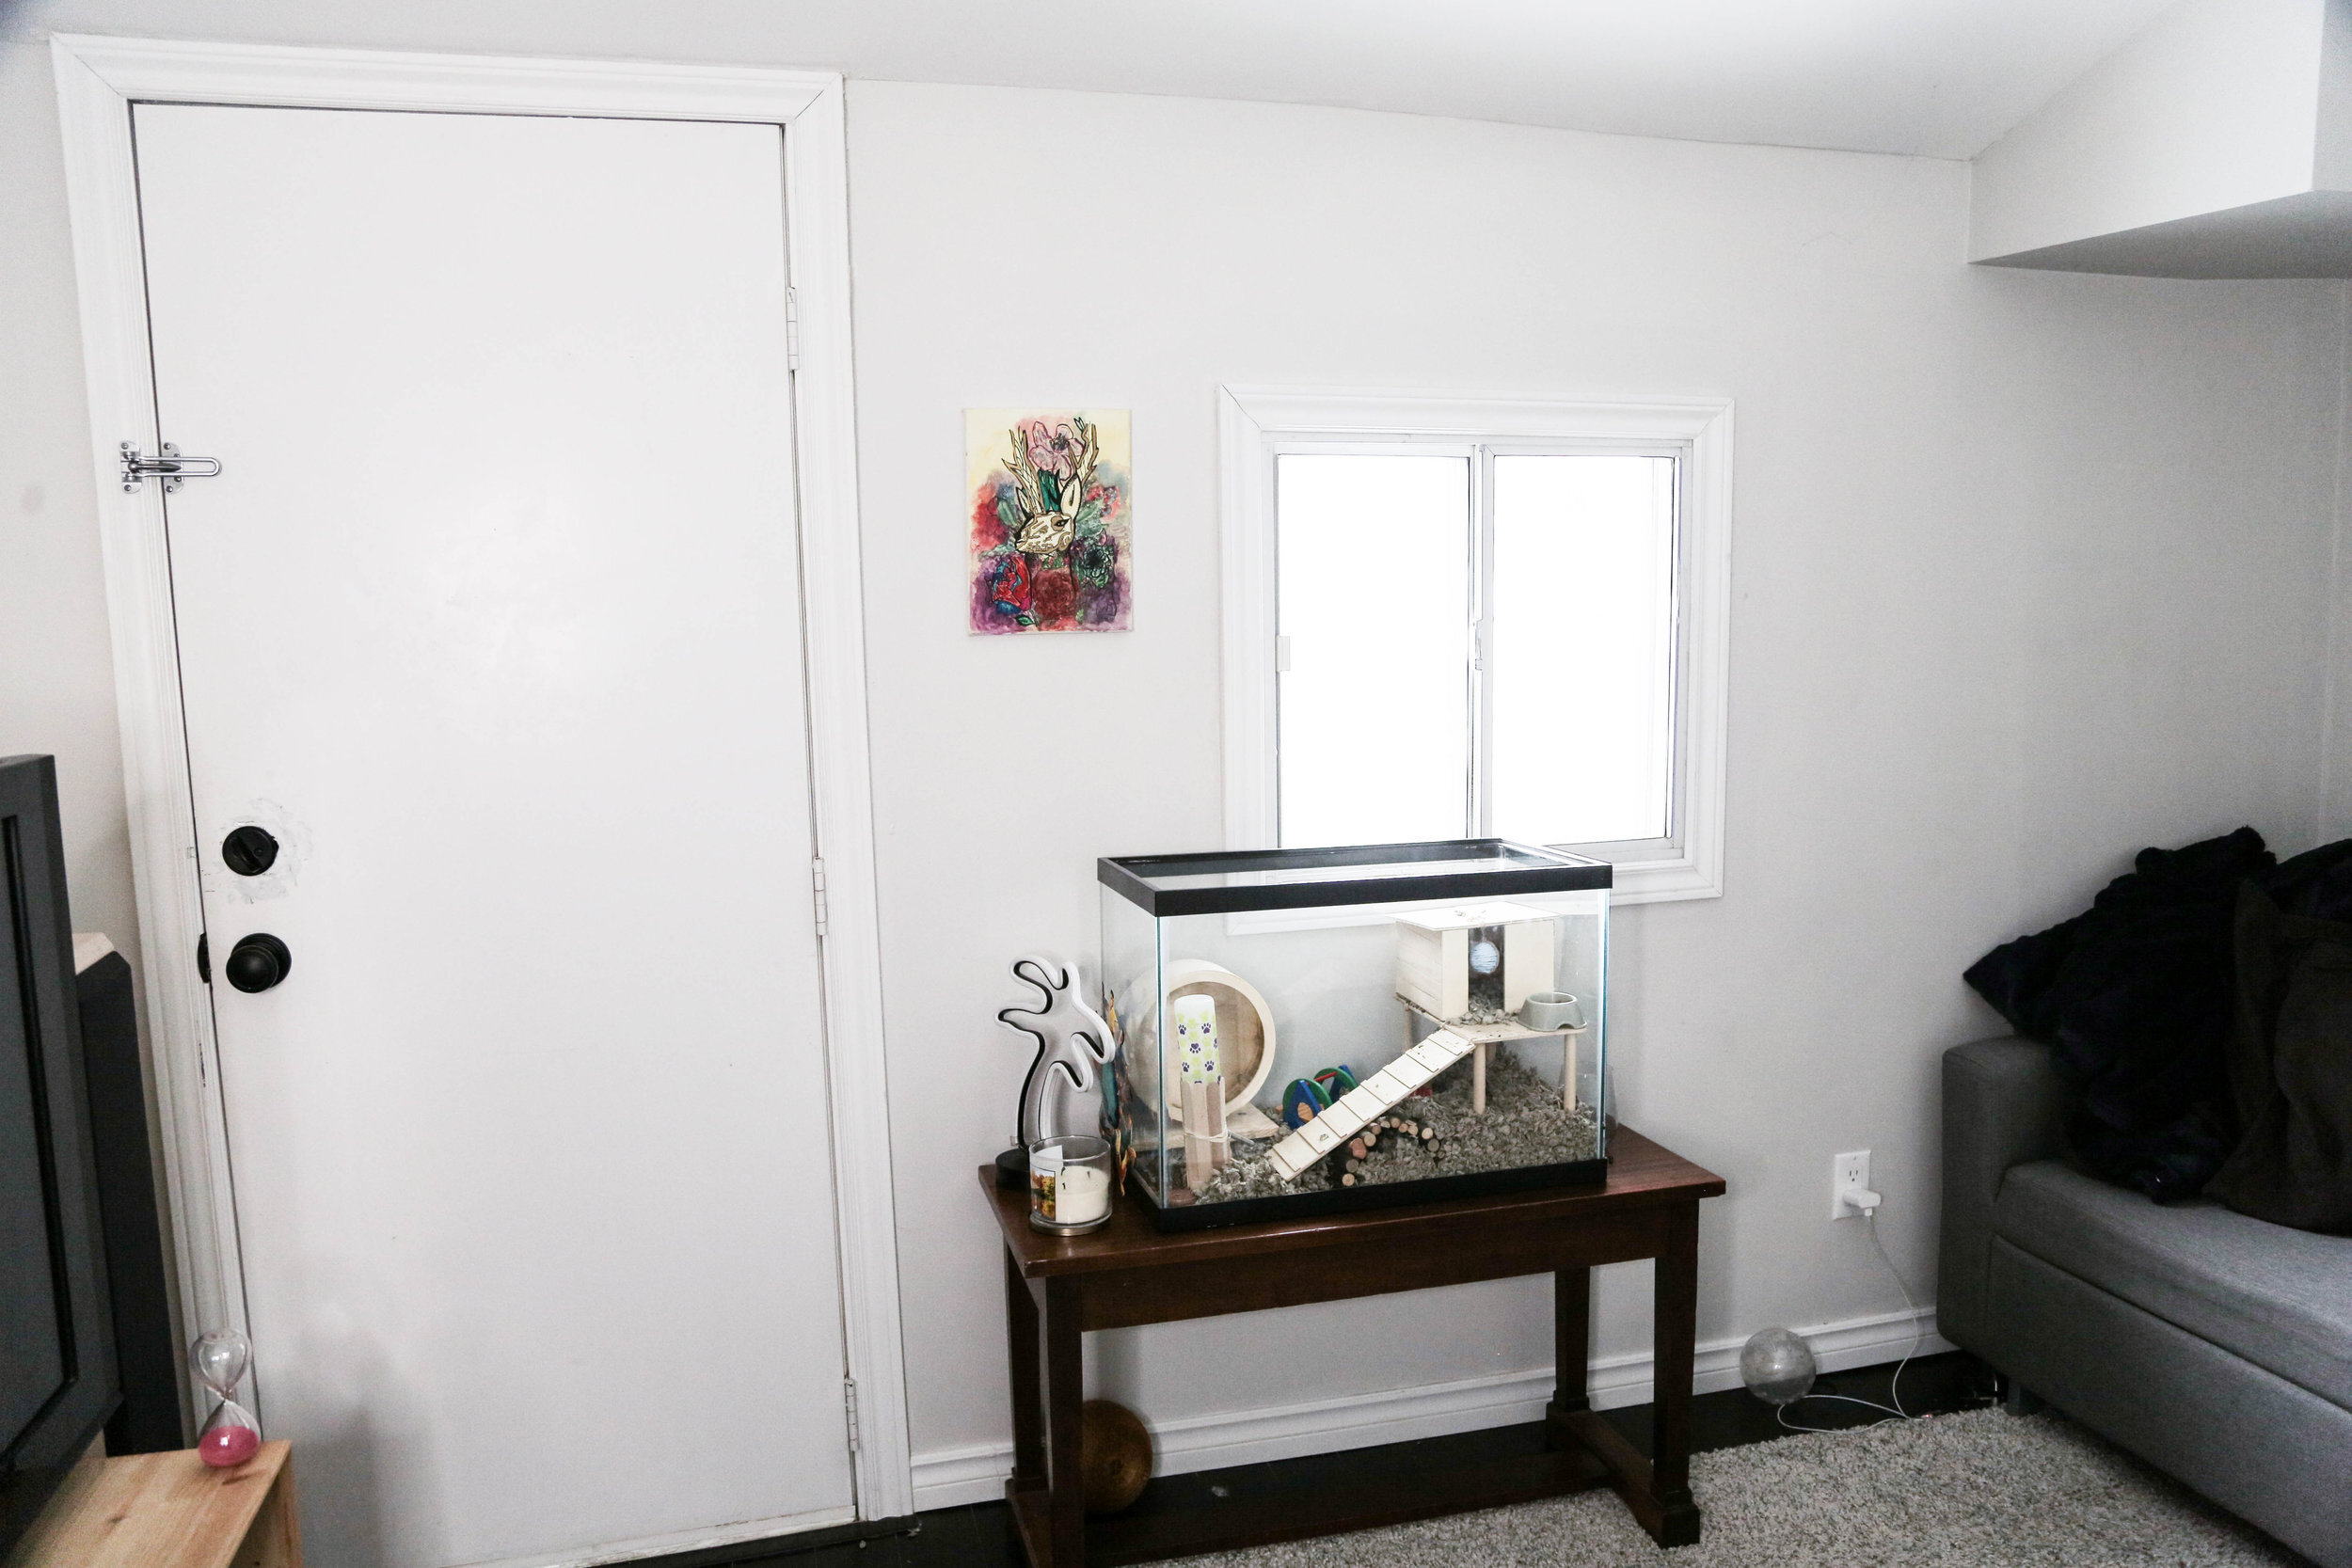
Today we are here in Daniella’s (very small) living room and it’s looking like it needs a facelift. Not only are we going to redecorate it, but we’re also going to inject some small space hacks that you can use at home!
before


TIP #1: White is the way to go
Our first tip is to take anything that is a darker wood or colour and paint it white! This is going to make the whole space feel lighter and brighter - and therefore bigger! When you paint a piece a different colour, go ahead and give it a quick sand with an electric or orbital sander before painting. This will give the paint something to stick to! We used chalk paint with a paint brush for a more opaque finish! Hot tip - always use a paint brush with chalk paint!
TIP #2: Tiny window syndrome
Here’s a simple way to make your small windows feel way bigger. We are taking a blind from IKEA, and instead of hanging it above the window we are hanging it up higher closer to the ceiling. When the blind is drawn past the top of the window, it gives us the illusion that the window is much taller than it actually is.


TIP #3: Extra surfaces
Often times when you are in a small space, you don’t want to have really big tables but you are left without places to set down your water (or wine) glass. Here’s a super cool fix - add a small bar behind your couch! We built a long wooden bar with L-brackets and screwed it into the wall behind the couch.

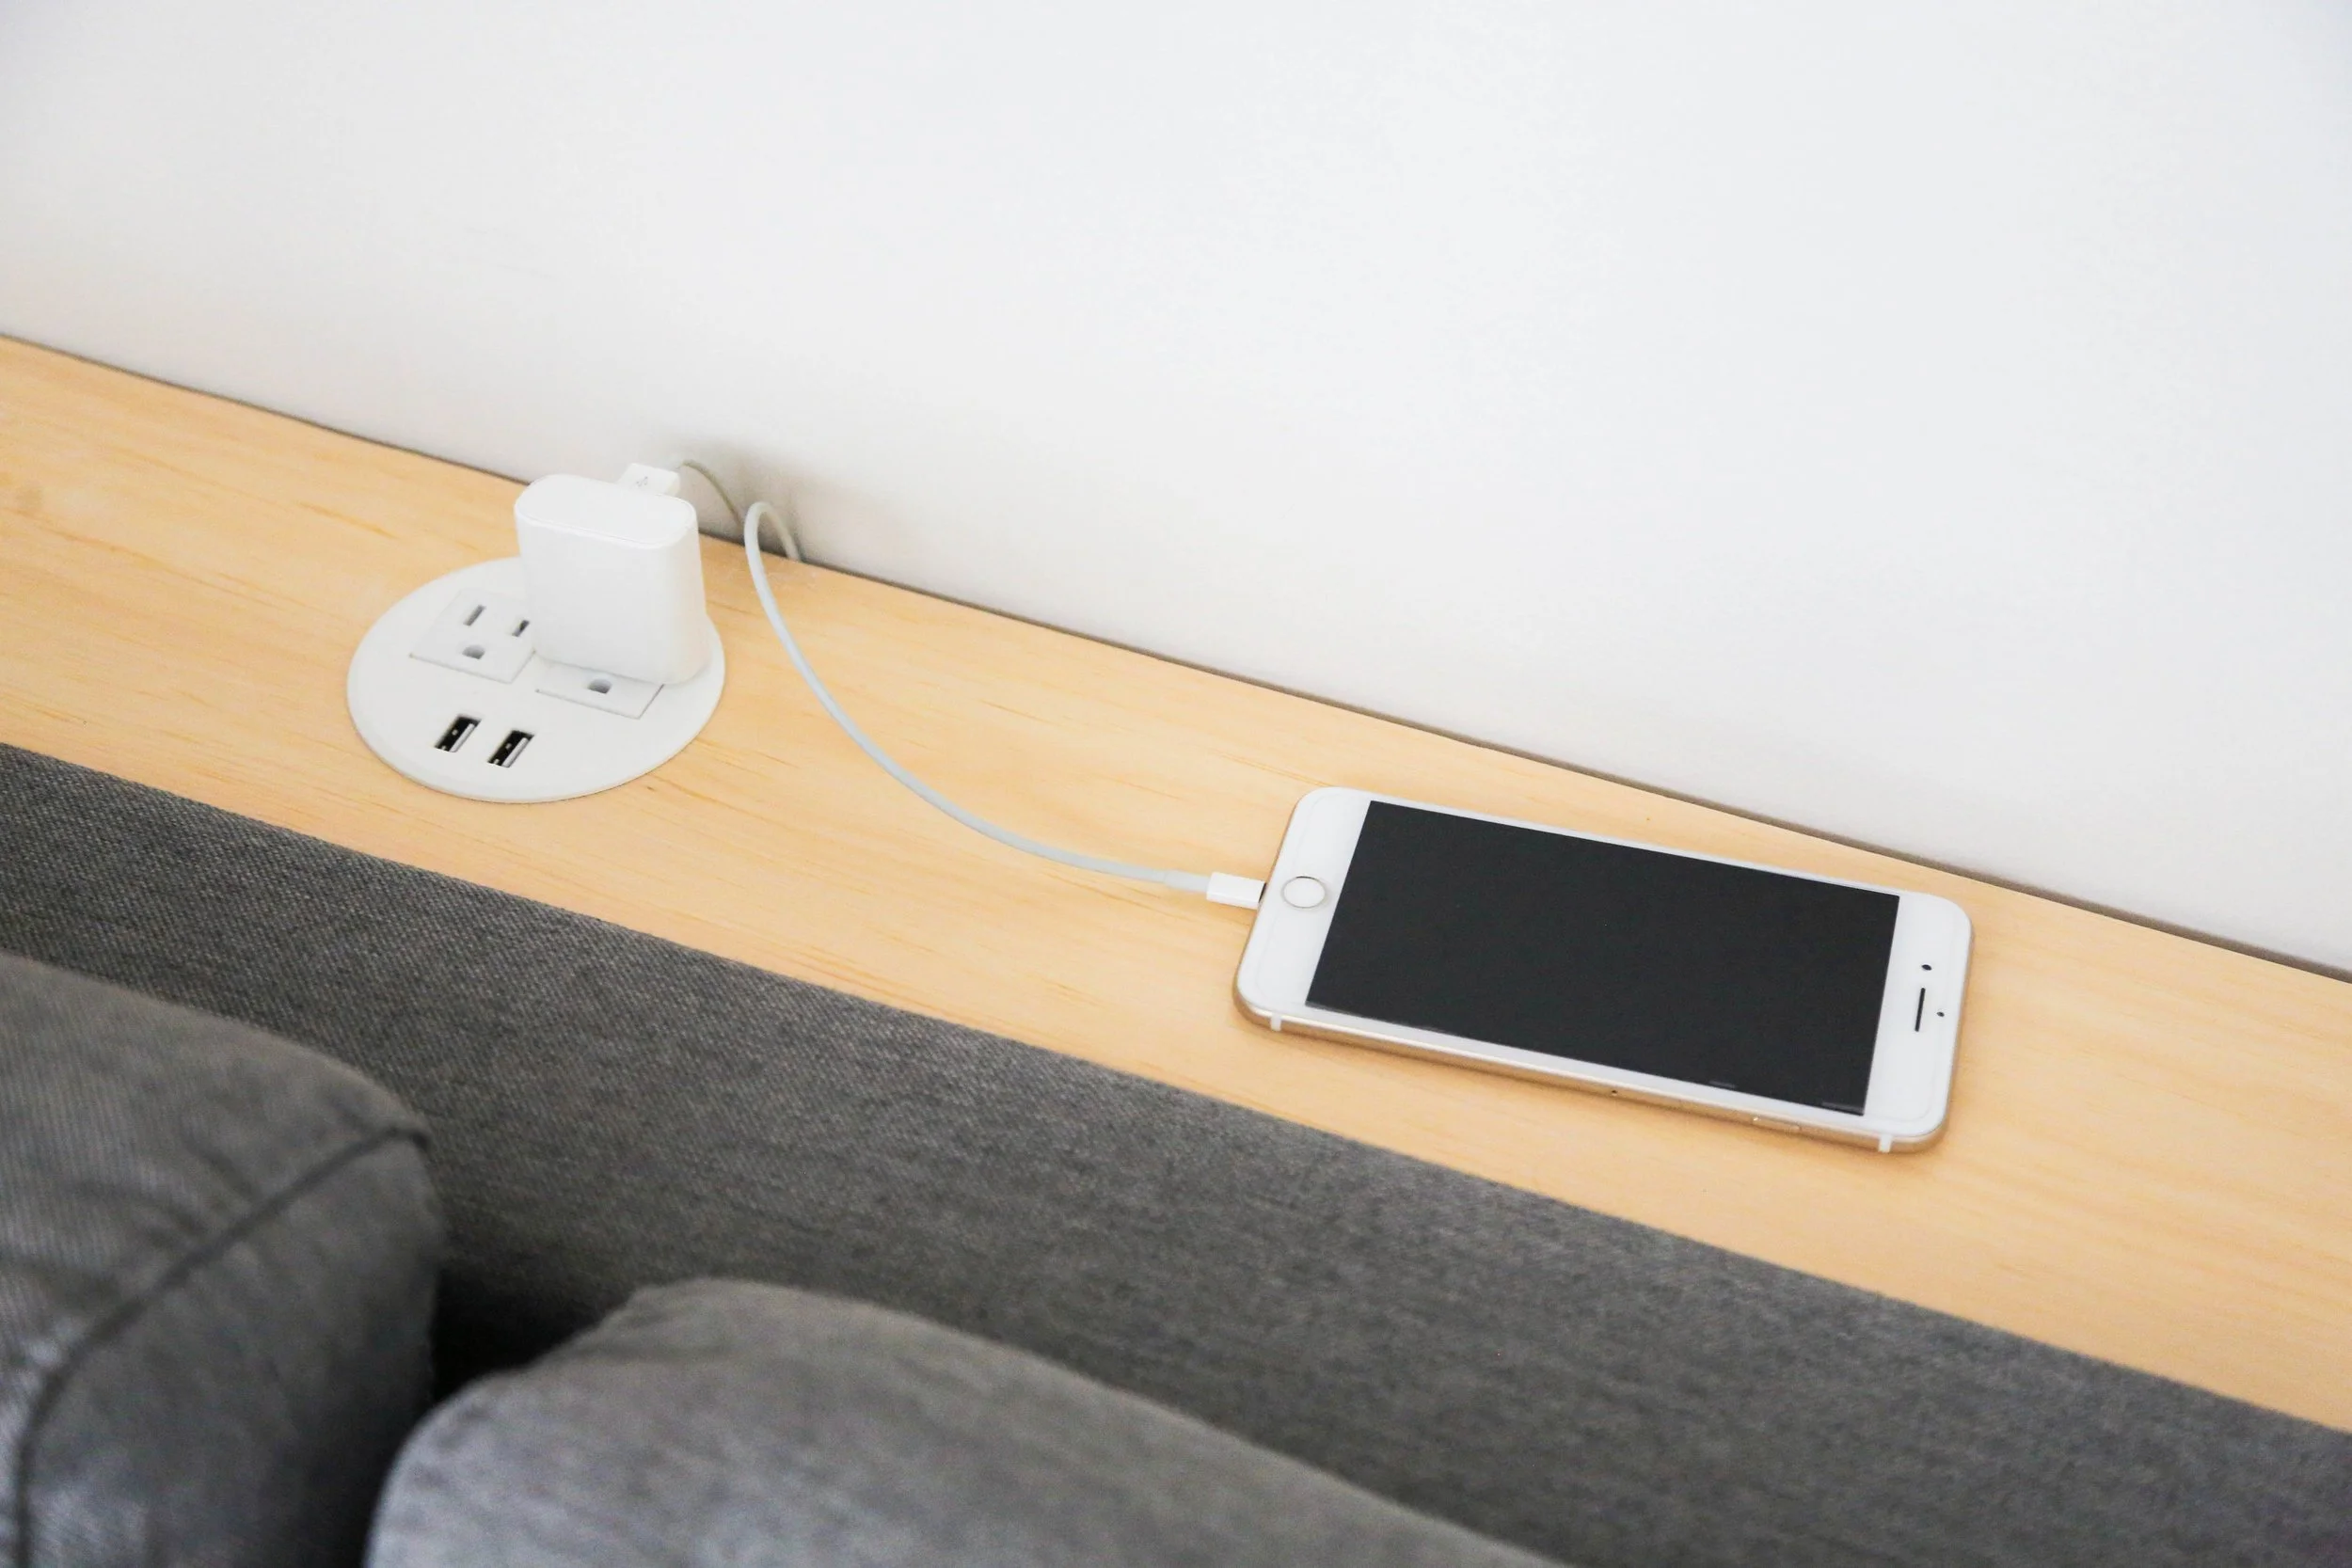
TIP #4: Extra outlets
As an add-on hack to the last one, we added a desktop outlet to the wooden bar (we got this one on Amazon). This really helps when there is an outlet that is hard to reach behind a couch or a large piece of furniture. All you need to do is grab a hole saw drill bit to drill a hole in the wood and install the plug as per the instructions!
TIP #5: Mirrors, mirrors, mirrors
A really great and super easy tip for a small space is to add a mirror onto a wall instead of a piece of art! This bounces light and reflects the space, making it look and feel so much bigger. The bigger the mirror the better!
TIP #6: Floating shelves
Shelves up on a wall is always an amazing way to add a bit more storage to a space while drawing the eye up towards the ceiling, making a space look bigger.


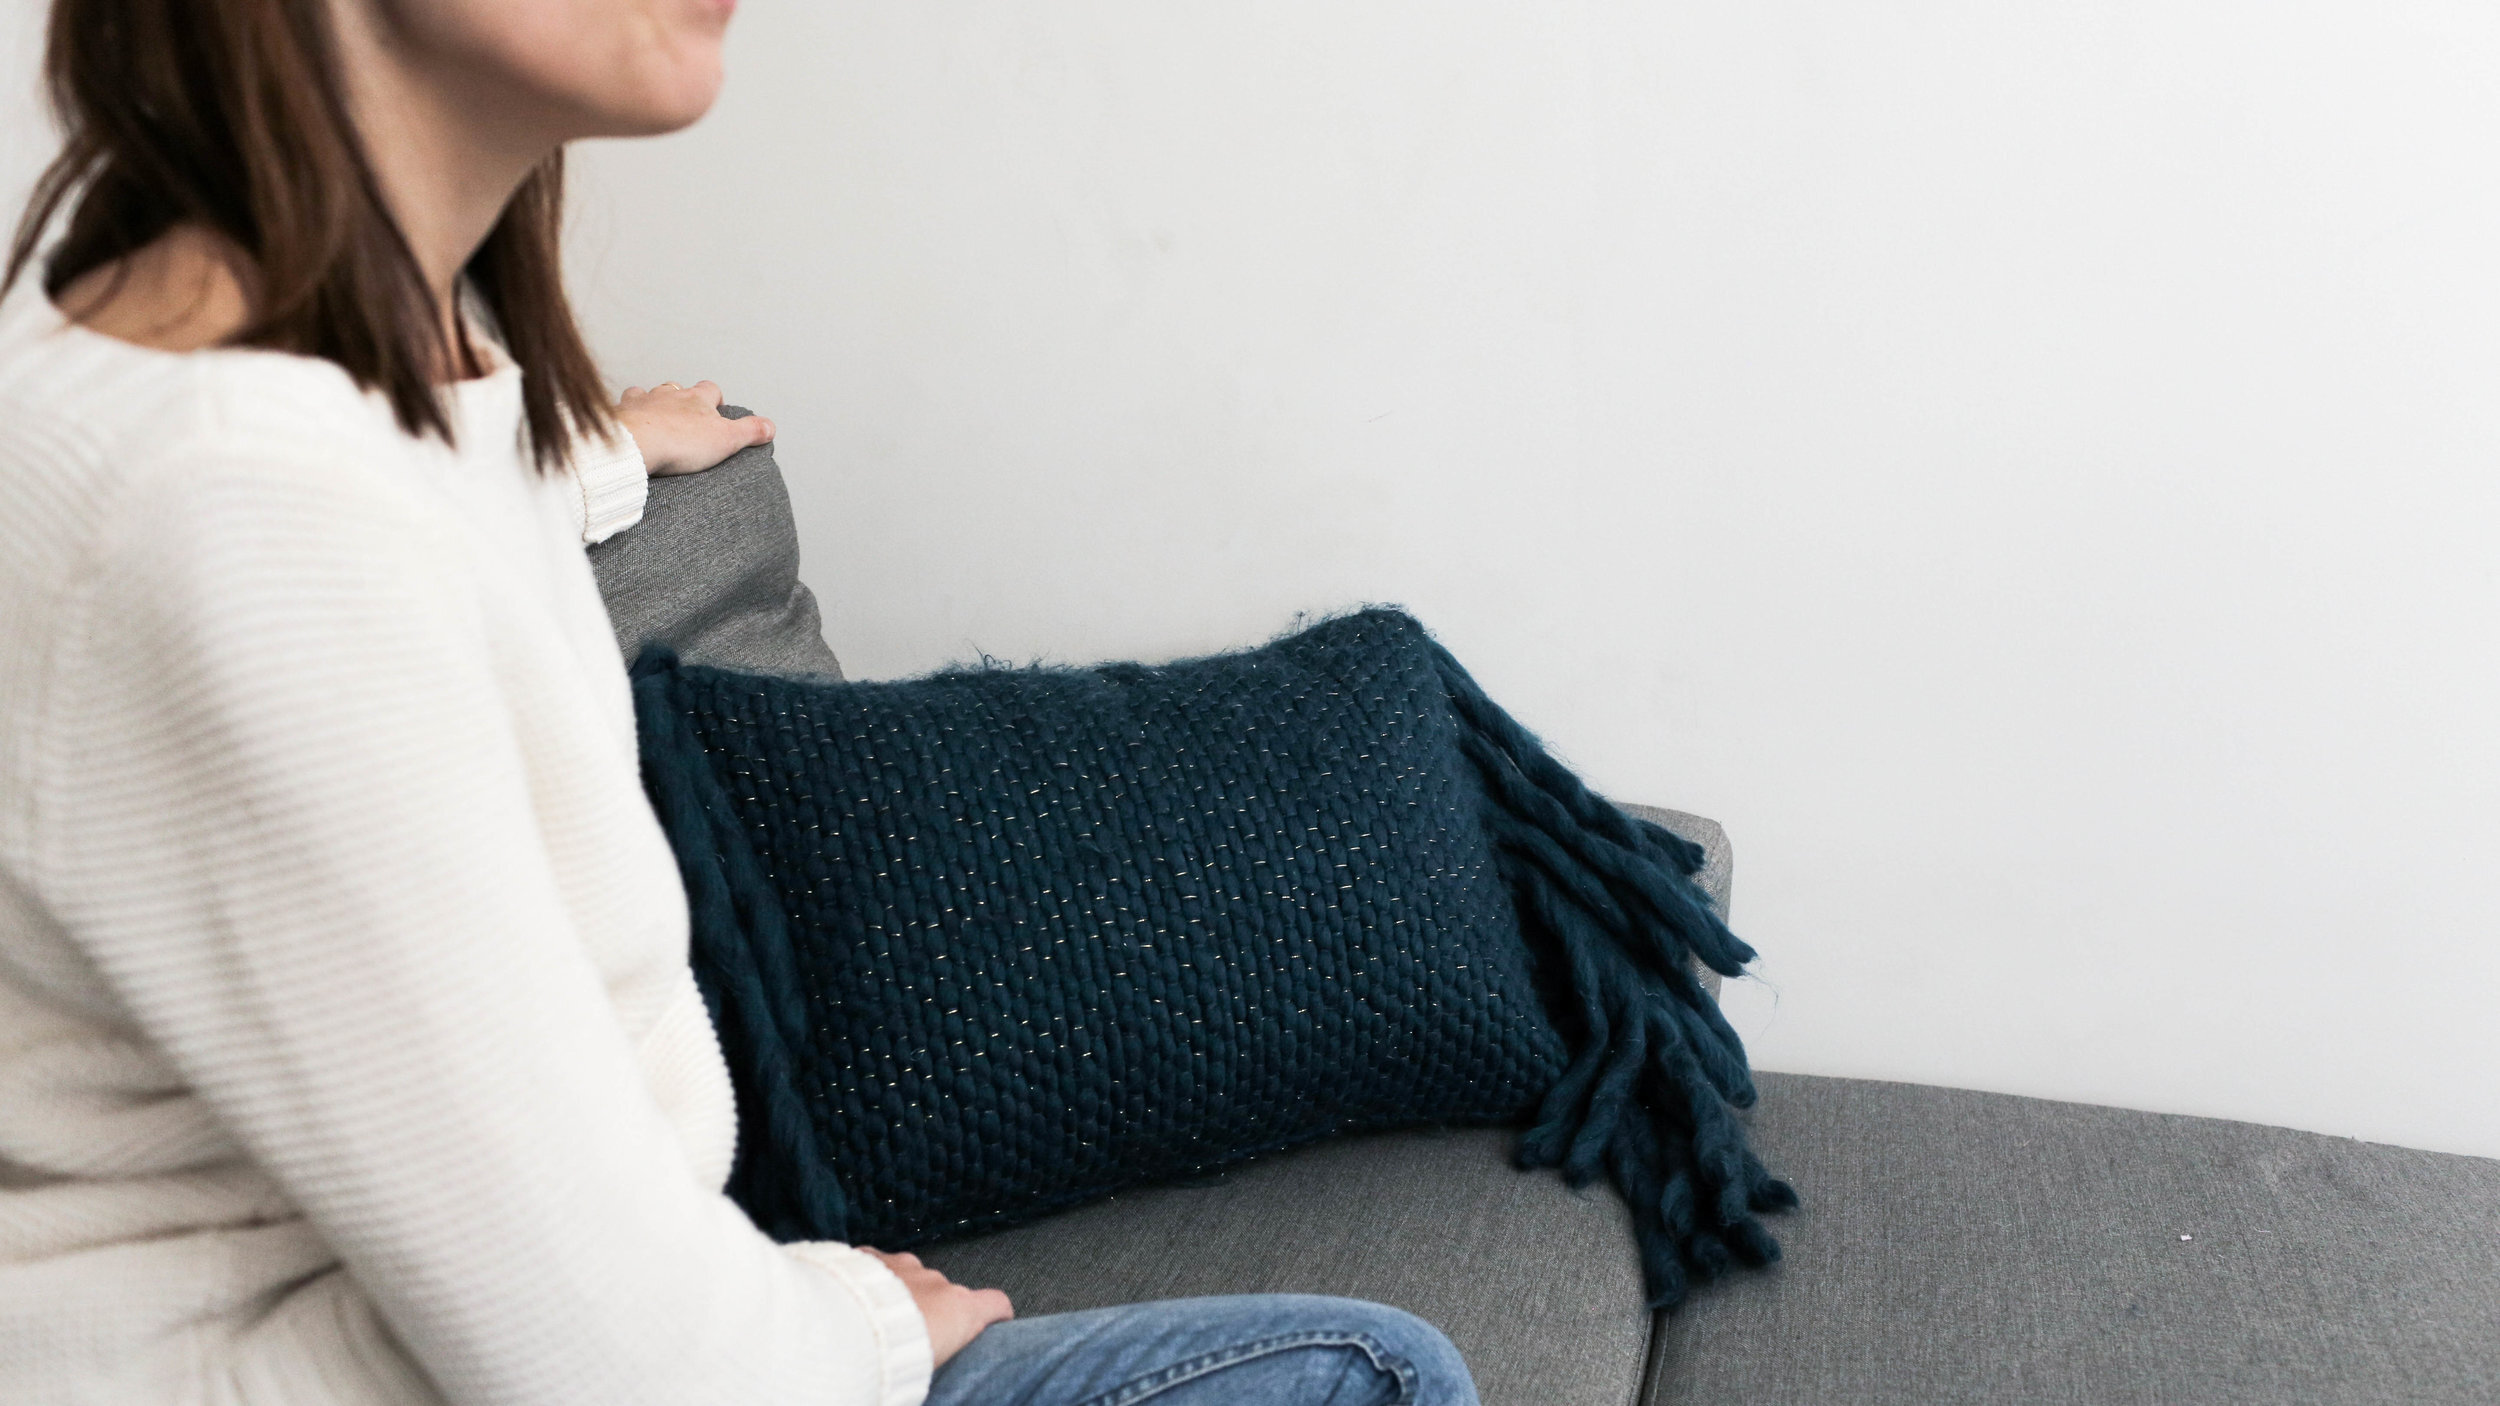
TIP #7: Hiding ugly things
There are some things that we need in our living rooms that aren’t the most aesthetic things in the world - like a TV remote. A really great way to hide these things is to sew or glue a super simple felt pouch at the back of a pillow! Now you’ll always know where the remote is, and it’s always hidden away!

TIP #8: Double up
We grabbed this coffee table from IKEA that doubles as some storage for the room! To hide our stuff in the coffee table, we sewed up a little liner for the basket. This makes your clutter look so much cuter!


TIP #9: Fold away table
We need tables in our small spaces to eat or work but we don’t have the room for them. We fixed this problem by creating a DIY folding table!
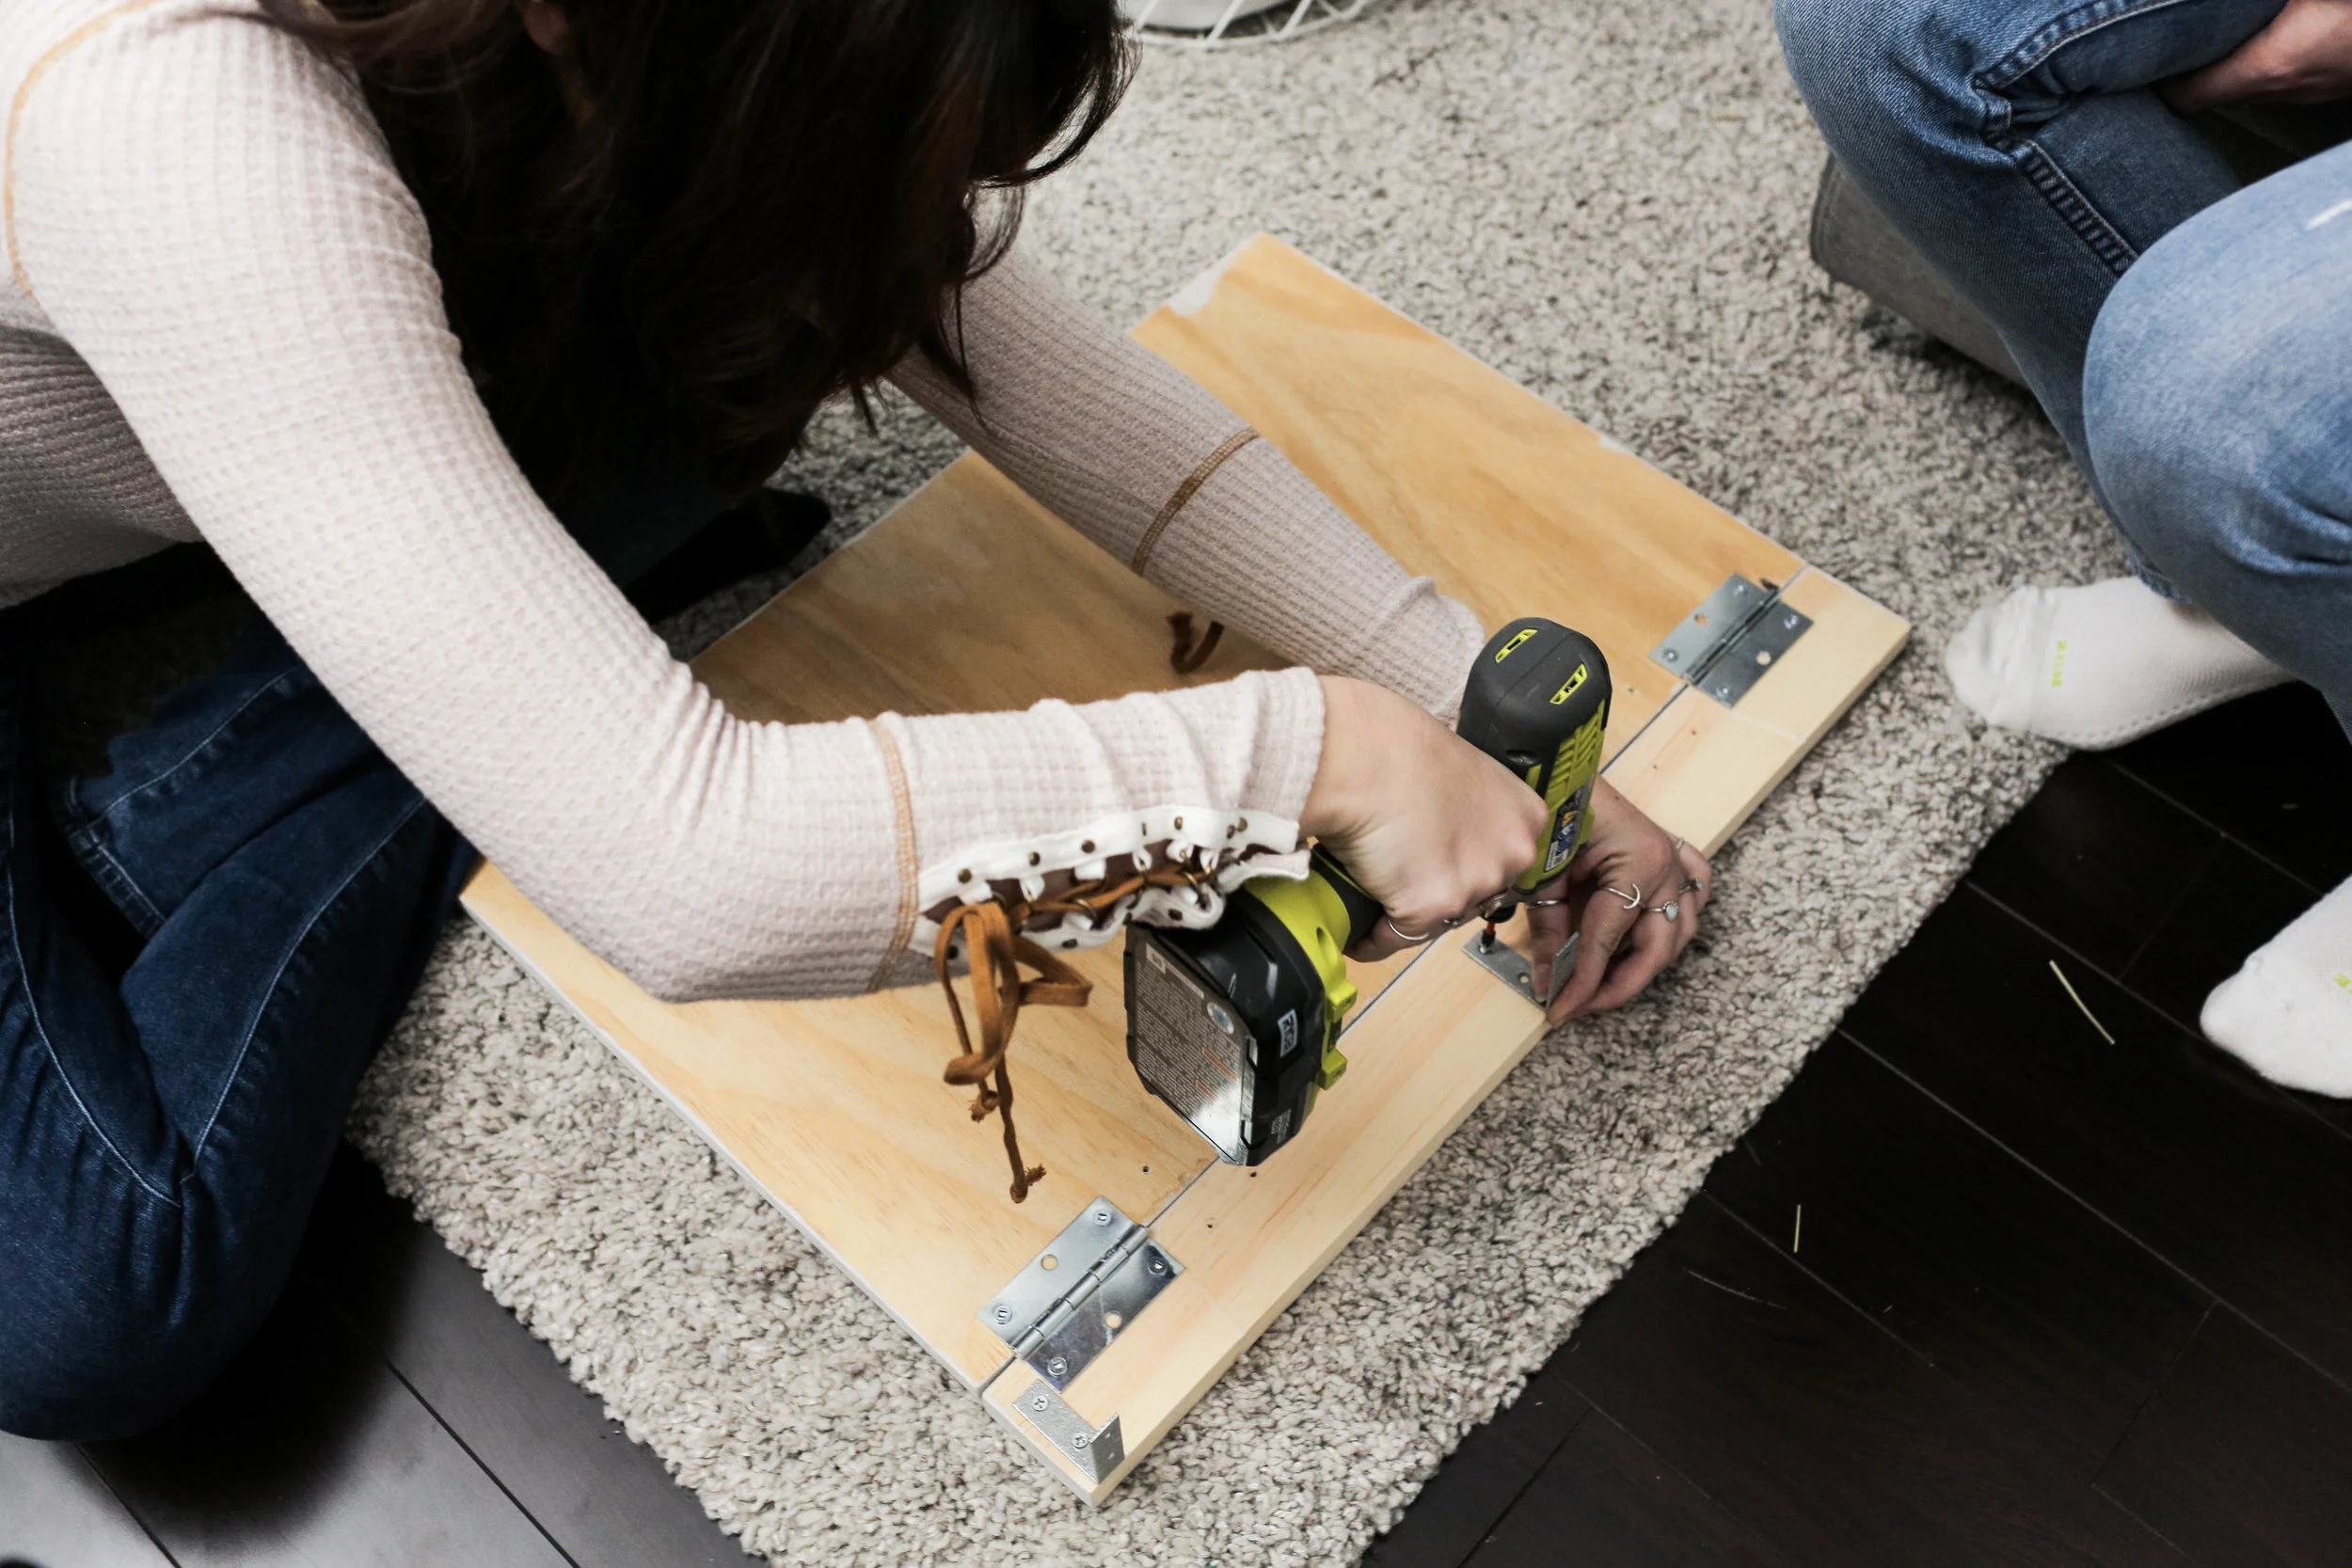


Here’s how we built it…
WHAT YOU’LL NEED:
Plywood
2x4 piece of wood
IKEA wood bracket
Ruler
Pencil
Circular saw
We started with a piece of plywood the size of what you’d like your table to be. We then grabbed another piece of wood (a 2x4 this time) and cut it to the same length of our first piece of plywood. We cut and sanded everything, and used two simple hinges to attach the two pieces of wood together. The next step is to grab our IKEA wood bracket and trimmed off the little piece of overhang wood at the back of the bracket where it will attach to the wall. We won’t need this, as it will get in our way. Take two more simple hinges and attach them to the shorter side of the bracket. We then decided to paint our table the same colour as the wall for extra blendability. To install, we drilled the table top into the wall using two metal L-brackets. Make sure that the brackets only cover the skinny 2x4 part of the table and not the plywood so that the table can still fold. In the centre underneath the table, screw the bracket against the bottom of the table. When the bracket swings out, it will hold the table up!
Tip #10: Floor poofs
Floor poofs that can hide under things (like your brand new fold up table) are a great way to add extra seating without taking up too much extra room.


