5 UNIQUE HOLIDAY CARDS

We are here today to do some super sweet, super unique DIY Christmas cards! Really creative Christmas cards are a great last minute gift for somebody that you maaaay have forgotten on your shopping list (or a really great way to save money this season!). We’re also doing a TON of holiday content, so stay tuned for more stuff like this! Let’s get into these cards!
JINGLE BELL ROCK

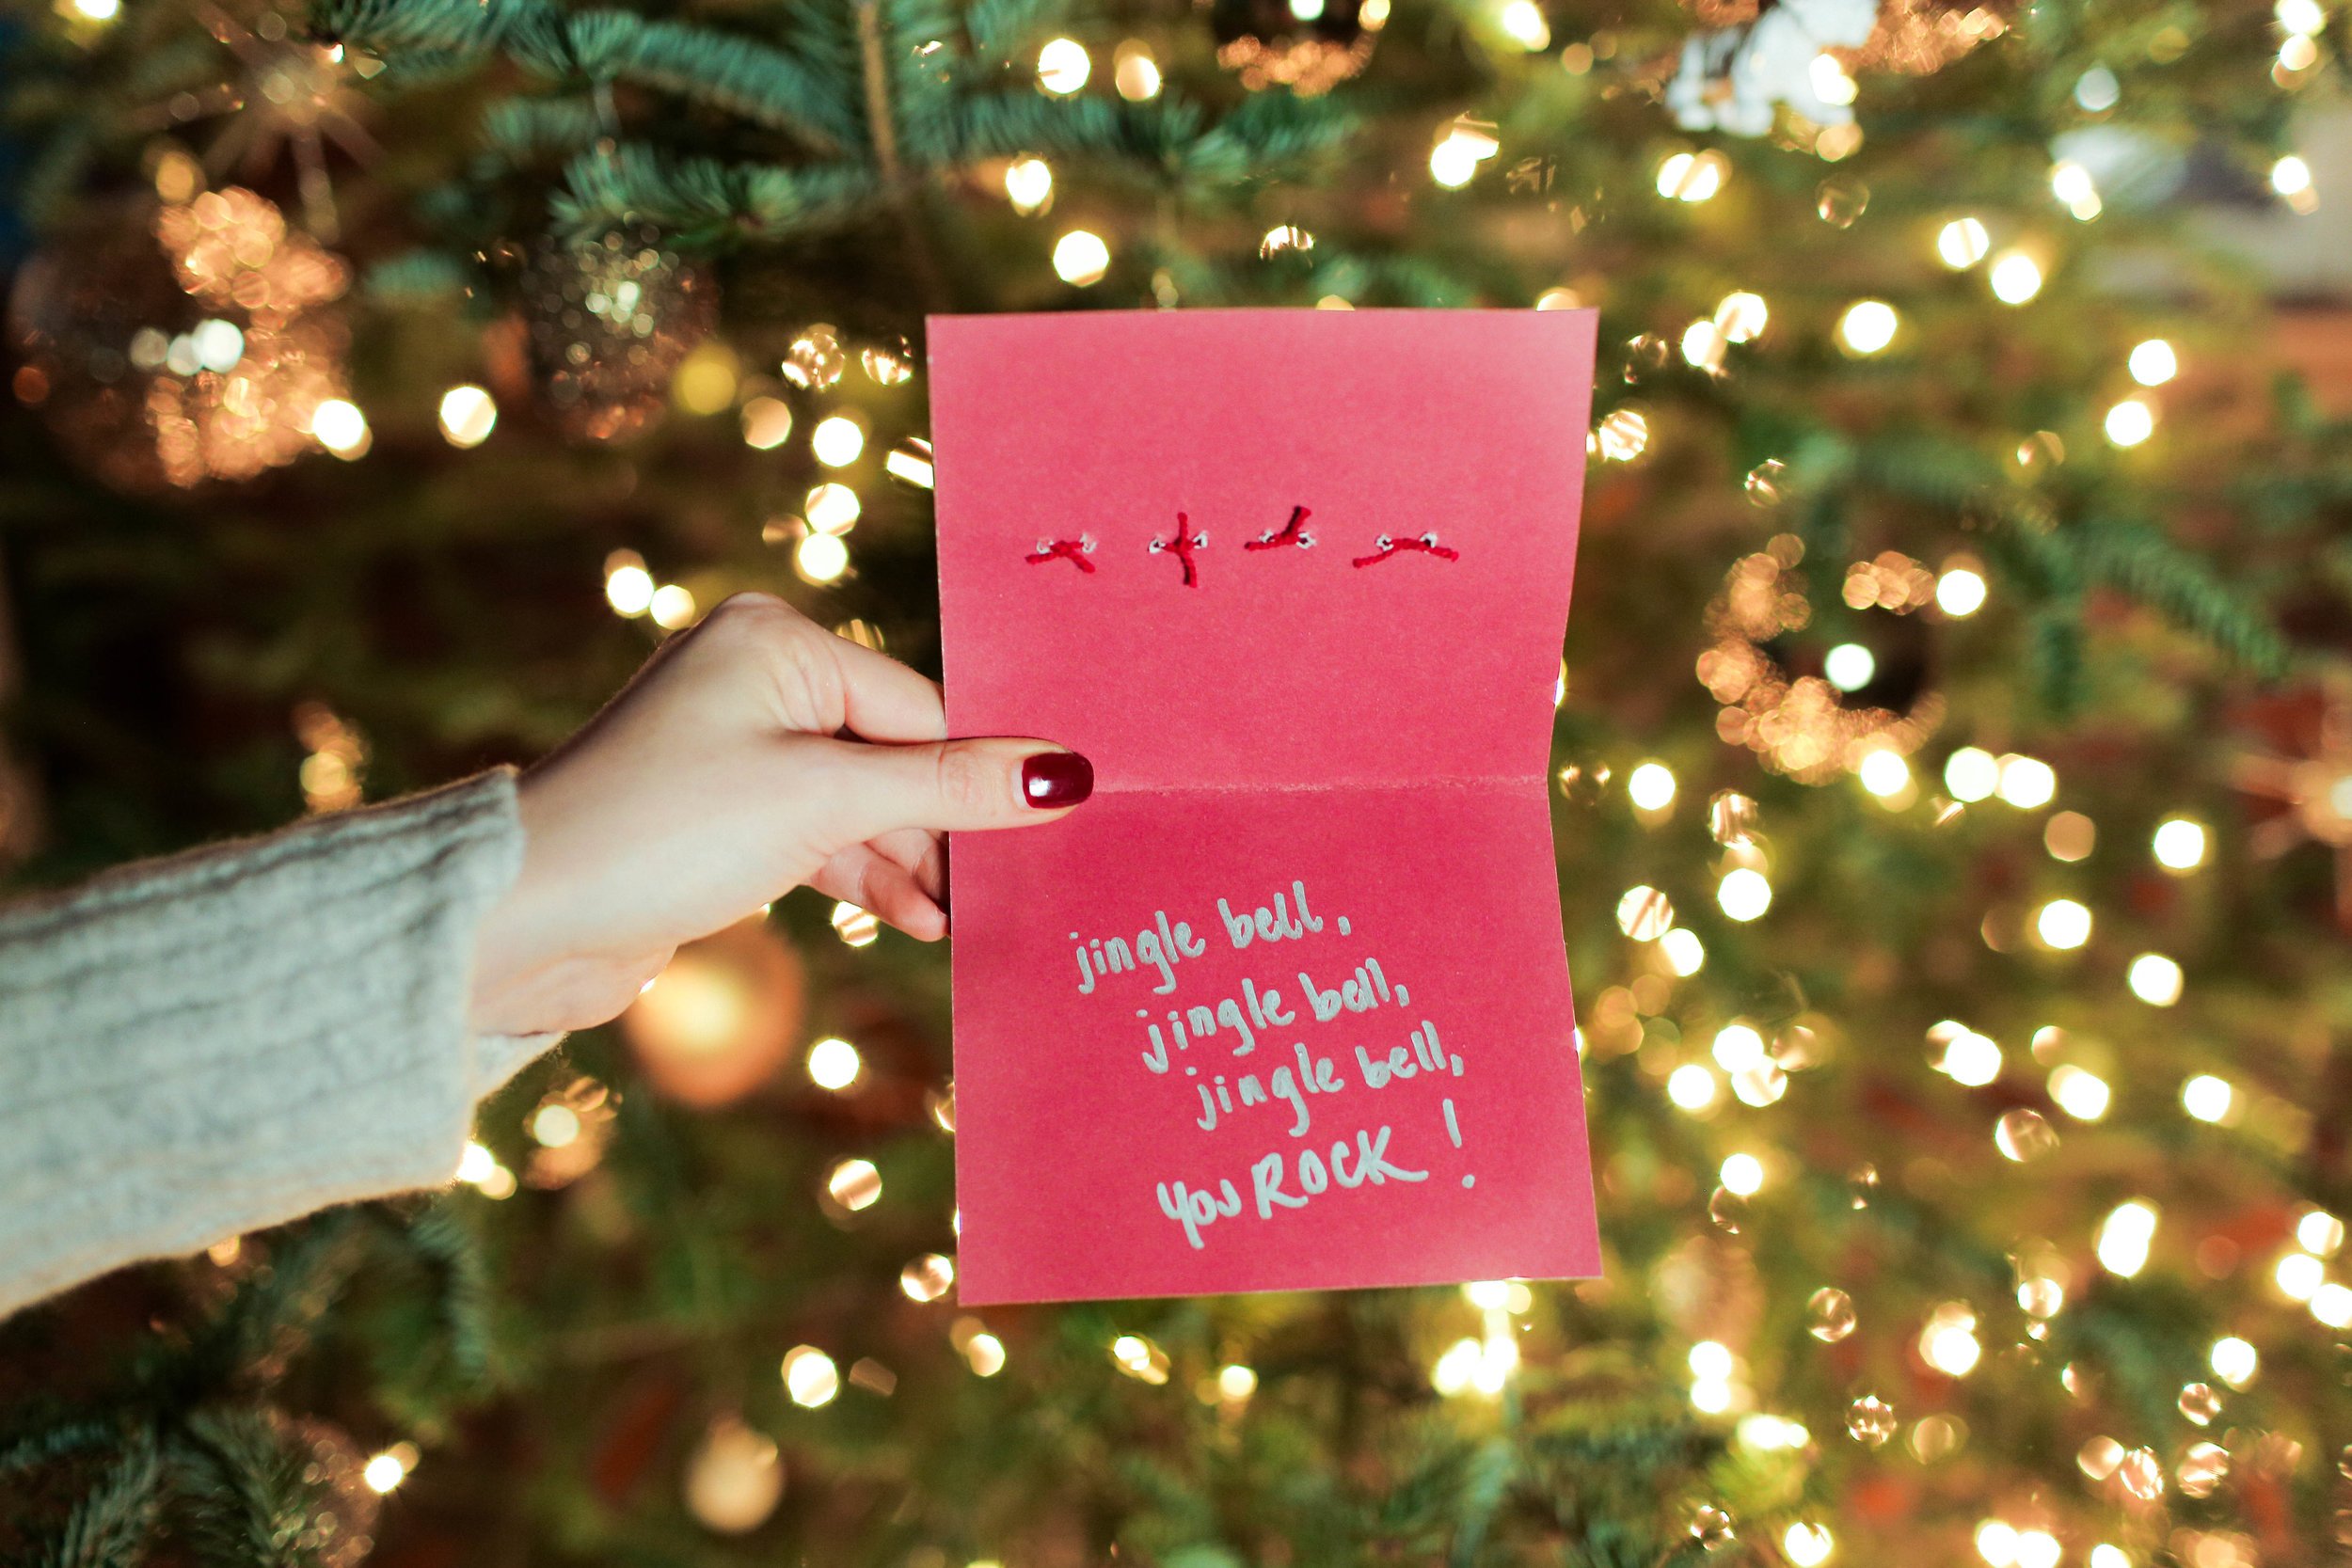
All you need for this card is some thick card stock, three small jingle bells, and a small rock! We definitely went rock hunting outside to find our rock, we wouldn’t recommend buying rocks.
The first step is to fold your card stock in half, and trim off any excess to get to the desired card size. Next, on the front of your card, figure out where you want all four of your items to go. Now you’ll need to poke two small holes per item into the front of the card. We used an awl, but you can go ahead and use anything pointed to poke these holes. Make sure they are spaced out enough to allow for the items to be attached.
Next, cut small strings for each item. String the string through the jingle bells and tie them onto the card through the holes. For the rock, go ahead and hot glue the string to the back of the rock and tie it onto the card through the holes.
We finished the card by writing “Jingle Bell, Jingle Bell, Jingle Bell, You Rock” onto the inside of the card with a silver sharpie.
embroidery hoop
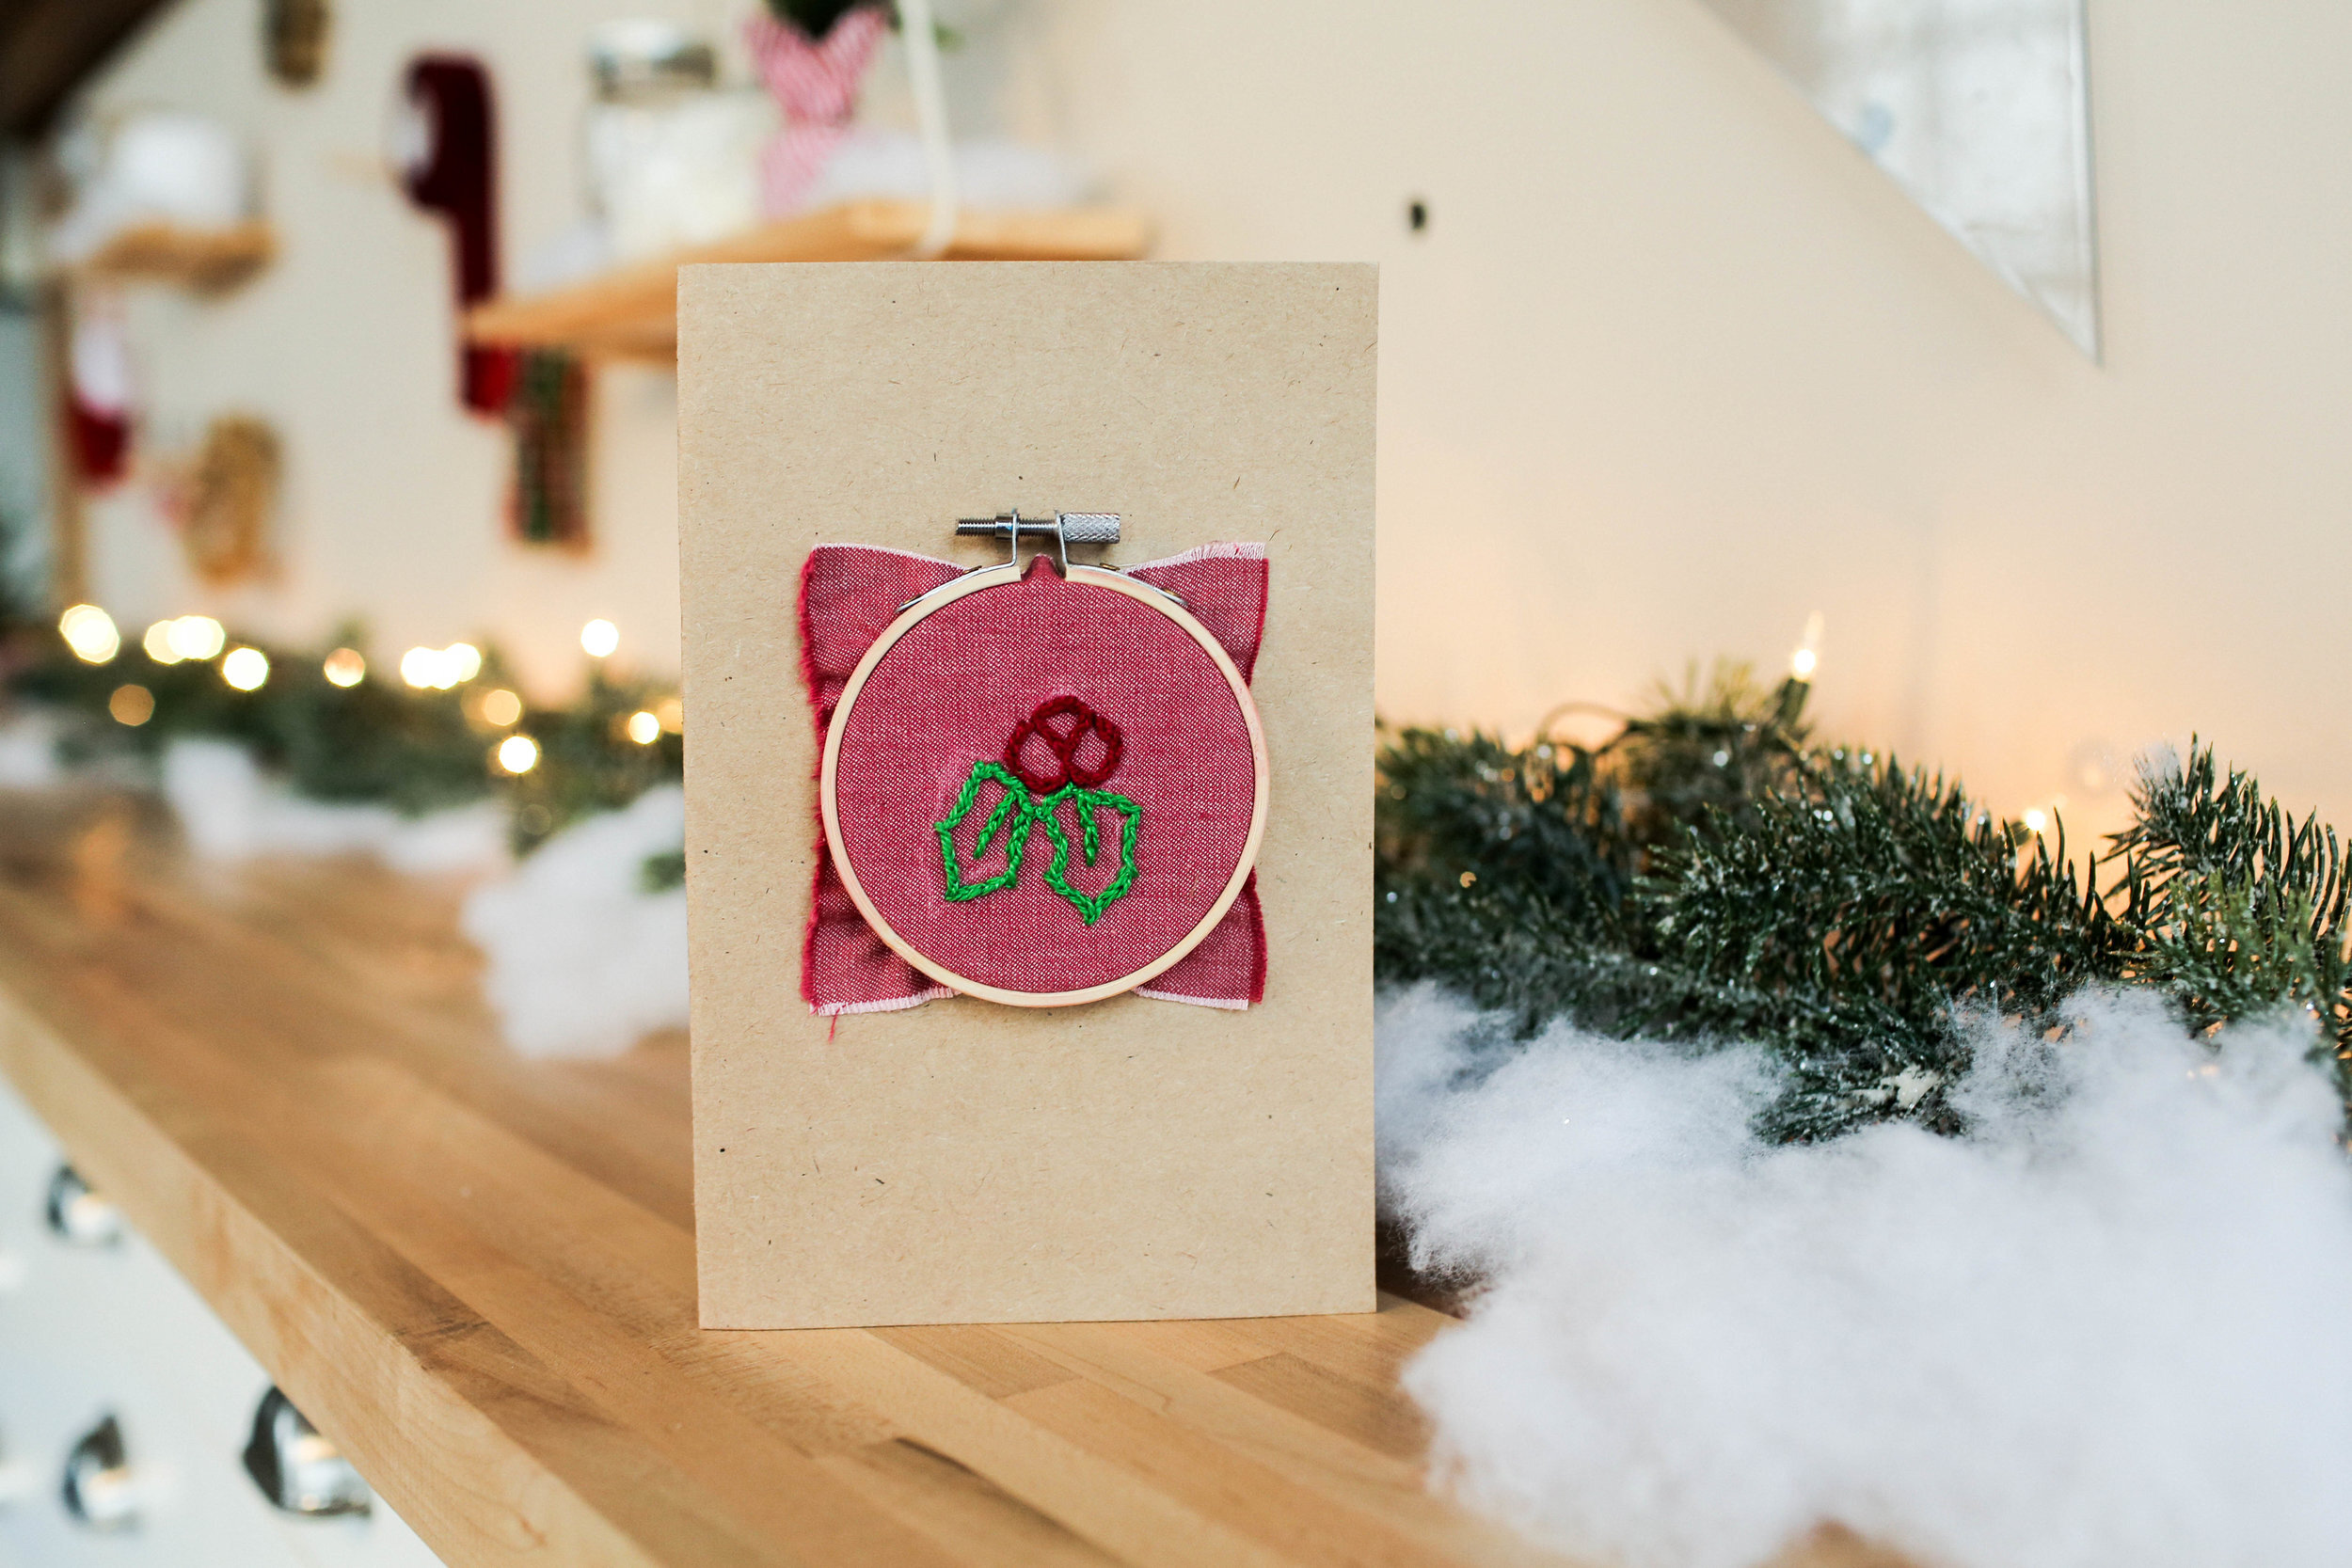
We got this idea simply because we think anything miniature is adorable and we saw these mini embroidery hoops and HAD to do something with them. (Check out some teeny ones here, and some even teenier ones here!)
Start by tracing out your desired design onto a small piece of fabric with fabric chalk. We decided to go with holly! Place your small piece of fabric into your embroidery hoop and prep some embroidery thread!


Trace your design using a split stitch (learn how to do a split stitch here). You can outline this, or fill the shape in (it’s all preference!). The coolest part of this card is that a lot of this DIY is reusable! The card-receiver can reuse the embroidery hoop and the design you stitched out. To make sure the hoop isn’t ruined, go ahead and hot glue the design onto the card by the corners of the fabric.

And you’re done! Go ahead and write whatever you’d like on the inside of the card.


recipe card
This next DIY is a recipe card! You’ll need to start with a drink recipe that incorporates gift-able items. We chose a cinnamon and rosemary old fashioned recipe! The cinnamon and rosemary being the gift-able items.

Start by folding your cardstock in half. Inside your card, write your message on the left and your drink recipe on the right. On the front of the card, we’re going to attach the rosemary and cinnamon. Go ahead and poke two holes into the front of the card and thread some twine through. Next, tie your spices to the front of the card. We recommend making this card the day you give it to somebody, as the rosemary can wilt over time.


watercolour card

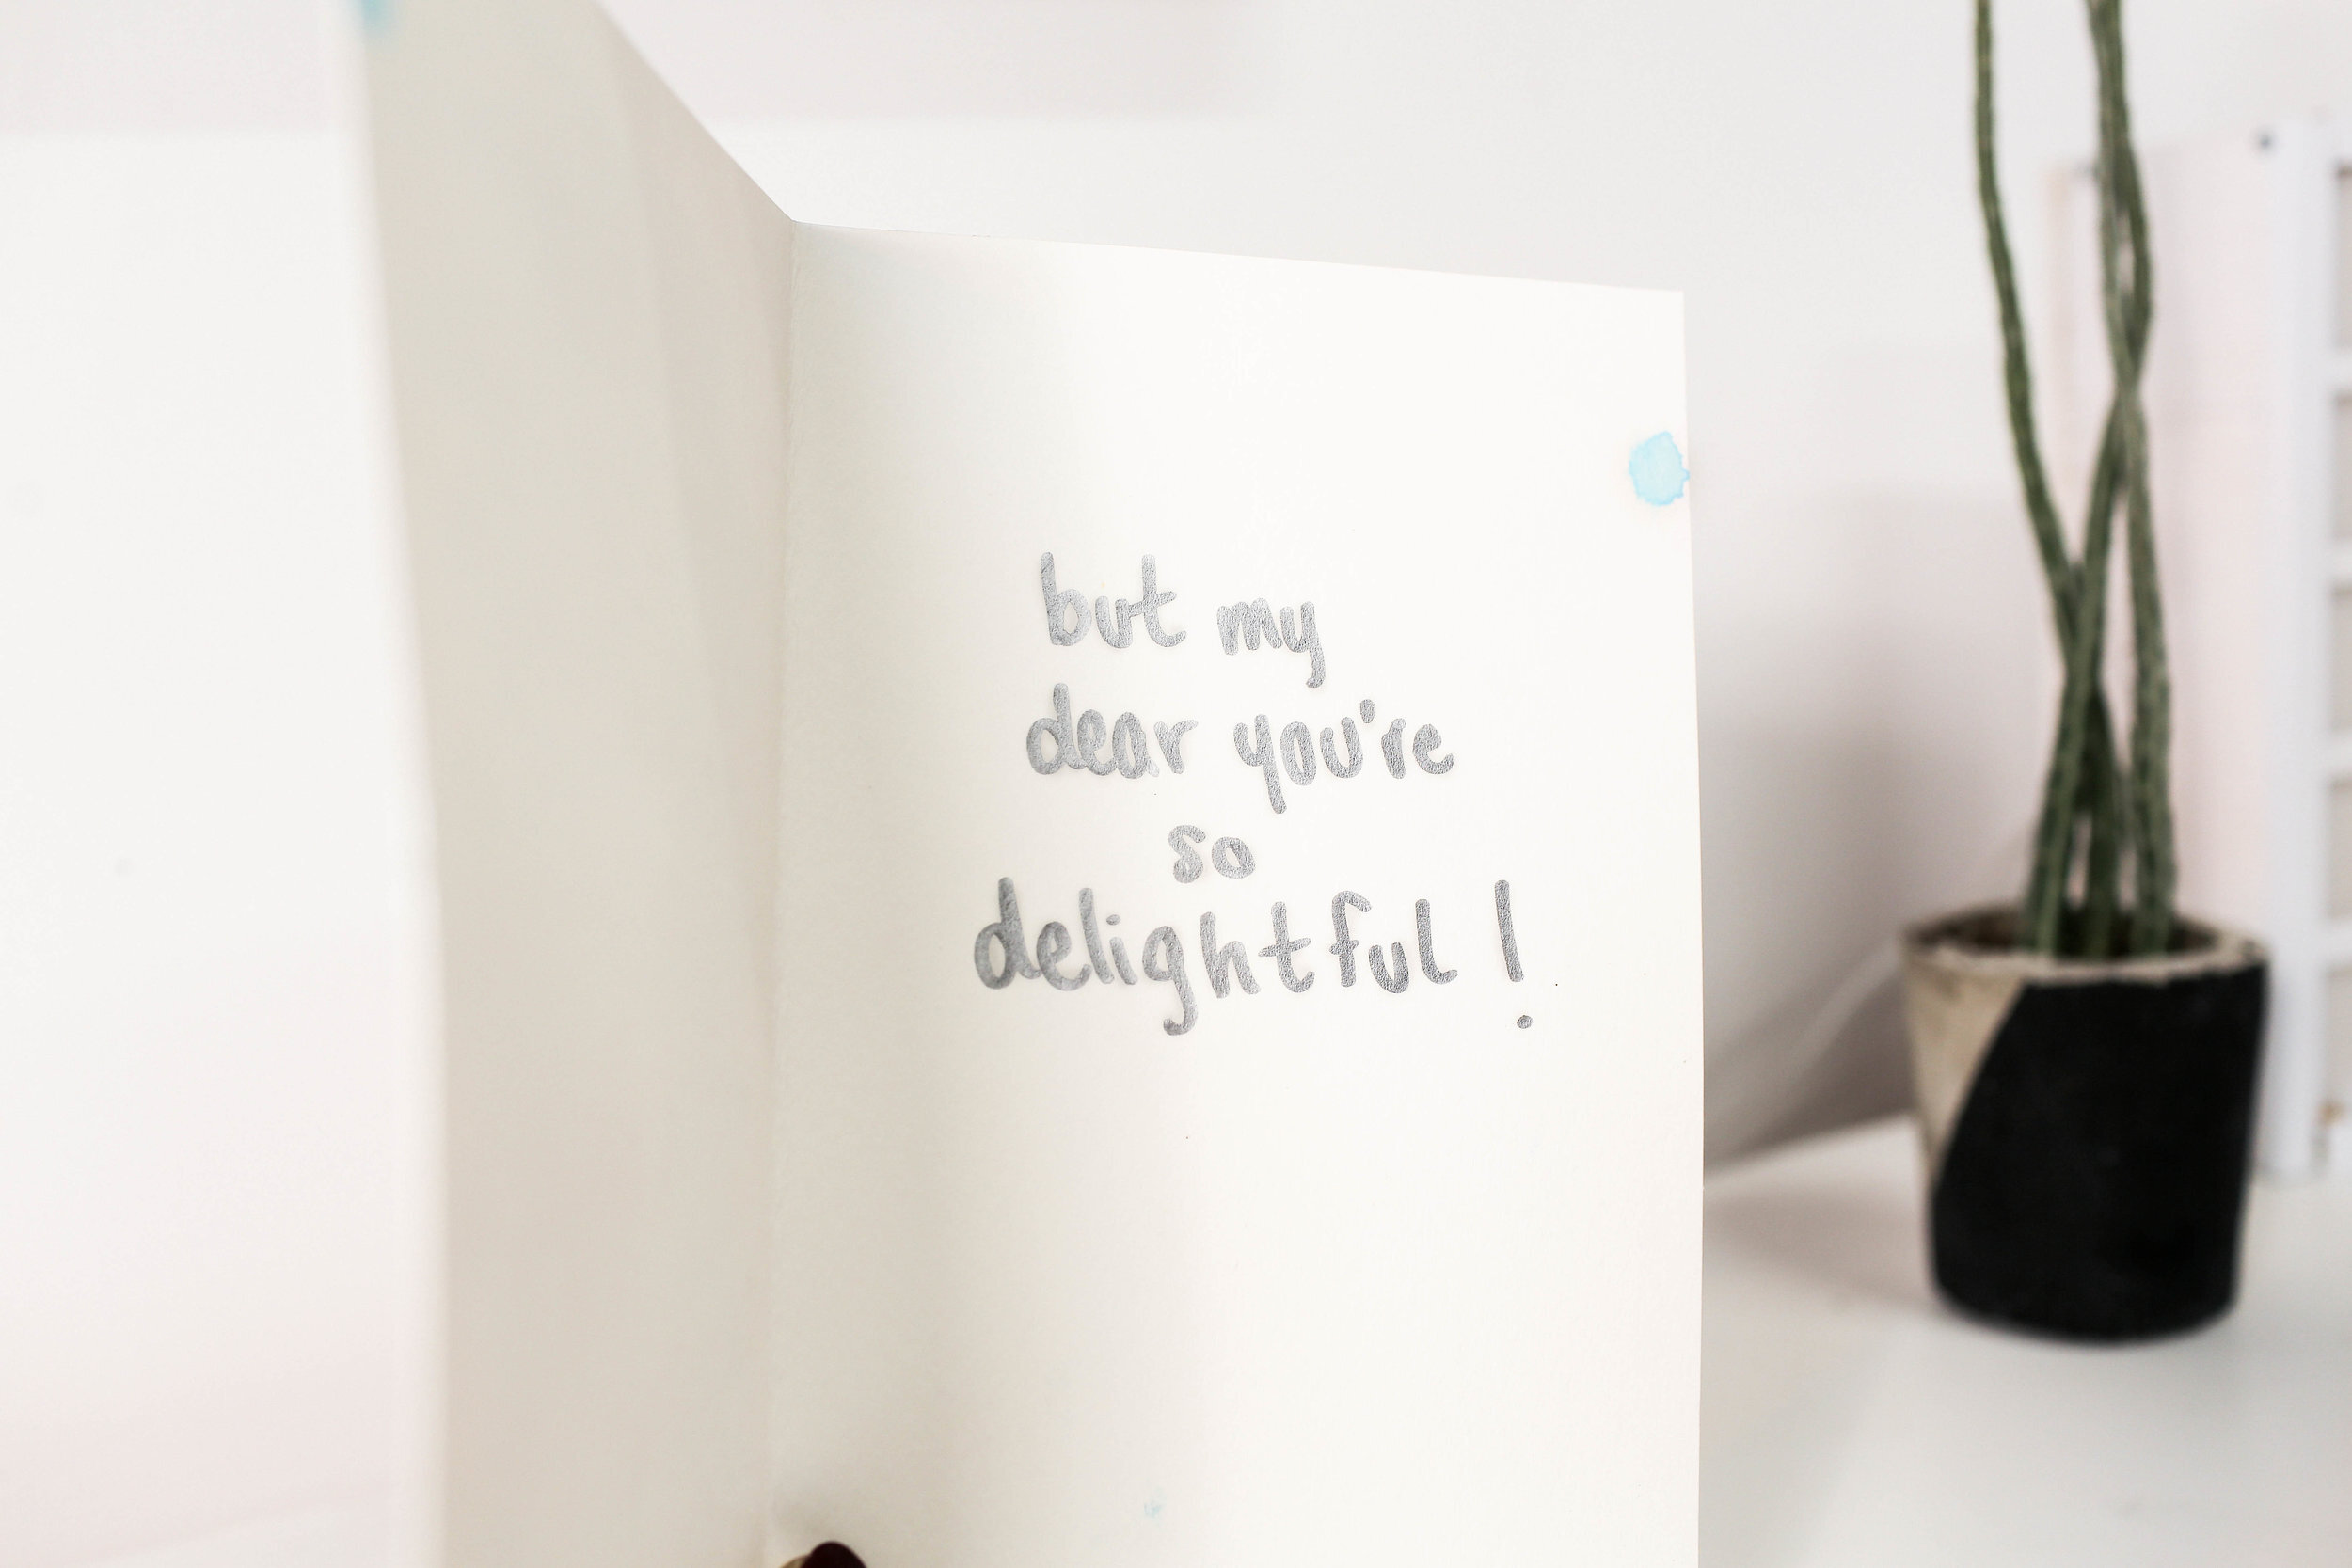
Start by folding your watercolour paper in half. Take a few different shades of blue of your watercolour paint, and start brushing wide strokes horizontally across your card. Once it’s dry, go ahead and write out your words on the front of the card. We did this with a silver sharpie, and wrote “oh, the weather outside is frightful”. We then used a whiteout pen and start making snowflakes of different sizes on the front of the card. On the inside, we wrote “but my dear, you’re so delightful”.


snow globe card
This card is super cute and very ~interactive~!


The first step is to fold your cardstock in half. Go ahead and cut your card into a square shape. Use a cup or a mug to trace and cut out a circle in the front of your card. Next, we cut out some trees and put them on the inside of the card, and added accents with a white pencil crayon. Next, cut two squares out of clear cellophane and glue one onto the inside of the card, over the circle previously cut.

Next, pour white glitter onto the cellophane (go easy with the amount you pour! Less is definitely more). Glue your second square on top of the glitter, making sure this is sealed very well. Next, cut out another square with a hole in the centre of it to cover the inner side of the card. Glue into place!

And that’s it! Check out the video below if you’re more a visual learner, and tag us using the hashtag #SorryGirlsSquad to get featured on our insta!