Making Expensive HOLIDAY Decor For Cheap
The Holidays only happens once a year, and it is always so exciting to get your decorations out and make your home feel festive. Year after year, decorations from various stores seems to break the bank a little too hard for something that will only be out for a month or two! So why not try and make some yourself? Here are a couple Christmas decor items that we duped for a fraction of the price.
Anthropologie Gingerbread Doormat
Anthropologie Gingerbread House Doormat - https://bit.ly/3o0xi2S
Materials
Ikea doormathttps://www.ikea.com/ca/en/p/trampa-door-mat-natural-20052187/
Exacto Knife
Masking tape
White primer
Ruler
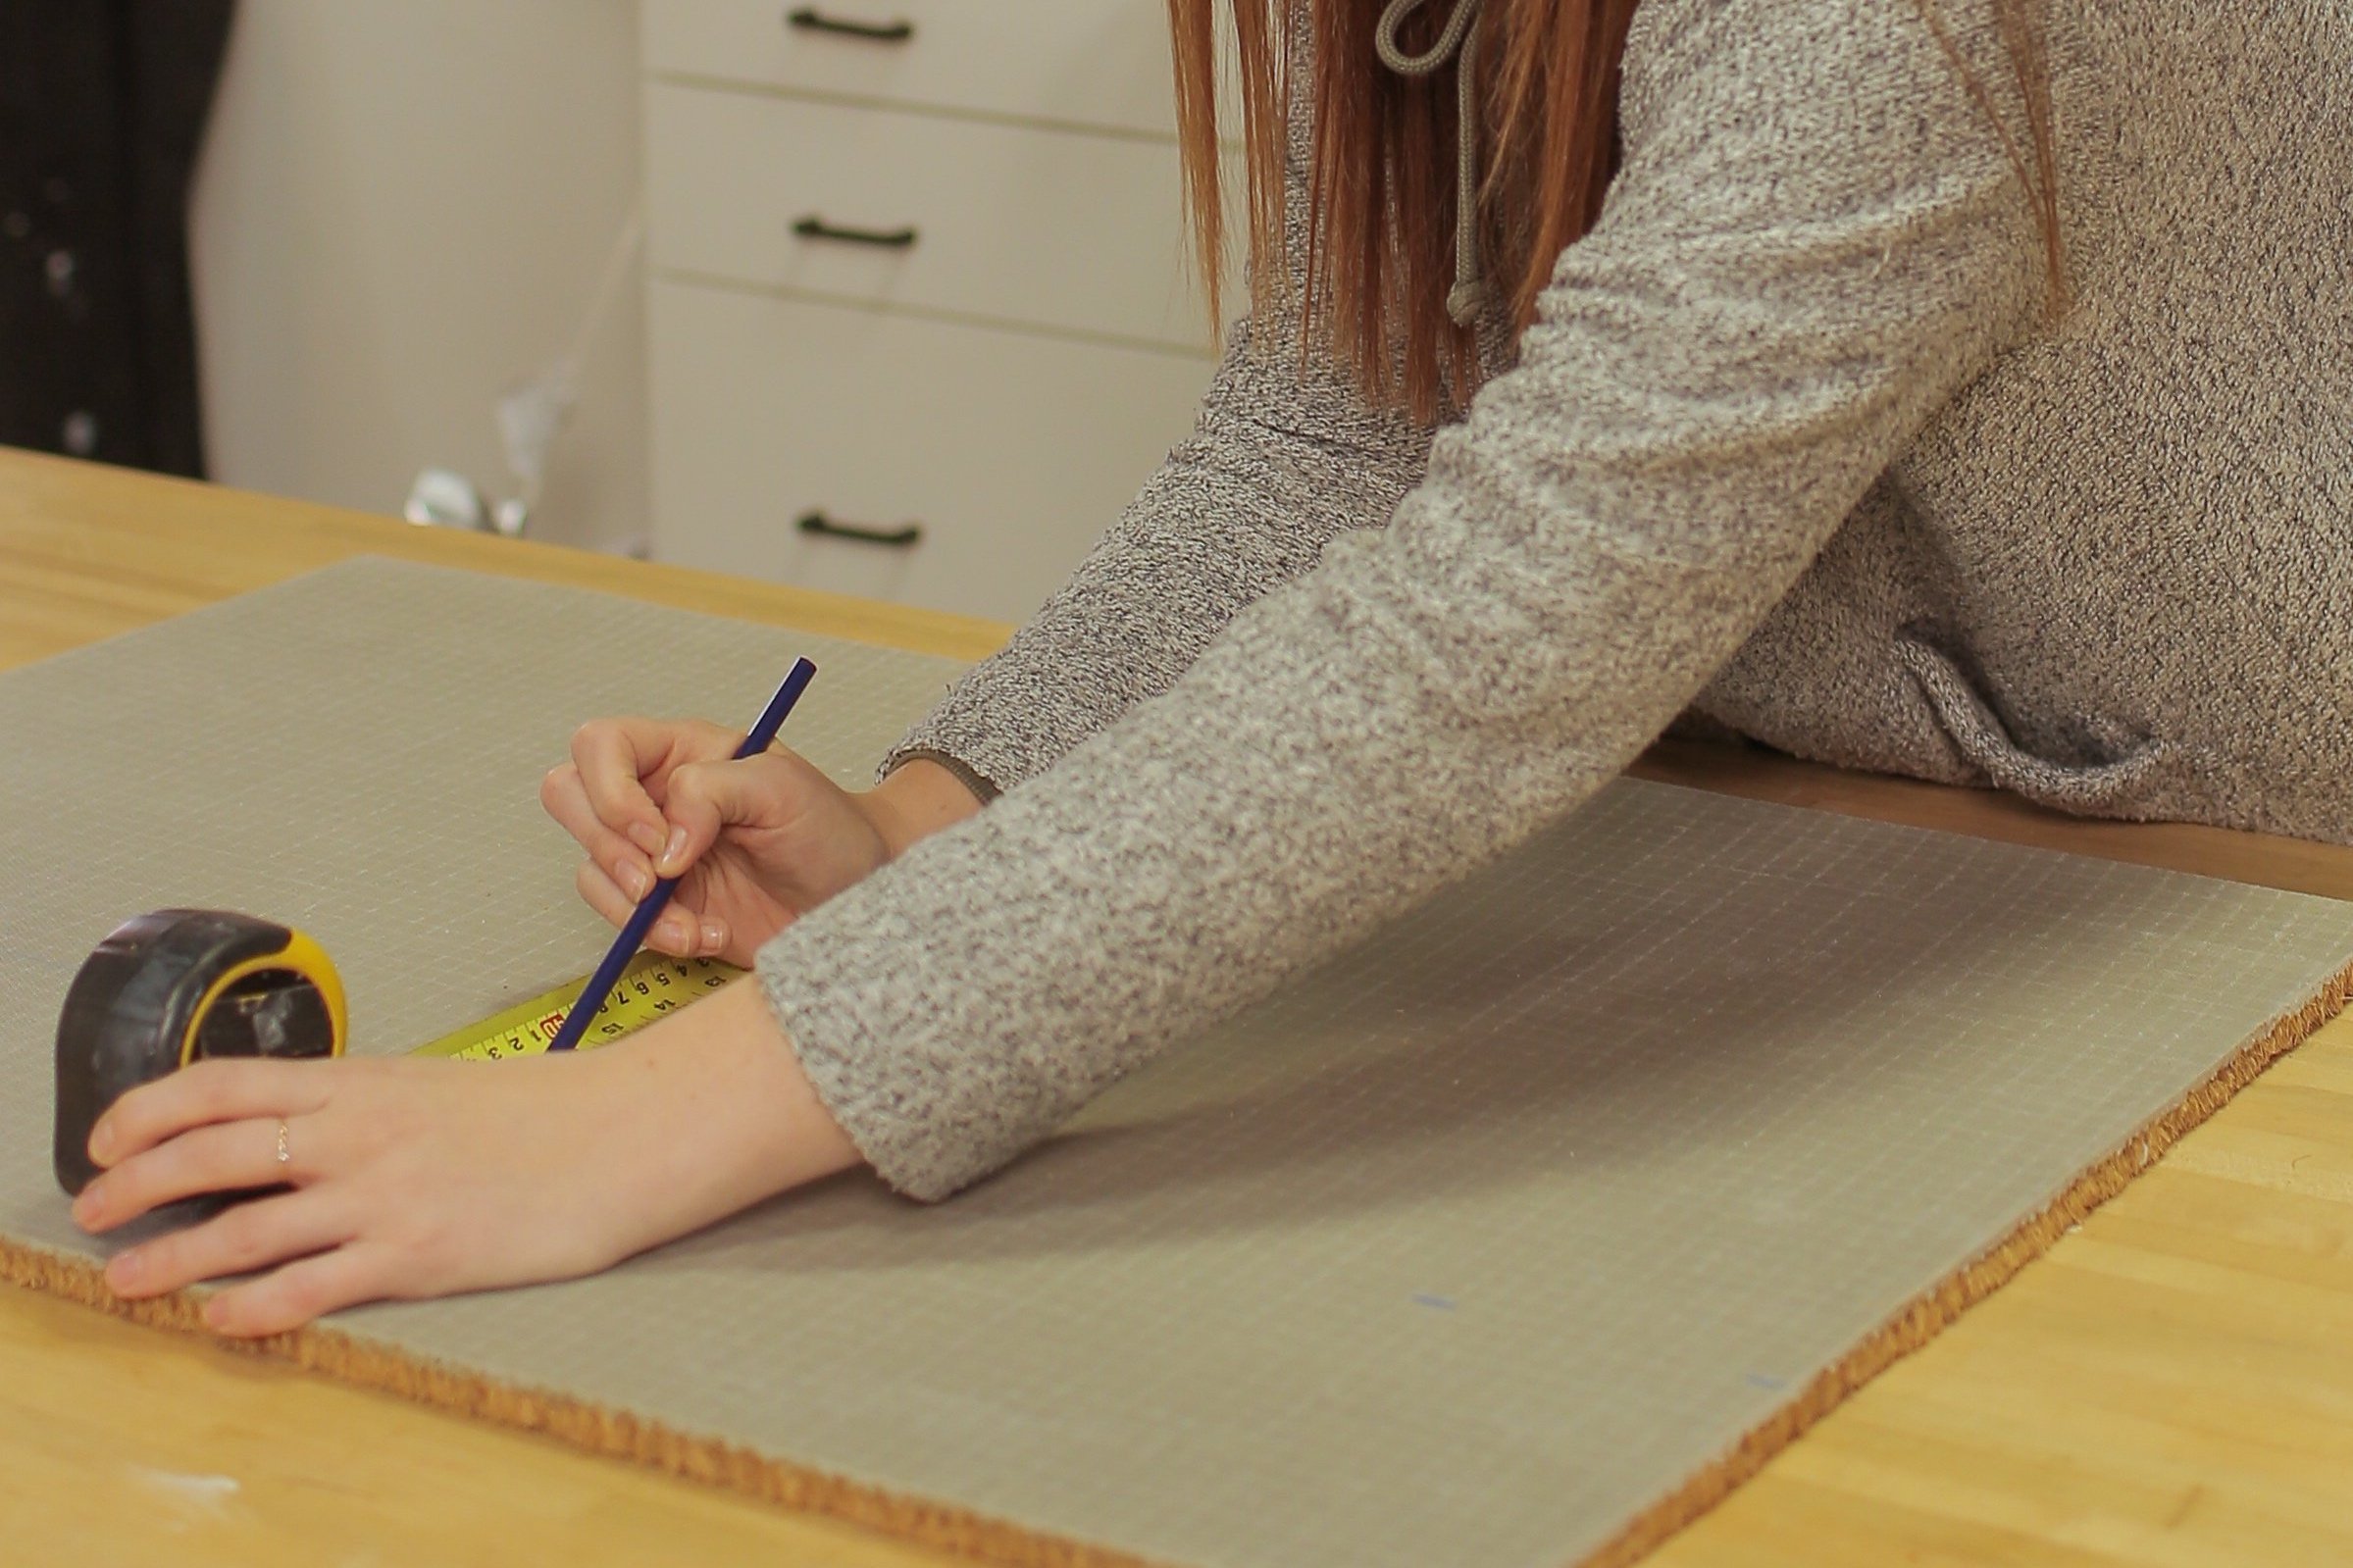
Step 1 - Grab a cheap doormat from Ikea (linked above) and measure out the cuts you want to make to shape the tree.
You will need to cut out off a portion of the top and leave two chimneys and a peak for the roof. After cutting the top, cut two diagonal lines off the sides to form the roof.
Step 2 - Tape off the straight lines in the artwork and using some white wall primer, begin painting in those lines.
This is a tedious process as the mat absorbs a lot of paint in its bristles, so it may take quite a few coats, but the final results are totally worth it!
Step 3 - Free hand and/or make stencils for the rest of the small details. I used some paper I had around the office and copied the Anthropologie design to give a fair comparison!
I suggest going over the free handed parts with a very thin layer of primer and progressively build up the white as you go to assure you like all the placement. If you make a mistake or paint drips on the mat, you can easily grab a pair of scissors and cut it off.
Results
crate & Barrel Wooden Christmas Trees
Kerva 40" Whitewashed Wood Tree Decoration - https://bit.ly/3BV22rk
Kerva 18" Whitewashed Wood Tree Decoration - https://bit.ly/3BVwRfi
Materials
4ft x 2ft poplar 11mm plywood
circle saw
measuring tape
pencil
wood glue
masking tape
clamps
wood stain & rag
Step 1
Using a 4ft x 2ft poplar 11mm plywood board, you can cut out both trees!! Follow the measurements in the template above to cut out both trees using a circle saw.
*Tip: when making a cut, use a piece of masking tape on the cut lines to avoid splintering edges.
Step 2
Now that all your pieces are cut out, ensure that they fit together evenly before moving on!
Step 3
Using some wood glue and clamps, assemble the pieces together so that the tips of the triangles all. match up making a simplistic tree form. Reinforce with clamps and tape to assure it doesn’t move. Let it sit until completely dried together.
Step 4
Once dry, sand down edges to avoid splintering and same down the tips of the trees to make the tops as flush as possible.
Step 5
Using wood edge banding, cut the width down to the size of your wood and iron it on to finish off the edges.
Step 6
Last but not least, stain to your liking. Here I used a mix of grey and white wash stains to replicate the original, but feel free to change it up depending on your space!
Results
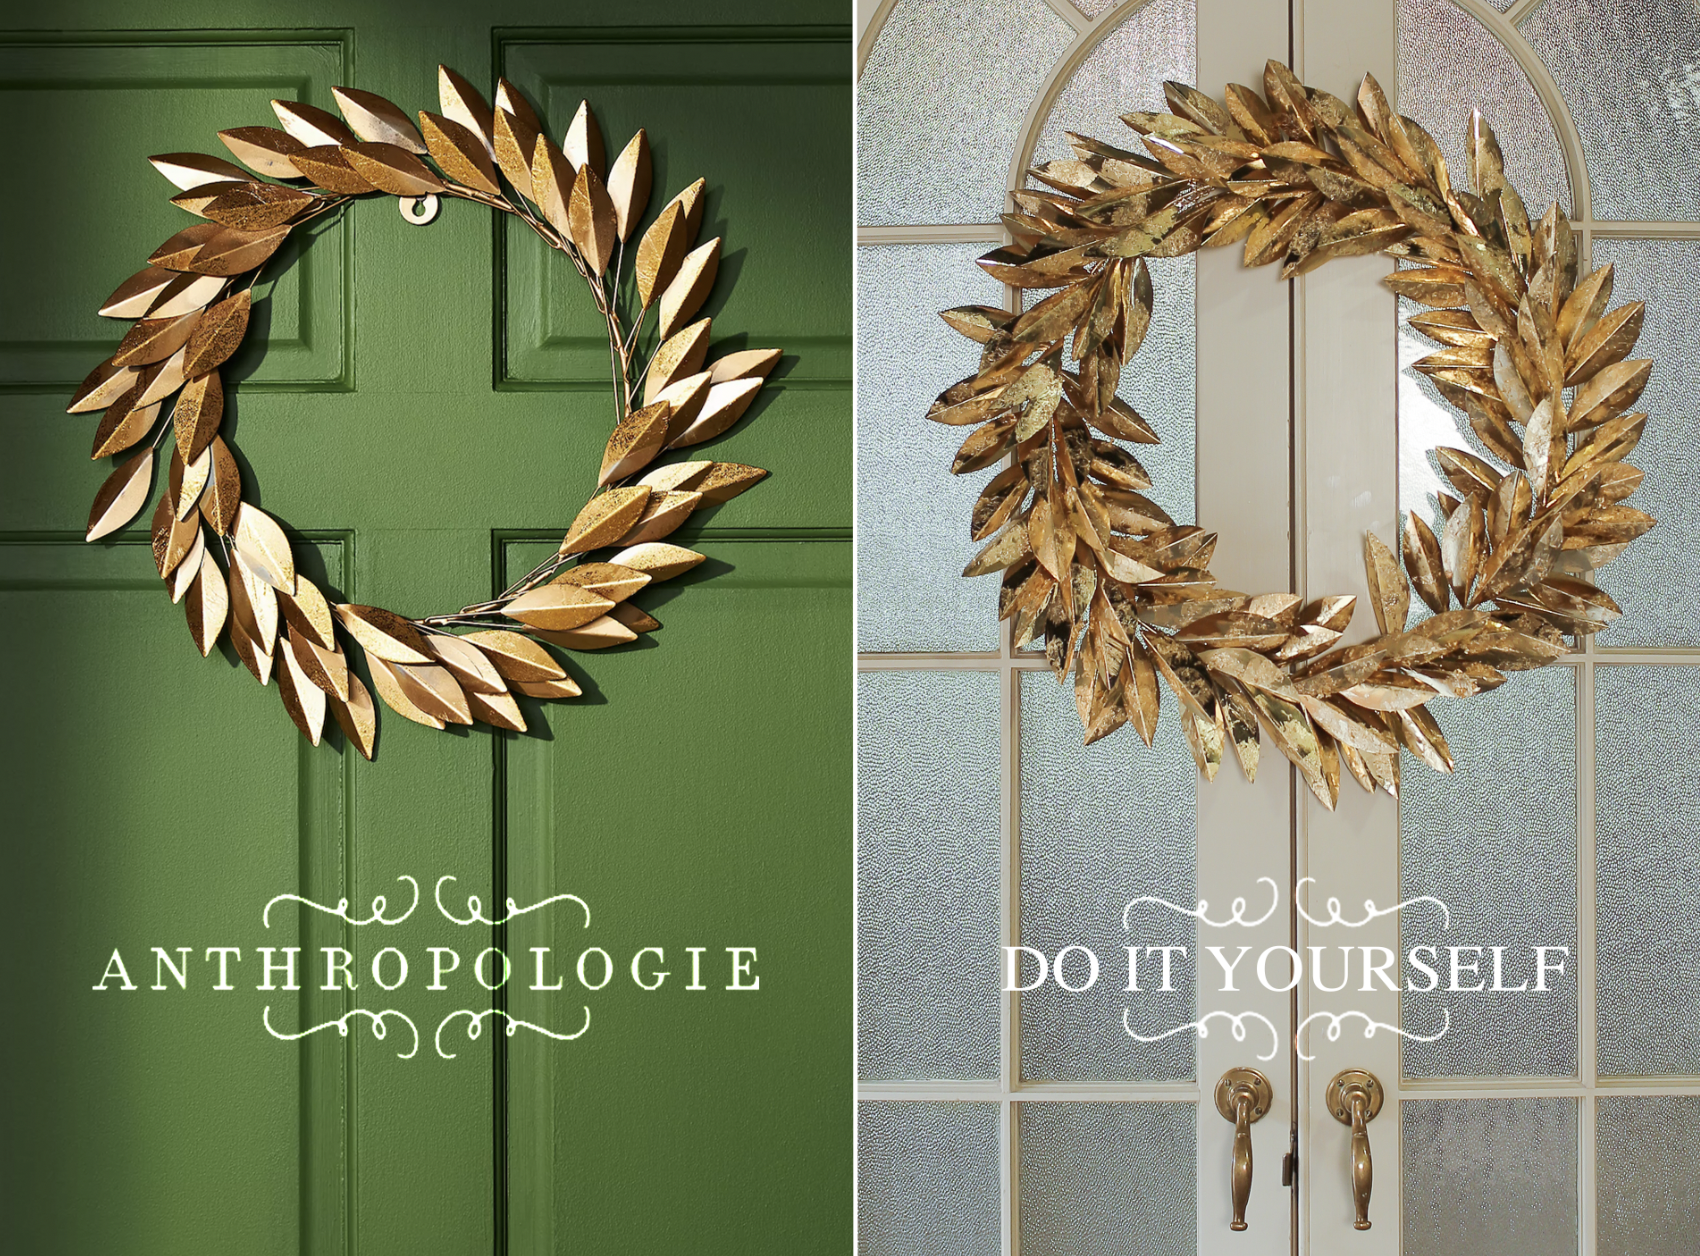
Anthropologie Gold Leaf Wreath
Anthroplogie Daphne Wreath - https://bit.ly/3k5DpSJ
Materials
Craft wire
Gold cardstock paper
Wire cutters
19” metal hoop
Scissors
Gold leaf (optional)
Step 1
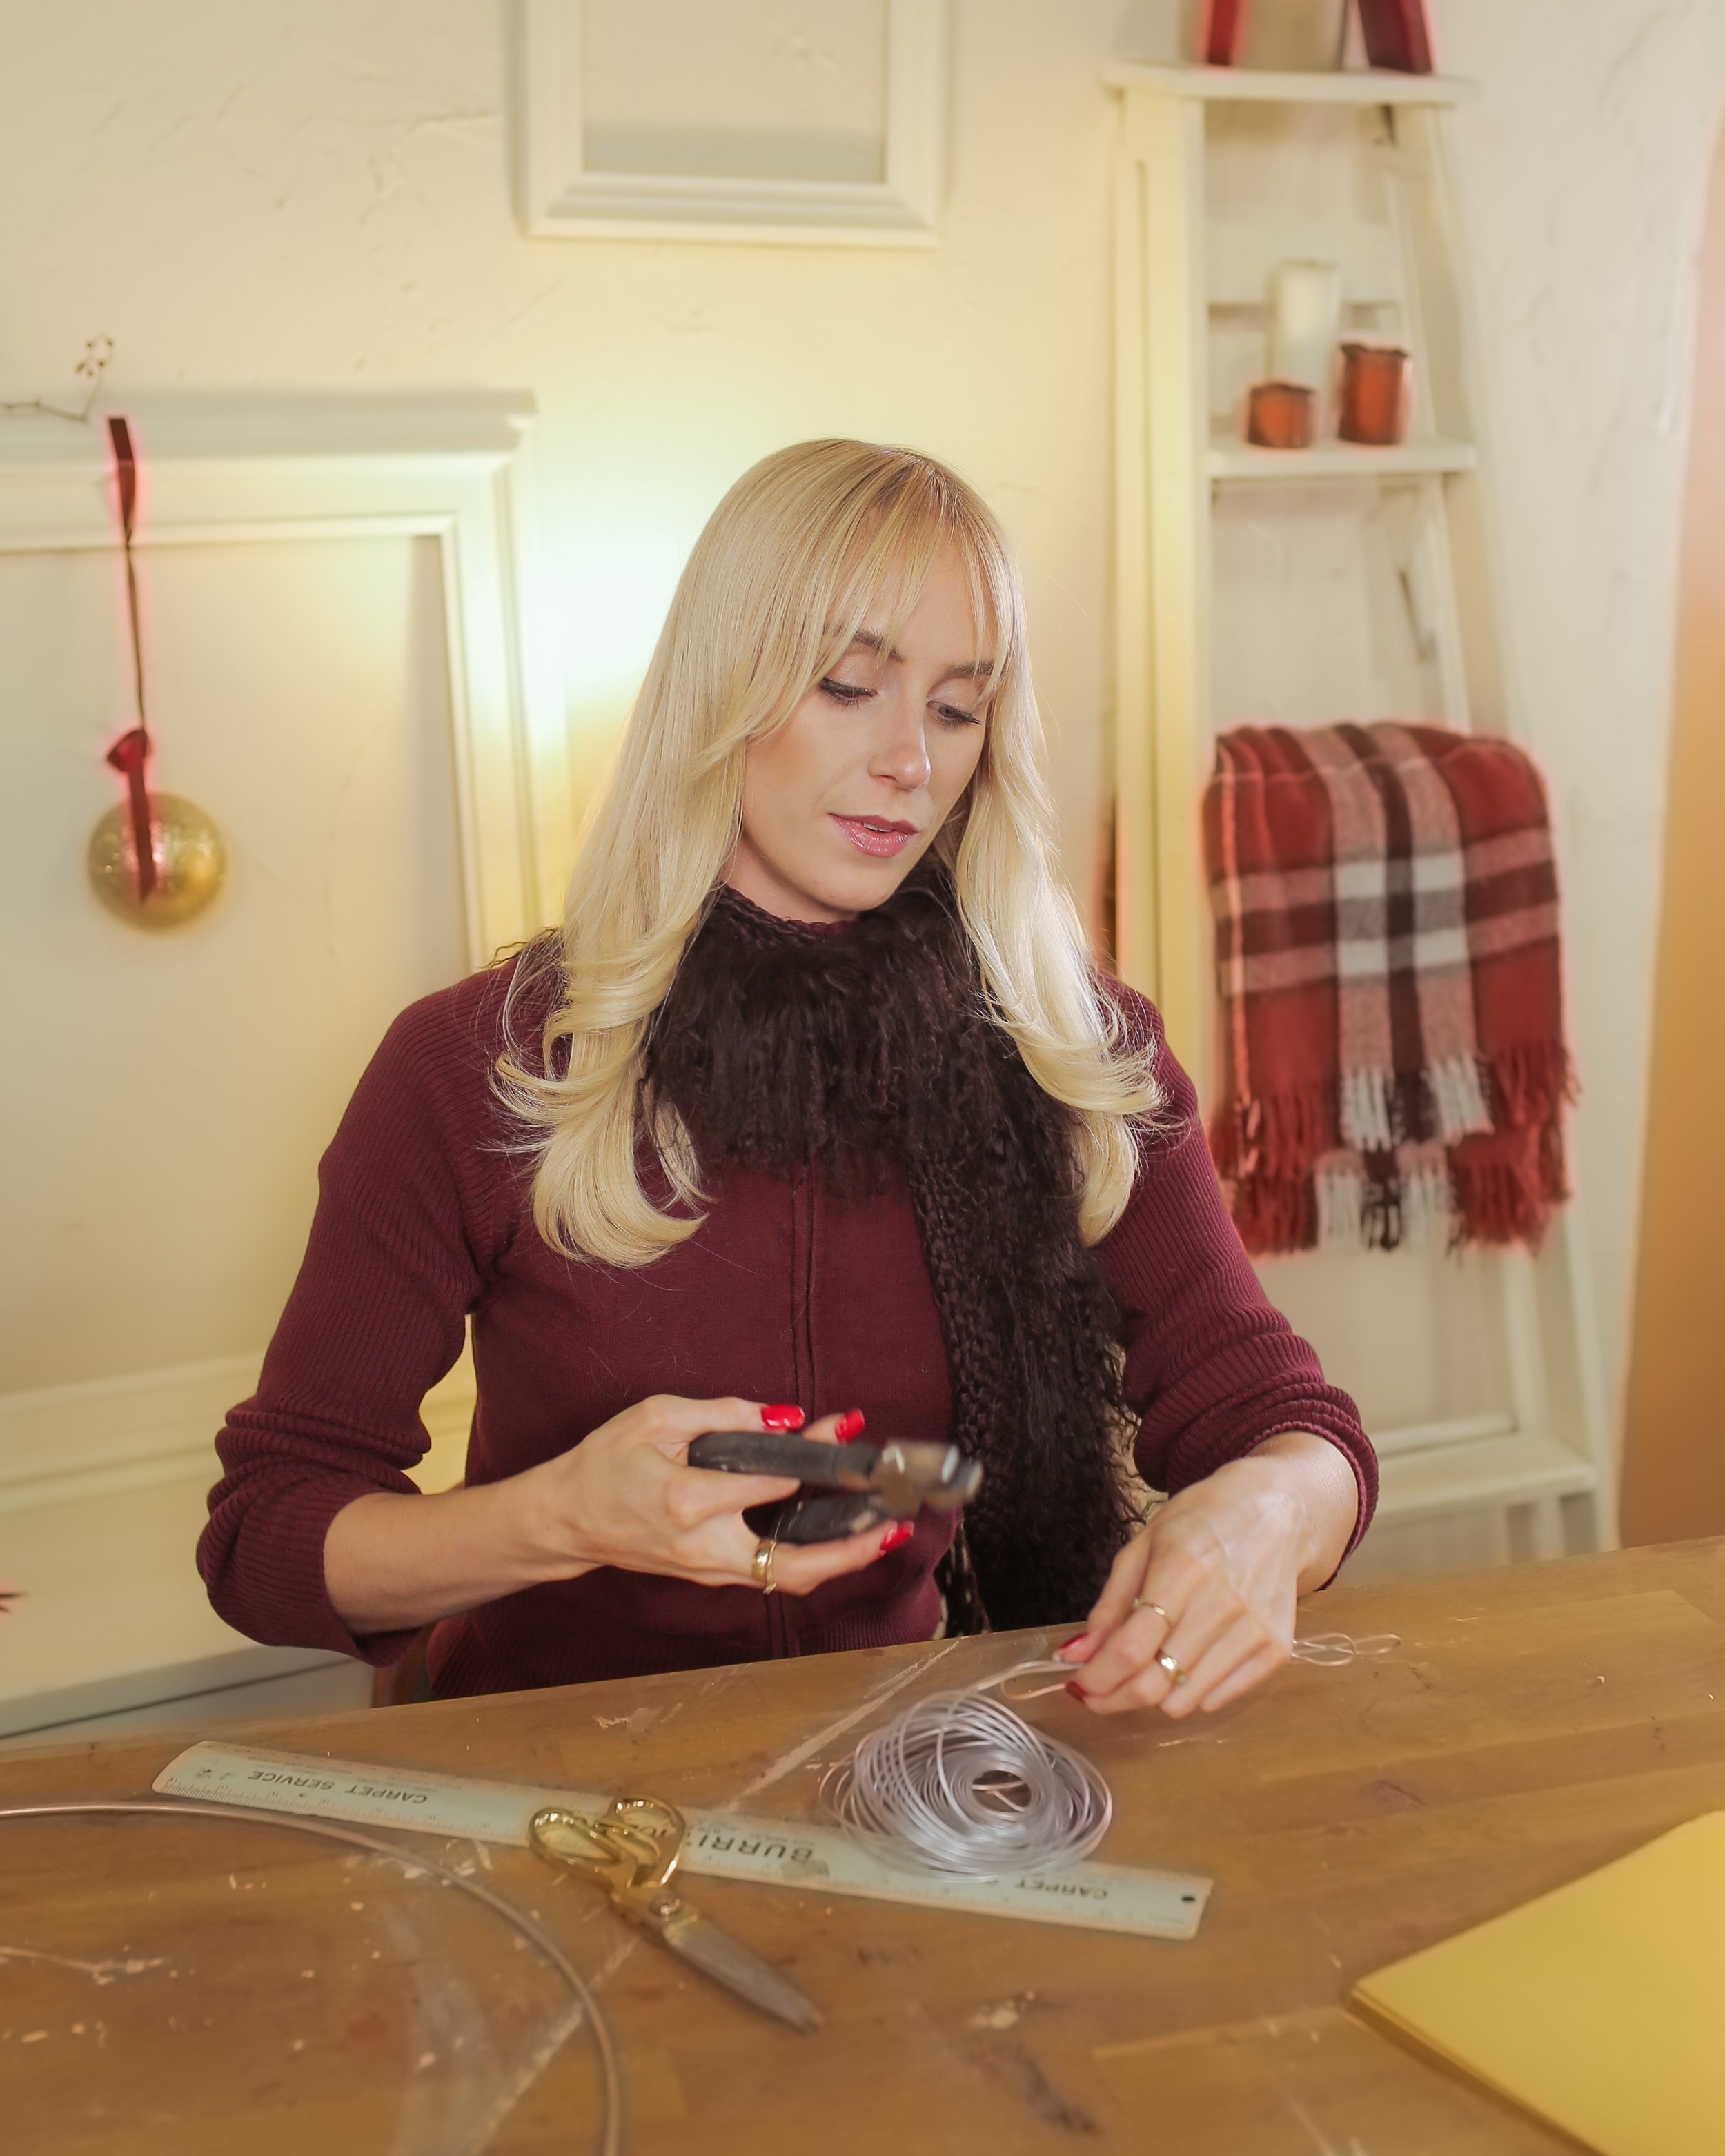
Once you have acquired all your materials, cut your craft wire up to have several of the same size and start wrapping pieces of it around the metal hoop in order for it to have two prongs sticking out on either side. Hot glue it down in the back to keep them in place.
Step 2
Grab your gold cardstock paper and cut it into thirds. Fold each third in half to cut oval shapes out of for the leafs. My leafs are approx. 5x2 inches. Ensure all of them are the same by using one as a template. Cut until you have your desired amount of leaves. Using hot glue, start gluing the leaves to the craft wire until they are all filled.
Step 3
You can stop here, or to add a little more of an expensive look, I got gold leaf and glued it onto the leaves to create a metal look. Once dried, I brushed off any excess gold and voila! It is so luxe.
Results
CB2 Snowball Garland
CB2 Puff White Pom Pom Garland - https://bit.ly/3k2cruT
Materials
Yarn
Leather chord
Cardboard template
Scissors
Hot glue
Safety pin
Step 1
Make a cardboard template about 4” x 4” to wrap your yarn around. To create the pompom, wrap the yarn ~35 times and tie it off in the middle with a separate piece of yarn.
Step 2
Using a safety pin attached to the end of the leather strap, feed the chord through the puff balls to attach them to the rope.
Step 3
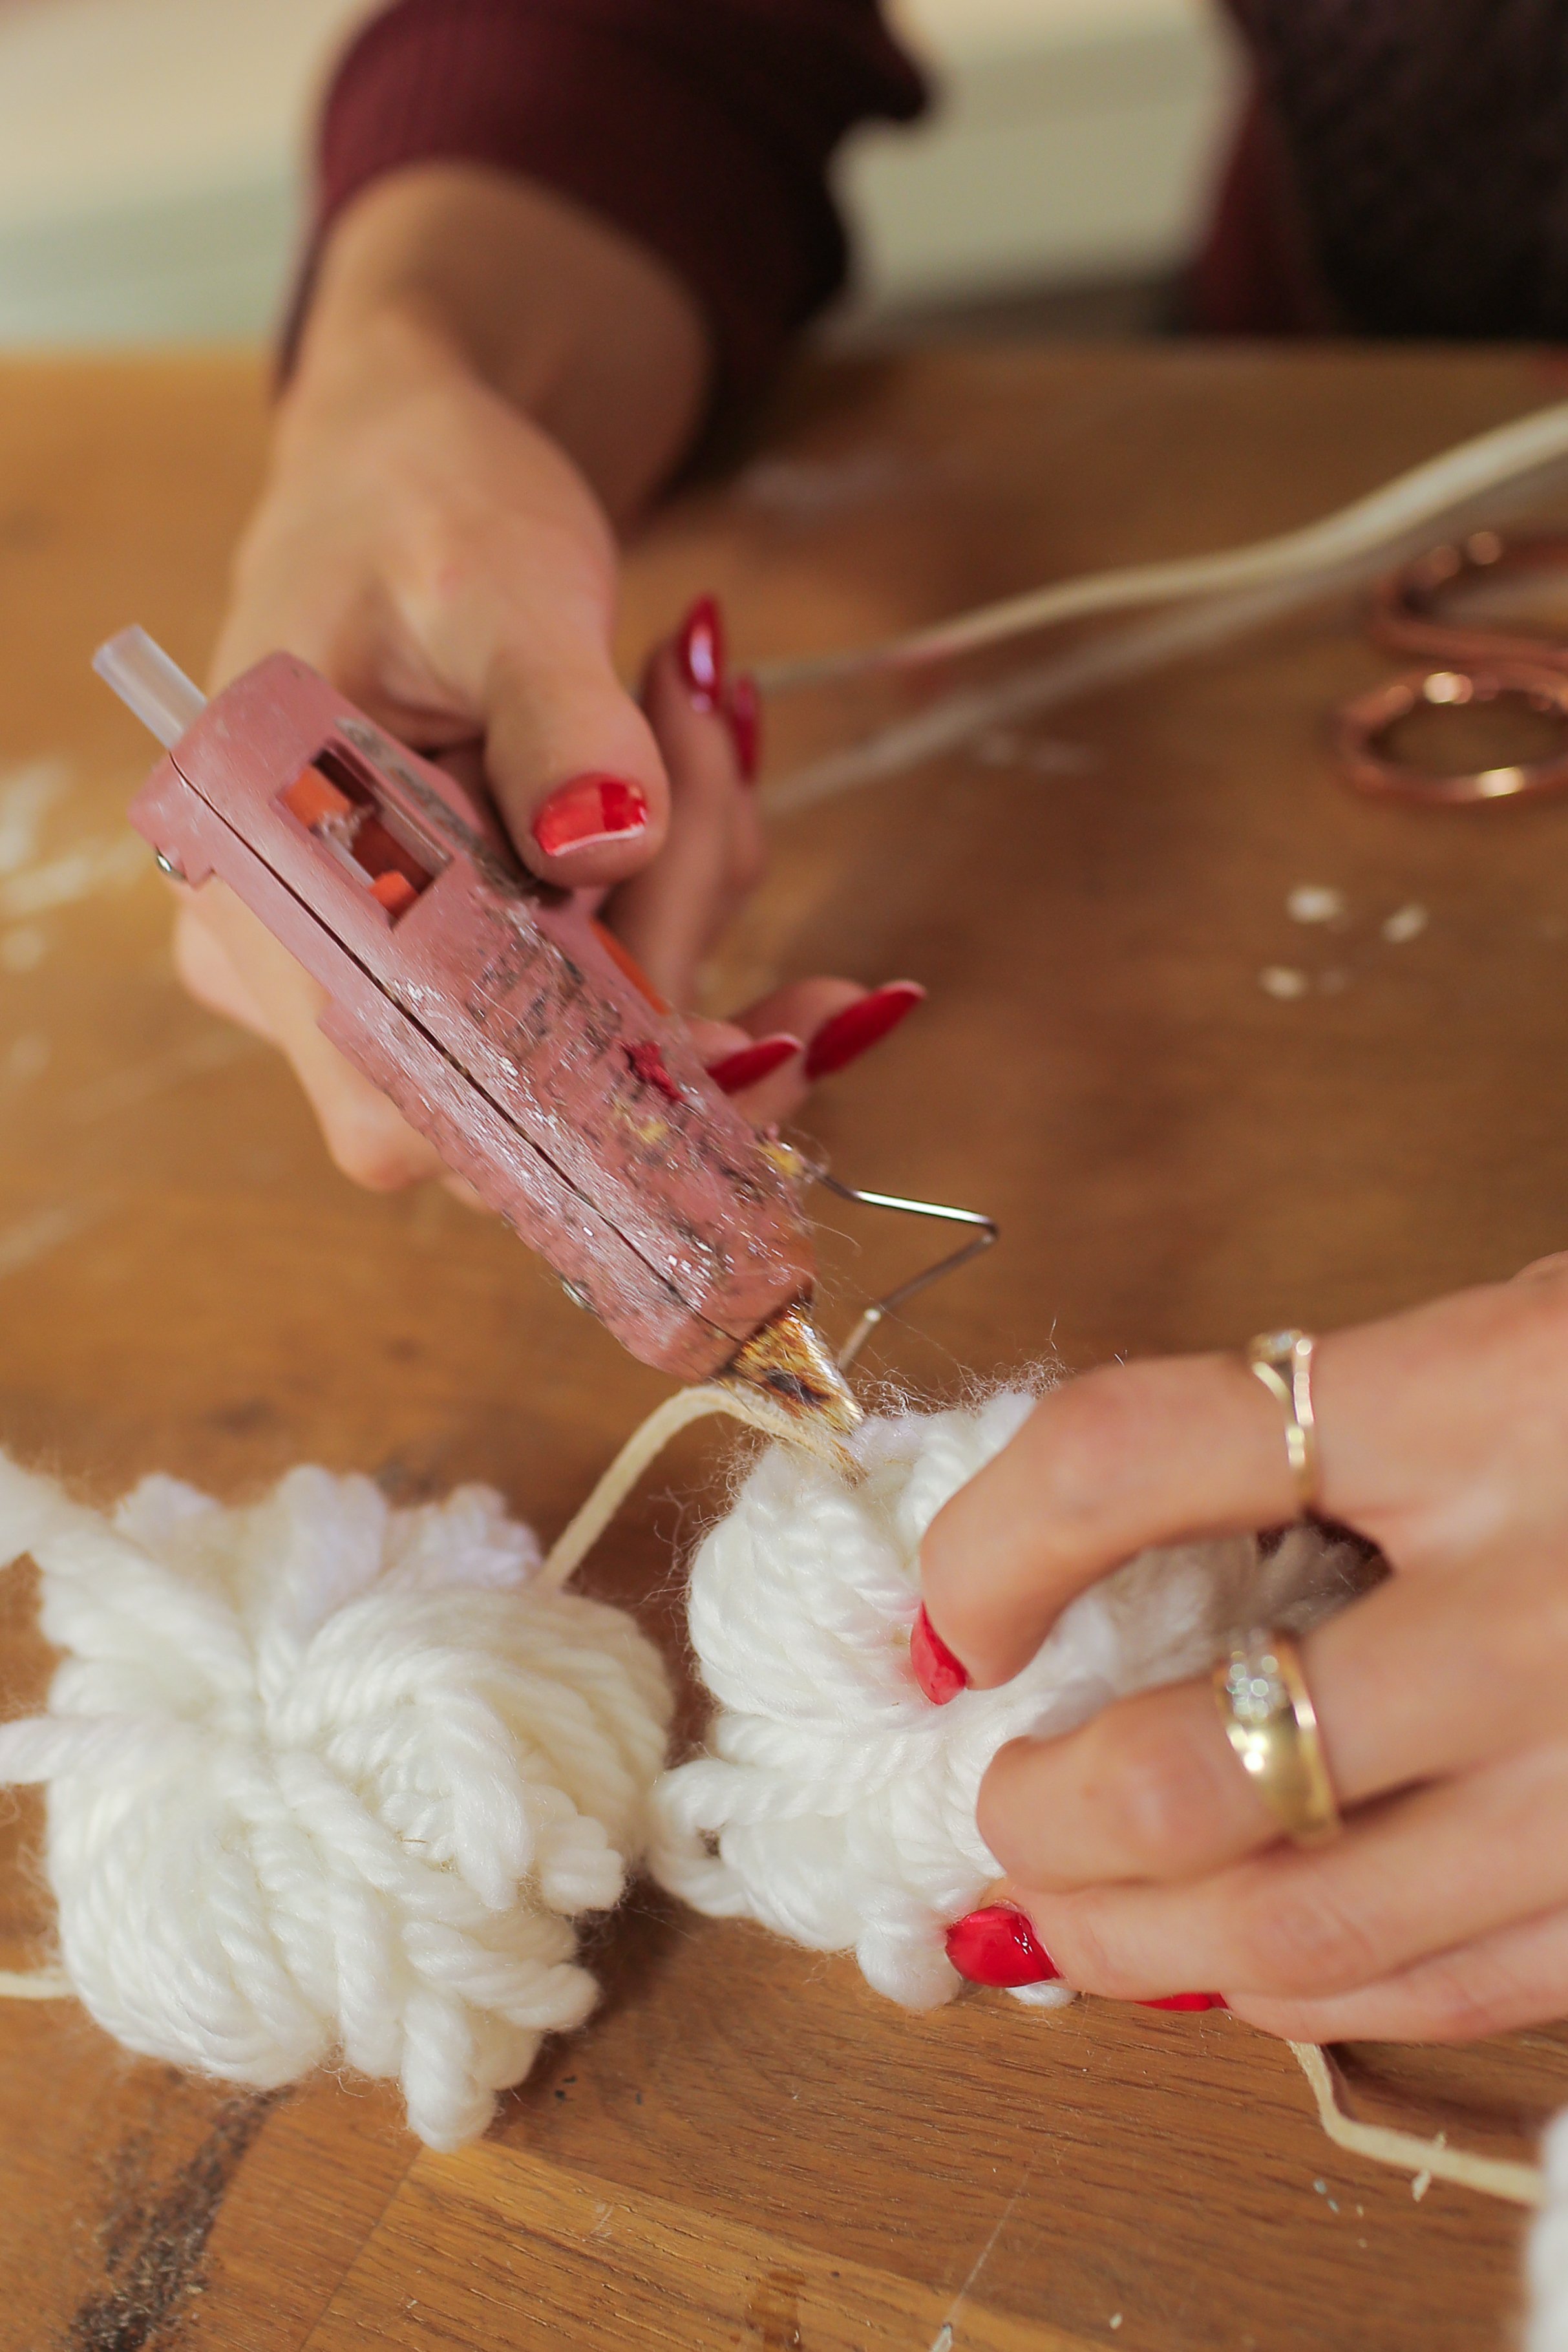
Space out the puffs to their desired even spaces and hot glue them to stay in place. Now cut the loops to create the pompom look and trim the edges to make them look uniform.


