How To DIY The Kartell Bookworm Shelf
Welcome back to a series we have called “That Cost How Muuuuch?!”. As the title suggests, this is a series where we look at products that literally make ourselves ask “that cost how much???” and figure out if we can essentially DIY them for a lesser price.
The project I’m working on for this blog post is the Bookworm Bookshelf by Kartell which you guys have sent us soooo many times…and I get it, this is a very, very, very cool piece.

Bookworm, the flexible bookcase, is the result of the encounter between the creativity of an artist such as Ron Arad, combined with Kartell's technology, giving life to a revolutionary project produced on an industrial scale. A sinuous bookcase that takes on the desired shape without compromising strength and functionality. Available in three different lengths, Bookworm is marked by a series of bookend supports. Bookworm combines flexibility and high strength allowing a load of about 10 kg per support.
- Kartell’s Website
The bookshelf, depending on the length that you buy, can cost anywhere from $800 to $2400. Putting aside the fact that this is a designer piece and structurally very unique, it still is a lot for a bookshelf, so I'm going to see if we can DIY ourselves something similar for a little bit less (or a lot a bit less).
Materials
So what are you going to need? After doing some experiments with different materials, I found that the following pieces worked the best for this specific project.
One 4x8 piece of Flexiform
mine is cut 7 inches down 3 times, giving me 3 long strips of flexiform
One piece of 1”x6” by 8ft long pine wood
Pocket hole jig
Hanging hardware (strong hold nails)
Now normally it wouldn't be the most important thing to figure out where your bookshelf is going before you start making it, but in this case, the shape will be very specific depending on your wall, so I took to my wall and measured exactly how long I wanted mine to be and how many shelves I would need.
Once I gathered all the info I needed and had all my materials, I cut down my pine wood piece to 7” tall pieces. I needed 11 of them for the size of shelf I made. These pieces of wood are going to act as the various book ends that also help form the curve shape. Once they were all cut I gave them a quick little sand.


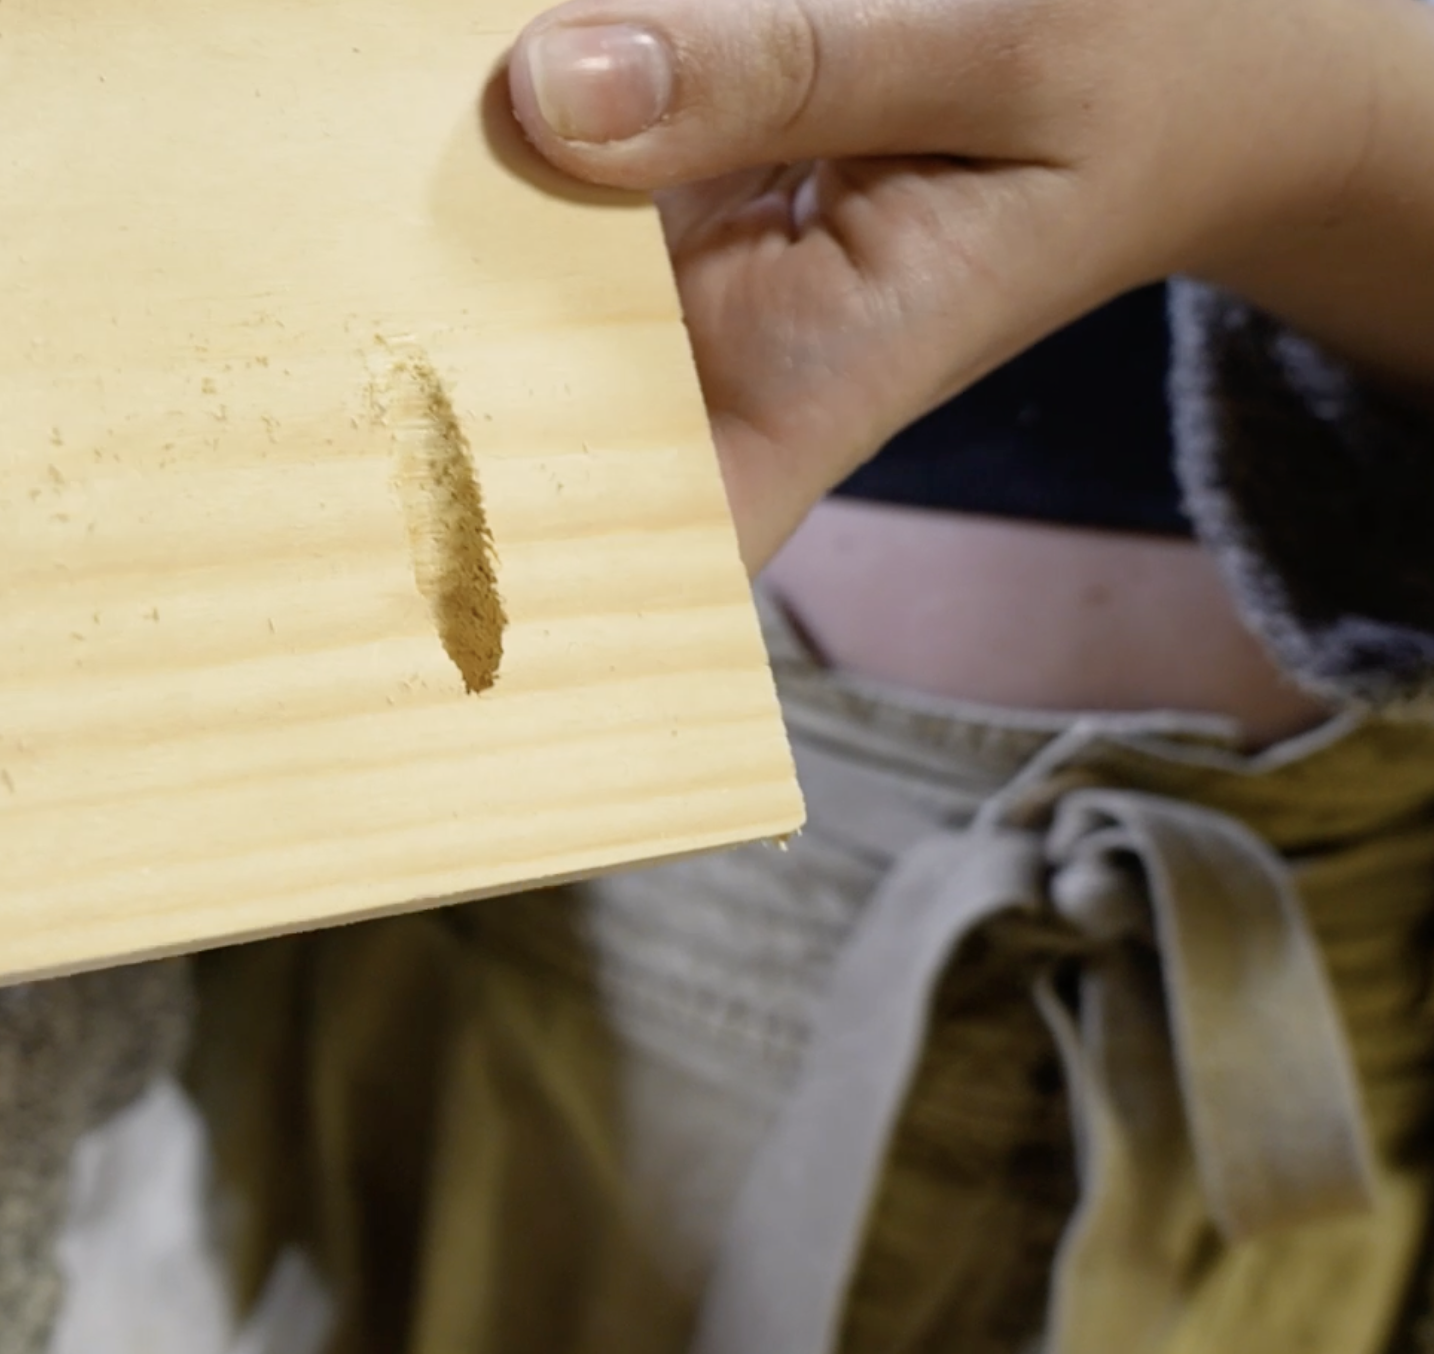
Next, I drilled two pocket holes into the side of each piece, which would make them easy to attach to the shelf without having the holes show. We have a great tutorial of how to drill pocket holes here.

Next, I painted all my pieces, including the pre-cut flexiform and pine pieces. This is where you can customize to your own liking! I just went with white to match the original.

Essentially I'm going to be screwing the bookends to the flexiform before I put them together on the wall. But before we do this, it's important that we go back to the shape that we made on the wall and have a look at where we think the books are going to land on this shelf.
You can use some tape and mark where you'd like your books to sit. From there, you should notice that some of the books will sit on the top side of the line and some will sit on the underside of the line. Make note of which shelves go in what direction because we'll need to know this next. Once I figured out the distancing, I marked out the measurements onto my flexiform.


Now we're on to assembling it. I used pocket screws in pocket holes to screw the book ends directly into the wall, which is made of OSB, a composite wood product that I was able to screw into anywhere.
I then cut a half lap joint to connect each piece of Flexiform and screwed that into all of the mounting pieces.


Next, I styled it and now when I add up all the materials I use to make this, not including tools, this shelf cost me $138.93. That is an incredible discount if you ask me (compared to $800-$2,400).
That project, just... I can't believe we did it. We got there. It's looks so good!


