How To DIY The CB2 Bruno Walnut Wood And Linen Pendant Light
Welcome back to a series we have called “That Cost How Muuuuch?!”. As the title suggests, this is a series where we look at products that literally make ourselves ask “that cost how much???” and figure out if we can essentially DIY them for a lesser price.
In today’s blog post, I am going to be DIYing a highly requested pendant light from CB2, the Bruno Light. It's absolutely stunning but it is also $699 and while she's gorgeous... that's a bit too much in my opinion.
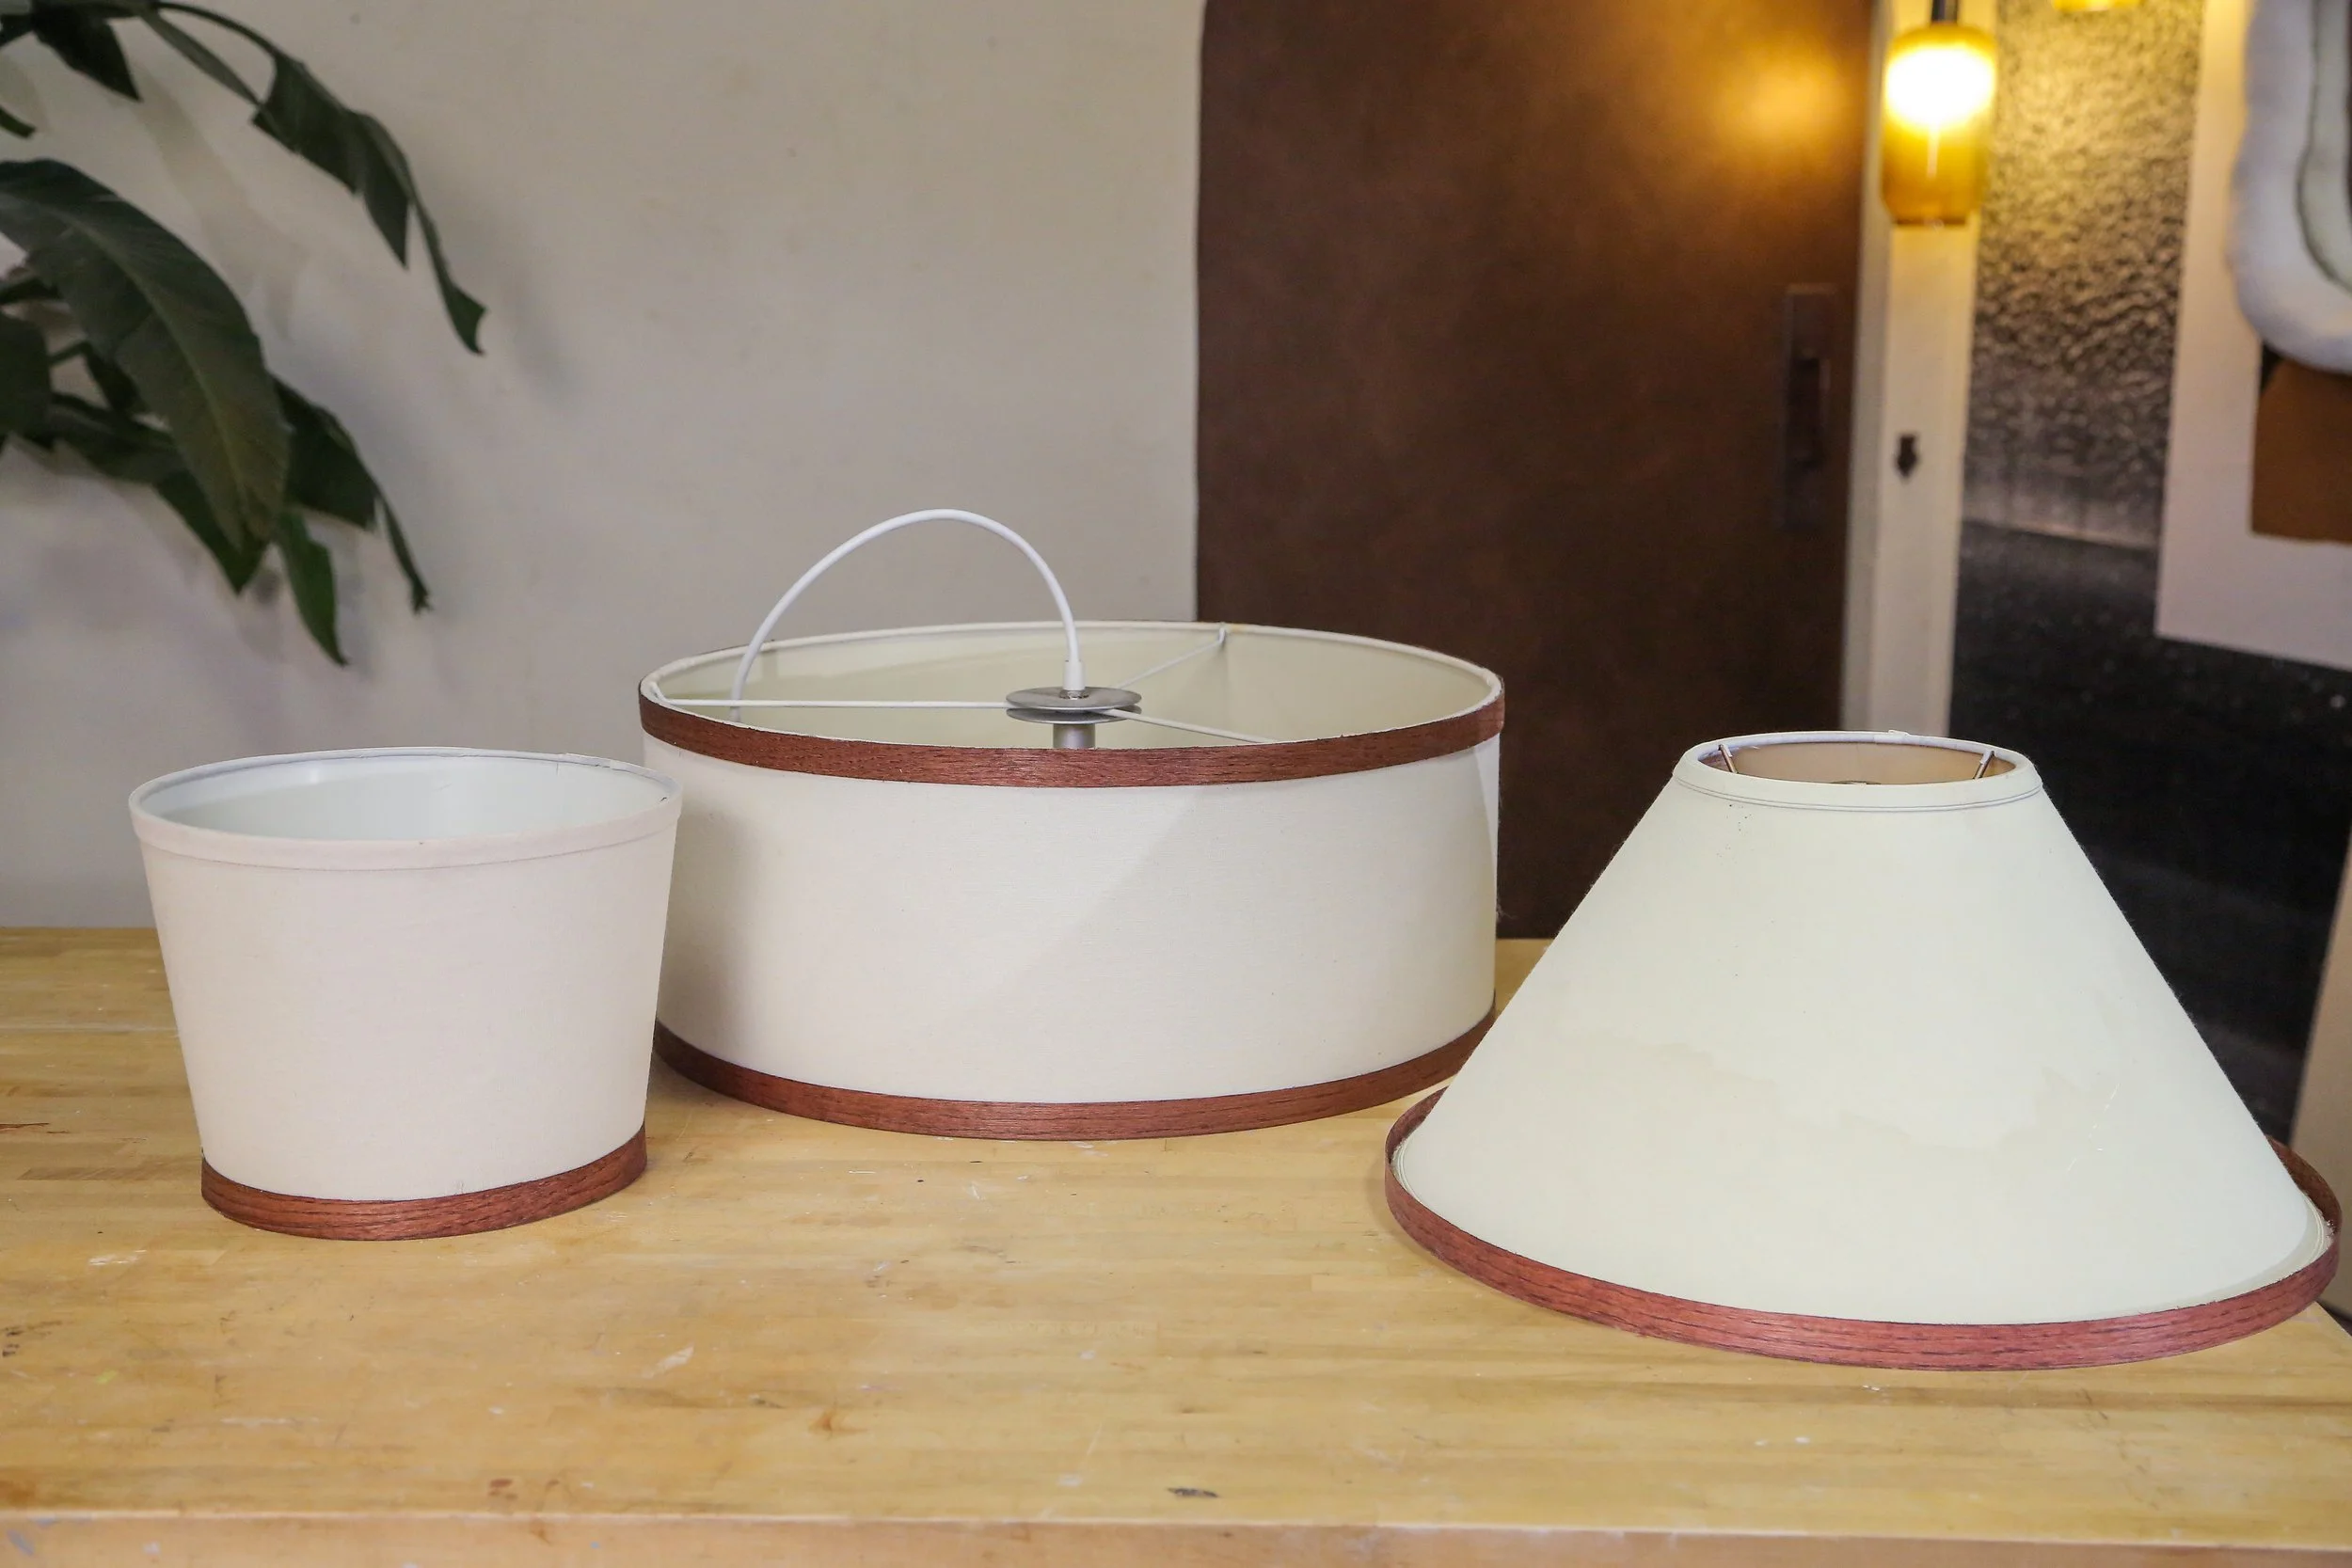
Initially, I thought I might have to learn how to make lampshades since the shape is so specific but then I stared at it for a little bit longer and the shape started to look real familiar. I had a lampshade really similar to the top tier, which got me thinking… what if we bought three lampshades of similiar shapes in white and stacked them?

Now something that's really important to us is using second hand materials when we can. Now luckily for us all, there is absolutely zero shortage of plain white lampshades at the thrift store or on marketplace, or even literally in the trash. There's so many of them. I don't doubt that you can find the shapes you need for this project. To help you out on your journey here are some keywords that you can use when looking:
For the top tier, you will want to type in “linen drum pendant shape”. The next two are called “empire lampshades” which is what the angled lampshades are called.
After doing various sourcing at various different locations, I found these three lampshades:
*bonus points because my top lampshade already has built in wiring so I don’t need to bother buying an external pendant!

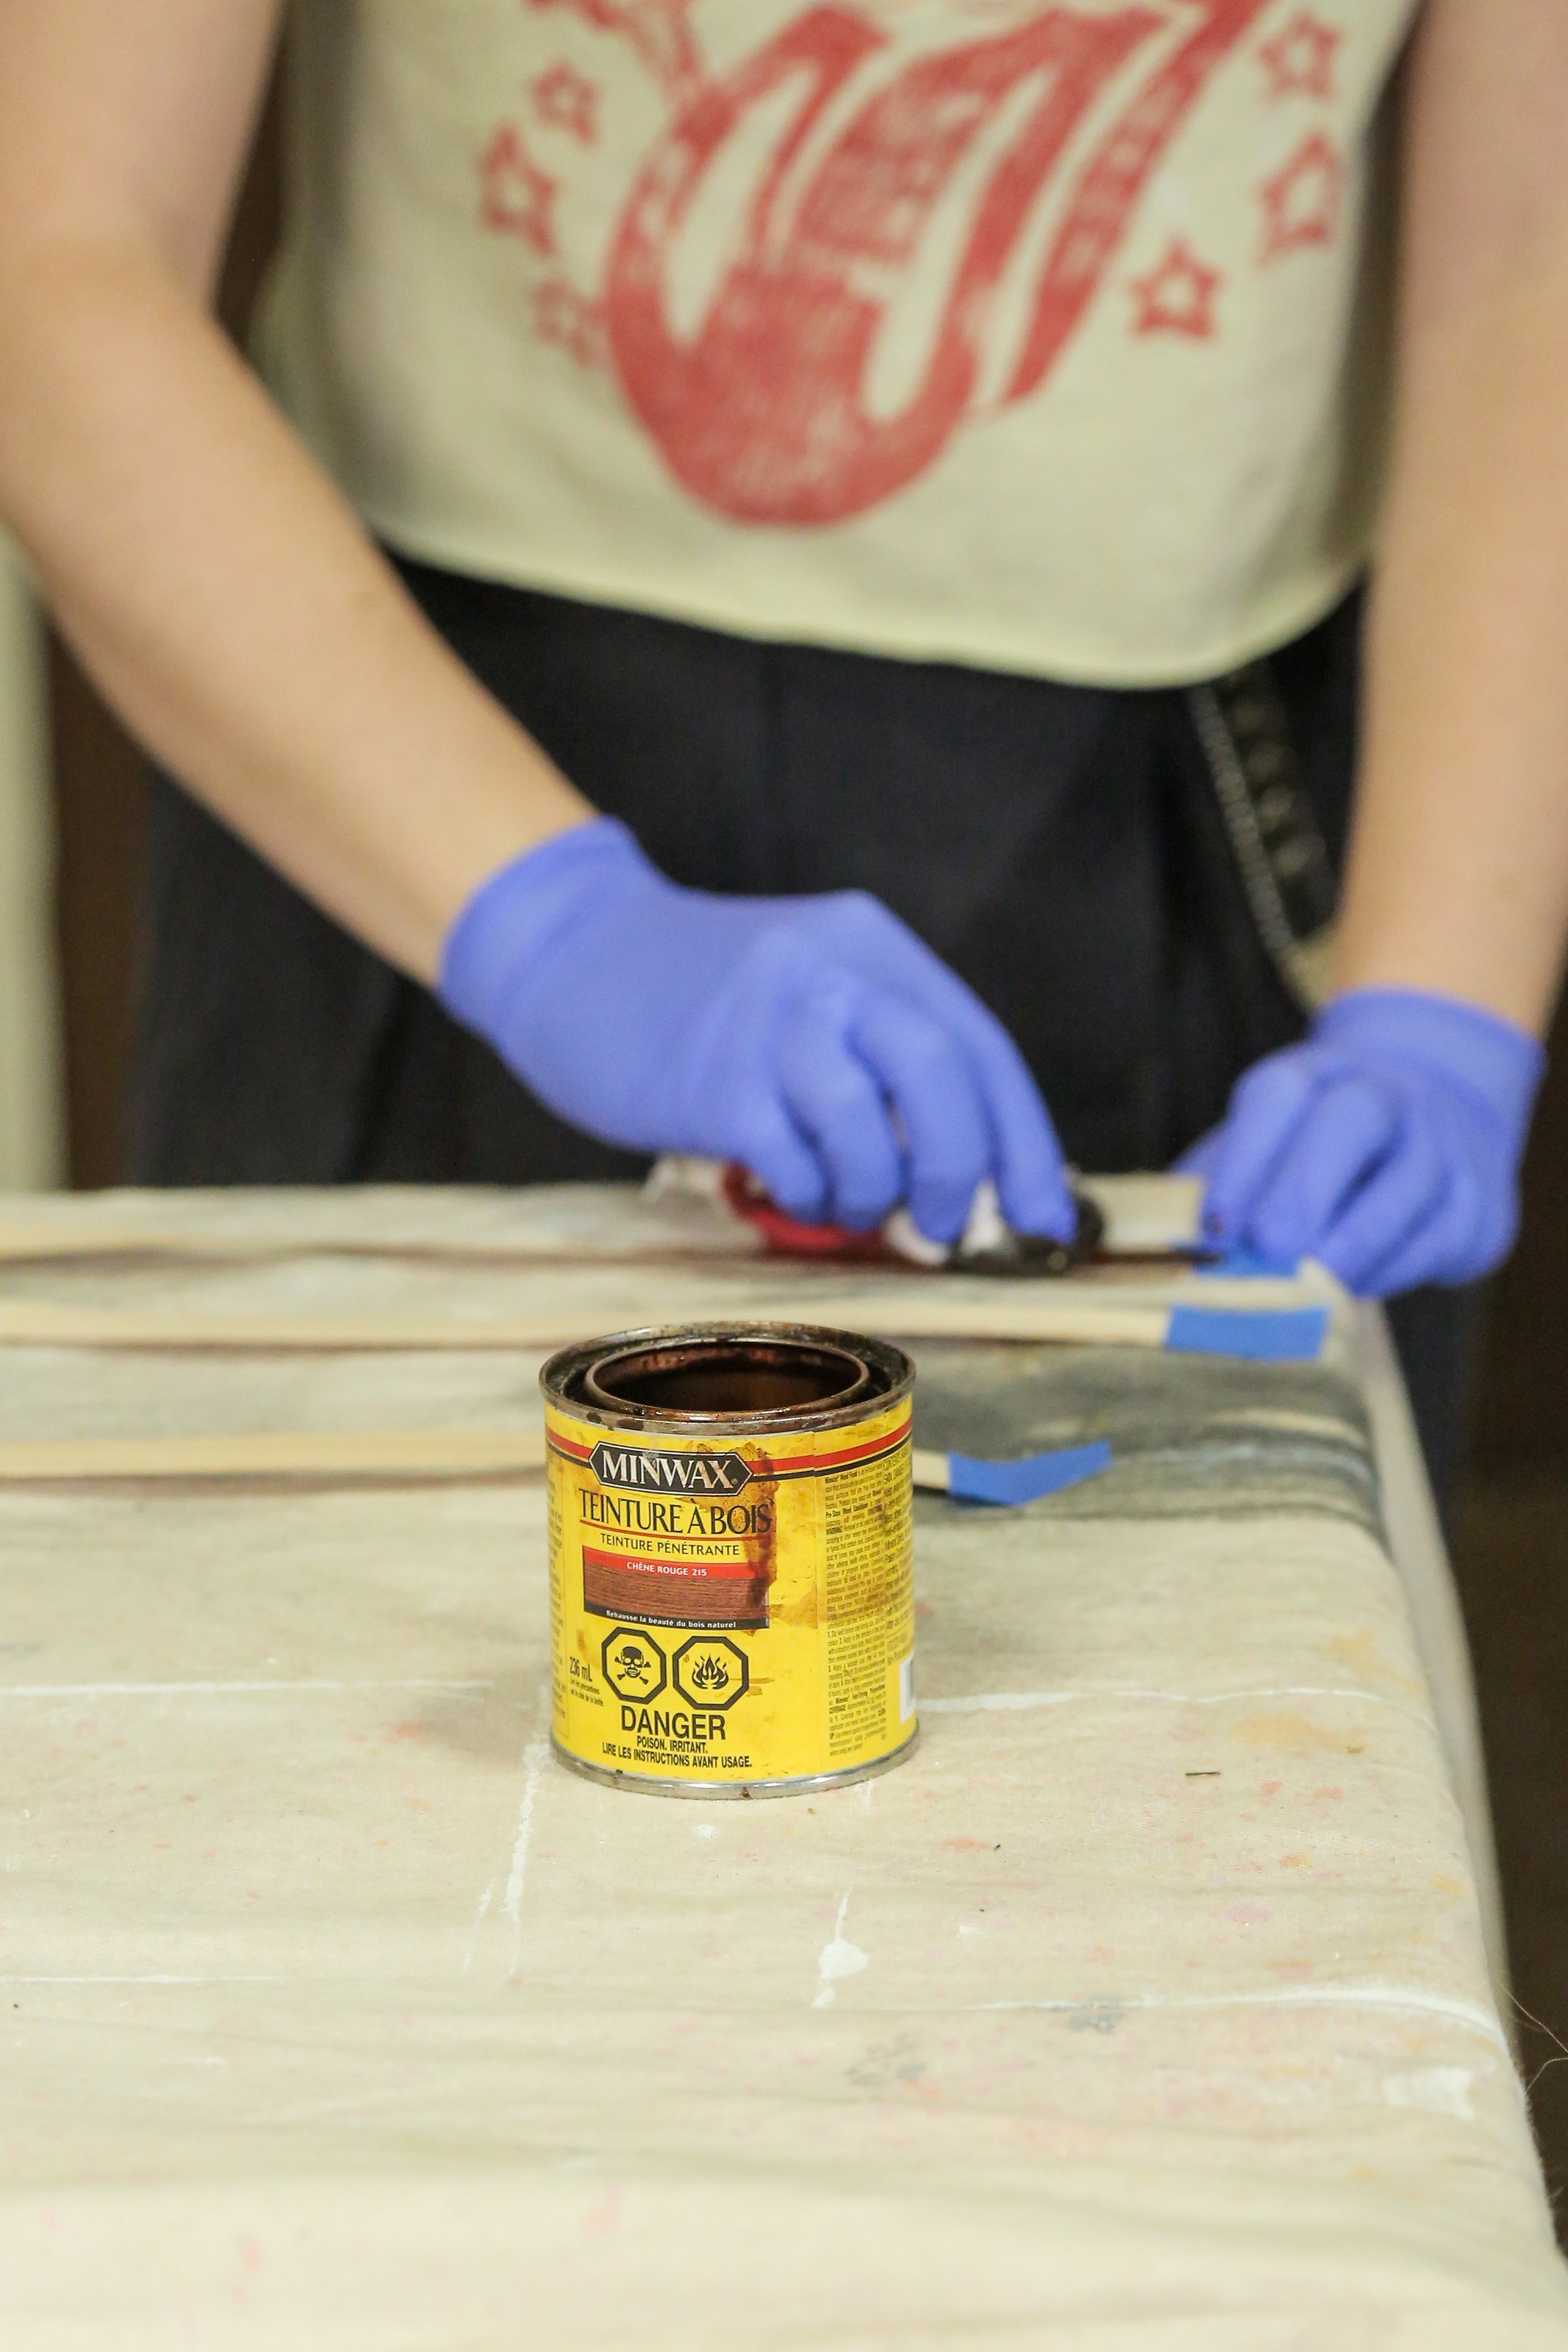
To add the wood trim I'm using a product called wood veneer edging. This was $16.46 for a roll of 50 feet. I'm cutting the strips long enough to wrap around my shades and then I'm taping them down to a draw cloth to stain them to match the CB2 pendant.

So next we just need to add this to the ends of the shades. So this edge banding actually has a pre-glue edge which typically you would heat up with an iron and then iron it to the surface you're putting it on, but because most of these lamp shades have a curve to them, I don’t think it will adhere that well, so I decided to use hot glue instead.
You're definitely welcome to try heating these up and gluing them with the glue that's already on them. I'm just worried about it actually sticking long term because like I said it's not a perfectly flat surface.

Once all the edges are covered with the banding, it’s time to attach the shades together. I collected some thin, bendy wire and I'm stacking them one on top of each other. I'm moving a piece of wire around the arms of the lower lamp shade and then bringing it up to connect with the arms of the top lamp shade. Then I twisted the wire tight to hold both shades together. I then repeated this two more times connecting all of the arms from the lower shade with the upper shade. After, I did the same process for the shade below.
All that was left was to hang it up and turn it on!


