Colour Wedding Decor DIY : Floral Centrepiece
So I've been doing some research trying to figure out what's trending for weddings this year. We know softer neutrals have been going strong for a while now, but I think we’re starting to see a major shift to using lots of colour in wedding decor. I love it. And based off of this shift in trend, I'm seeing a lot more sculptural flower arrangement using colour.

When it comes to wedding florals, they are obviously highly desirable, but it comes at a cost and quite a big one, for something that is so temporary. They're so beautiful and effortless…there's no question on the appeal, but when I was thinking about this trend, I just thought there has to be a middle ground here. And that's when I thought that dried flowers feels like a great approach.
Not only does it give you the colourful vibe that’s trending, but it also gives you the option to prepare all your florals ahead of time because they last!

Plus, you have the option to keep them afterwards, whether it's physical memories of your wedding day or to repurpose the flowers completely. It's definitely worth shopping around for the best prices.
You can always opt for more inexpensive florals, which in my opinion, are just as beautiful. If flowers are in your budget, it doesn't hurt to consider spending it at a local shop and when it comes to variety, they will always have the best options.
Materials
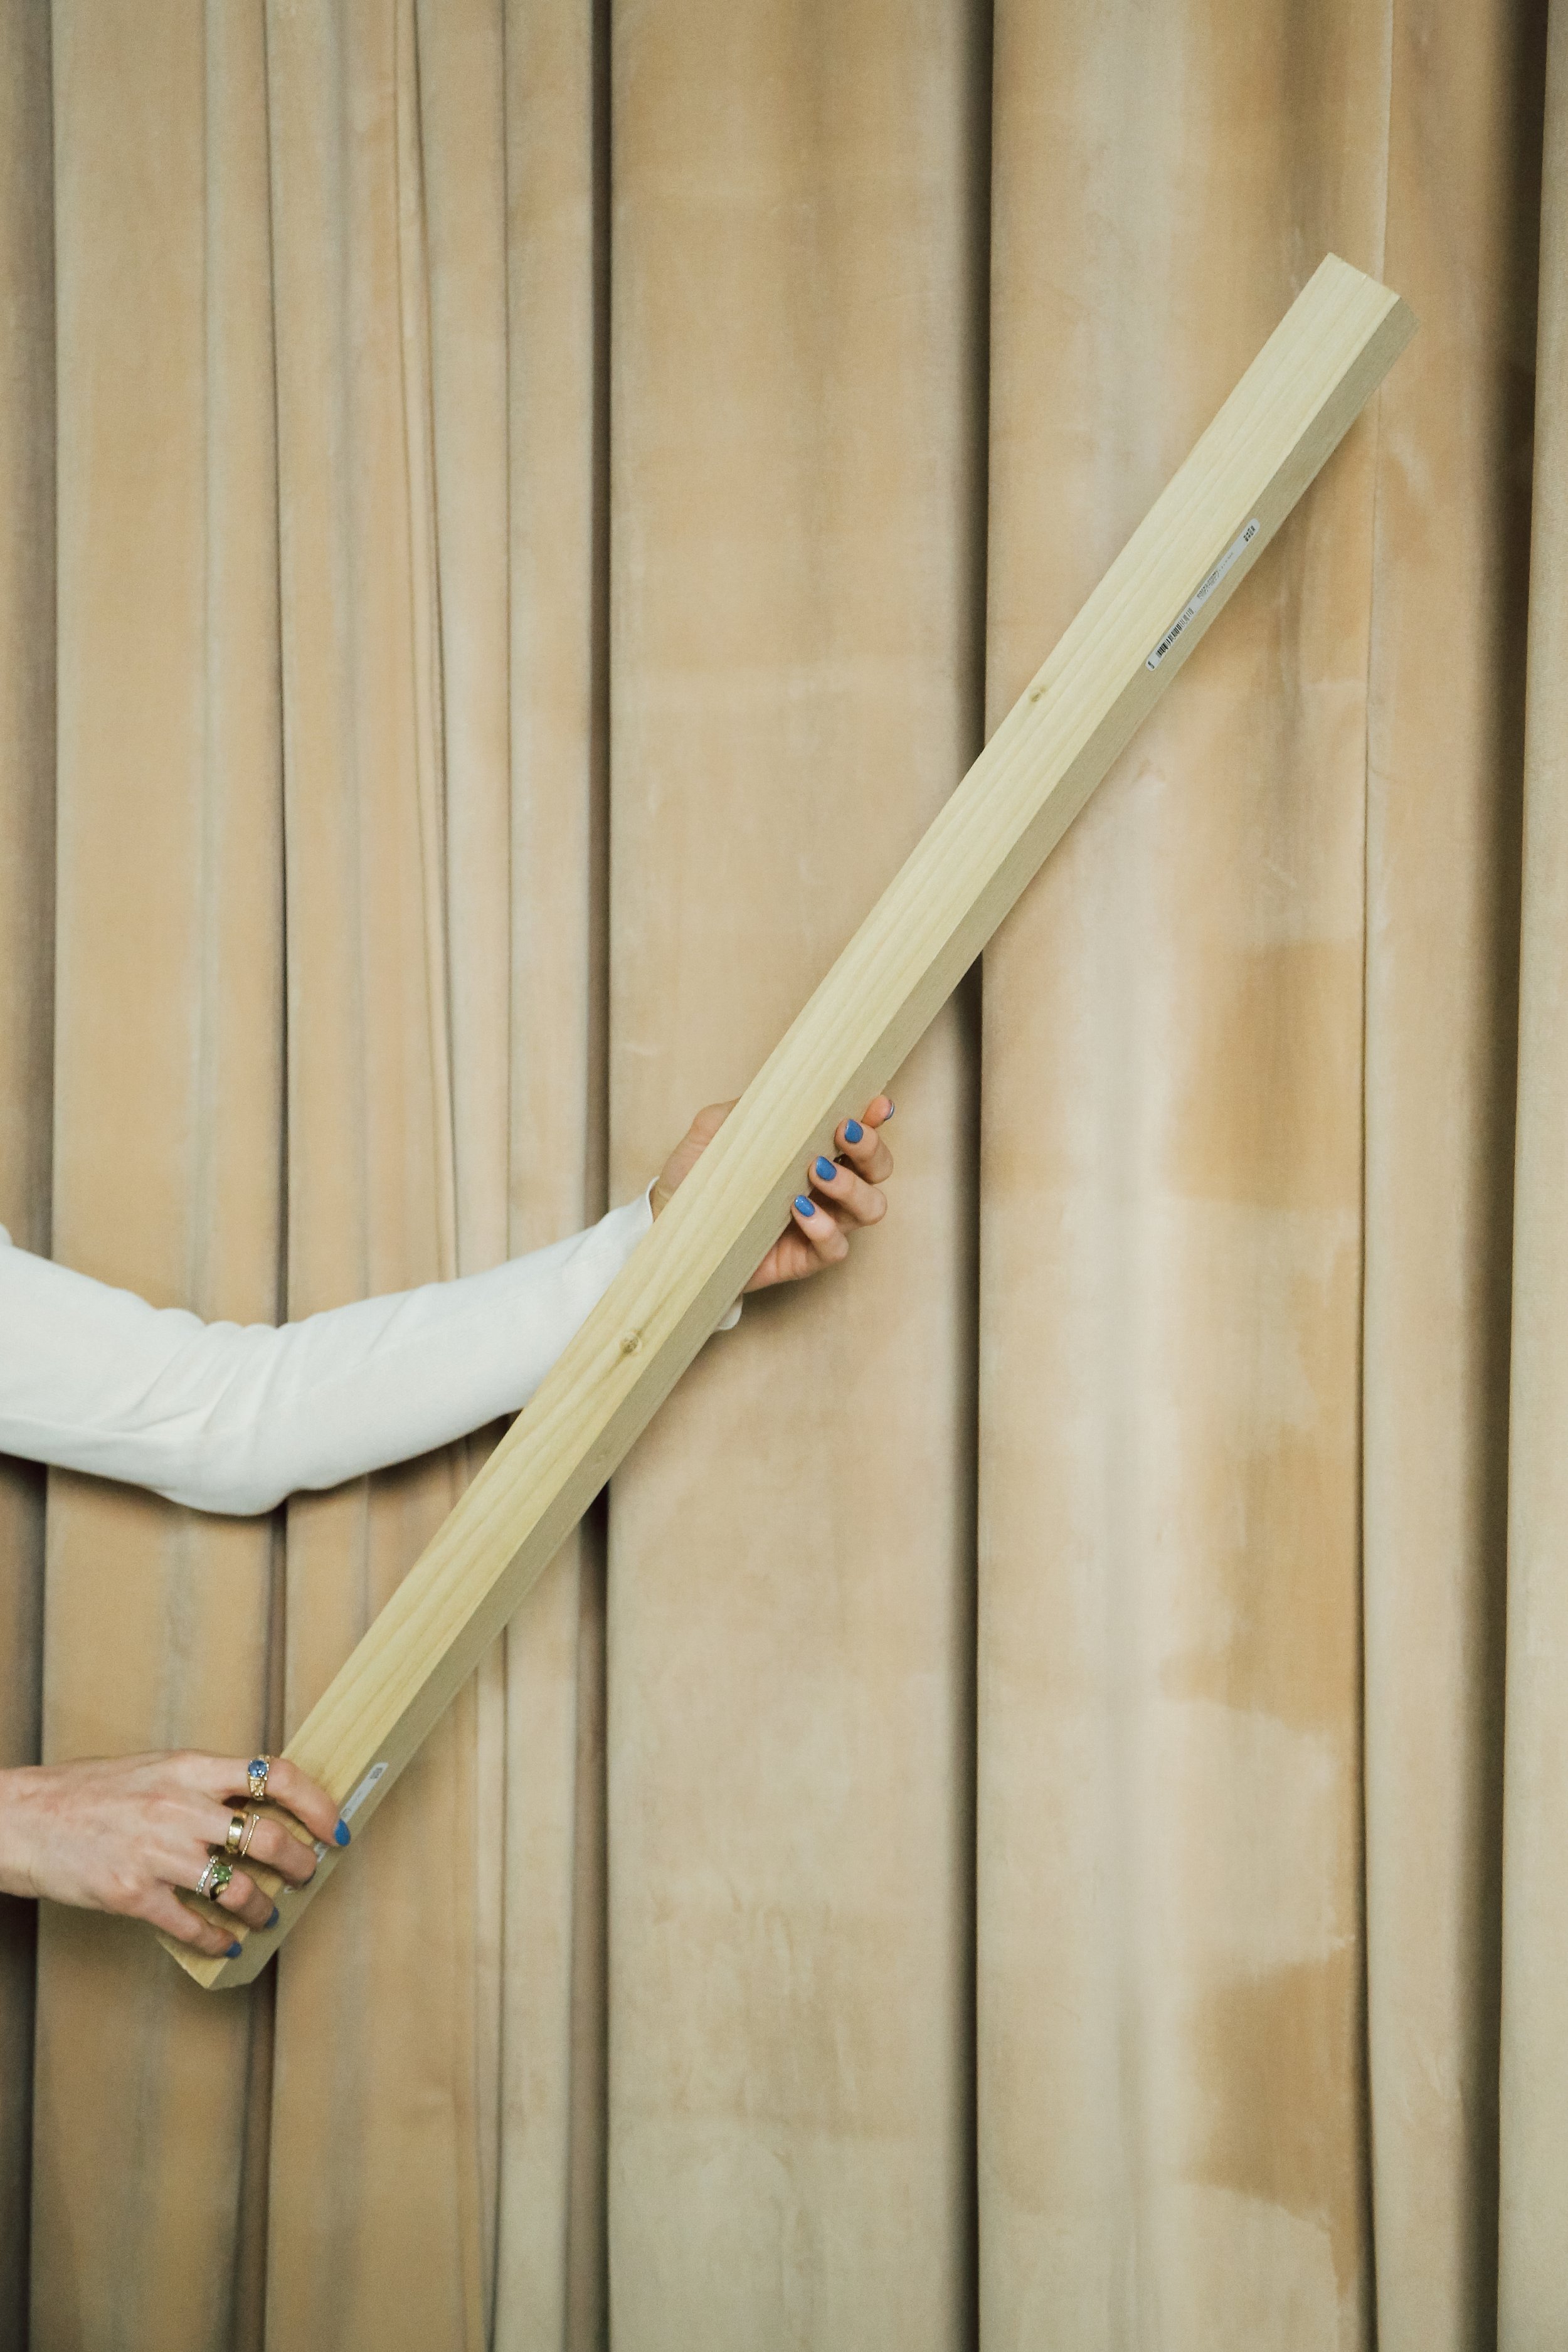
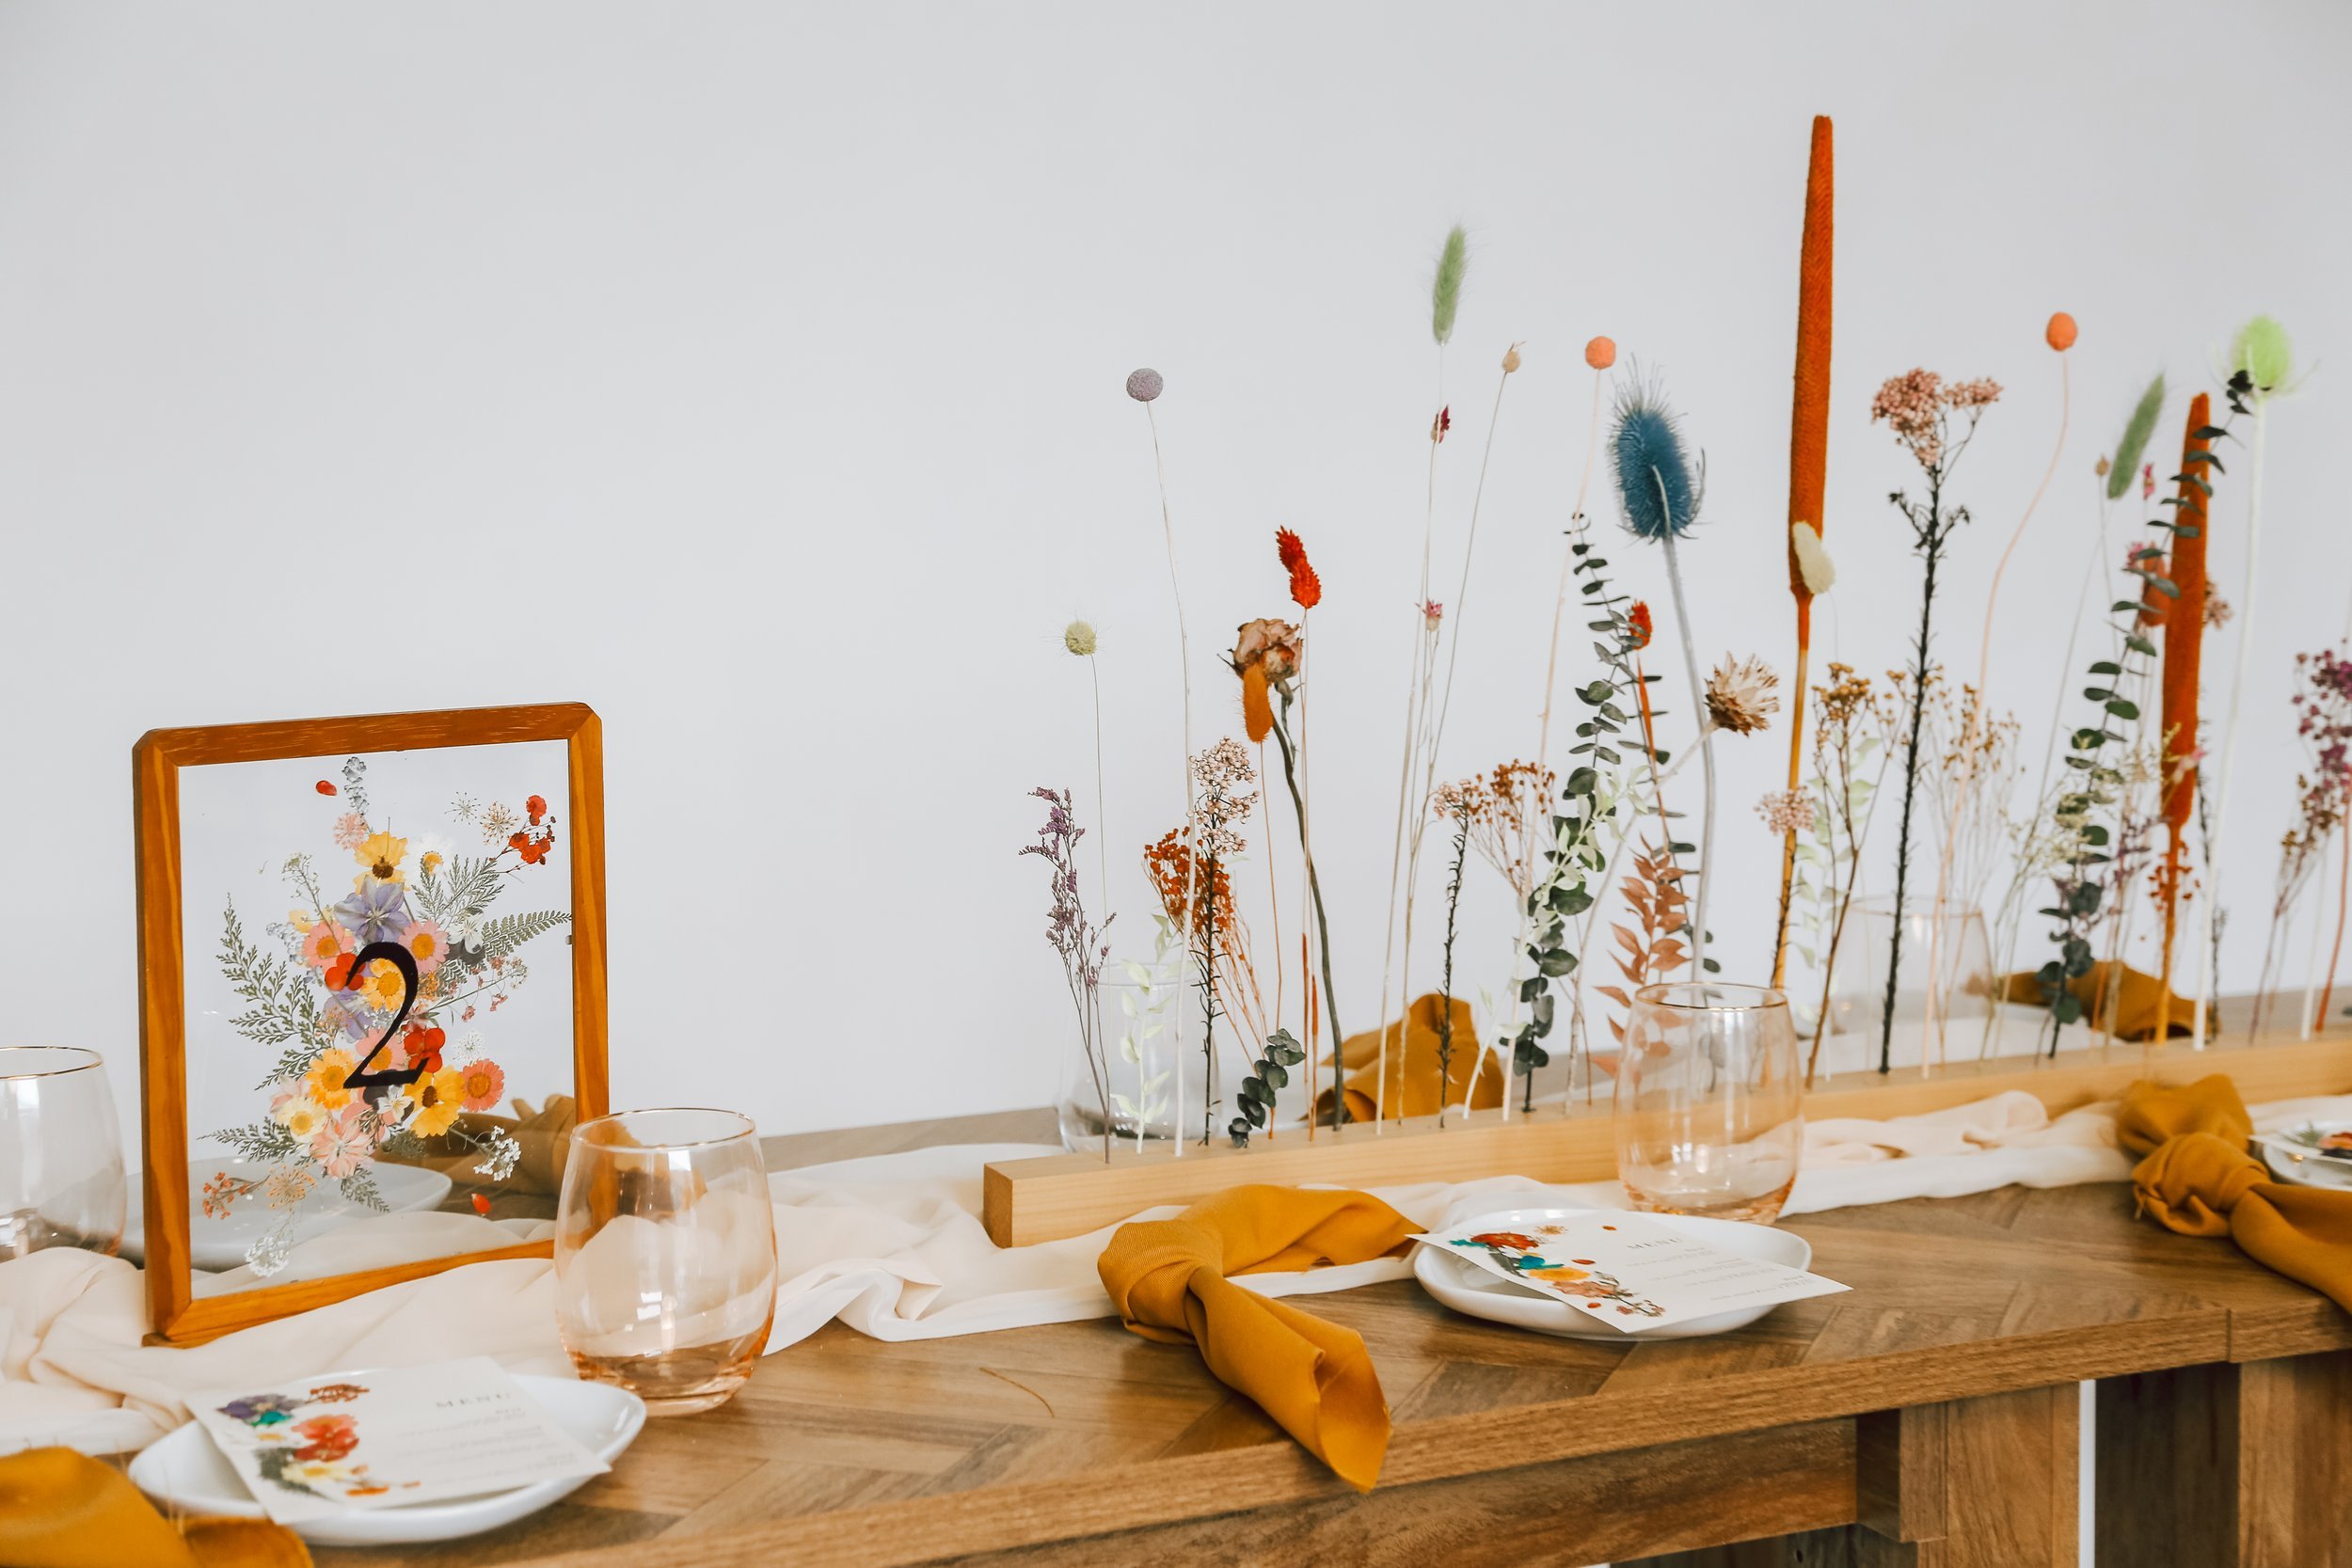
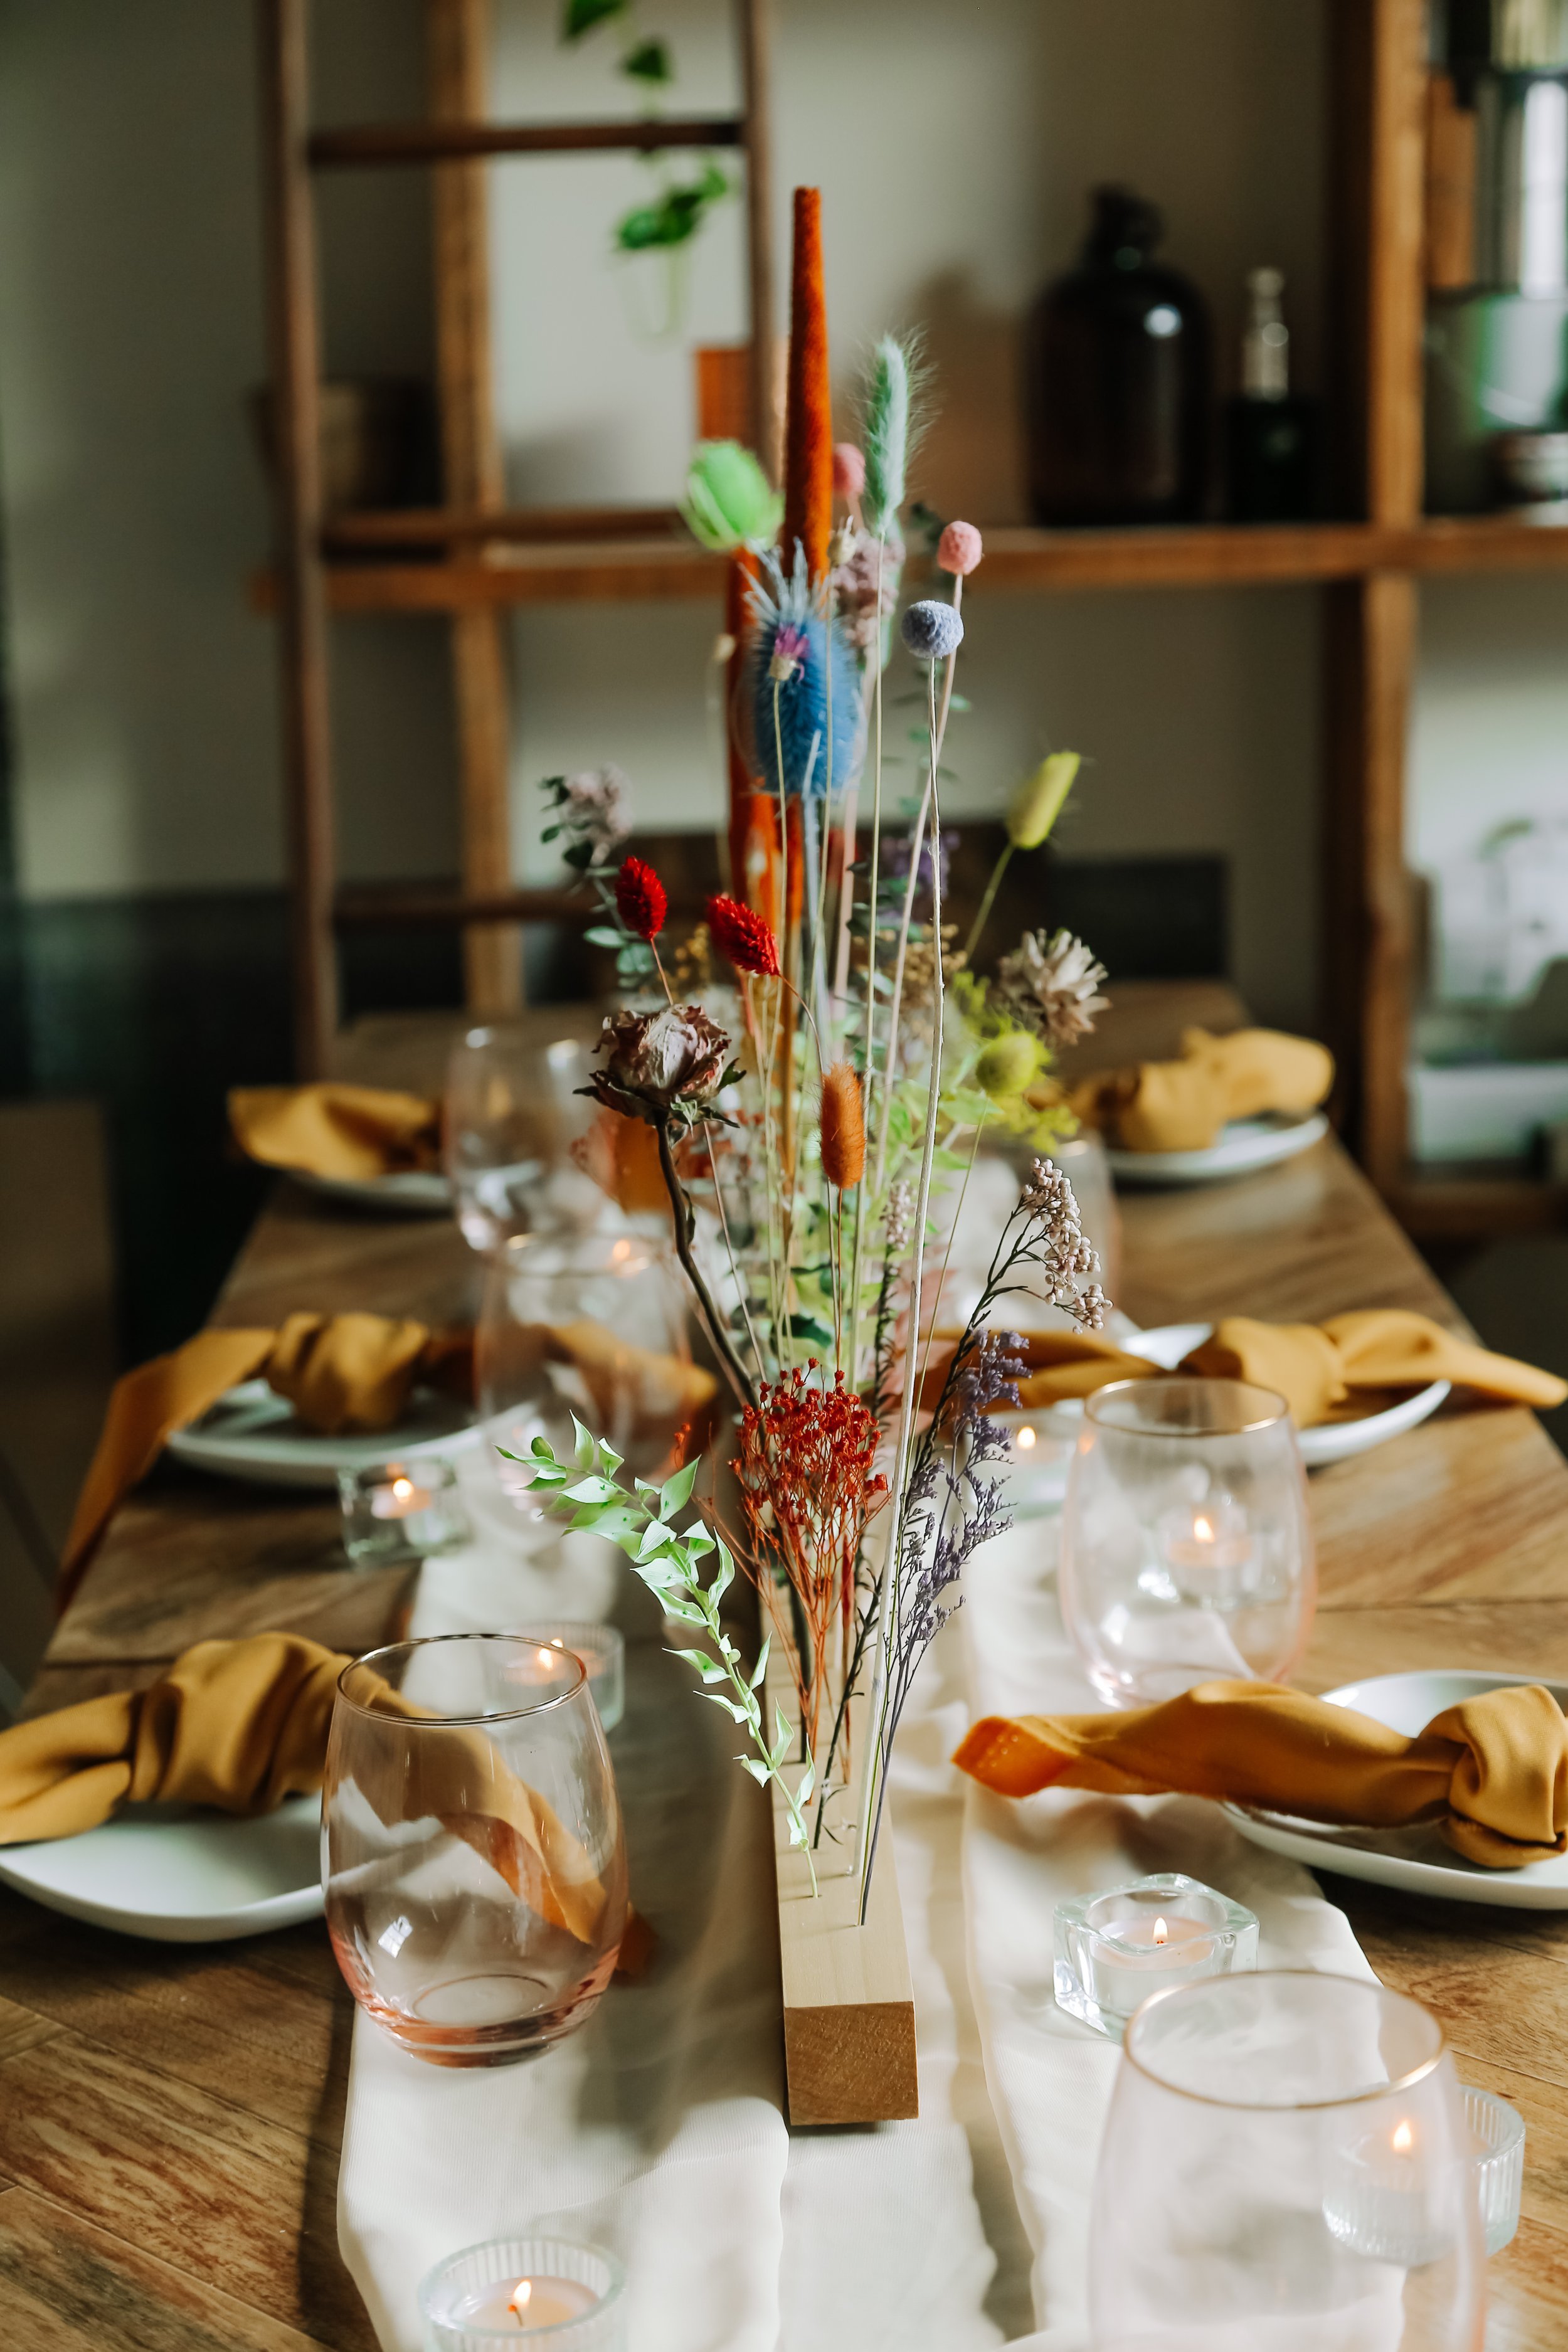
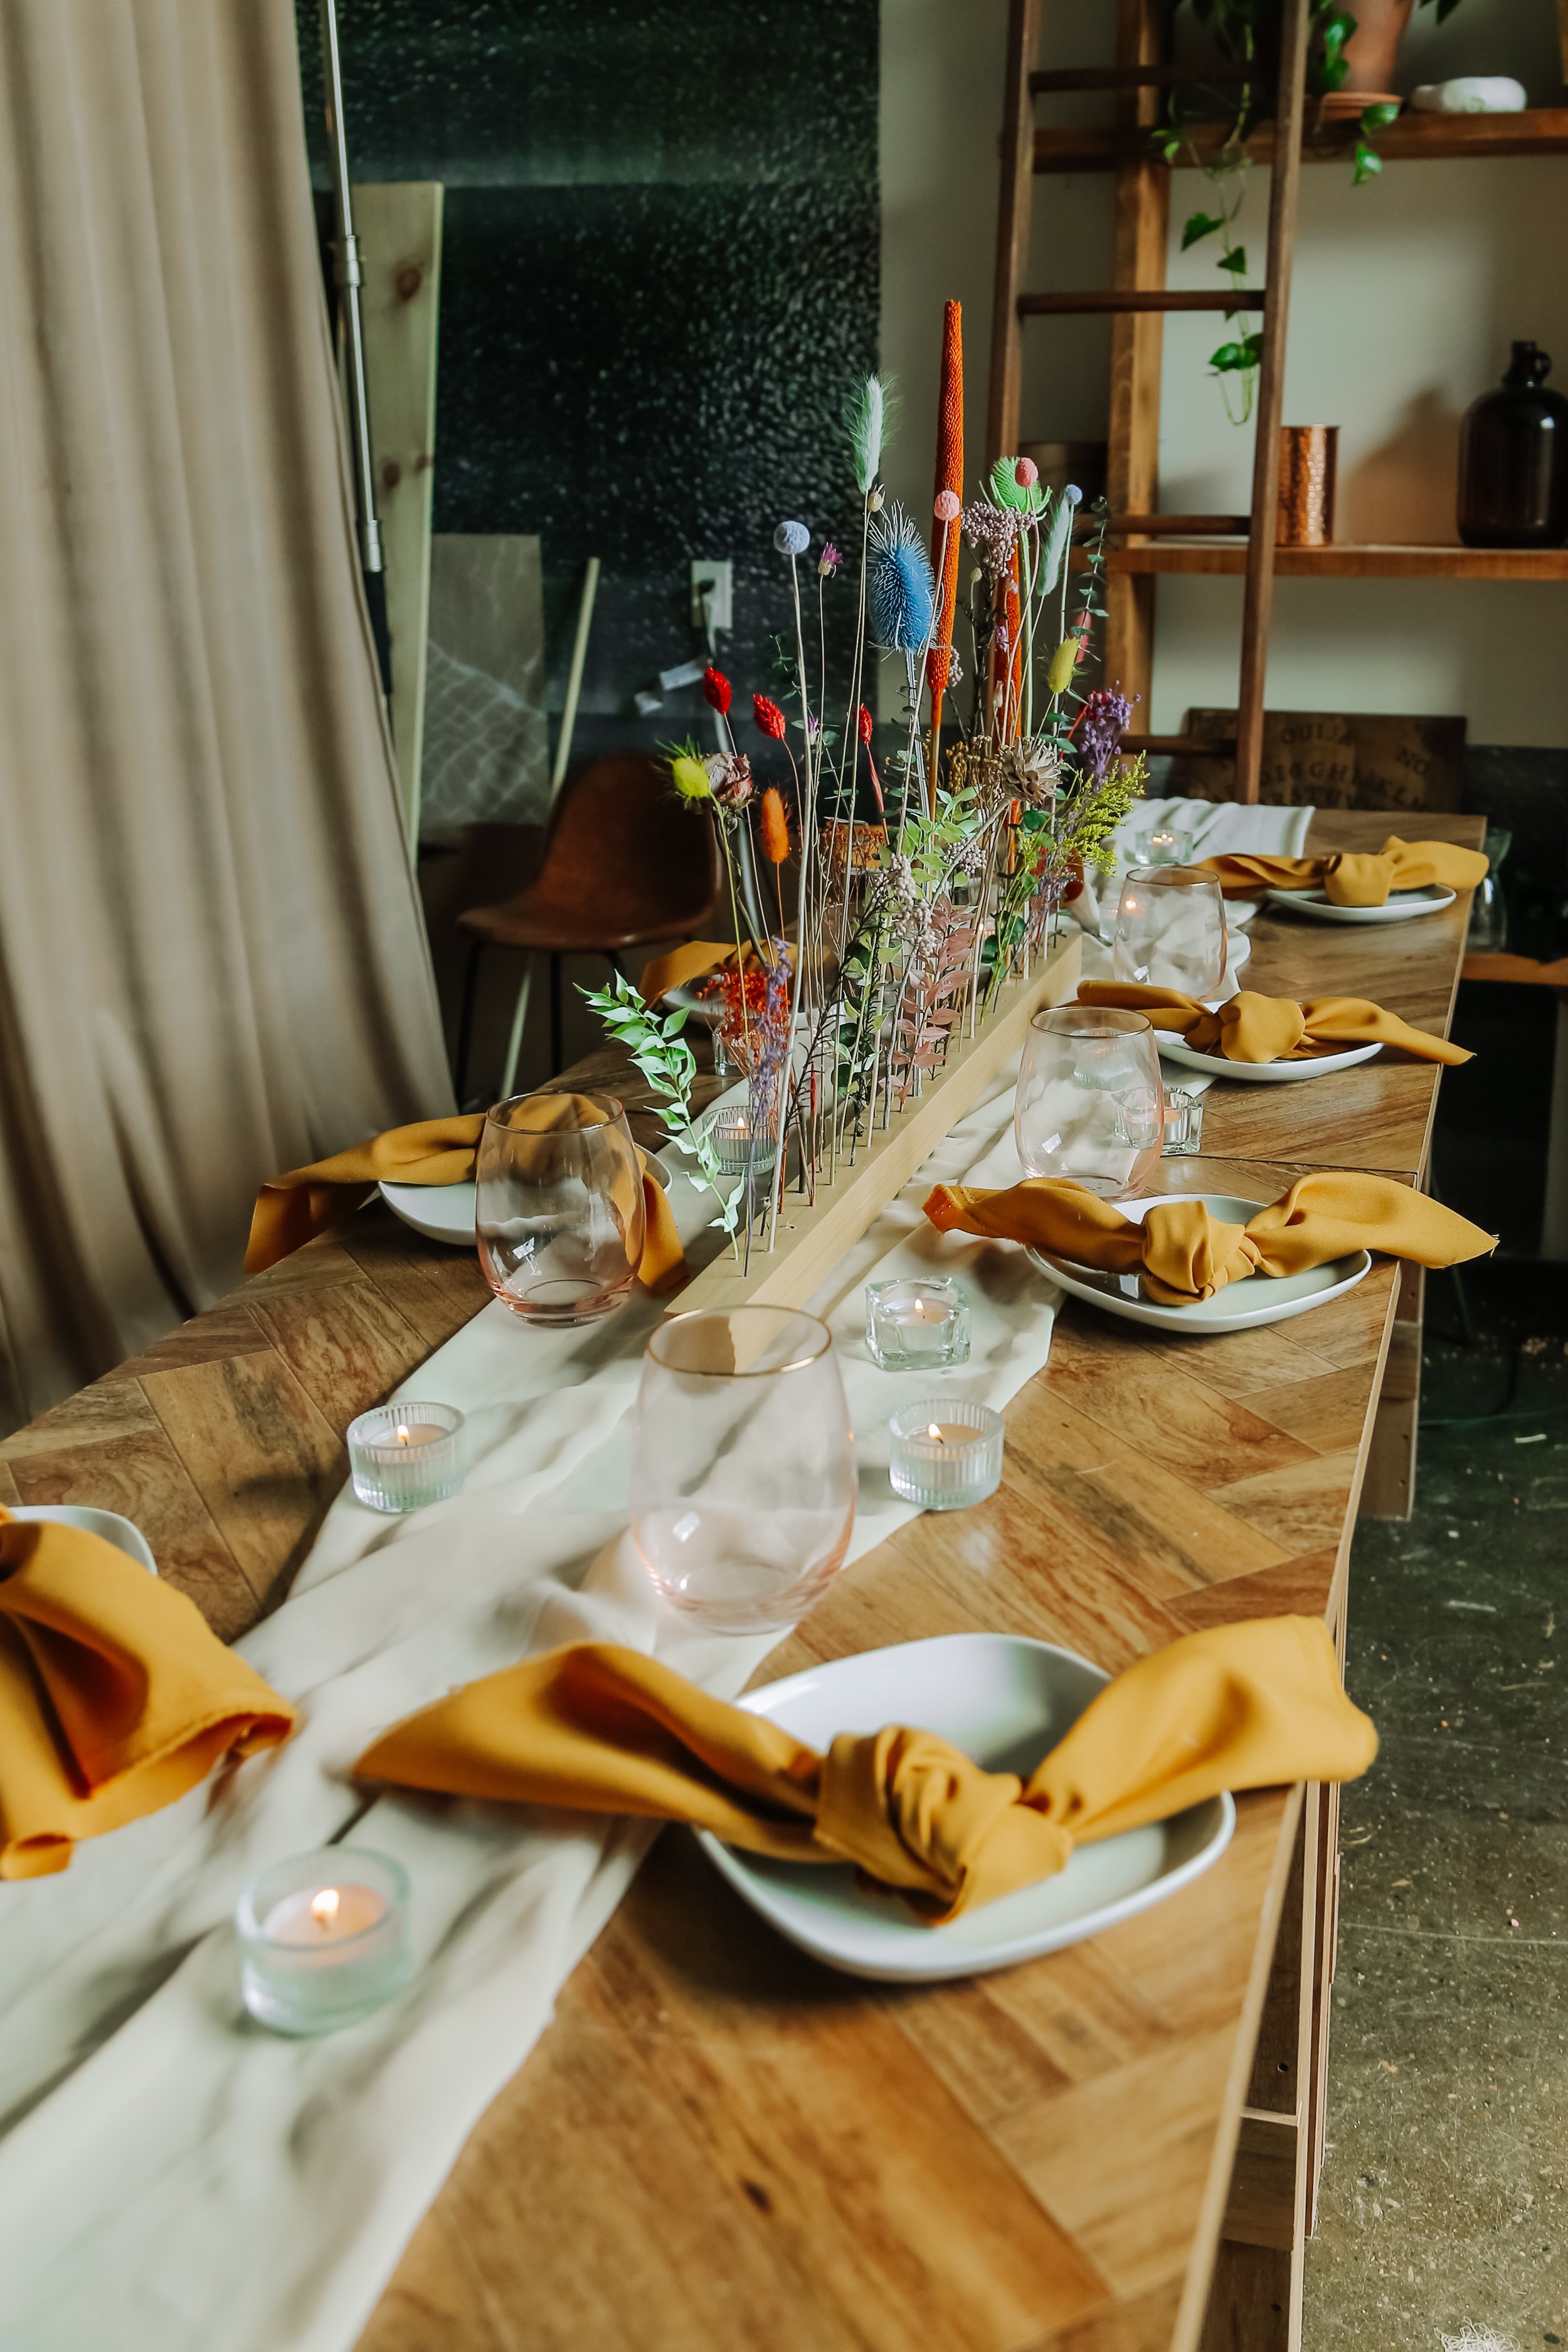
I picked up a piece of wood from my local hardware store and turned it into a beautiful centrepiece for our tables. This can also be used for a dinner party, or just decor in your house! I love this design because it's super simple to achieve and it doesn't require an abundant amount of florals like most centrepieces, but you still get that wow factor.
This piece of wood is a 2"x2'“ x 3ft piece of poplar. I would opt for a wood with a more prominent grain as opposed to a more inexpensive piece (like pine); this piece was about $15 and I definitely think it was worth the couple extra dollars.
DIY
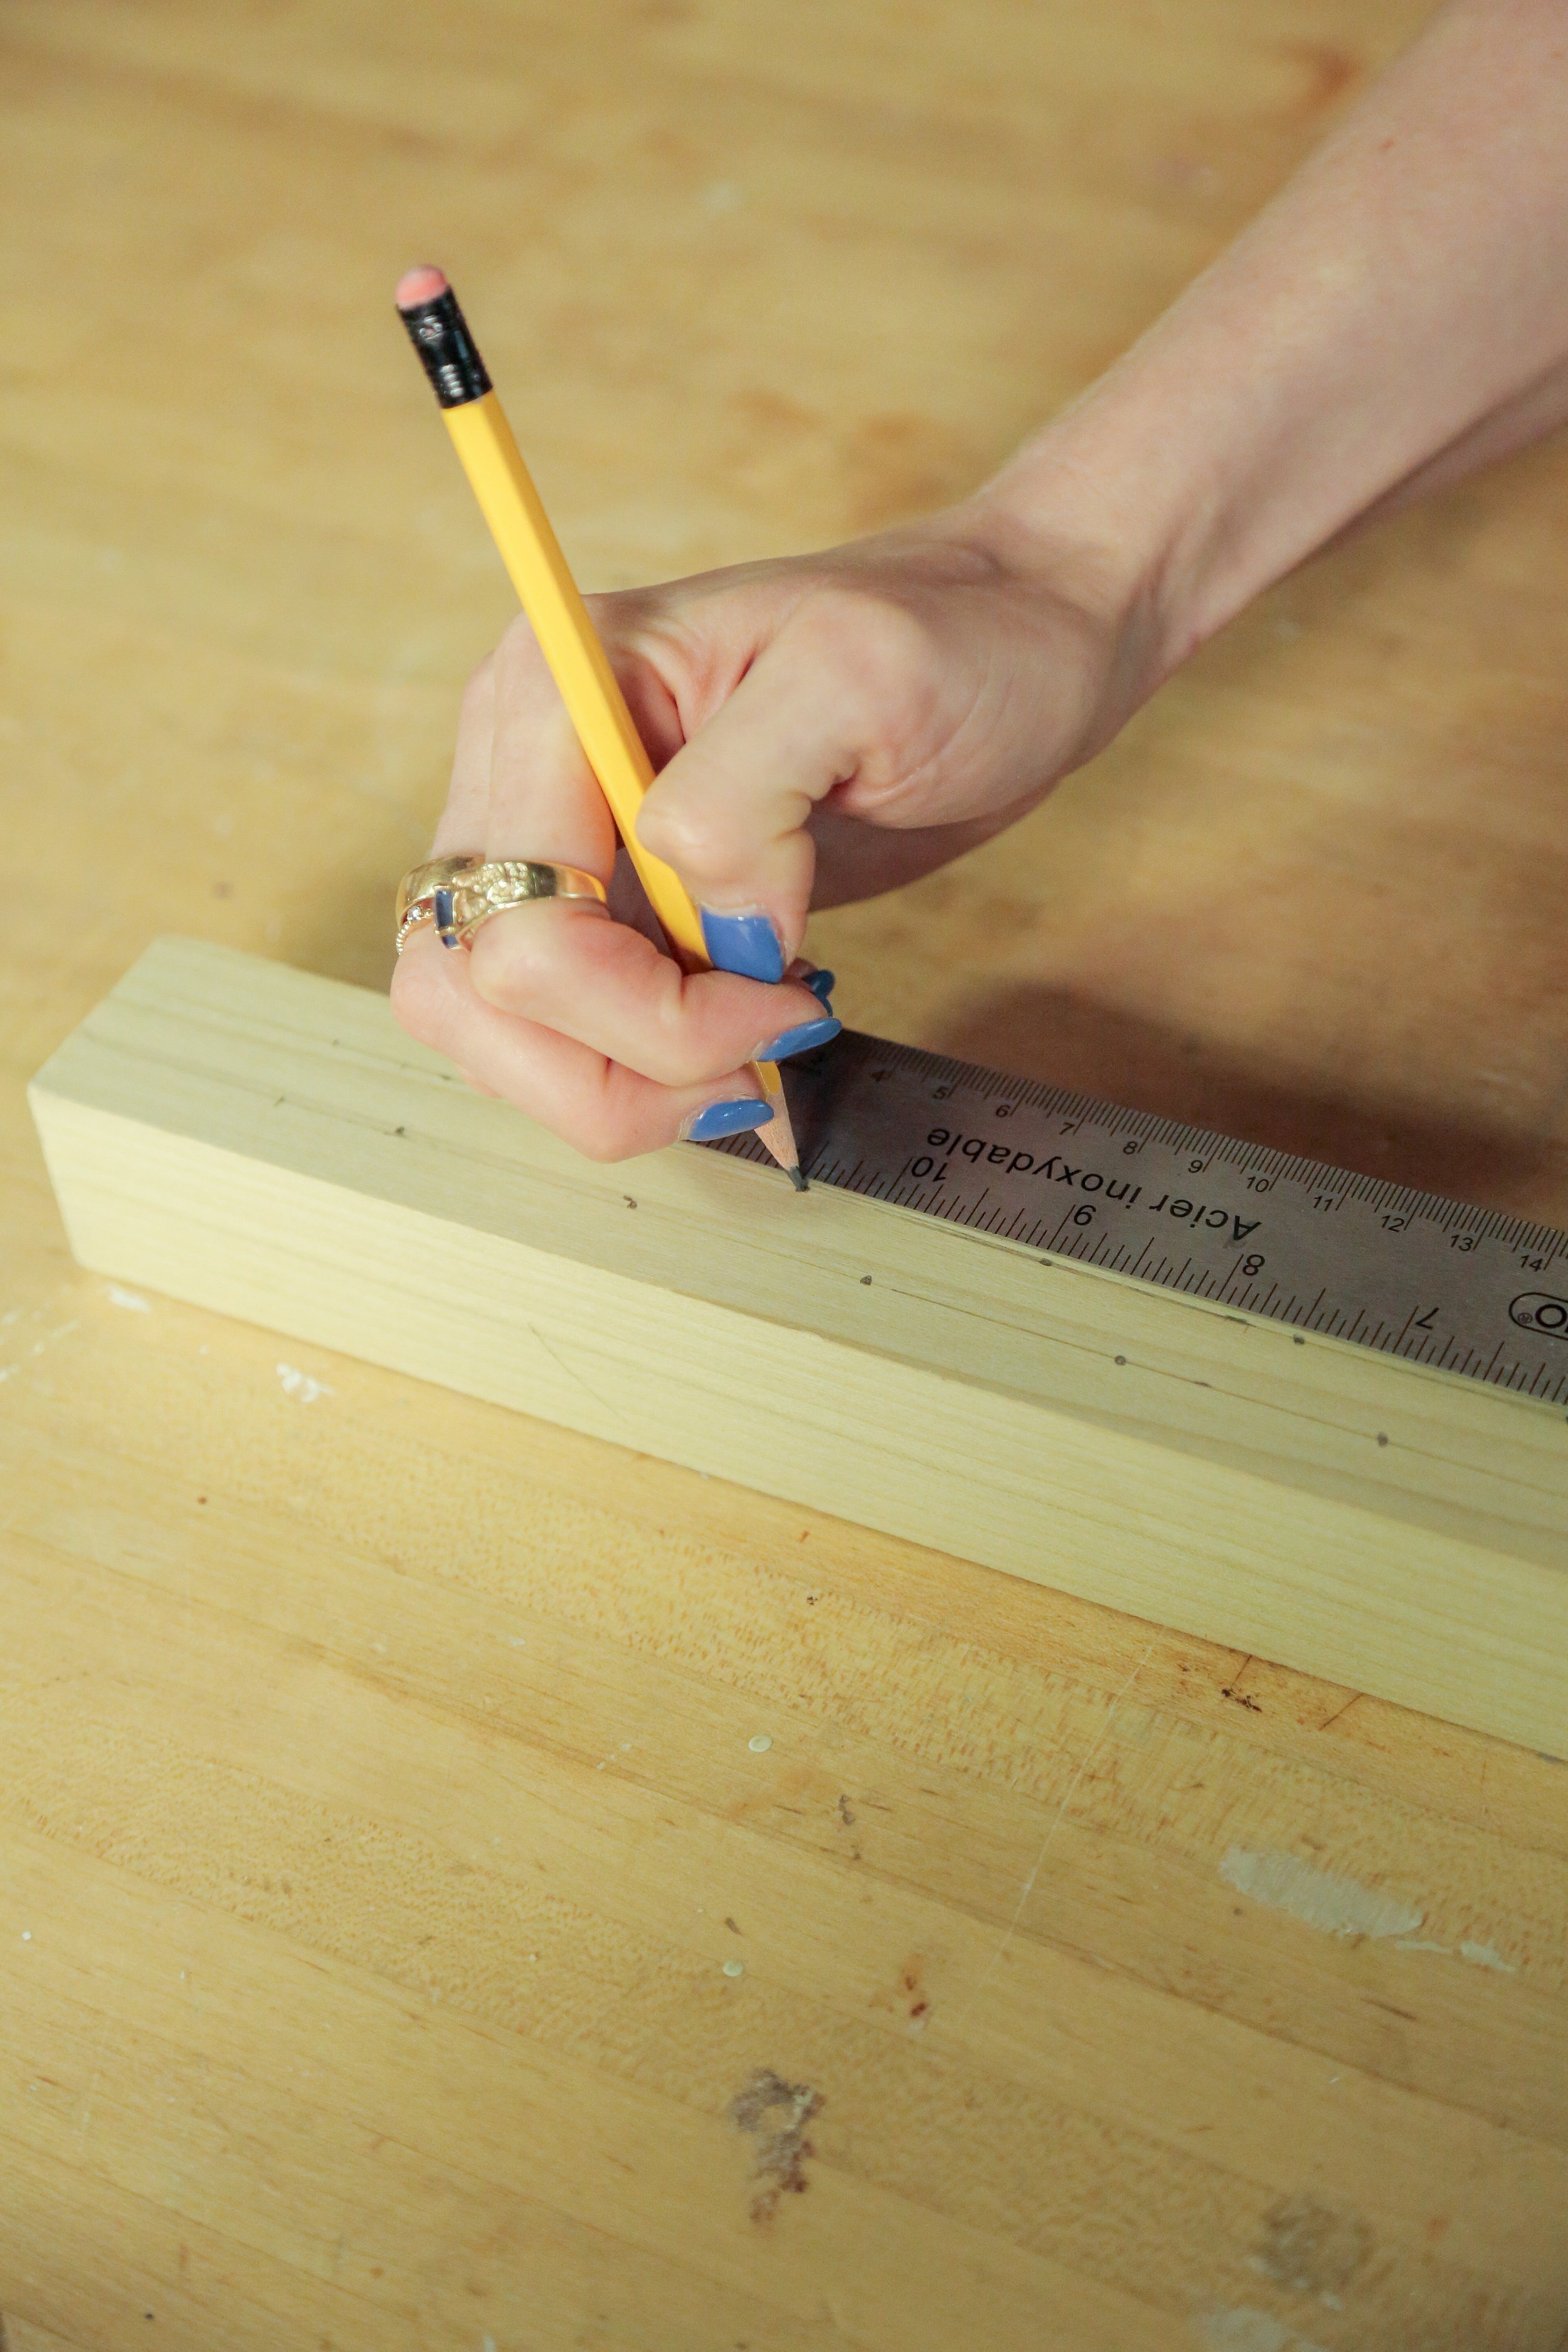
I started by marking two lines evenly spaced. The nominal size of this piece is “2x2”, but it's actually 1.5, so I'm marked my lines at 0.5 and 1 inches.
Next I evenly marked holes about 1.5 inches apart down the wood and staggered those markings on alternating sides.
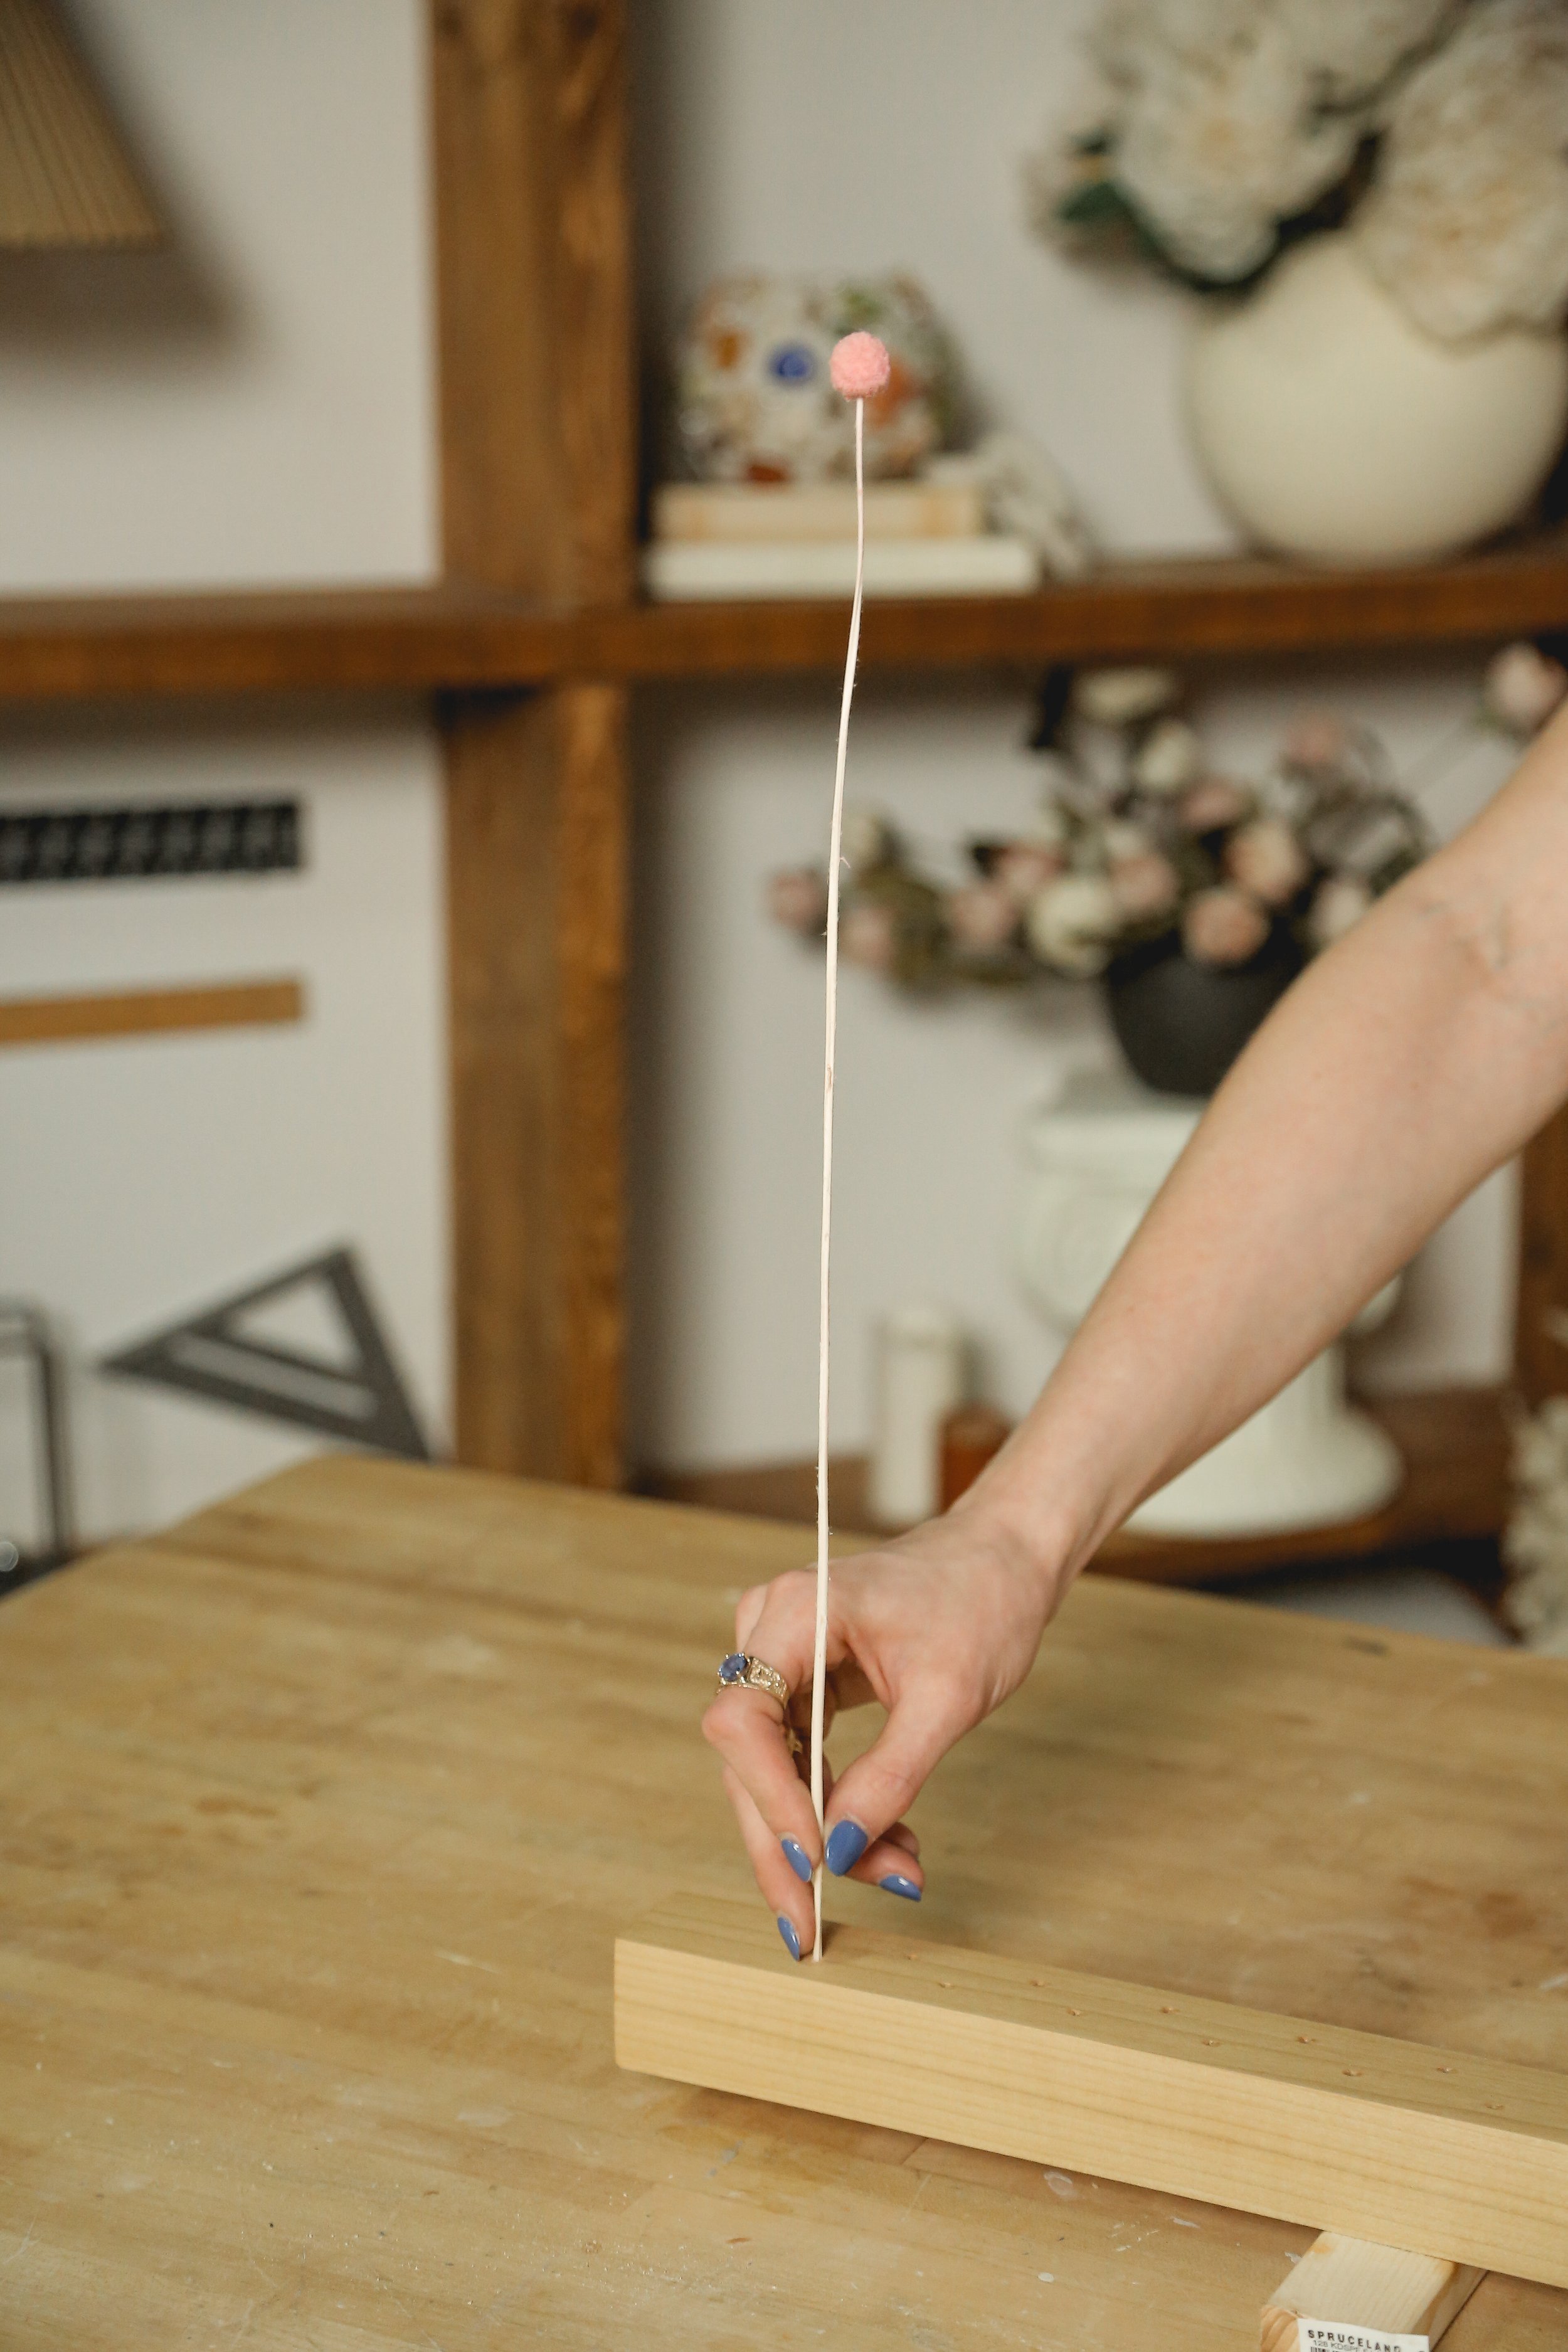
After all my markings were done, I drilled holes about half way through the plank where I marked those dots; (you’ll want your drill bit to be about the width of a stem, which I know can vary, so as a good middle ground, I used an ⅛” bit).

Then I just hand sanded all sides, making sure to remove the pencil lines before I went in with some stain and top coat to really make that wood grain pop. The colour I used is called golden pecan.


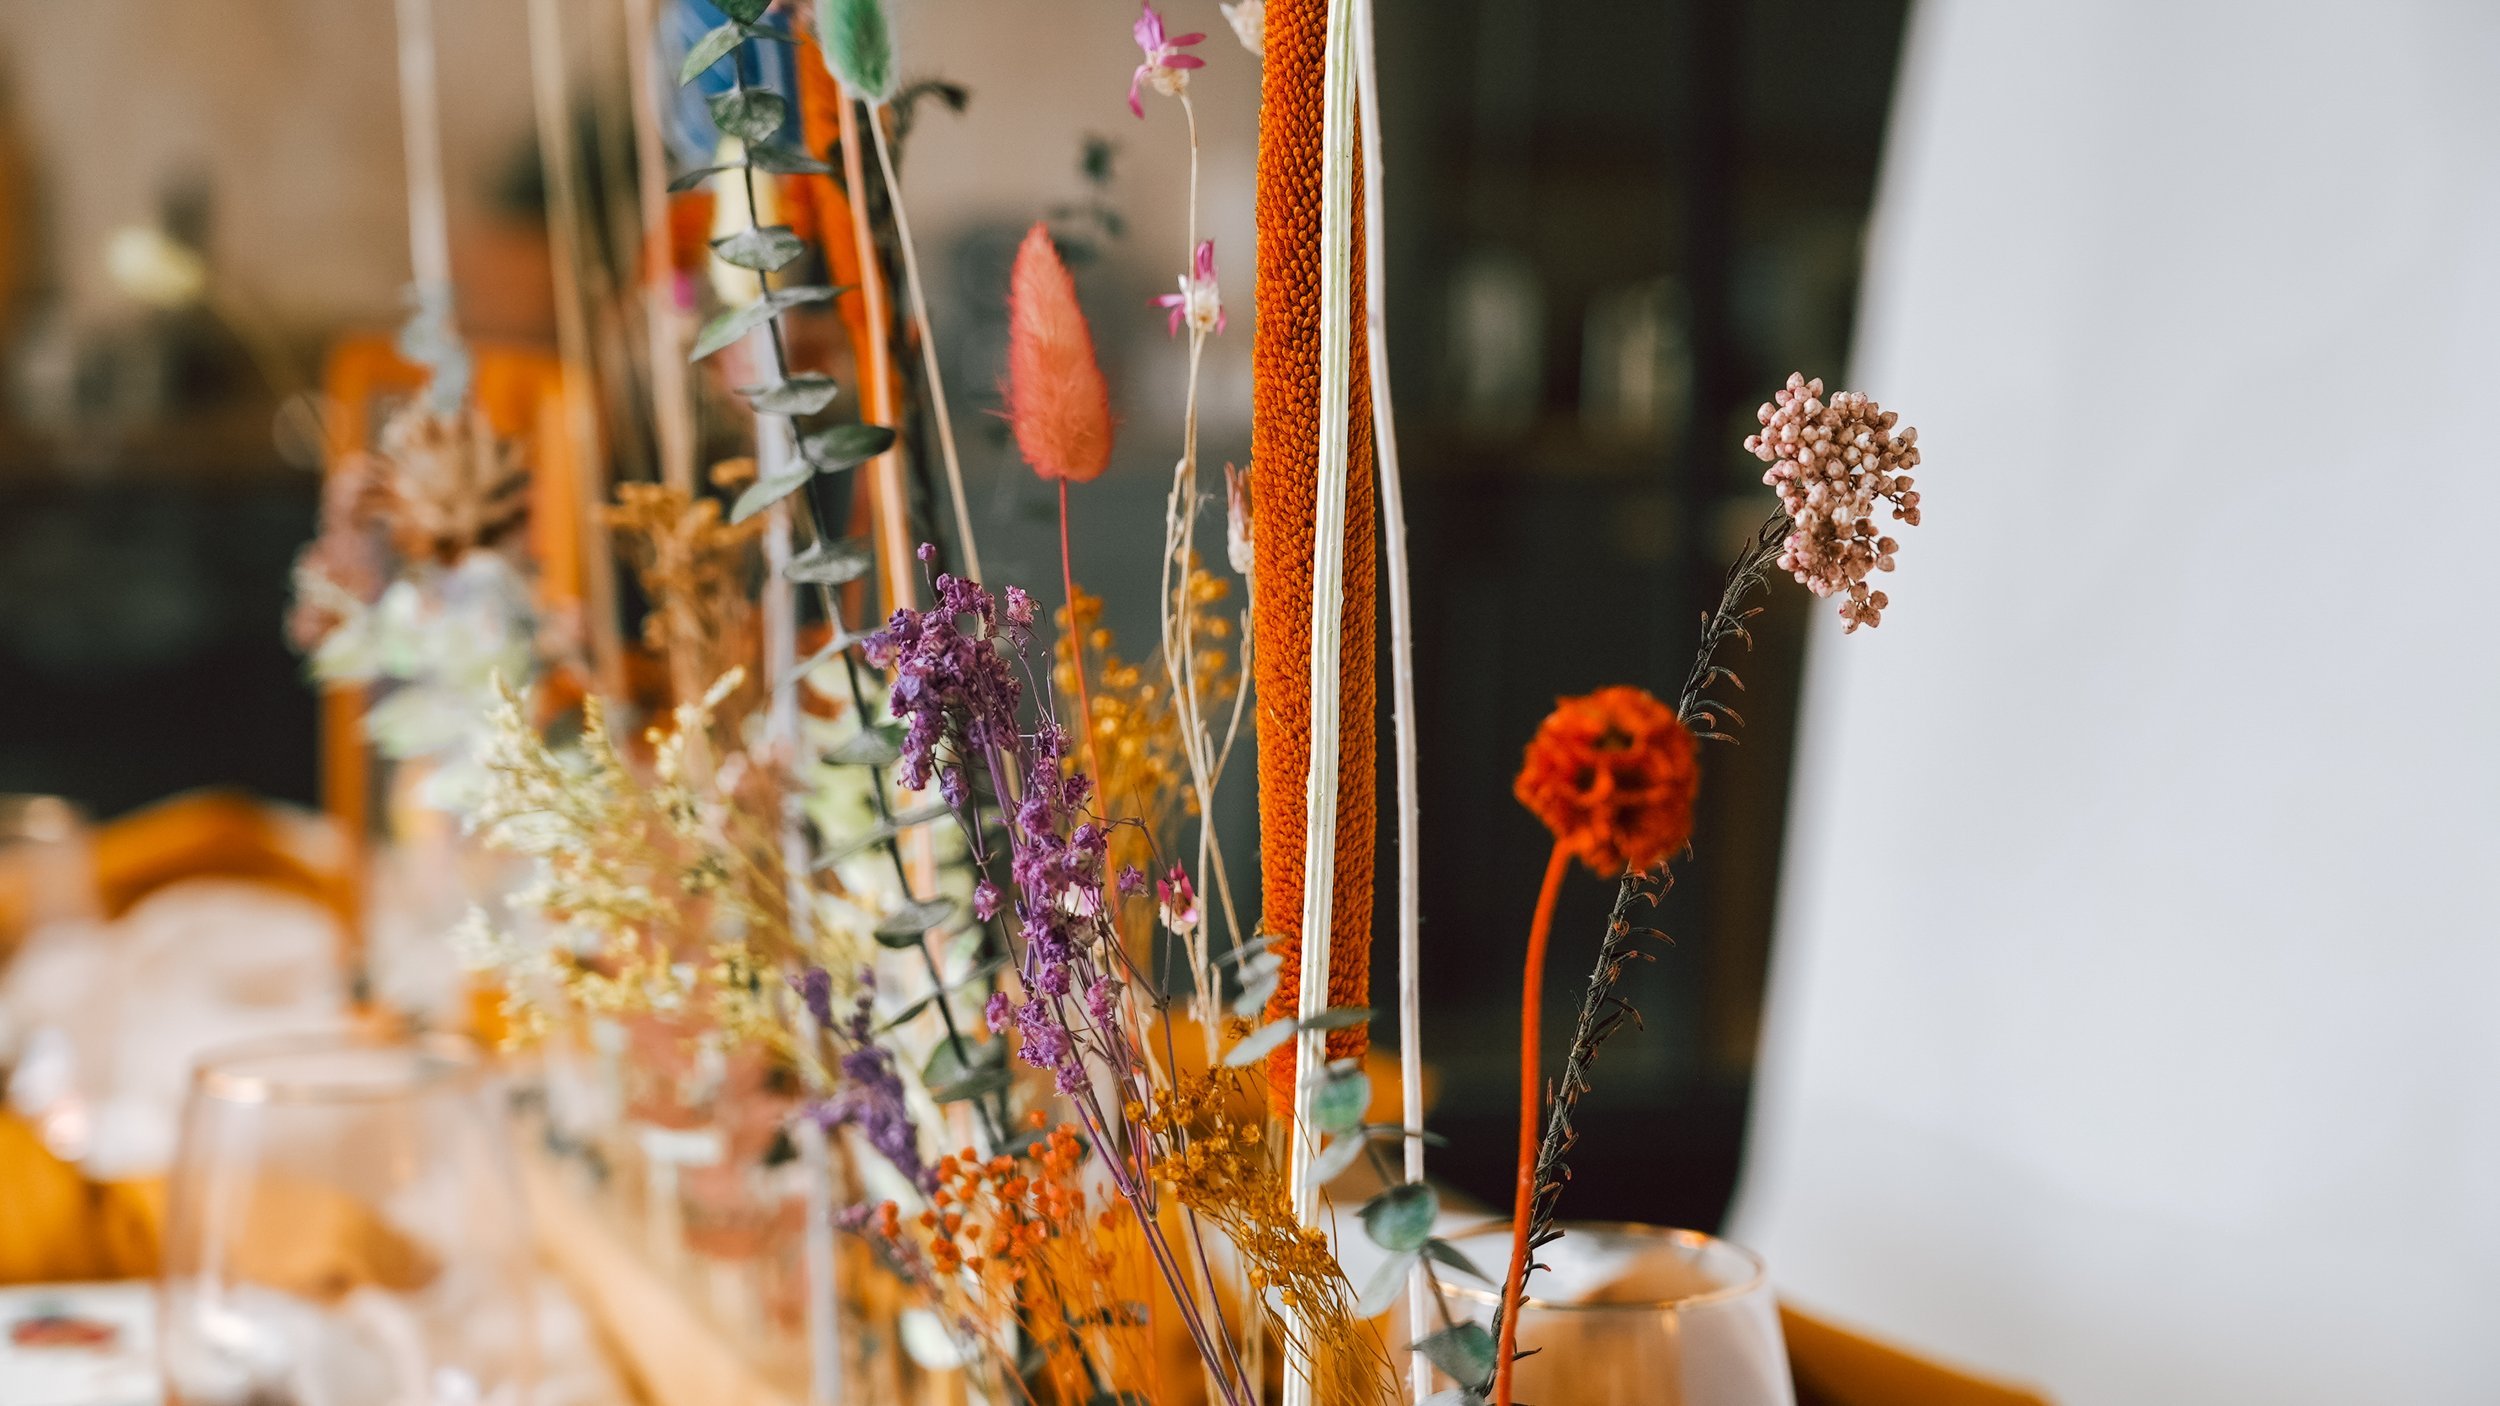
And that’s pretty much it!! Next I just went to a local florist and got some dried flowers to really bring the DIY to life. Just place single stems in all of the holes!
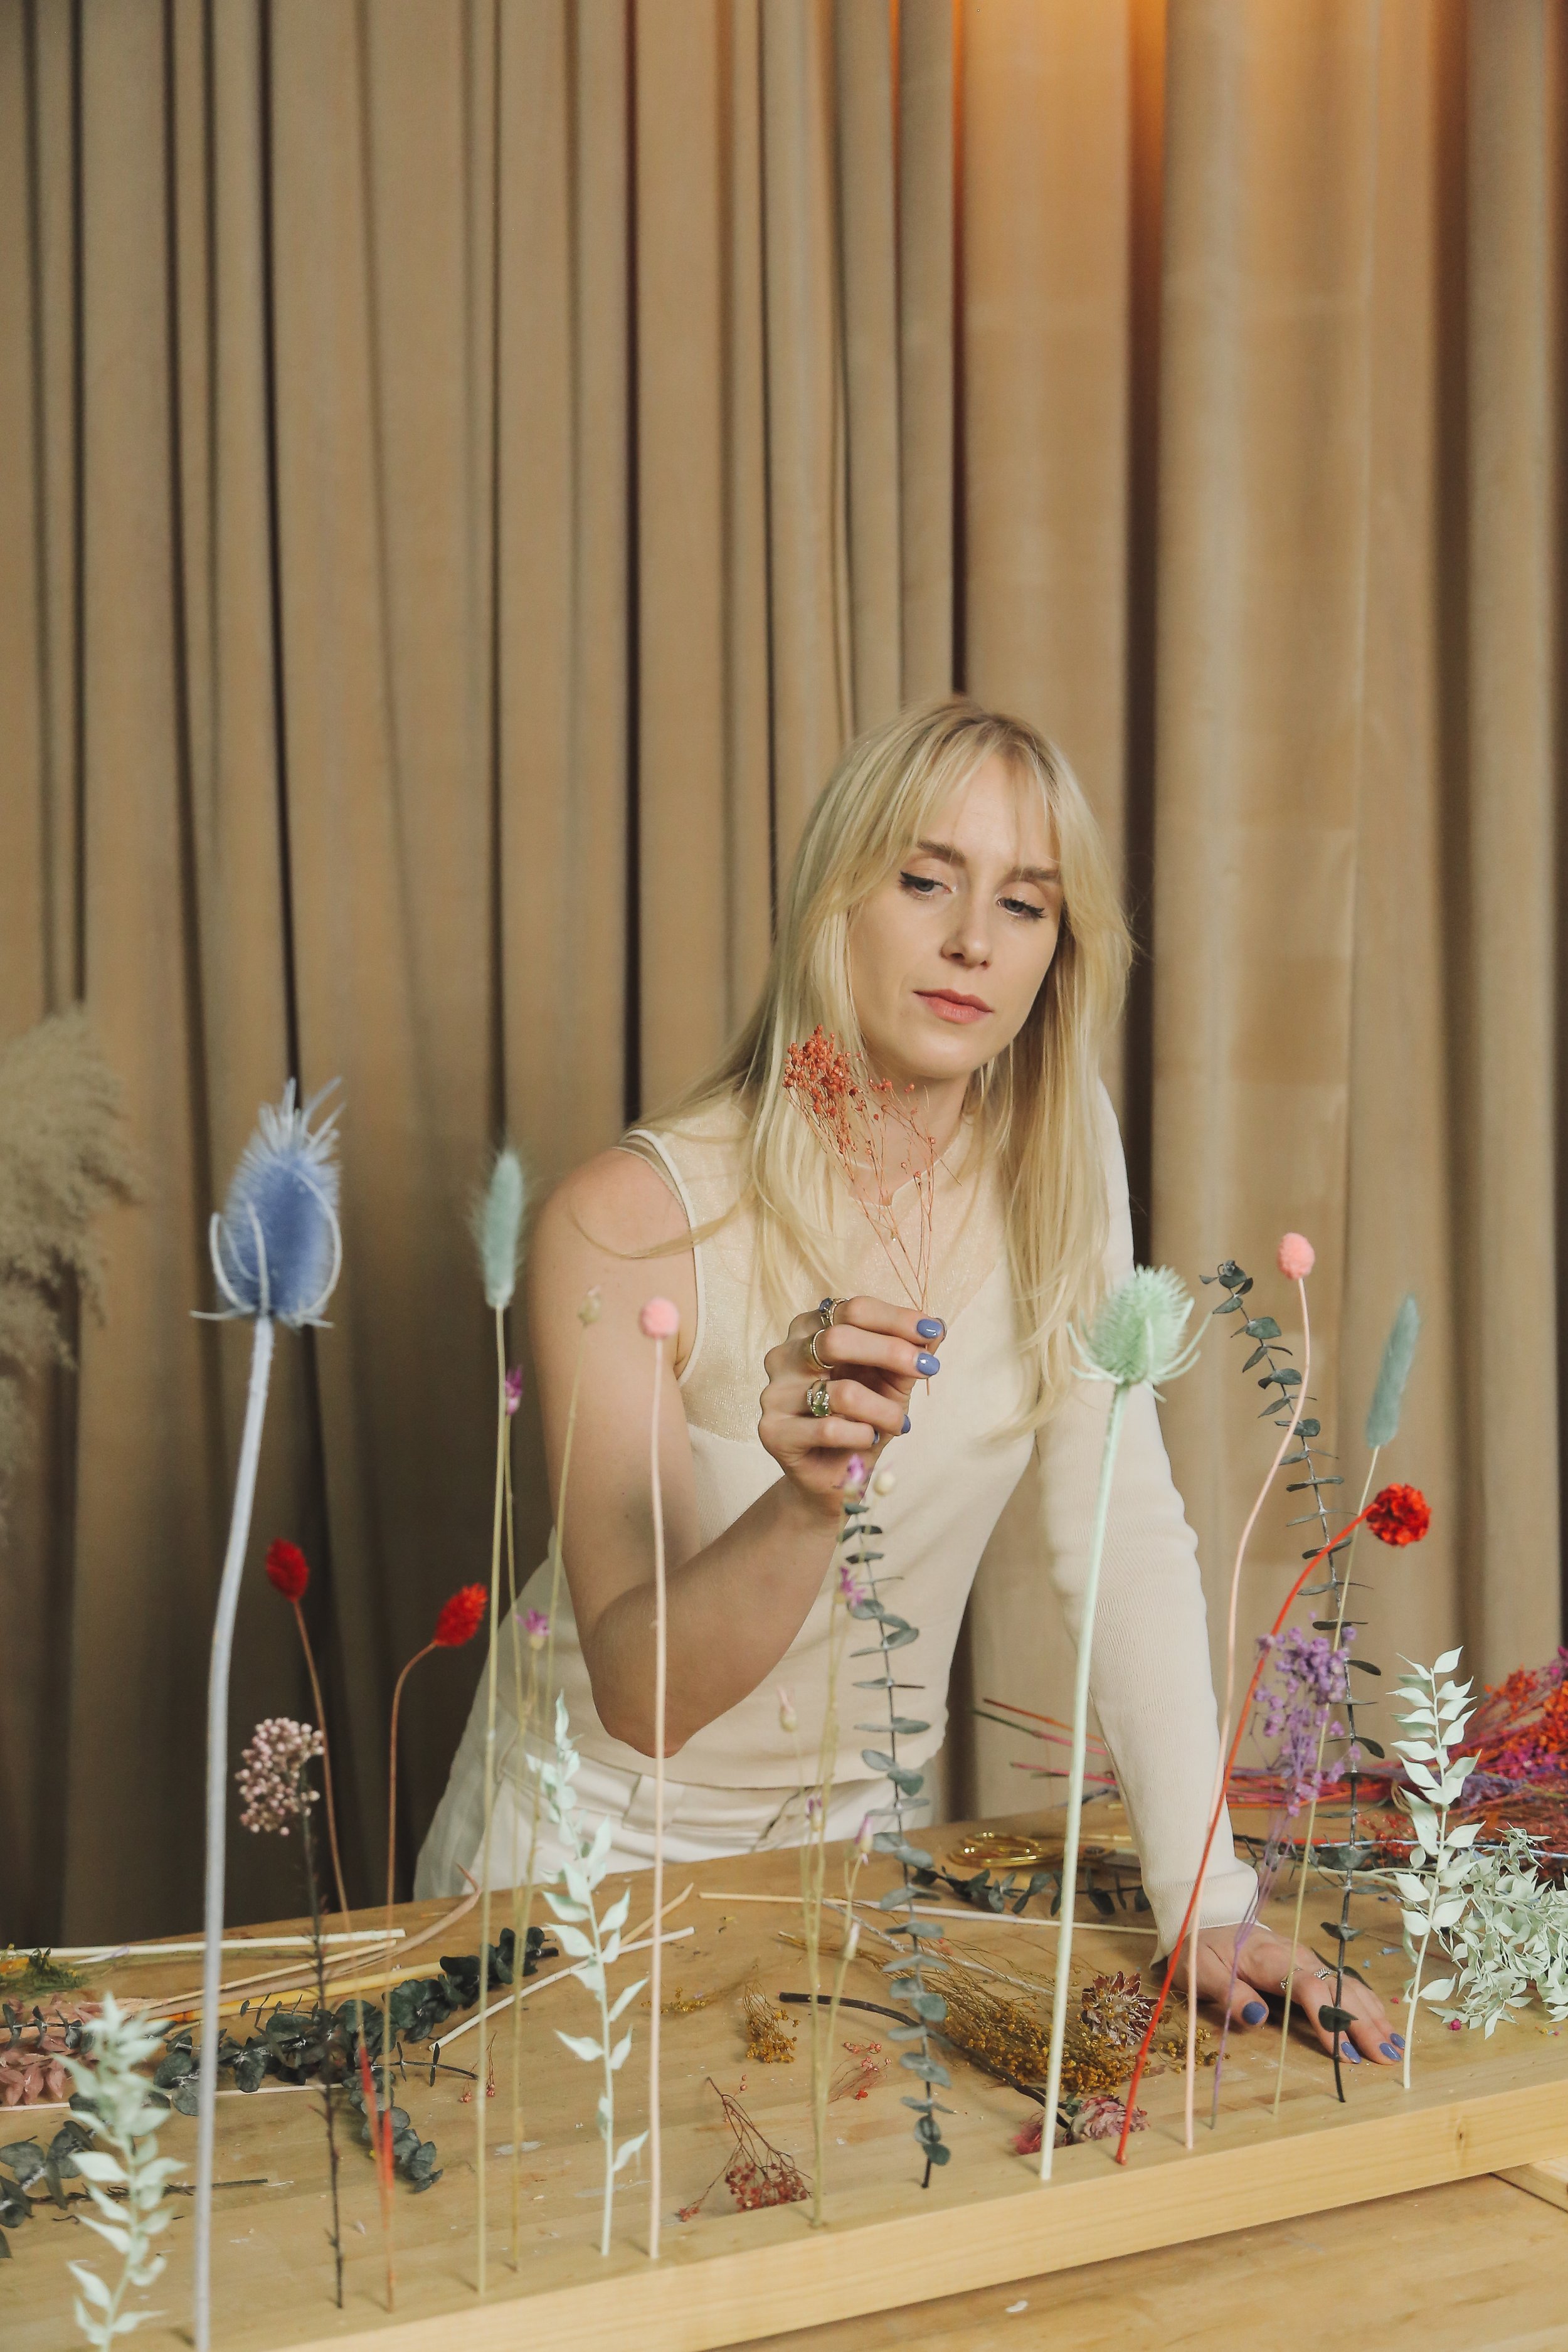
Final Results


Check out more DIY’s based off of this colourful wedding trend in the video below!