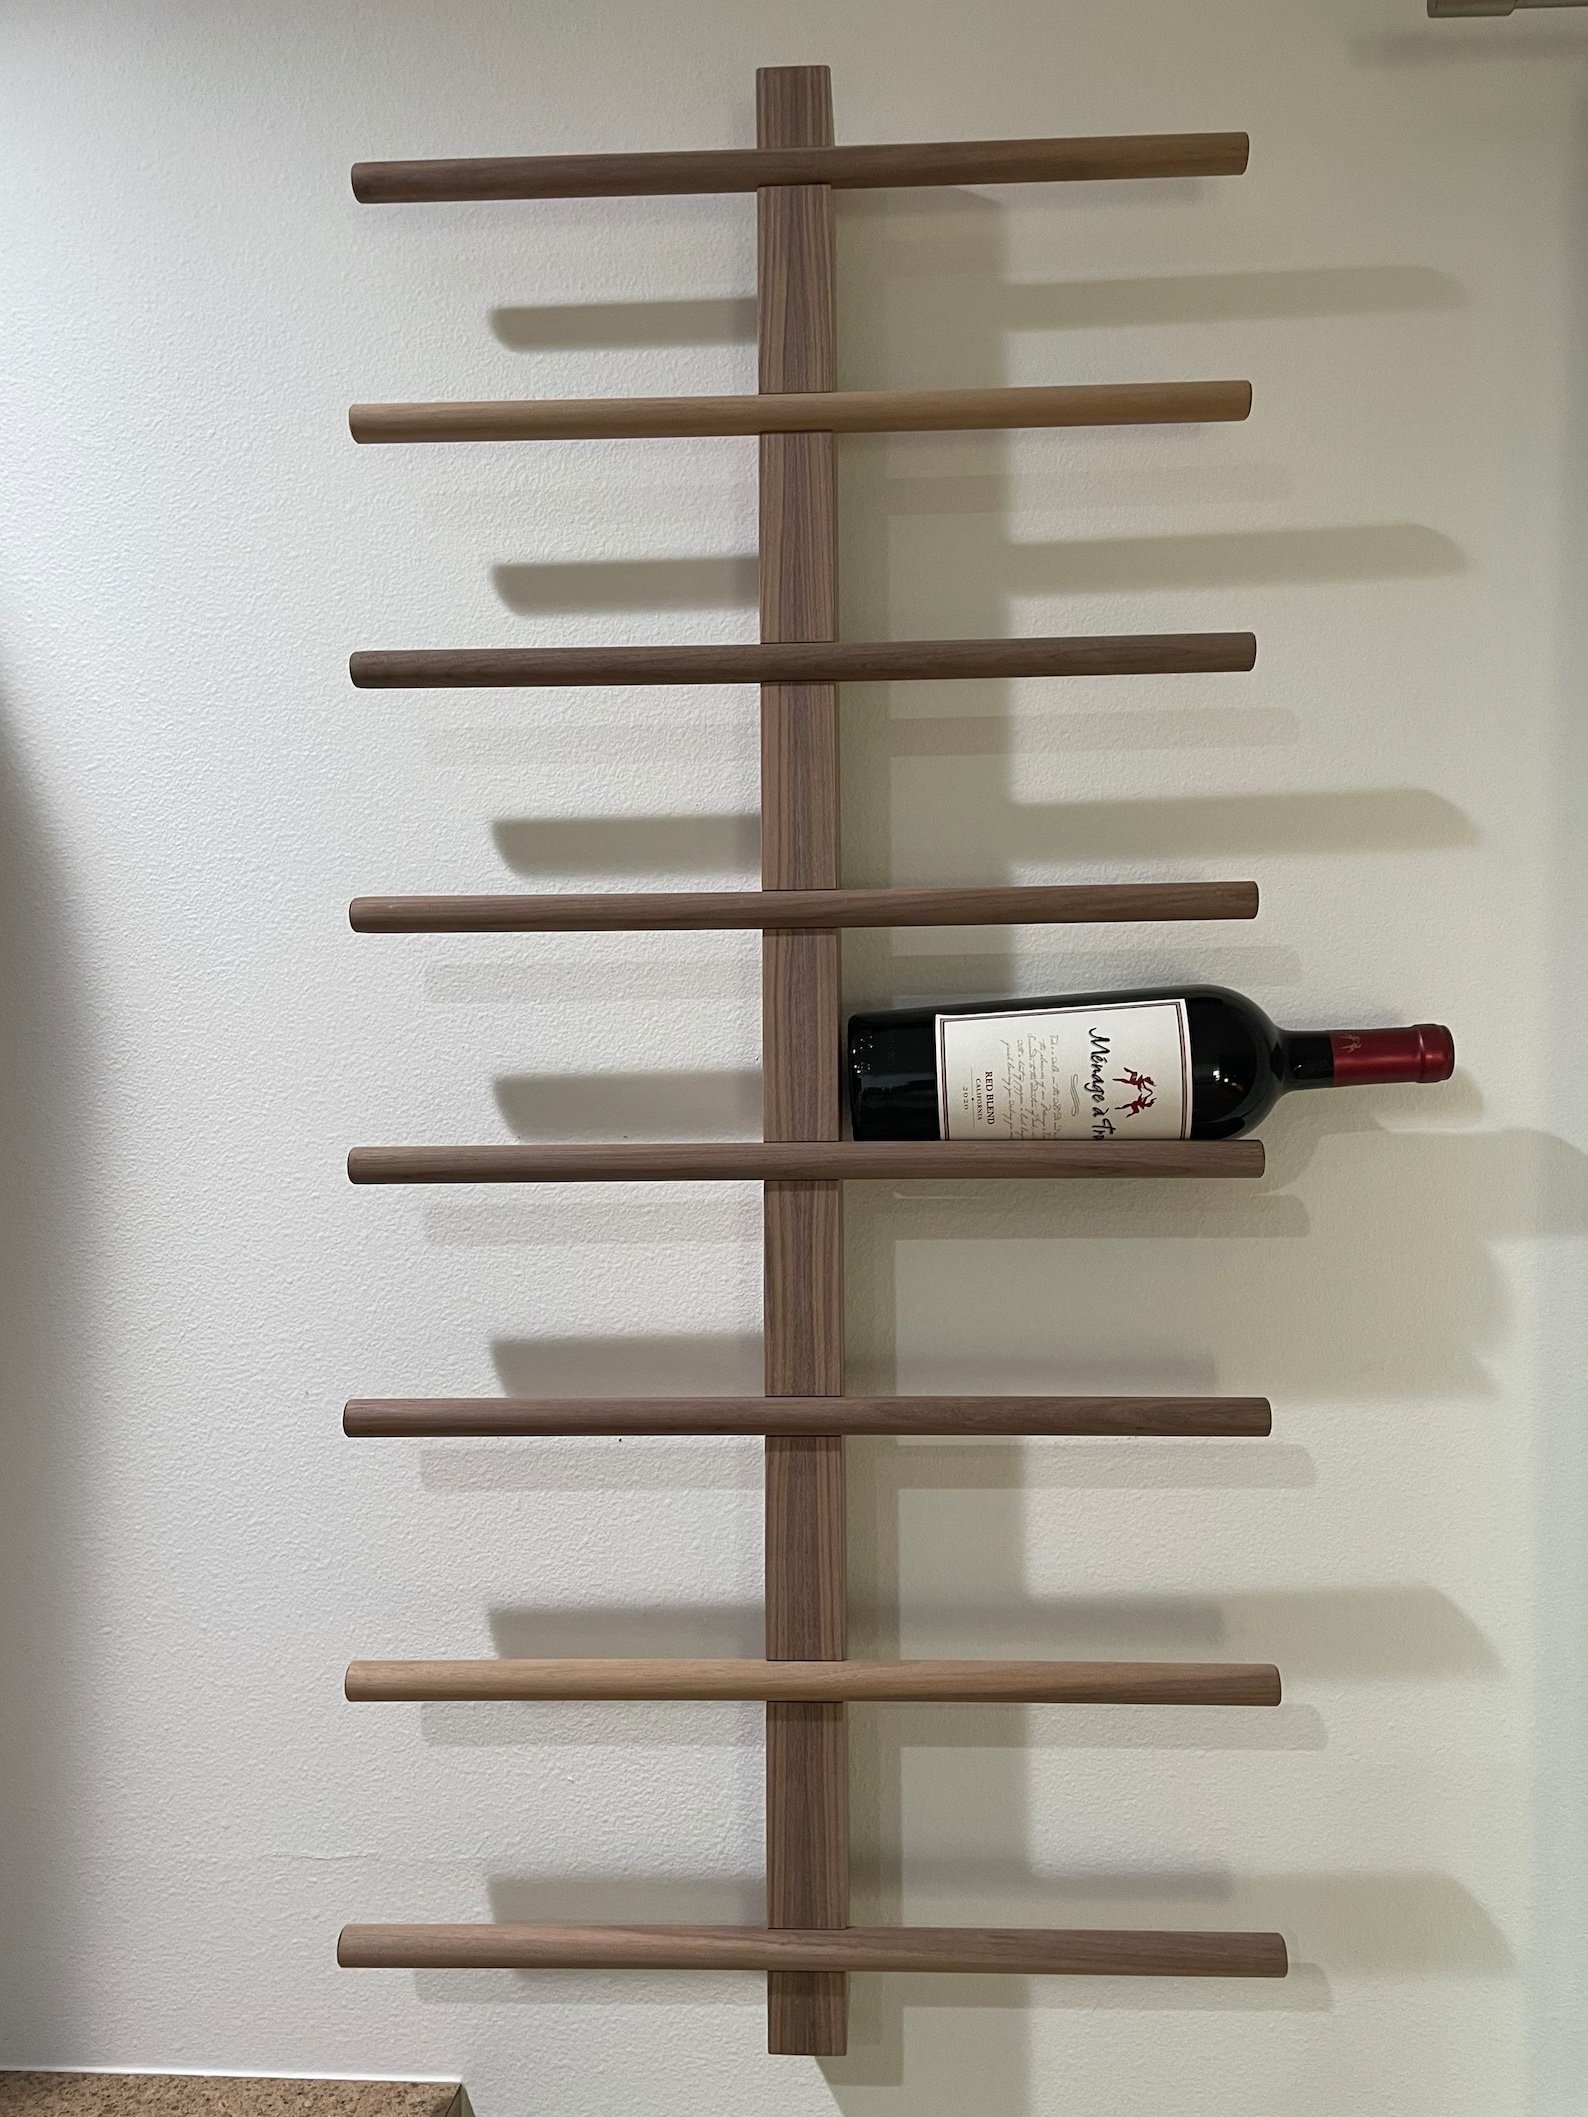
DIY Wall Mounted Wine Rack (Step-by-Step)
We’ve been seeing this image of a vertical wall-mounted wine rack circulating on our Pinterest boards and thought, "Why not give it a try ourselves?" So, here it is—a comprehensive, step-by-step blog post detailing the process of creating our own version of this wine rack, modified to our needs. For the full video tutorial of this project, check out this video linked here.
Don’t want to make it yourself? Check out the original product linked here.
What you’ll need…
2 walnut blanks @ 2” x 2” x 24”
2 walnut dowels @ ¾” x 48”
Wood glue
Sandpaper (120grit - 220 grit)
2½” screws


Step 1 - Board Preparation
Apply glue to both faces of the boards and firmly clamp them together. Allow the glue to dry overnight. (Note: Expect glue squeeze out, which will be addressed in the following step.)


Step 2 - Planing & Trimming uneven ends
Use hot glue to secure the uneven blank onto a planer sled, ensuring shims are in place. Run it through the planer to smoothen one side. Once flat, remove it, flip it over, and repeat the process to flatten the other side. Next, use a mitre saw to cut off the uneven ends of the blank.


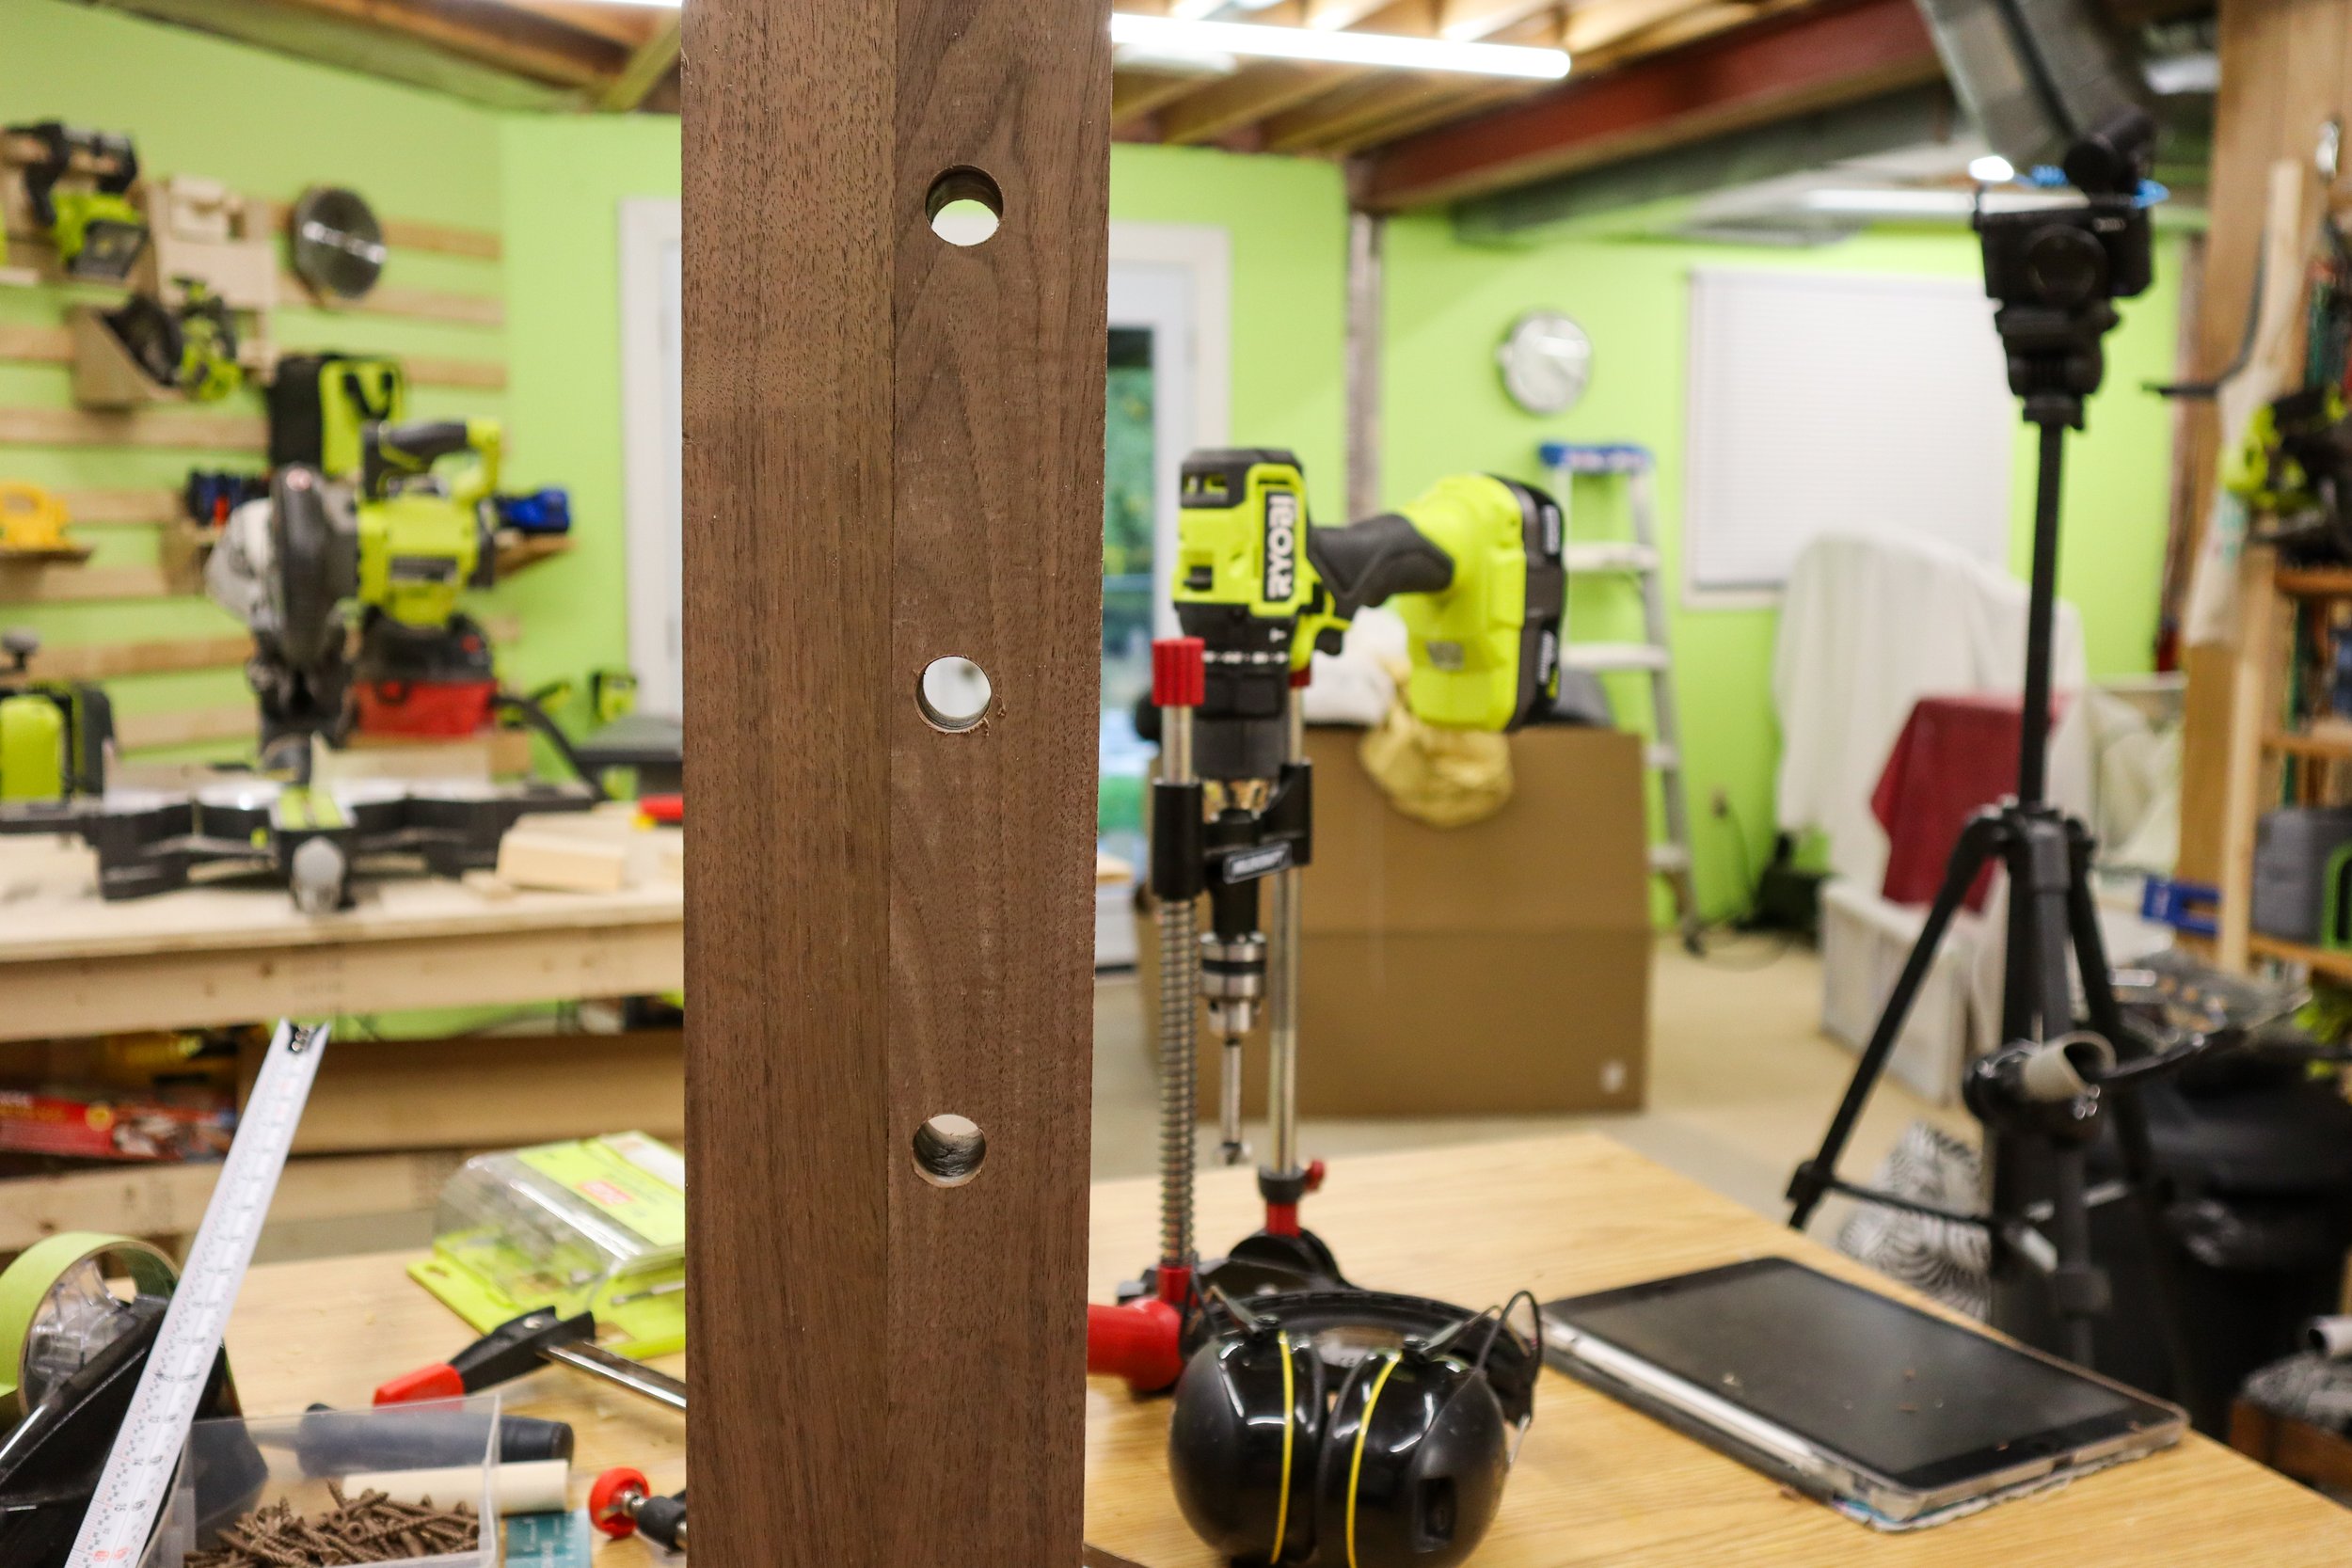
Step 3 - Dowel Hole Marking
Measure 2¾” from the backside of your blank and mark the spots for drilling dowel holes. Use a ¾” forstner bit and a drill guide to create three holes, each positioned 3⅝” from the top and bottom, with 4” of space between the centre of each hole.
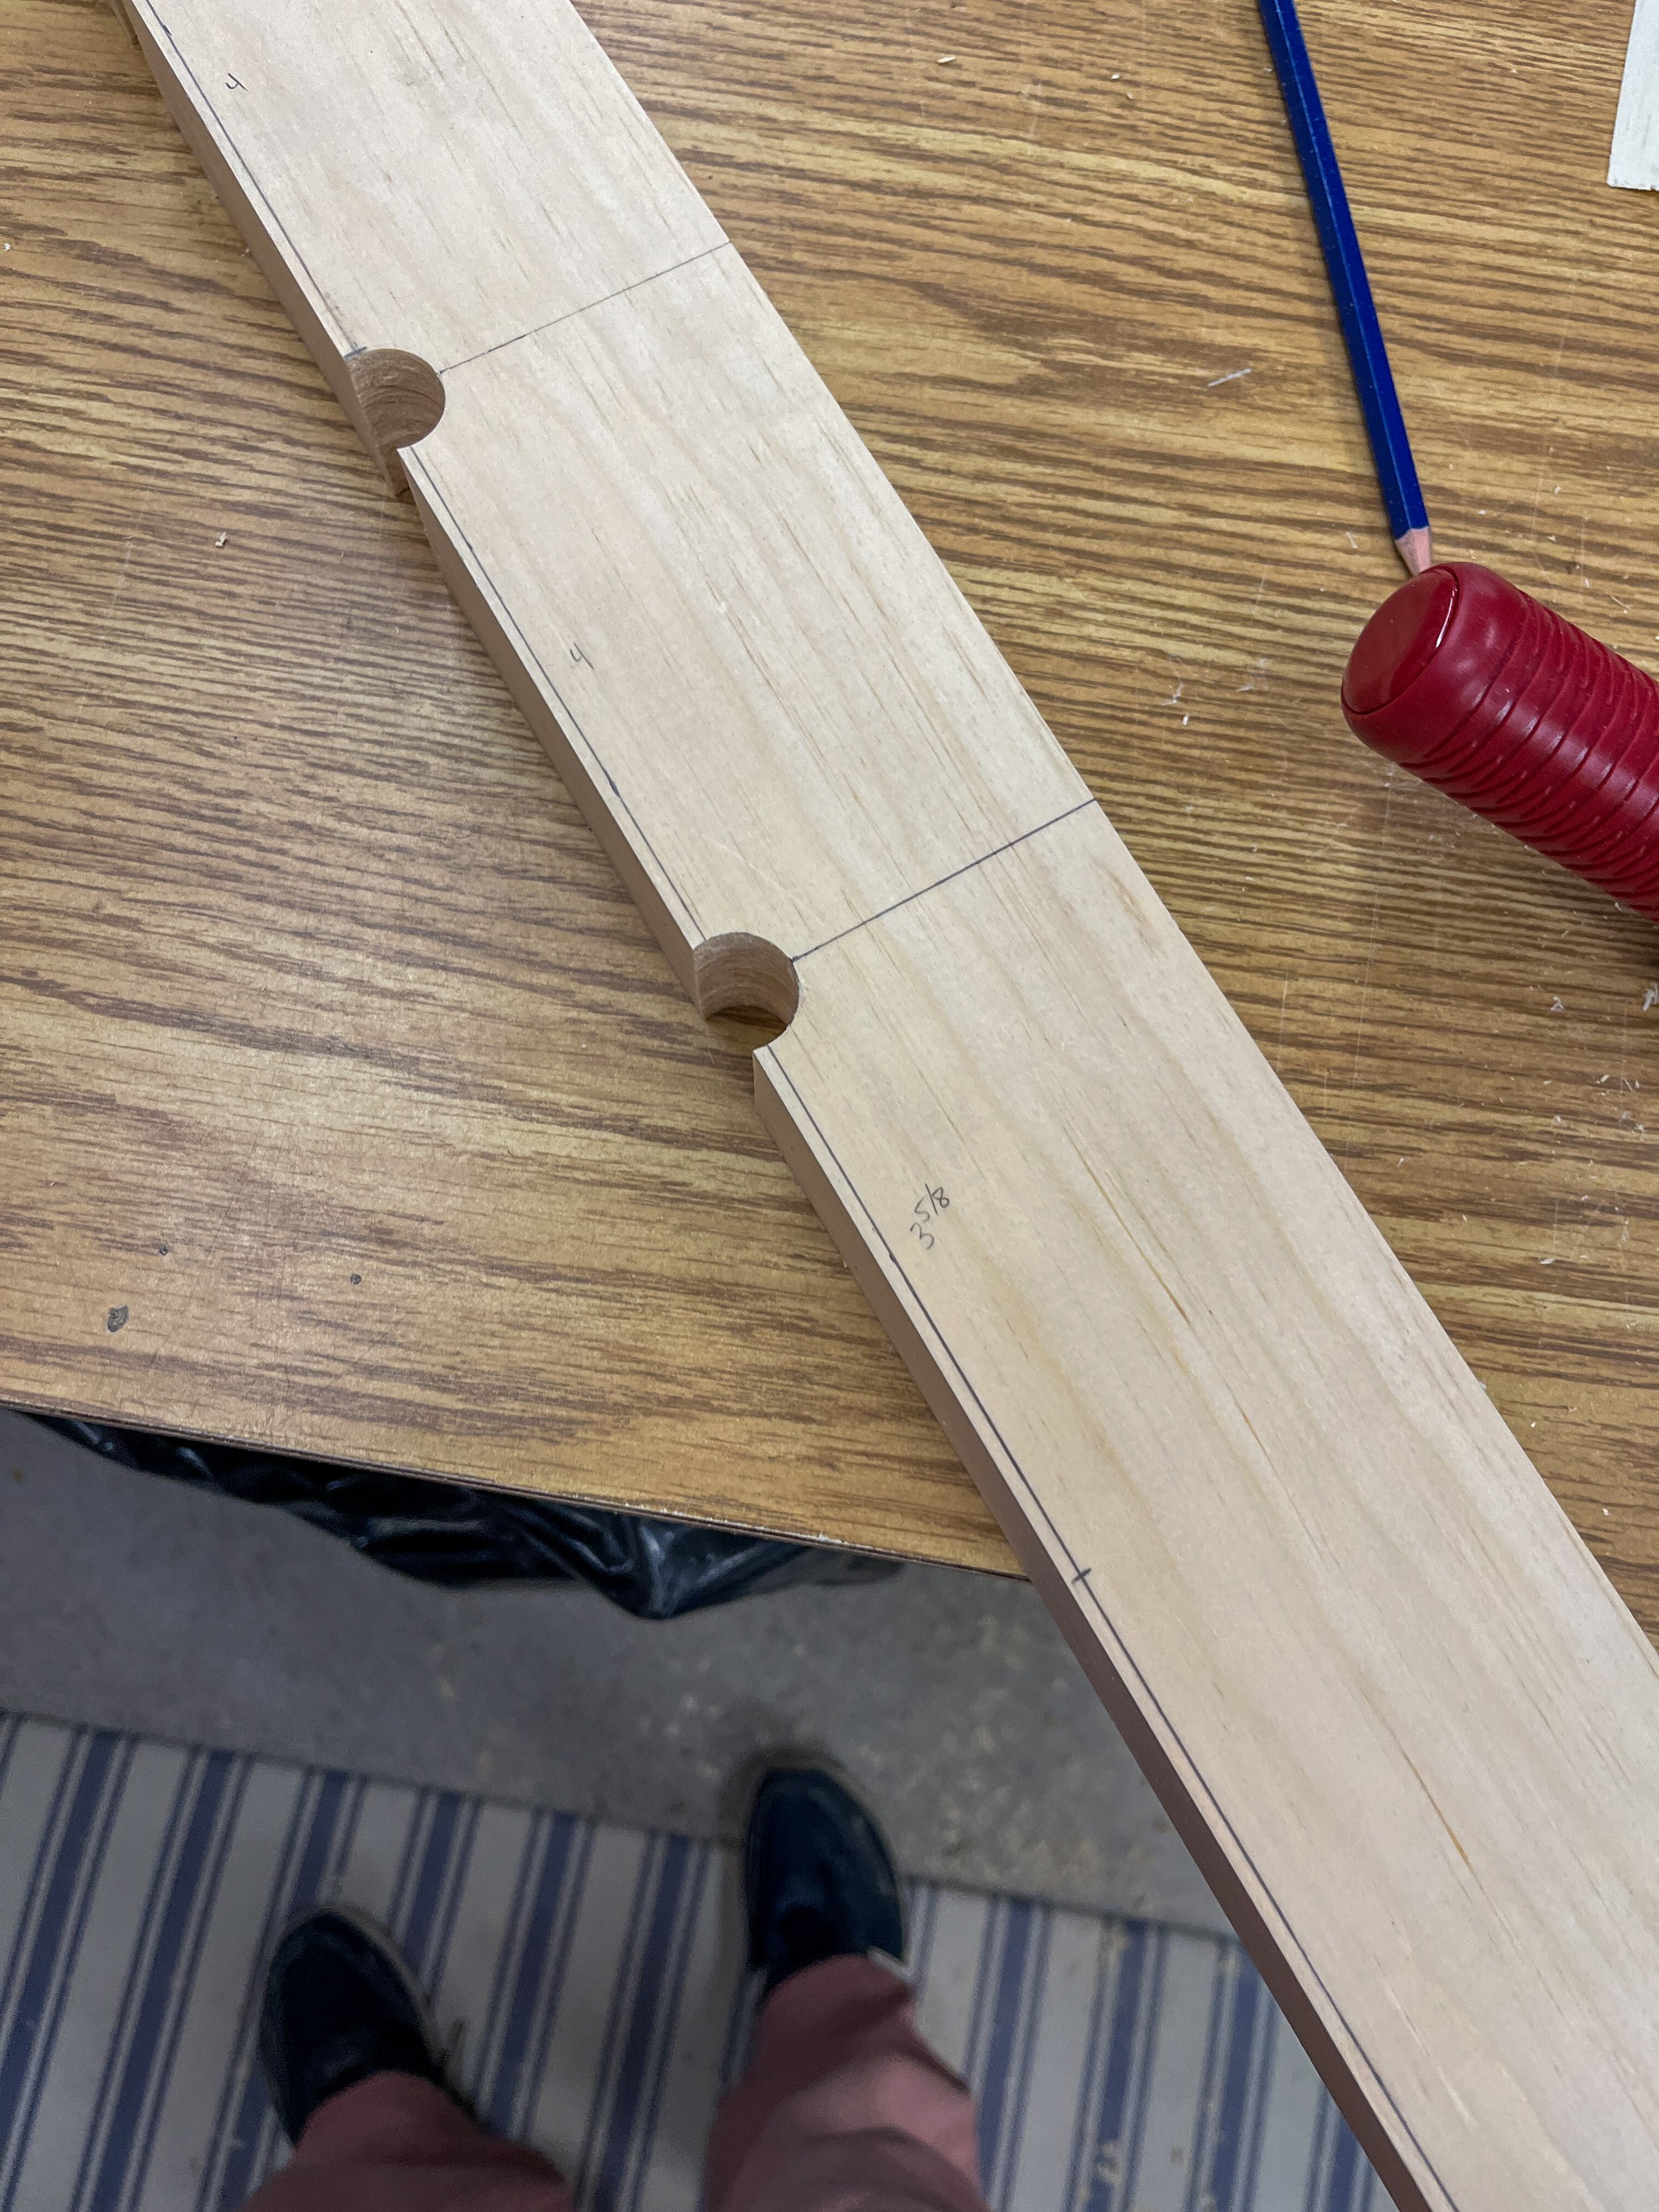
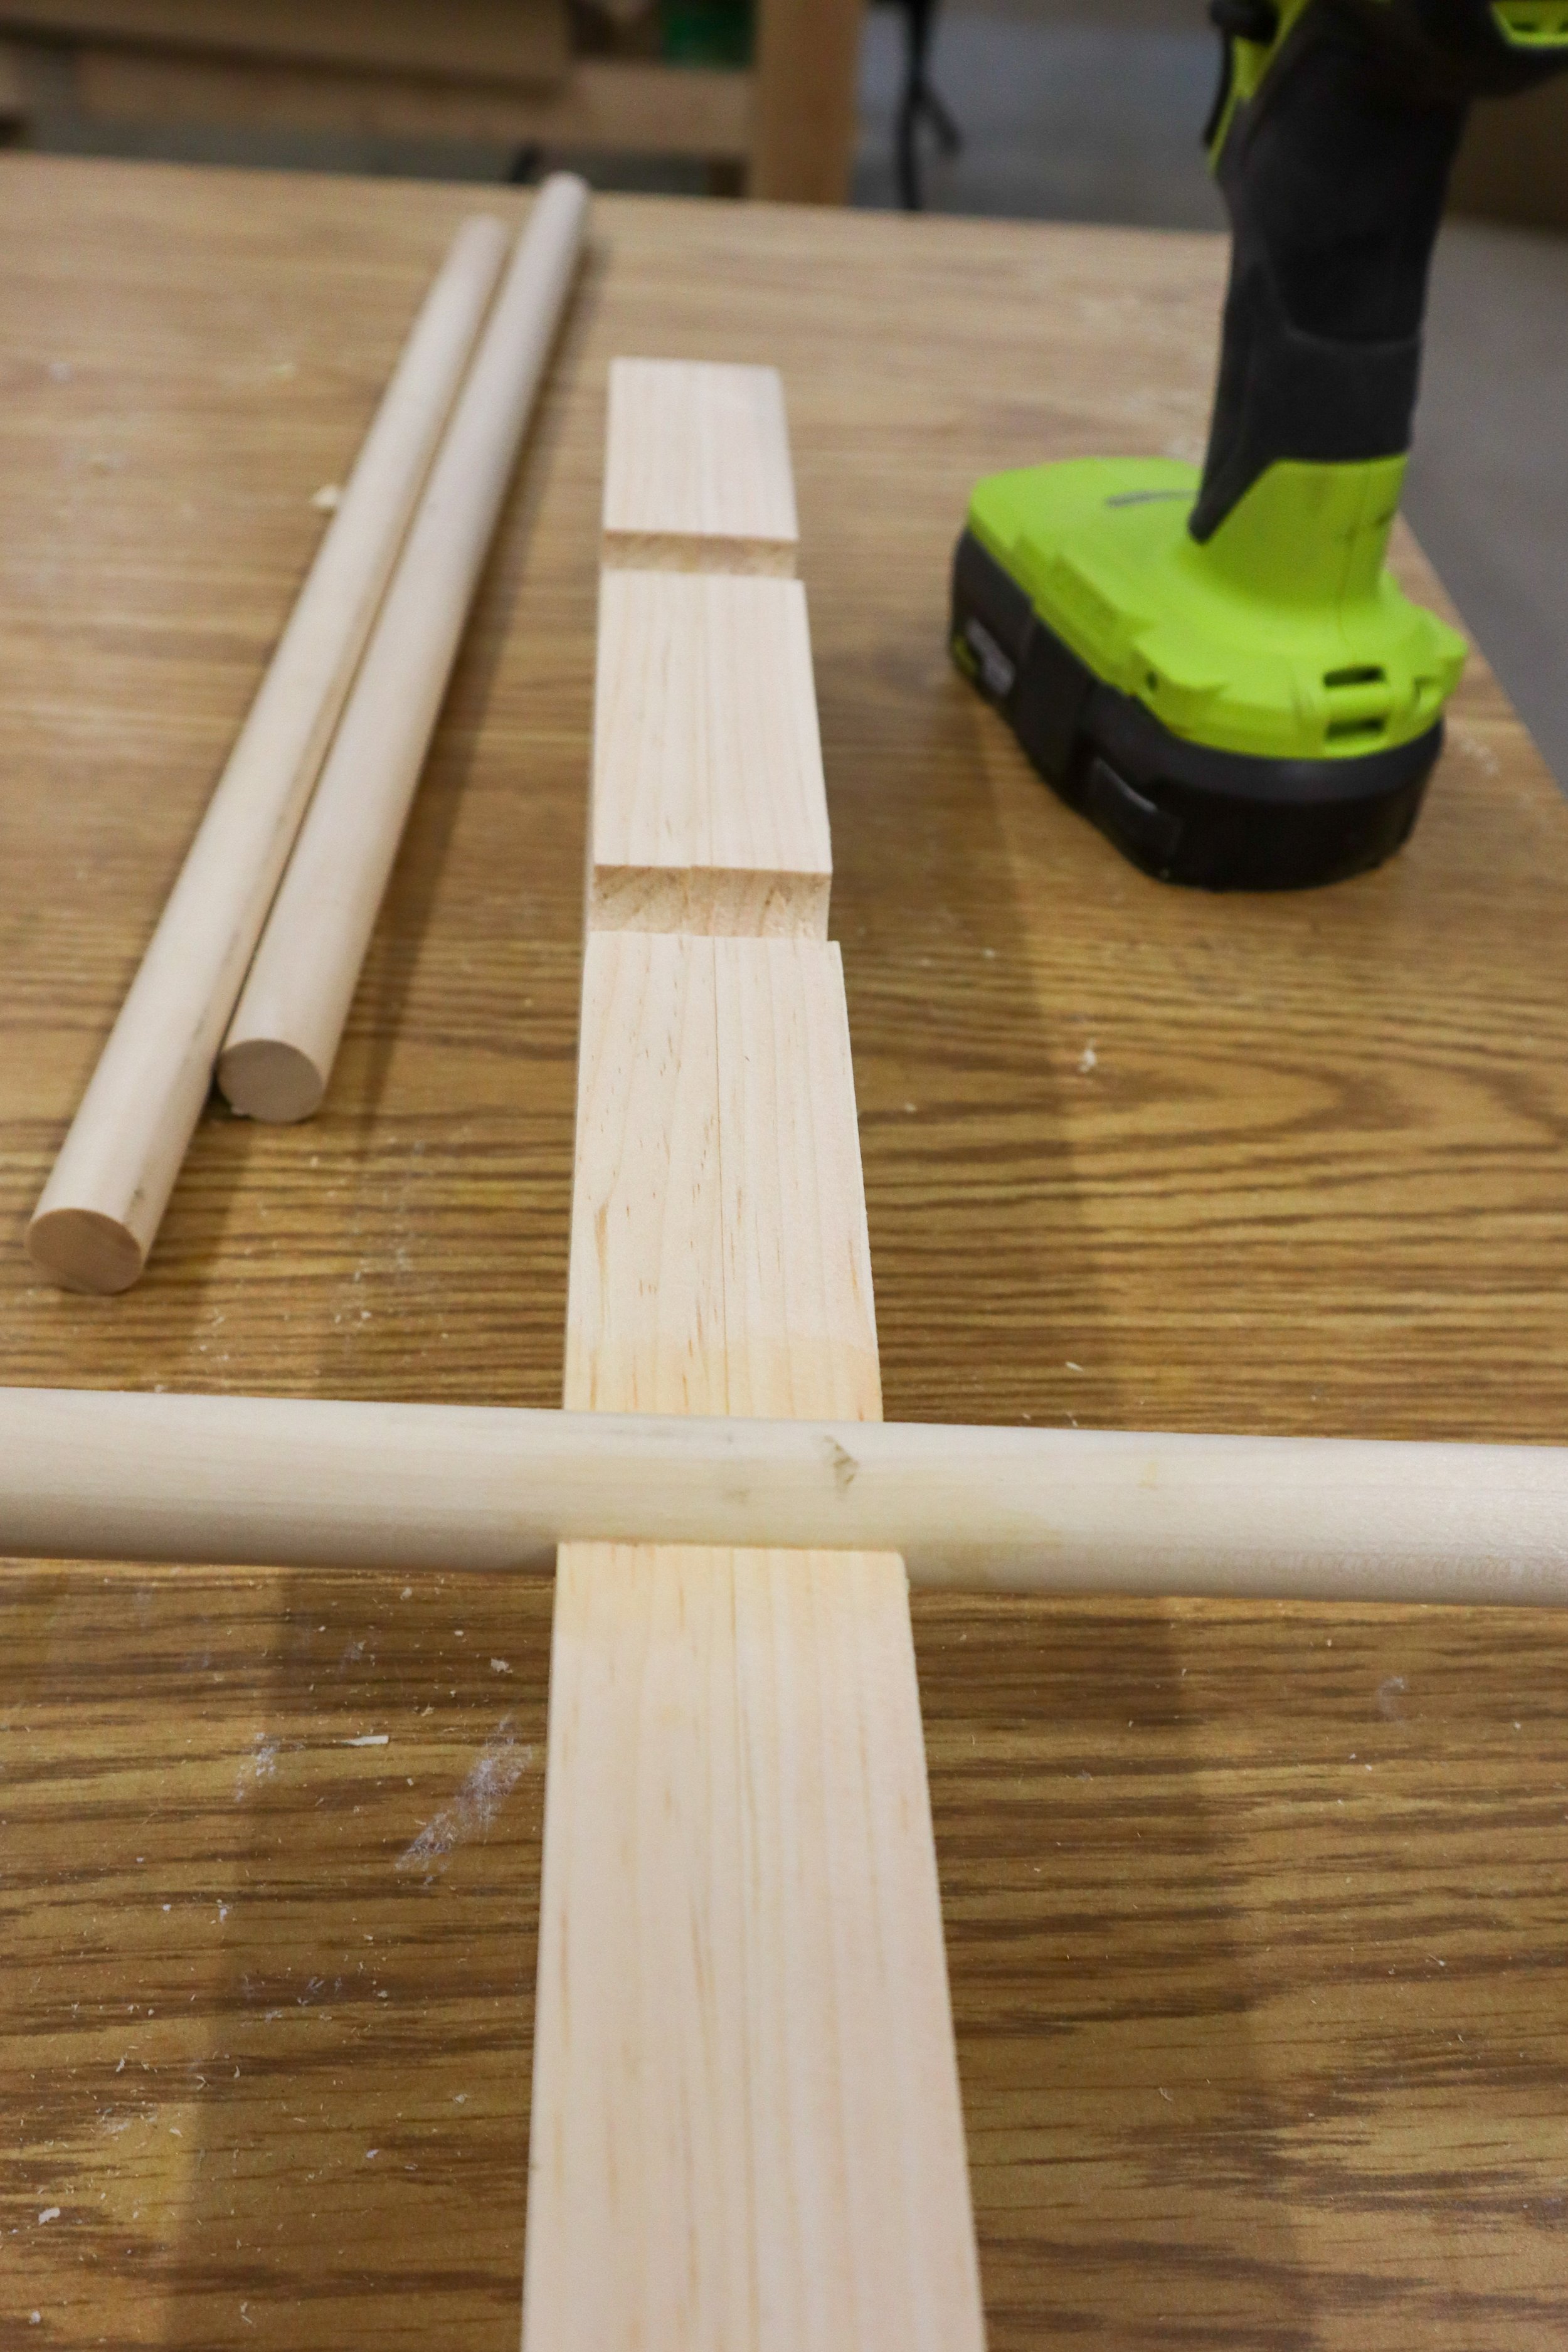
Step 4 - Groove Cutting
Using a table saw, cut the front side of the blank at approximately 2⅞”, ensuring the cuts go through the drilled holes, creating openings for the dowels. You may have to trim a bit more off for the dowel to fit, but you can always take more material off, you can’t put it back on.
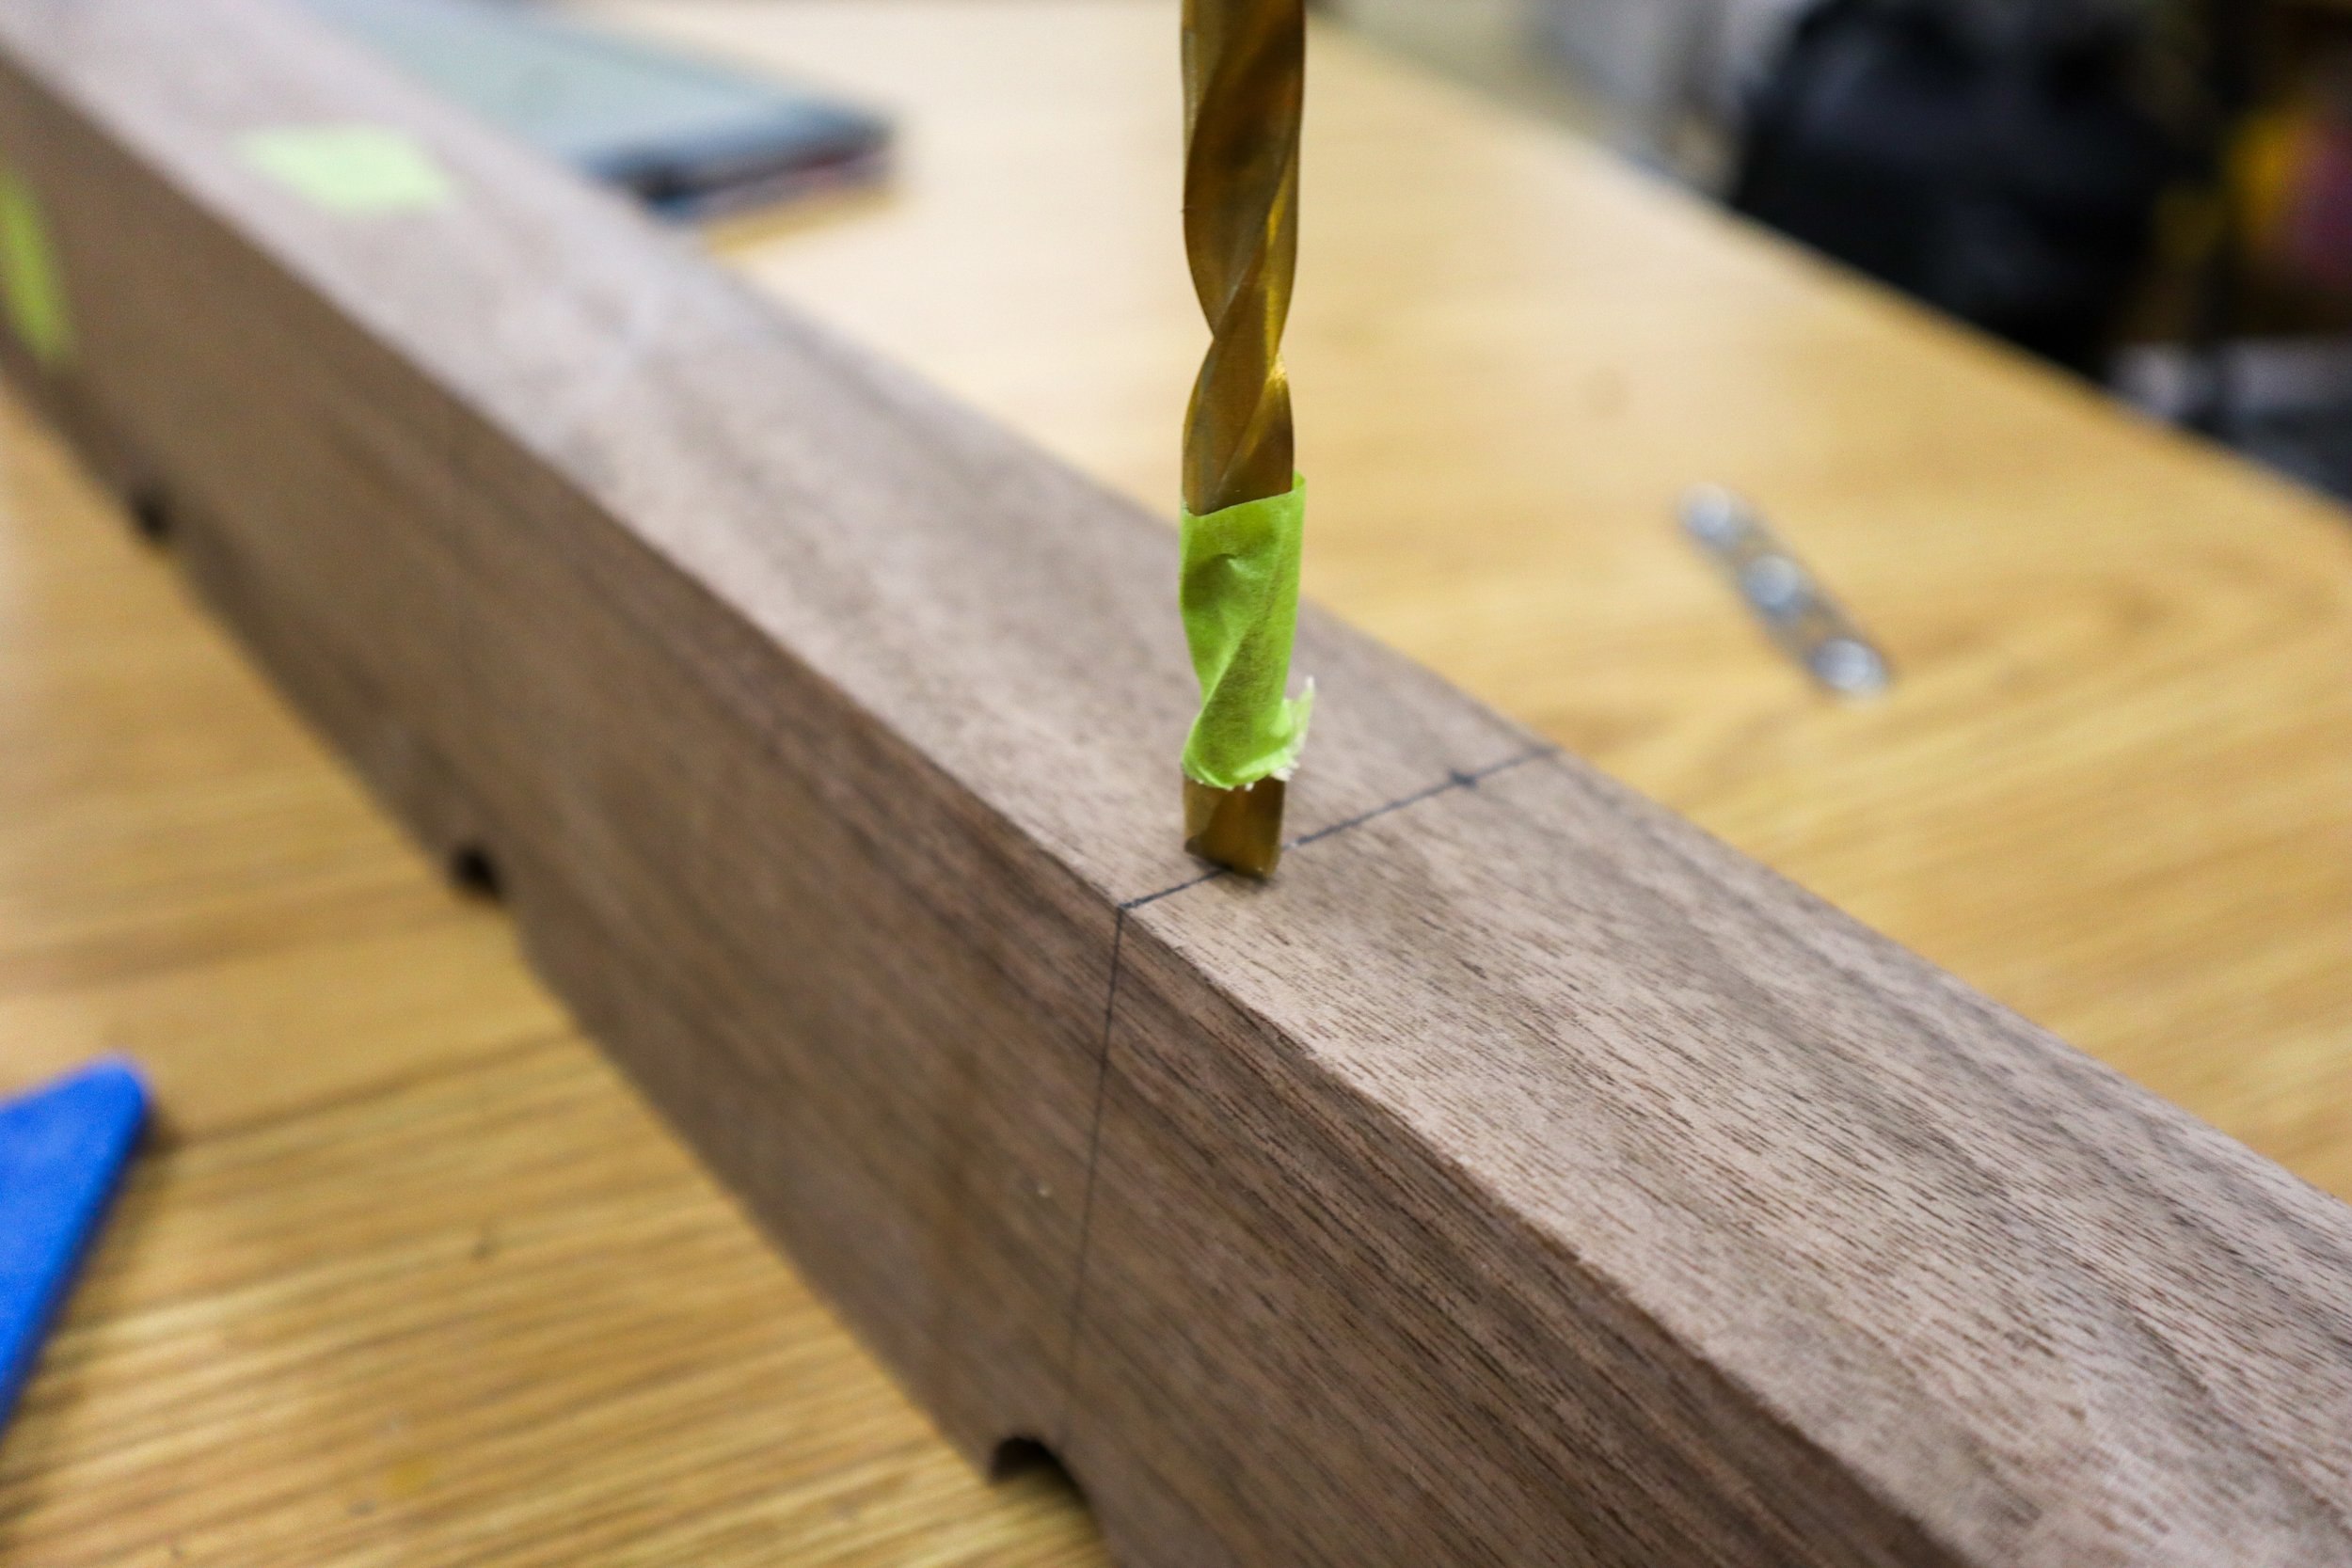
Step 5 - Pilot Holes for Screws
Drill pilot holes on the backside of the blank aligned with the grooves, allowing screws to secure the dowels while maintaining a clean appearance on the front side.

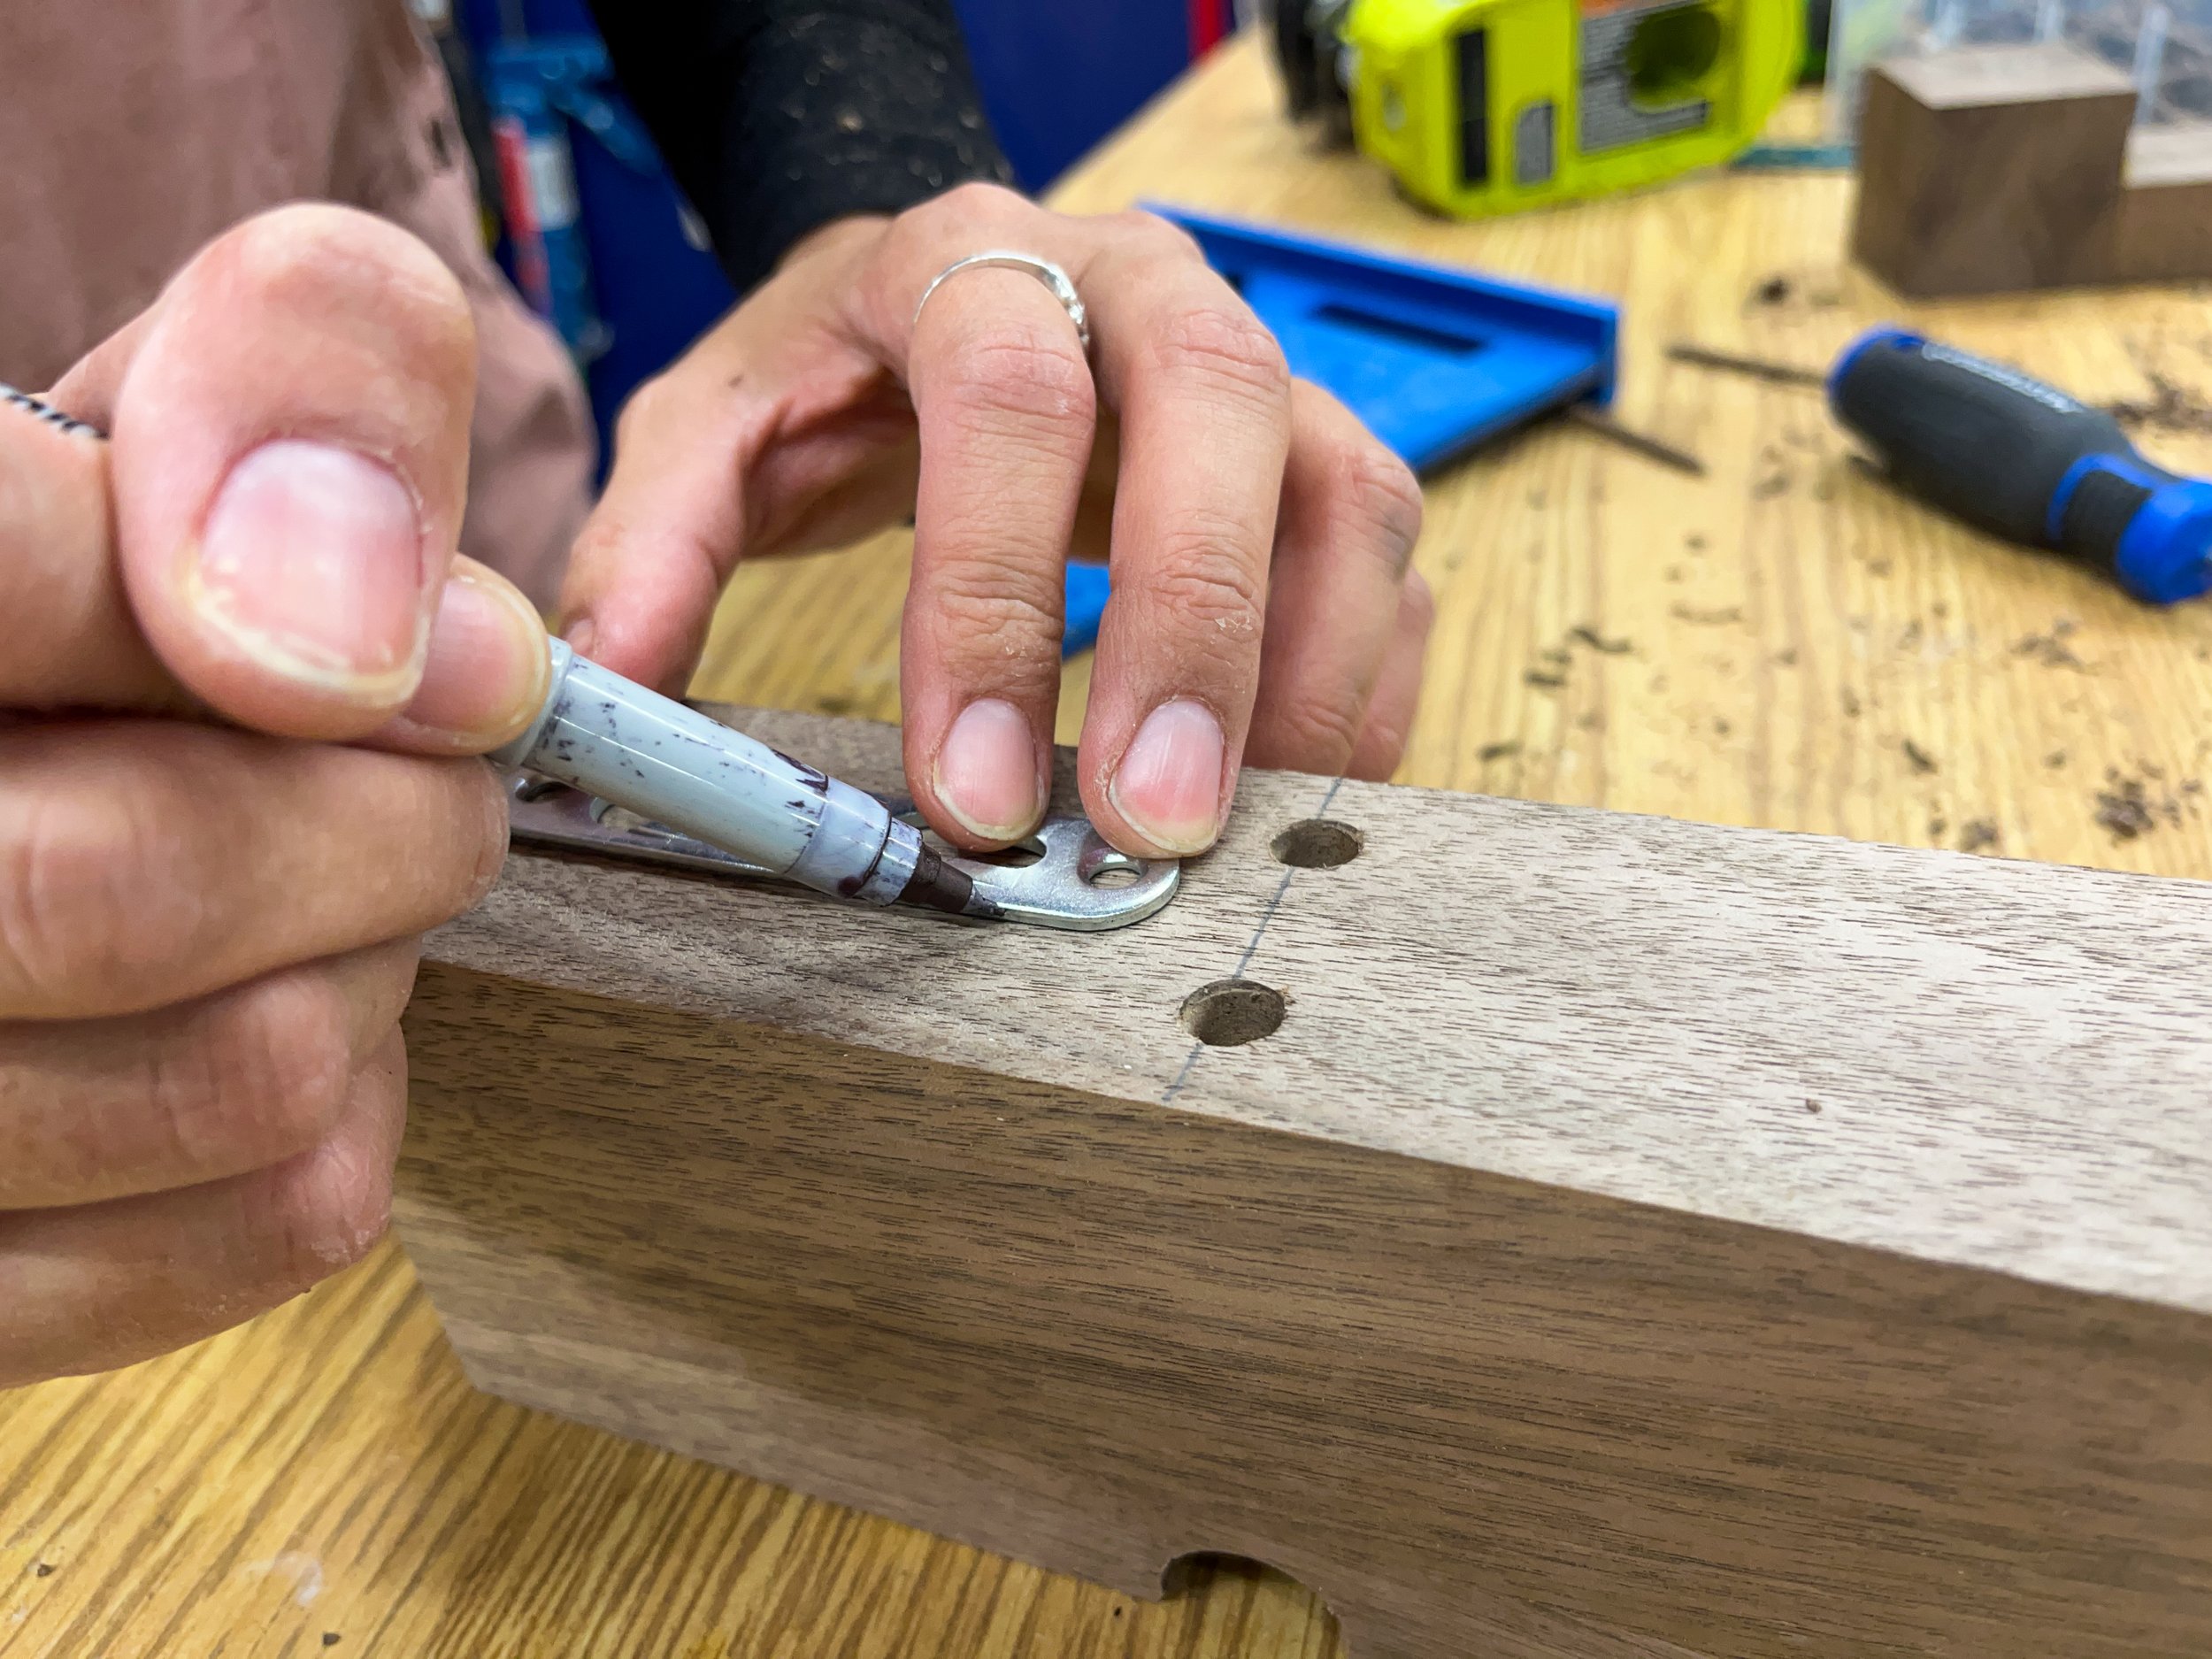
Step 6 - Keyhole Bracket Installation
Trace a keyhole bracket on the backside of the main block and use a router to create a mortise for it to sit in. With a forstner bit, create a secondary groove for the actual keyholes, then use a chisel to refine the holes. Attach the bracket securely.


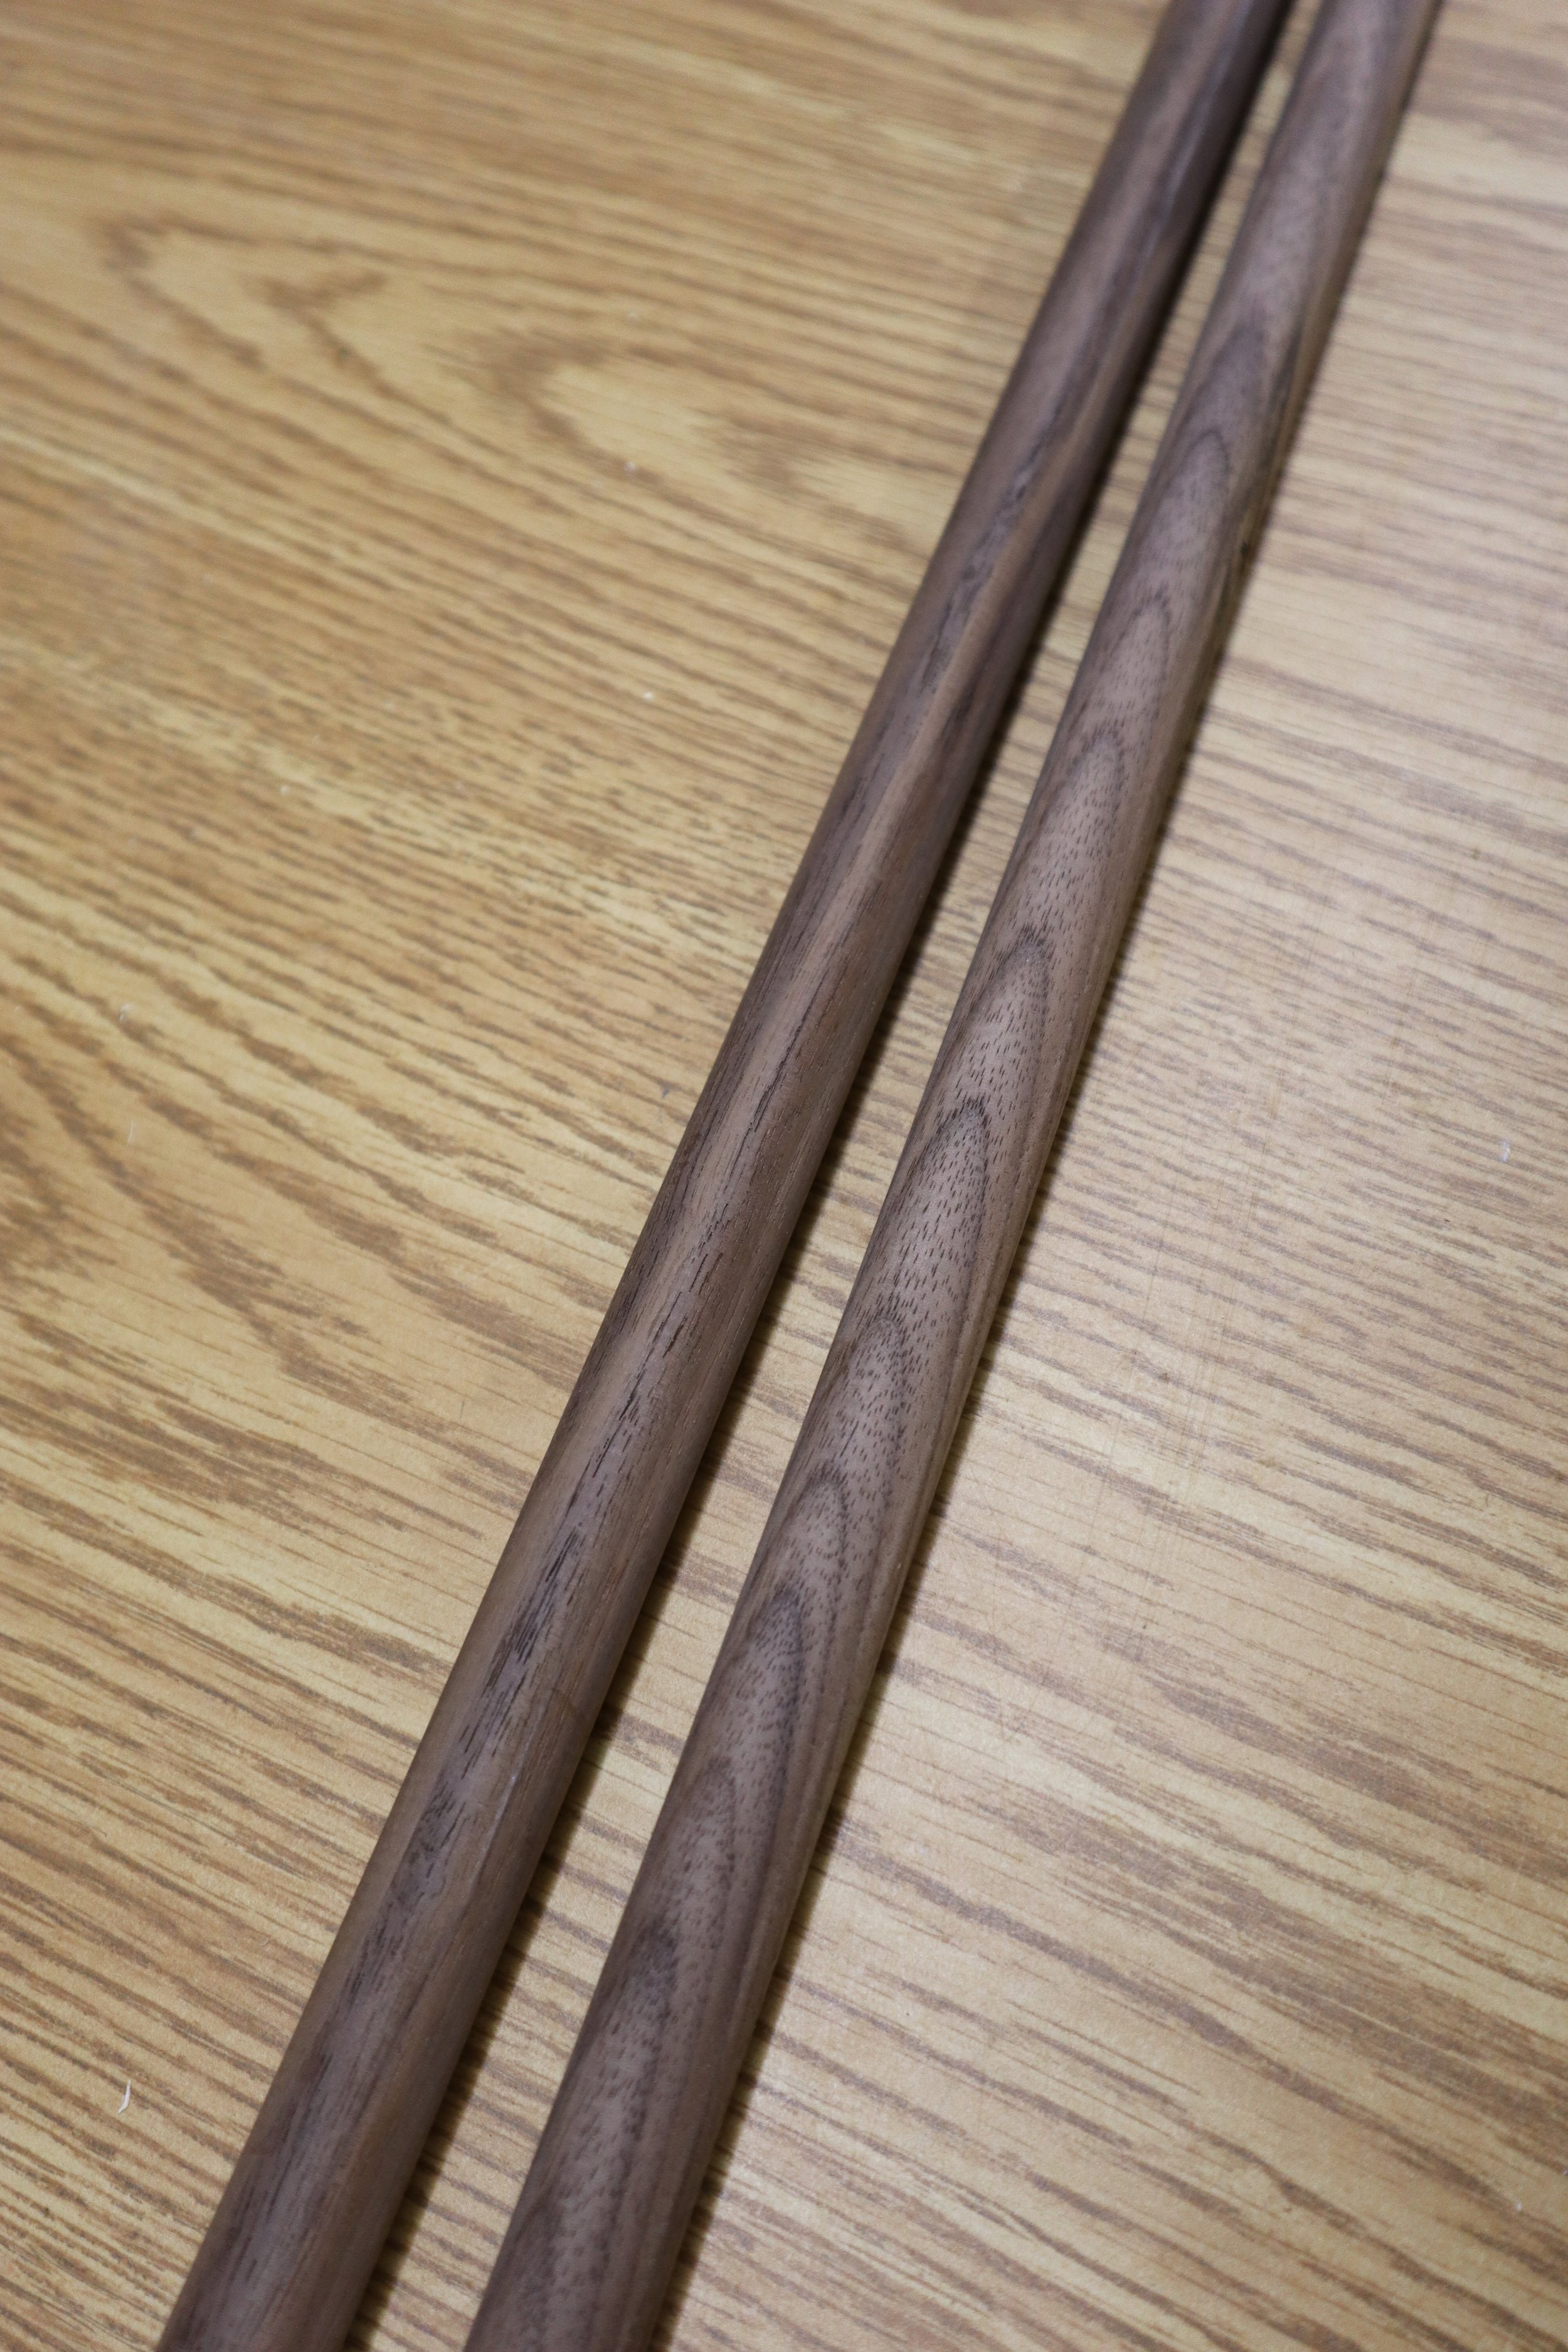
Step 7 - Dowel Cutting
Cut the dowels to a length of 20” each, using a table saw, mitre saw, hand saw, your choice!

Step 8 - Sanding & Assembly
Sand each piece individually, starting with 120-grit sandpaper and progressing to 220-grit for a smooth finish. Apply glue to the dowels and insert them into the grooves, securing them with 2½” screws from the back. Promptly clean up any excess glue.


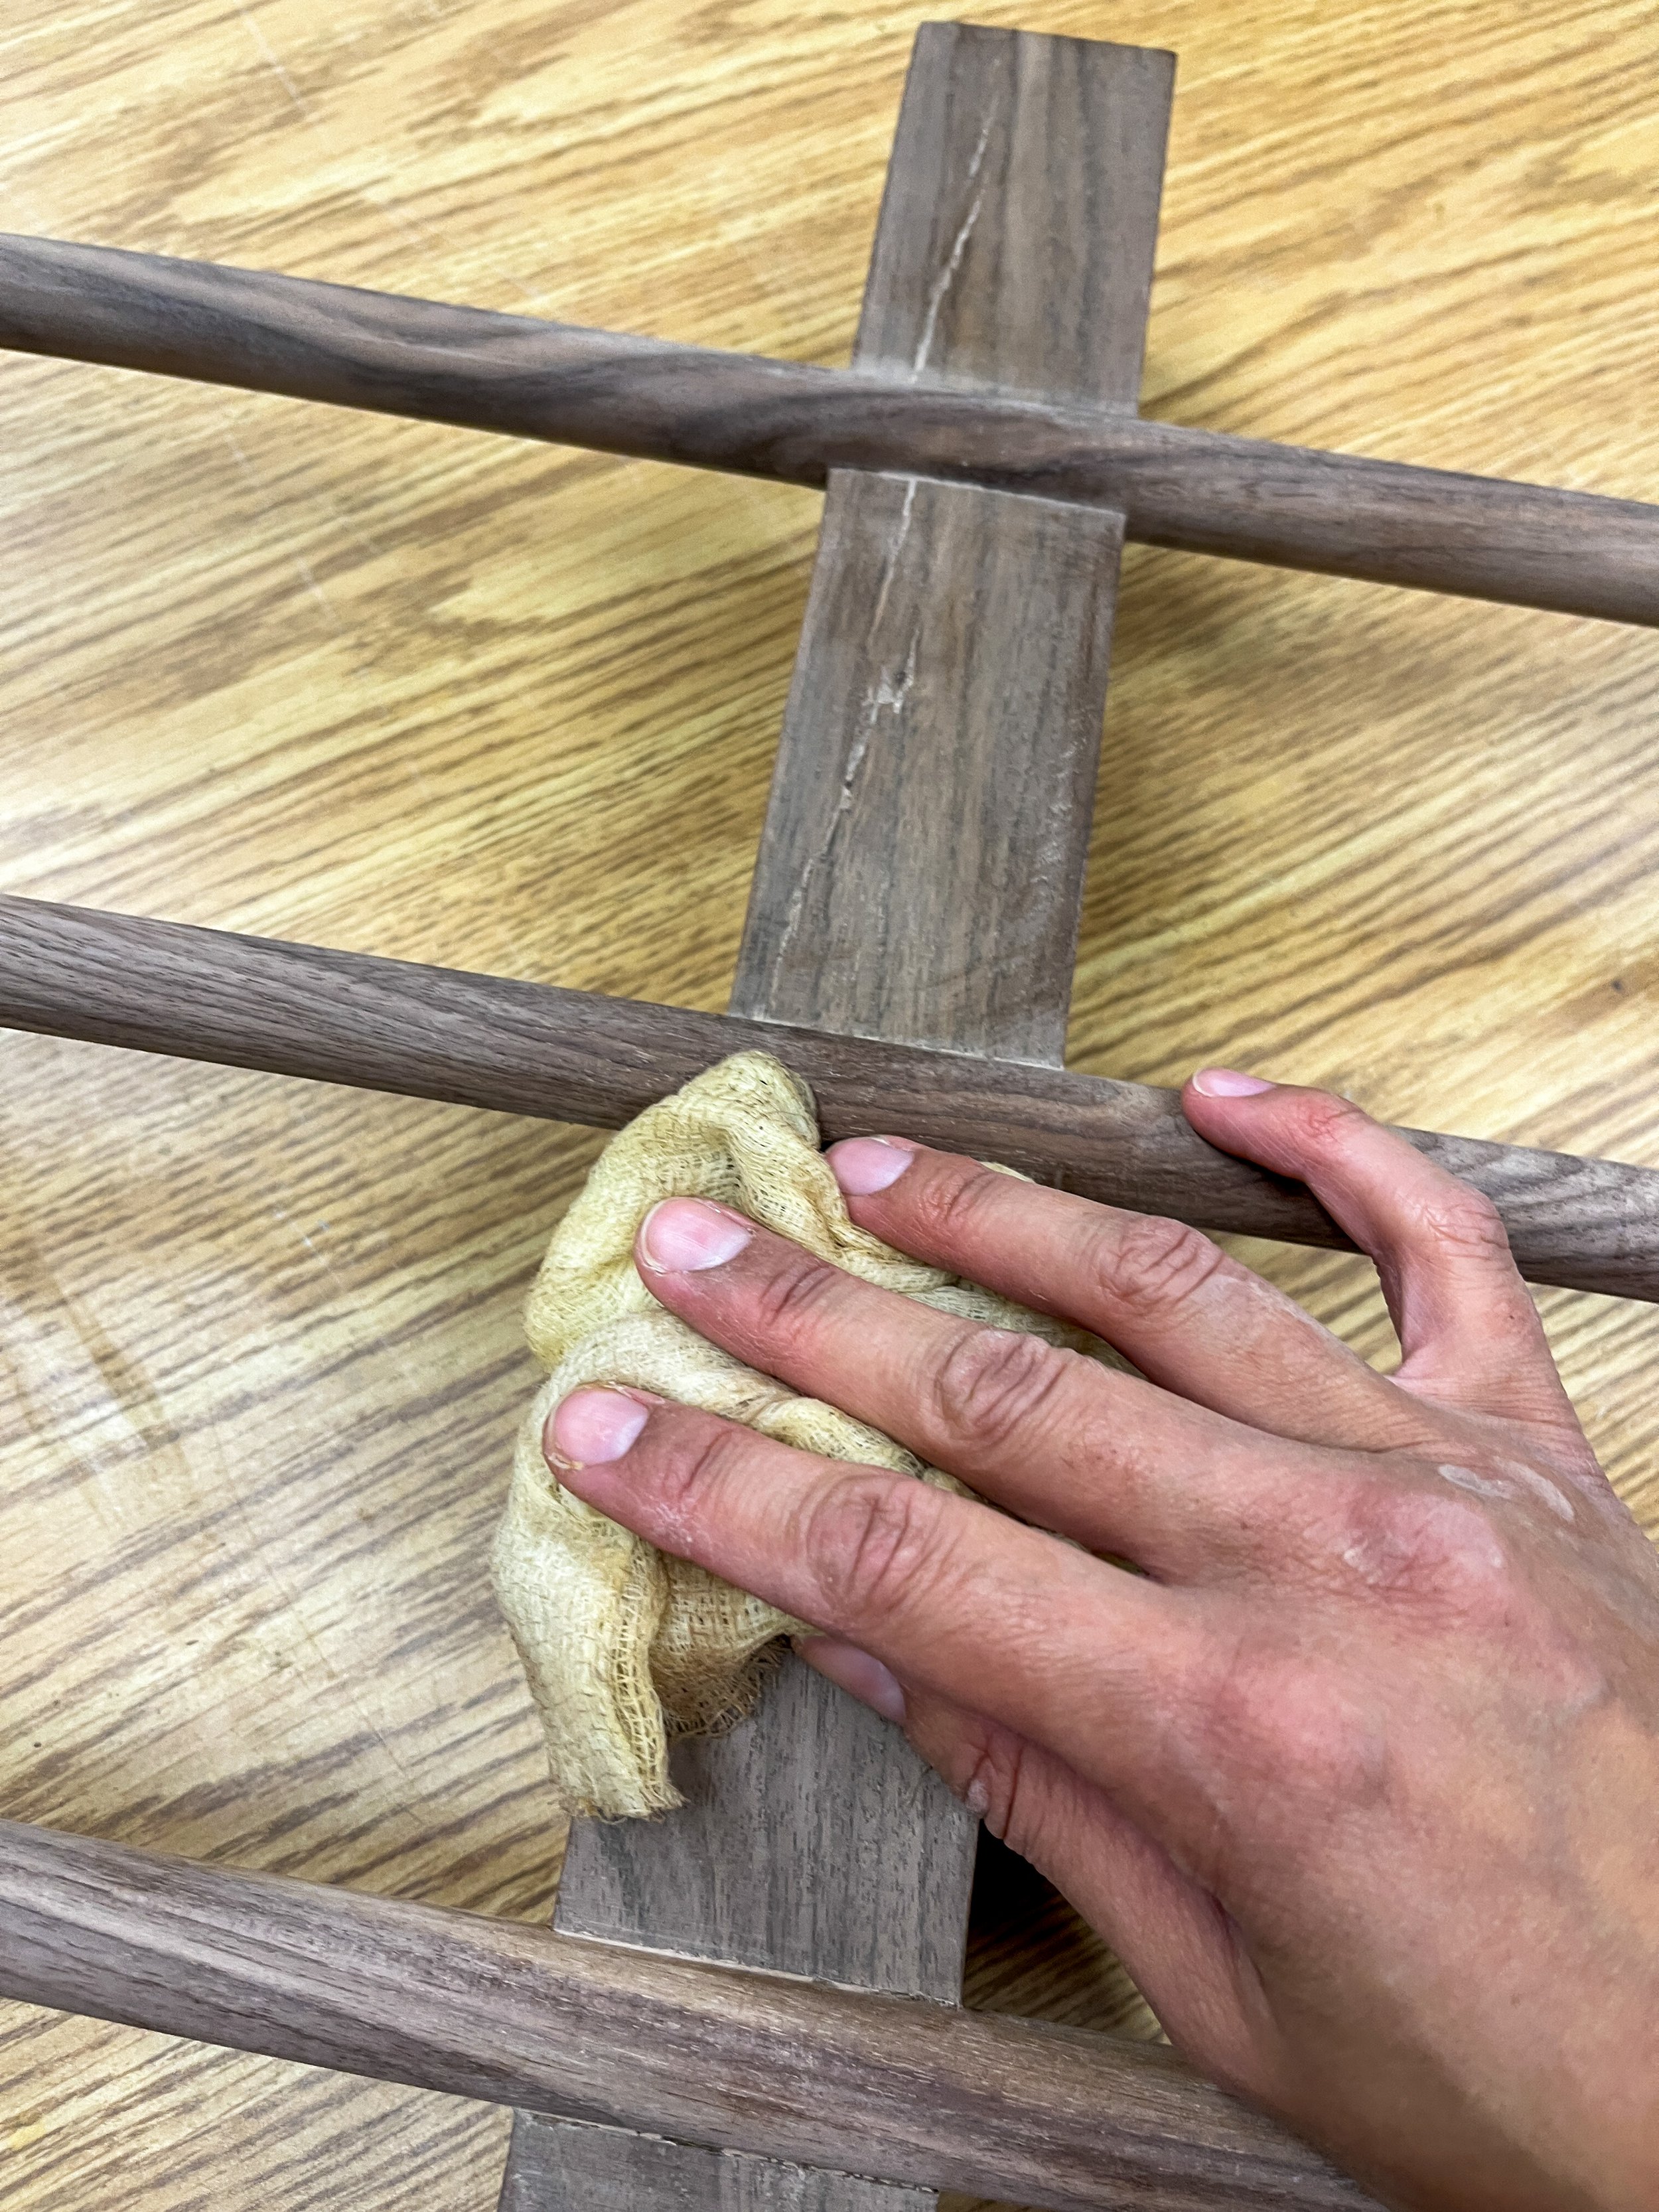
Step 9 - Final Finishing
Once all components are dry, give the entire piece a final sanding using 220-grit sandpaper. Wipe it down with a tack cloth and apply paste finishing wax for a polished look.

Step 10 - Wall Mounting
Use painters tape to measure and mark the keyhole positions on the block. Transfer these markings to the wall to guide the drilling of pilot holes for hanging.


