4 Easy DIY Christmas Ornaments You Can Make Yourself
Welcome to the fifth installment of Project Profit! I'm Rachael, on a mission to turn thrifted finds into funds for charitable causes. So far, we've raised $1262.82 through flipping second-hand items. With the festive season approaching, I ventured into upcycling and crafting DIY Christmas ornaments to sell at a local market as a contribution to this series. In this blog post, I dive into how I made 4 unique Christmas ornaments that you can make yourself!
Ornament 1 : santa Gnomes
The first ornaments I made were these cute Santa Gnomes made from spare yarn I had in the office. Here is how you can replicate it…

Materials
Yarn
Paper towel cardboard roll
Cardboard square
Scissors
Hotglue
Wood Beads
instructions
Cut a piece of the cardboard roll, about half to one inch wide.
Make a cardboard guide that’s about 7”. Start wrapping yarn around the cut cardboard piece approximately 30 times. Trim the yarn at one end of the cardboard roll, leaving you with multiple even strands.
Take one piece of yarn, fold it in half, and loop it through the cardboard circle, pulling the looped end over the loose ends to secure it to the cardboard. Repeat this process all around the cardboard circle.

Ensure the strands are tight and laying flat on the cardboard circle, then take all the loose ends and feed them back through the centre of the cardboard circle. Secure the strands together with another piece of string, forming the top of the gnome's hat.
*Optionally, stuff the hat with cotton or rolled-up yarn to give it more volume.

Using cream or white yarn, repeat the process of looping the thread around the cardboard, but this time cut both ends. Next tie it around the centre to create another bundle. Use glue inside the hat and push this bundle inside to form the gnome's beard.

To add some finishing touches, consider adding a wooden bead to complete the look of a nose. Trim and shape the beard and add a mustache as desired to enhance the gnome's appearance.
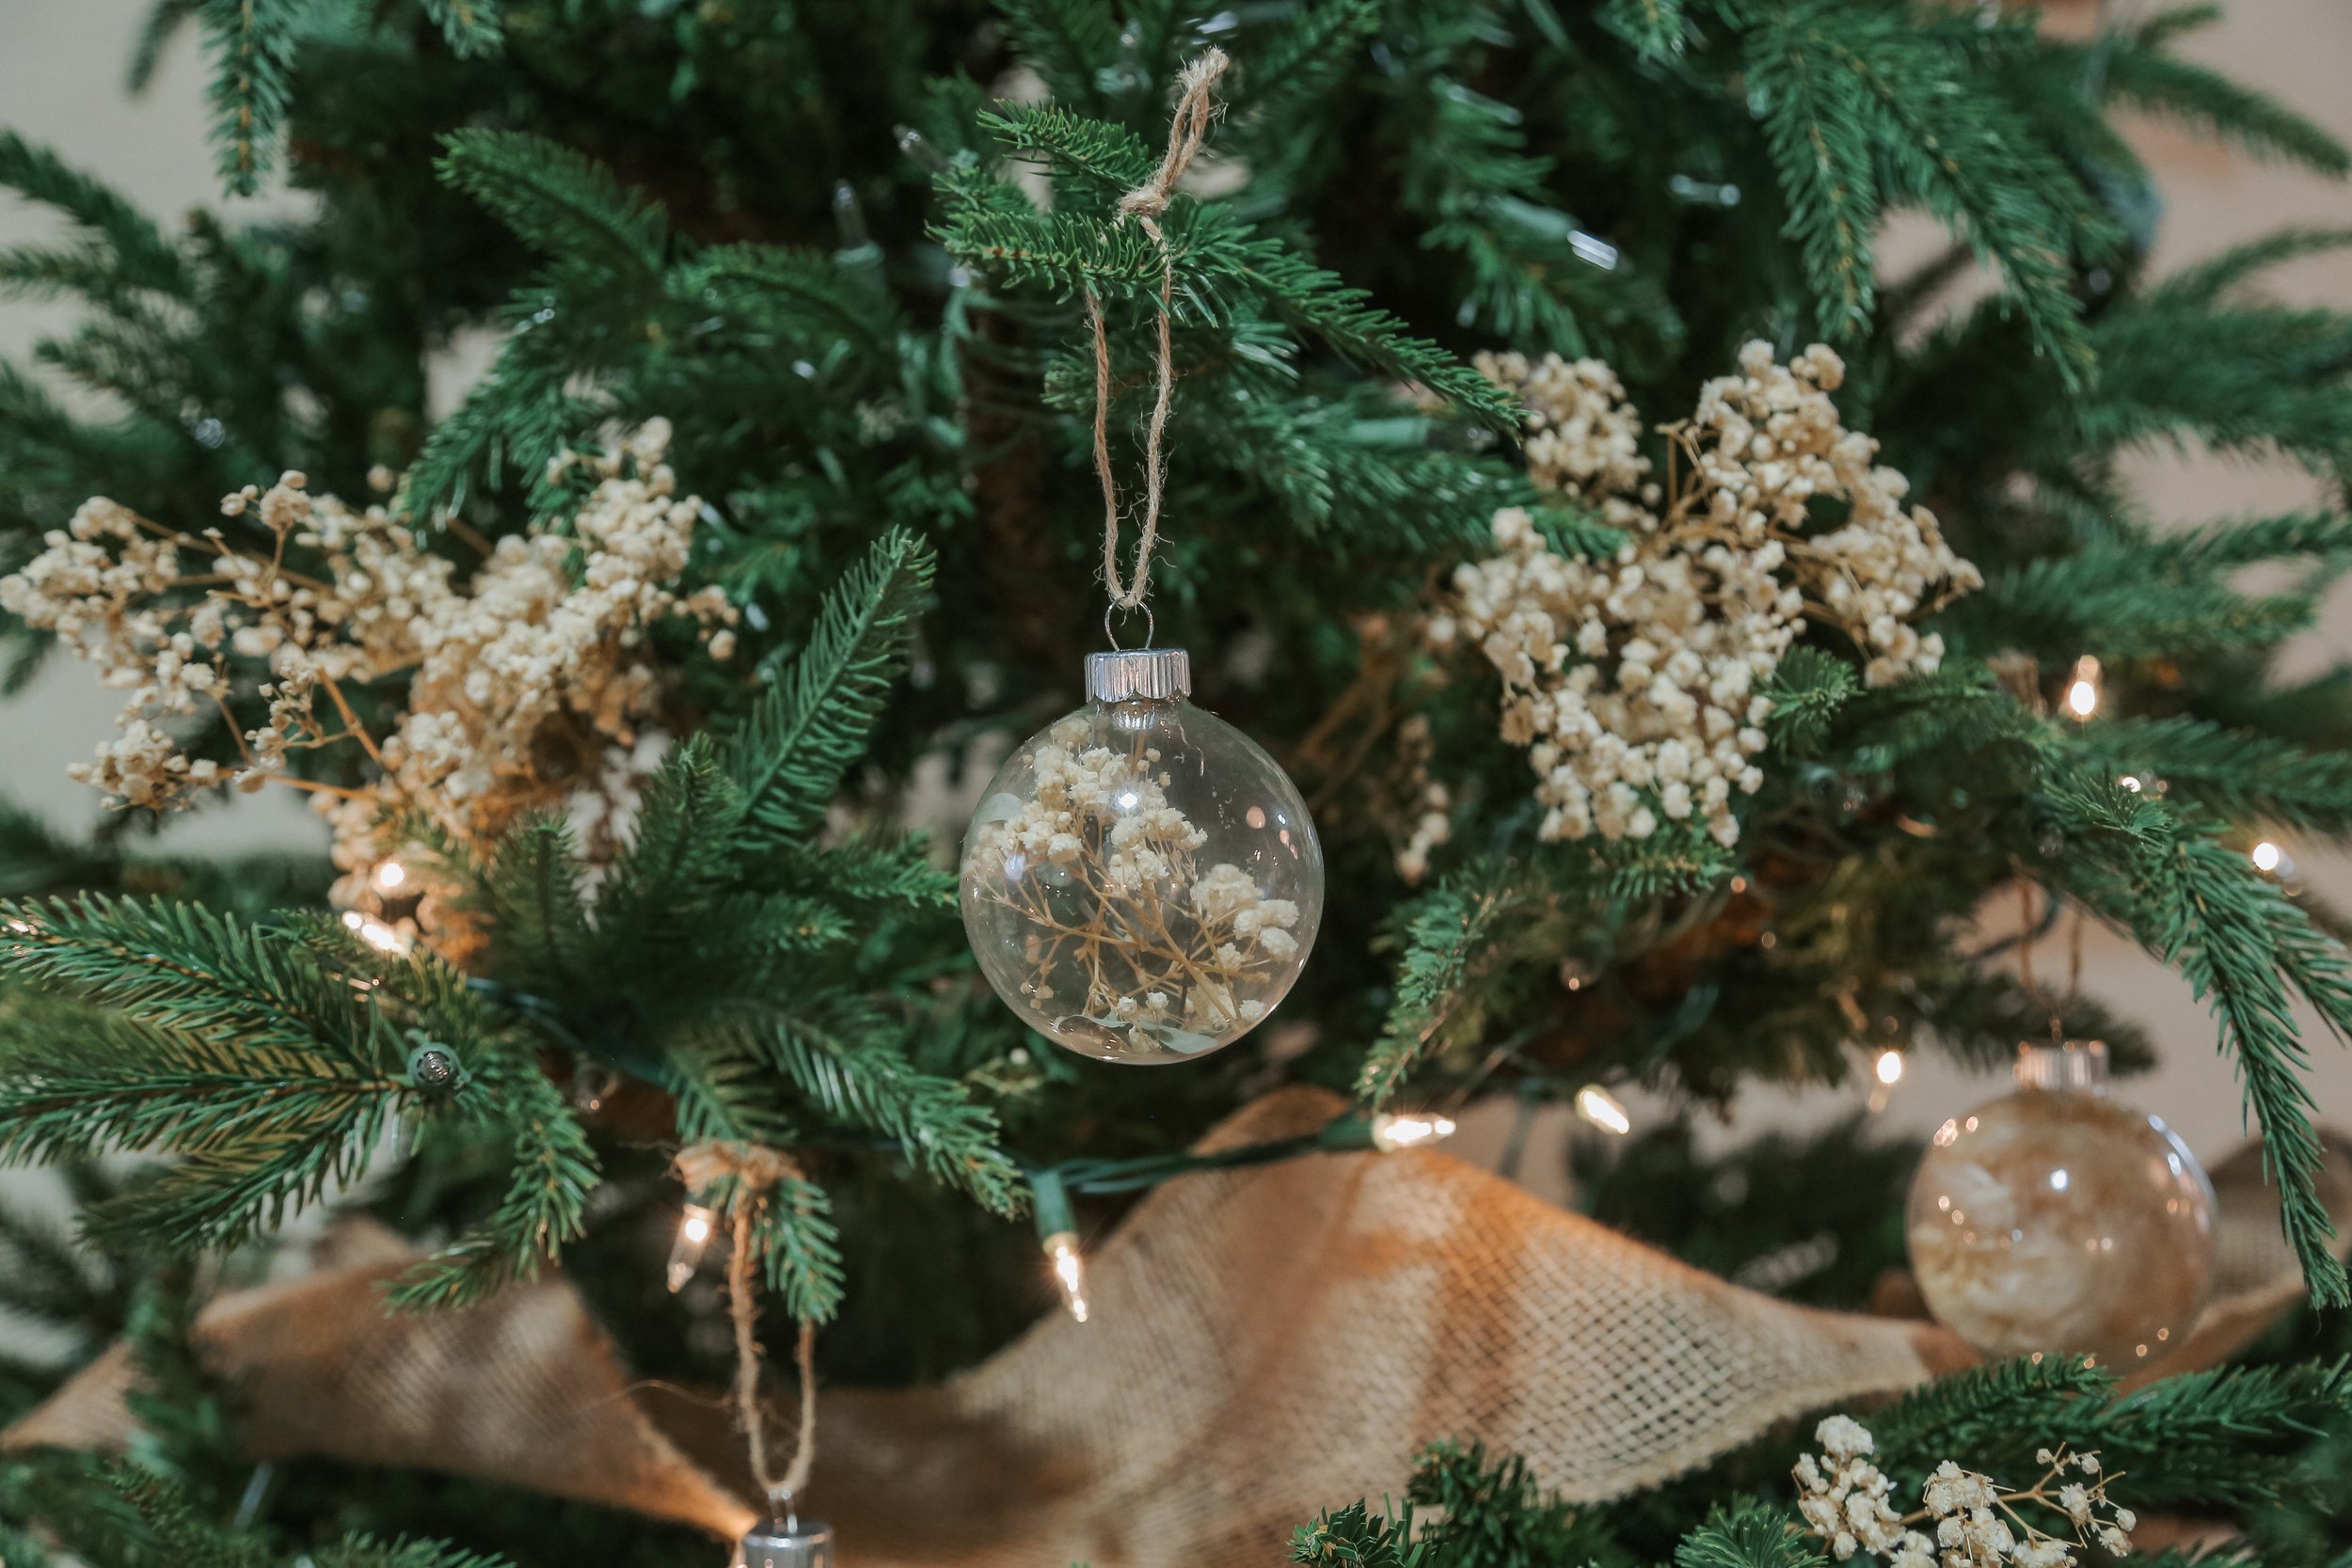
Ornament 2 : Dried Florals
The next ornament I upcycled was these minimalistic dried floral bulbs. This one’s really simple…
Materials
Clear ornaments
Dried florals
Pinecones
Instructions
All you have to do for this is source some clear glass ornaments (I got mine for a really good price on Facebook Marketplace) and collect some dried florals to stuff them. You can get these at a local florist or even dry some yourself by hanging them upside-down in a dark room for a couple days. To add even more detail, I even collected some small pinecones and dropped them inside.
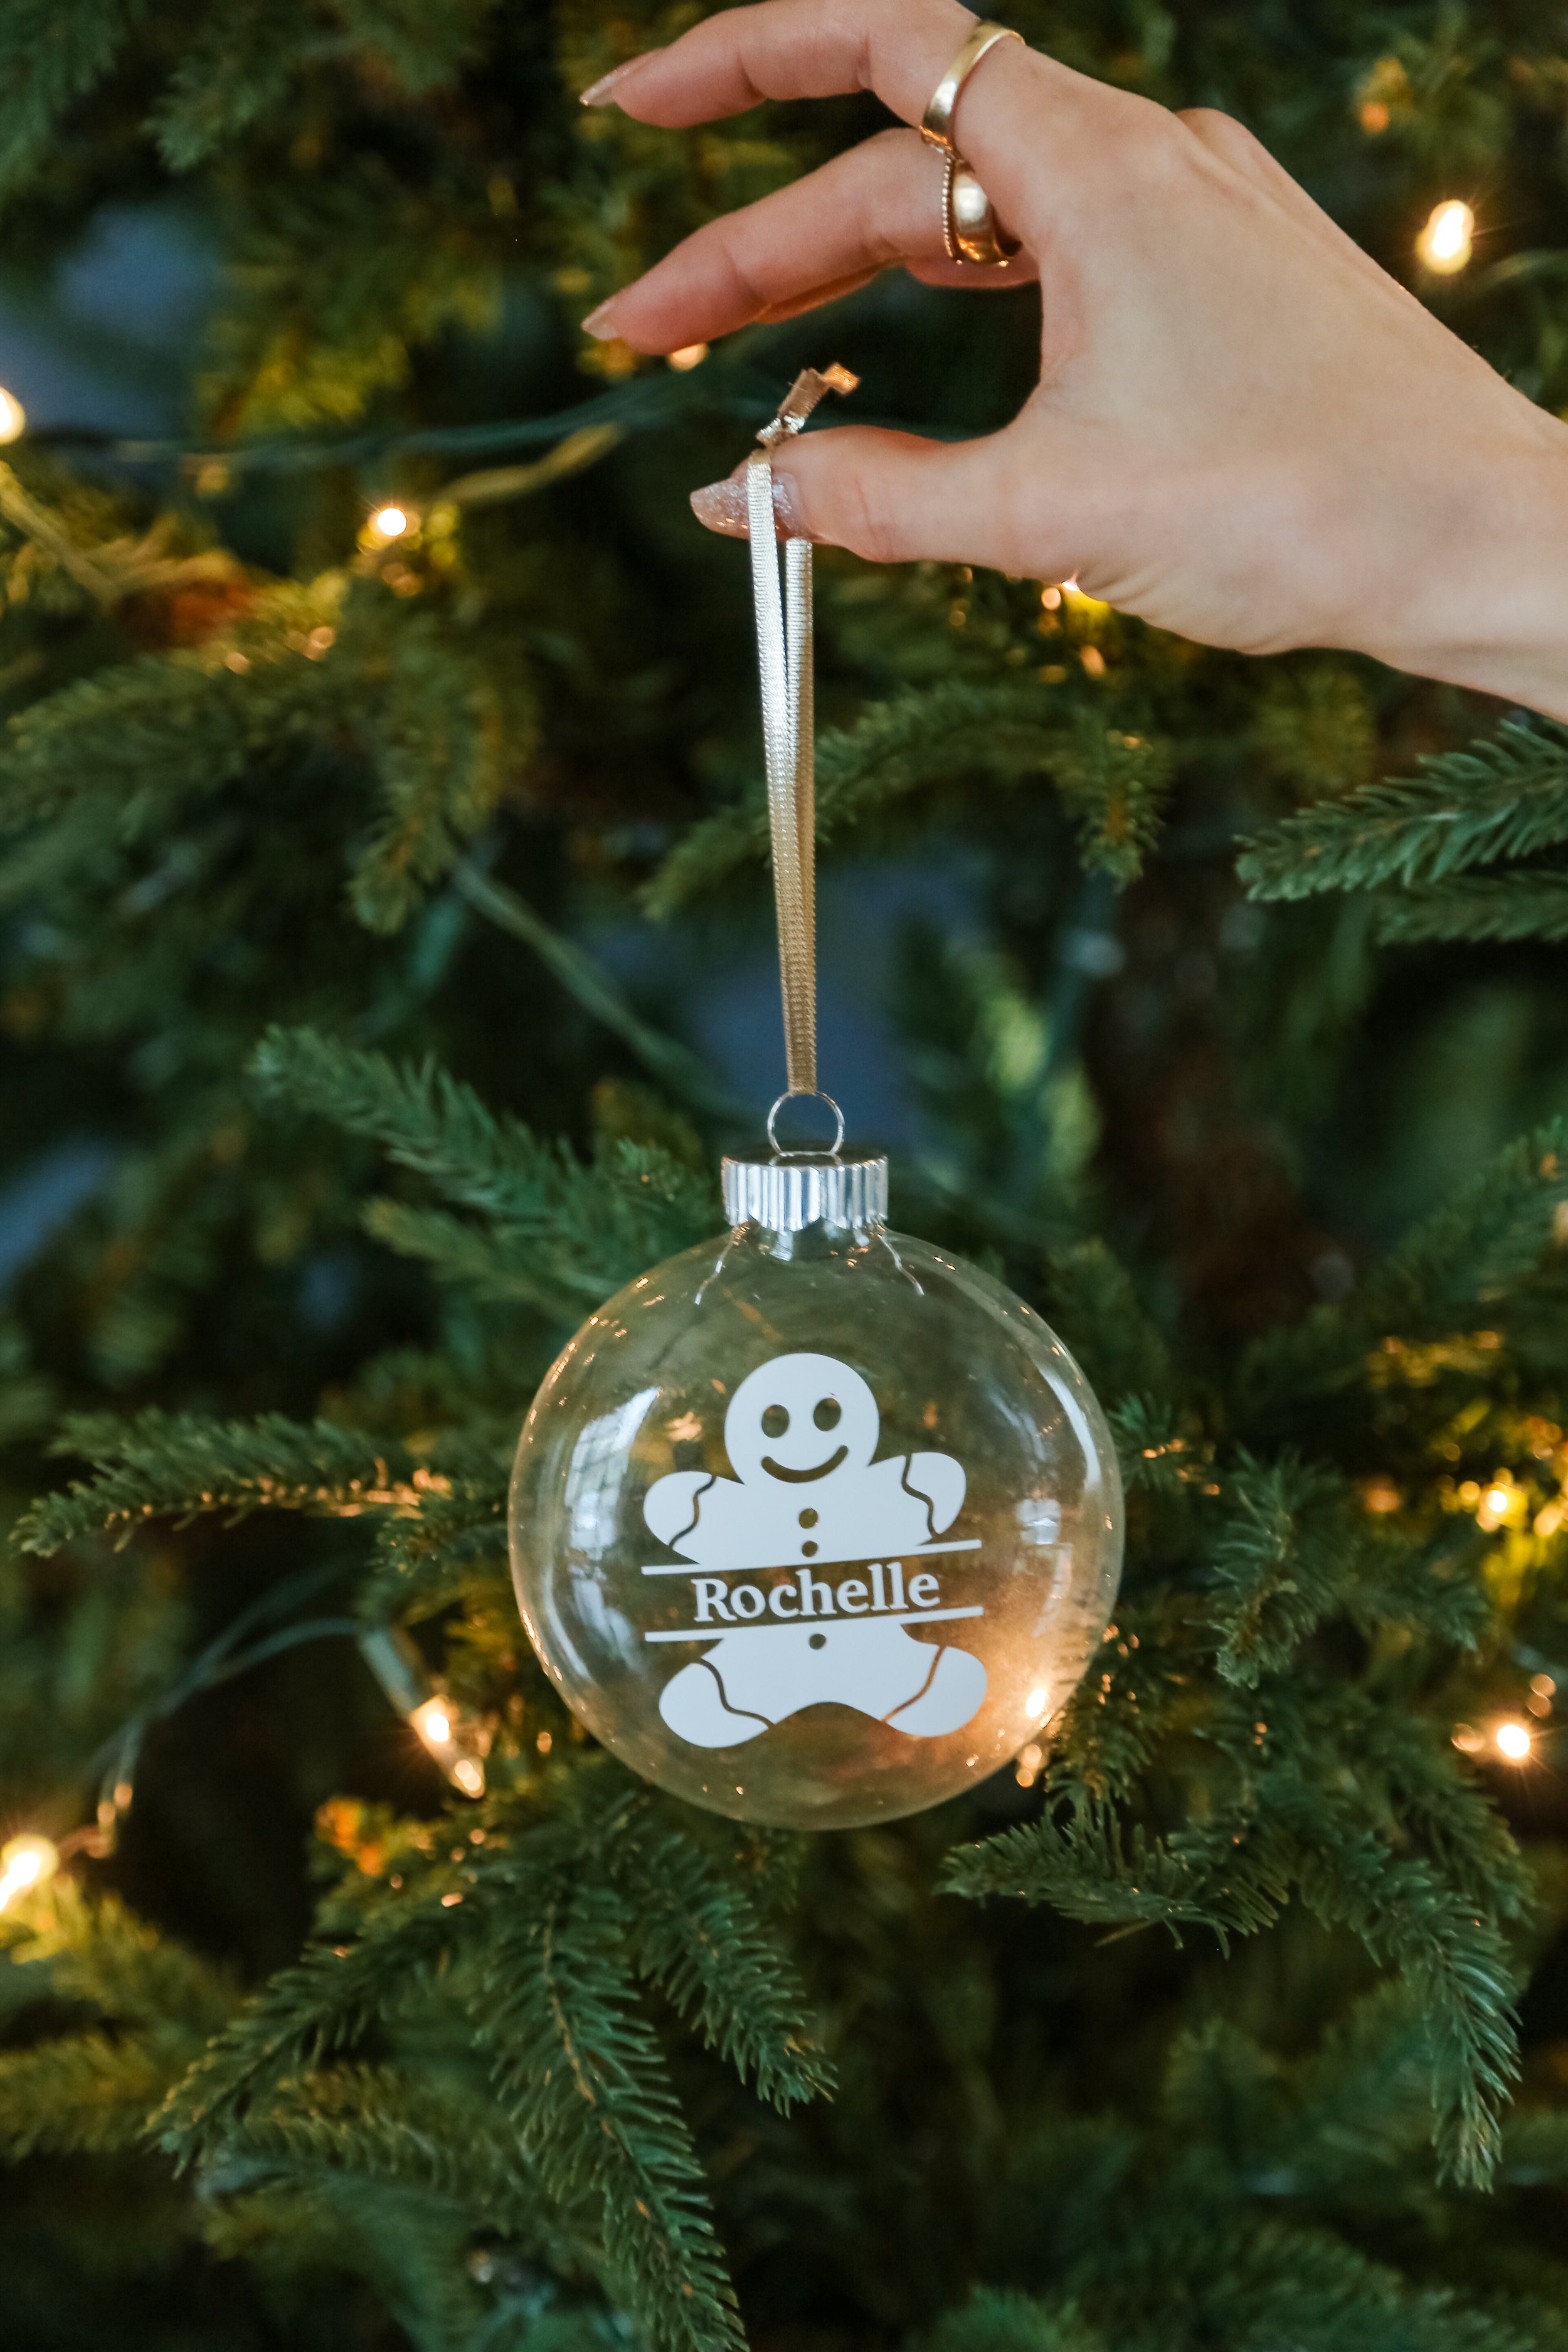
Ornament 3 : Cricut
If you have a Cricut, these customizable clear ornaments are the perfect DIY for your tree, or to give as a gift to a friend.

Materials
Christmas ornaments (I opted for clear)
Cricut
Sticker vinyl (colour of your choice)
Cricut transfer paper
INSTRUCTIONS
Design your custom ornament on the Cricut Workspace server and print it using sticker vinyl, following the instructions provided by Cricut. After separating the design, use tape transfer paper to apply it onto your thrifted glass bulb ornaments.
This is a delightful project that offers endless customization. You can personalize it with an inside joke, a family name, a reference to your favorite show, and more. Additionally, we found a variety of designs on Etsy through this link and this one, that added to our collection of options.

Ornament 4 : Upcycle Old Christmas Balls
This is a GREAT hack for updated those old Christmas ornaments that you have had for years, or found at the thrift store that could really use a pick me up.


Materials
Old / Thrifted Christmas globe ornaments
Primer (White Paint)
Paint colour of your choice
Gold Iridescent paint
Sponge
Instructions
Prepare your ornament by priming the surface with white paint, covering the original color. Once dry, paint it with your preferred color and allow it to completely dry.
Now, for the exciting part—take iridescent gold paint and a sponge to dab it across the ornament's surface. This technique creates a brushed metallic effect that mimics expensive finishes, giving your ornament a high-end look without the hefty price tag.


Head over to the full YouTube video to see the profit made from these ornaments and let us know which one is your favourite!