DIY Custom Suitcase Stand: Crafting a Unique Gift
My friend loves traveling, so this year for Christmas, I decided to make her something that would address that passion as her gift : a custom suitcase stand. Using oak wood and a few hardware materials, I crafted a stand that not only serves its purpose but also adds a touch of uniqueness to her space. In this step-by-step guide, I'll walk you through the process of creating your own custom suitcase stand. Watch the full tutorial here.


Materials Needed:
4 pieces of 4ft oak wood
Threaded metal rod
Acorn nuts
Pocket hole jig
Hand saw
Wood stain
Green durable straps (or material of your choice)
Stapler
Measuring tape
Pencil
Drill
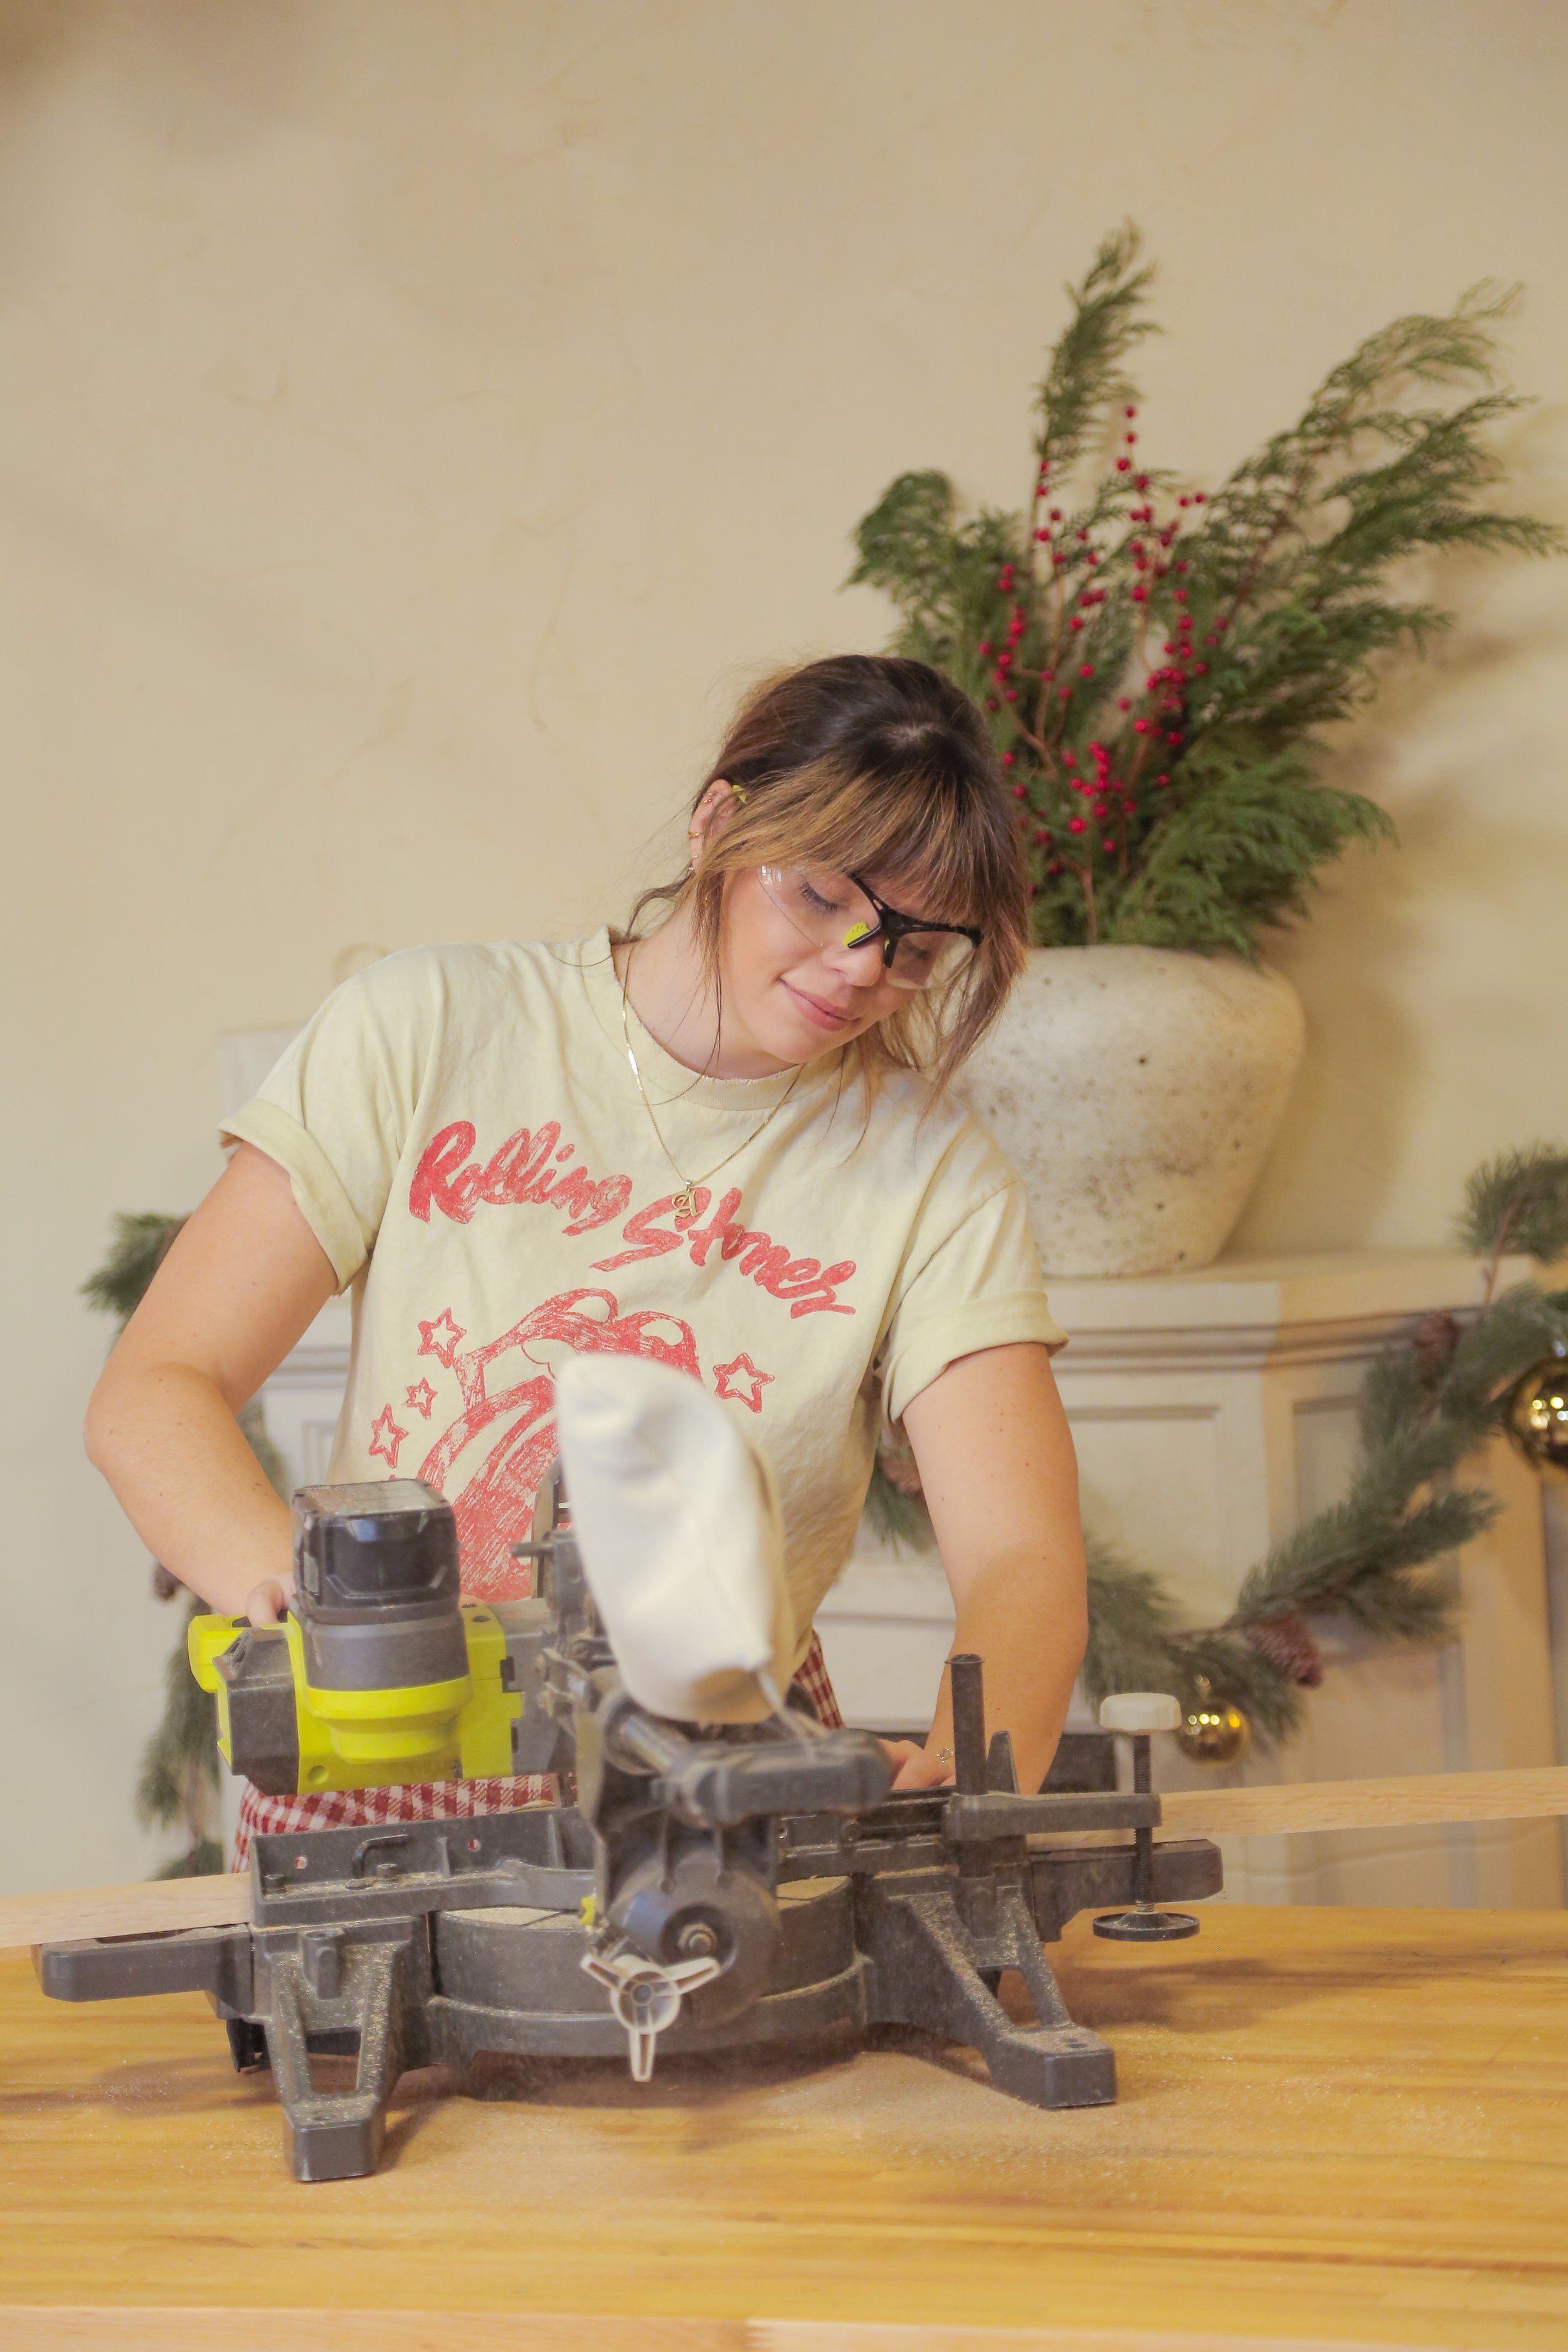
Step 1 : Gather Materials and Measure
Start by gathering all the necessary materials. Measure and mark the oak wood according to the following dimensions:
Cut 4 pieces to 24 inches each for the legs
Cut 2 pieces to 28 inches each for the top

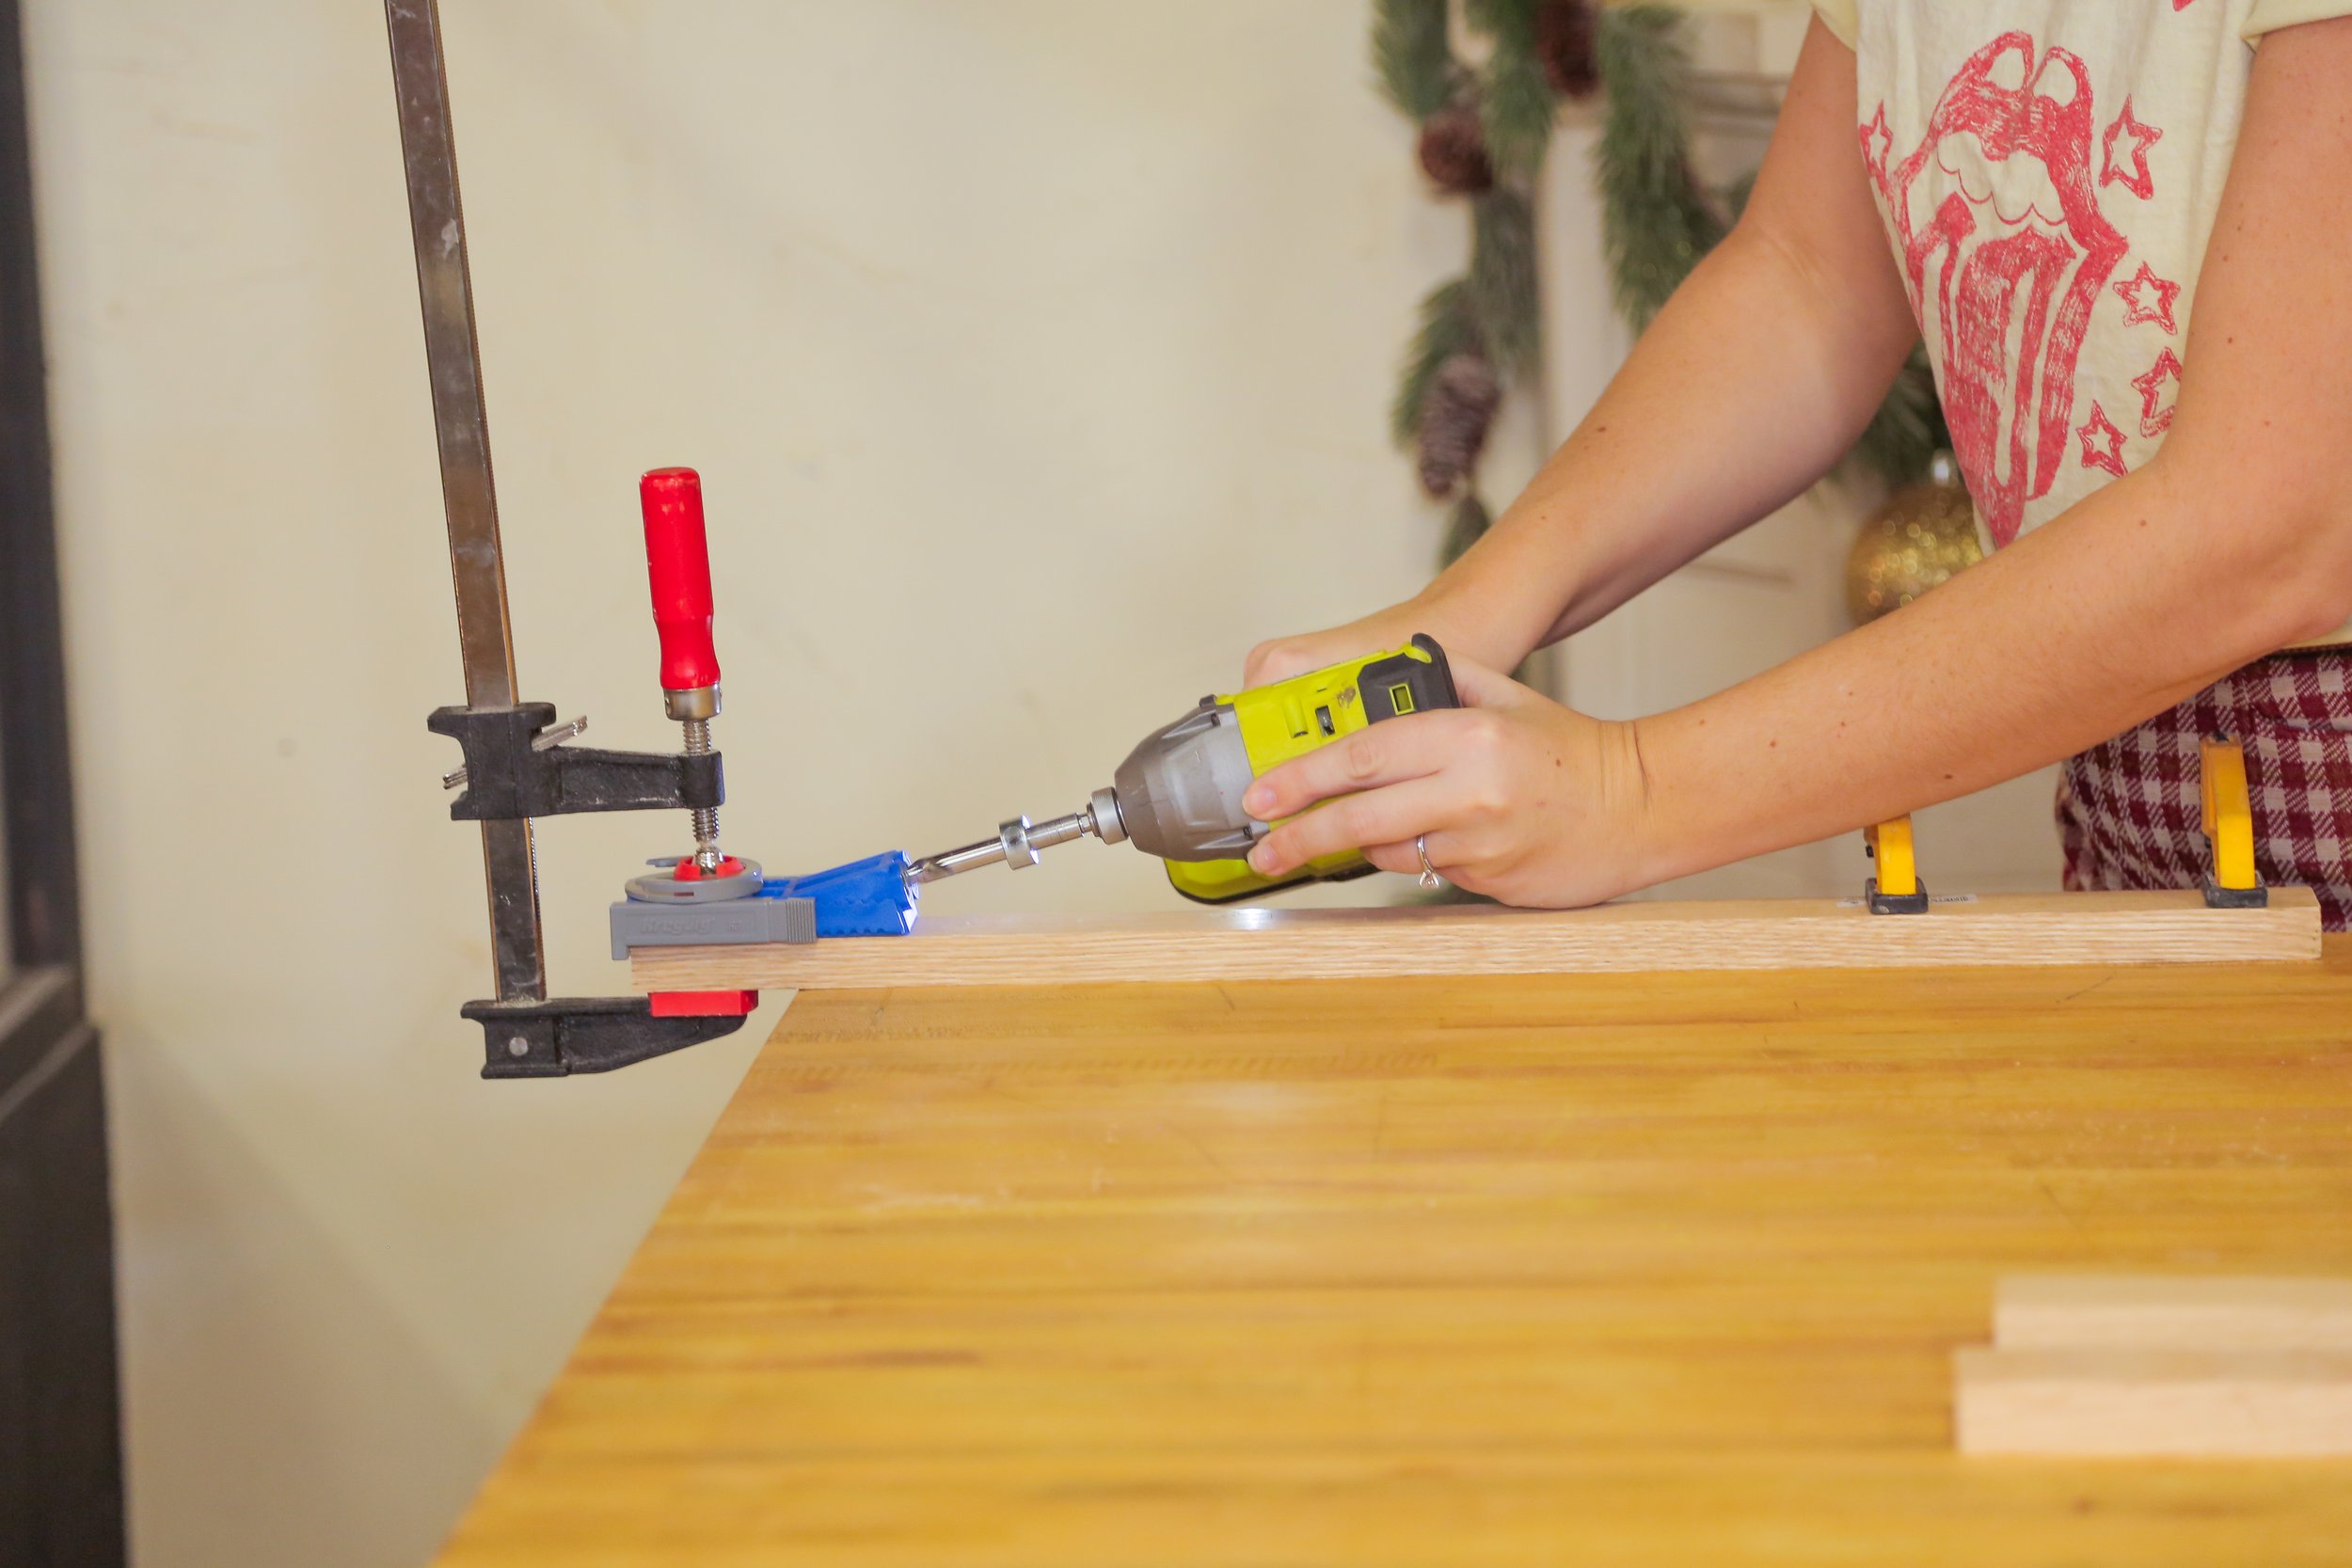
Step 2: Drill Pocket Holes
Using a pocket hole jig, drill two holes in each leg piece. These holes will be used to attach the legs to the top pieces later on.

Step 3: Attach Legs to Top Pieces
Attach two legs to the first top piece, positioning them approximately 1.5 inches in from the edges. Mark the inside of these legs on the second top piece to ensure proper alignment for attaching the remaining legs (the second set will fit within the first).


Step 4: Create Specialized Bolt
Craft a specialized bolt that will allow the stand to close and open. Take a threaded bolt and hand saw it to a width slightly larger than the combined width of two legs. Insert the bolt through the legs and secure it by adding acorn nuts to each side of the rod.


Step 5: Staining & Attach Straps
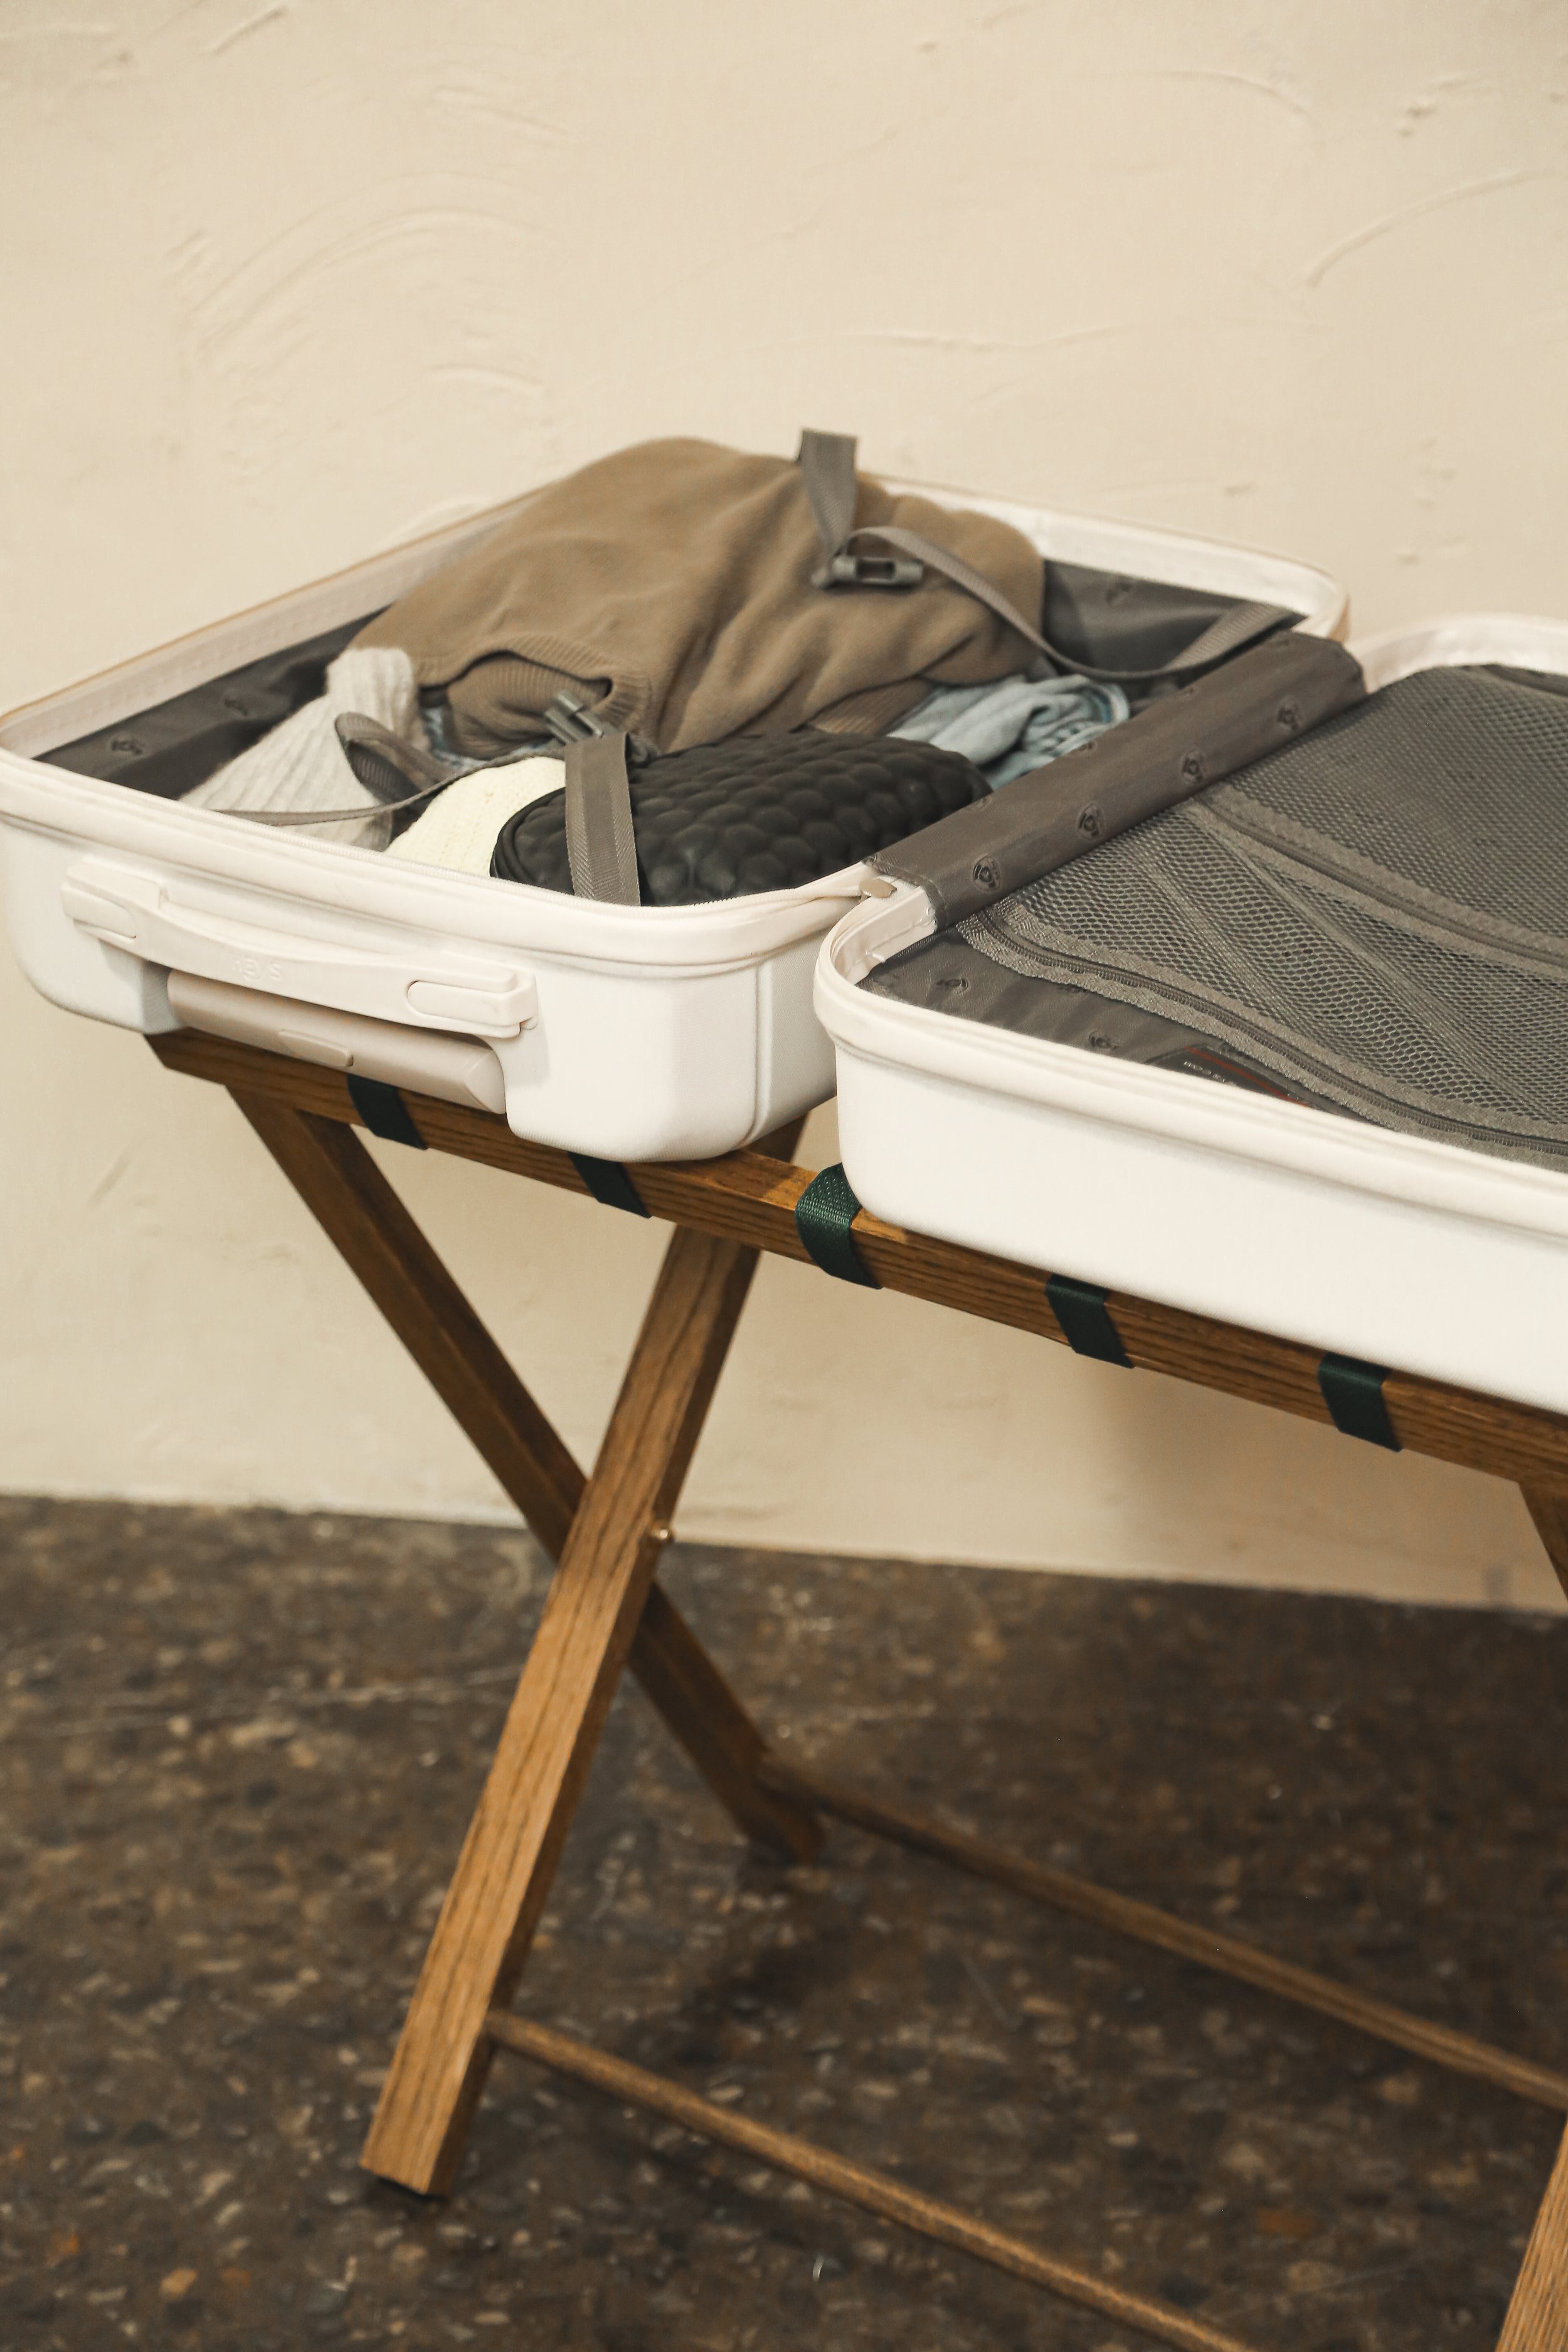
Disassemble the stand and apply wood stain to all pieces. Allow the stain to dry completely before proceeding. Cut five durable straps using the material of your choice to 20” each. Staple and glue these straps to the underneath of the top pieces. These straps will provide support for the suitcase when placed on the stand.


Step 6: Assemble and Present
Once the stain is dry, reassemble the pieces to complete the custom suitcase stand.
By following these step-by-step instructions, you can create a unique and functional gift that will be cherished by your friend or loved one for years to come. Enjoy the process of creating something special from scratch!
Remember, feel free to adjust measurements and materials to suit your preferences and the recipient's taste. Happy crafting!