DIY RING WALL DECOR

We were SO excited to have Ann Le here with us to make some amazing ring wall decor pieces! We up-cycled some jeans on her channel, and you can check it out here. We’re going to be creating three different types of these super trendy wall decor pieces, let’s get started!
Cost: $10-20
Difficulty: ✂
Materials:
- No.1- Silver circular rings, fake flowers, rolls of various ribbon and lace.
- No.2- One small ring, one large ring, yarn of your choice, pom poms in different sizes, and an agate geode slice.
- No.3 - One small ring, one large ring, yarn, gold beads, gold embroidery thread.
Tools:
- Thick needle
- Scissors

STYLE NO. 1
For the first style, we decided to go for the more pretty, soft, and floral trend that seems to be going on right now. This one is perfect for coachella and festival season! Start with your silver circular rings and ribbon. Fold the ribbon in half and loop it through itself around the circular ring. Repeat this about 10 times. Bend your fake flowers and begin gluing them around the metal circle. Add more flowers around the circle to create a look that you like. Tie cord at the top of the ring to hang it on the wall!
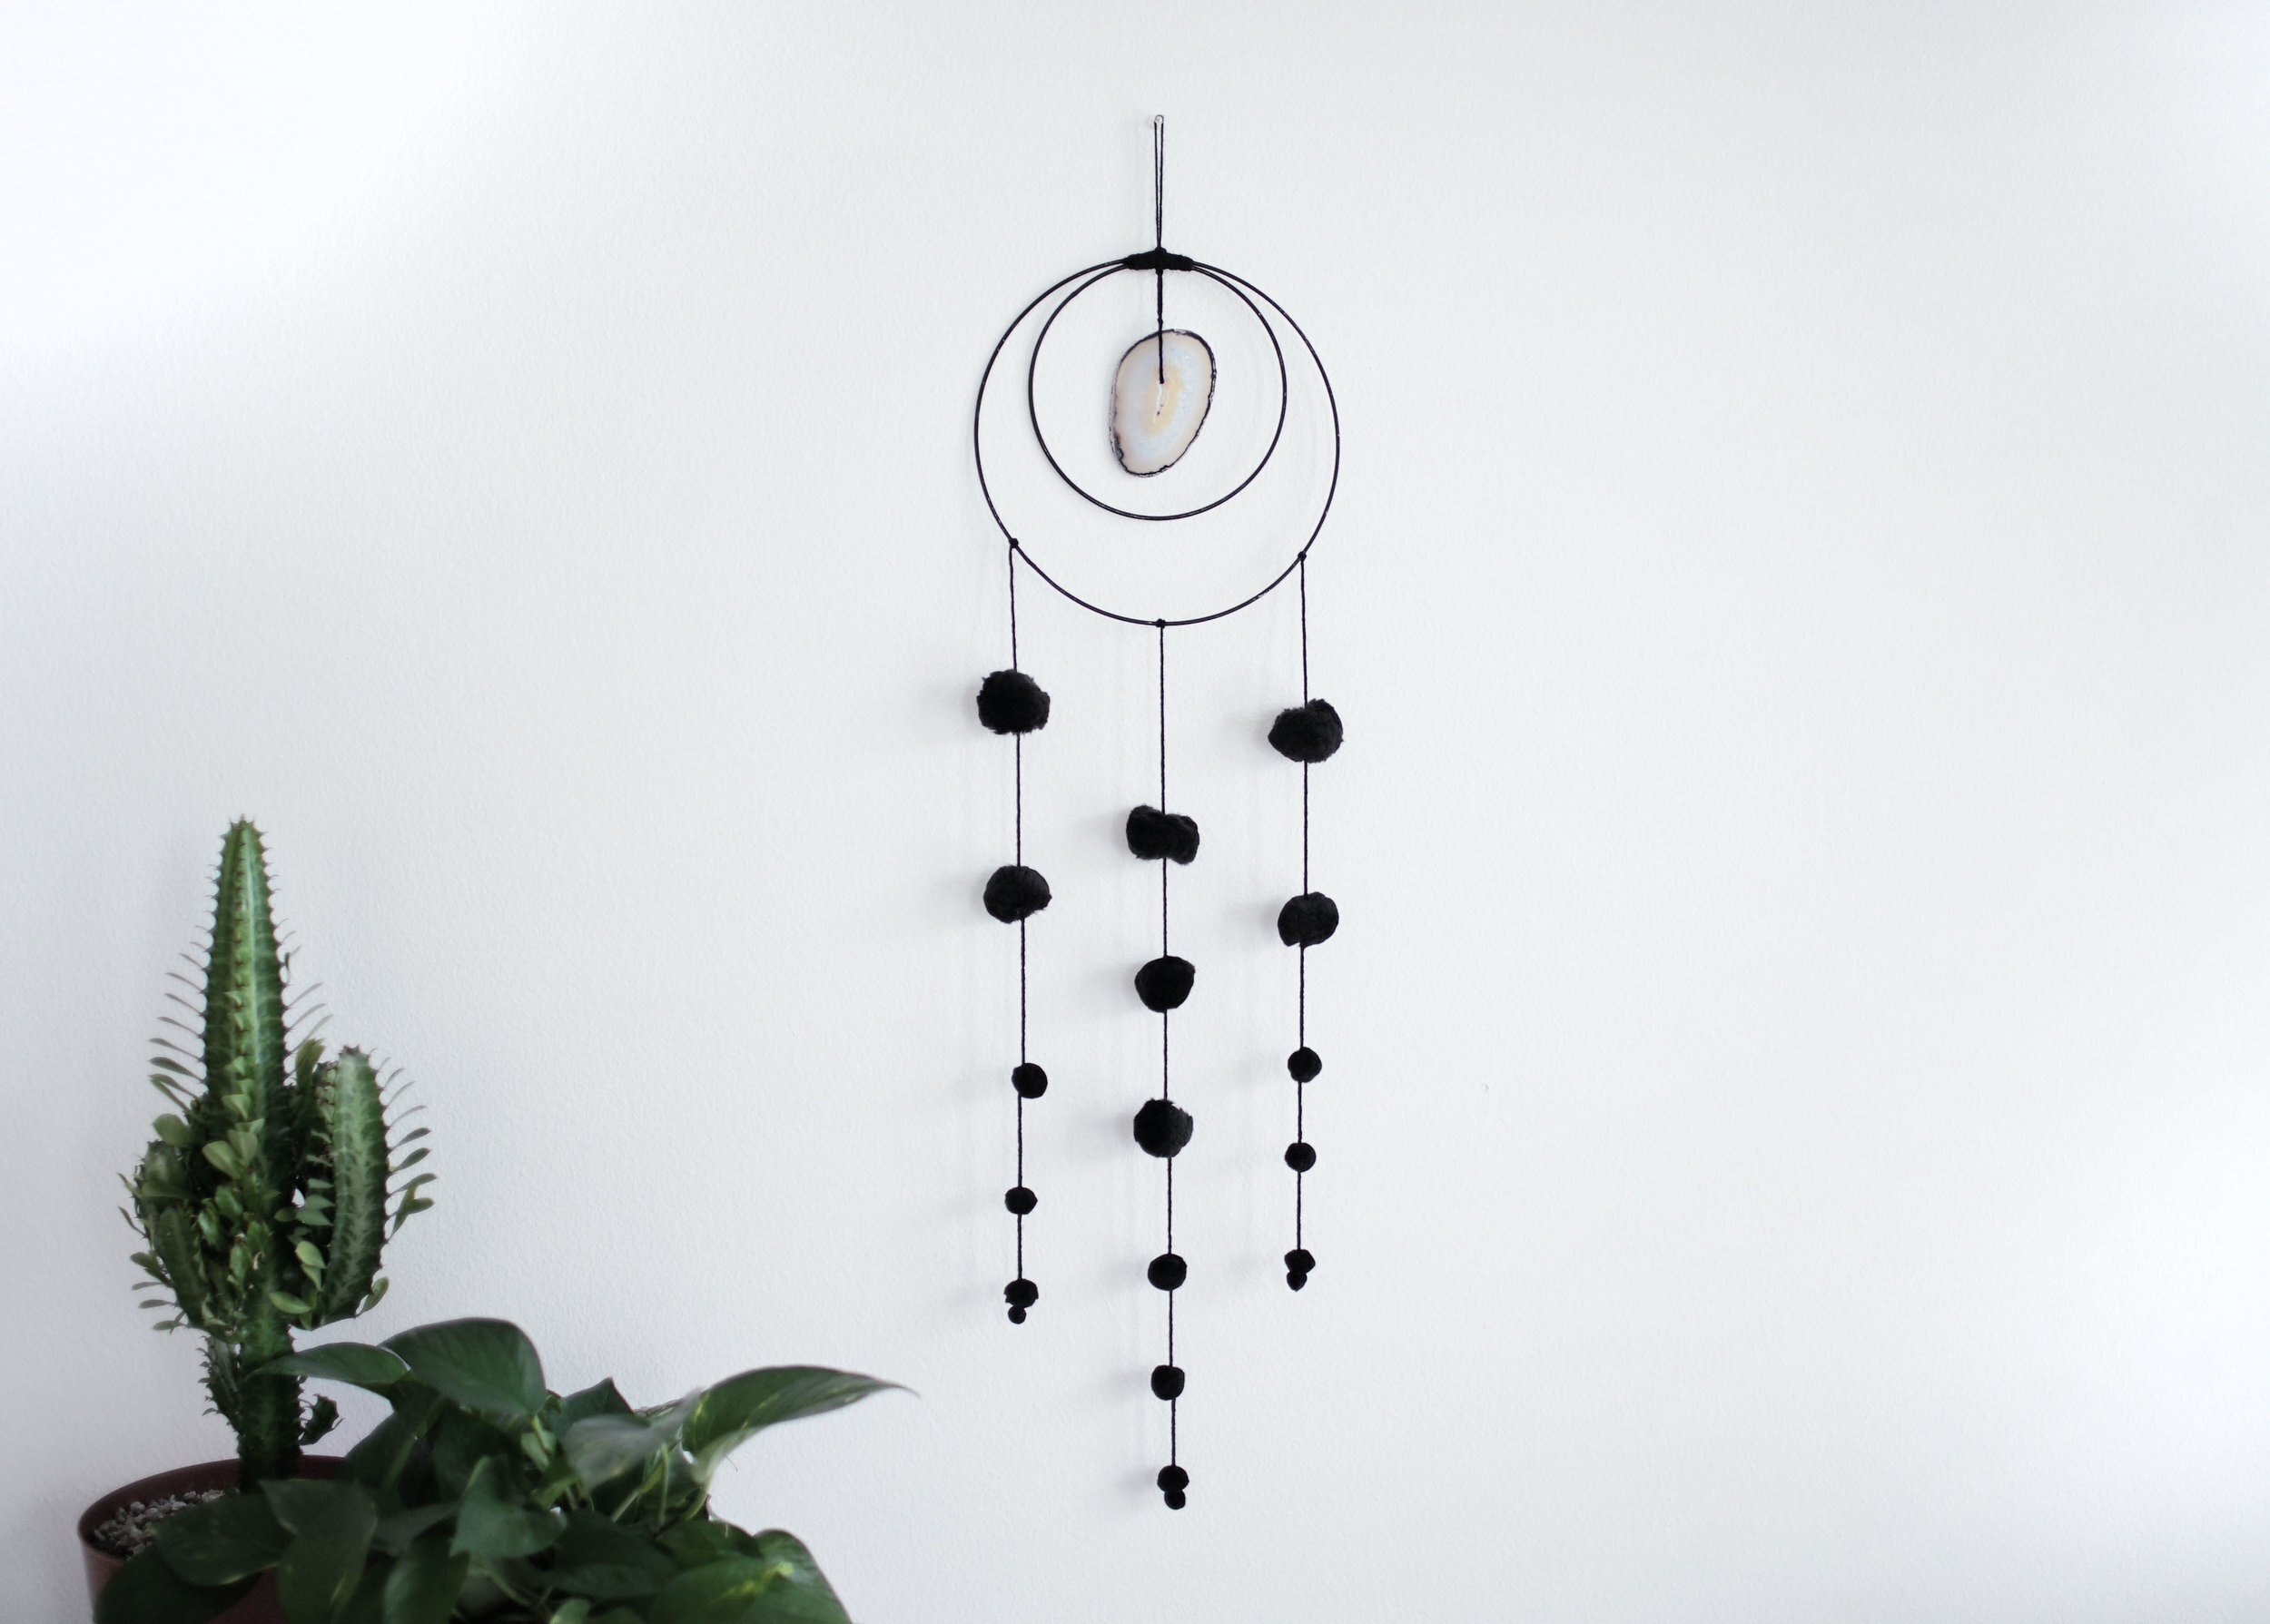
STYLE NO. 2
For Ann’s style, she decided to go for more of a minimalist and modern look. She started by spray painting the two silver rings matte black. Next for the pom poms, she cut three lengths of yarn (the lengths of the yarn depends on personal preference). Loop your yarn through a big crafting needle and poke the needle through your first pom pom. The amount of pom poms, again, depends on personal preference. After the paint is fully dry, wrap yarn around the two circles to attach them. Next, loop yarn through the agate (or any other center piece), and tie it to position it in the middle of the smaller ring. Attach your long pom pom strands to the bottom of the larger ring, and you’re done!
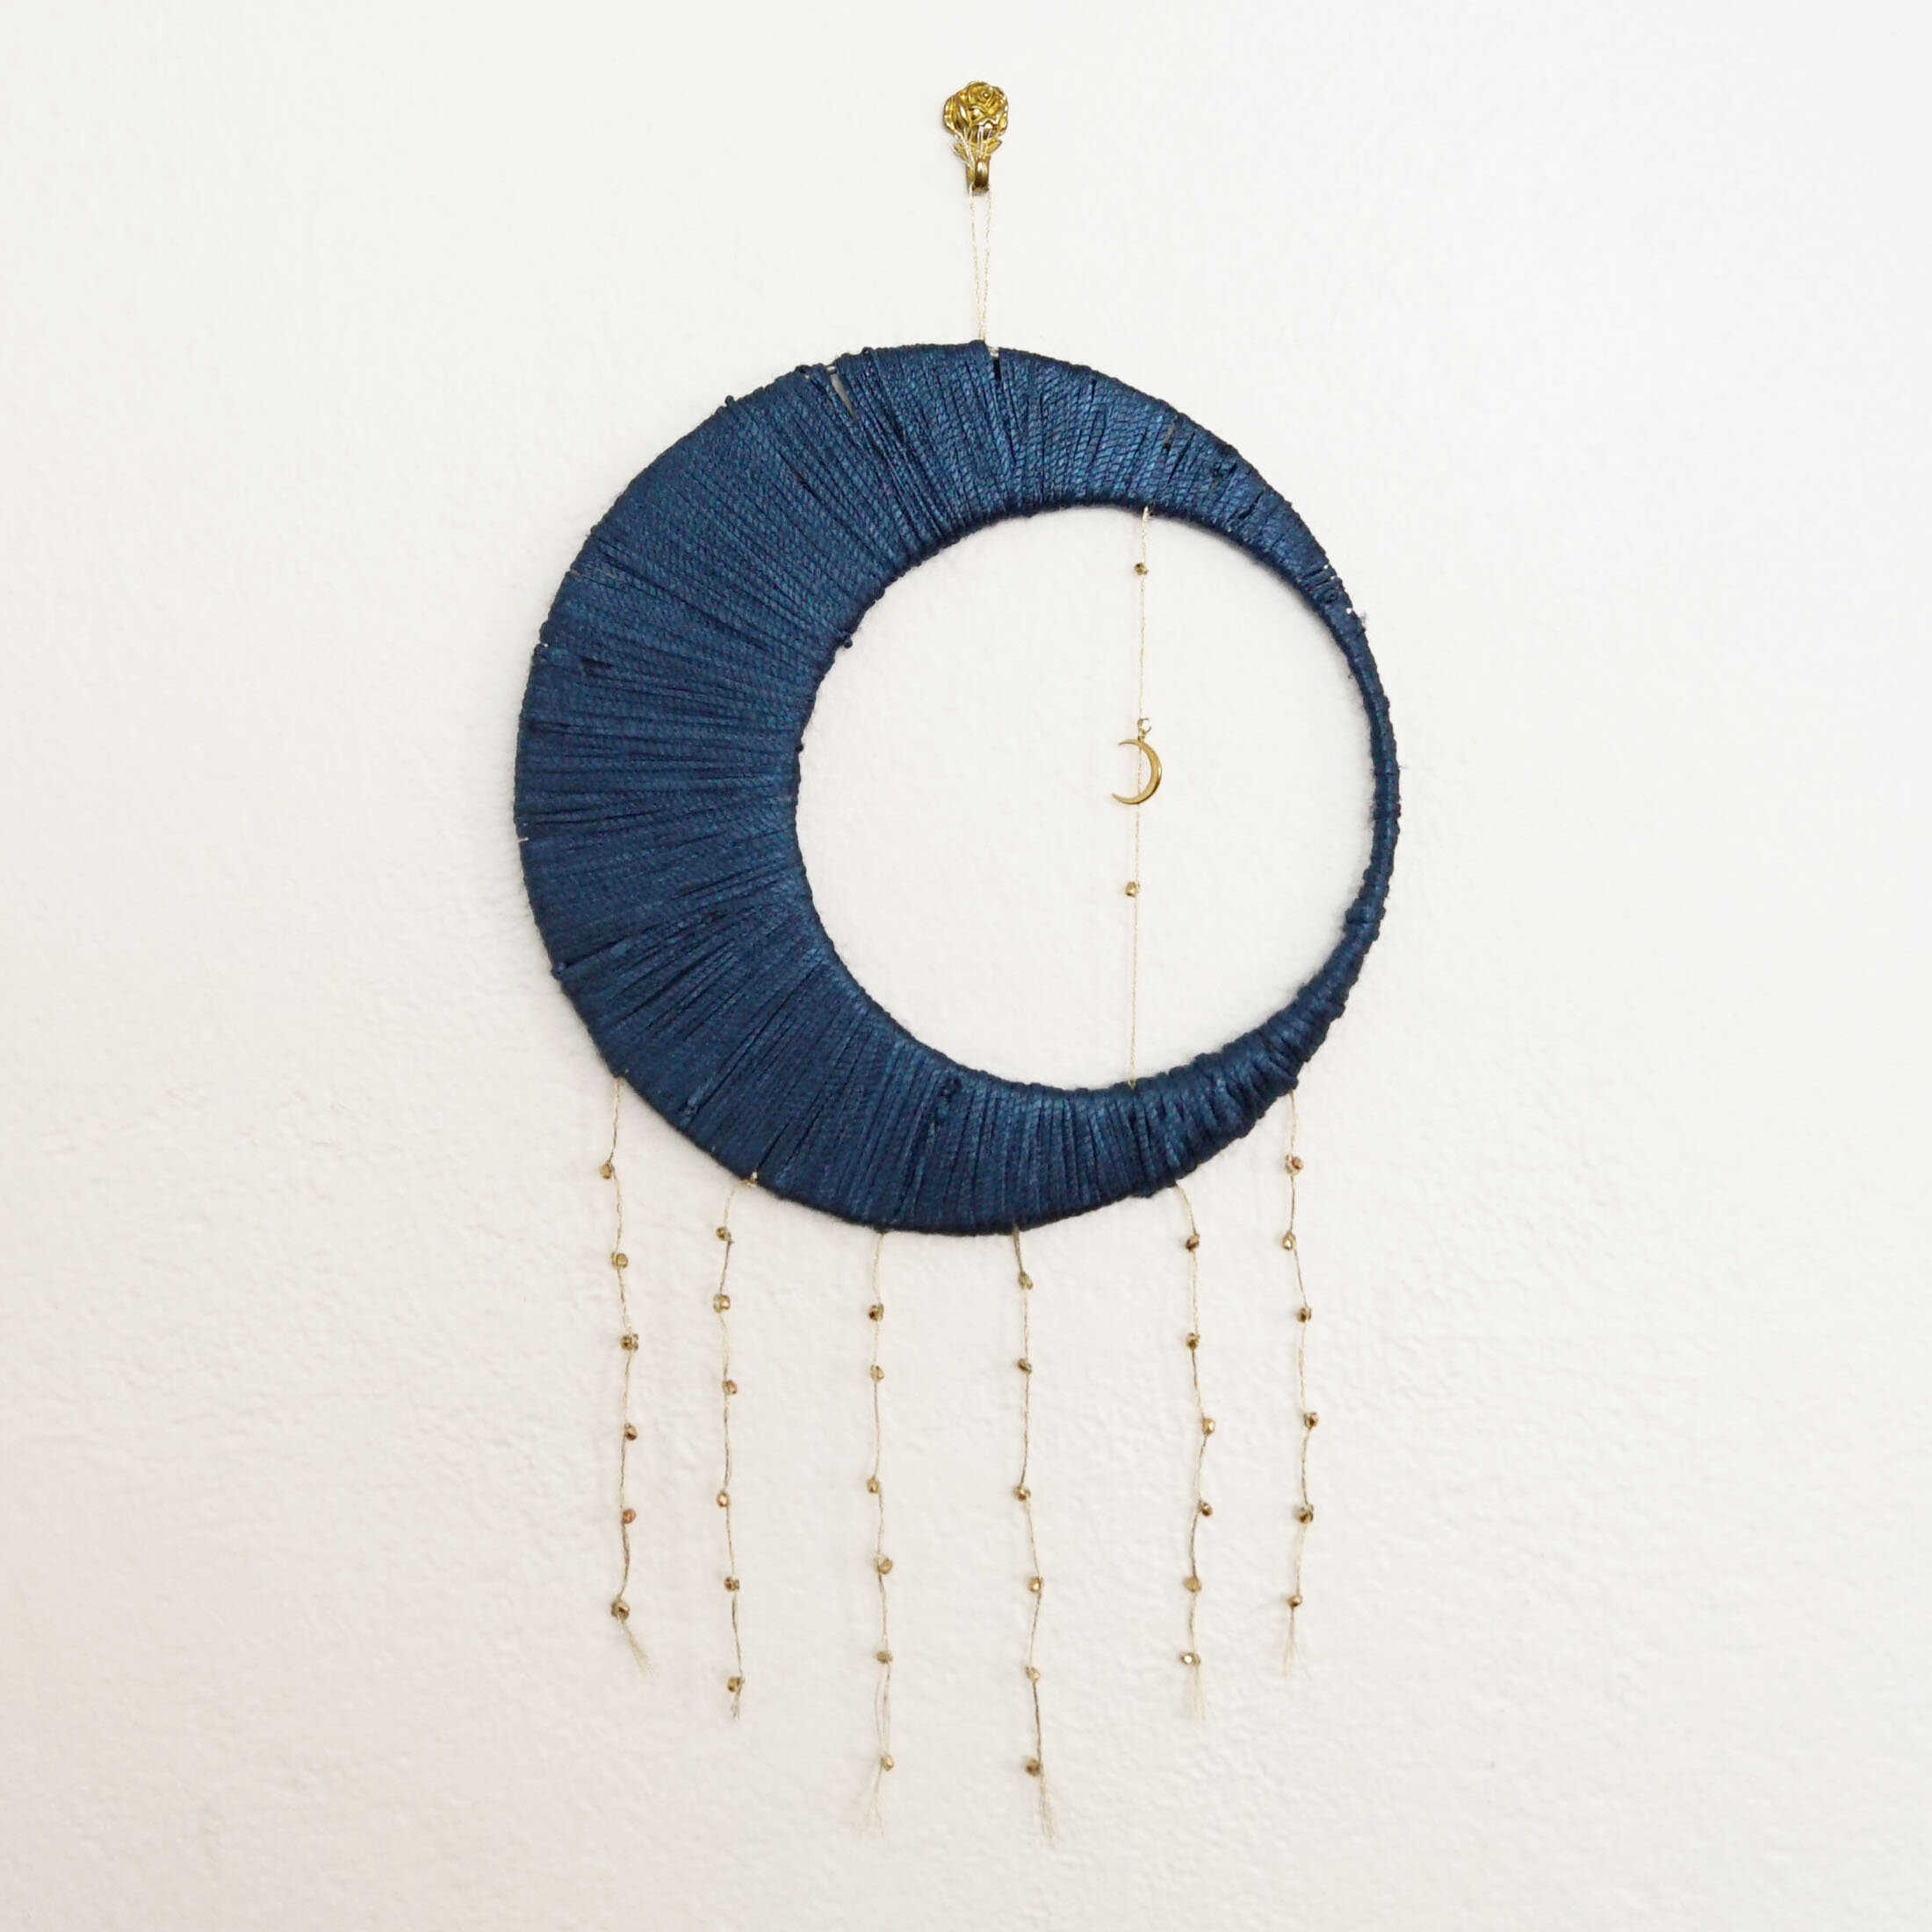
STYLE NO. 3
The last style is totally inspired by the moon and the stars! To start off, we’re going to make some dangley pieces for the bottom of the ring. To do this, we tied off the end of a piece of embroidery thread, slid on a bead, and tied another knot to secure it. We repeated this about five more times per strand, for a total of six strands. Next, we tied all of the strands to the large ring. Next, we placed the small ring into the small one so that the space between the large and small looked like a moon. We then tied the silky yarn onto the two rings to secure, and began wrapping the yarn tightly around the two rings. We added a strand of thread with beads and charms on it and attached it across the empty space that wasn’t being wrapped to decorate. Finish wrapping the yarn all the way around the two rings, and you’re done!
Again, please check out what we made over on Ann’s channel and ALWAYS send us what you’ve made using the hashtag #SorryGirlsSquad! Check out the video below to see how we did this DIY!