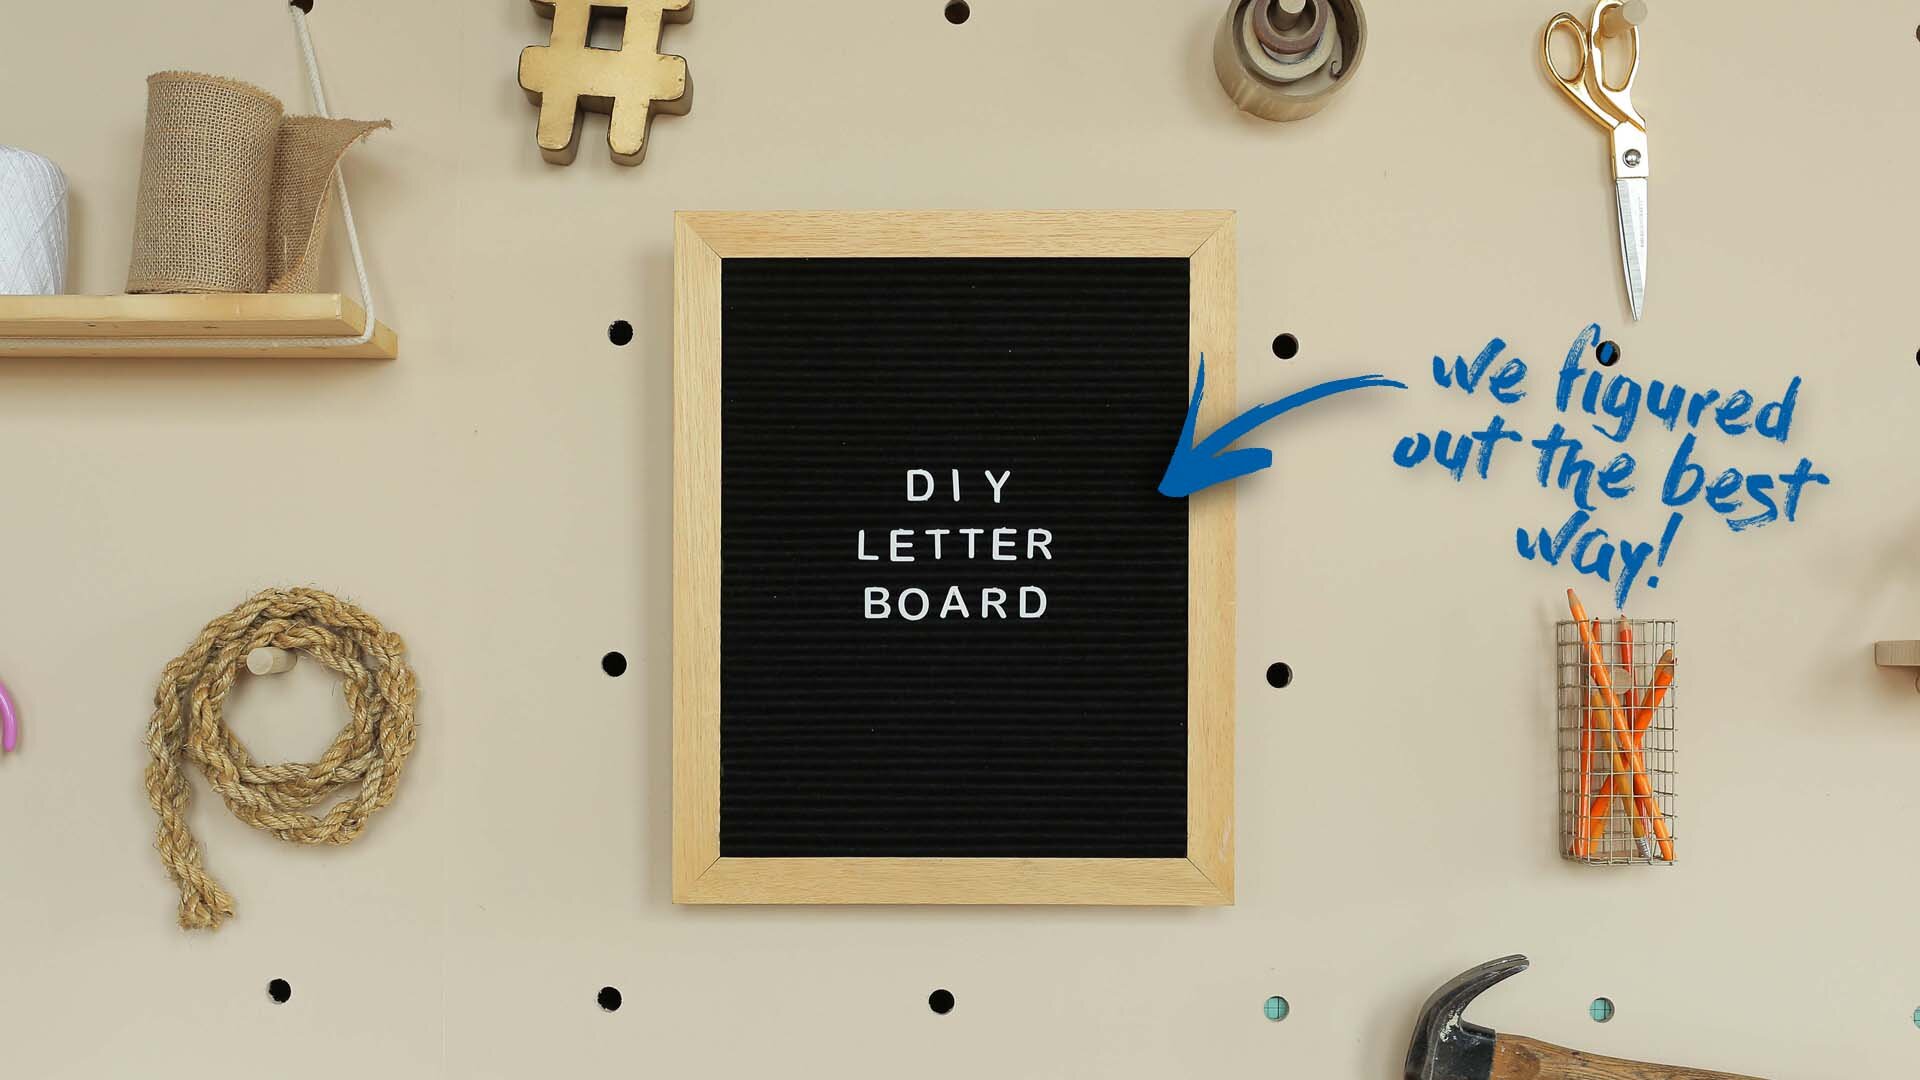
DIY FELT LETTER BOARD
These letter boards are super popular and you best believe we are going to show you how to DIY them: Sorry Girls style. PS. If you’re new to The Sorry Girls, we’re a (mainly) DIY YouTube channel so there is a video on this tutorial if videos are more your style. If not, read on!

COST:
$20-30
The plastic letters are what is going to cost you the most. The felt, picture frame, and foam core only totaled about $8
DIFFICULTY: ✂ ✂
MATERIALS:
– foam core
– picture frame (ours is thrifted)
– black felt (or colour of your choice)
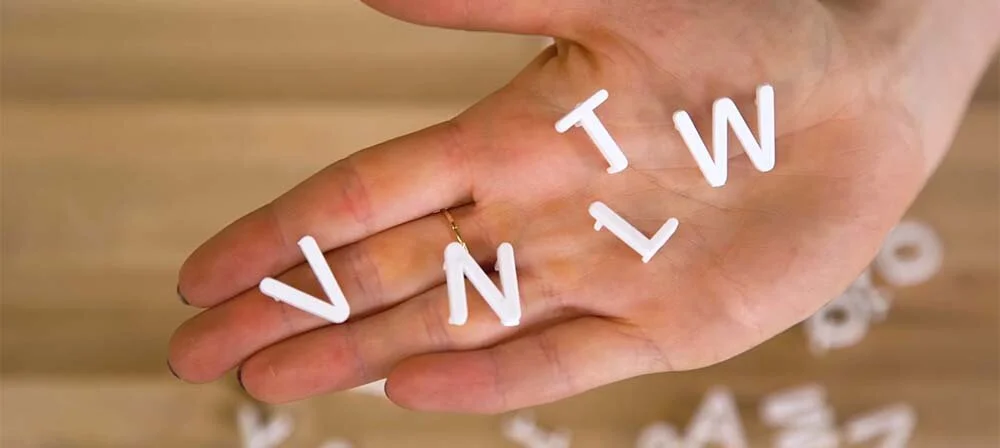
– plastic letters (grab these off of amazon: 3/4″ letters, 1/2″ letters, 1″ letters)
TOOLS:
– hot glue gun
– ruler
– pencil
So we’ve seen these boards done before. Often with square or round wooden dowels, well guess what? We tried that and it didn’t really work, the roundness and size didn’t allow the letters to stay in. So we thought maybe using a corrugated plastic? Buttt unless it’s the PERFECT spacing, that won’t work either. SO we decided to measure and cut our own pieces instead of wasting more time and money trying to figure out if there is an existing material that is going to work.
We did this out of foam core and this is going to be way cheaper than buying dowels. For the standard 3/4 inch plastic letter board letter which you can grab off amazon for under $20, we measured a 3/16″ (4.7 mm) strip on the foam core, and cut this using an exacto knife. We repeated this about 45 times.

We also cut out a “spacer”/ guide foam core piece which was actually 3/32″ (2.4 mm) and coloured it blue so we know which one is the guide! We started by inserting the guide followed by hot gluing down one of our 3/16″ pieces. Then we removed the guide and repeated hot gluing in a 3/16th inch piece. We tested this with our letters as we went. Obviously if you have a different size letter (the one inch or 1/2 inch ones, then it’s going to be different). Remember to test with whichever plastic letters you’ve purchased to see if you need to make any adjustments! Our letters would span the gap of 2 strips.

We continued measuring with our guide and hot gluing down our strips all the way until we reached the bottom of the frame… AND we’re pretty much done! The last step is to take some black felt, we got this from the craft store. We cut it to the width of our frame and then left the length of it (which was 3ft) because we didn’t know just how much it would take. To tuck it in we used a plastic card to push in the felt. The key is that when you’re going to the next line, you use another card to hold in the previous line.

You also want to start on opposite sides every time so that your felt doesn’t start pulling one way or another. Try to make sure the felt is pulled tight as you go and that each line is as smooth as possible without any bumps. Those are just some pointers. Repeat all the way until you reach the end of your board. We cut the excess felt and just tucked in the remaining.
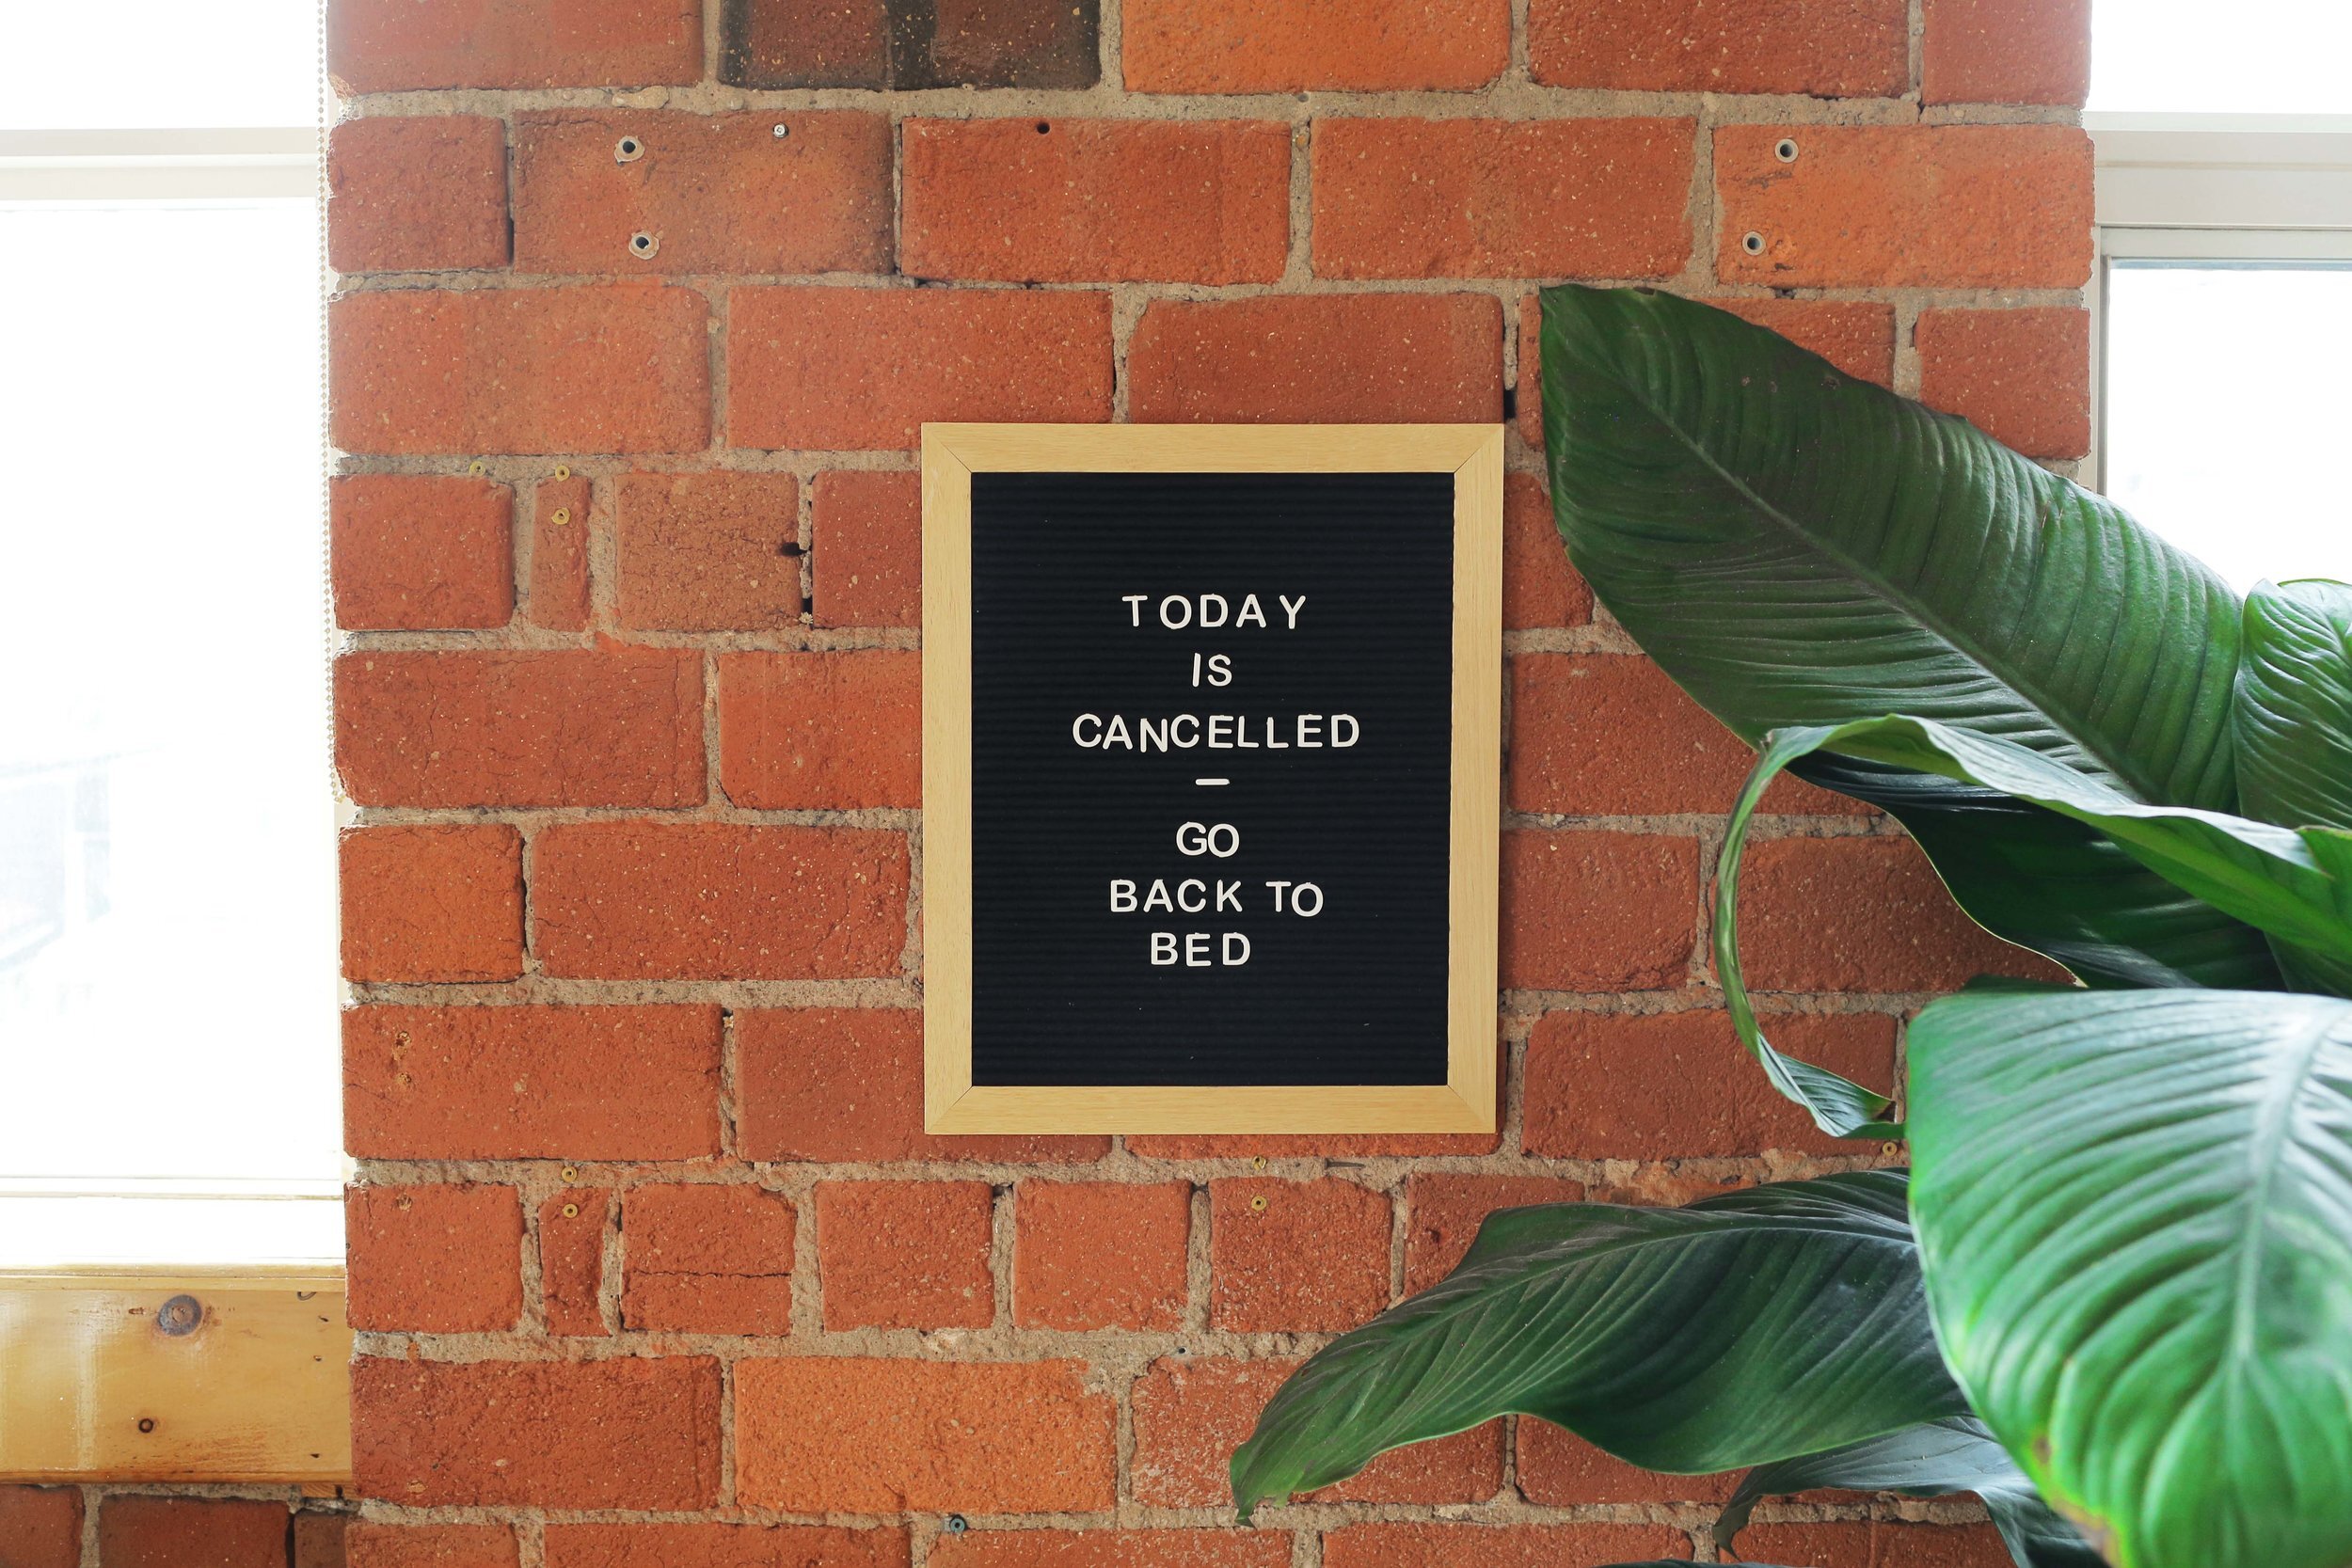
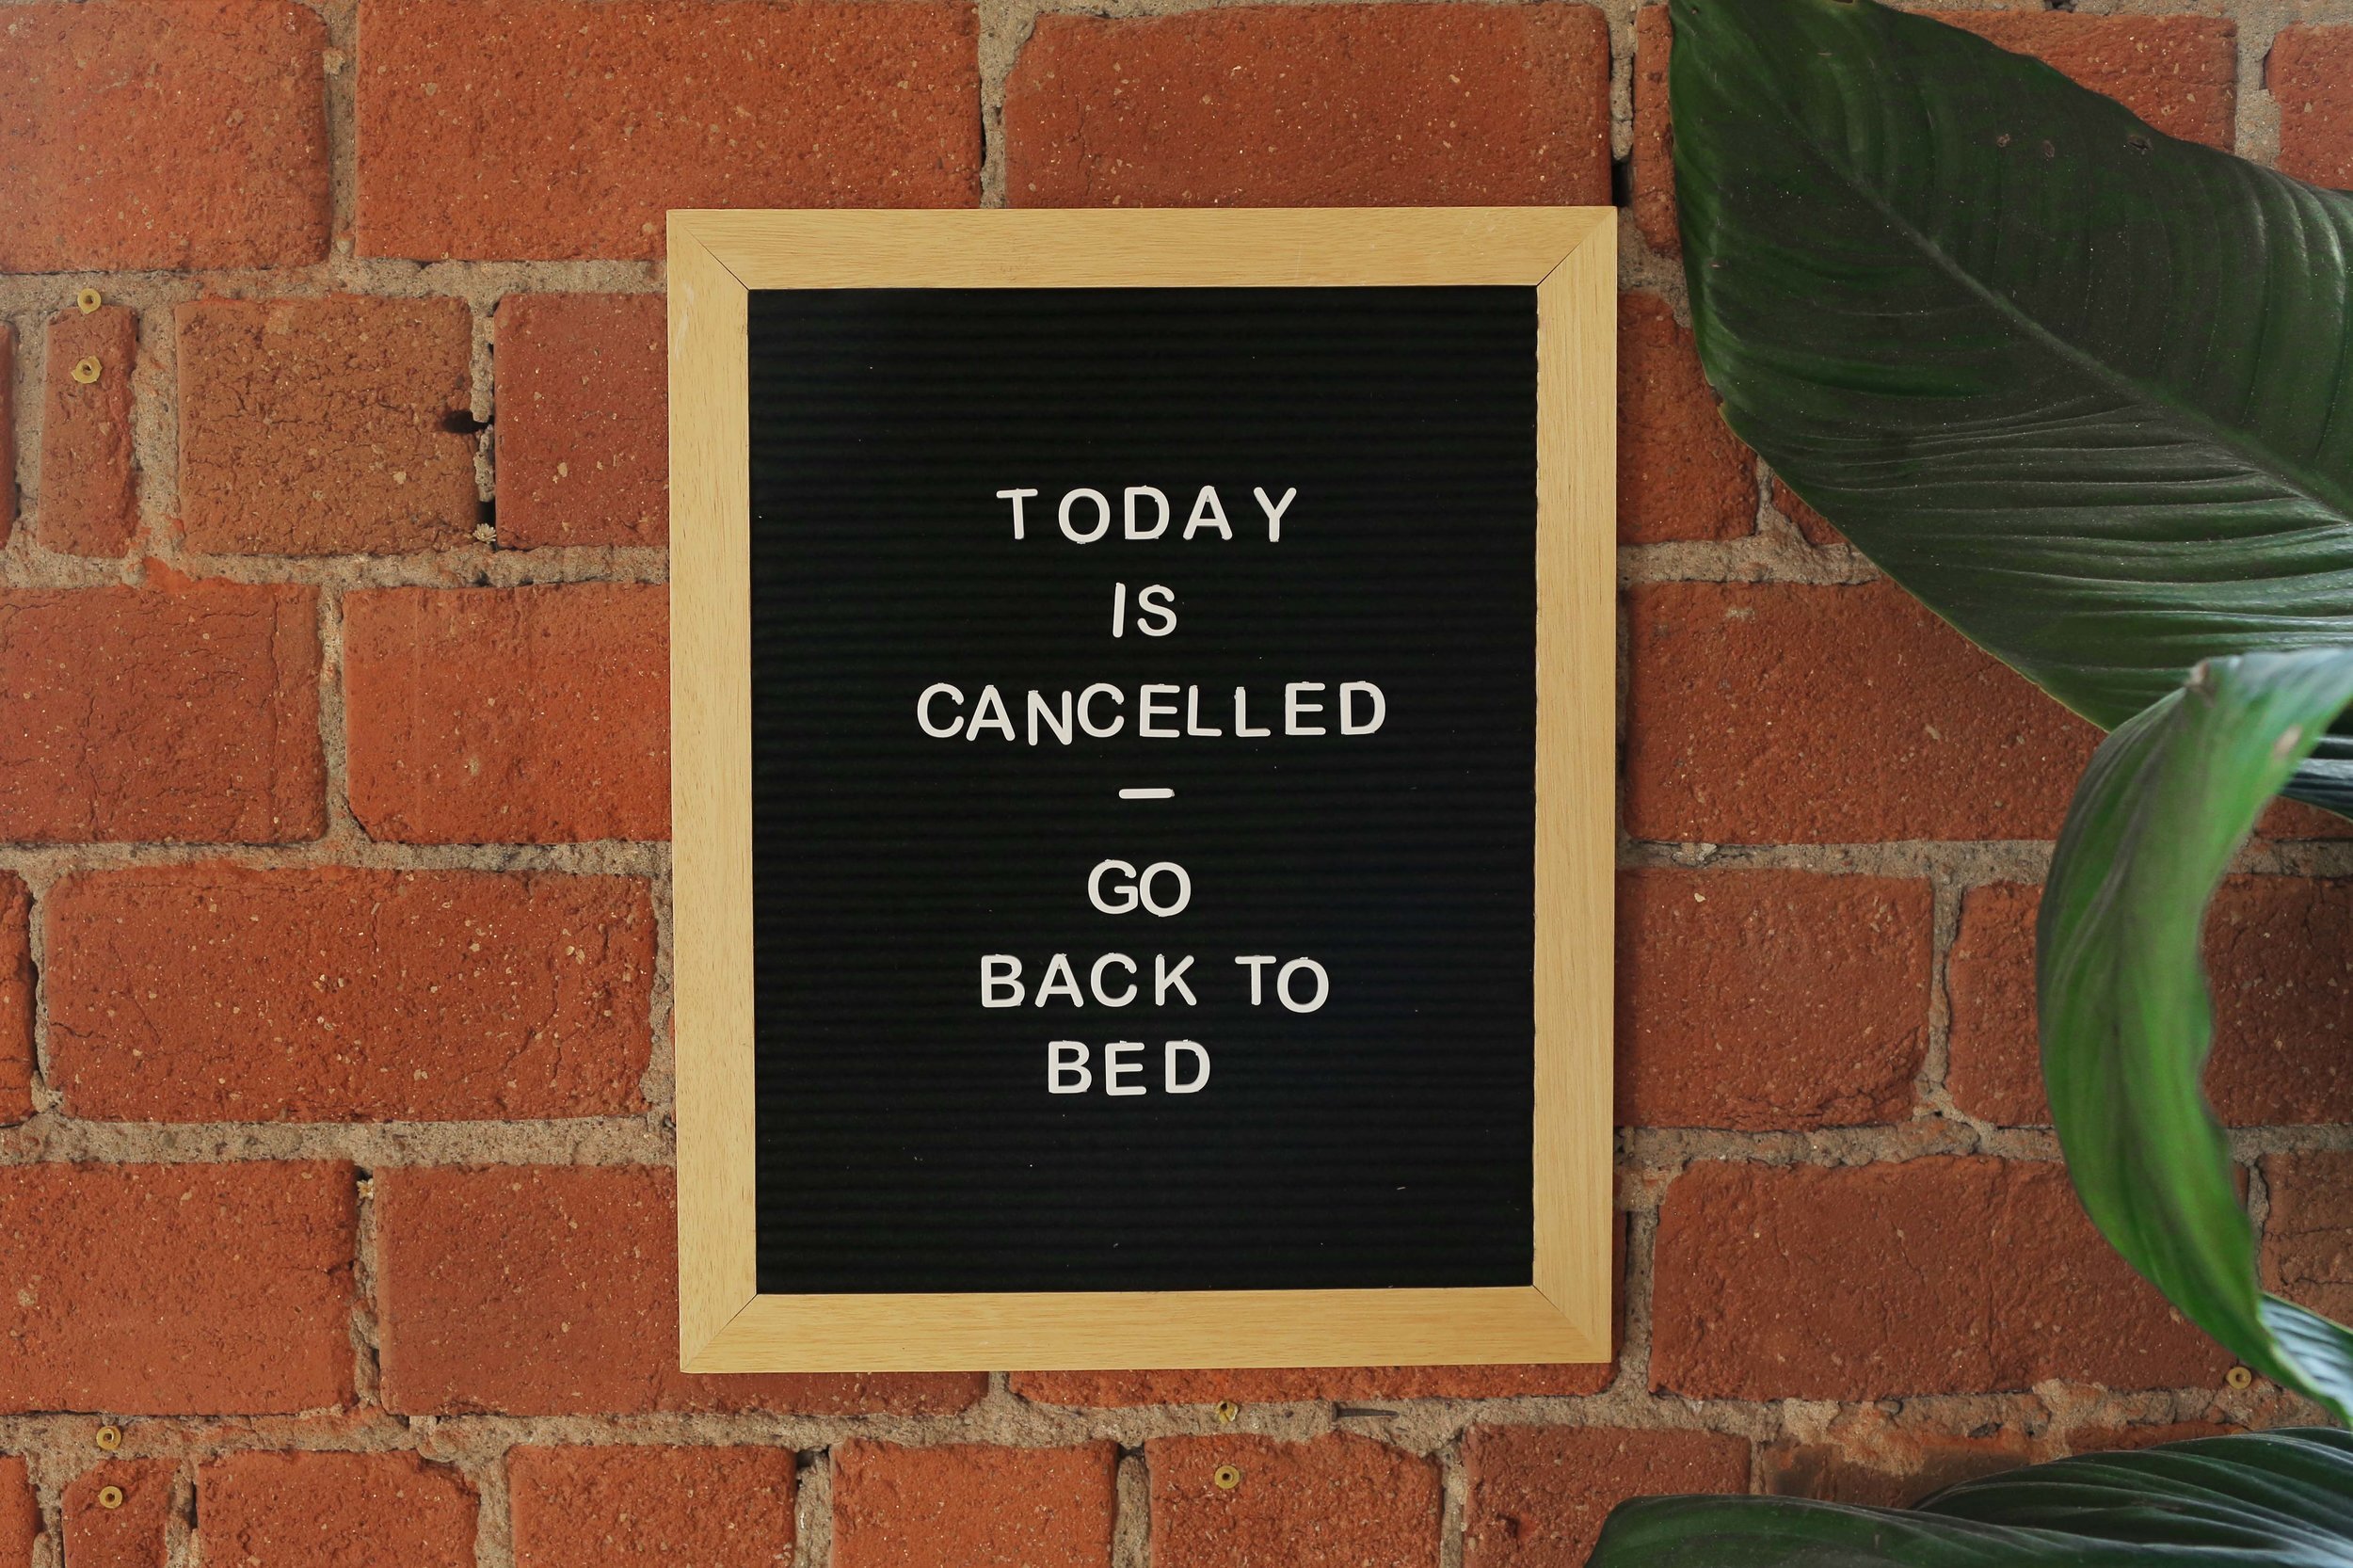
Holy crap, you’re all done! Look how cool this looks. Make sure you tag #SorryGirlsSquad in pics so we can see your creations! Can’t wait to see what quotes you guys use.