GIANT PAPER BAG DIY
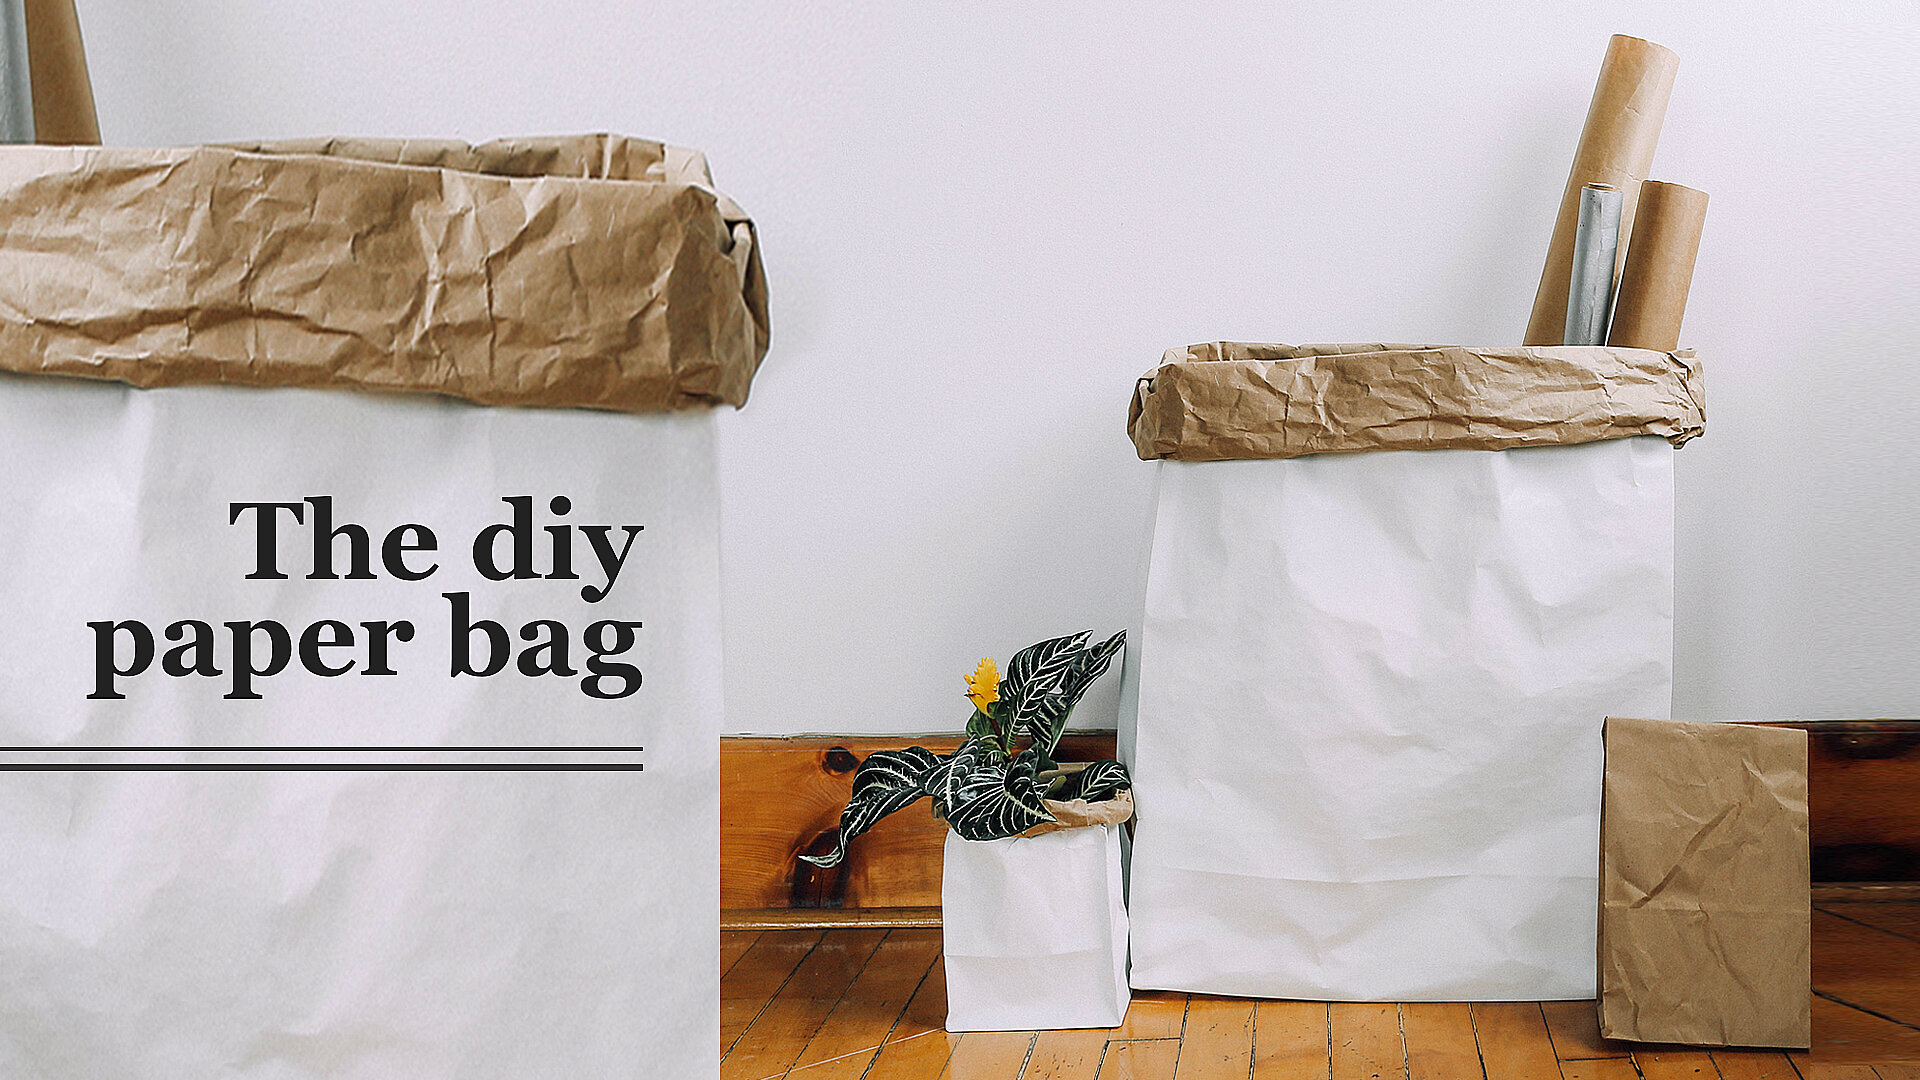
Today we are going to making these super cute and super trendy giant paper bags! You can use these to house your plant pals, store extra wires, or display cozy blankets.
Cost: $10-20
Difficulty: ✂
Materials:
Thick craft paper
Paint
Glue
Tape
Tools: Scissors
For this bag, we’re using a thick craft paper. We got this at the hardware store, and it is meant to cover floors while you are painting. This is better than your typical craft paper because it is thicker and more durable. We’re going to use the full height of the roll, but you can totally make it whatever size you want, just make sure to leave paper to create the base. Figure out how wide you want your bag to be, double that, and add a little extra to go towards creating the sides. Next, we’re going to paint one side of the bag white, this is optional and can be any colour you’d like. Once the paint is dry, we’re going to flip the bag over onto the white side and begin folding. Bring the two shorter sides together and glue into place, and let dry.

To fold the base, figure out how wide you want the base of your bag to be, double that, and use that measurement to create a fold with the entire bottom of your bag.

Grab the middle portions of your folds and fold down towards the floor, creating two triangle shapes.

Fold the triangles down. Next fold down the sides to meet the middle, and tape the bottom seams to secure!


Next to make the side seams, fold the point of the outside triangle into the inside triangle. Time to open the bag! Invert all of the folds to make the bag stand upright, gold over the top of the bag, and you’re done!
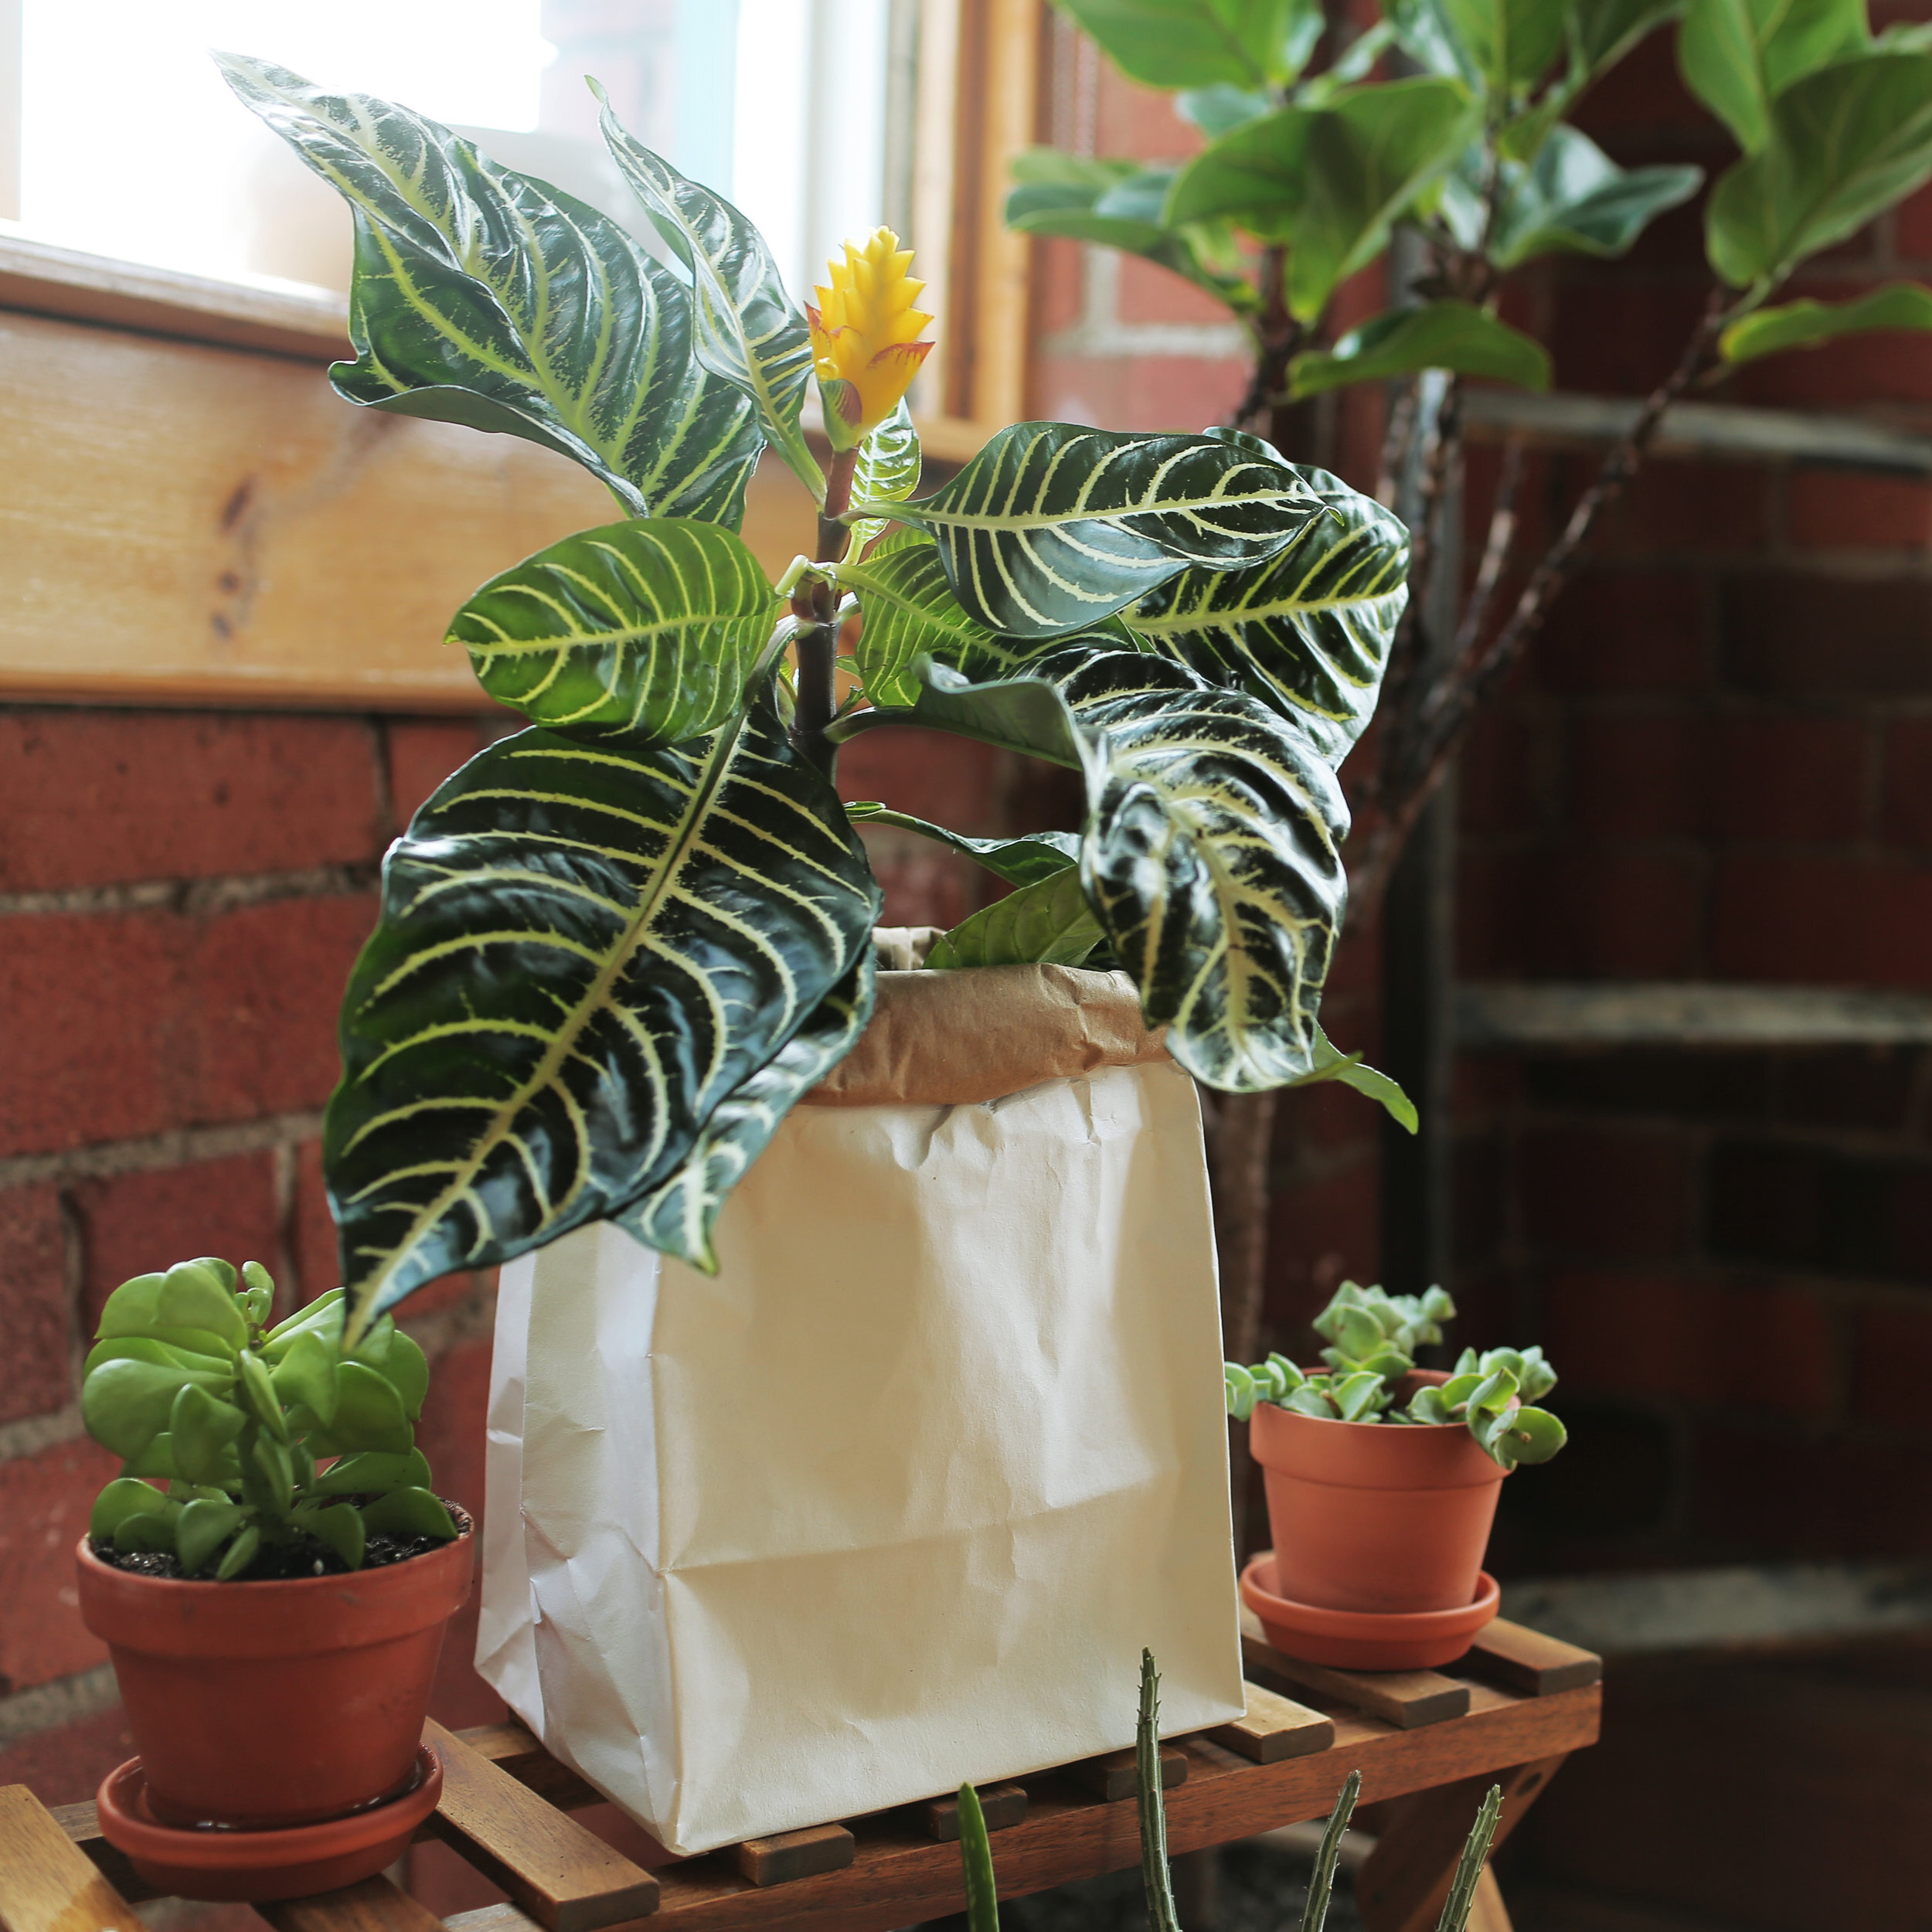

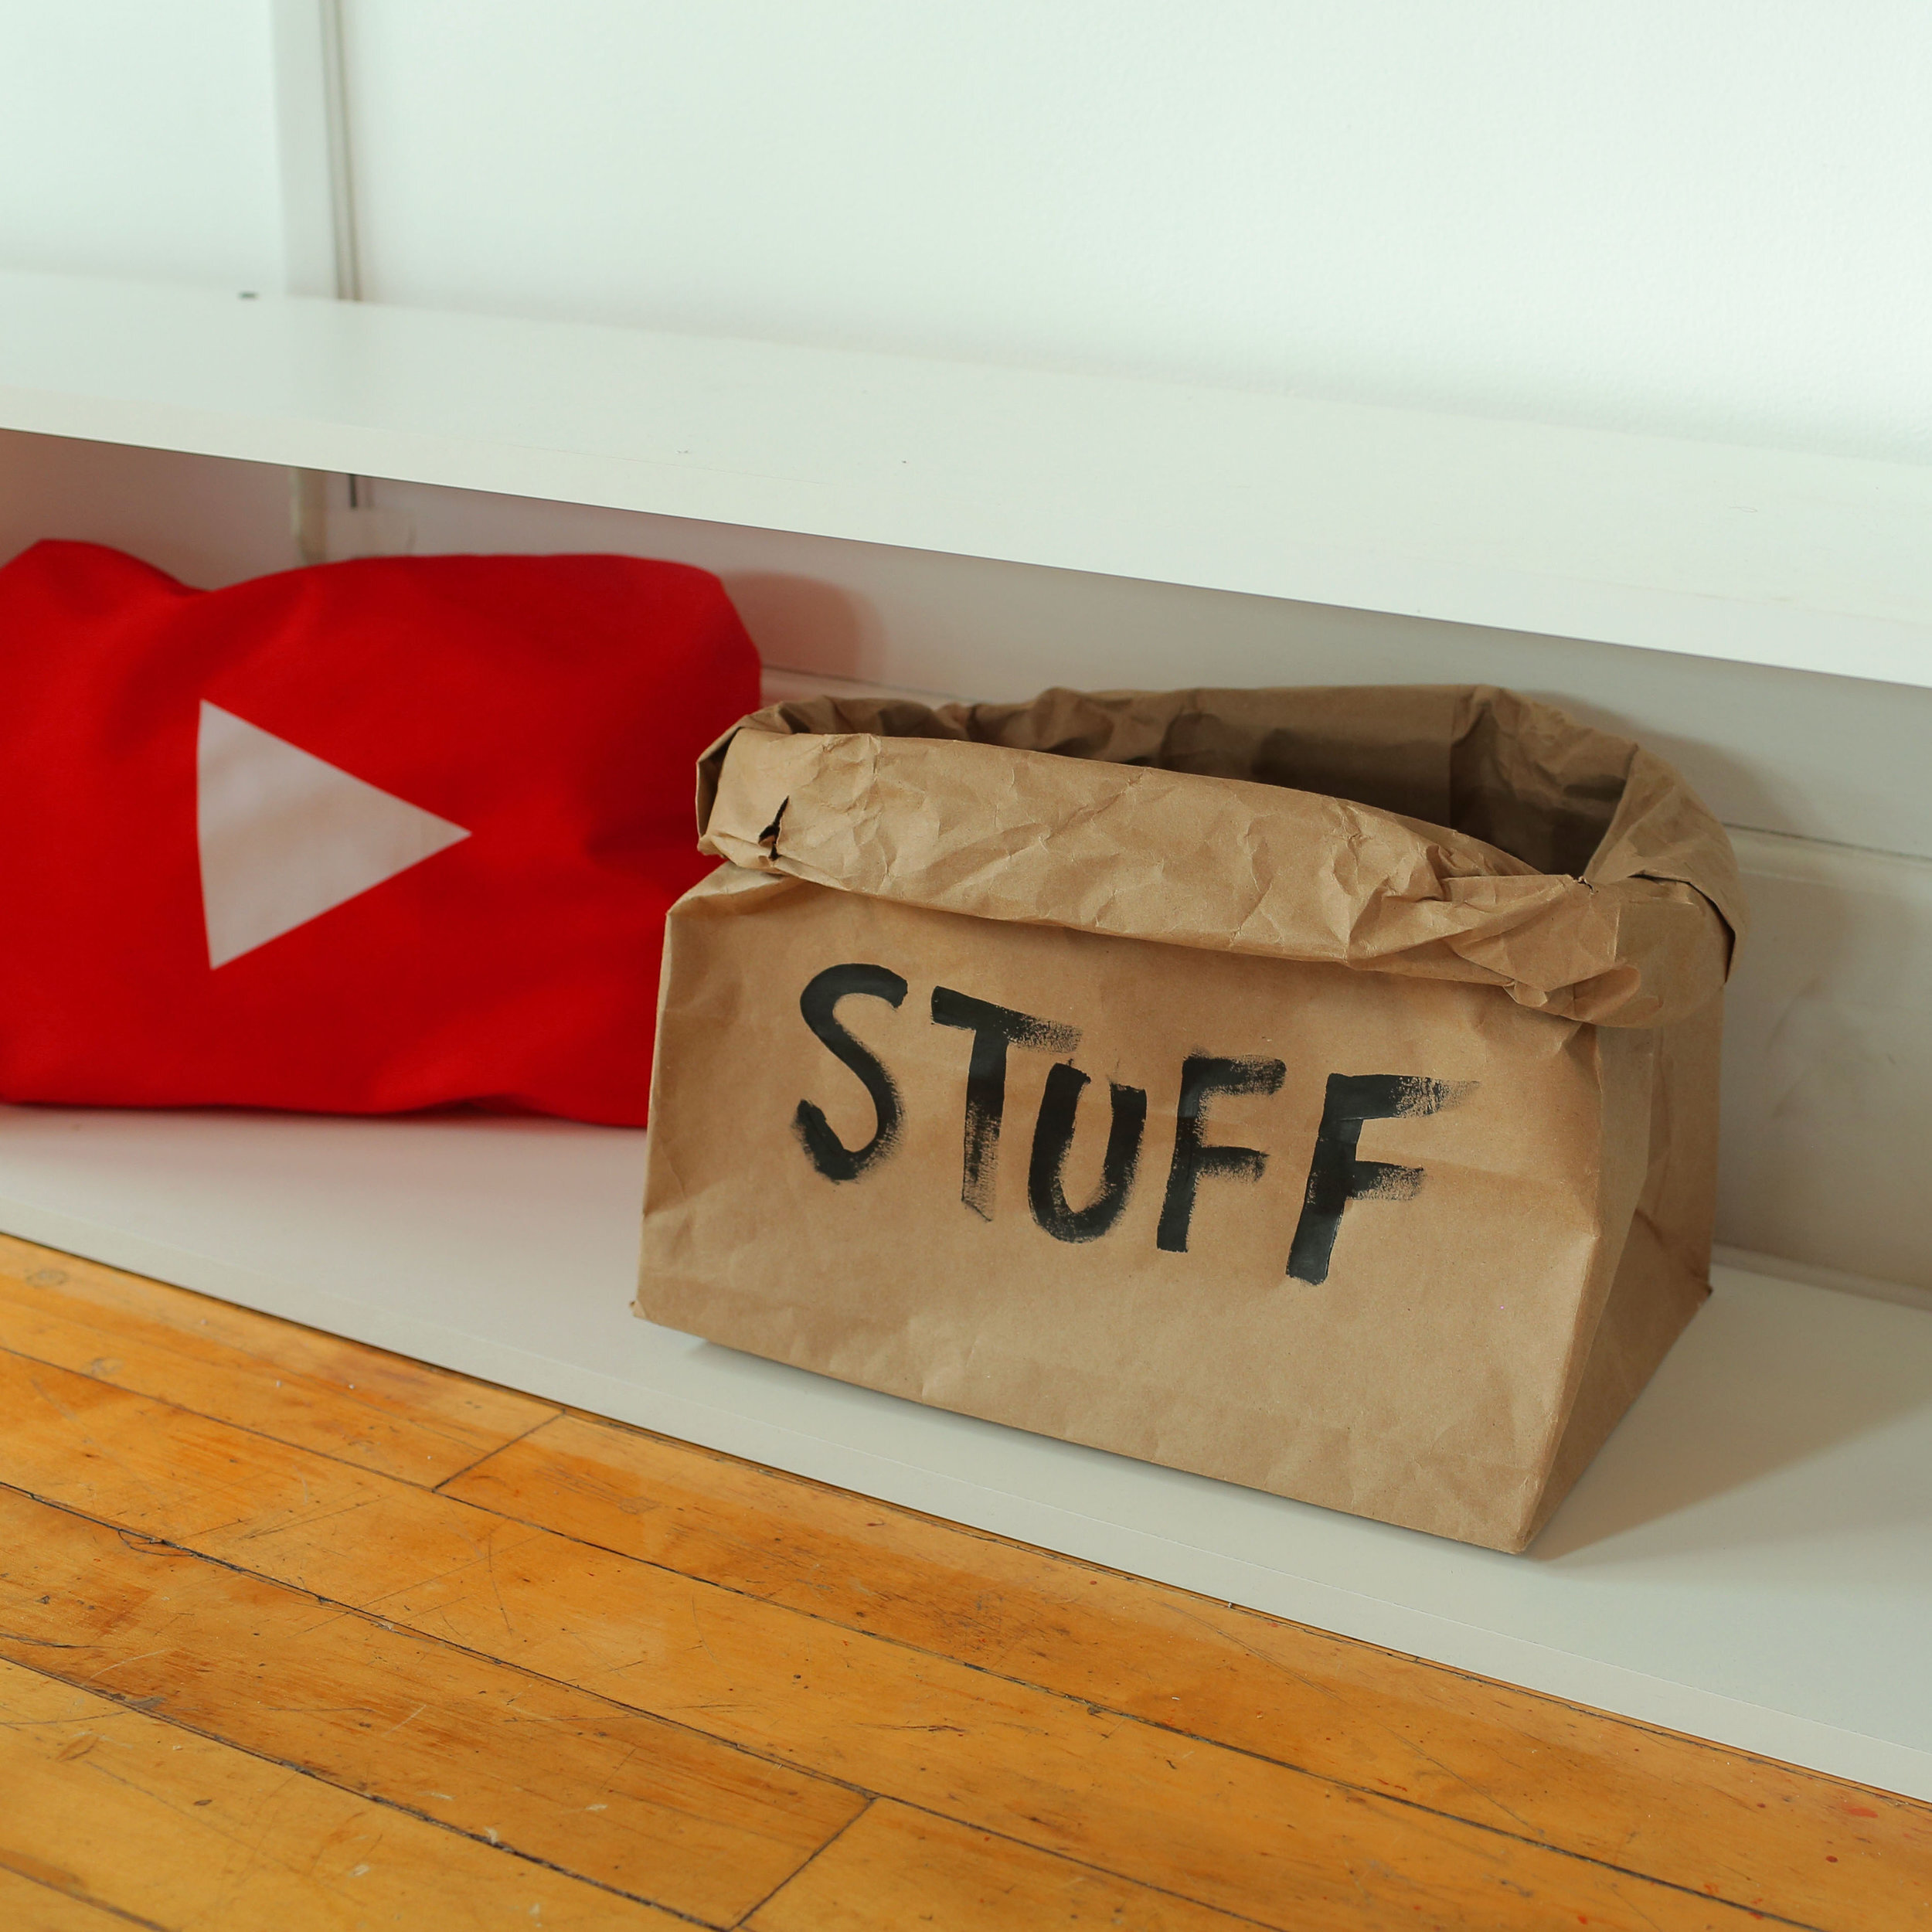
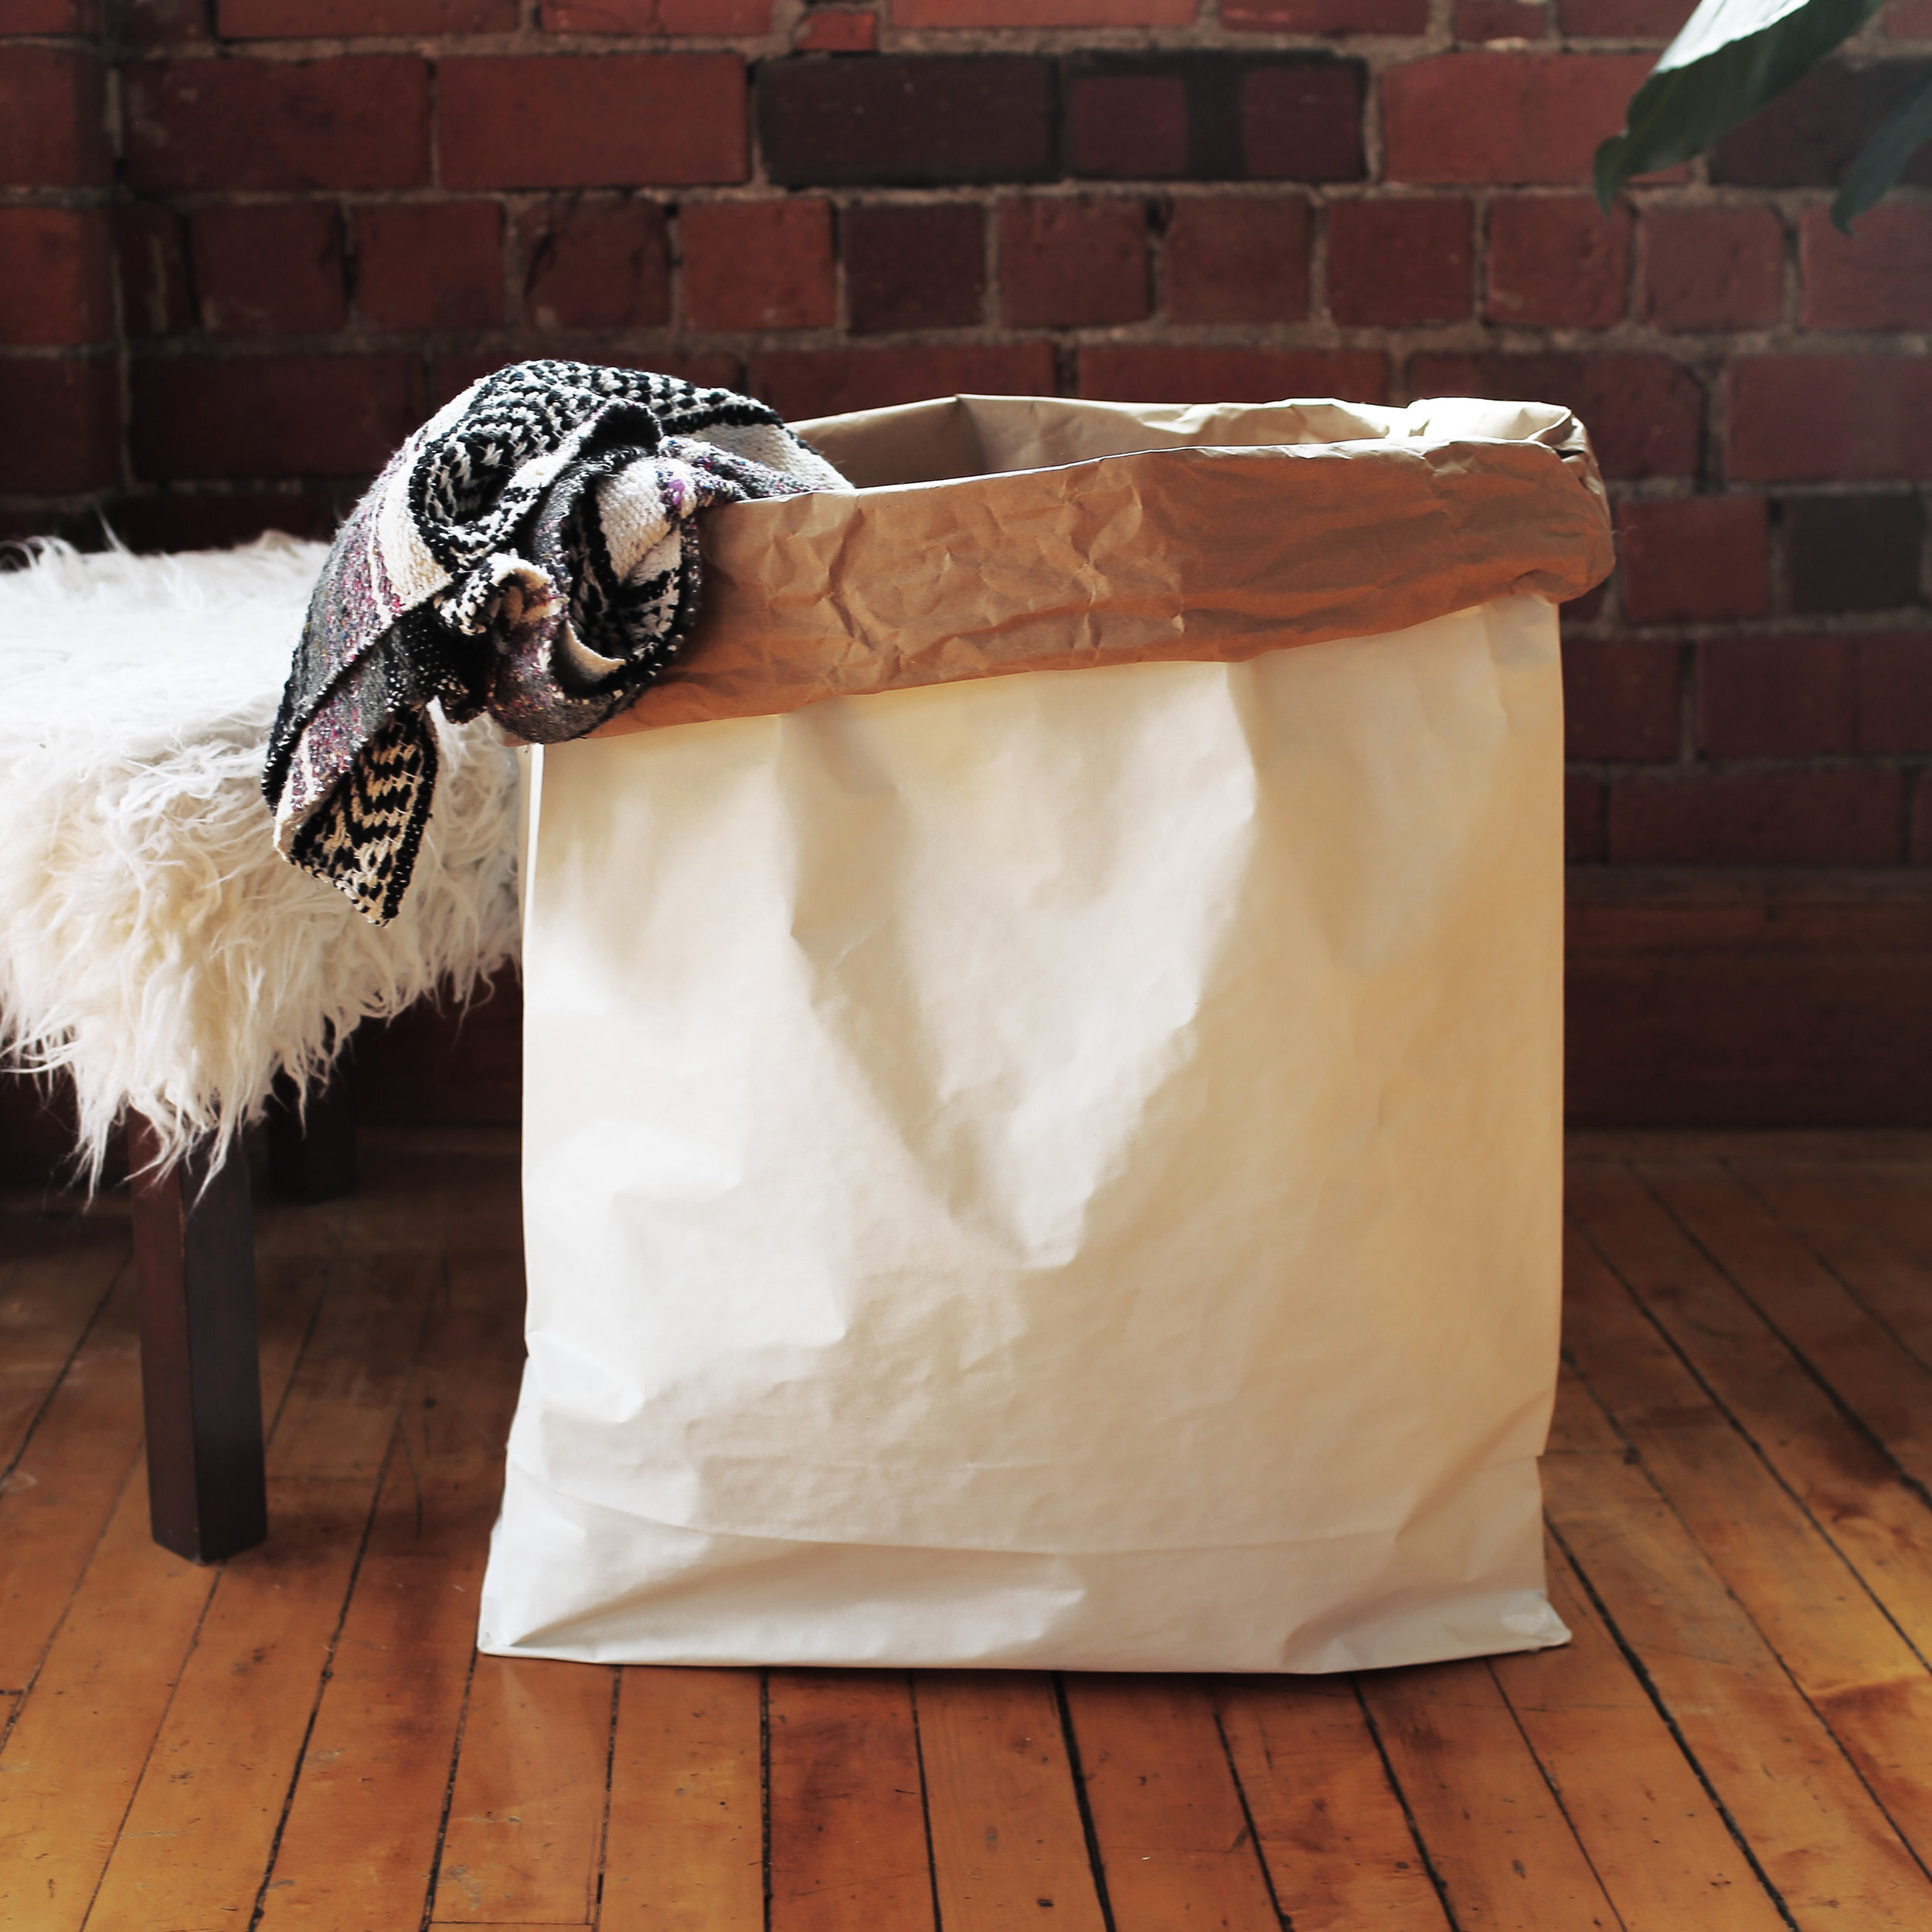
Put plants, extra stuff you don’t want people seeing, blankets, or trinkets in your bags! See, super cute AND super functional!