DIY HERRINGBONE TABLE

Hey guys! Today we are here with a fun furniture project! As you know, cute/good quality tables can get super expensive. As you also might know, Becky moved into a new house! So, we thought we would tackle this home decor staples for her new place!
Here's what you'll need!
Materials:
- 4 pieces of 1" x 4" x 10" maple wood
- IKEA black metal table base (we had trouble finding the table frame without the top on the IKEA site, but if you go into your local IKEA store you should be able to purchase the base separately from the top).
- 3/4 inch MDF
- Wood glue
- Minwax Wood Finish in Early American
- Minwax Clear Protective Polycrylic Finish (please note that this link is a multi-pack)
- 1/2" Screws
- Washers
Tools:
What’s special about this table is that it’s in this sweet herringbone pattern! We actually learned while prepping this DIY that herringbone and chevron are two different patterns!

As shown above, chevron lays in even lines while herringbone fits and slides together! You learn something new everyday!
Once we decided we wanted a Herringbone pattern, we got started on the table!
We picked up a black metal table base from IKEA for only $20! We went ahead and build it, then layed a ¾ inch piece of MDF on top. Once on top, we traced out the exact size of our table base onto the MDF. Cut the shape out using a circular saw.

For the actual table top (where the Herringbone pattern will be), we will be using a maple wood. This wood is great because it is hard and durable. We wouldn’t recommend a wood like pine, because it can dent and become damaged very easily.
Let’s get started on the pattern! Grab your four pieces of 1” x 4” x 10”.

From this, cut nine 16” pieces, nine 12.5” pieces, and twenty-three 9” pieces. We've created a handy little chart below to help you efficiently cut your wood!!


Next, find the centre of the MDF and draw a line down the center lengthwise. Slide your first 12.5” and 16” pieces up against the middle line to create a triangle, making sure that the inner tip of that triangle lines up with the middle line your drew. Glue these pieces to the MDF in this way using wood glue.

Continue gluing the pieces of maple against this starting point in the herringbone pattern all the way down the middle of the MDF.


Next, using your 9” pieces, fill in all of the empty spaces on the edges of your MDF (again, securing with wood glue). Be sure to check which way the grain of the wood is facing to ensure the pattern looks the way that you want it to!
(Check out these diagrams below for some visual help)

If your table is larger than ours, simply continue the middle herringbone pattern in the middle (using the 12.5” and 16” pieces) to fill in the space. Be sure to let your table sit and dry completely before continuing on to the next step!
Once your table is completely dry, flip it over and push the edge of the table over your workspace edge. Go ahead and trim the excess maple so that it is flush with the MDF using a circular saw. Make sure these edges are straight and refined, as these will end up being the finished edges of your table top. Flip the table top over and sand smooth, wiping off any sawdust afterwards.
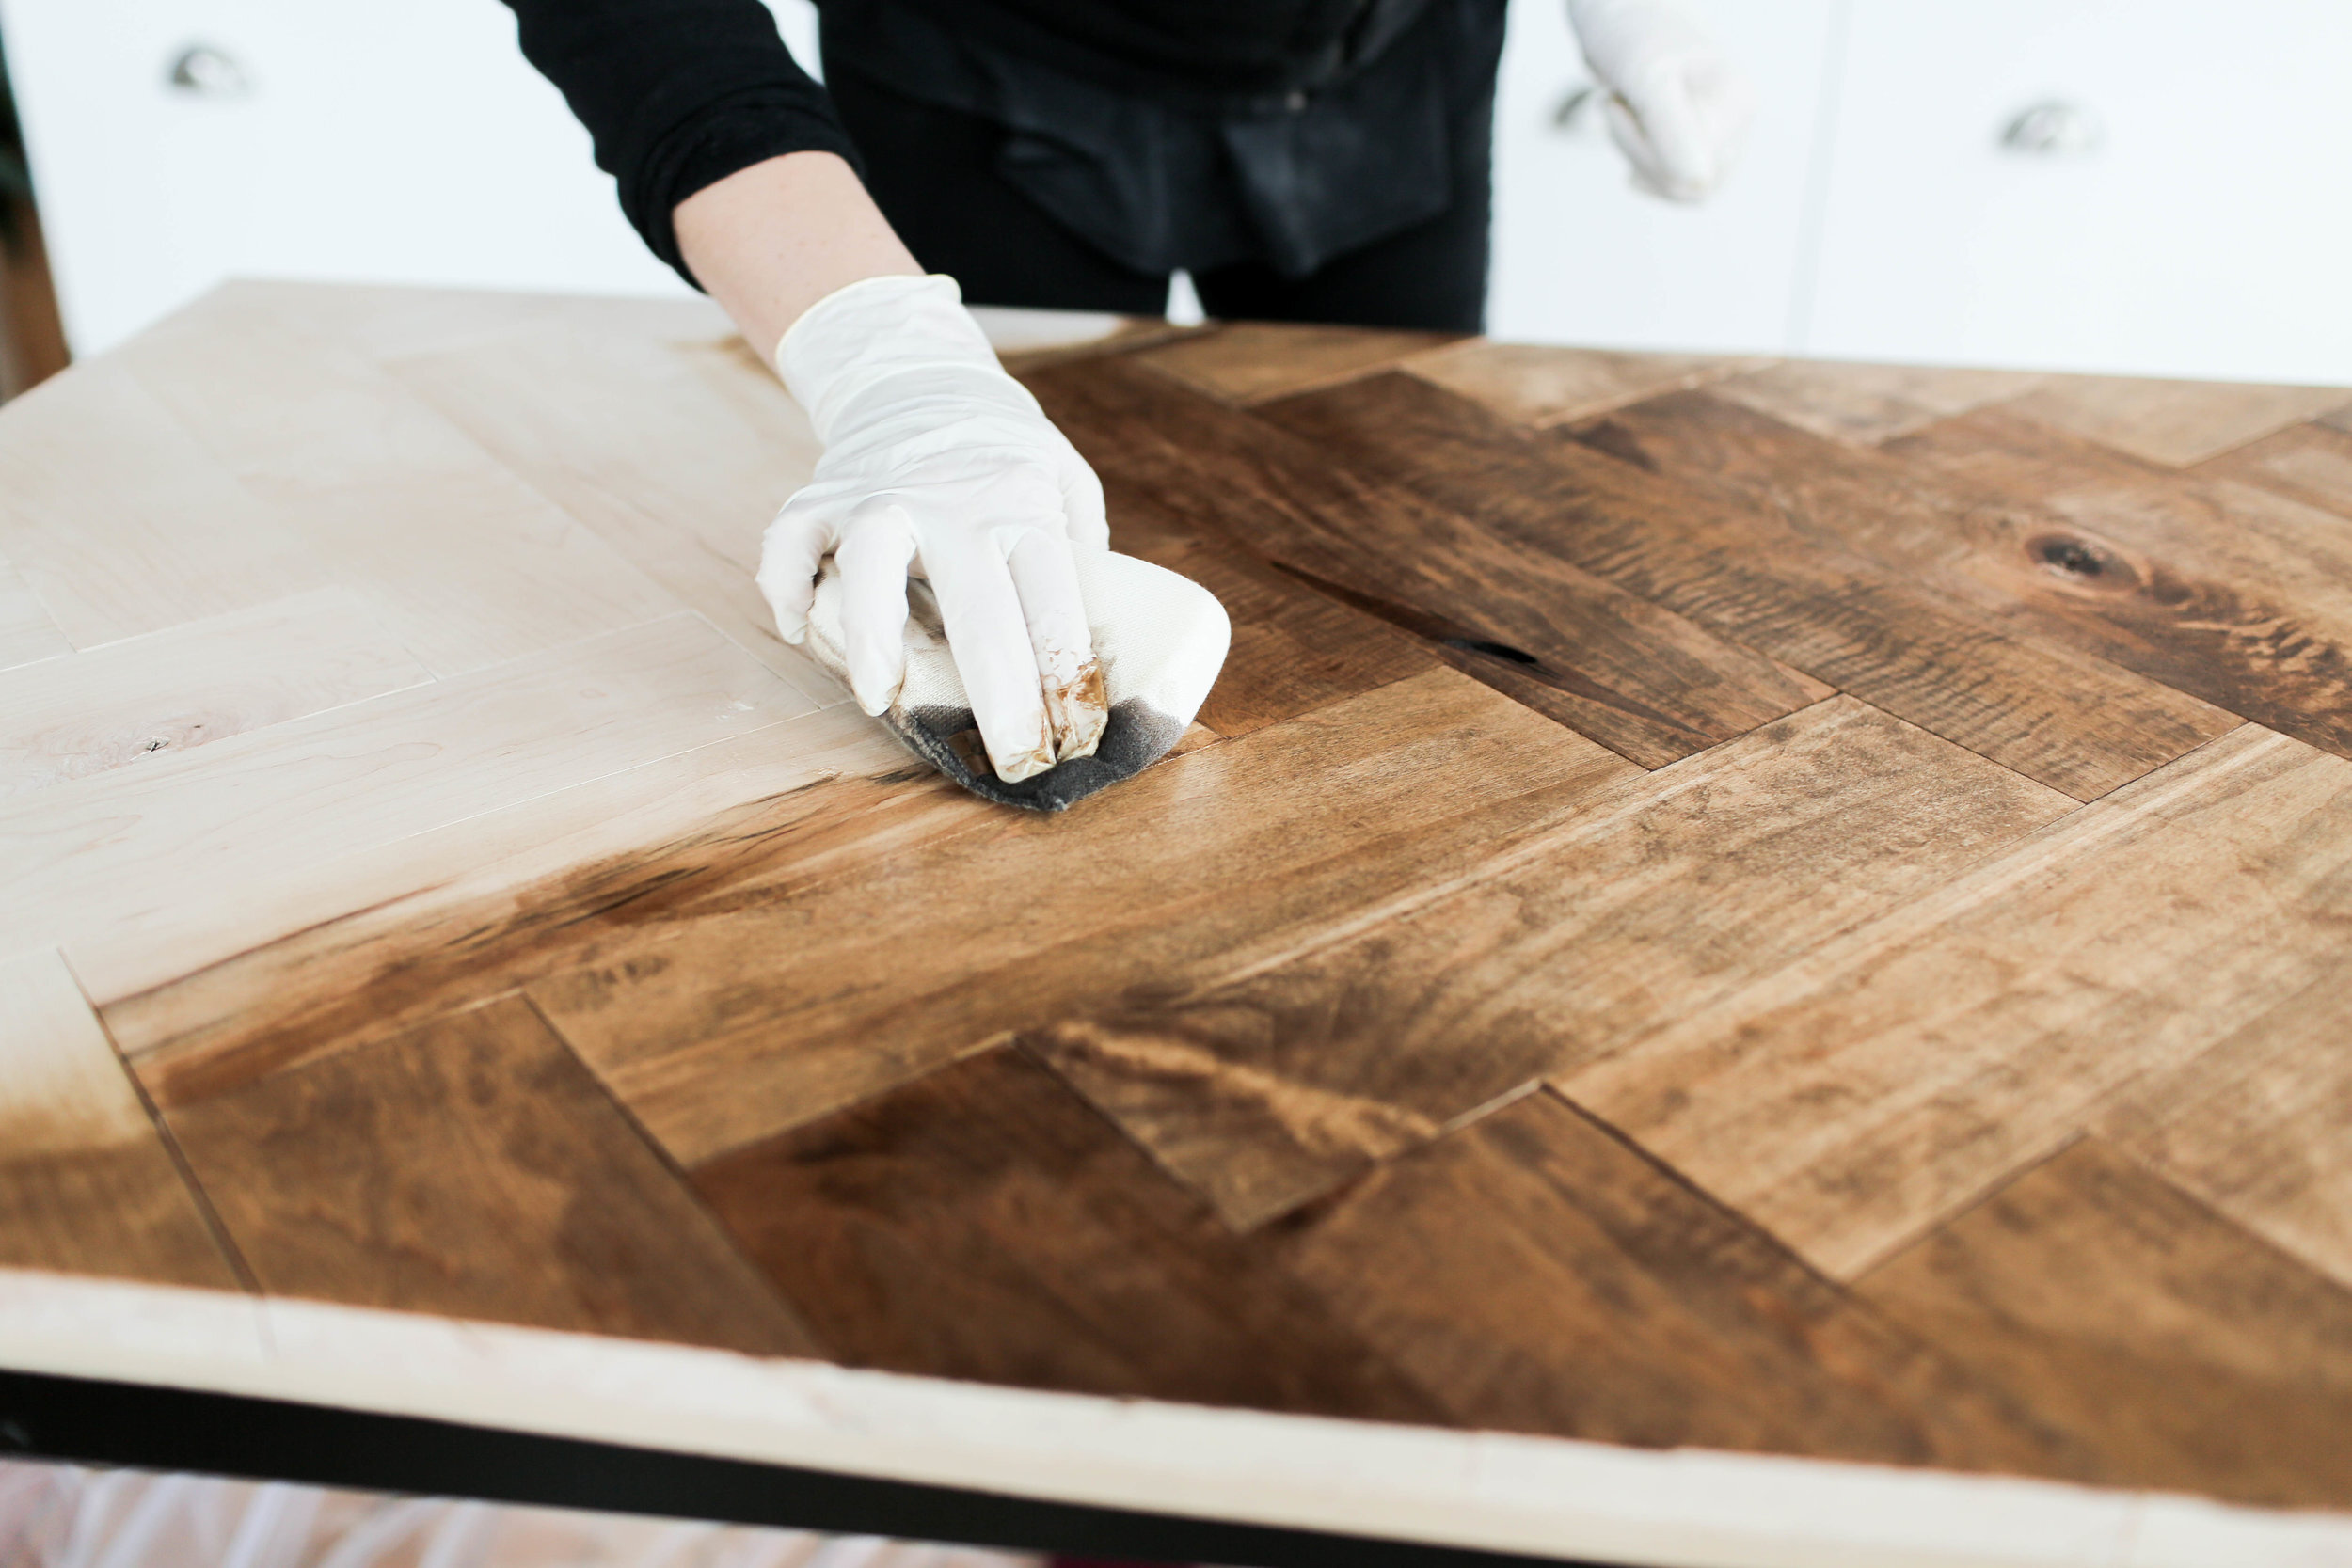
Next it’s time to stain! We are using the Minwax wood stain in early american, and applying one coat. Finish that off by adding a clear protective polycrylic finish. We did three coats of this finish, lightly sanding in between coats to remove brush strokes. Time to attach the base to the table top!
Using long 1/2 “ screws and washers, screw the table legs into the top (being sure to add the washer between the screw and the table). You’re done!! That is one beautiful DIY table!

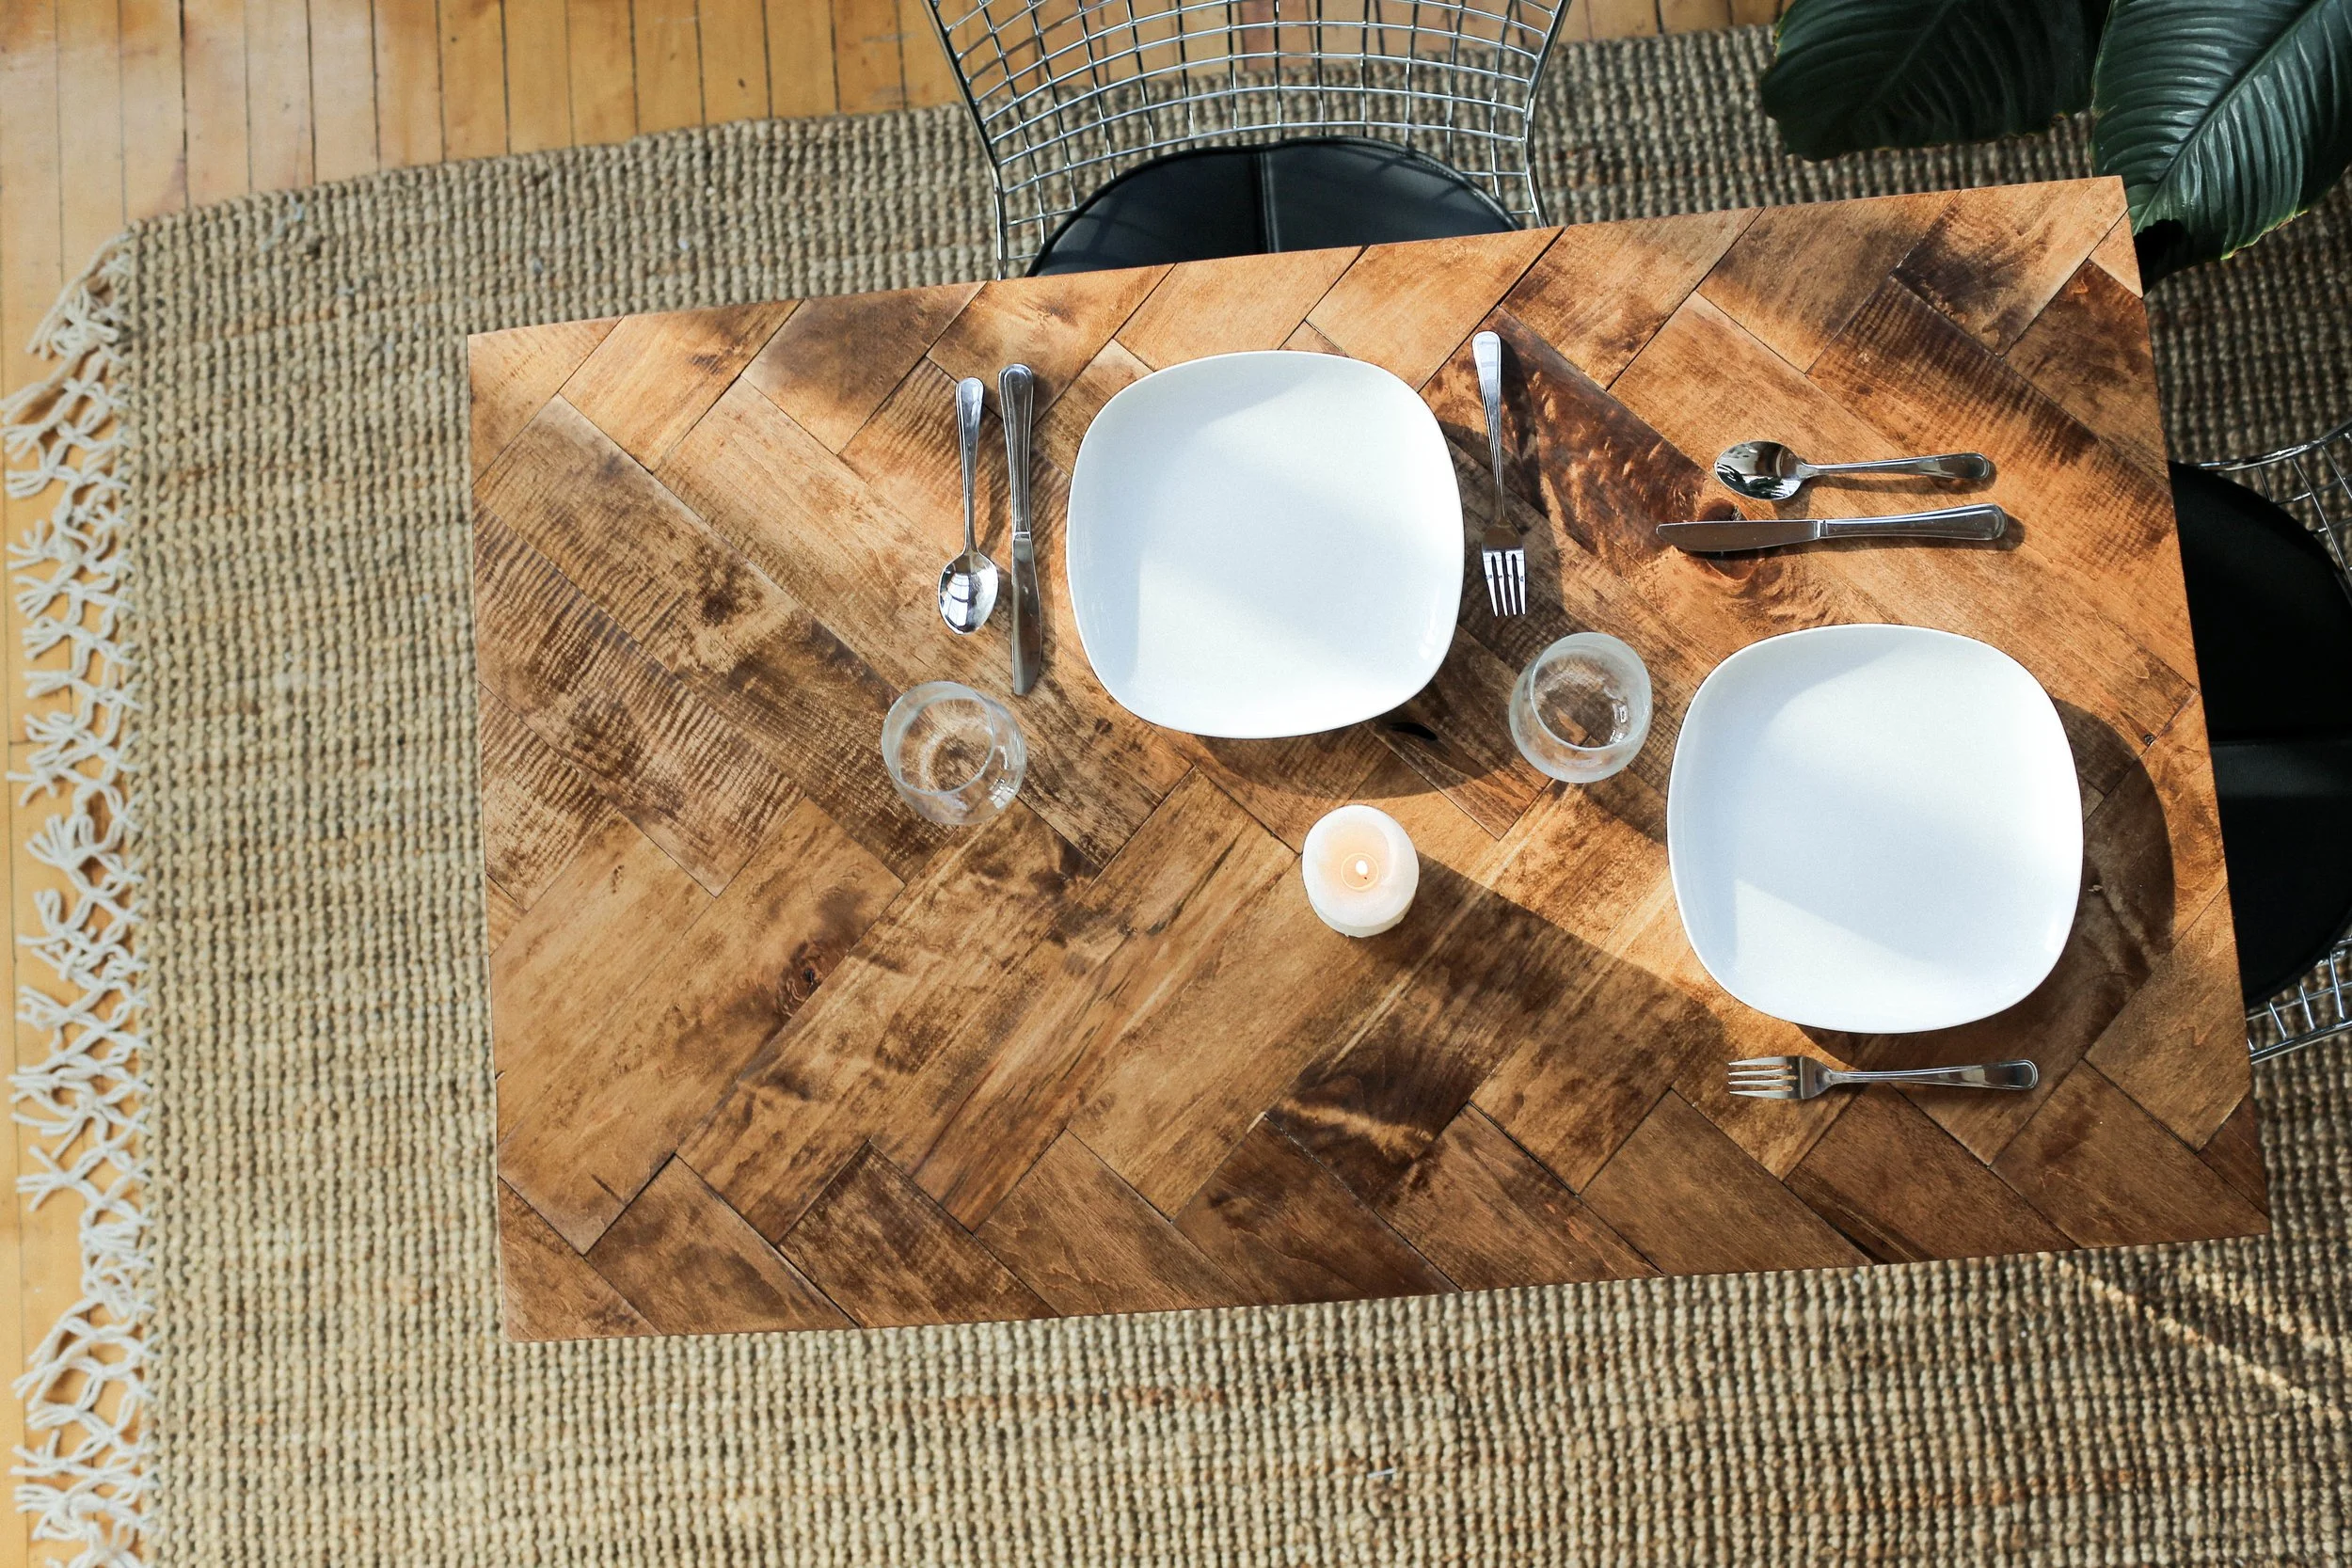


If you LOVED this blog post, check out the matching video below! If you decide to make this DIY please be sure to tag us using the hashtag #SorryGirlsSquad! Until next time!!