Five “5 Minute Home Decor Crafts” that are ACTUALLY Cute
There's something incredibly satisfying about creating something beautiful with your own hands and then using it to add a personal touch to your living space. However, with our busy lives, it can be difficult to find the time to dedicate to a long and complicated craft project. That's where 5-minute home decor crafts come in! These quick and easy projects are perfect for adding a pop of color or a touch of personality to your home without taking up too much of your time. On top of that, these are projects that will actually look cute in your space.
Project 1 : Succulent Pot
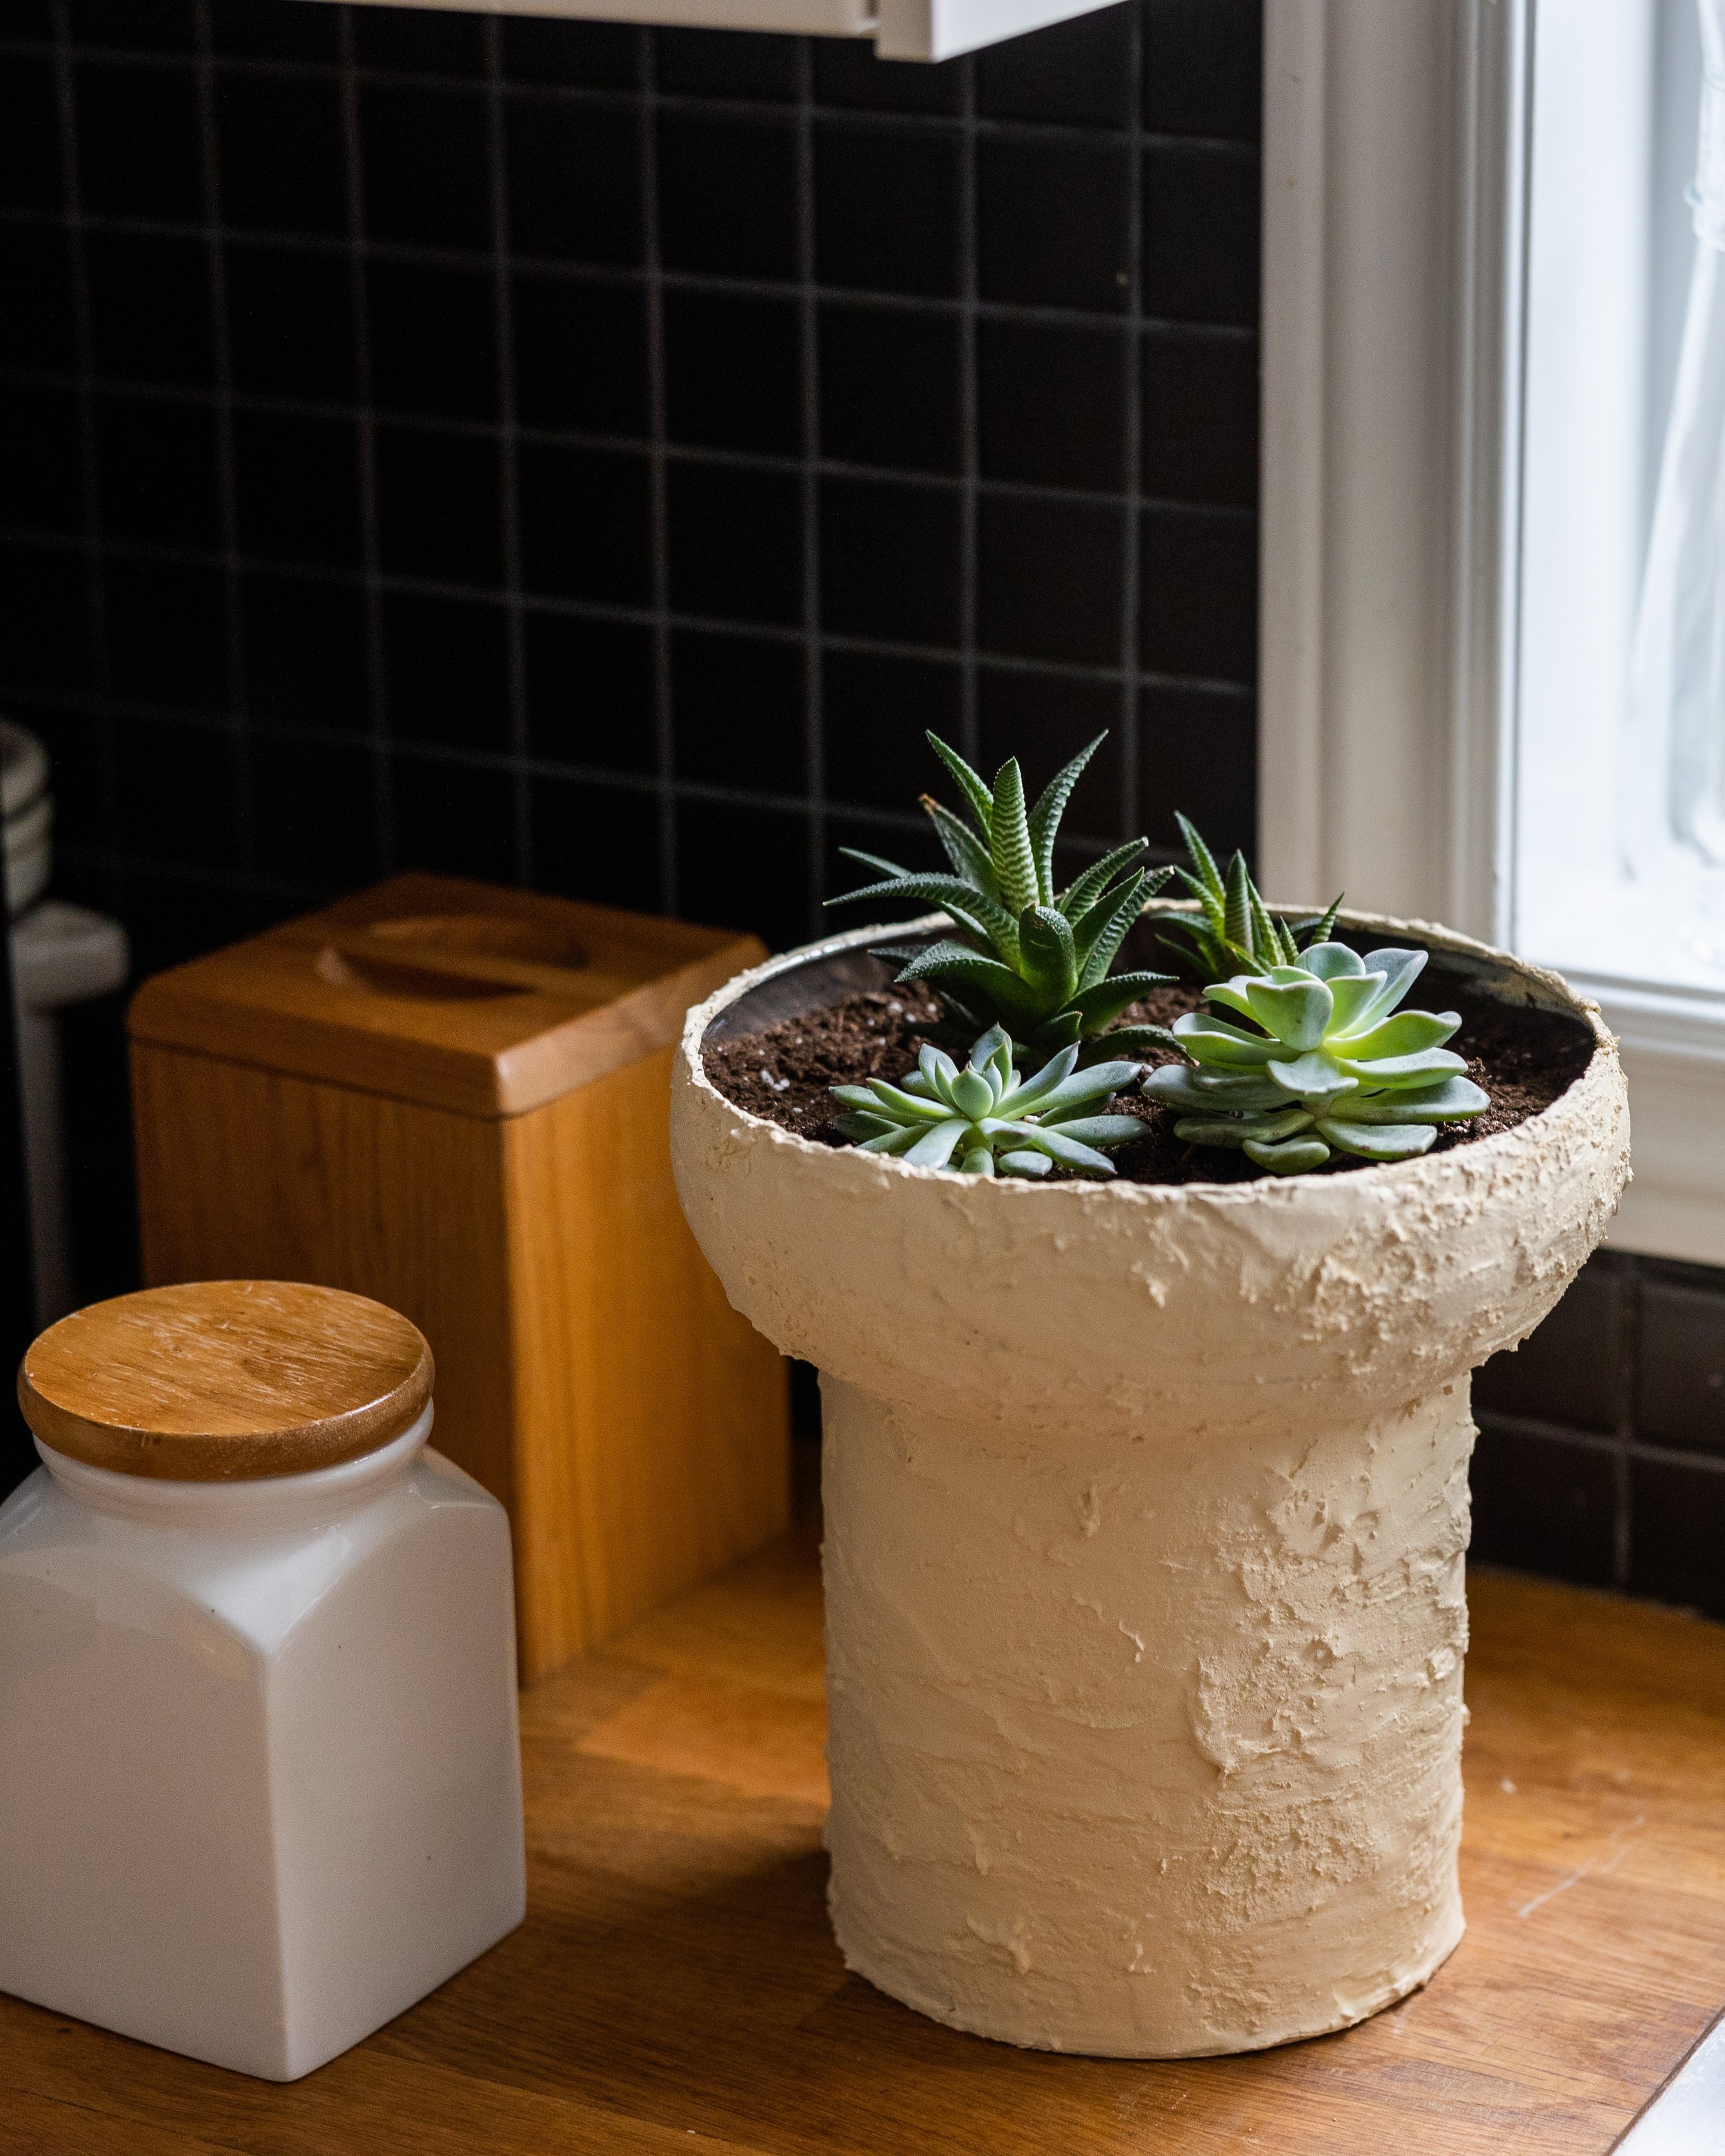
Making a little succulent pot is a fun and easy DIY project that can add a touch of greenery to your living space. The first step is to collect a wide tin can such as a coffee bean tin, or any other recycled container that will serve as the base of your pot. Be sure to wash the tin thoroughly to remove any residue or odors.
Next, find a small bowl at a thrift store that will fit on top of the tin. Use adhesive such as E6000 glue or hotglue to attach the bowl to the tin, making sure it is securely in place. Once the glue has dried, you can begin decorating your pot.
To give your pot an antique look, mix some paint and baking soda together to create a textured paint. Apply the paint mixture to the surface of the pot with a brush, dabbing it on to create a rough, textured appearance. You can use any color paint you like, but for an antique look, neutral tones such as white, brown, green, or beige work well.
Once the paint has dried, your little succulent pot is ready for use. Add some soil and your favorite succulent plant, and enjoy your new piece of home decor. Not only is this a great way to repurpose old items, but it's also a fun and creative way to add a touch of greenery to your home.
Project 2 : Sea Shell Vase
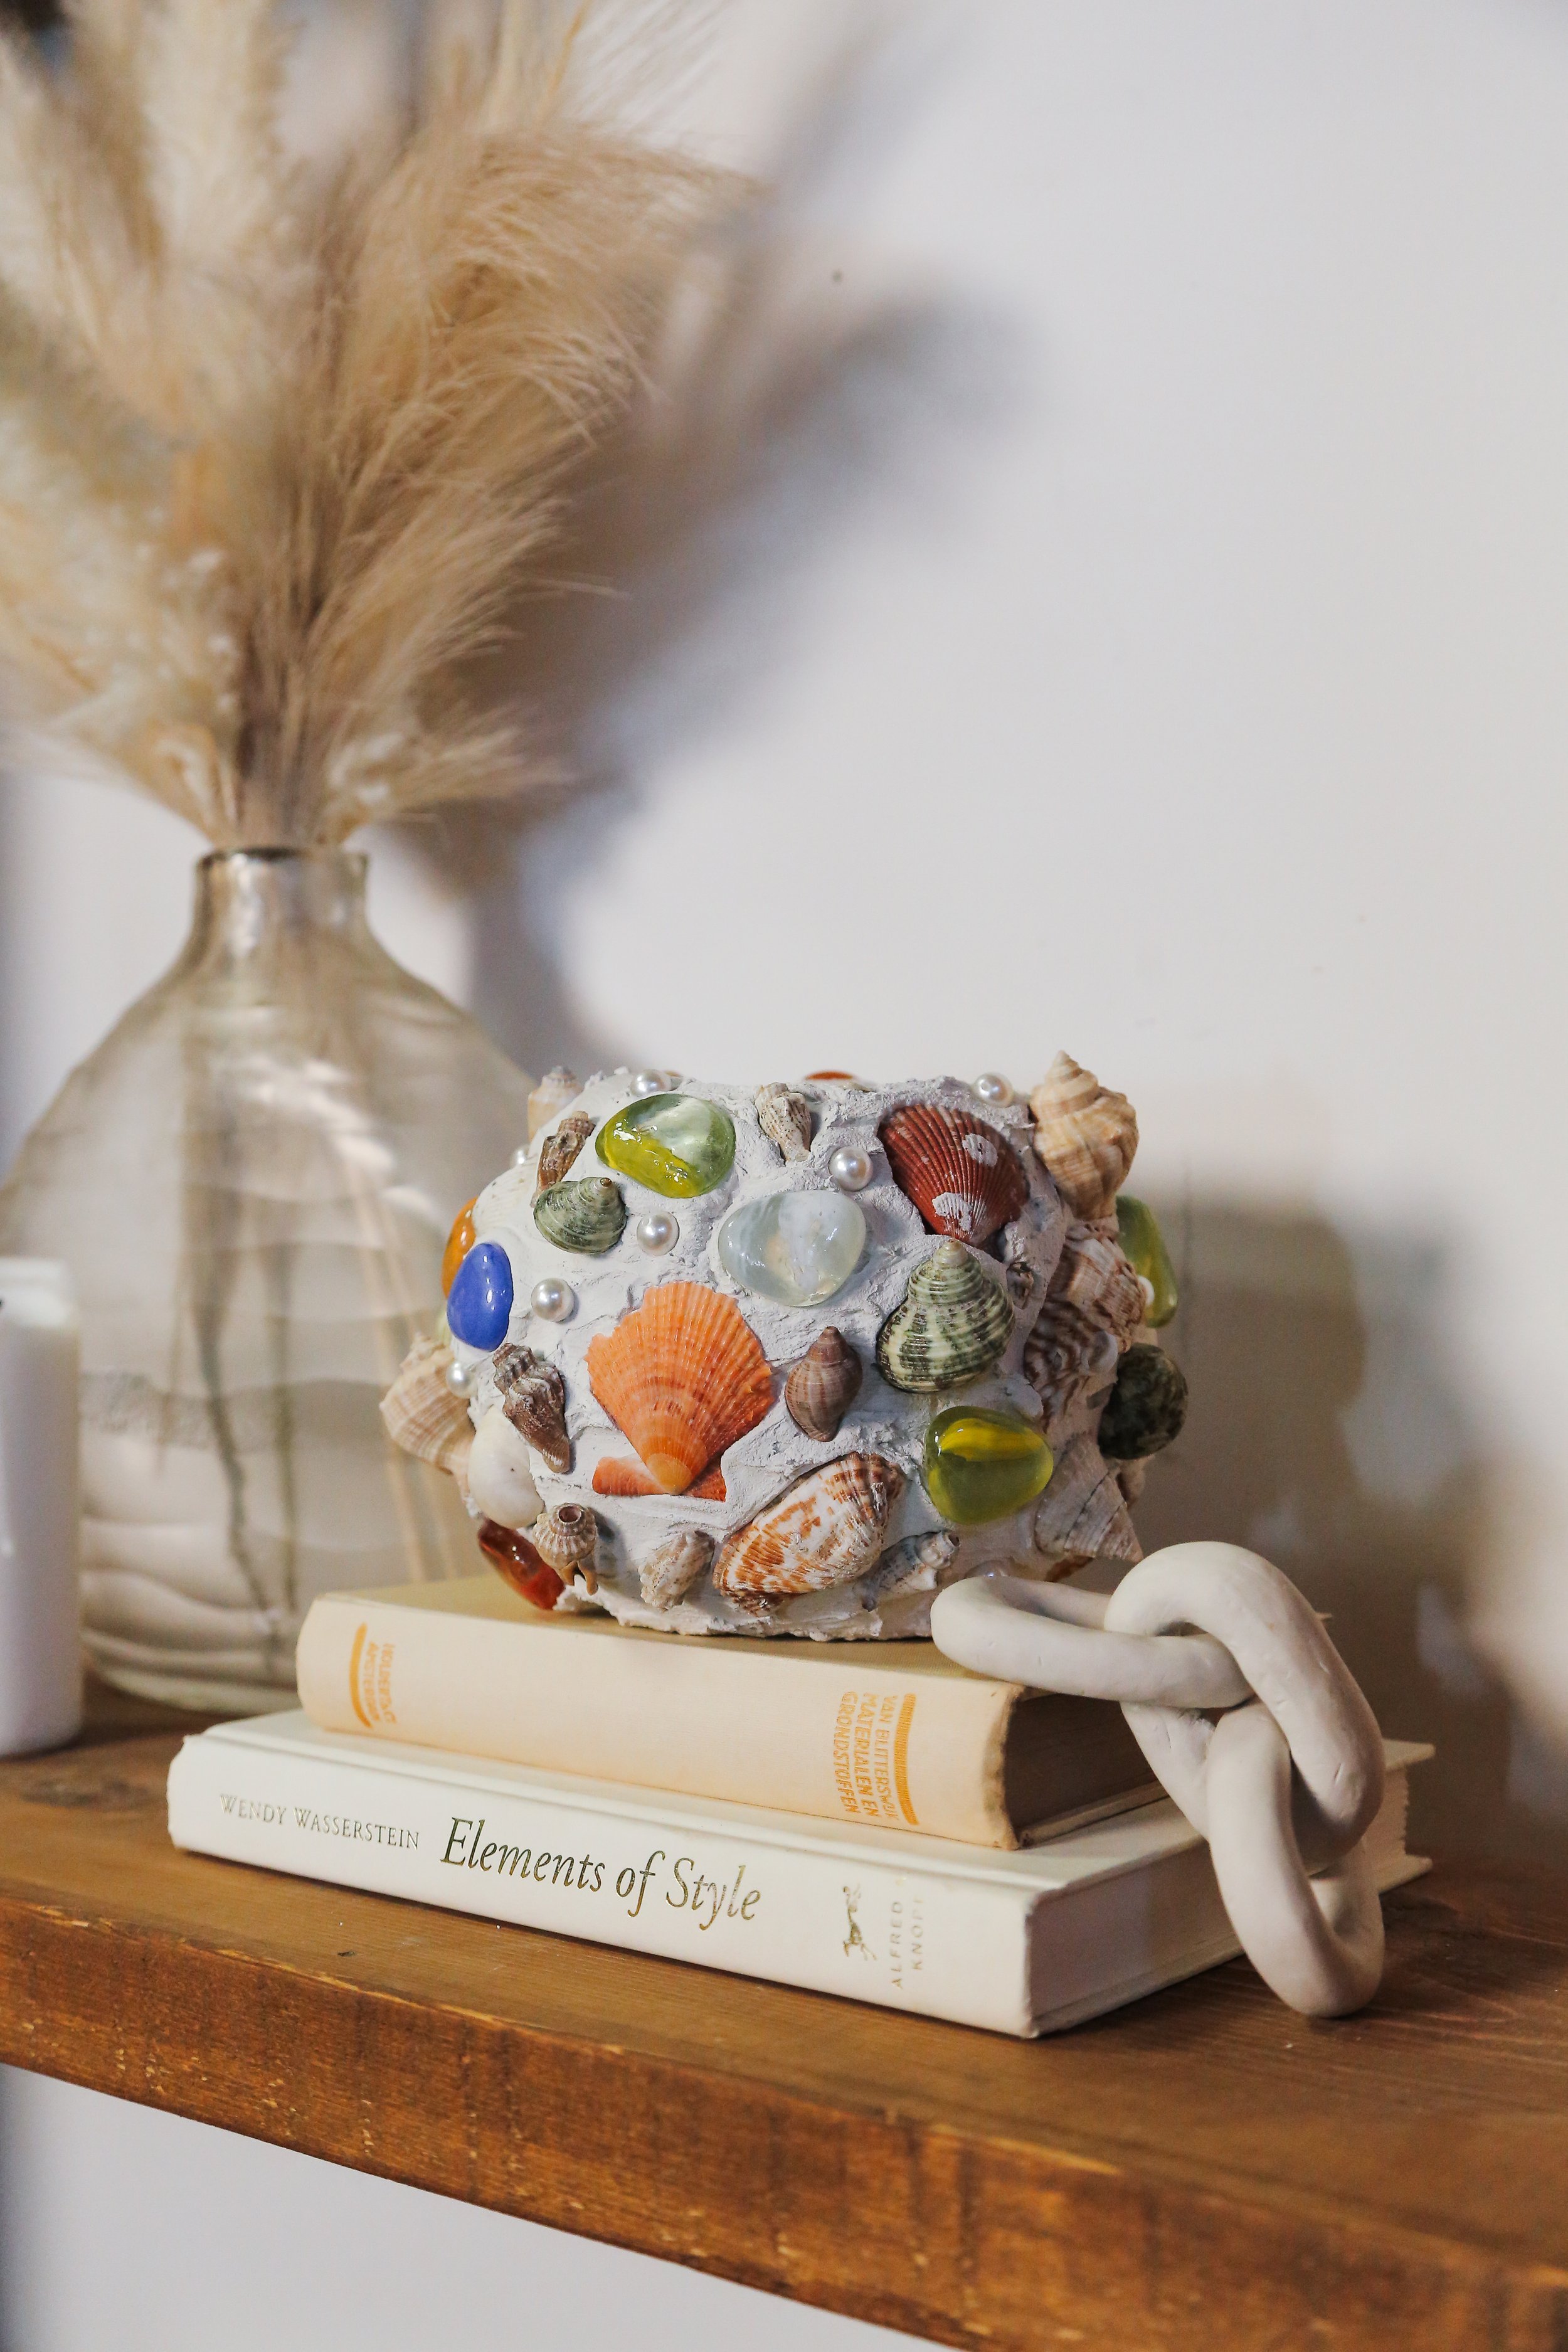
Making a seashell vase can be a fun and creative way to display the seashells you've collected from various trips to the beach. To get started, you will need to gather a variety of seashells in different shapes, sizes, and colours.
Next, you will need to find a suitable base for your seashell vase. A fishbowl or large glass jar can be a great option, and you can easily find one at a thrift store or online marketplace. Once you have your base, you can begin the process of attaching your seashells.
To create your seashell vase, you will need to cover the surface of your base with grout. Mix the grout according to the instructions on the package, and apply it to the surface of the base with a your hands, but make sure to wear gloves! Then, begin placing your seashells around the grout, pressing them firmly into place. You can arrange the shells in any pattern you like, or in a random order like mine!
Once you have attached all of your seashells, let the grout dry completely according to the manufacturer's instructions. This may take several hours or overnight, depending on the type of grout you are using. Once the grout is dry, your seashell vase is ready to use. You can fill it with water and fresh flowers, or use it to hold trinkets and other small items.
Project 3 : Jewelry Dish
To begin this DIY, mix together some plaster of Paris according to the package instructions. Then, using a funnel, pour the mixture into a blown-up balloon. Next, let out any excess air and mold the plaster to the desired shape before it dries. If you want to replicate mine, I used a ladle spoon and held it there for 5ish minutes until it hardened to create this organic dip.
After the plaster has fully dried, cut off the balloon. The result is a beautiful dish that can be used to hold your favorite jewelry pieces. Not only is this a great way to display your accessories, but it also makes for a lovely gift idea for friends and family. Get creative with your designs by creating different shapes or adding some color to the plaster mixture.
Project 4 : Tile Coasters
Next up, I found some second hand gird tile on Facebook marketplace that I thought could be turned into coasters so give this a try! These grid tiles can then be cut into individual squares using a pair of scissors.
Once the individual squares have been cut, it's time to grout them. Grouting involves applying a mixture of cement and water between the tiles to fill in the gaps and create a smooth surface. After the grout has dried and set, it's a good idea to add a cork bottom to the coasters. This can help prevent scratches on surfaces and provide a non-slip grip. Once the cork has been added, the coaster set is complete and ready to be used for hot or cold drinks.
Project 5 : Decorative Dried Flower Holder
For this DIY, I found an old wooden beaded DIY that we no longer use, so I thought it would be good to repurpose the wooden spheres. These are meant for beading so they already have small holes in the middle of each one. All I had to do was hot glue 27 of the spheres together to create a cube in which I can insert my dried florals into! This DIY project was a great way to repurpose old materials and to add a touch of natural beauty to our decor.


