Recreating High End Fashion!
Welcome back to one of our fave series, That Cost How Much?! Today we are going to be recreating some really expensive pieces from Nordstrom!
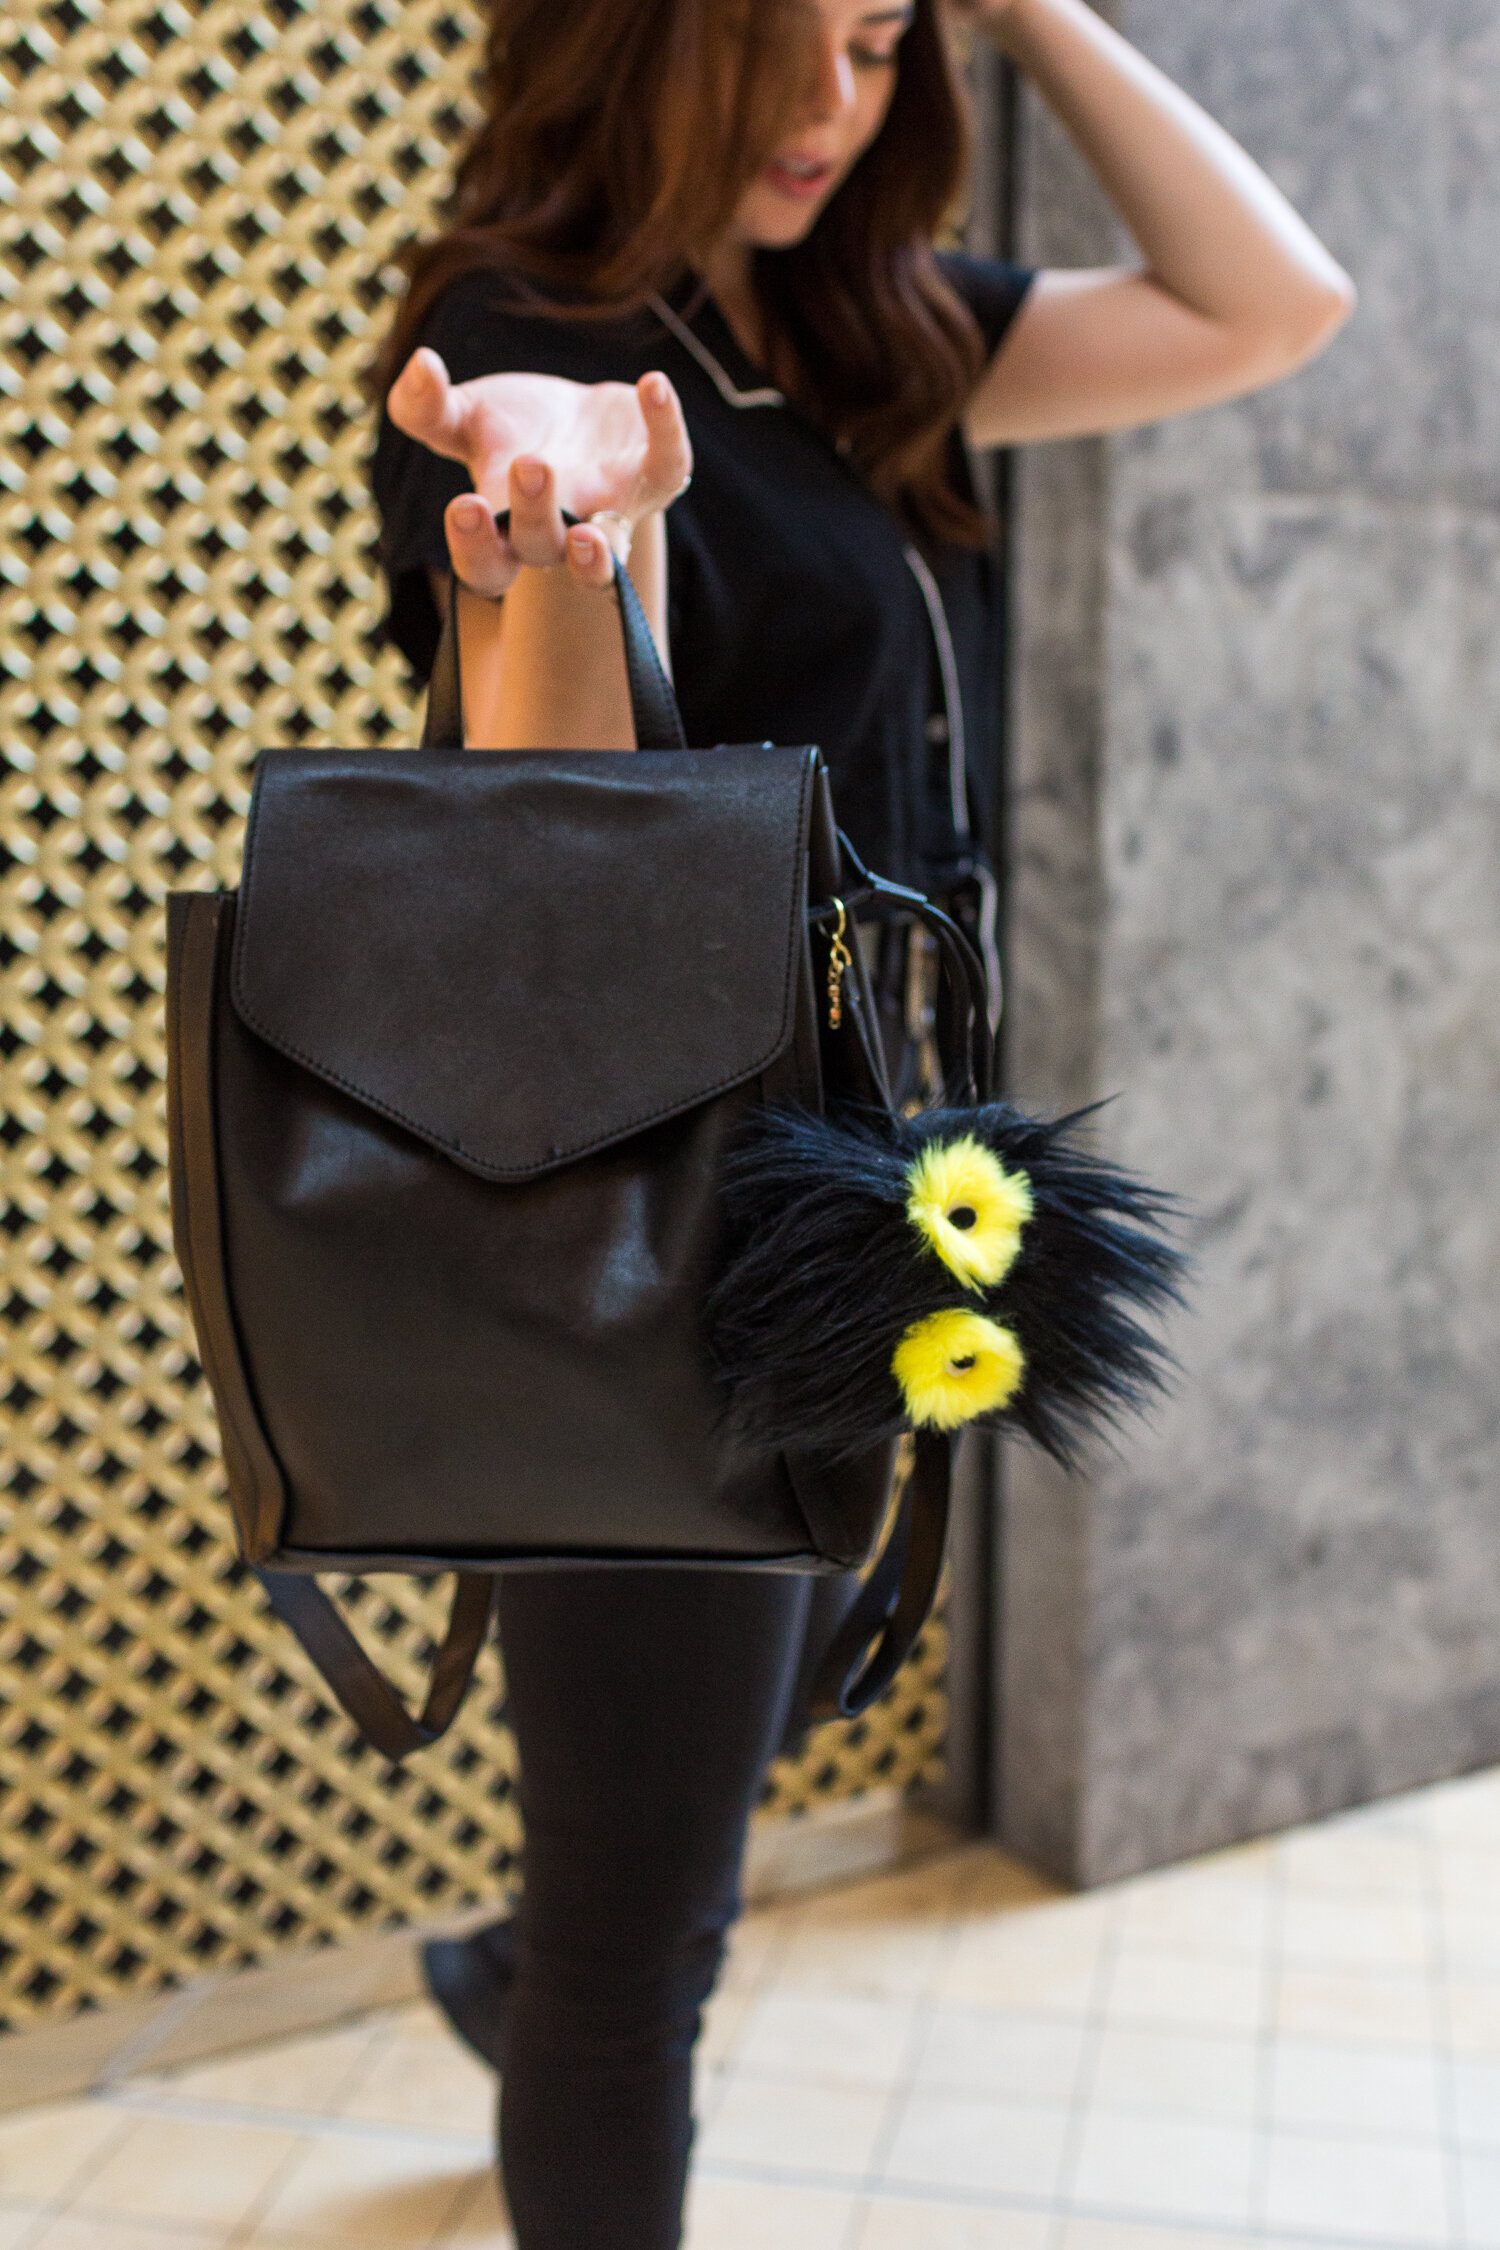
FENDI BAG CHARM
Original price: $1,250.70 CAD
Our DIY: $22.50 CAD
WHAT YOU’LL NEED:
Black Faux Fur (¼ yard) - $6.25
Yellow Faux Fur (¼ yard) - $6.25
White Felt - $1.00
Black Felt - $1.00
Black Faux Leather - $4.00
Gold Jump Rings - $5.00
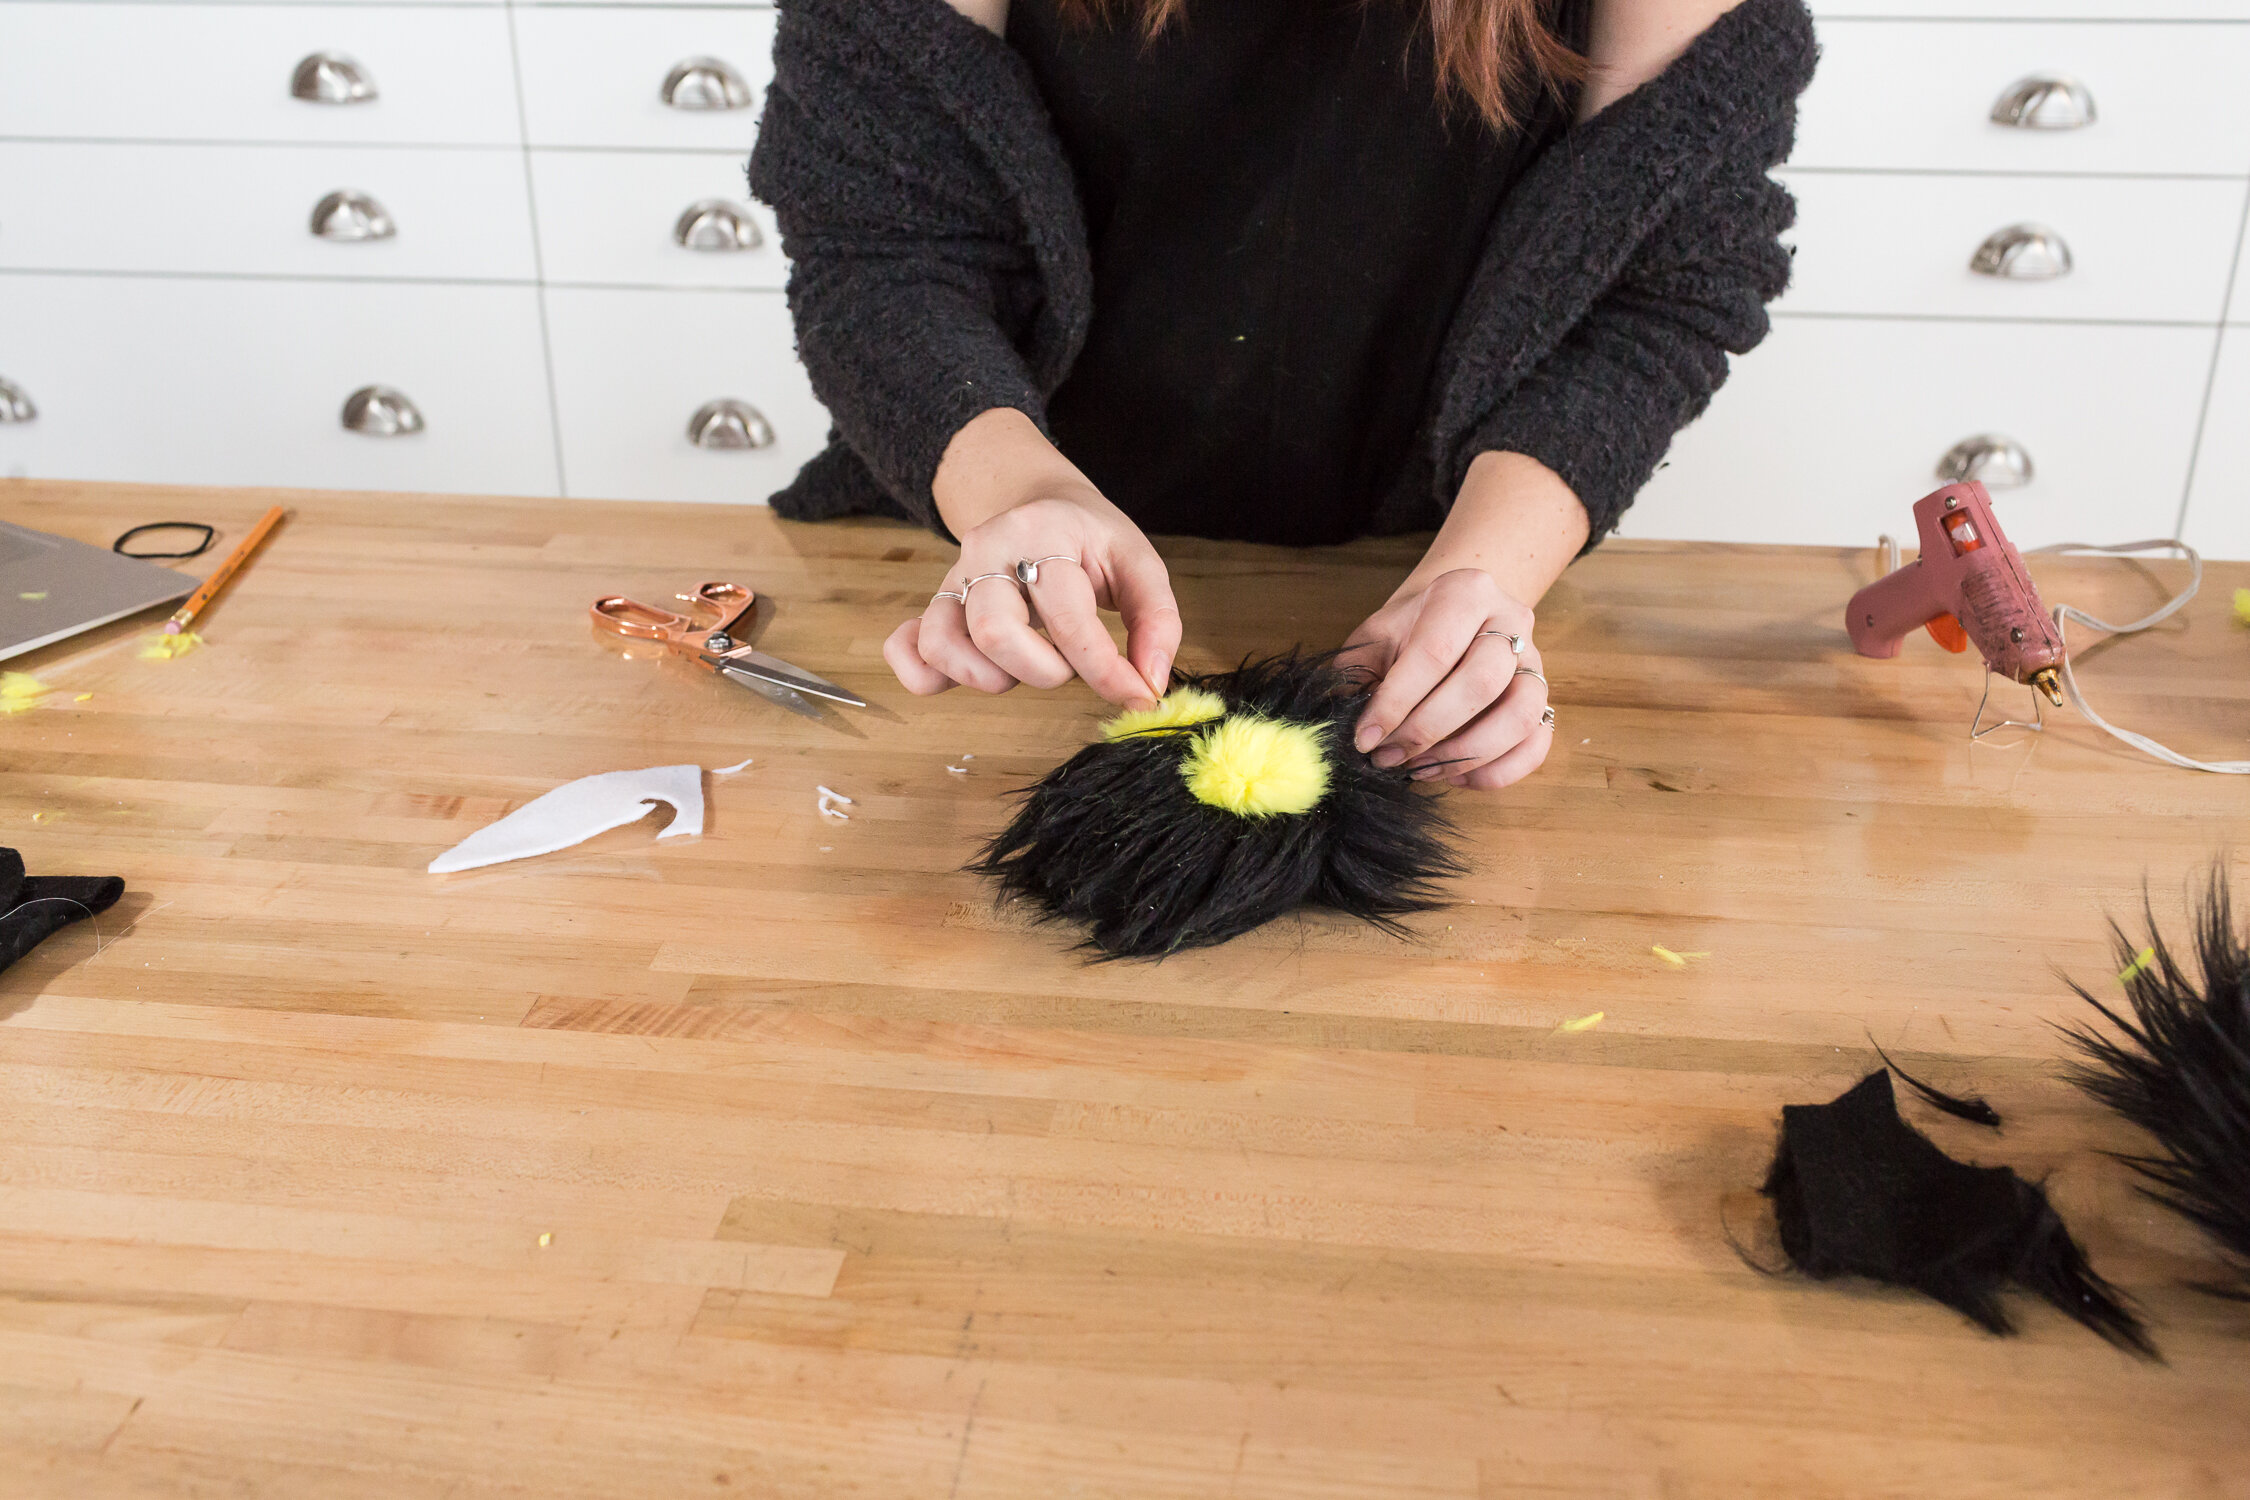
The first step is to create a large pom pom out of our faux fur. Go ahead and grab your faux fur and cut a large oval out of the faux fur. Next, grab a needle with a very long thread on it, and make loose stitches around the outside of your faux fur circle on the non-furry side. Once you get all the way around the circle, gently pull the thread to gather the fur into a pom pom shape. We went ahead and stuffed our pom pom using the scrap pieces of the other faux fur. Once stuffed, go ahead and pull the thread all the way tight and tie off the ends.


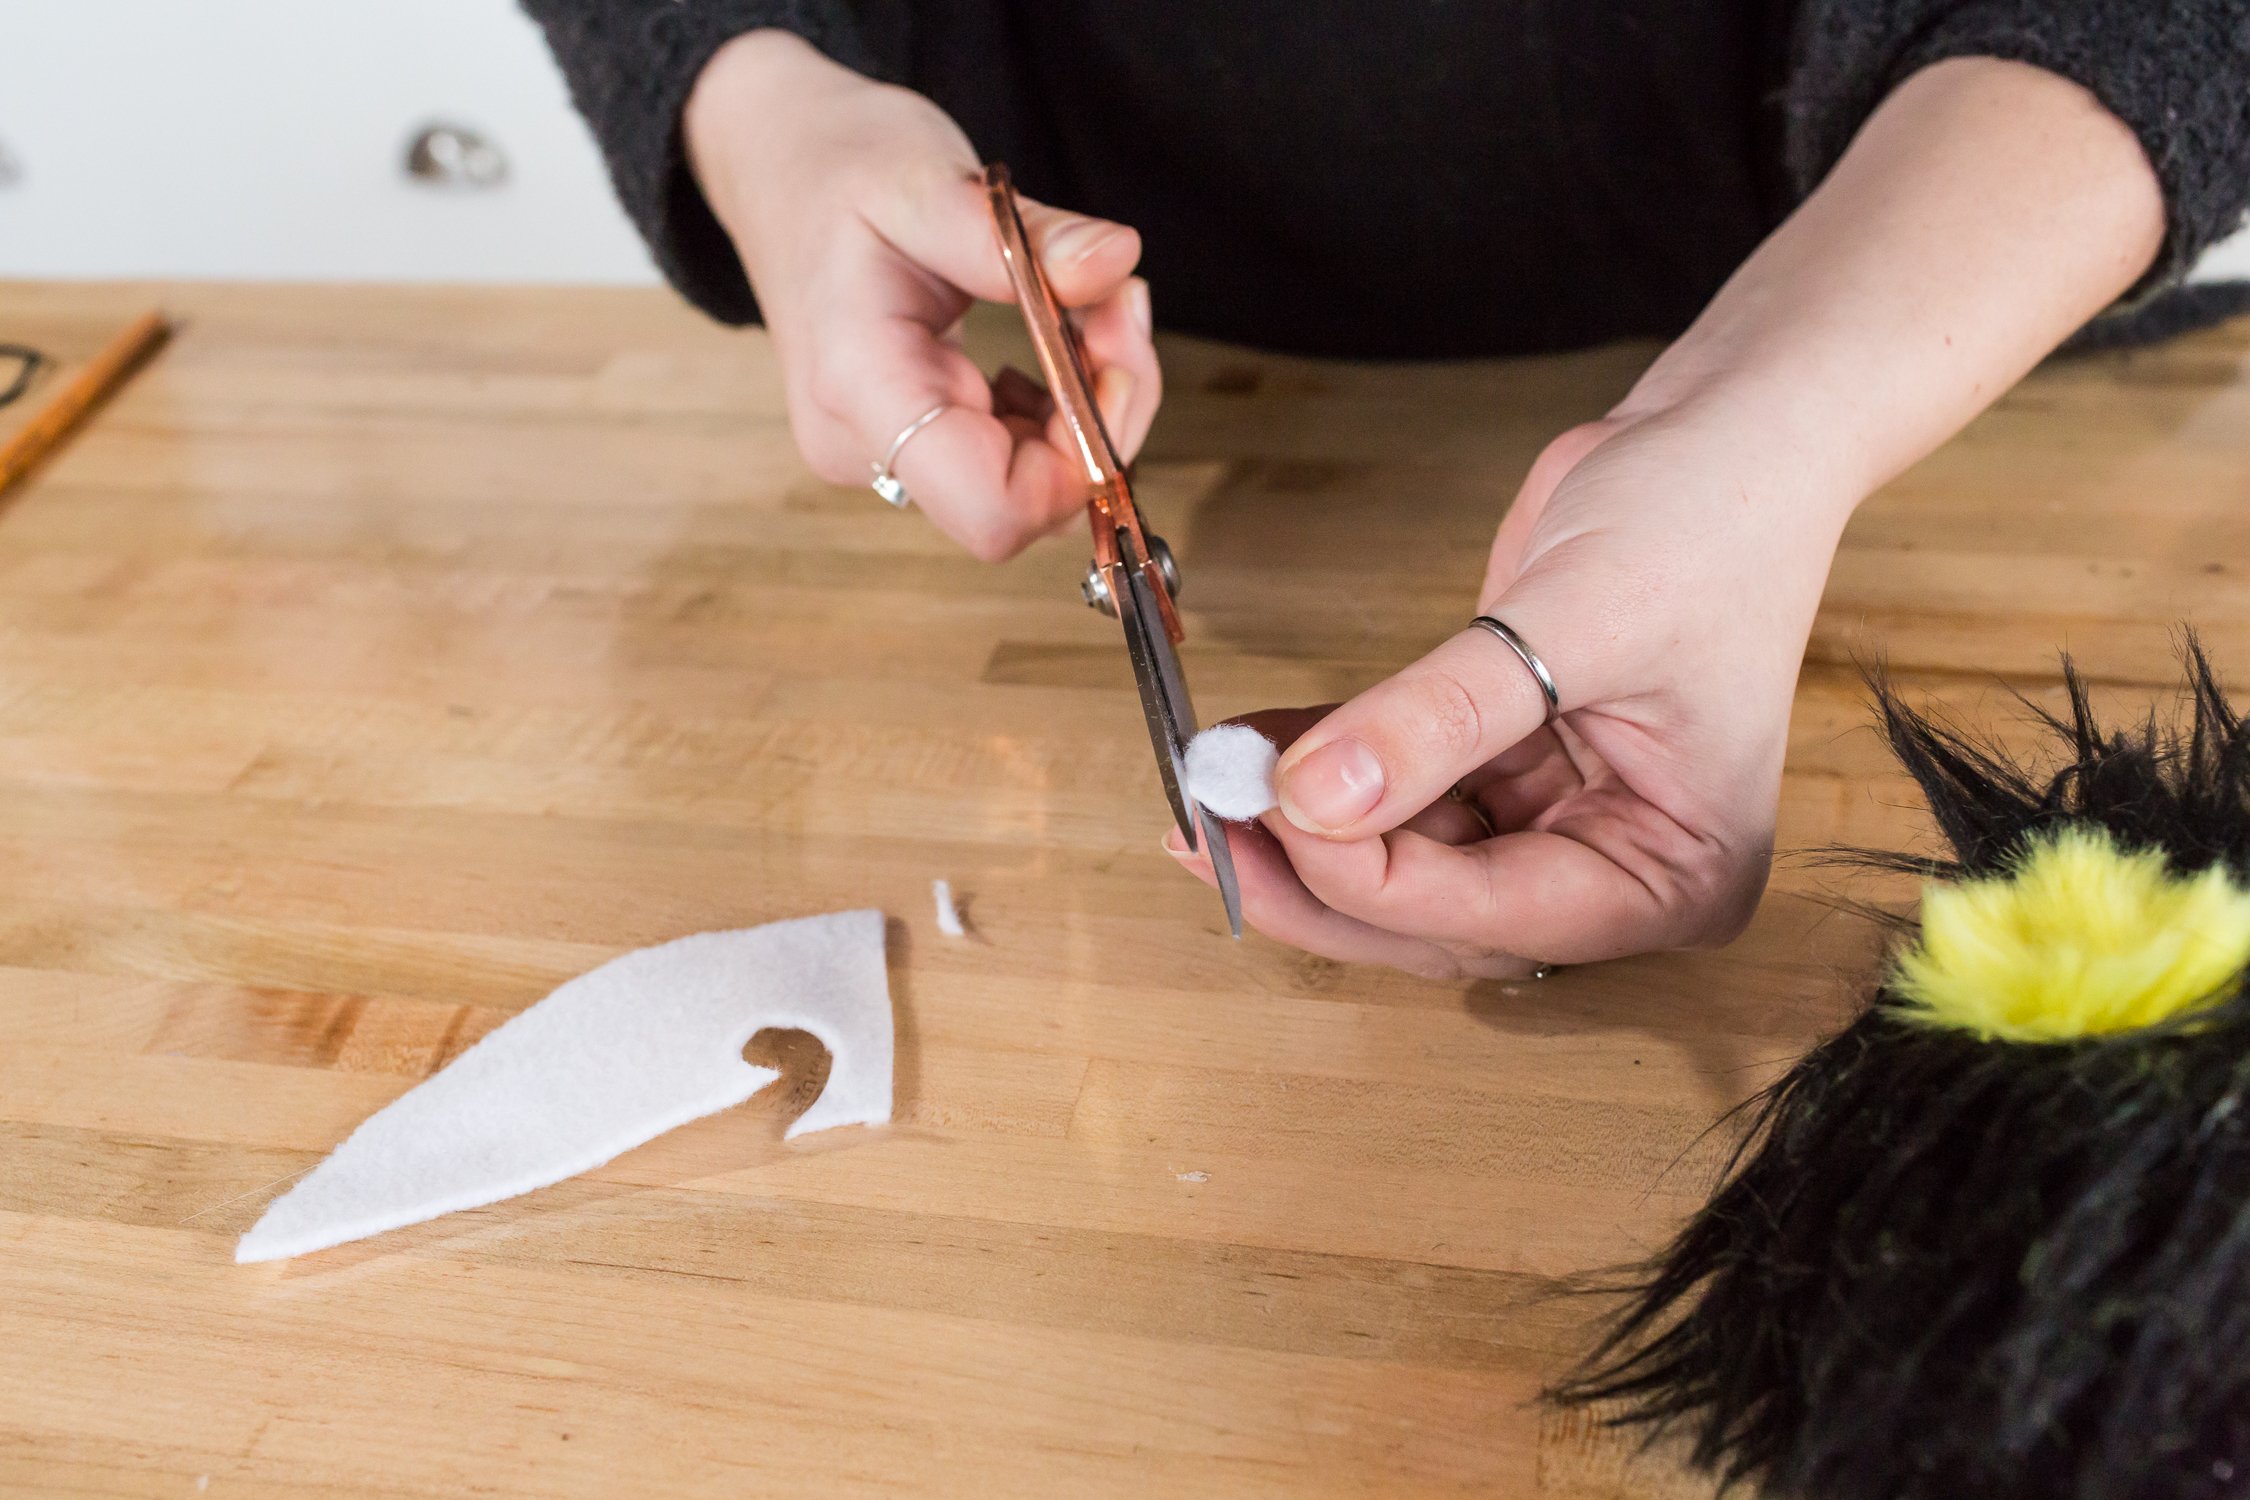
Next to make the face! Grab your yellow fabric and cut two circles from it. It’s best to cut faux fur from the mesh on the back! We then used some hot glue to stick them to the pom pom. Next, cut two circles out of white felt and two tear drop shapes out of black felt and layer the black felt on top of the white. Stick together using hot glue. Next, glue these eyes onto the yellow faux fur on the pom pom!


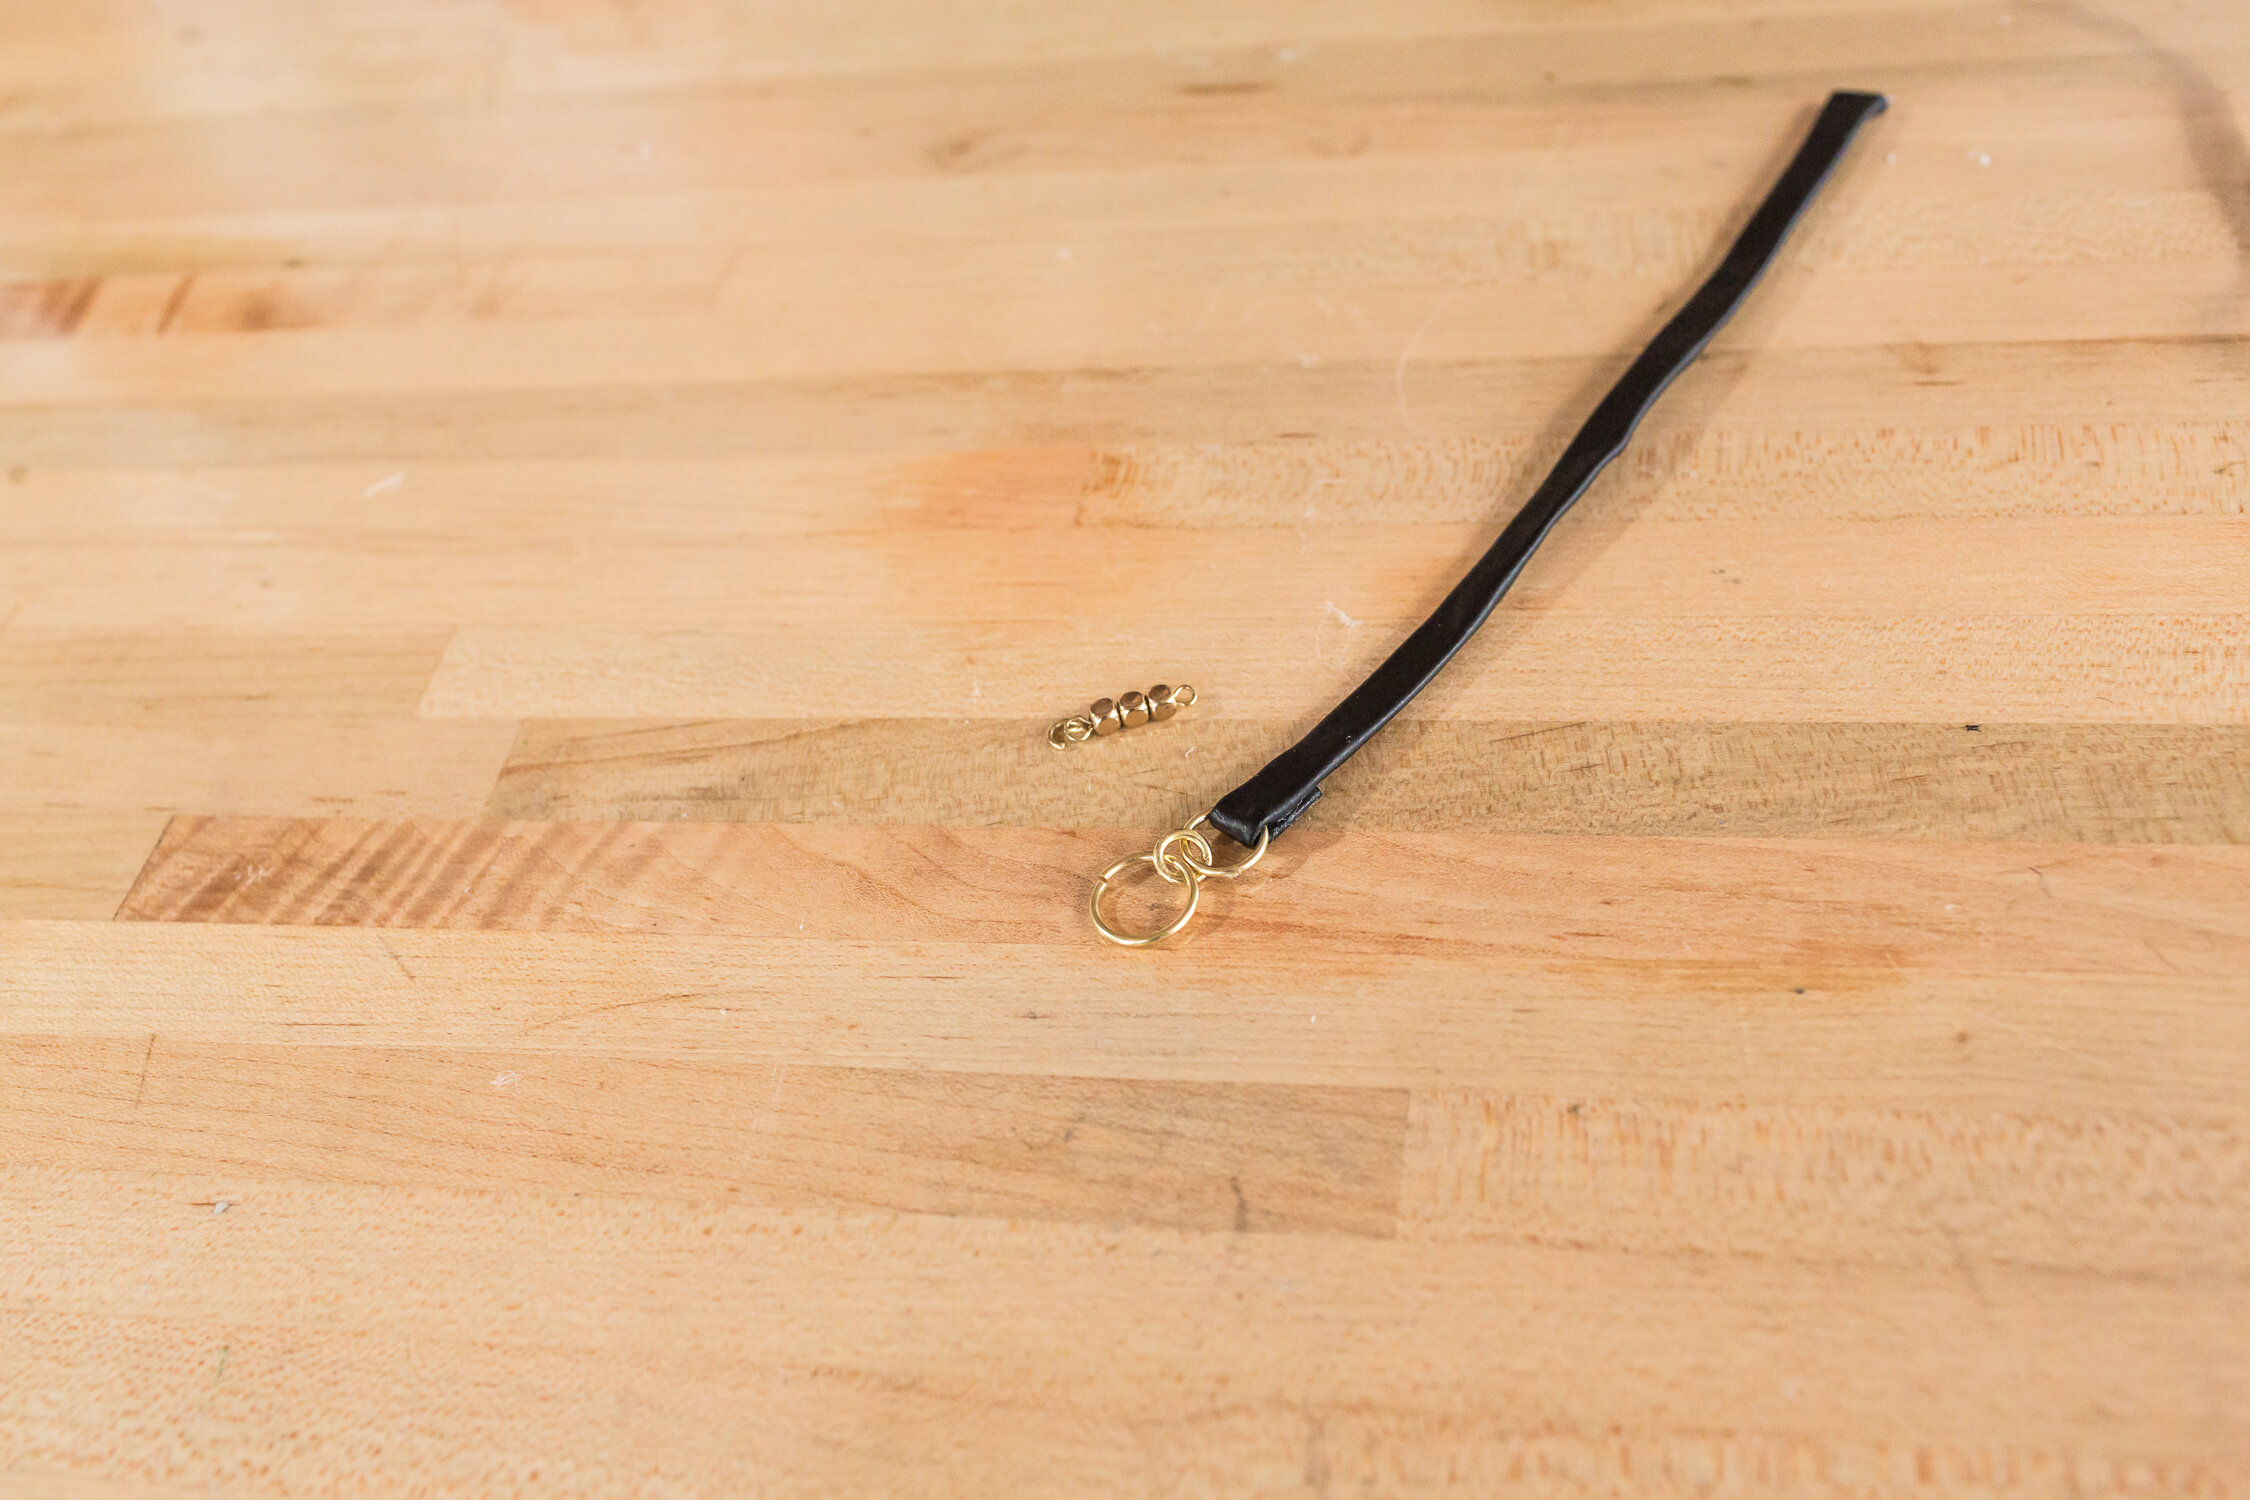
Finally to make a strap for the keychain! We cut a strip of black faux leather double the width that we’d like the final strap to be. Next, we added some hot glue to the inside edge of the strip and folded it over to create a clean edge. Next, we attached a large jump ring to a medium jump ring, with a small jump ring in the middle. We then threaded the leather strap through the medium jump ring. Placing the medium jump ring less than an inch from the top, we folded back the leather strap and hot glued it to keep the jump ring in place.

Finally, we trimmed the strap and used a needle and thread to stitch it onto the side of the pom pom!

SHERPA BAG
The original: $3,825
Our DIY: $17.90
WHAT YOU’LL NEED:
Large Sherpa Sweater (thrifted) - $5.20
Faux Leather Belts (thrifted) - $5.20
Brown Faux Leather (½ yard) - $7.50
We started by laying out our faux leather and cutting out two pieces that were 20” x 16”, and two smaller pieces that were about 5” x 14” with a little bit of seam allowance.


Time to move on to our sherpa. We found a sherpa sweater, so we decided to start by seam ripping the front pocket off of it. The sherpa on the original bag has a seam up the middle and the side, so when cutting our sherpa, we decided to lay the fabric down so that the side seam of the sweater sat in the middle when cutting our our pieces. We went ahead and cut out two 20” x 16” pieces out of the sherpa, with the side seam sitting in the middle.

Time to sew everything together! We took one of the skinny pieces of the faux leather, and lined up the middle of the leather piece to the middle seam of one of the sherpa sides and pinned them together. We kept pinning, folding the good side of the sherpa in around the entire edge of the faux leather rectangle. We also pinned the sides of the two pieces of sherpa. Next, we took this to the sewing machine, and sewed everywhere that we pinned. Once sewn together, we flipped everything inside out! Repeat this entire process, but with the faux leather side pieces! This time, don’t flip this inside out.
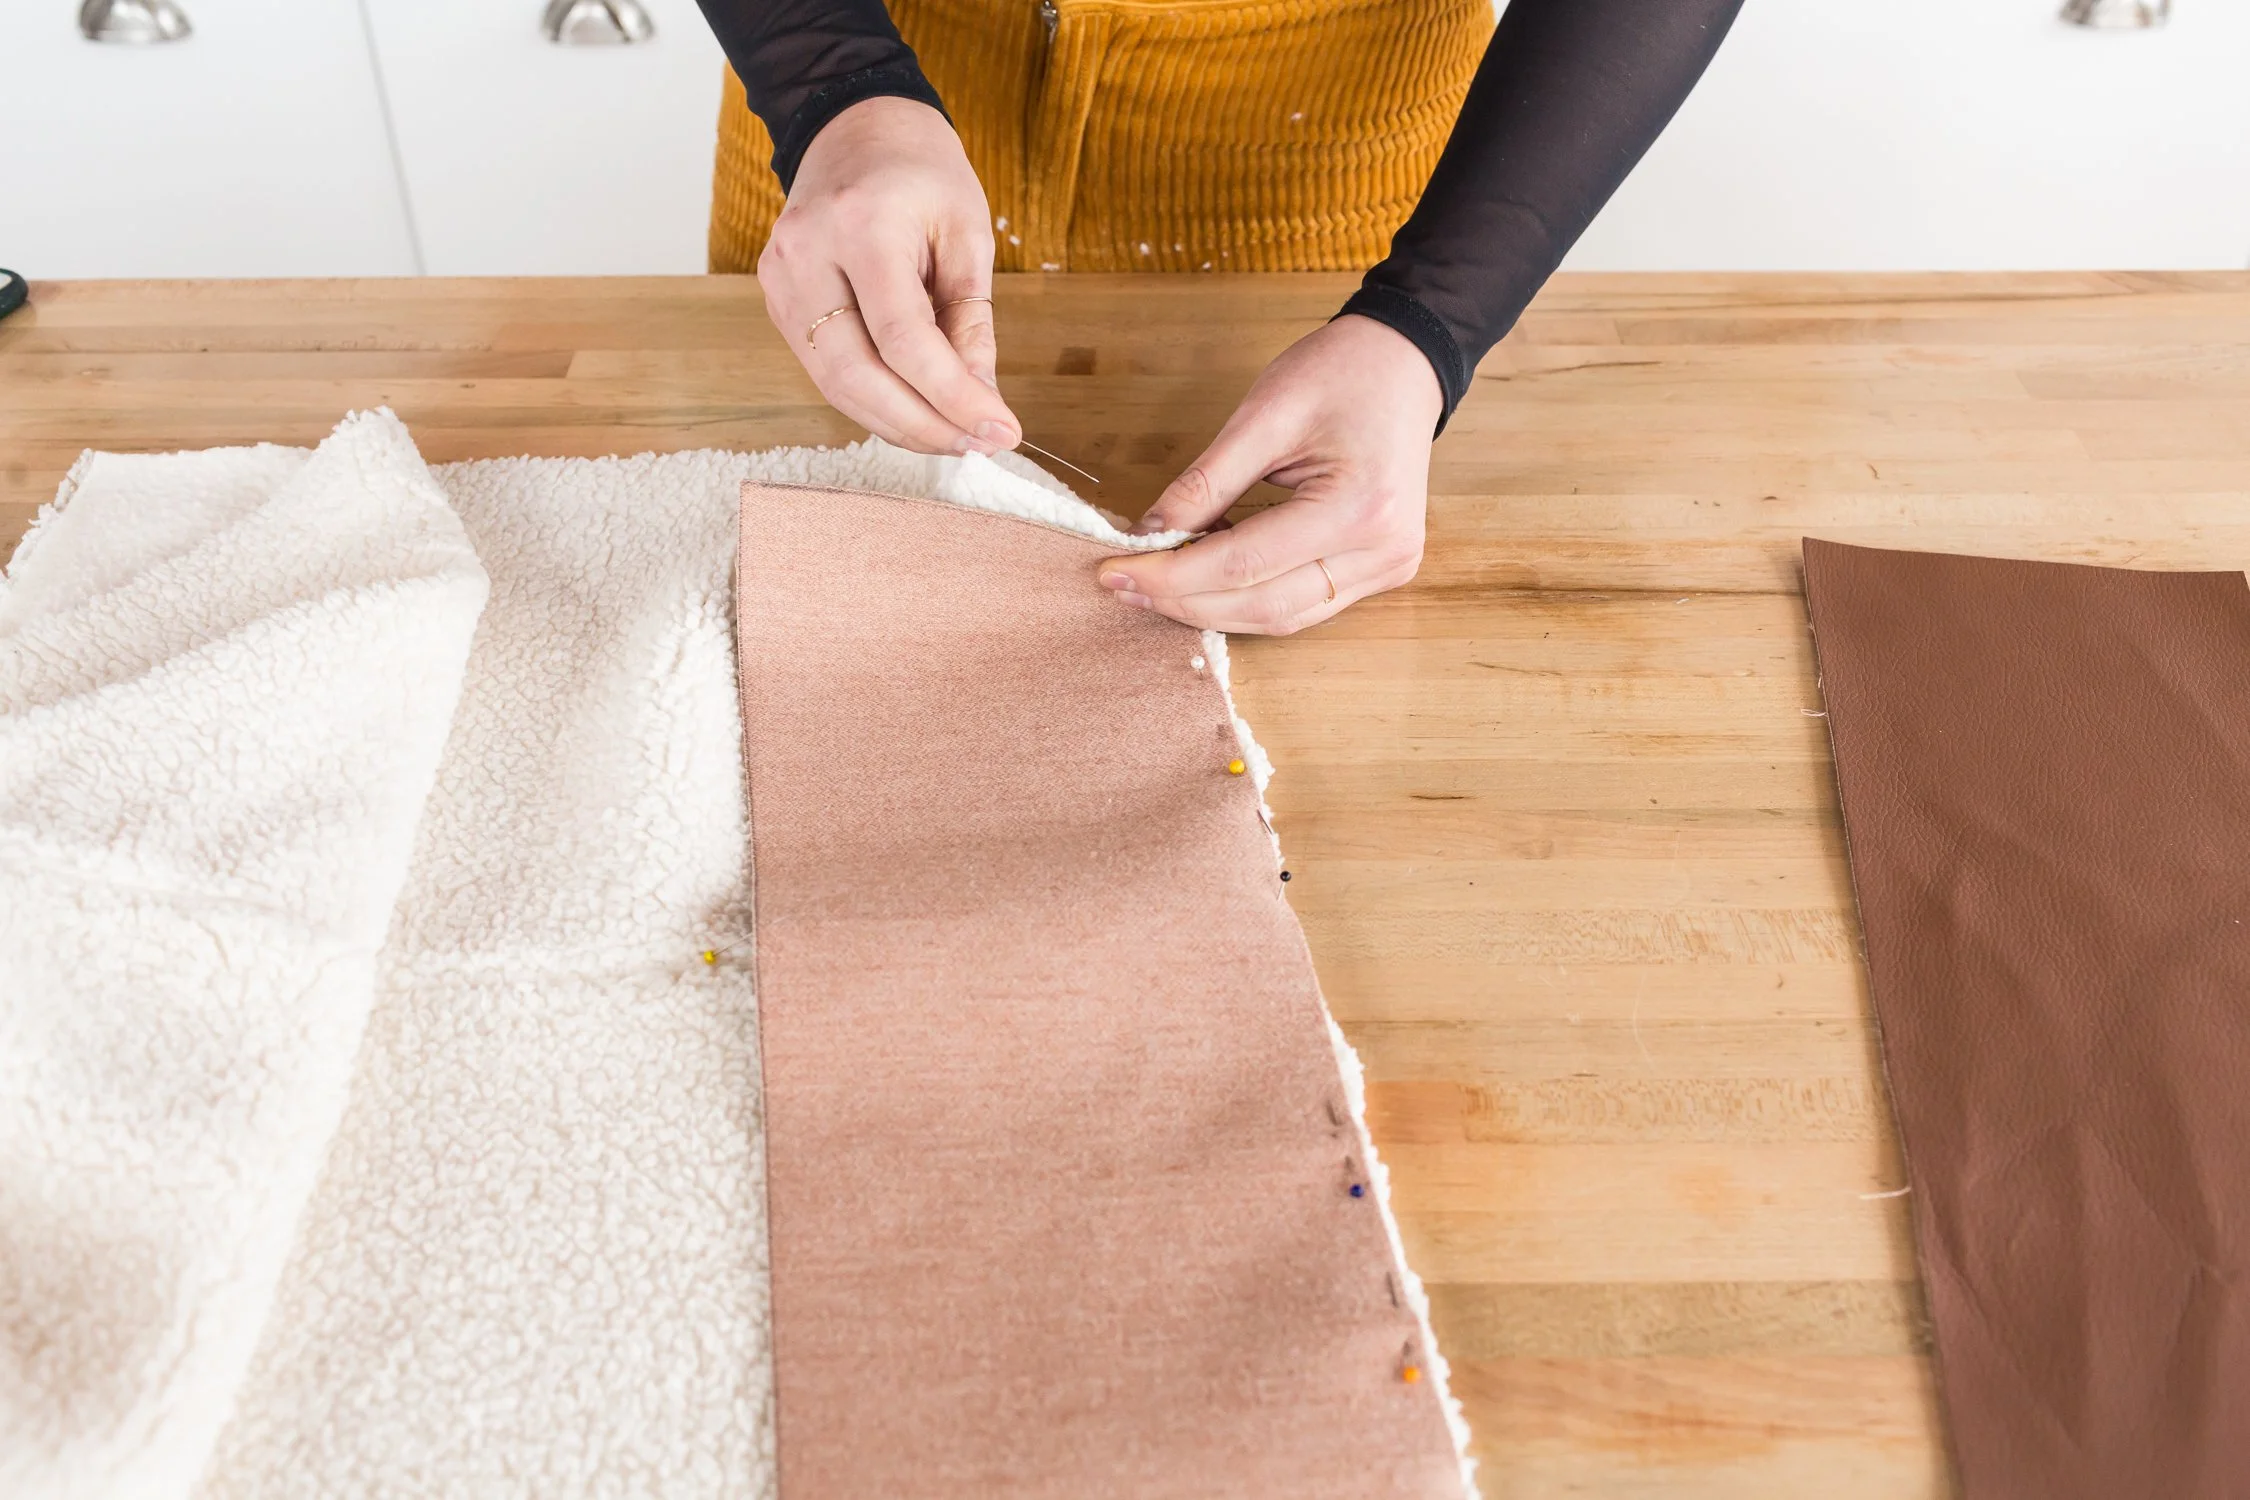
Next, put the faux leather lining inside of the sherpa outside and fold the faux leather and sherpa sides onto each other and pin to create a clean edge. Do this all the way around the top of the bag. Before we sew this all up, we are going to add straps! Go ahead and grab those leather belts from the thrift store, cut off any holes or hardware, and insert them in the space between the sherpa and faux leather and pin into place. Once everything is pinned into place, go ahead and sew all the way around where we pinned!
Time to make the luggage tag! We are taking a piece of the faux leather from earlier, cutting a small strip, and folding it in half. We took this to the sewing machine to stitch up two of the sides. We then used a roller to cut as close to the seams as possible, and cut the top edge in a rounded shape. We then cut a slit at the top of the tag big enough for our belt from earlier to slip through. We then brought back the hole and the hardware sides of the belts that we cut off earlier, and sewed them together to create a mini belt! We then threaded mini belt through the luggage tag and then the mini belt onto the bag!


And we’re done!


CHAIN HARNESS TEE
The Original: $737
Our DIY: $47
WHAT YOU’LL NEED:
Plastic Chain (7ft) + Misc Hardware (carabiners x 4, quick links large x 4, quick links small x 2) - $25
Shiny Silver Spray Paint - $9.50
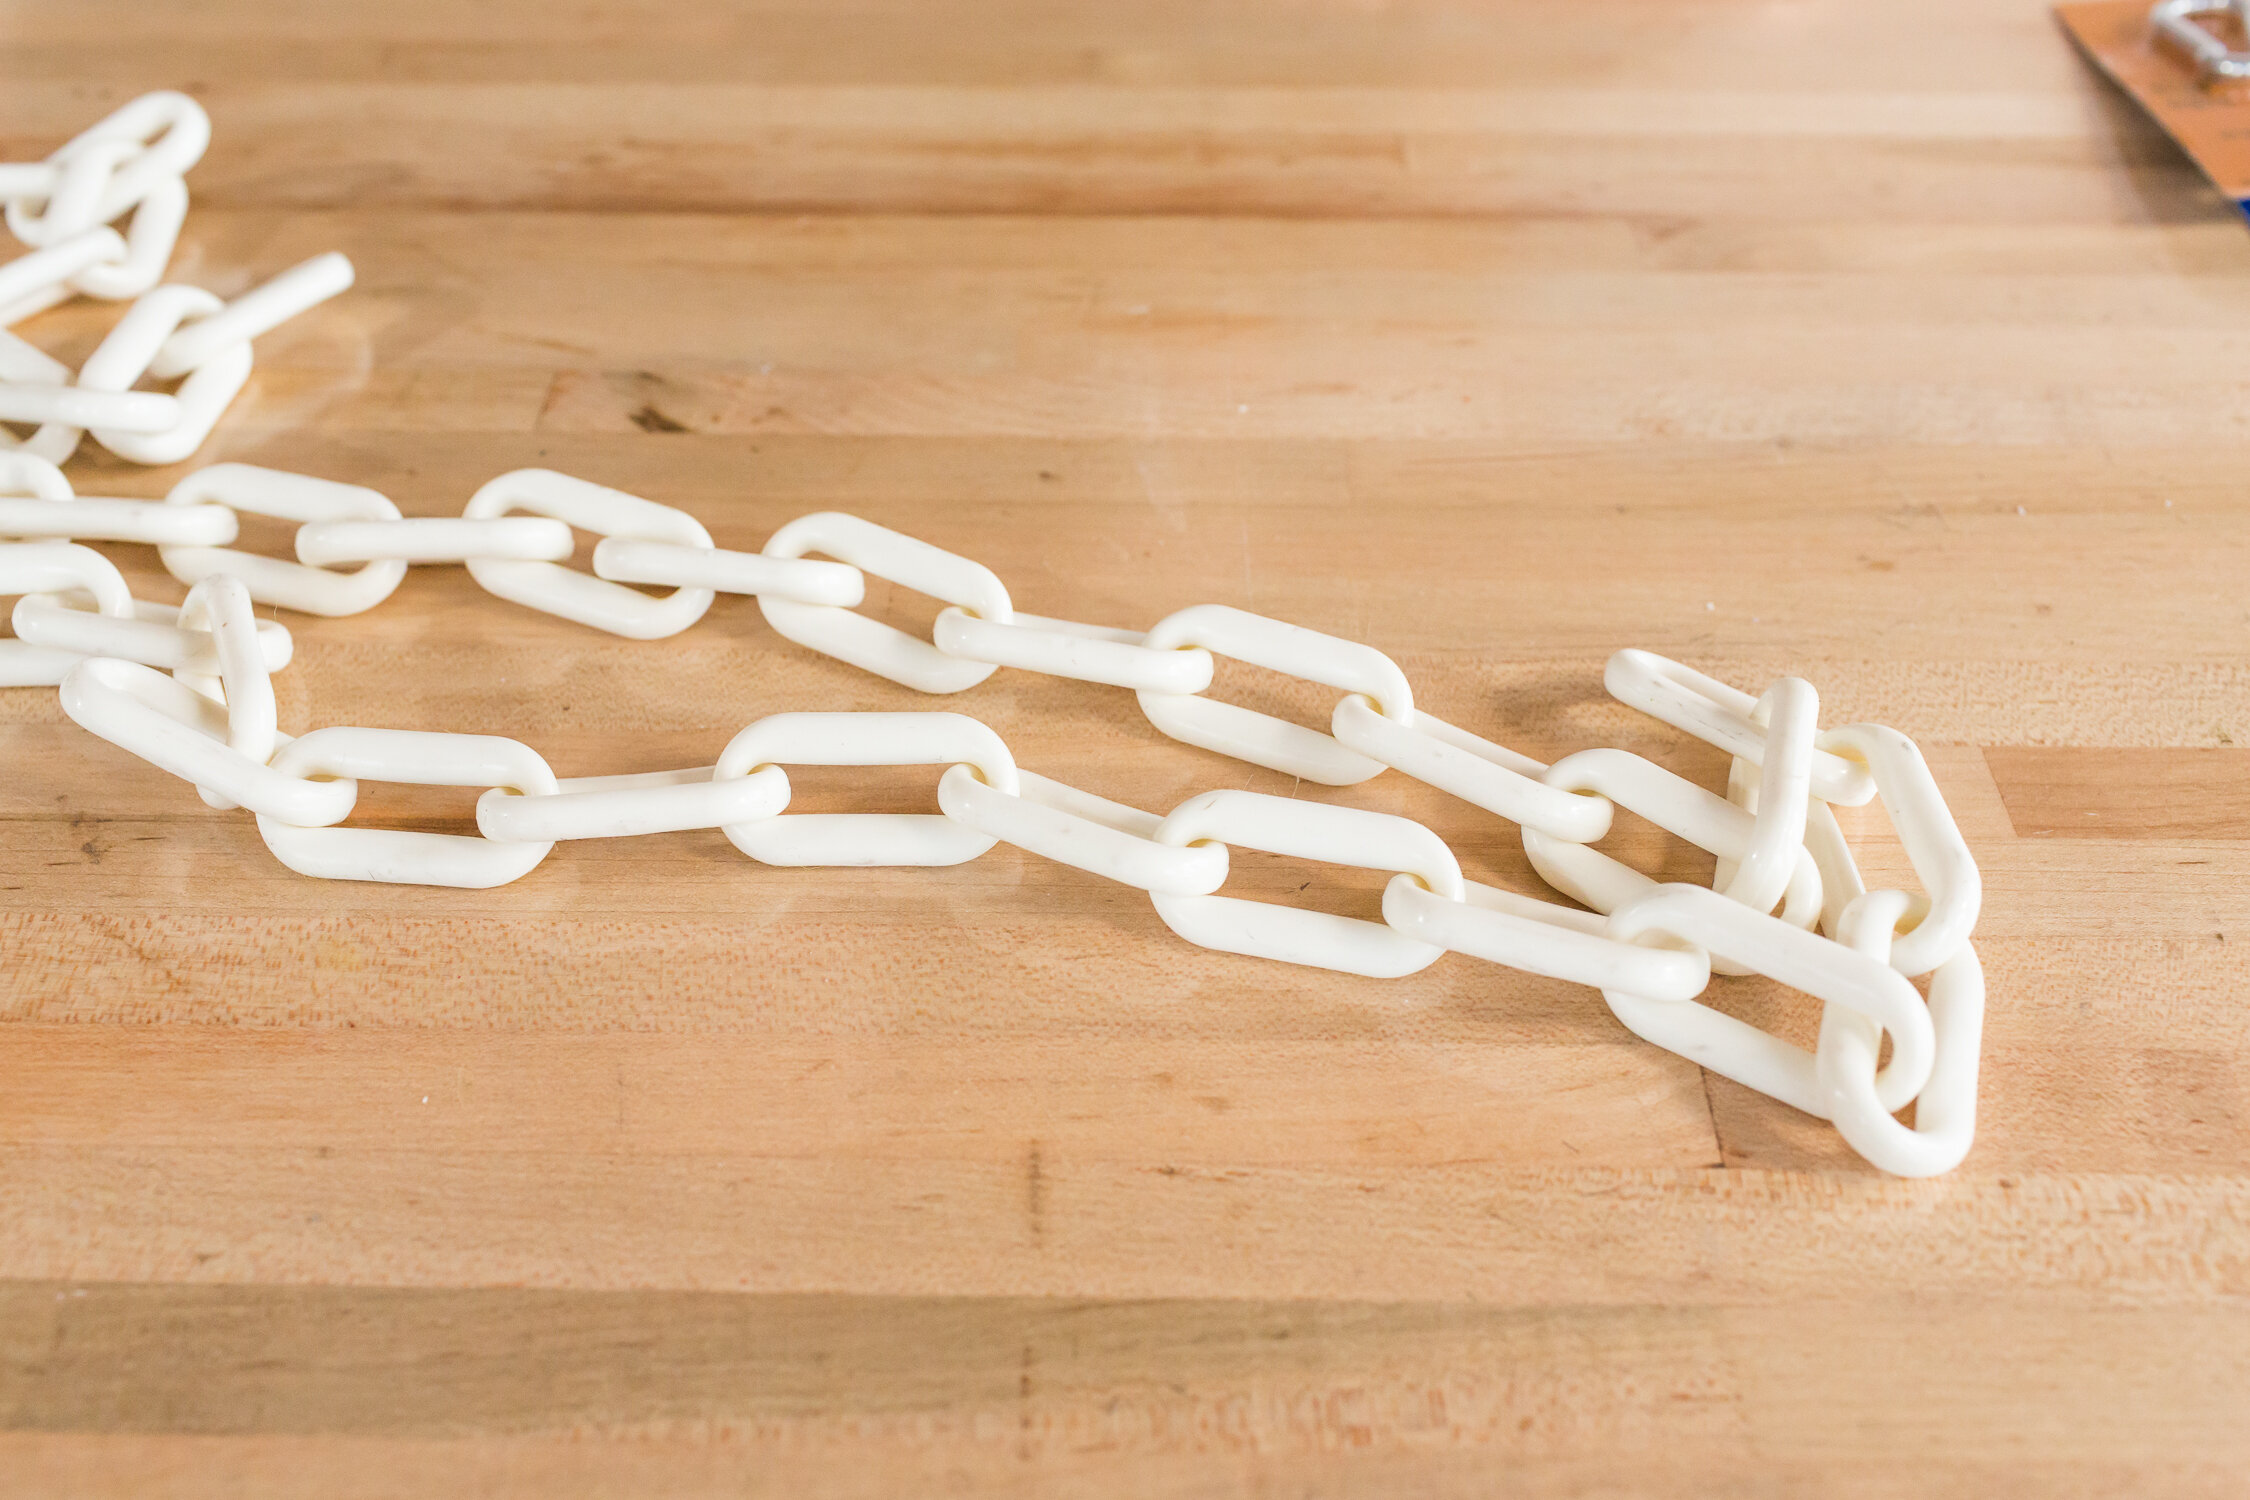
We started this whole process by cutting our plastic chain. We found that the best way to cut this chain was with a hammer and chisel. Simply place the chisel onto the link that you want to cut and hammer to snap the plastic! We cut out chain to pieces that were 4 links, 6 links, 12 links, and two that were 18 links. Be sure to adjust these lengths for a shirt that is smaller or bigger. We then took all of this chain to the spray paint tent and gave it a few coats of a shiny silver spray paint.

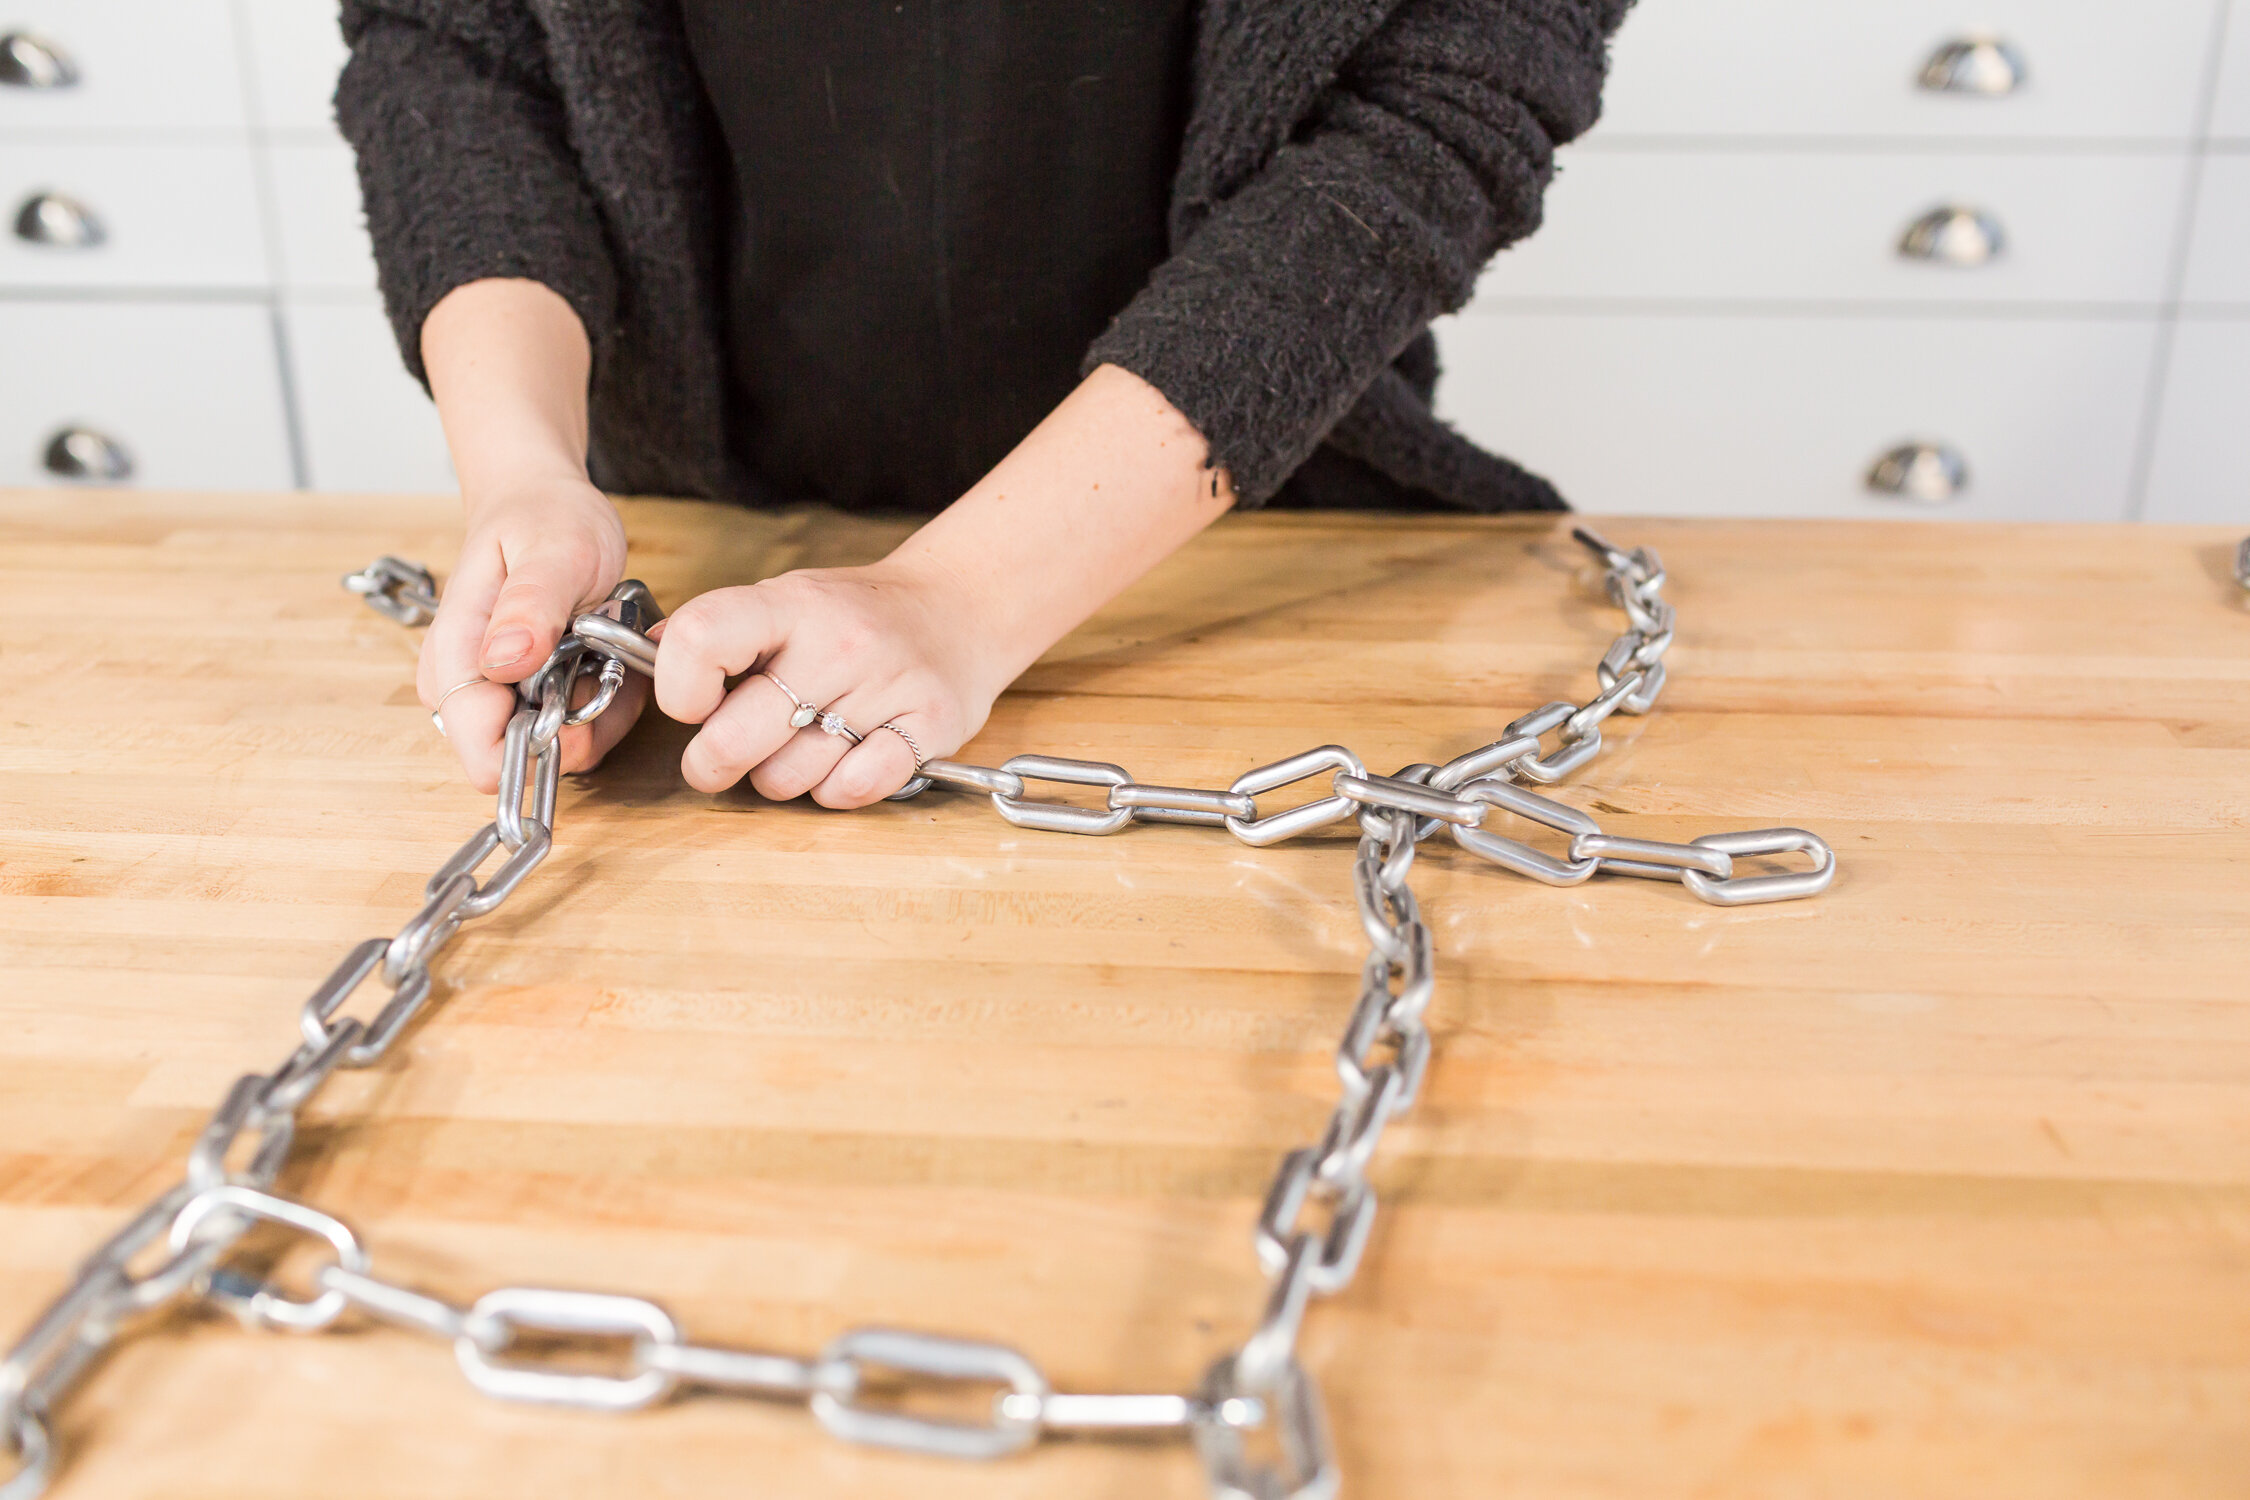
Once dry, it was time to assemble. Lay out your two longest pieces, and on the very top links add one carabiner snap and one mini quick link. Next, place your shortest piece of chain a few links down from the top and attach it to the longer chains on one side with a large quick link and the other side with a carabiner snap. Next, attach the 6 link chain a few more links down from the first piece, again with a large quick link on one side and a carabiner snap on the other side. Finally, add the back piece (the 12 link piece) to the bottom of the longest chains, but this time we are attaching it around the back with two large quick links.
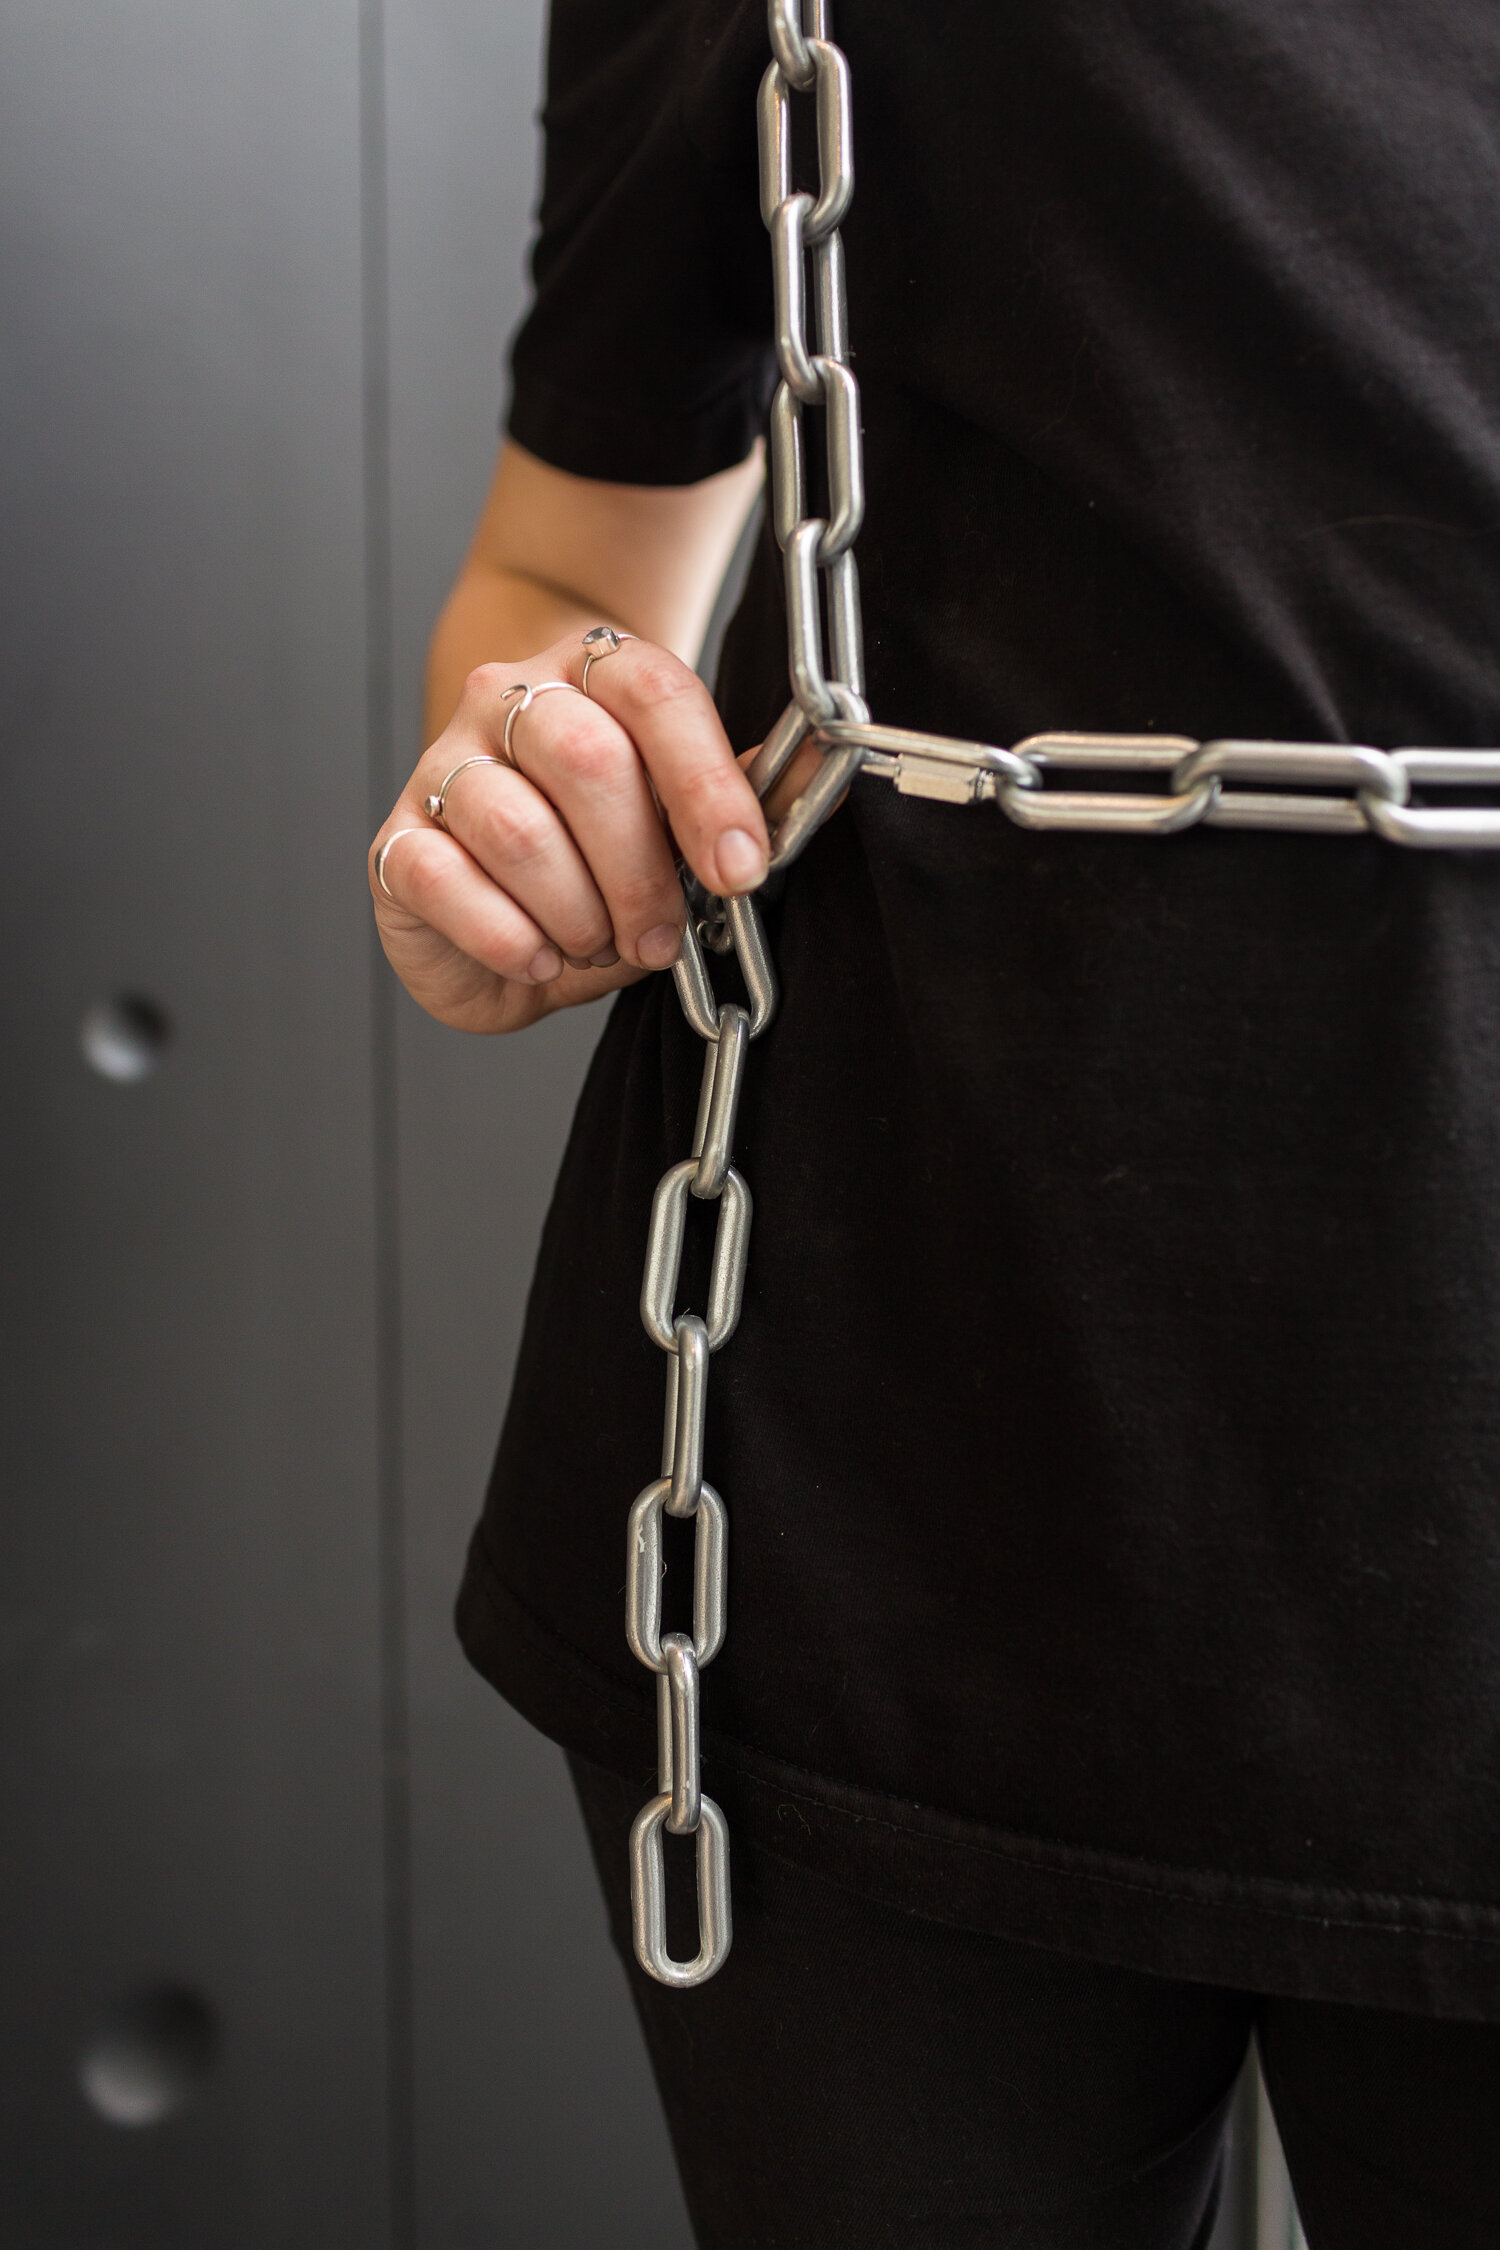
The last step is to add this to the black tee. Just go ahead and sew the tiny quick links to the shoulders of the tee.


And that’s it!

Thanks for reading! If you recreate any of these looks, show us on instagram using the hashtag #SorryGirlsSquad.