DIY Merch to Save You Money
Something a lot of people don’t realize about loving something is that it kind of costs a lot of money! But we’re here to save you tons of money and let you show your pride for your fave things! Let’s get started!
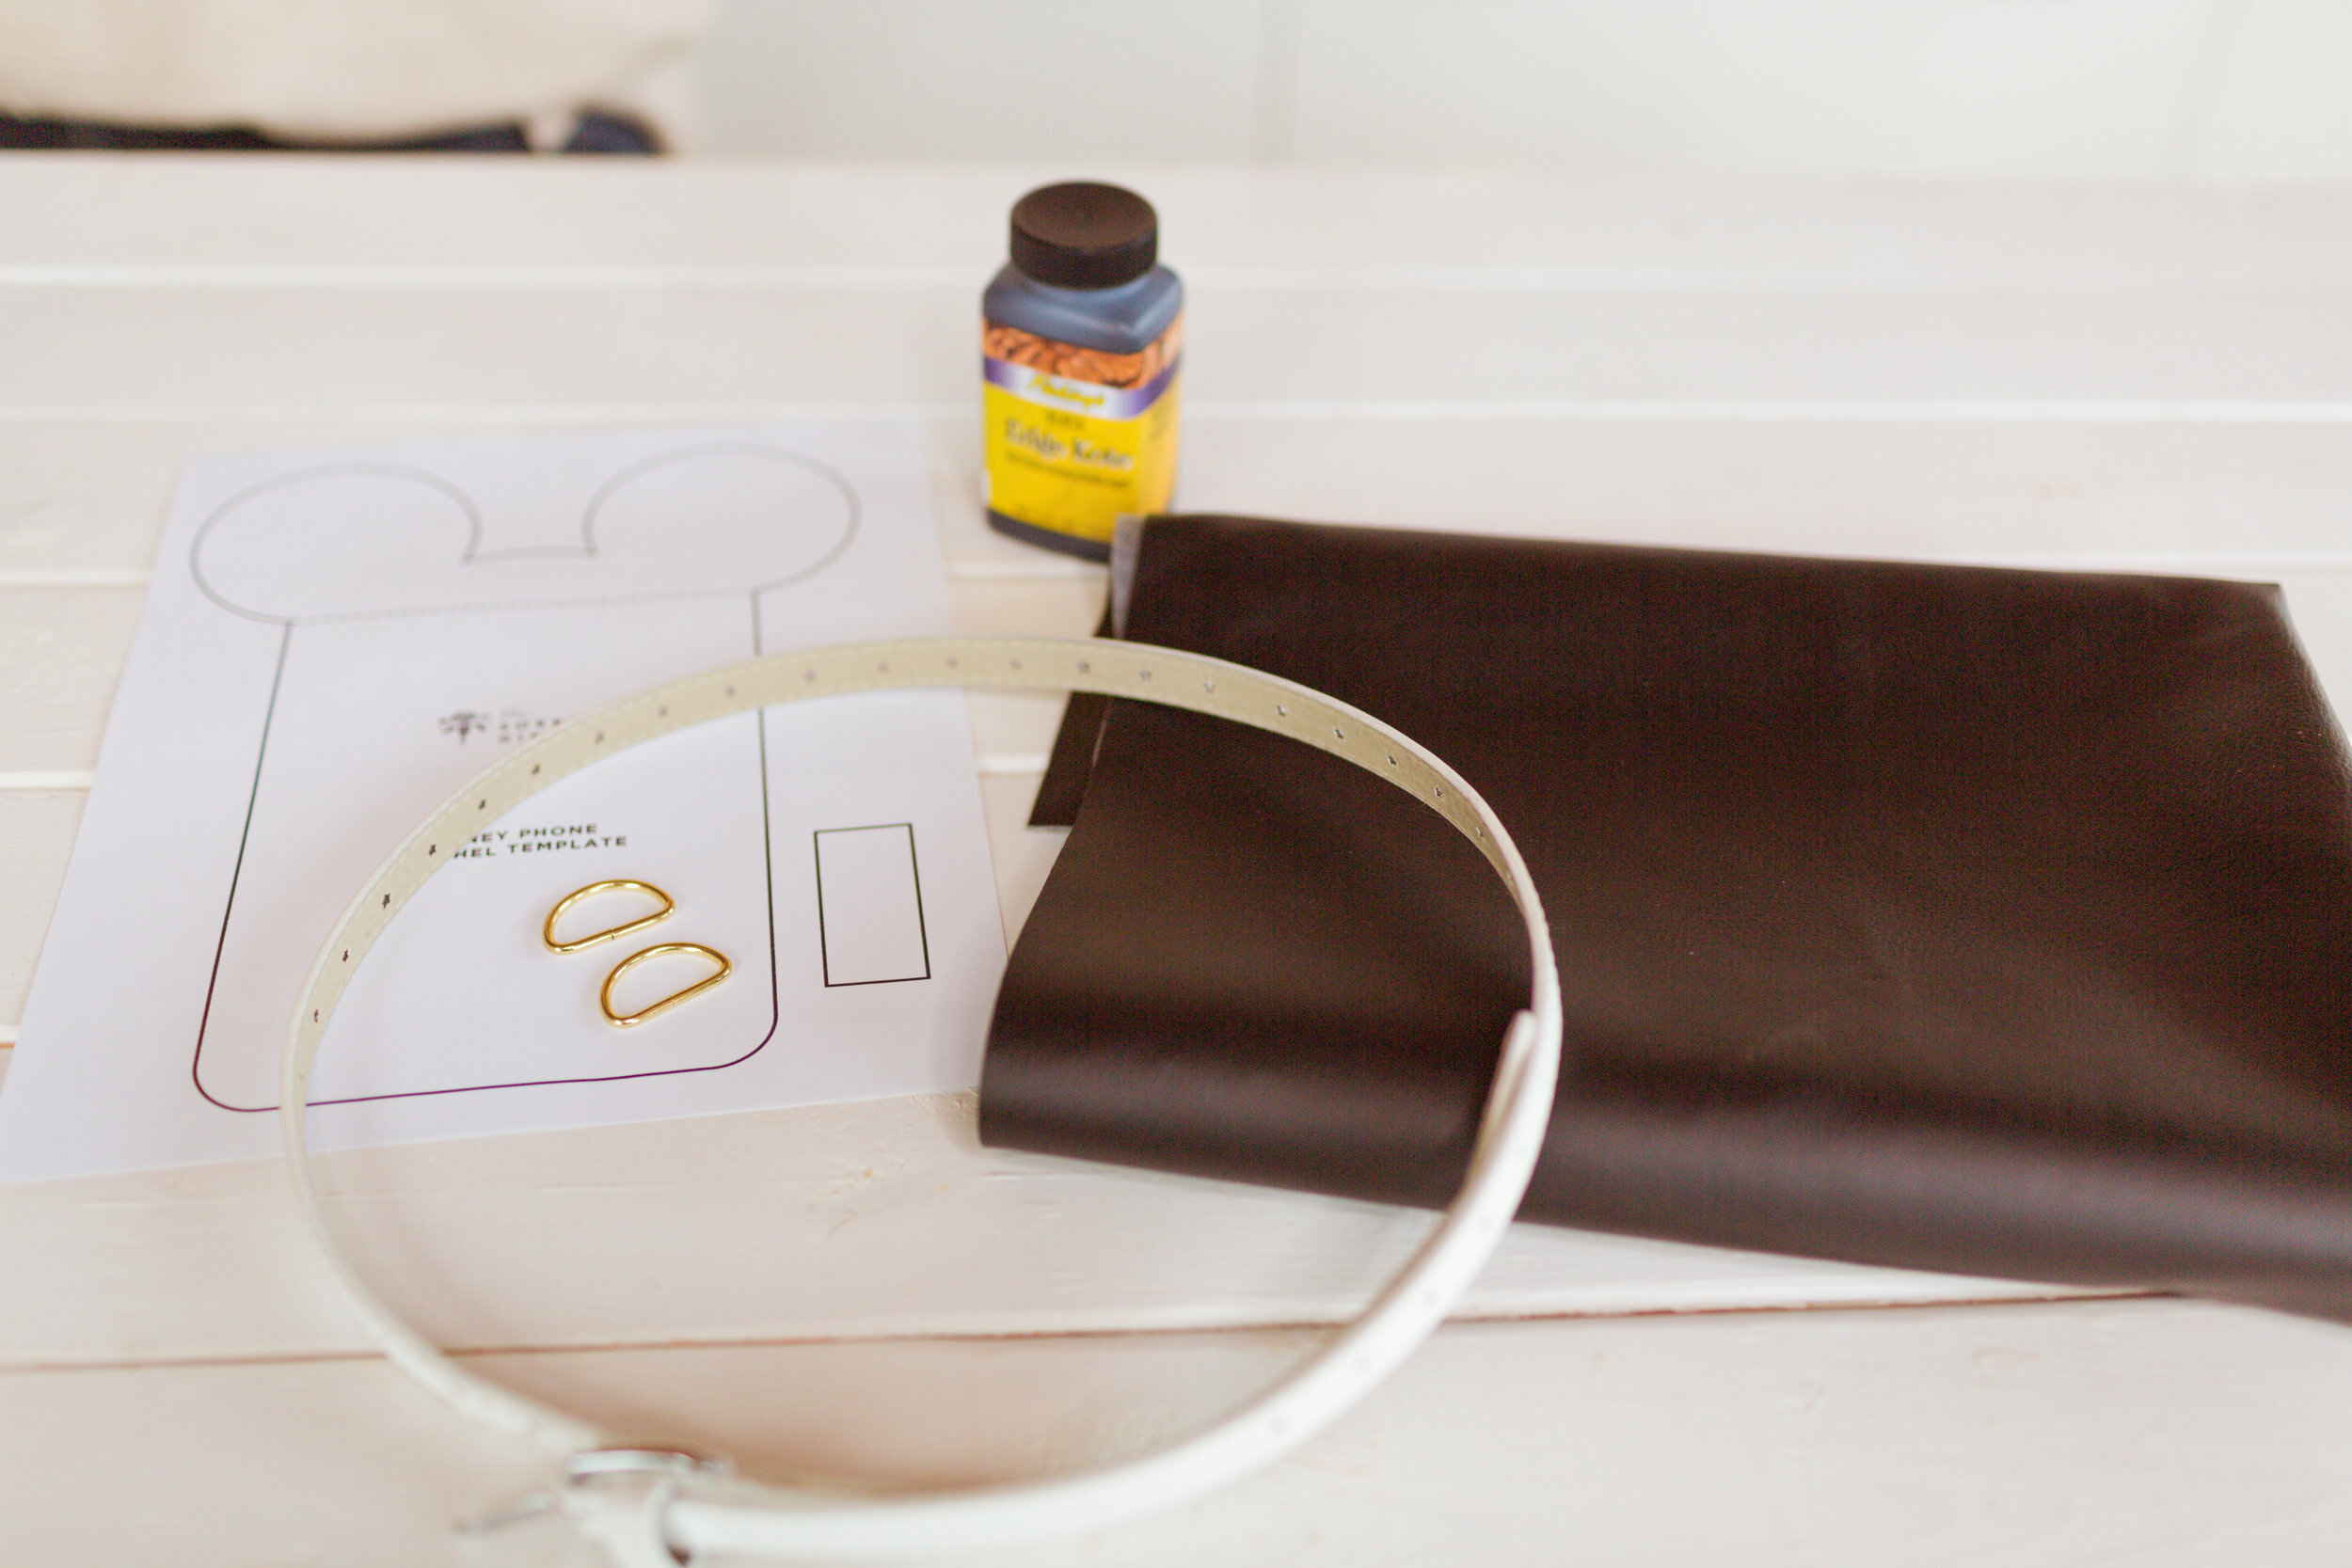
DIY DISNEY PHONE SATCHEL
WHAT YOU’LL NEED…
2 D rings
Faux leather
Thrifted belt
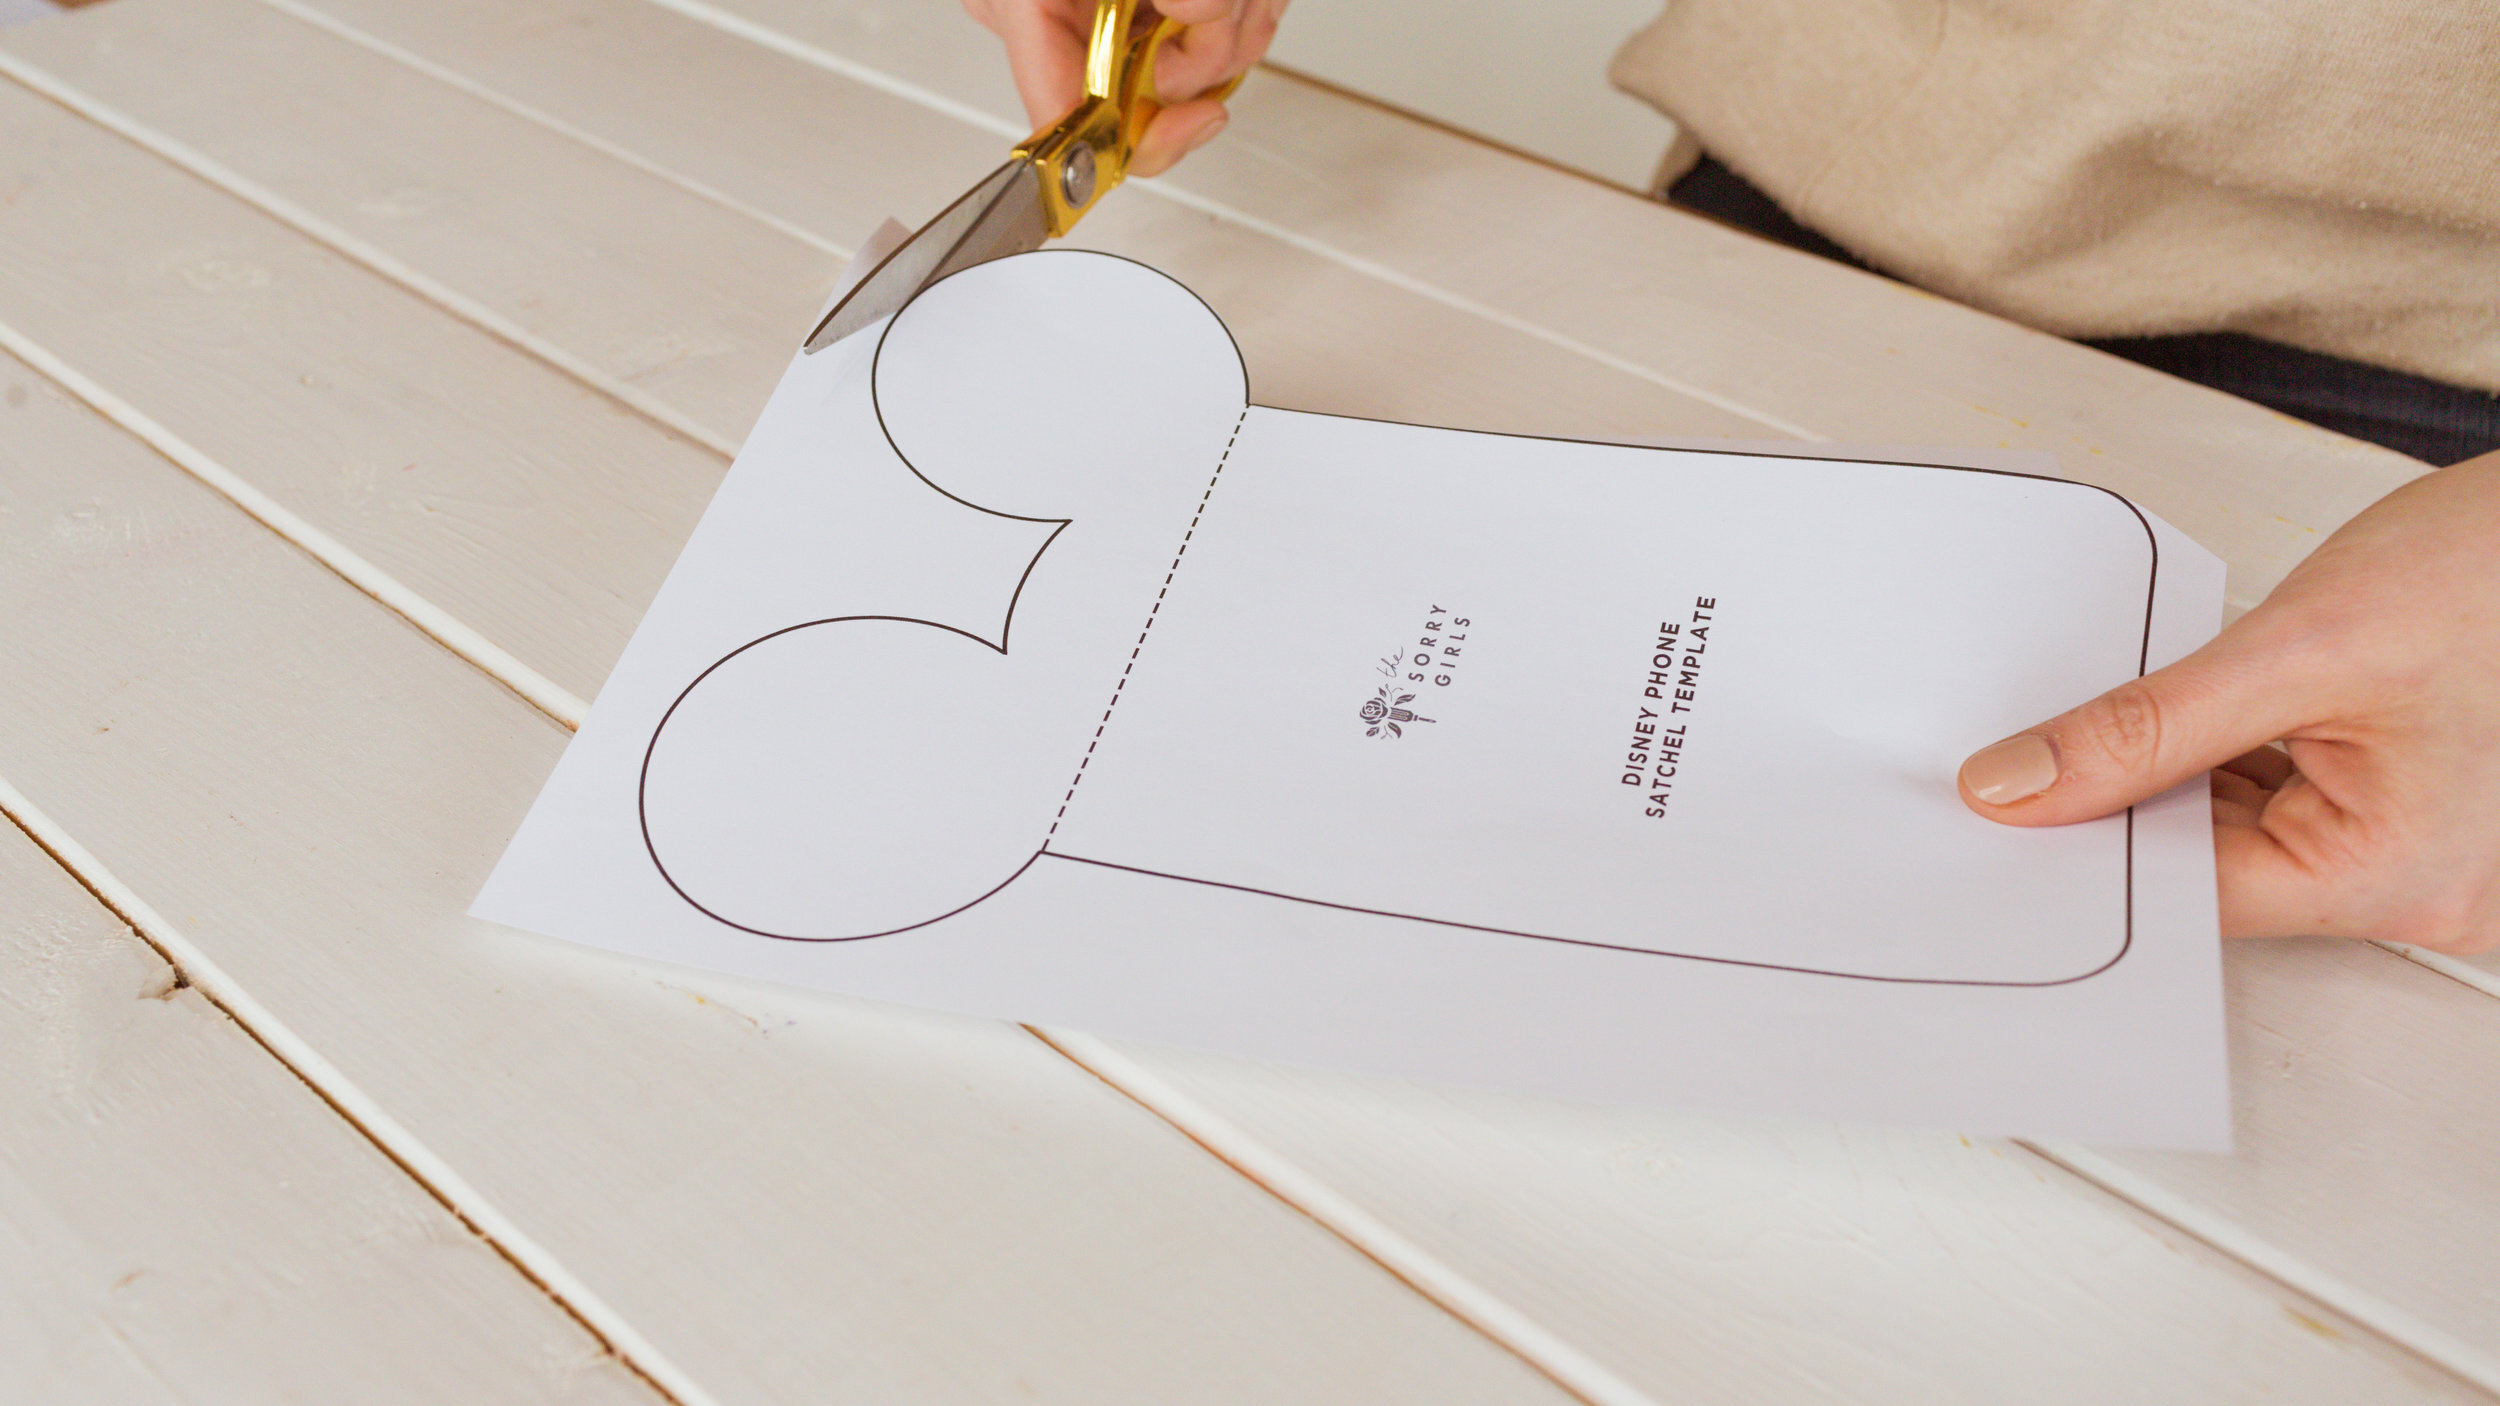
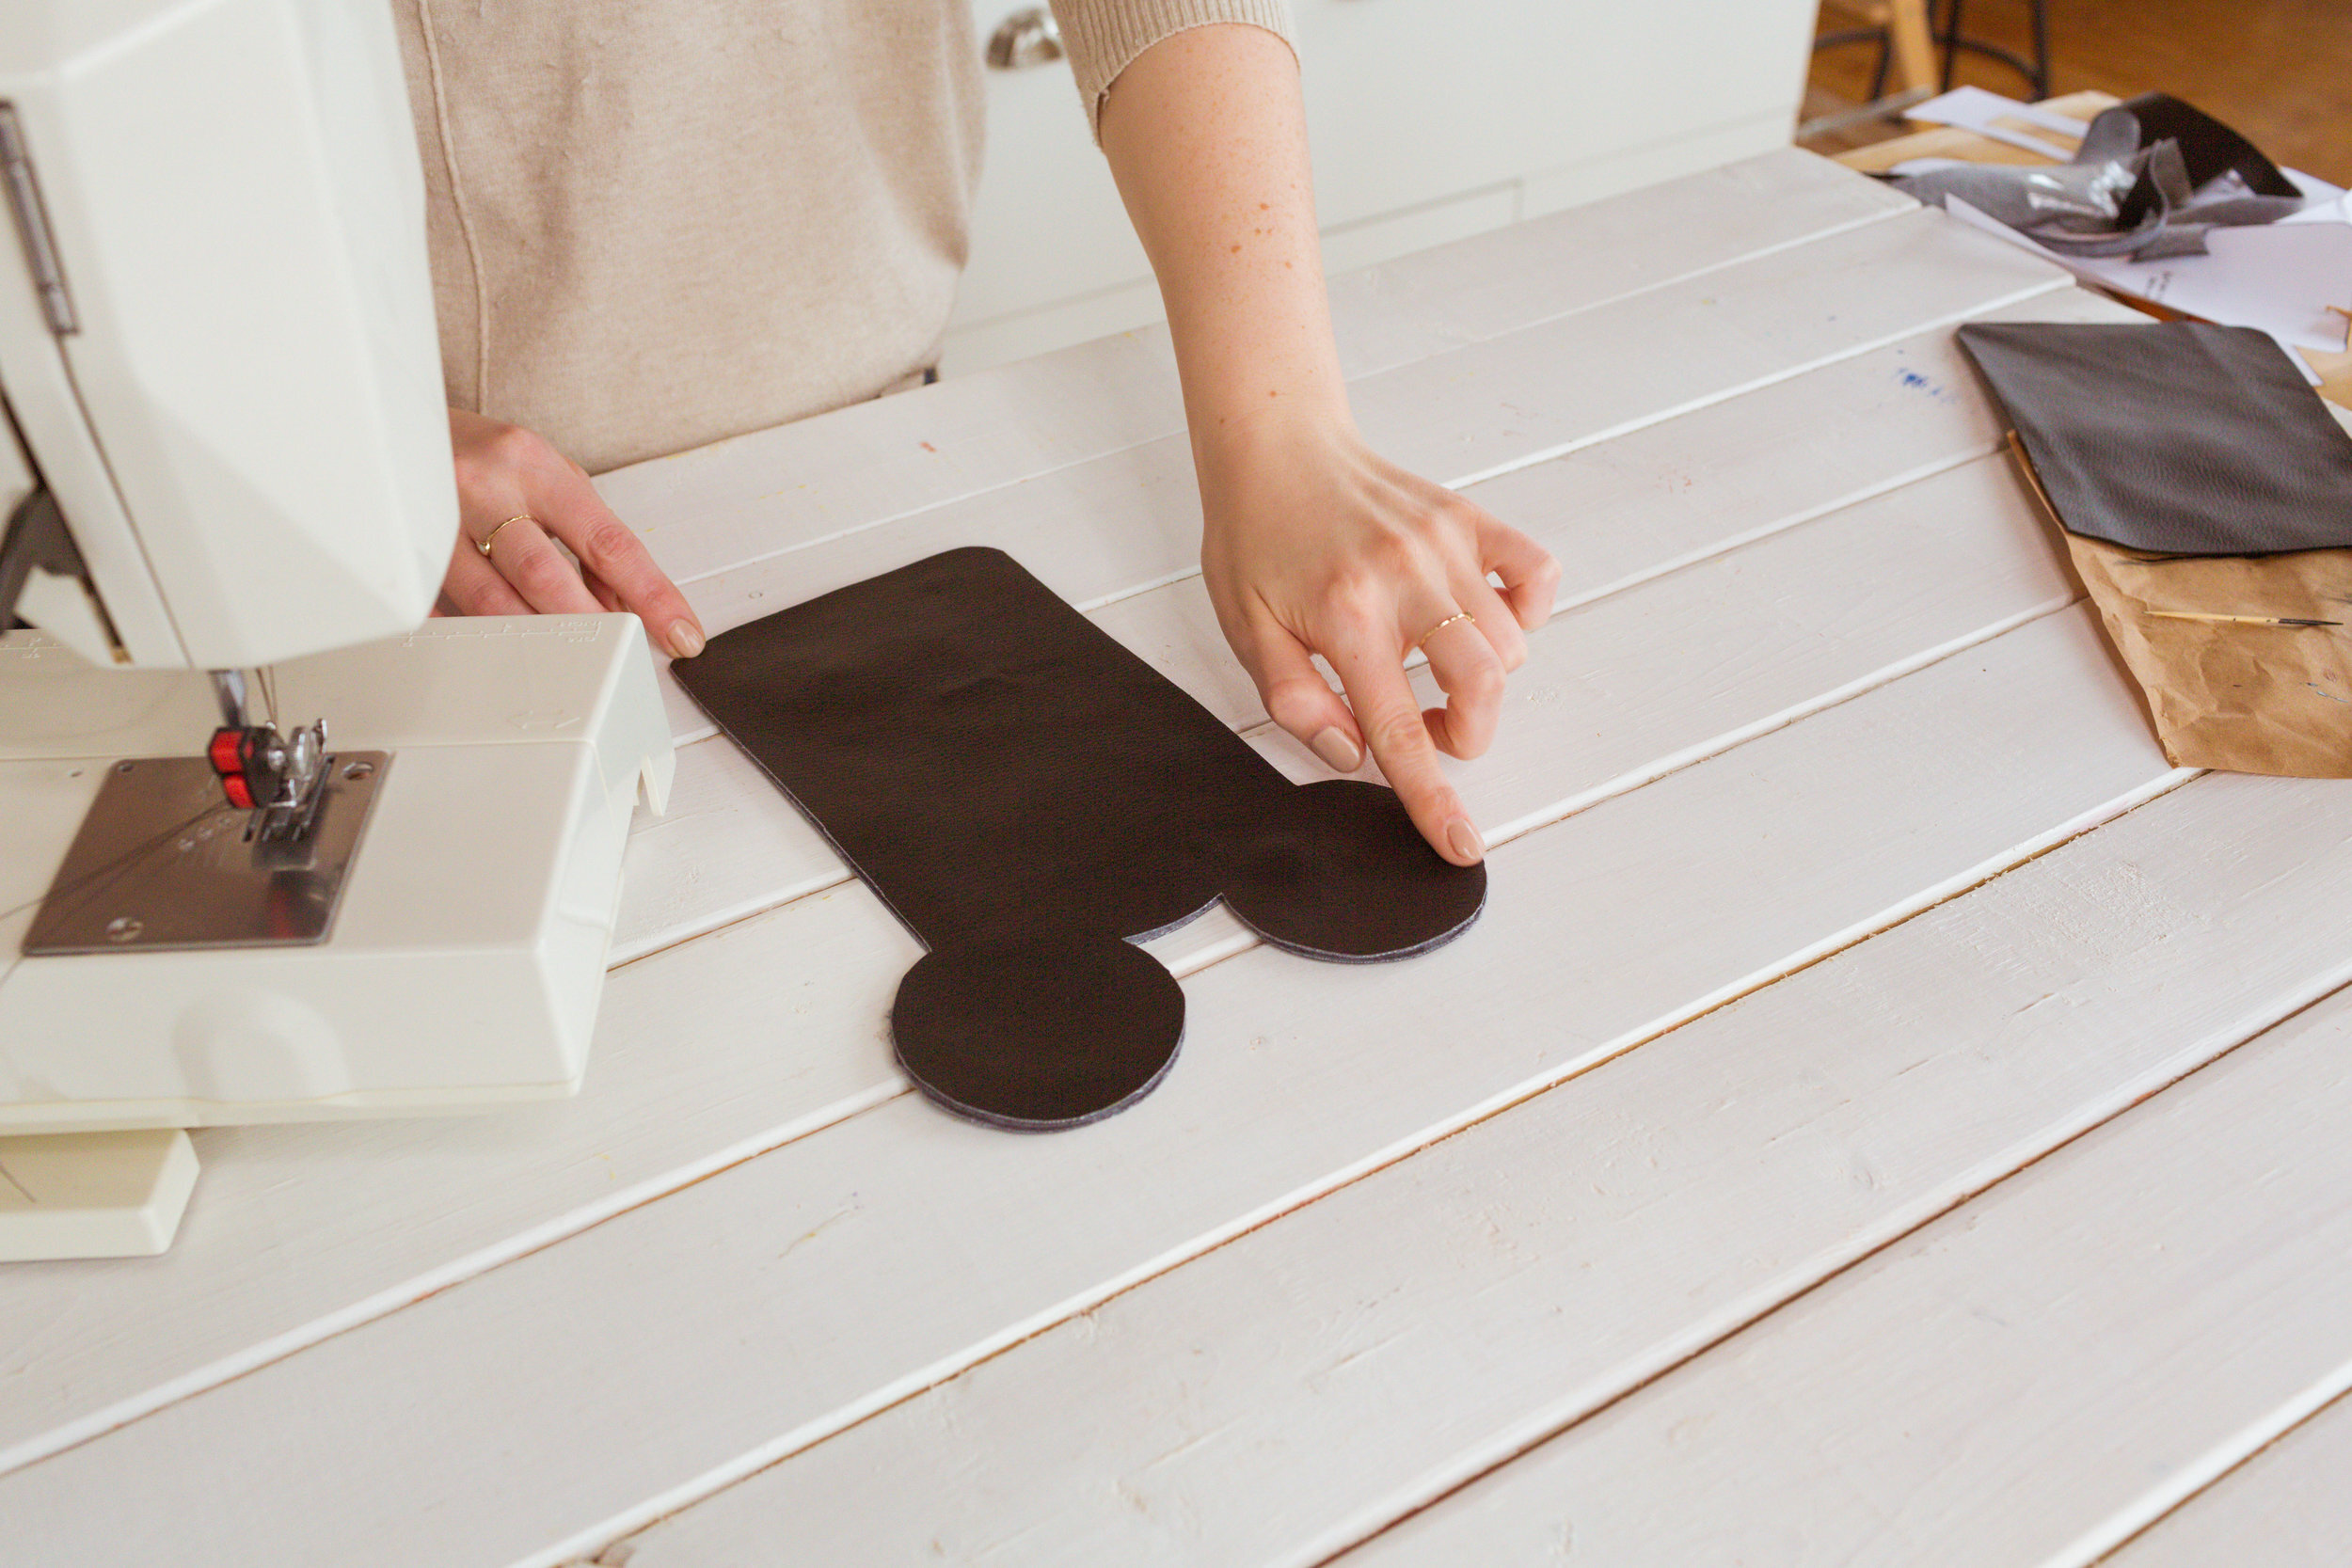
Start by printing and cutting out our paper template. Trace both paper templates onto the back of the faux leather. Trace two small rectangles and two of the Mickey ear templates. Next, cut along the dotted line on the template and trace out this new rectangular shape. Cut everything out. Use a thin paintbrush to add edge coat to all of the cut edges of your leather.

Next, take your two Mickey ear pieces and glue them together using some fabric glue - raw sides together. Next, grab your larger rectangular piece and place that on top of your Mickey ear pieces. Next, grab your small rectangular pieces and thread them through your D rings. Slide this fabric between your large rectangle and mickey ear piece and pin to hold all of these in place. Go ahead and sew all the way around the mickey ear pieces, holding everything in place. Once everything is sewn, trim the fabric along the seam to tidy things up. Go ahead and use edge coat on all of the raw edges.


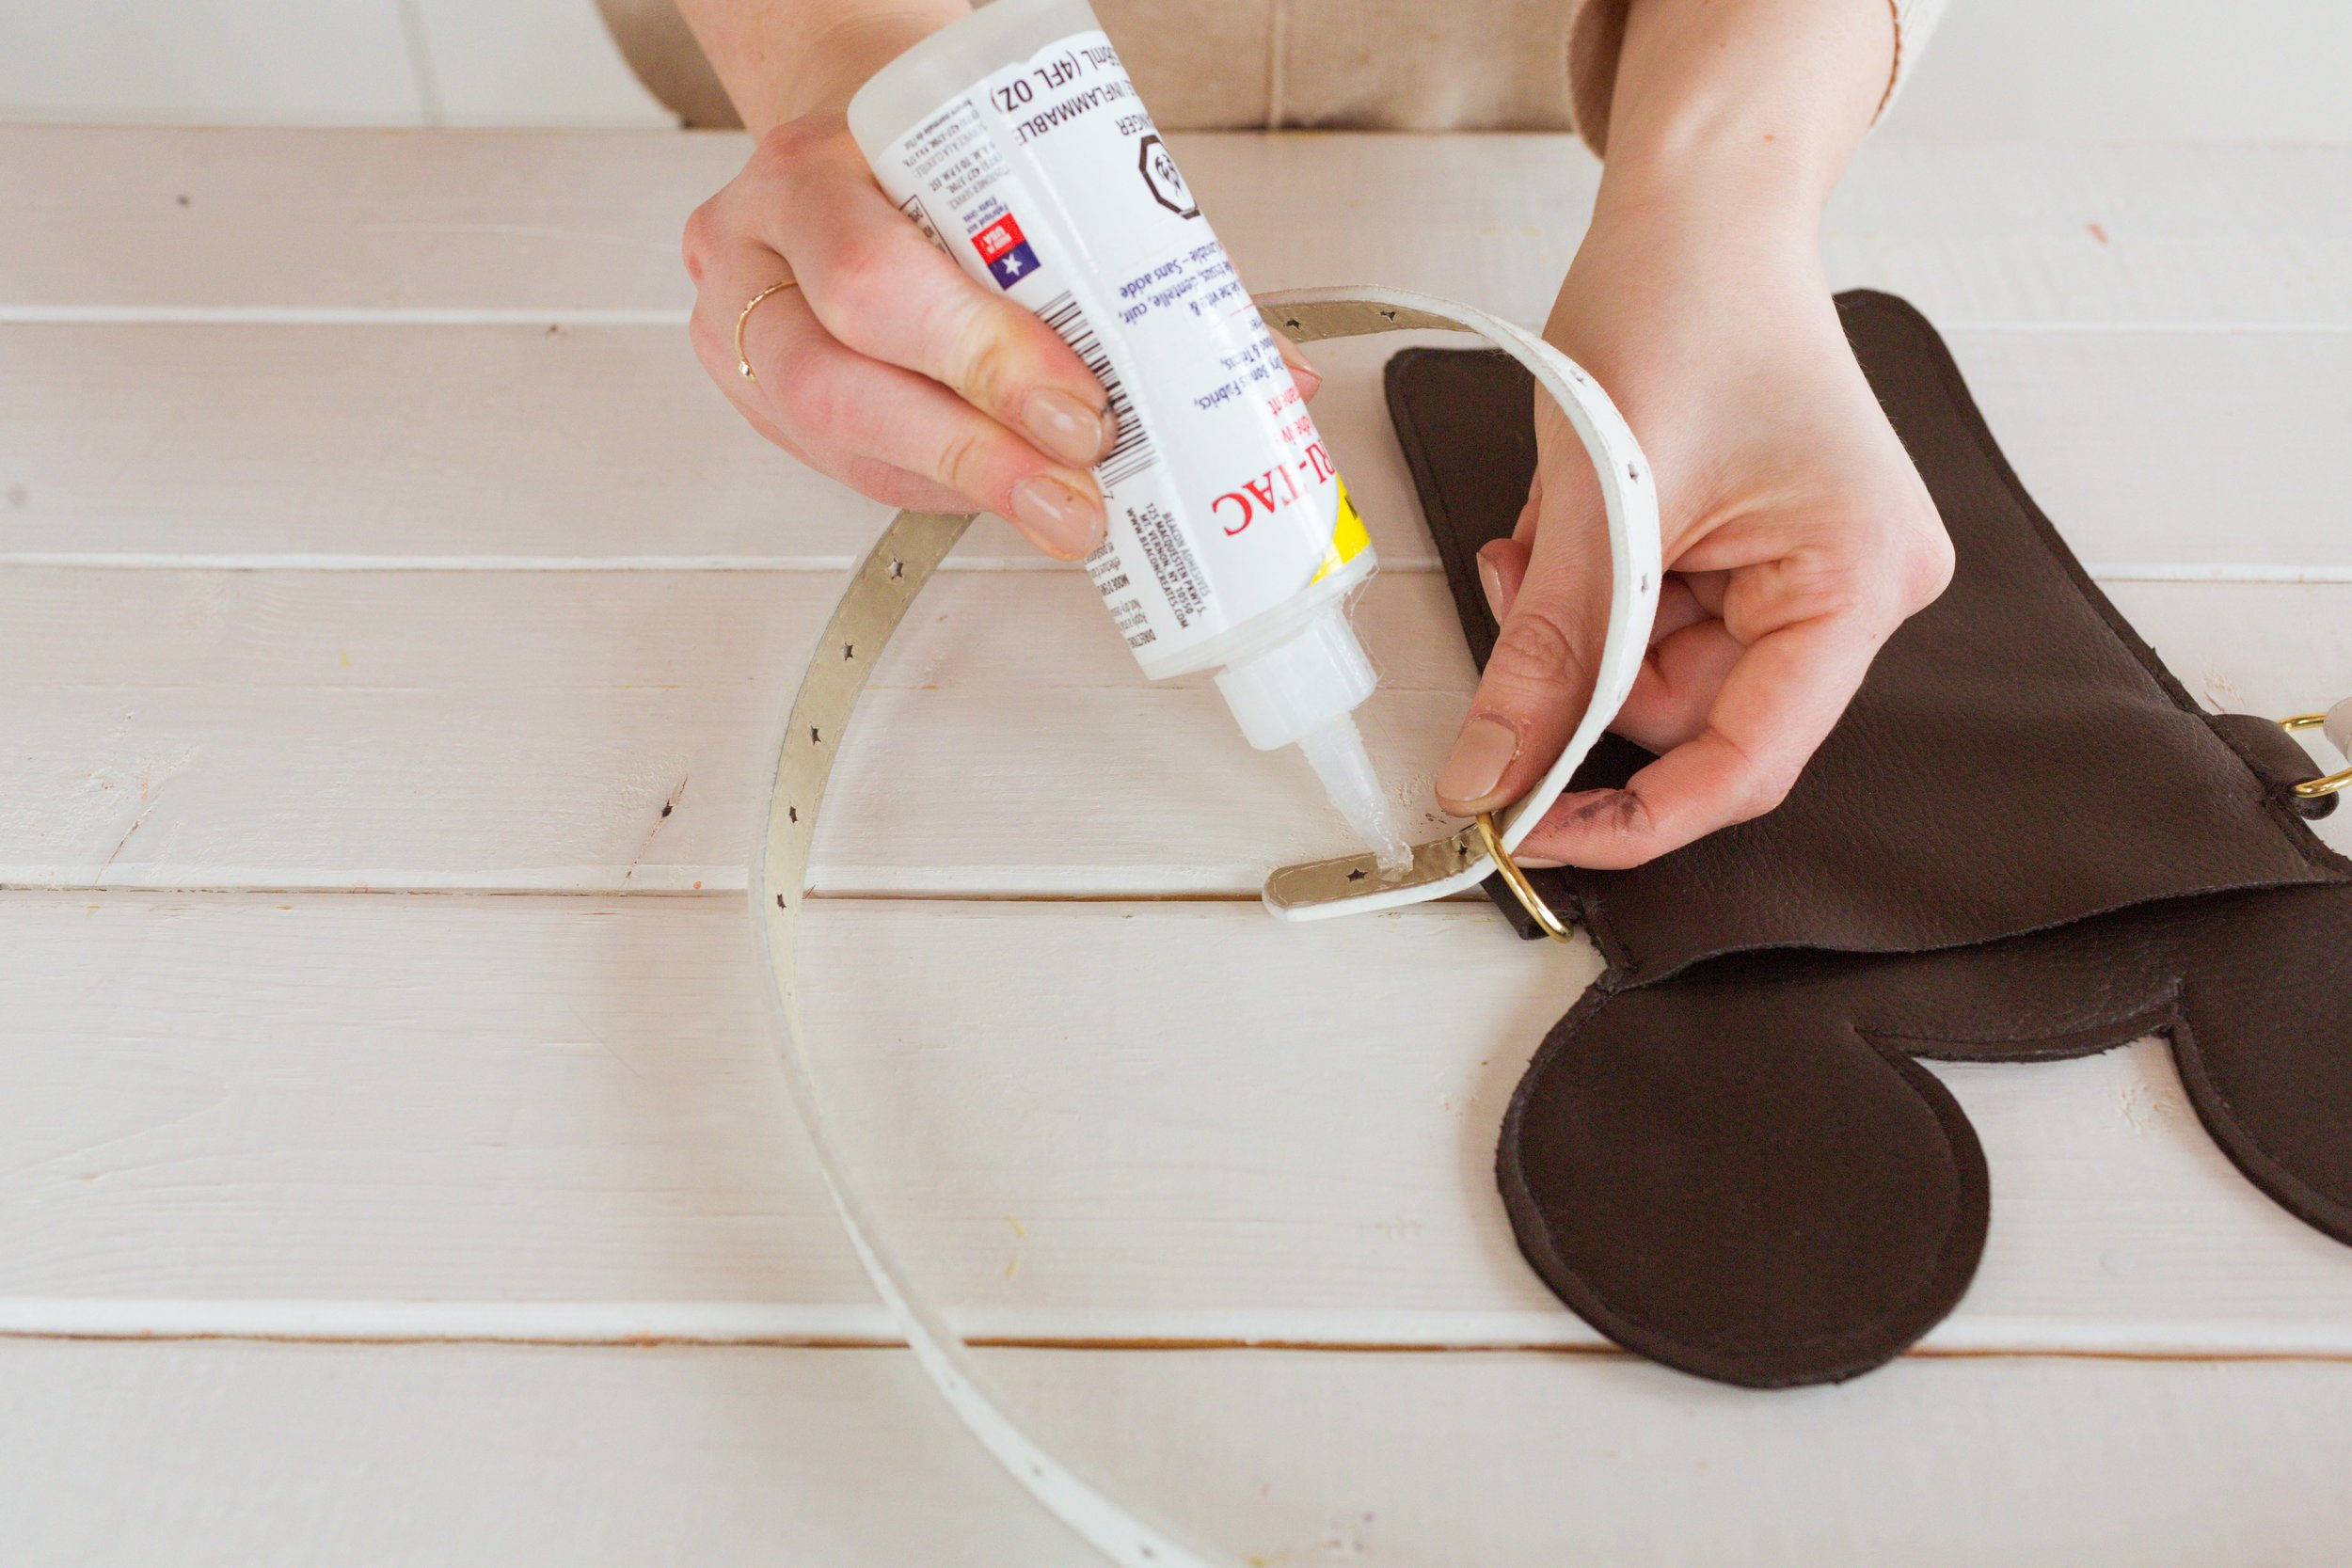
To finish this off, grab your thrifted belt and cut off the buckle ends. Wrap the belt around the D rings and fabric glue the belt into place around the ring. We used a binder clip to hold everything in place while it dries.

And that’s it! Time to go to the park!

DIY FLORAL MICKEY EARS
WHAT YOU’LL NEED…
Floral foam circle (the non-crumbly kind)
A headband
Exacto knife
Faux flowers
Hot glue gun
Start by cutting your floral foam in half using an exacto knife, making the circle thinner. Use a marker to mark where your headband will sit against the floral foam and cut this small semi-circle out using your exacto knife.


Next, use hot glue to attach your faux flowers to the floral foam. Once you are satisfied, go ahead and hot glue the floral foam to the headband and you’re done!


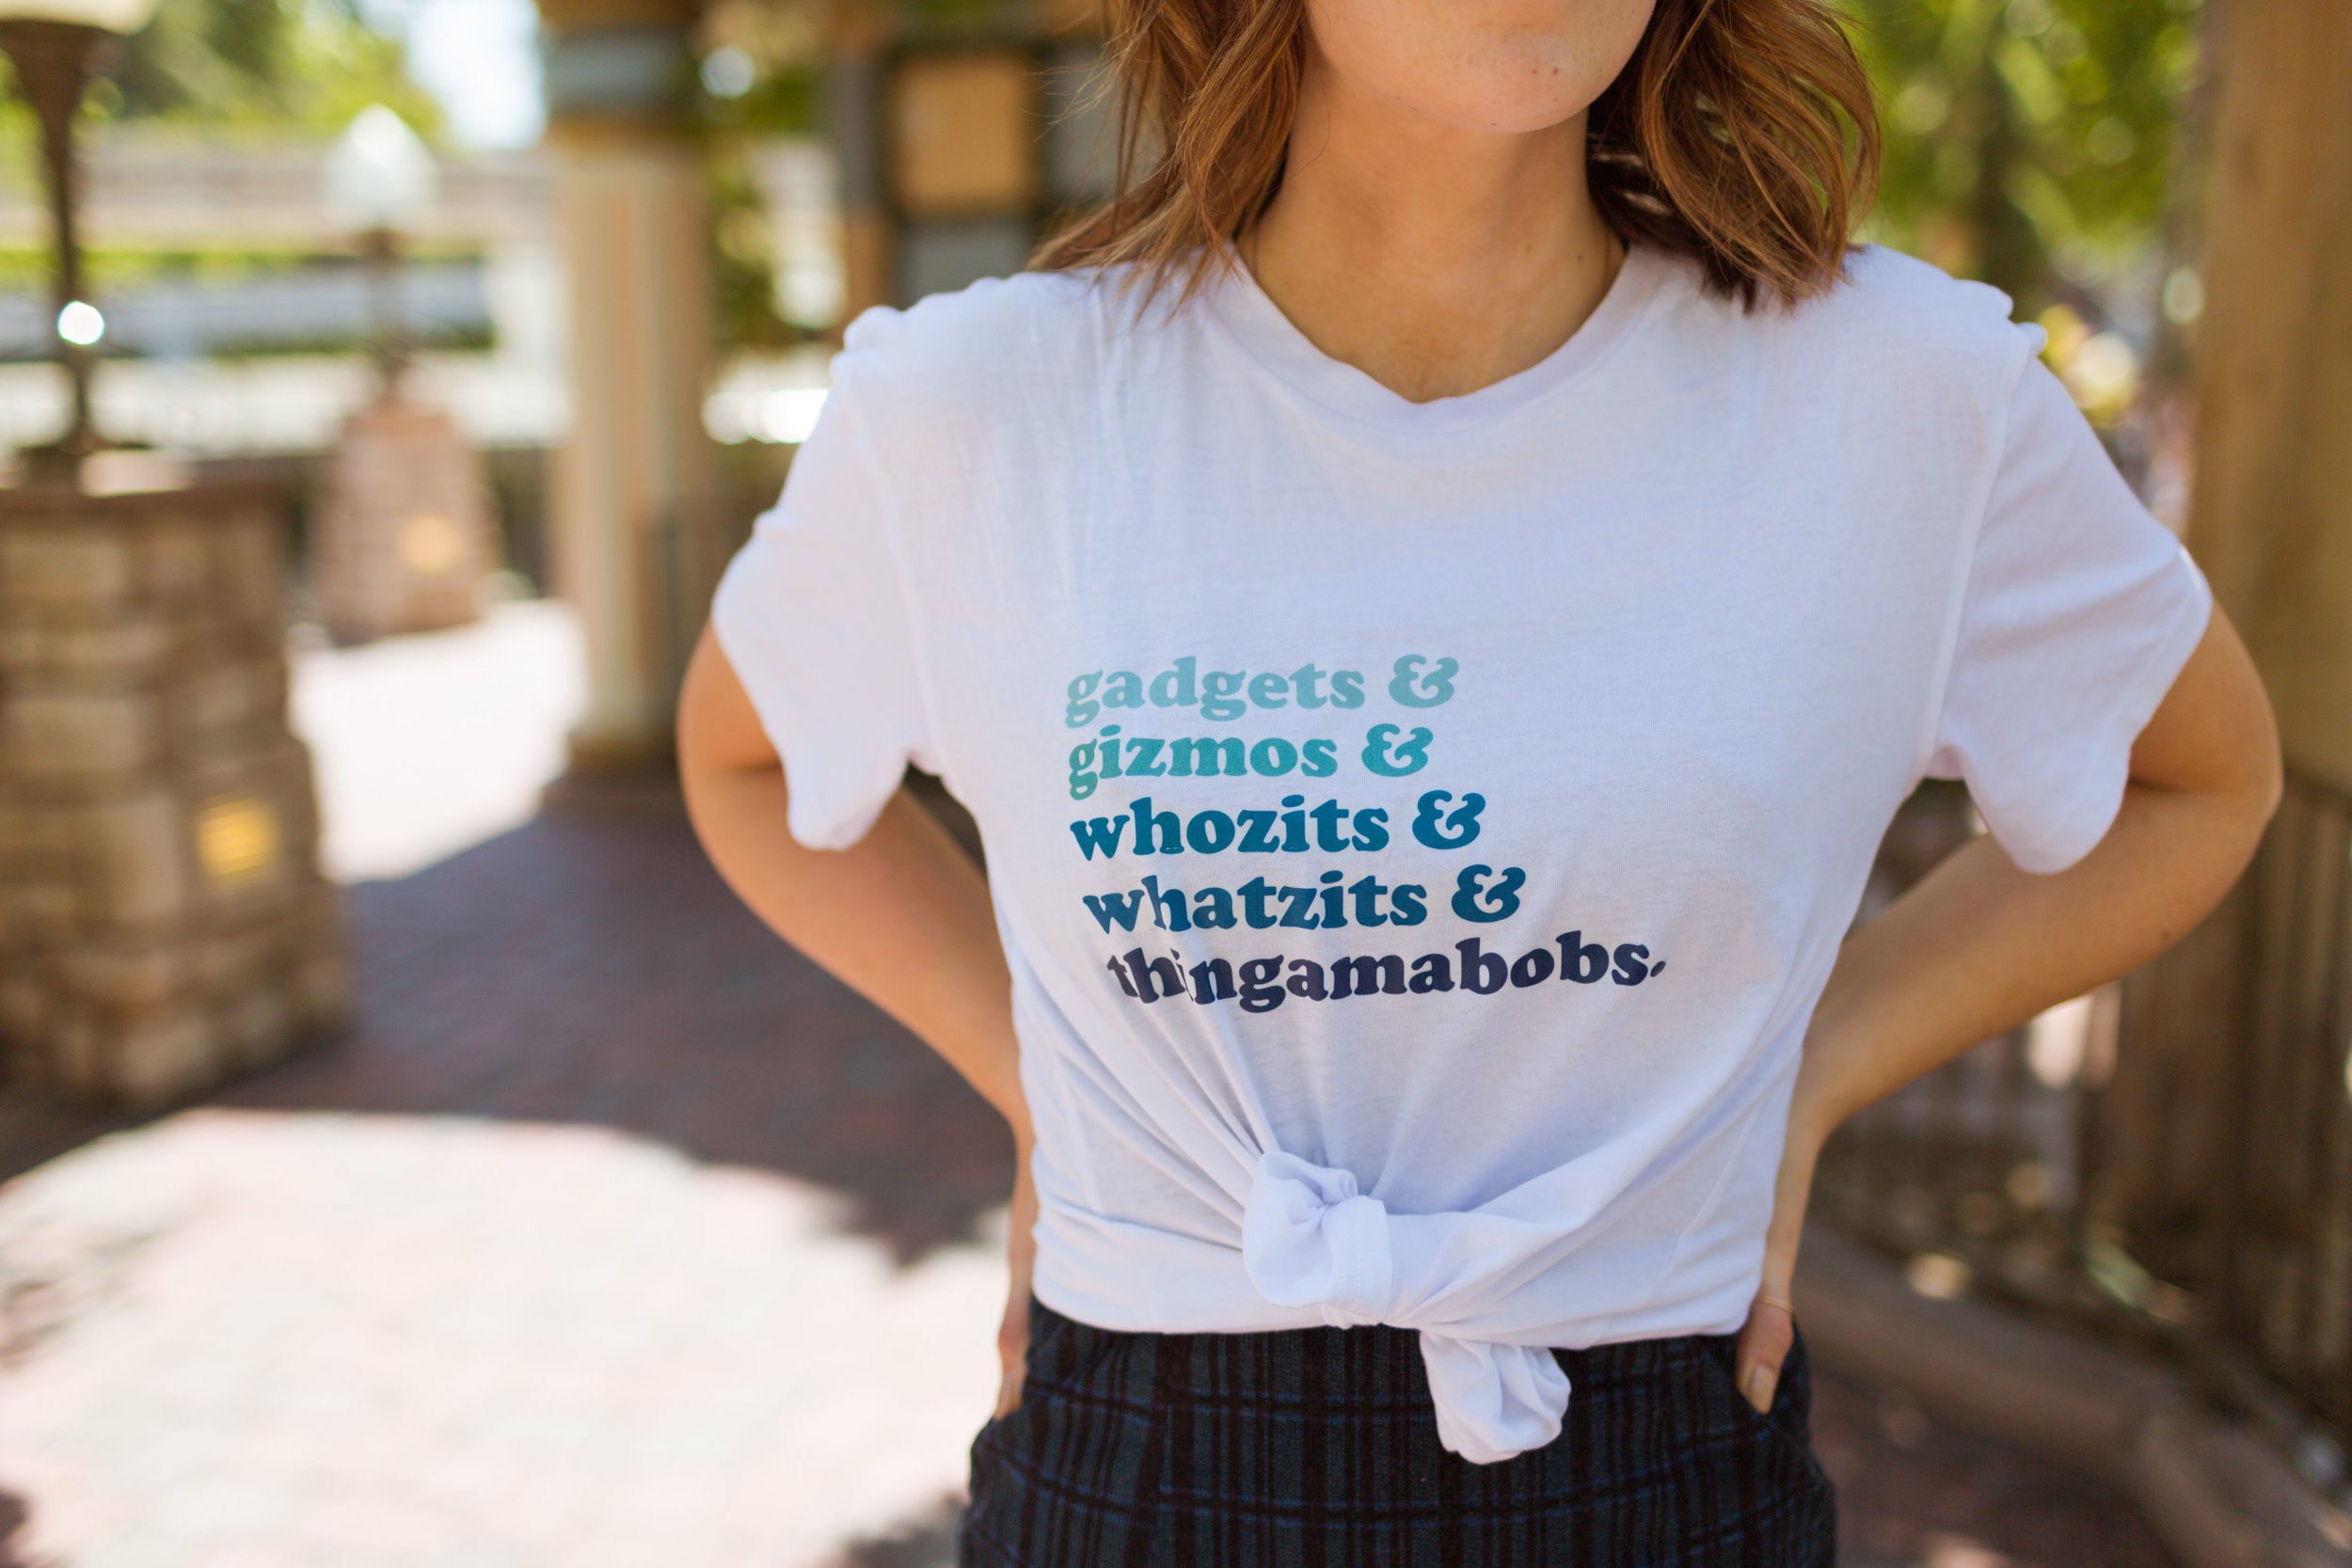
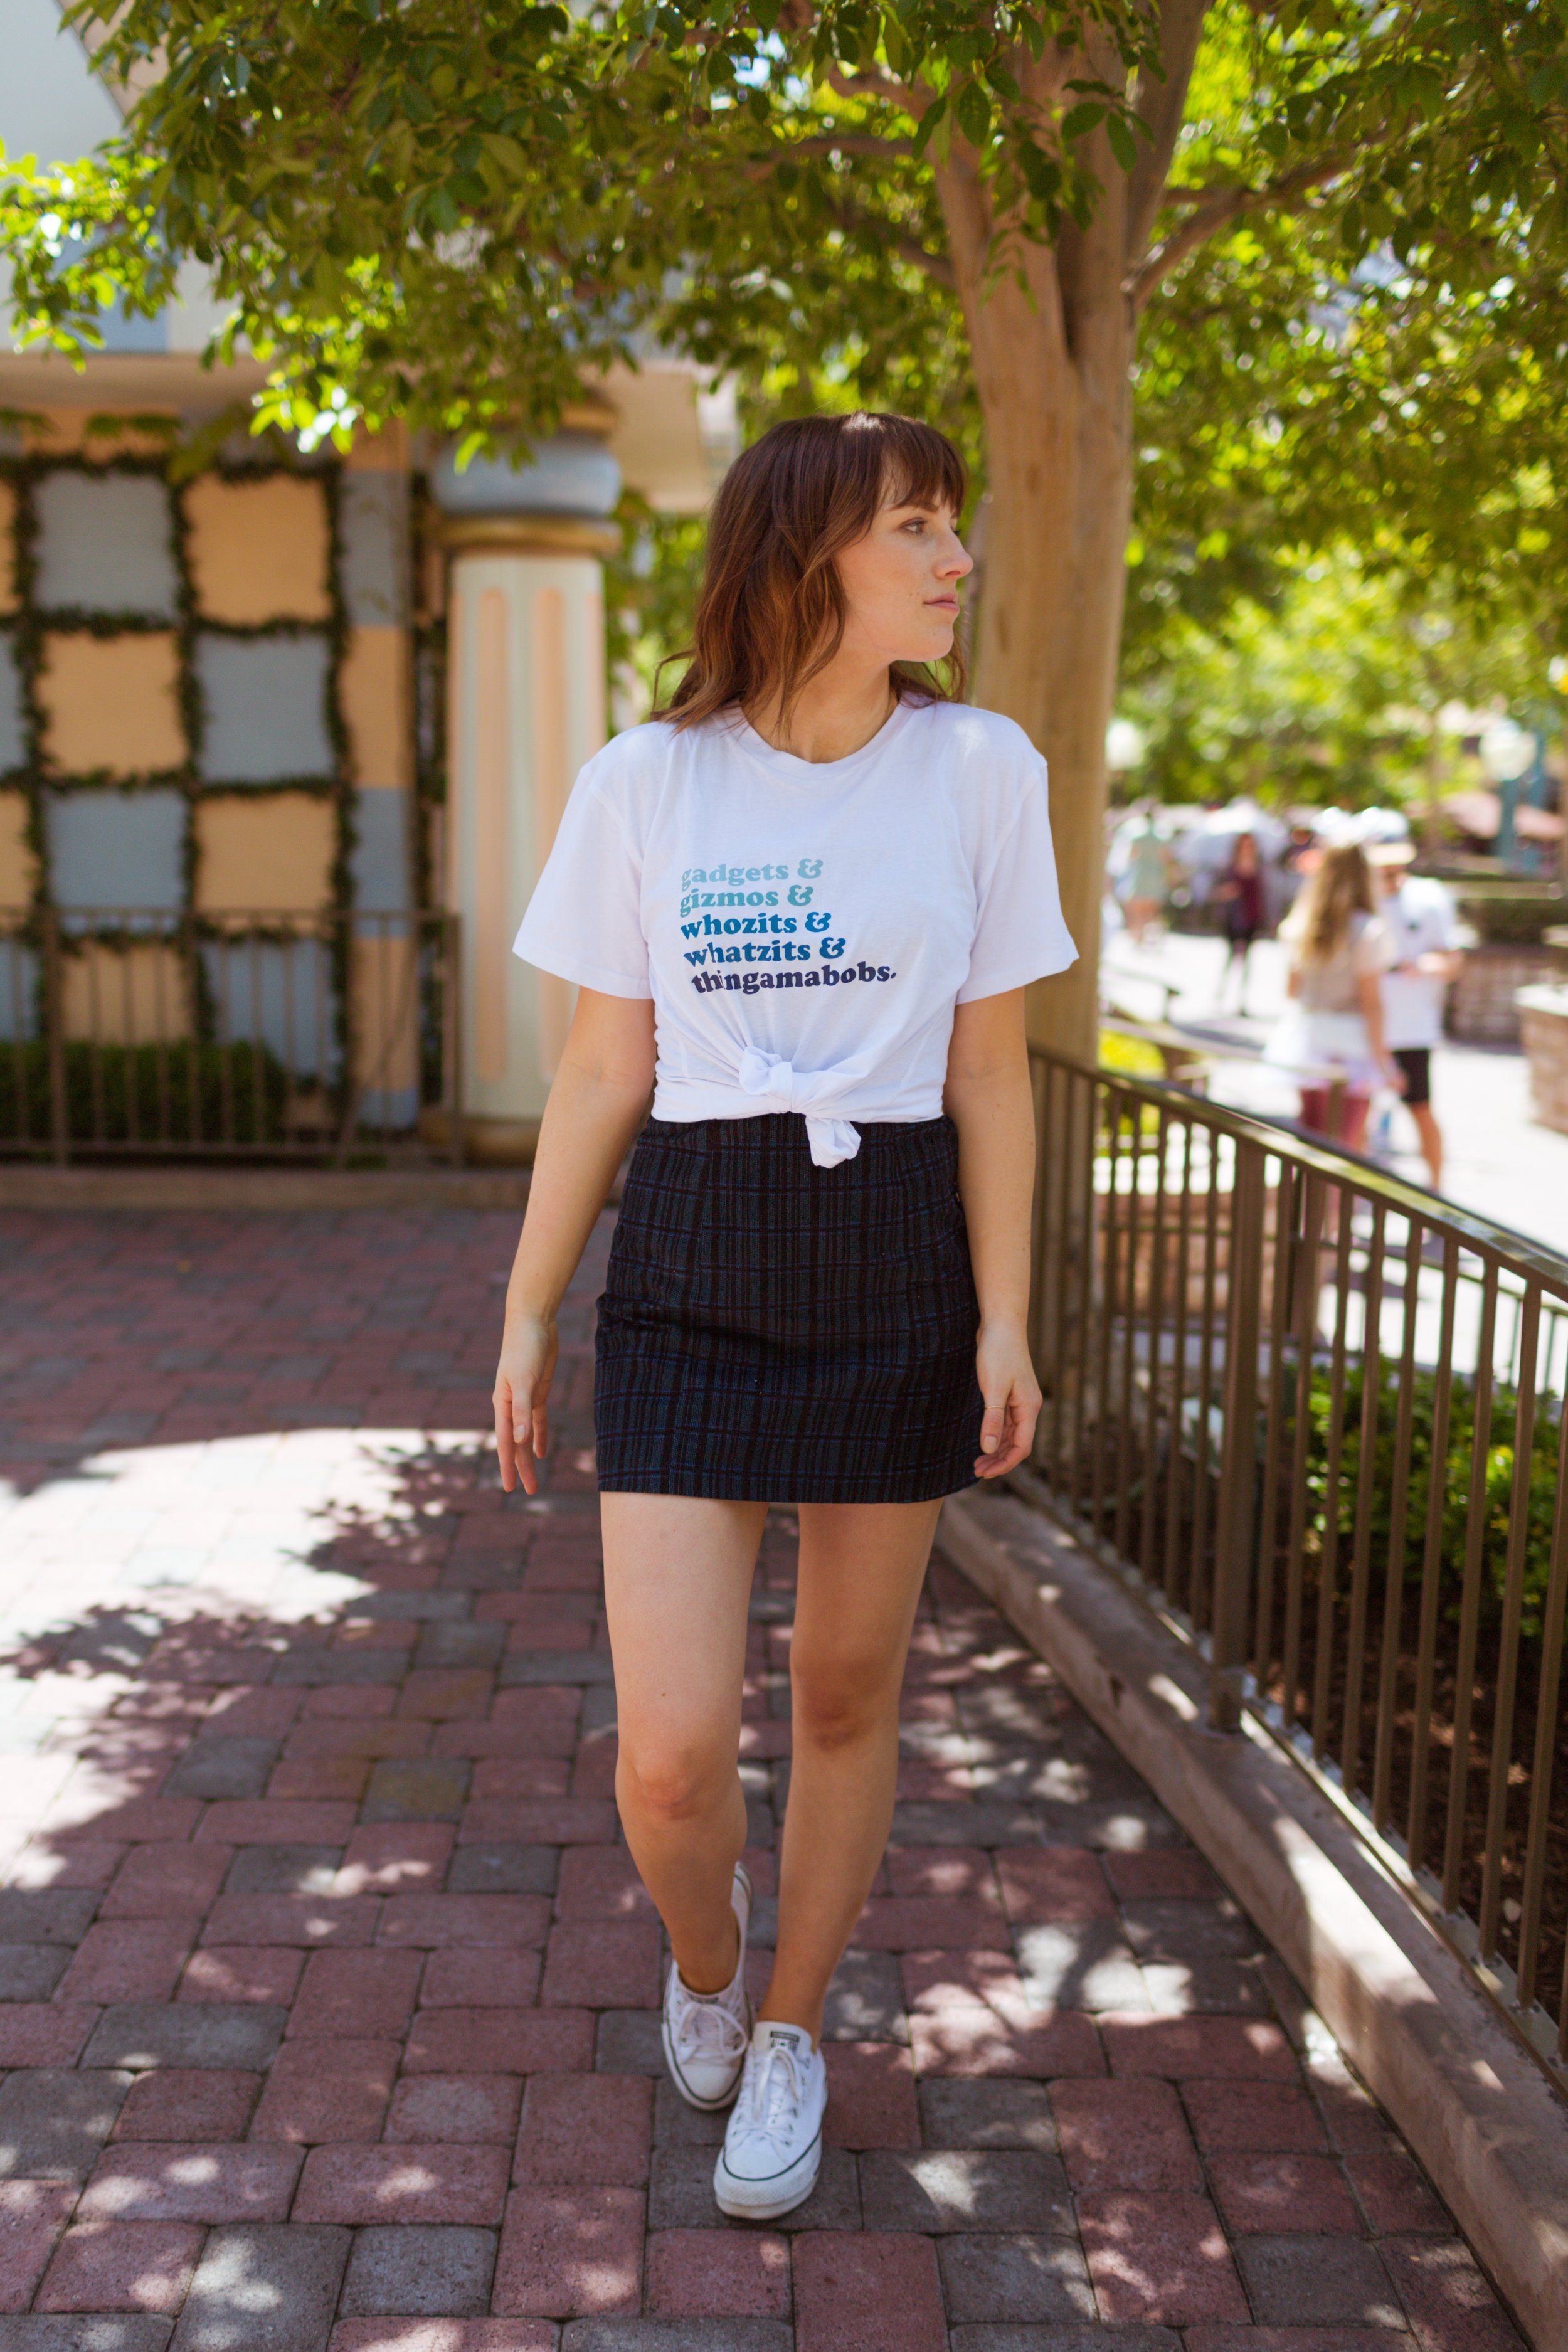
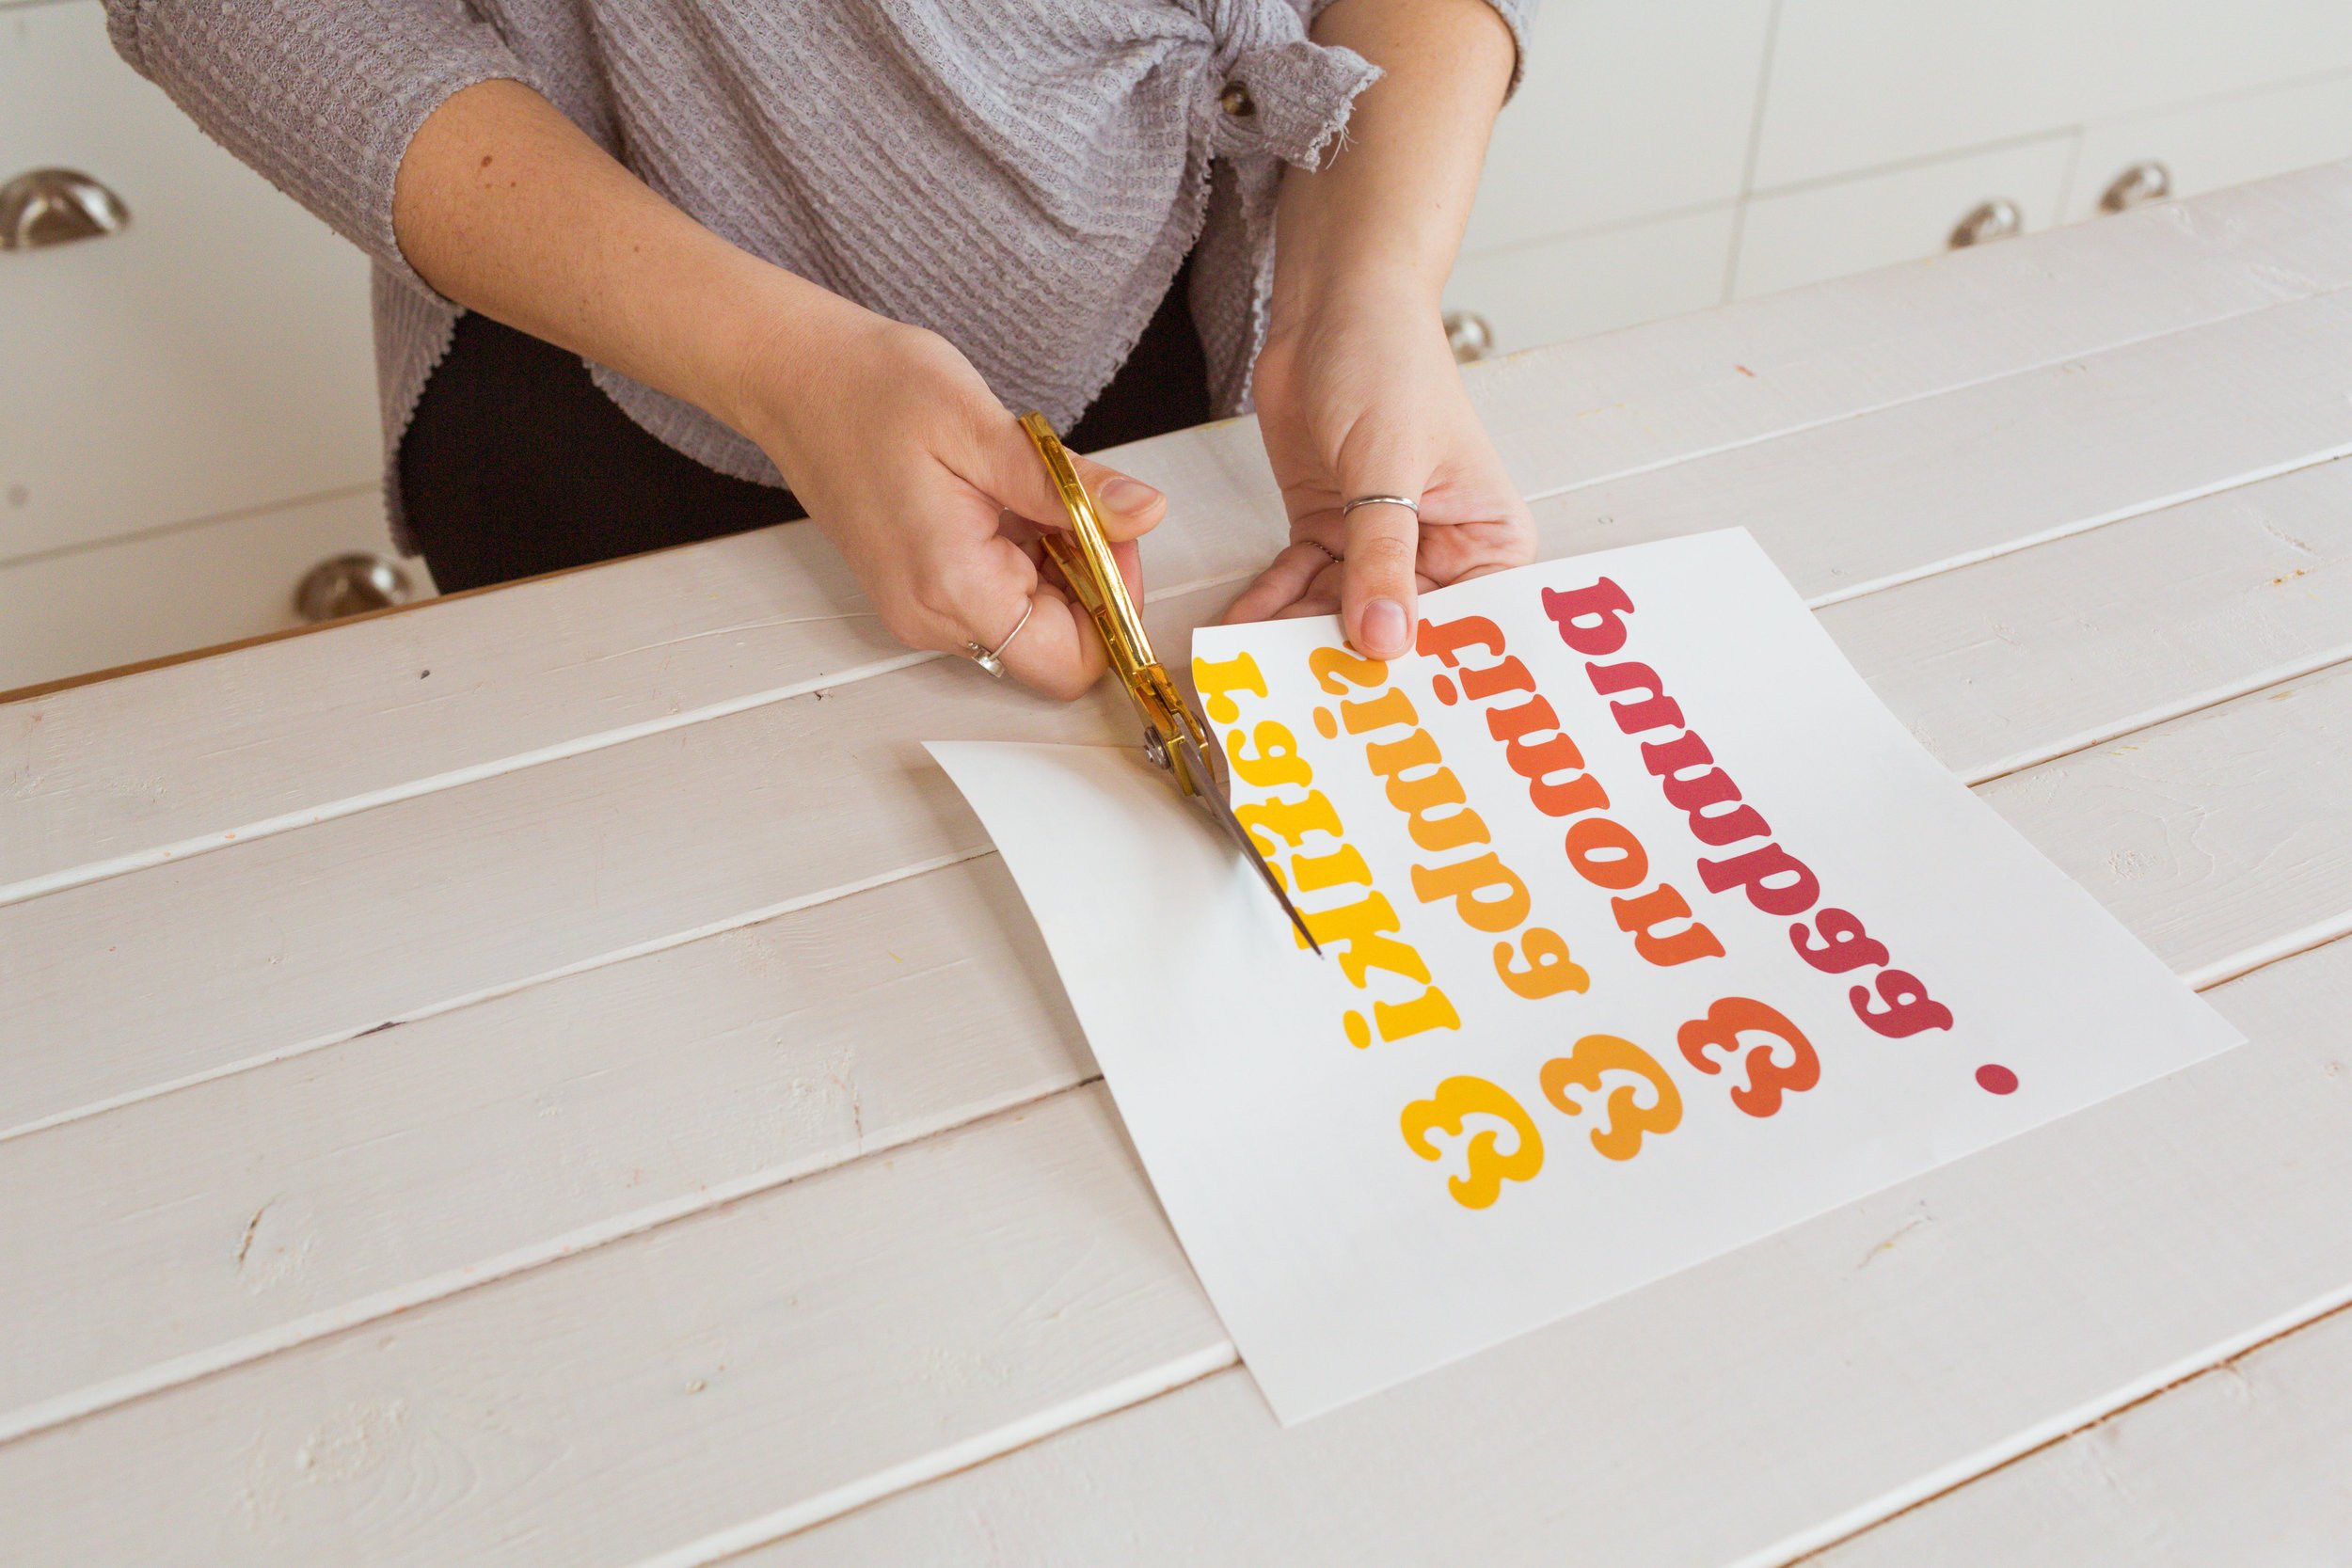
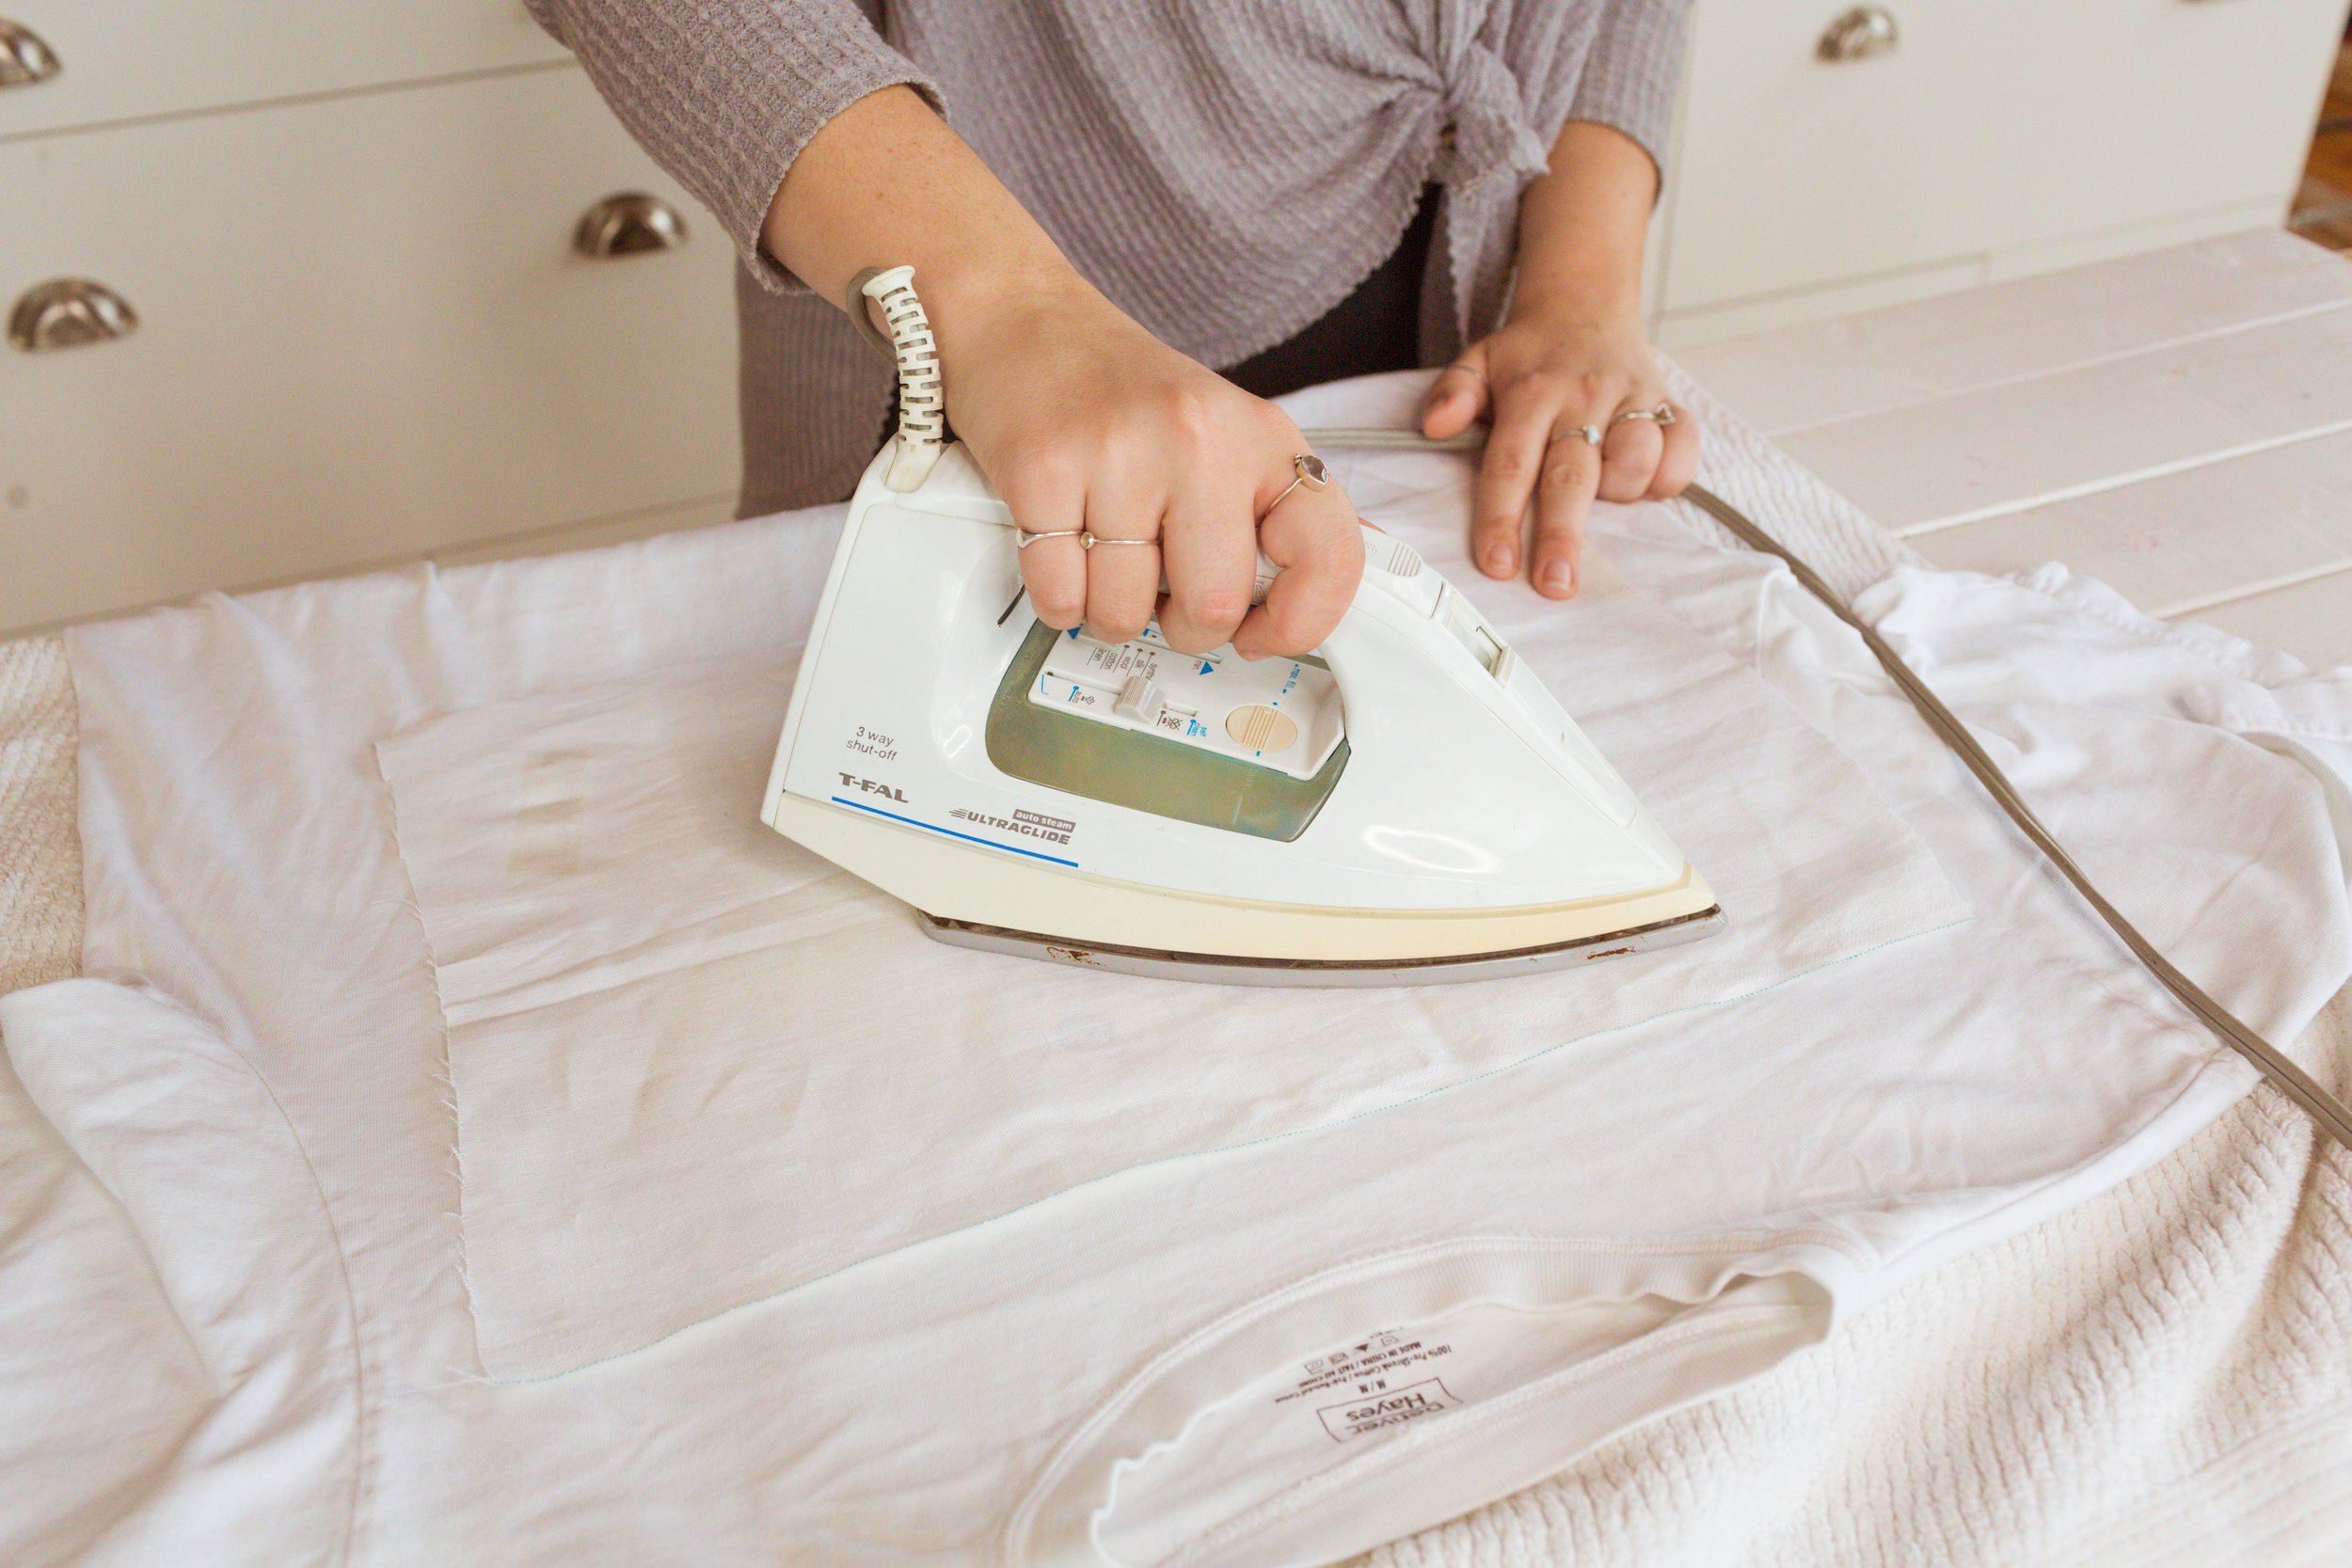
Start by downloading our photoshop template and adding whatever Disney related characters, words, or phrases you prefer! Next, print your design onto your iron on transfer sheets. Time to cut out the design. Try and cut as closely to the design as possible. Next, follow the package directions for iron instructions!

Style and enjoy!