Thrift Flip - Ugly Item Challenge!
For today’s thrift store challenge, we got inspired by a video that Ashley (BestDressed on YouTube) put out where her and her friend went to the thrift store, chose ugly pieces for each other, and had to style those ugly outfits in a wearable way! We loved this idea, but decided to add an extra element where we would DIY with the items chosen, and then style them with other thrift store items!
KELSEY’S CHEETAH PRINT SKIRT
Kelsey started with this longer cheetah print skirt that was a little to big for her. She decided that she would transform this longer skirt into a cute mini skirt! She started by trying on the skirt, and marking where she’s like the skirt taken in and cropped at the bottom. She then took the skirt off, hemmed up the sides, and trimmed any excess fabric off.
Next, she trimmed the bottom of the skirt right where the slits ended, folded over the edges, and hemmed everything in place. Make sure to leave a bit extra fabric at the back of your skirt to make sure your skirt isn’t too short in the back!
Once everything was hemmed up, the skirt was done! She paired the skirt with an adorable coral chunky sweater, some sheer tights, a black backpack, and an adorable top knot!
BECKY’S FRILLY DRESS
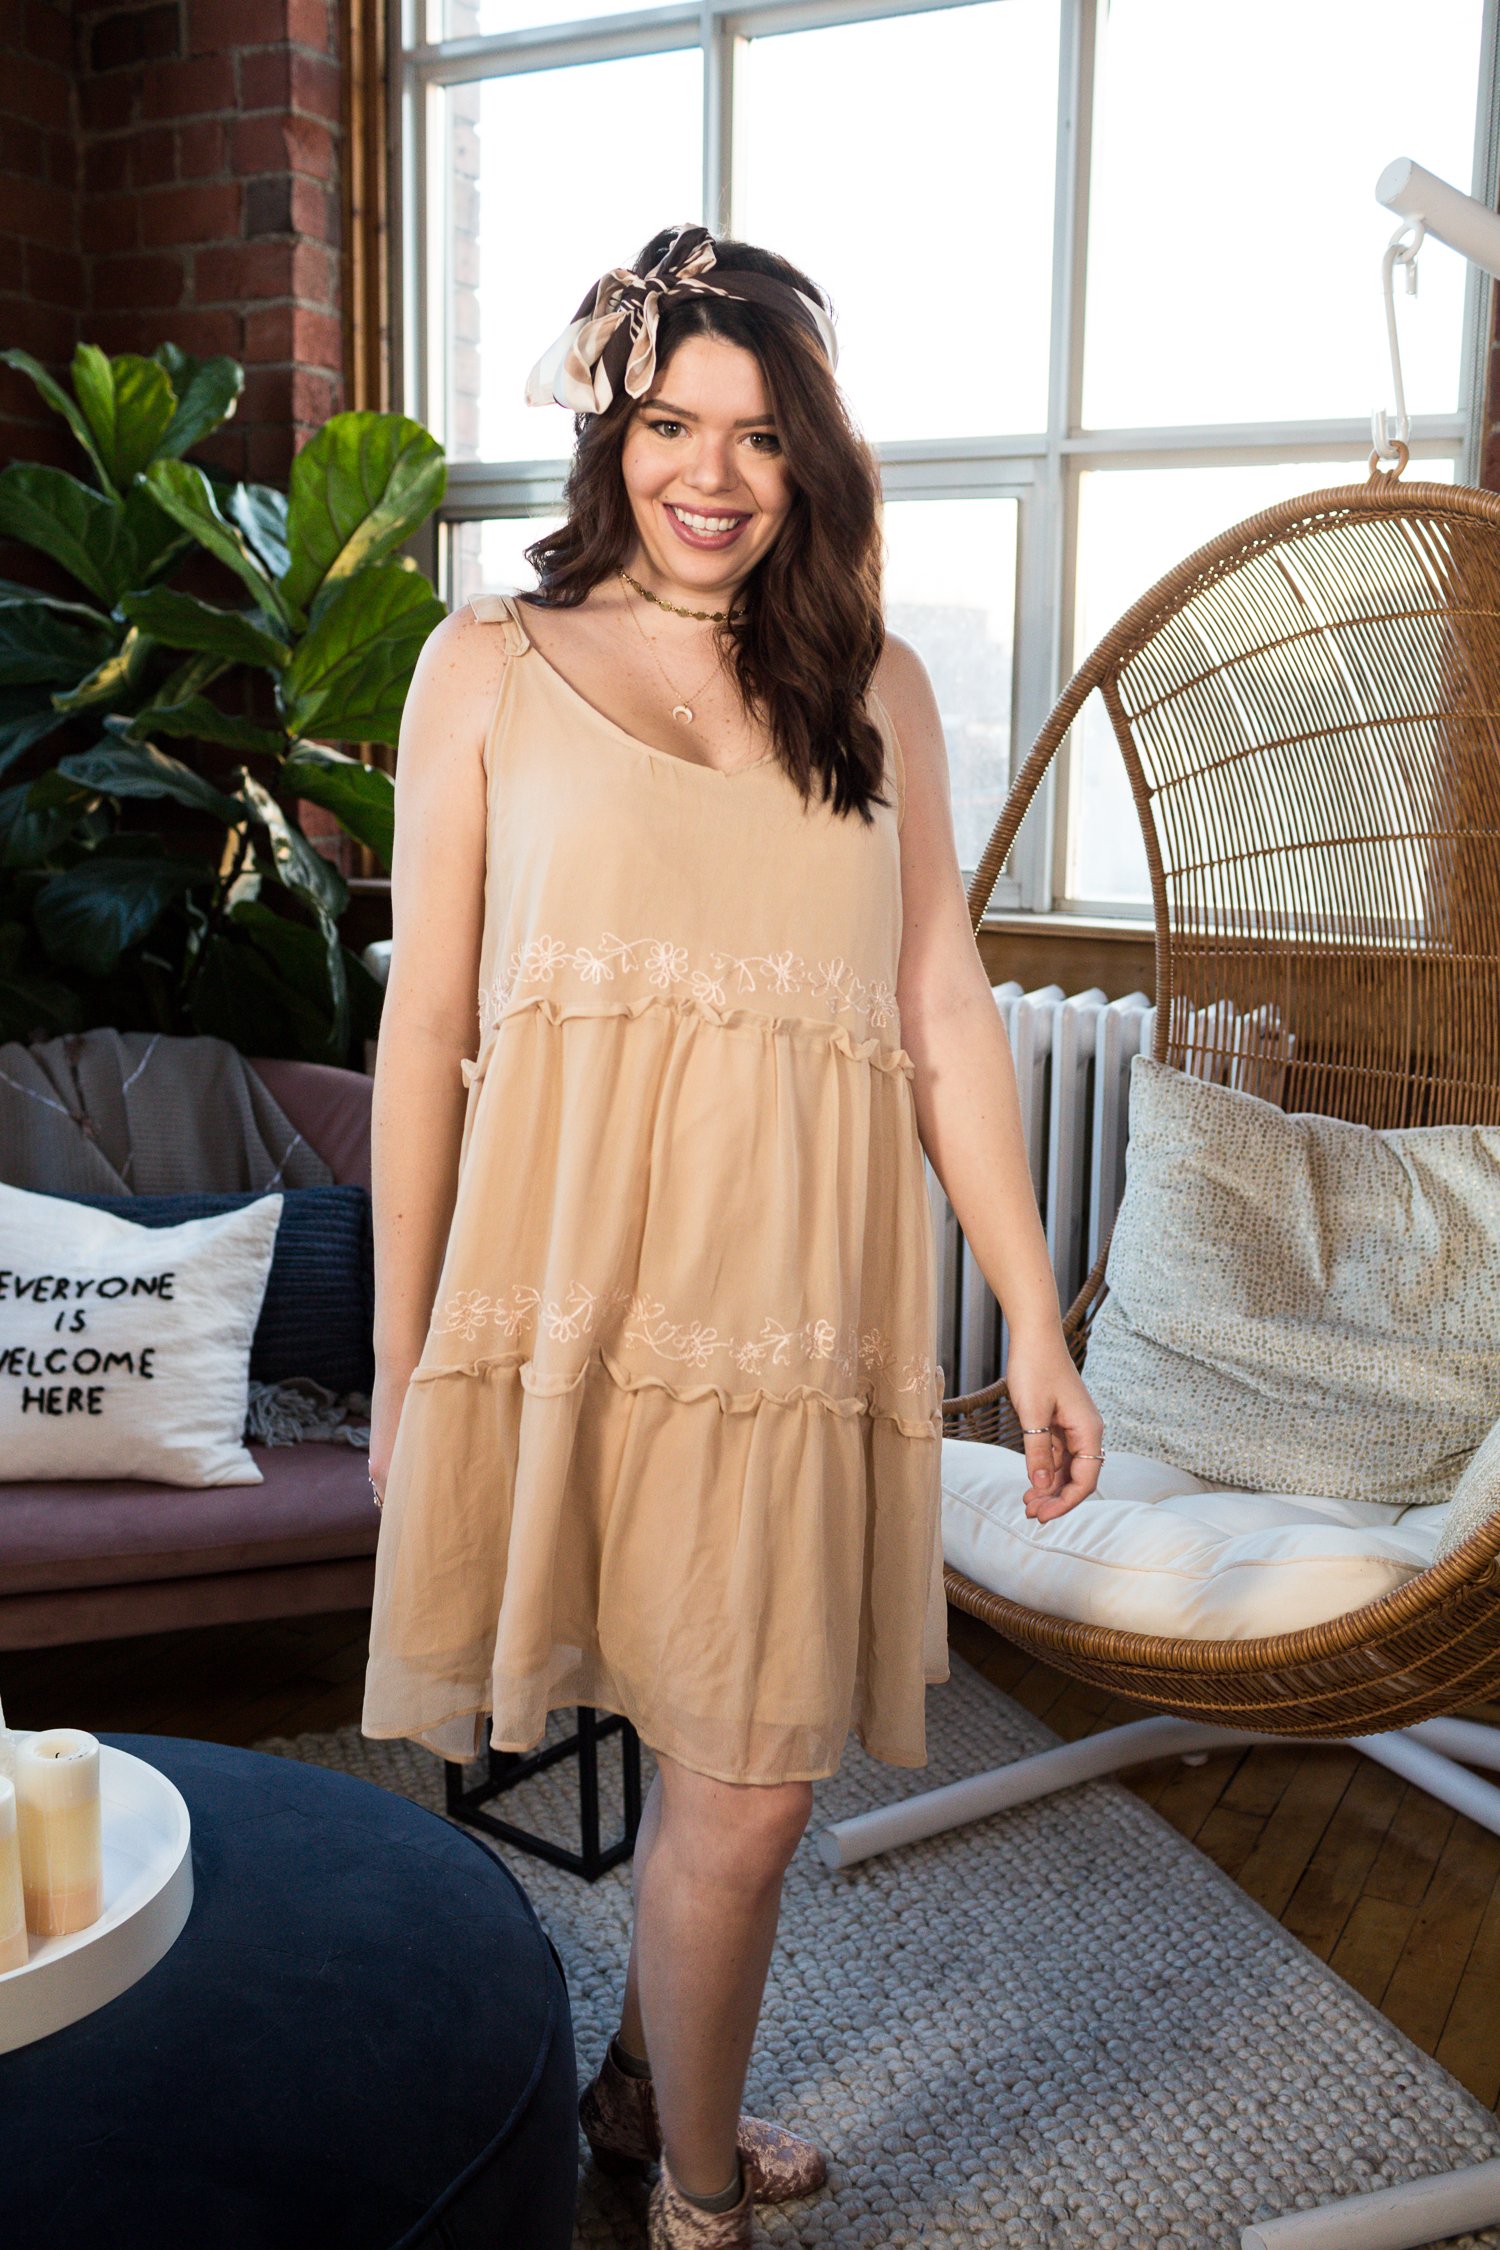
The plan here is to turn this super long tiered dress into a shorter slip/baby doll dress. She went ahead and cut off the top of the dress right under the under arm. Next, she just went ahead and pinned the top of the dress in an ‘M’ shape. This ‘M’ shape is going to be on the front and the back, so she went ahead and pinned and cut through both layers. Then, she separated the front and back layers, and pinned and hemmed the edges of the cut ‘M’ shape.
The final step is to add some straps! The back of the old dress had some ties, so she went ahead and cut the ties from the back of the old dress, and used them to create two ties to act as the straps of the dress! She simply cut and hemmed the straps, attached them to the front and back of the dress using a hand stitch, and tied them in place!
Becky styled this dress with some round sunglasses, a super cute headscarf, a gold chocker necklace, and these adorable pink velvet booties.
KELSEY’S PHASES OF THE MOON
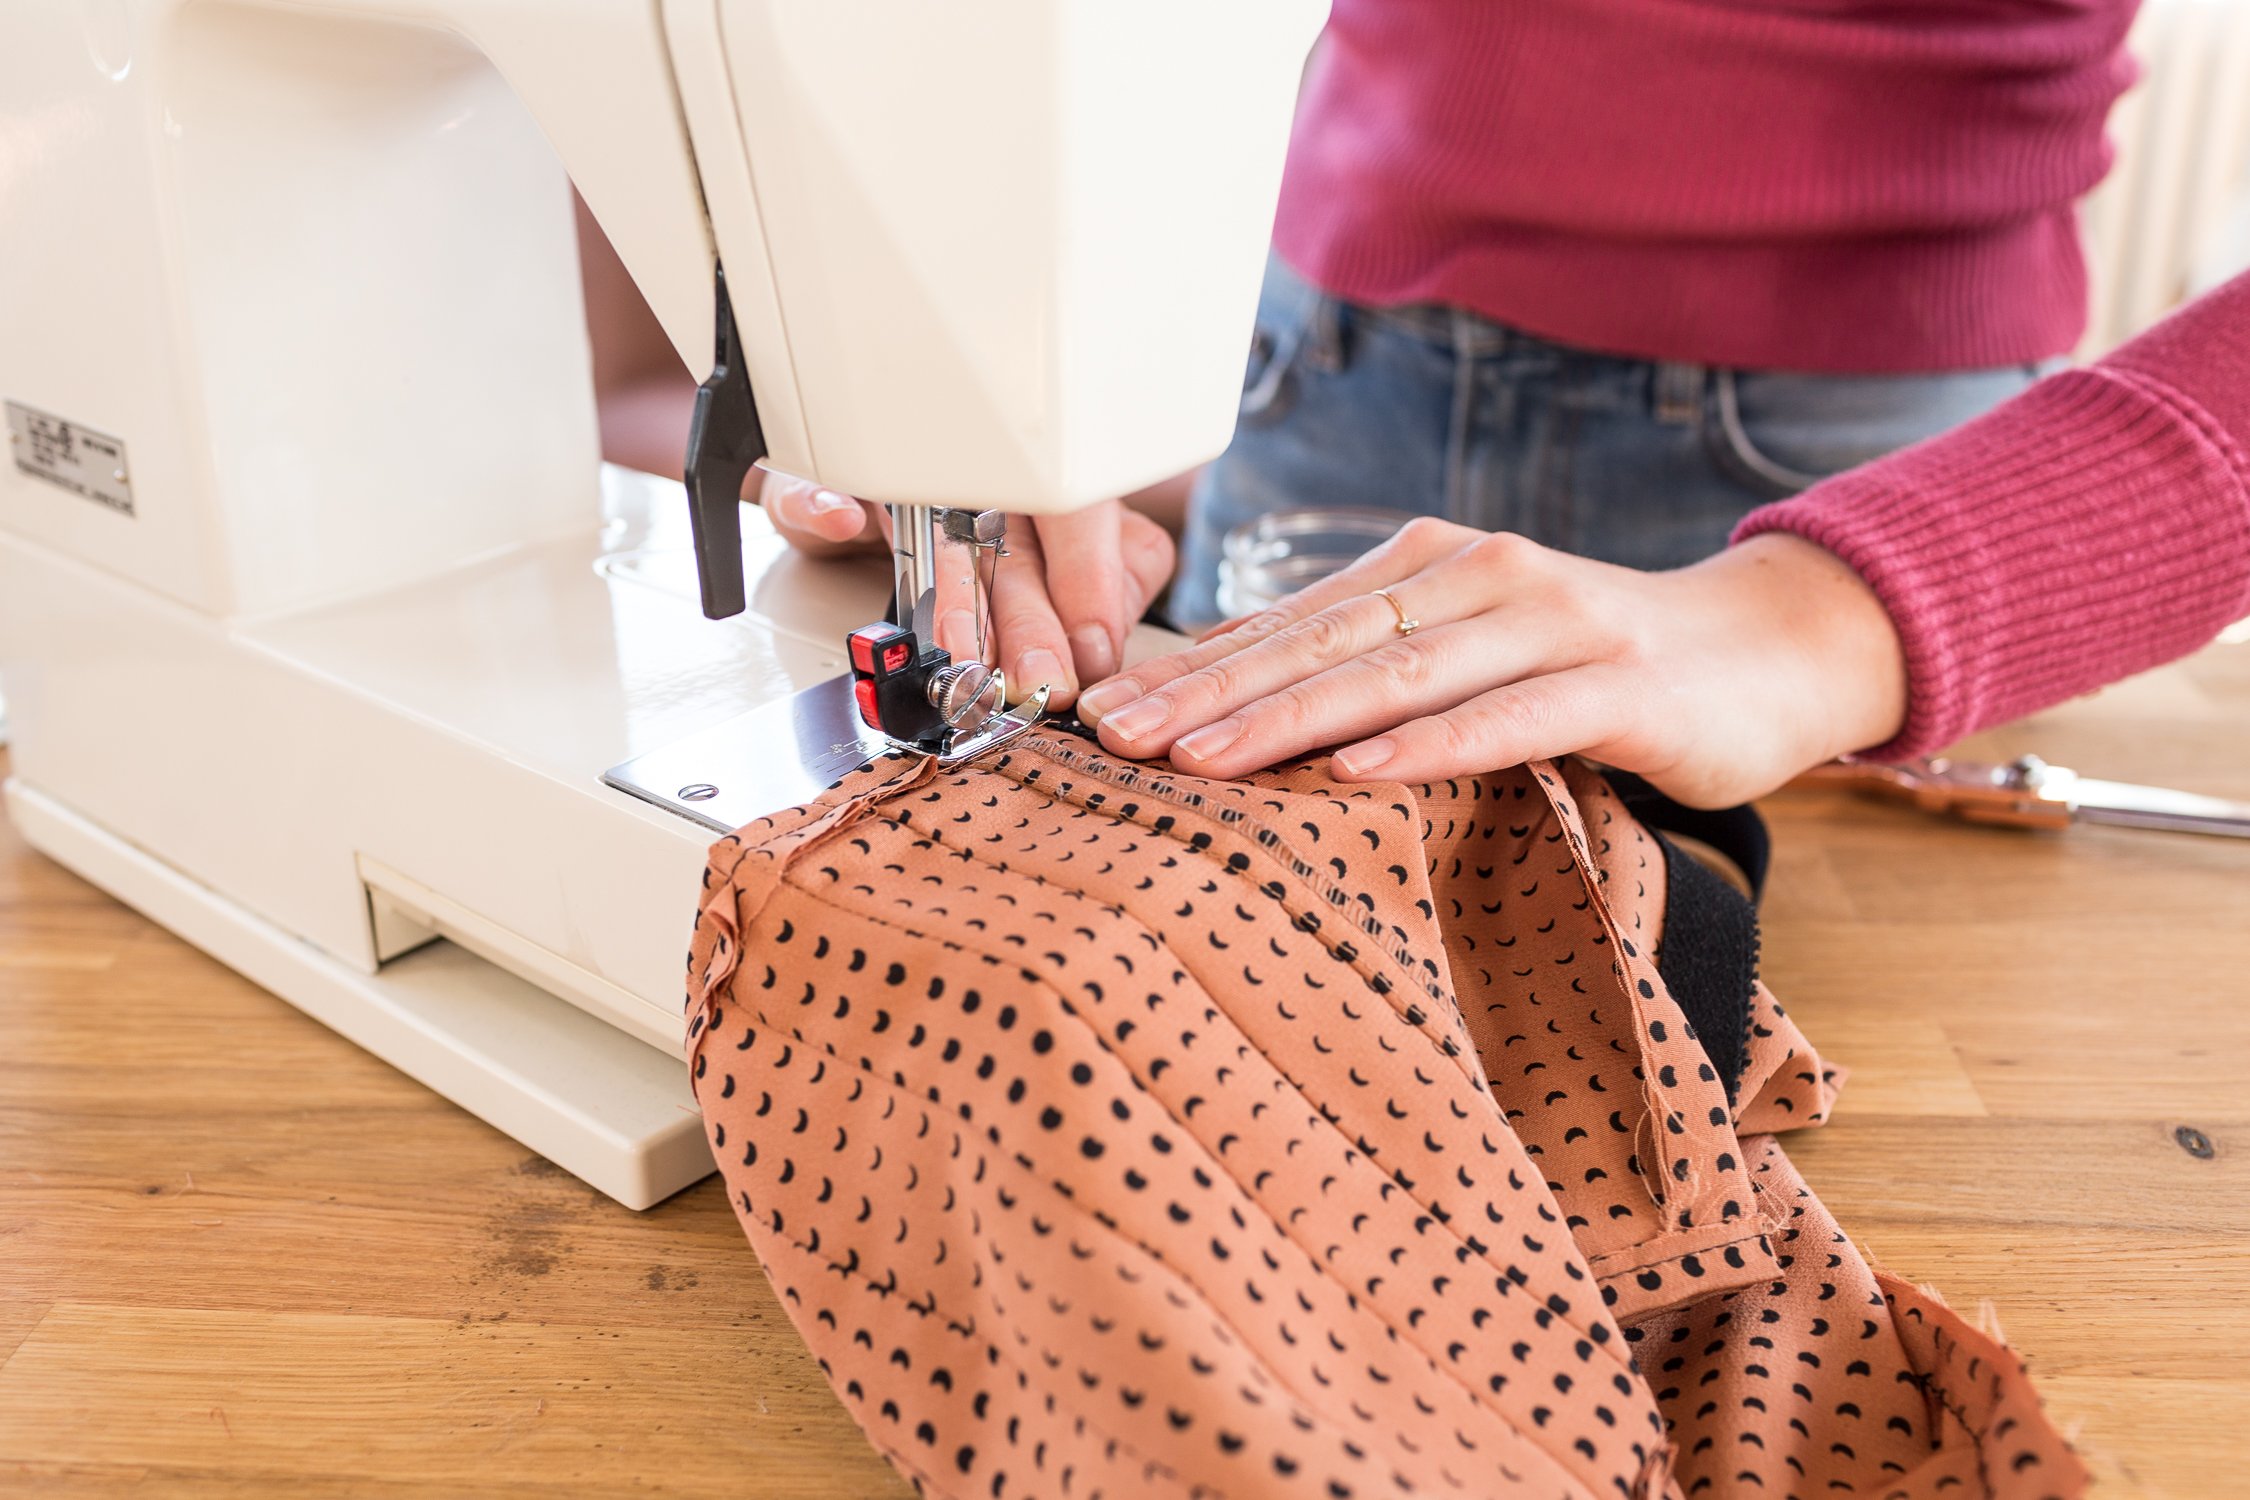
For this transformation, Kelsey headed out to the fabric store and picked up some black elastic. The plan for this dress was to turn it into a two piece outfit, with a skirt and a crop top! Kelsey started by cutting the dress in half, above the pockets and below the zipper. Next, she measured out around her waist with the elastic, added about an inch or so of overlap, then trimmed that piece off of the rest of the elastic. Next, she started pinning her skirt to the elastic. A good trick that she used was to find the middle of your elastic and pin that to the middle of the skirt fabric. She then found the quarter points of the elastic and pinned those to the quarter points of the skirt fabric. After these main landmarks were pinned, she then went ahead and folded and pinned the fabric between these points, being sure to pull the elastic in the back of the skirt allowing the elastic to stretch! She started by sewing up the two ends of the elastic together, and then moved on to sewing all the way around the elastic to hold it in place!
The next step is to deal with the top! She went ahead and cut a rectangle piece from the top of the dress, using the zipper already in the dress as the back of the top. She then went ahead and sewed the two rectangles together, and hemmed the top and bottom of the top! Next, she grabbed some more of the elastic and cut two pieces to act as the straps of the top! She sewed these pieces in place. Next, to create some flowy sleeves she cut the existing sleeves of the dress open, and pinned them to the shoulders of the new top. She ended up trimming the sleeve into a little cap sleeve and sewed it to the elastic.
This set can be dressed up or down! To dress it down, Kelsey added a jean jacket and a pair of white sneakers.
BECKY’S FLARE PANTS
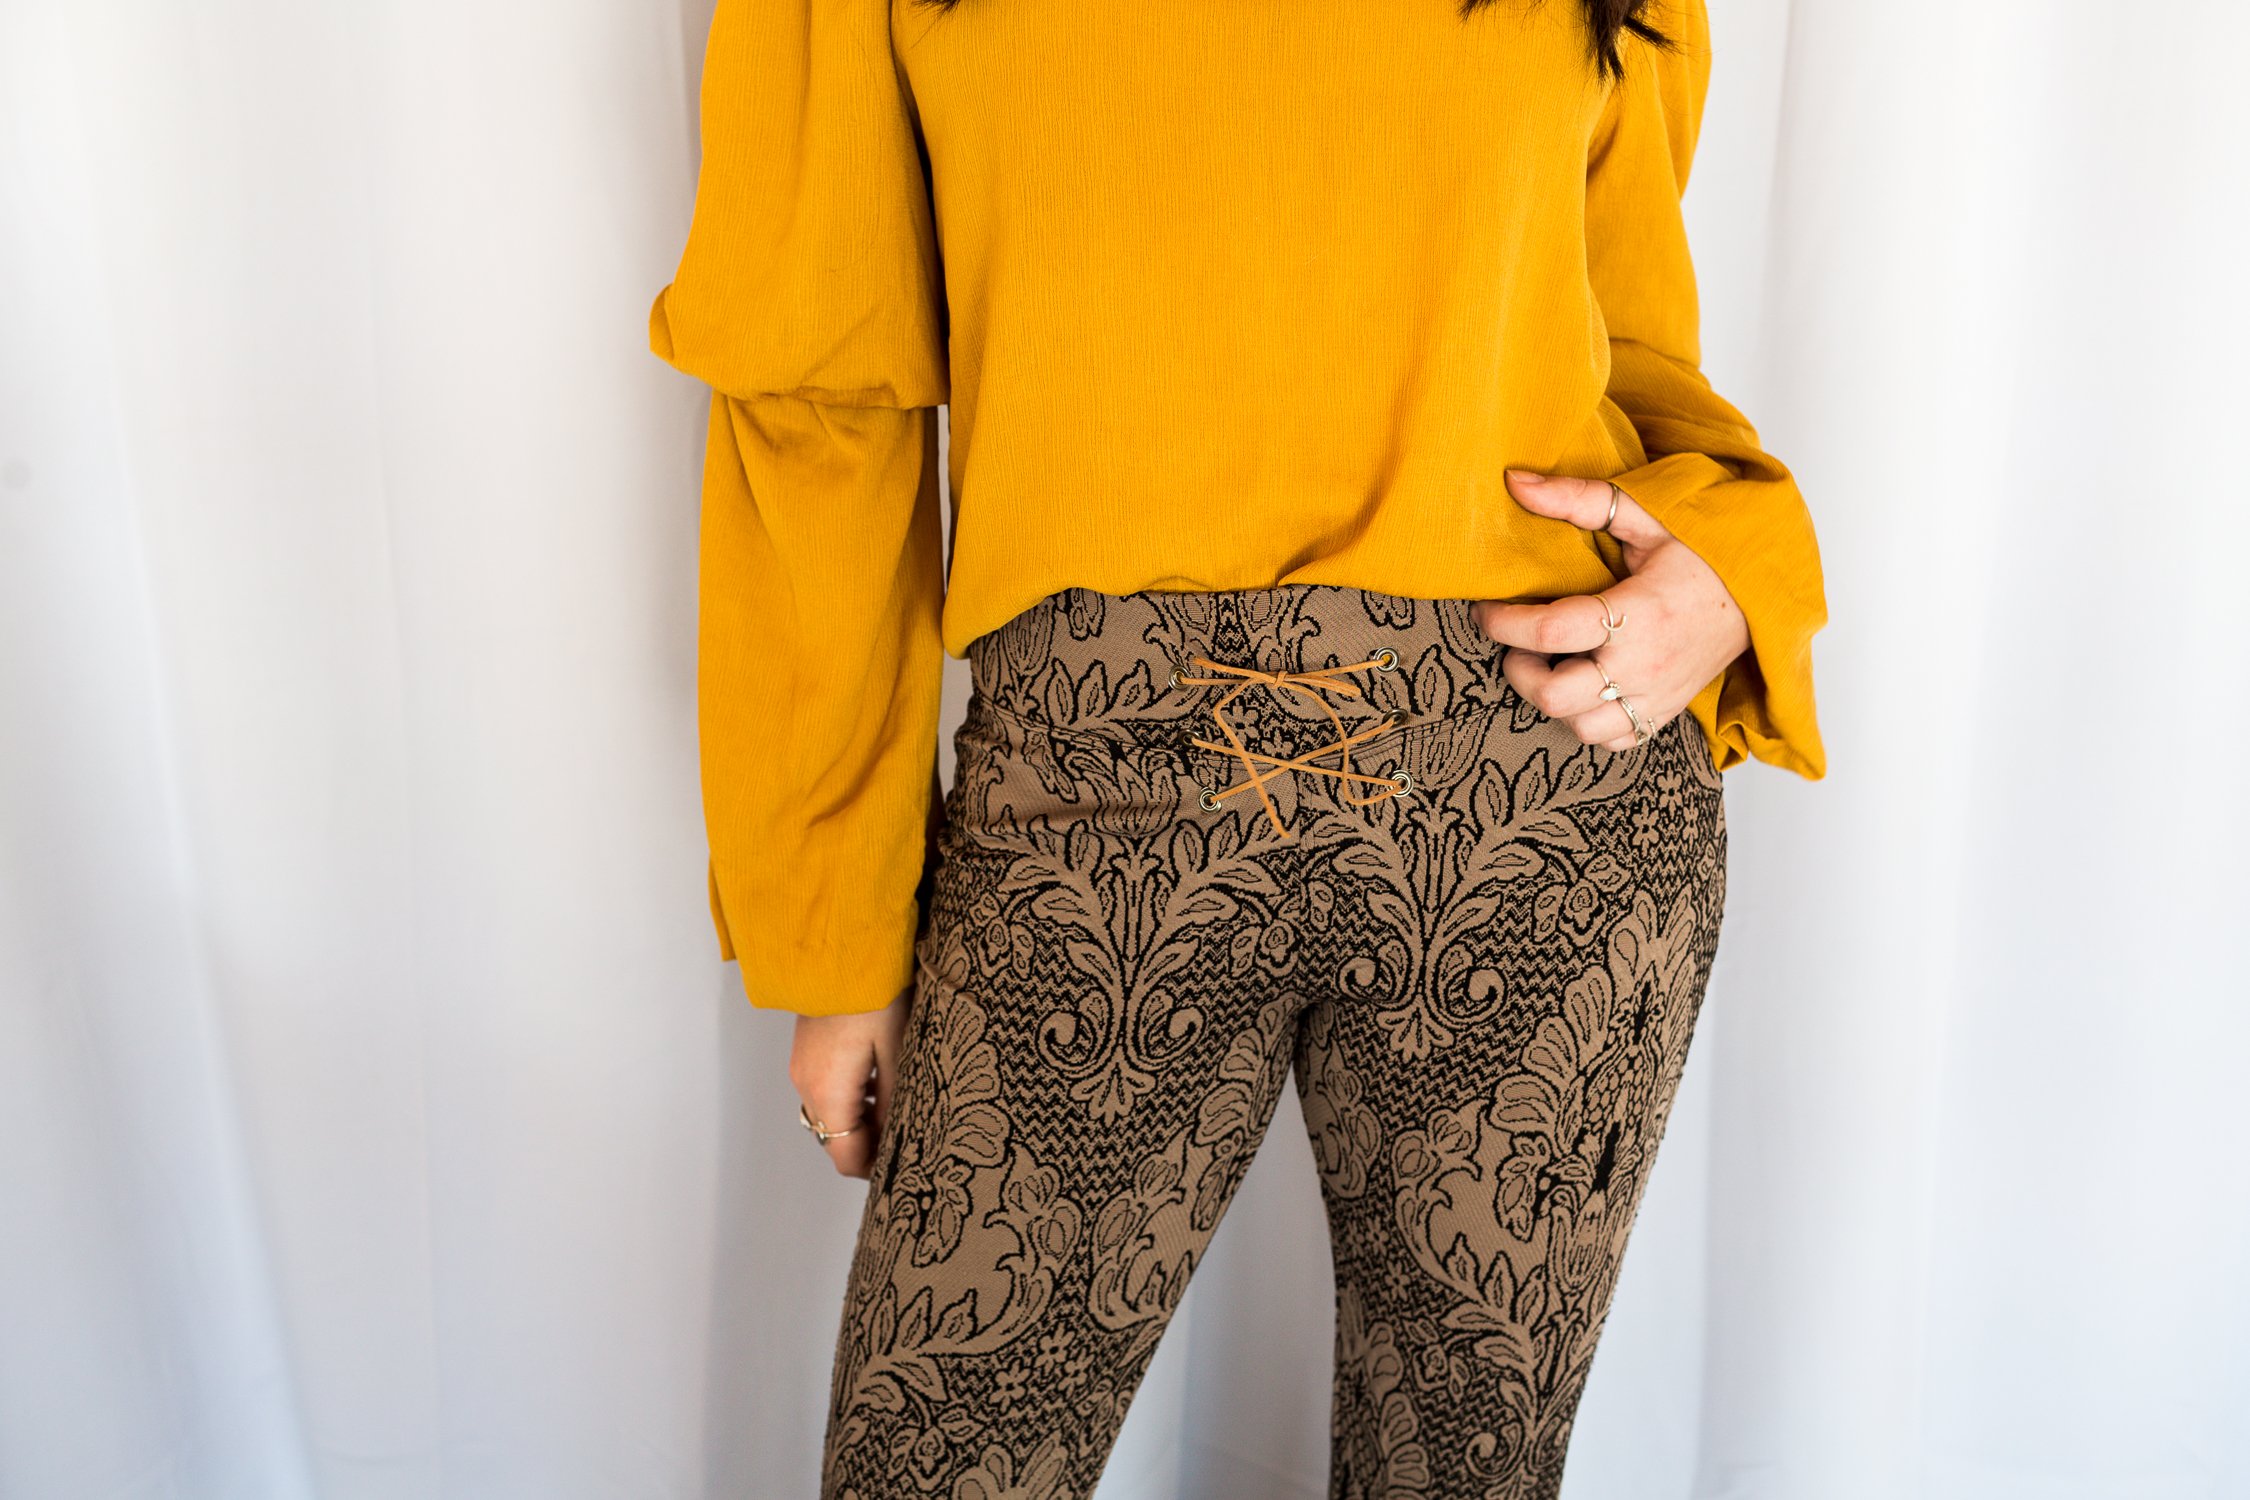
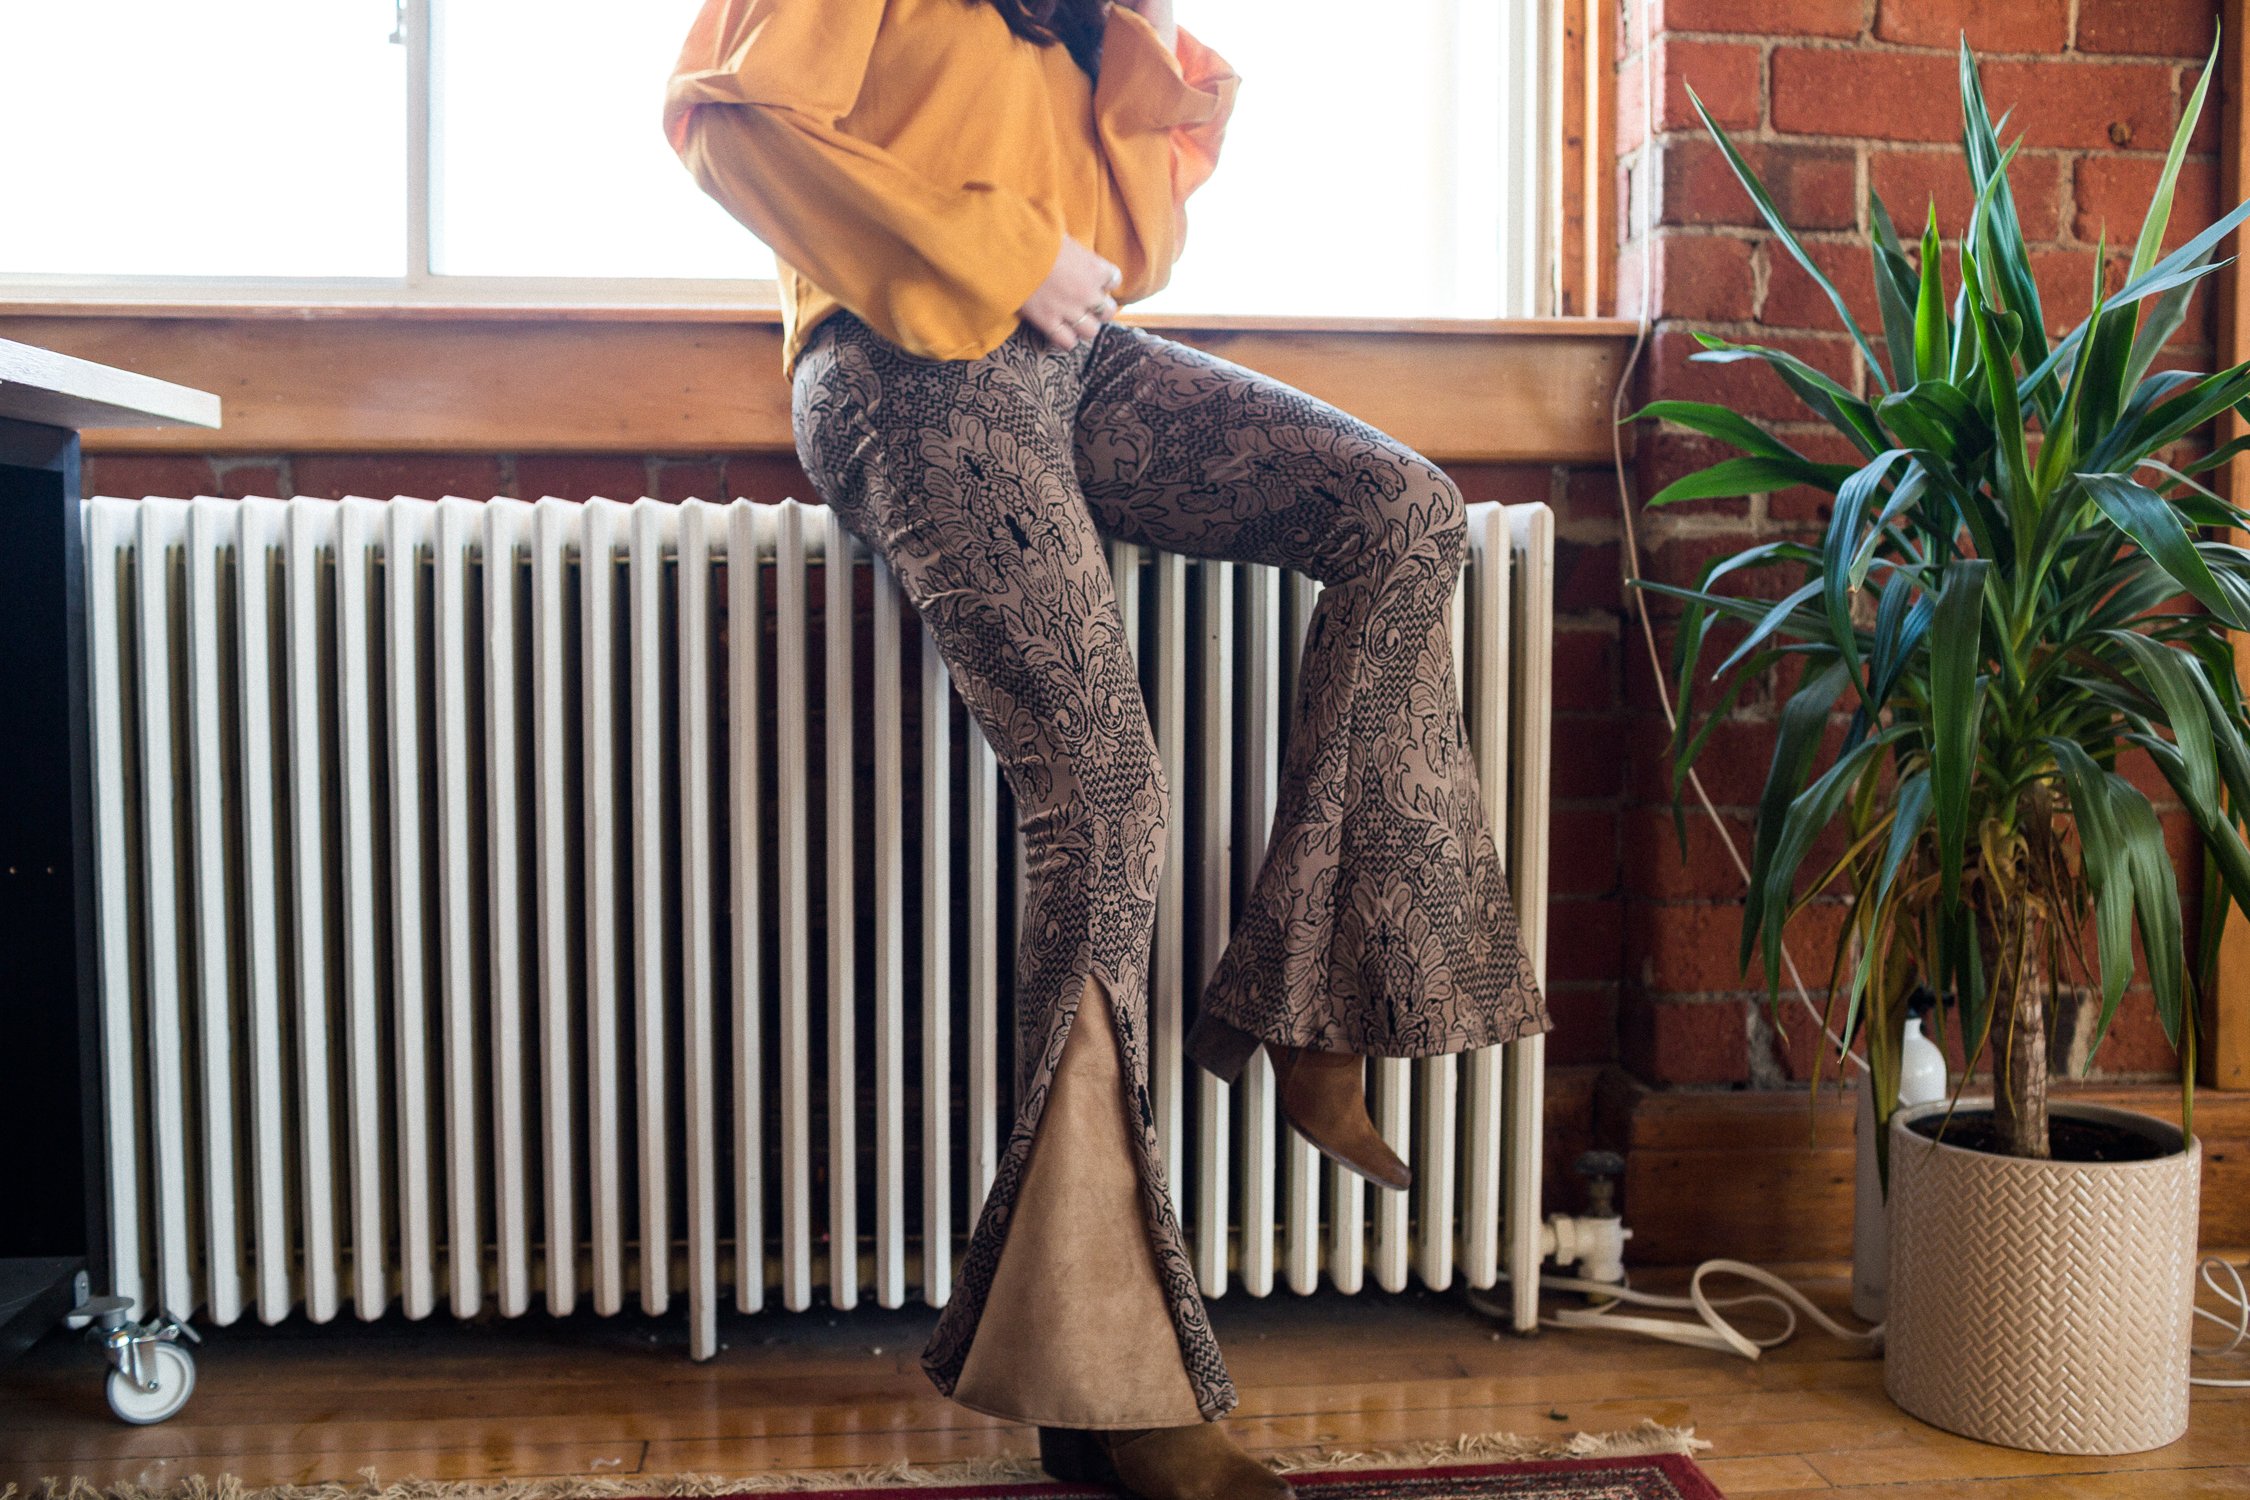
While out at the fabric store, Becky ended up picking up some brown faux suede to amp up the flare of her flare jeans, some grommets and suede cord to add some extra details to the pants.
Her first step was to open up the side of the pants with a seam ripper up to just below the knee on the outside seams only. She then measured the triangle space in her pants and created that same shape on her faux suede. She cut two triangles out of the suede material. Next, she hemmed the bottoms of the two triangles. With the pants flipped inside out, she pinned the piece of suede to the cut edges of the pants with the good sides facing in. Sew these pieces in and you’re done!
As a final fun step, Becky decided to add some faux lacing to the front of the pants. She started by laying out the pants and figuring out where she wanted the grommets to go. She then used a pair of small scissors to cut little holes where she made the marks. We installed the grommets by placing the bottom half of the grommet on the inside of the pant, and the top on the outside. She then grabbed this grommet tool and hammered the two halves in place! Once all of grommets were in place, she threaded some brown suede cord through the grommets and tied it in a nice bow!
She styled these pants with an off-the-shoulder top, brown boots, and a black wide brimmed hat!
And that’s it! We’re so excited how everything turned out! Check out the video below for more!


