fall fashion HACKS and upcycles!
Fall is one of our favourite seasons for fashion! You get to layer with your coziest sweaters, and wear the prettiest fall-inspired colours and textures. Today, we are going to show you how to upcycle four different fall trends that we are super excited about!
SHERPA JACKET

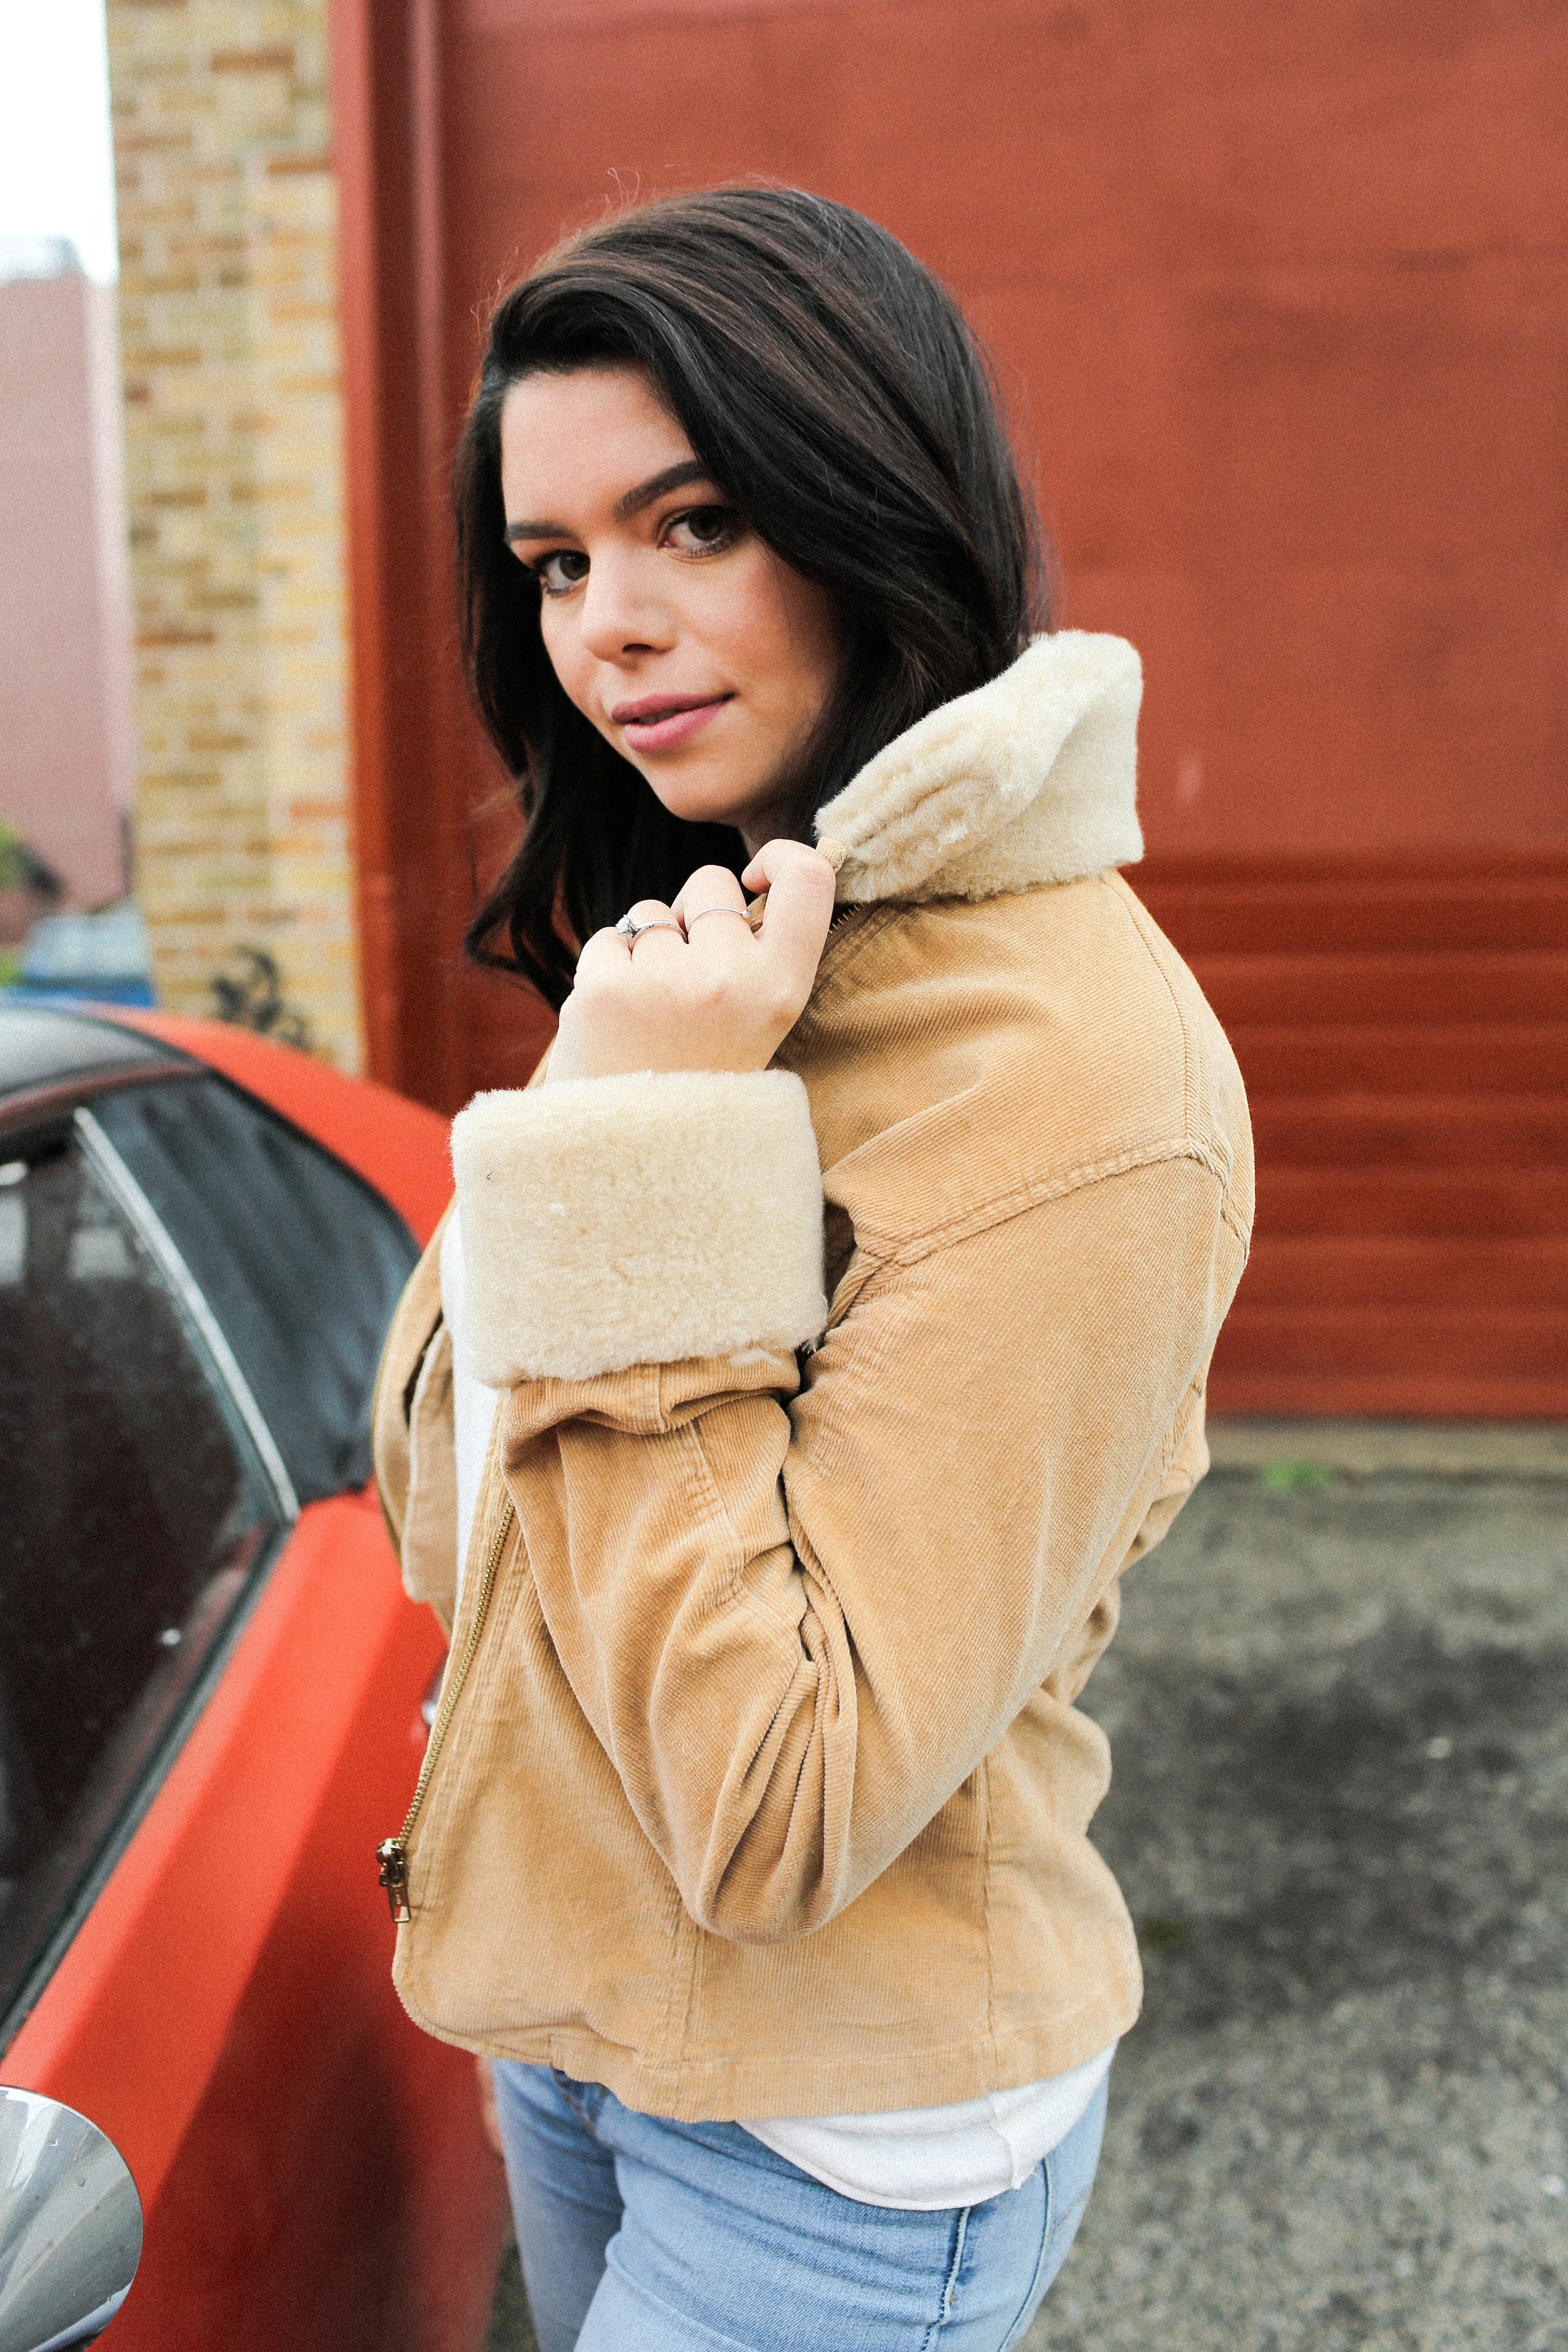
First we’re going to show you how to get that sherpa jacket effect by upcycling an old jacket you may have lying around! The fabric we’re using isn’t exactly sherpa, but any chunky faux fur fabric will work well for this if you can’t find sherpa.
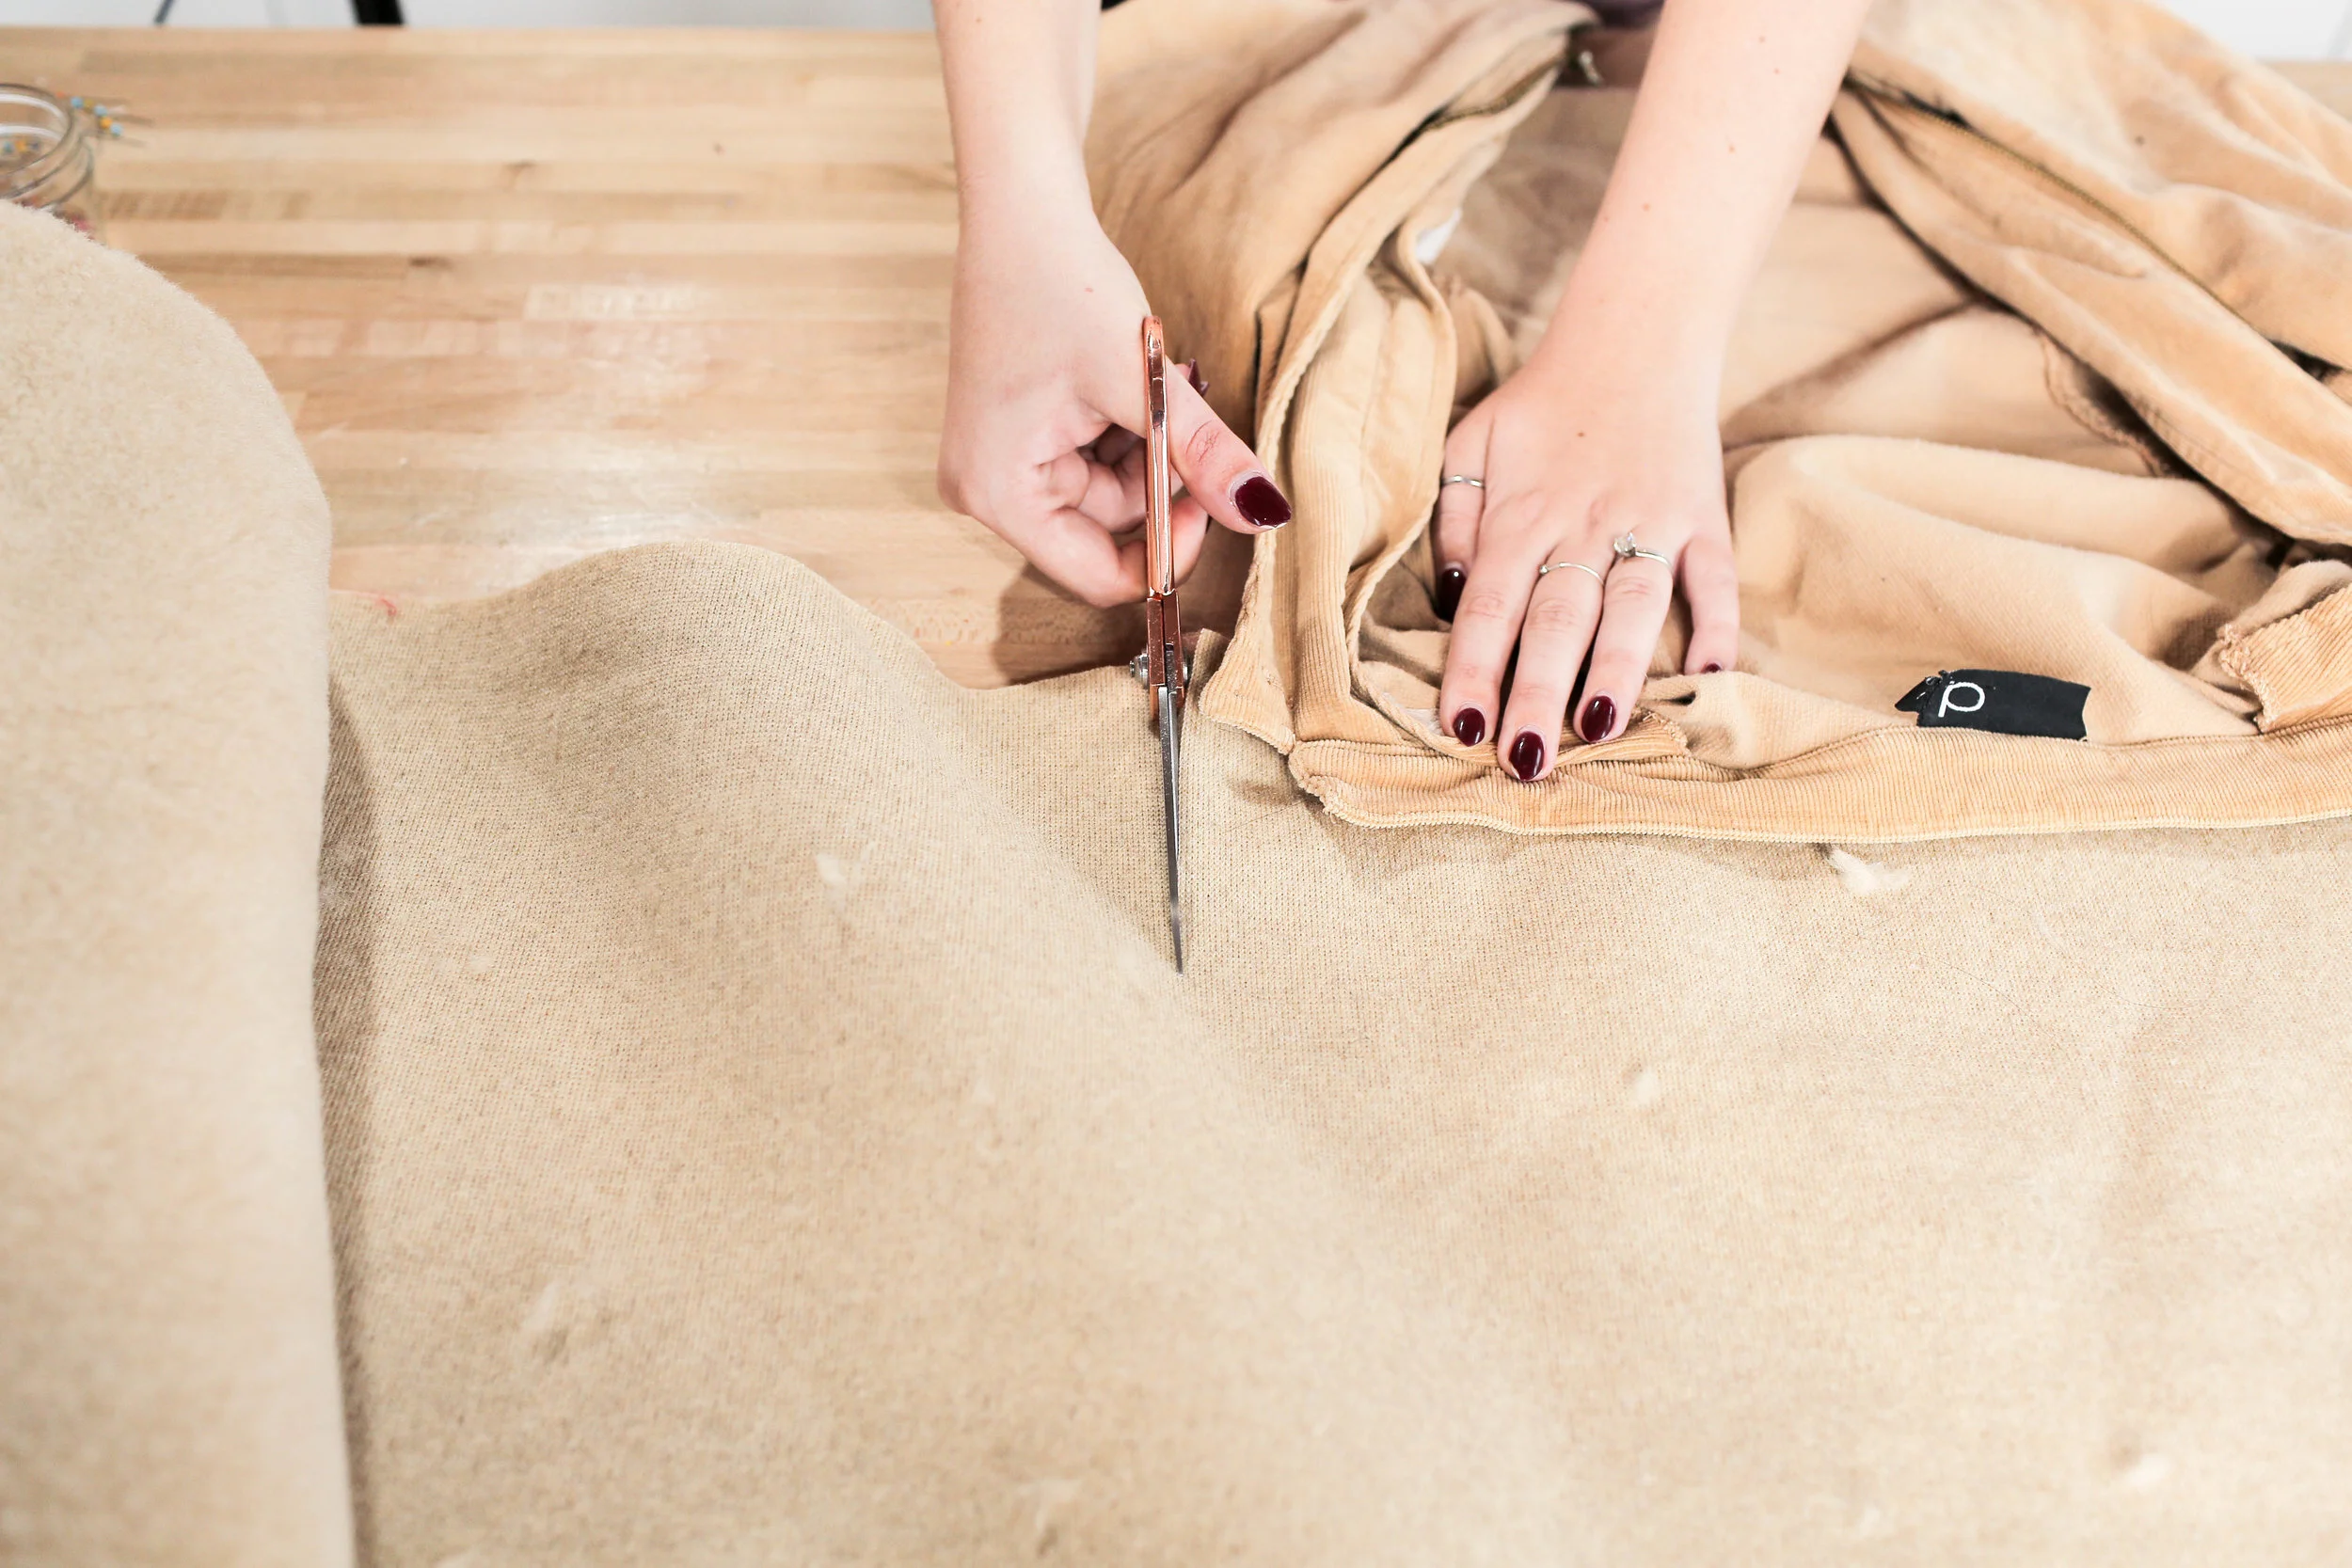
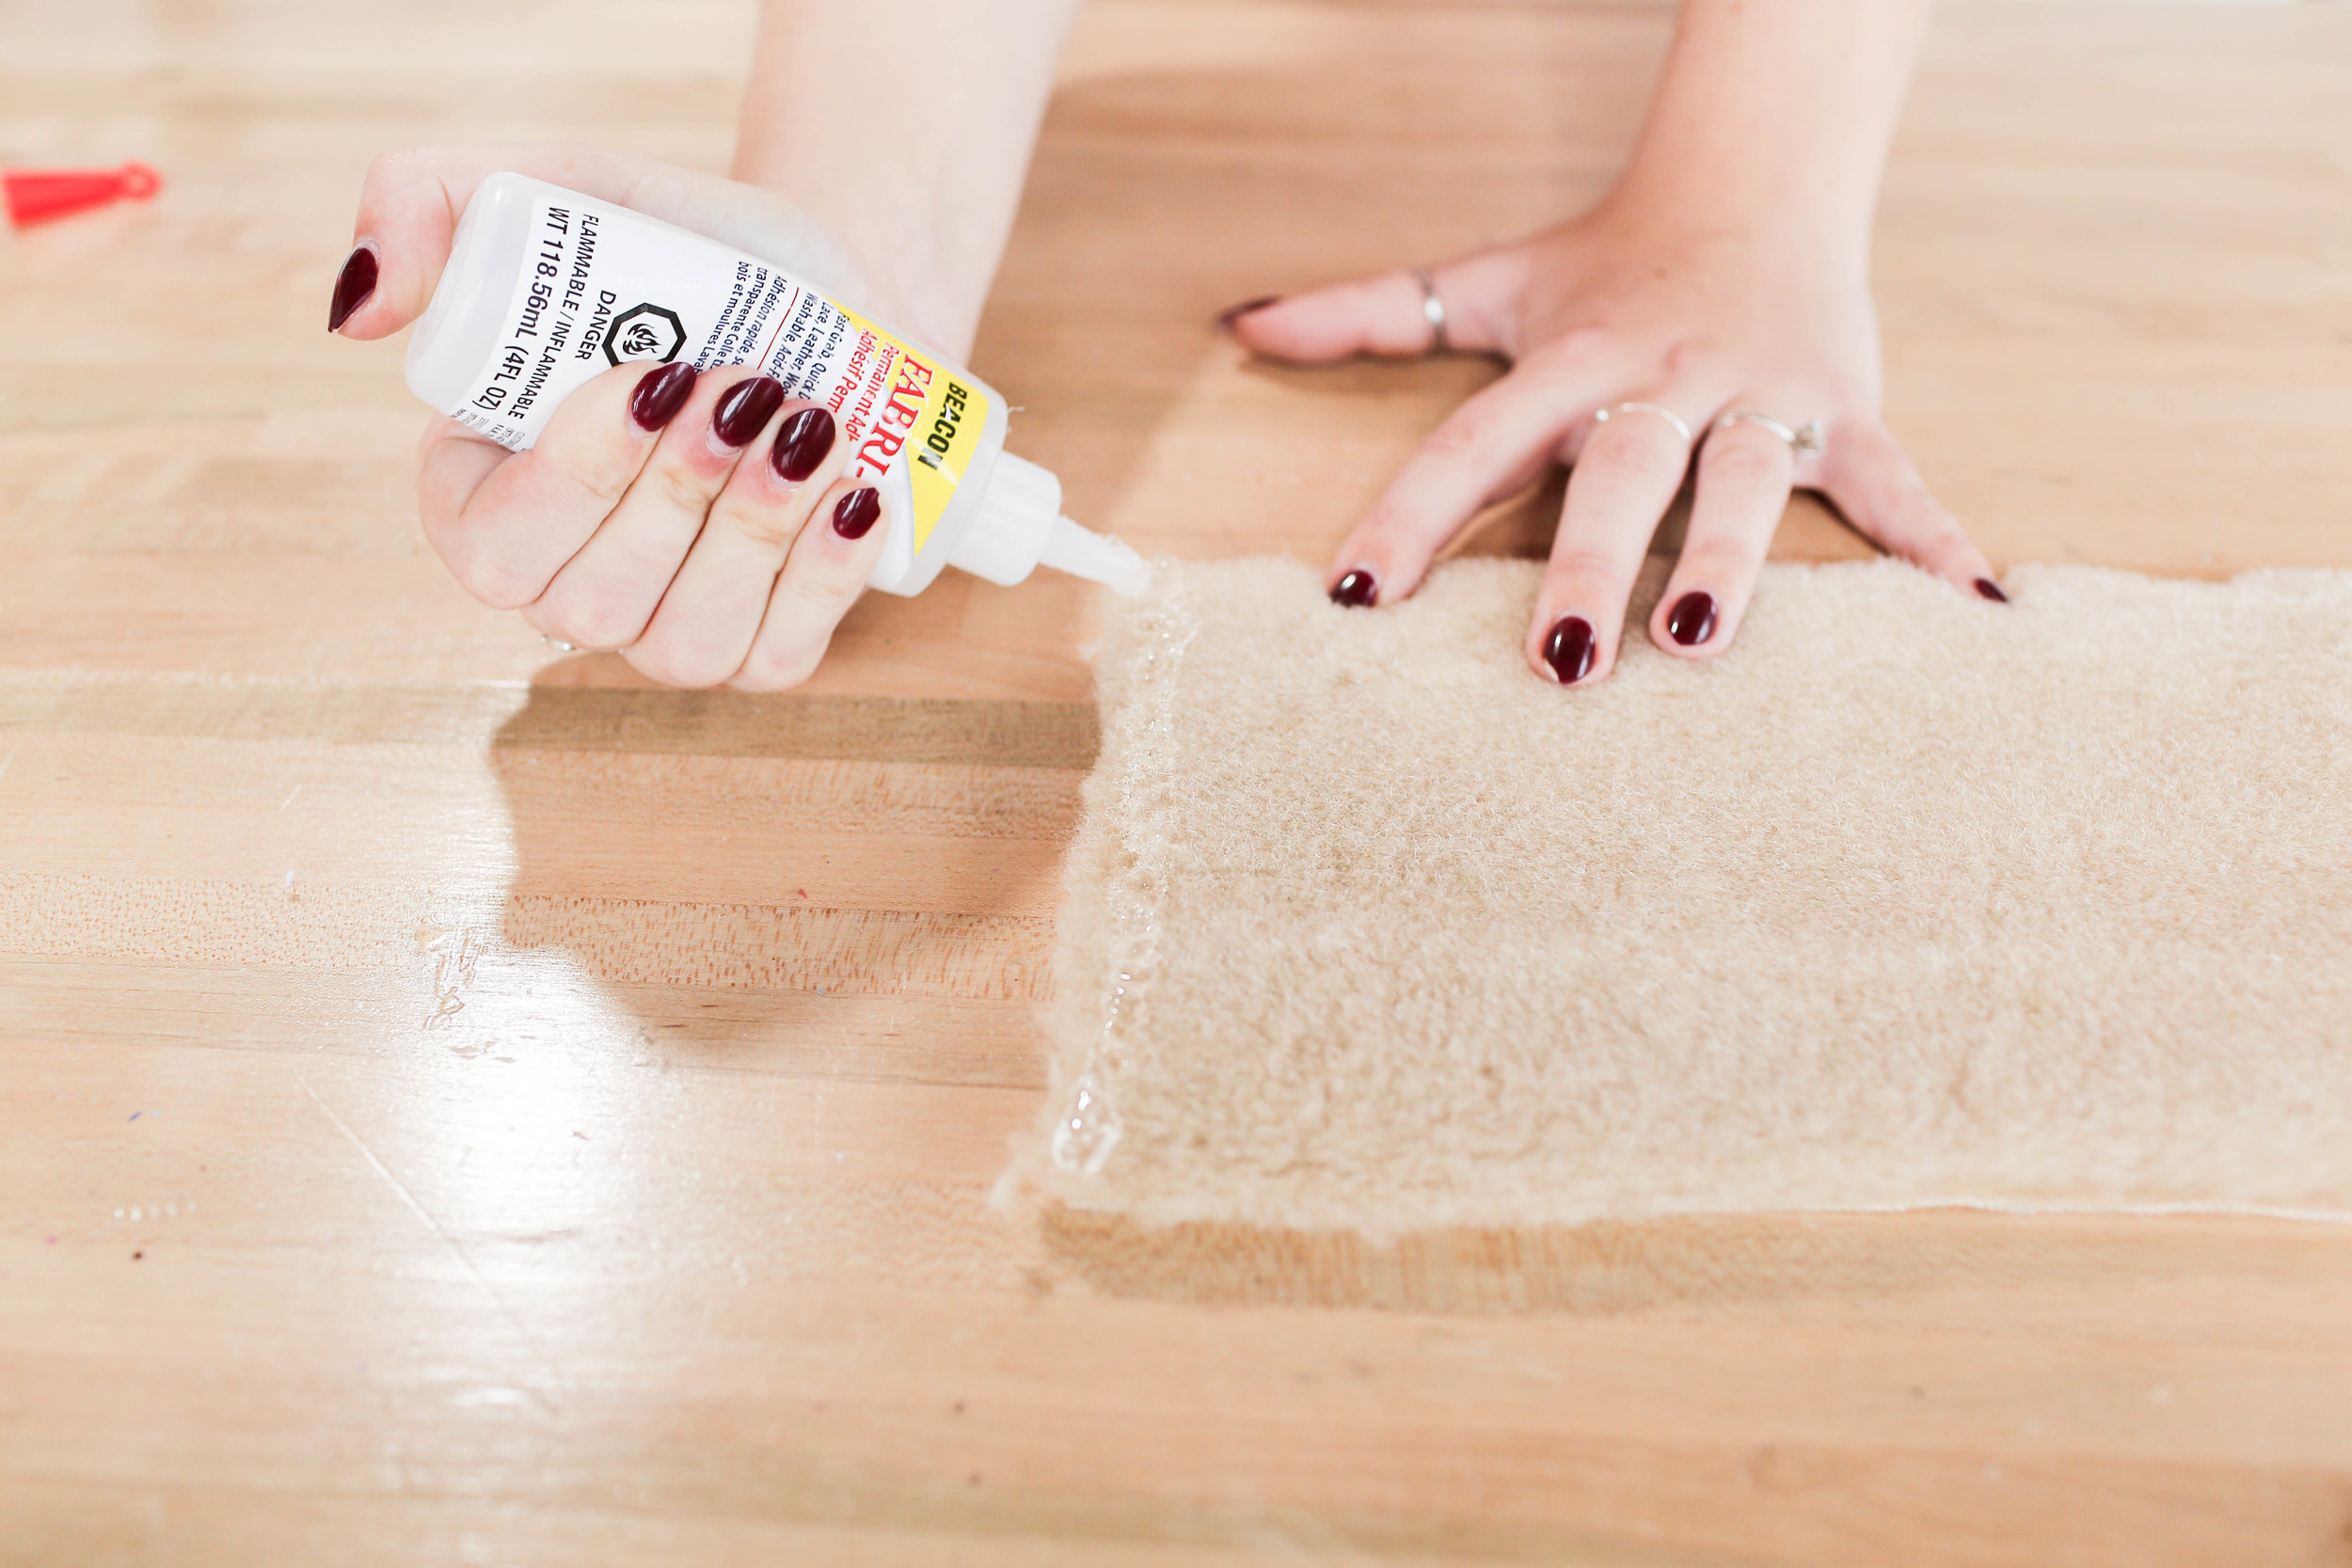
Open up your jacket and lay the collar out in a flat line. Lay a piece of sherpa fabric underneath and cut a rectangle leaving about a half inch extra fabric on each side. To figure out the height, determine how high you want the collar to end up being and double it. Now it’s time to fabric glue the collar together. Add a thick line of fabric glue down each of the vertical sides onto the top of the fur. Fold the collar in half and use clips to clamp it together while the glue dries.

Once it’s completely dry, flip the collar inside out. You can then add fabric glue to the front and back of the jackets collar and sandwich it inside the sherpa collar. Press down on the fabric to help it bond.


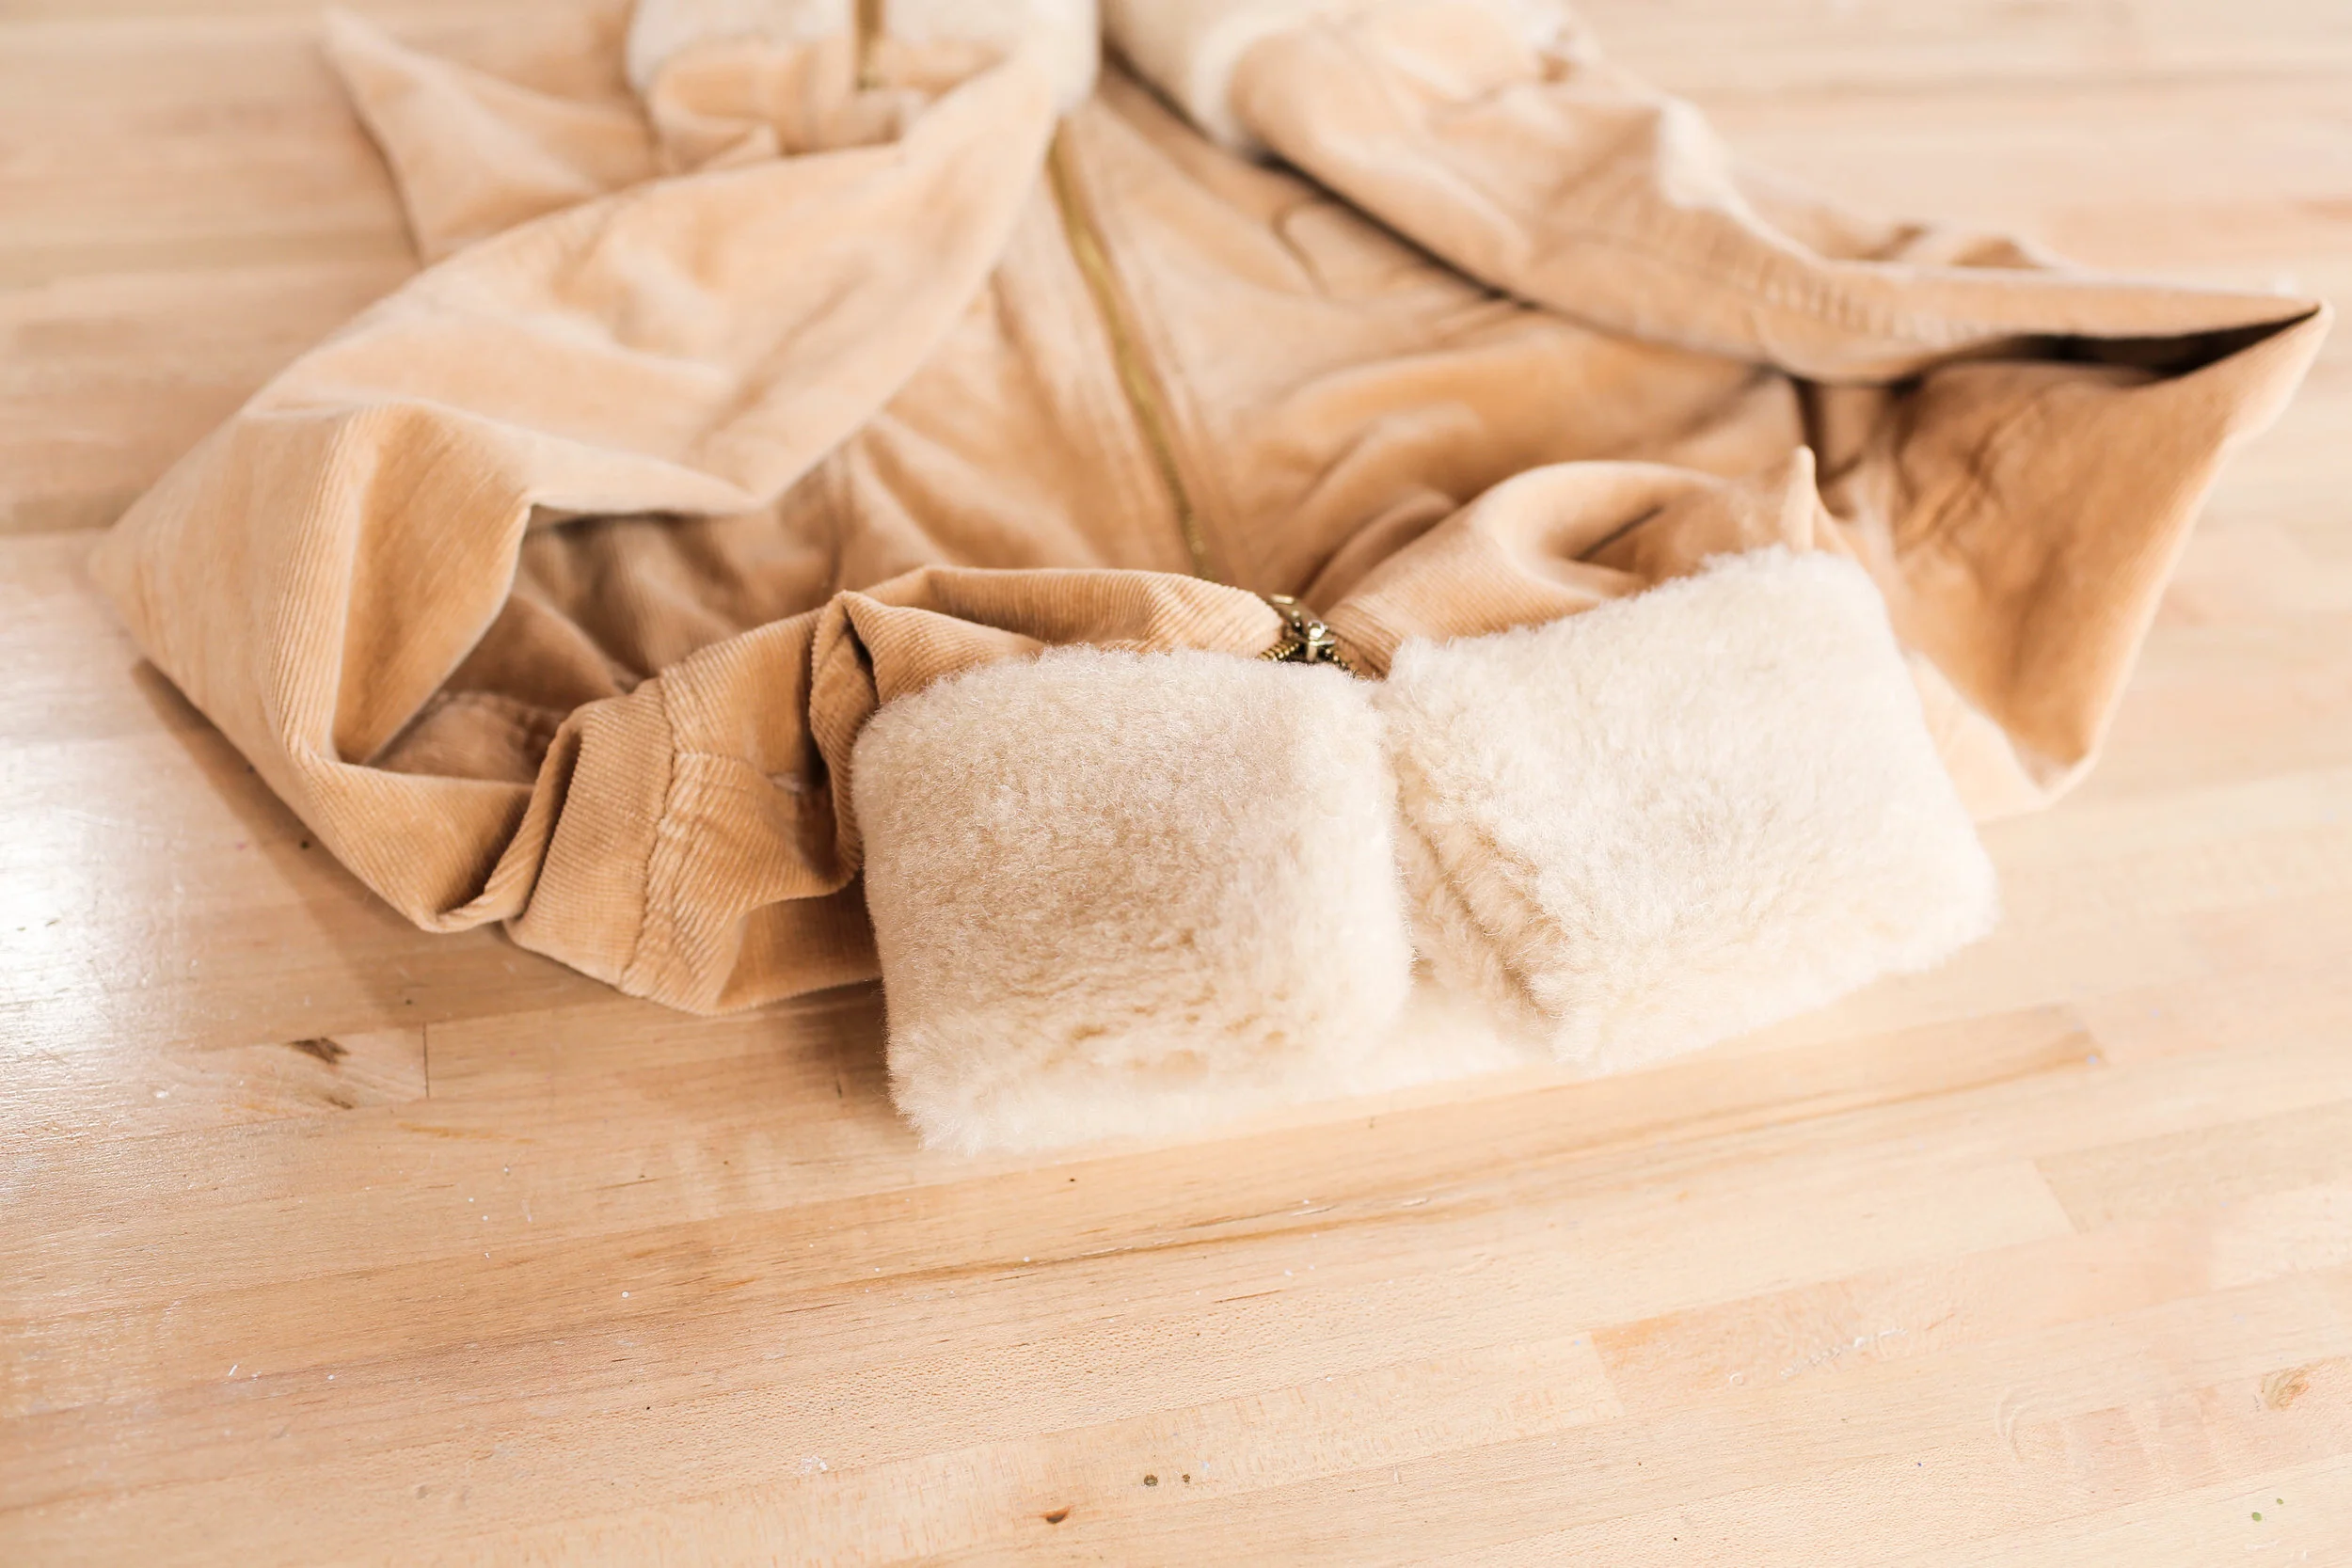
Now we’re going to add fur cuffs to the jacket. Figure out how thick you want the cuffs to be, double that thickness, and then cut a strip of fabric to that width. Next use a measuring tape to figure out the size of the jackets cuff, all the way around in a circle. Measure out that length onto the fabric and cut. Add a good amount of fabric glue to one half of the fabric strip and glue it to the inside of the jacket. You can now trim the fabric if it’s too long once it’s glued in place. Now flip the fabric around the cuff and use fabric glue to hold it in place. Repeat that on the other side and your upcycled sherpa jacket is complete!
TWO-TONE JEANS

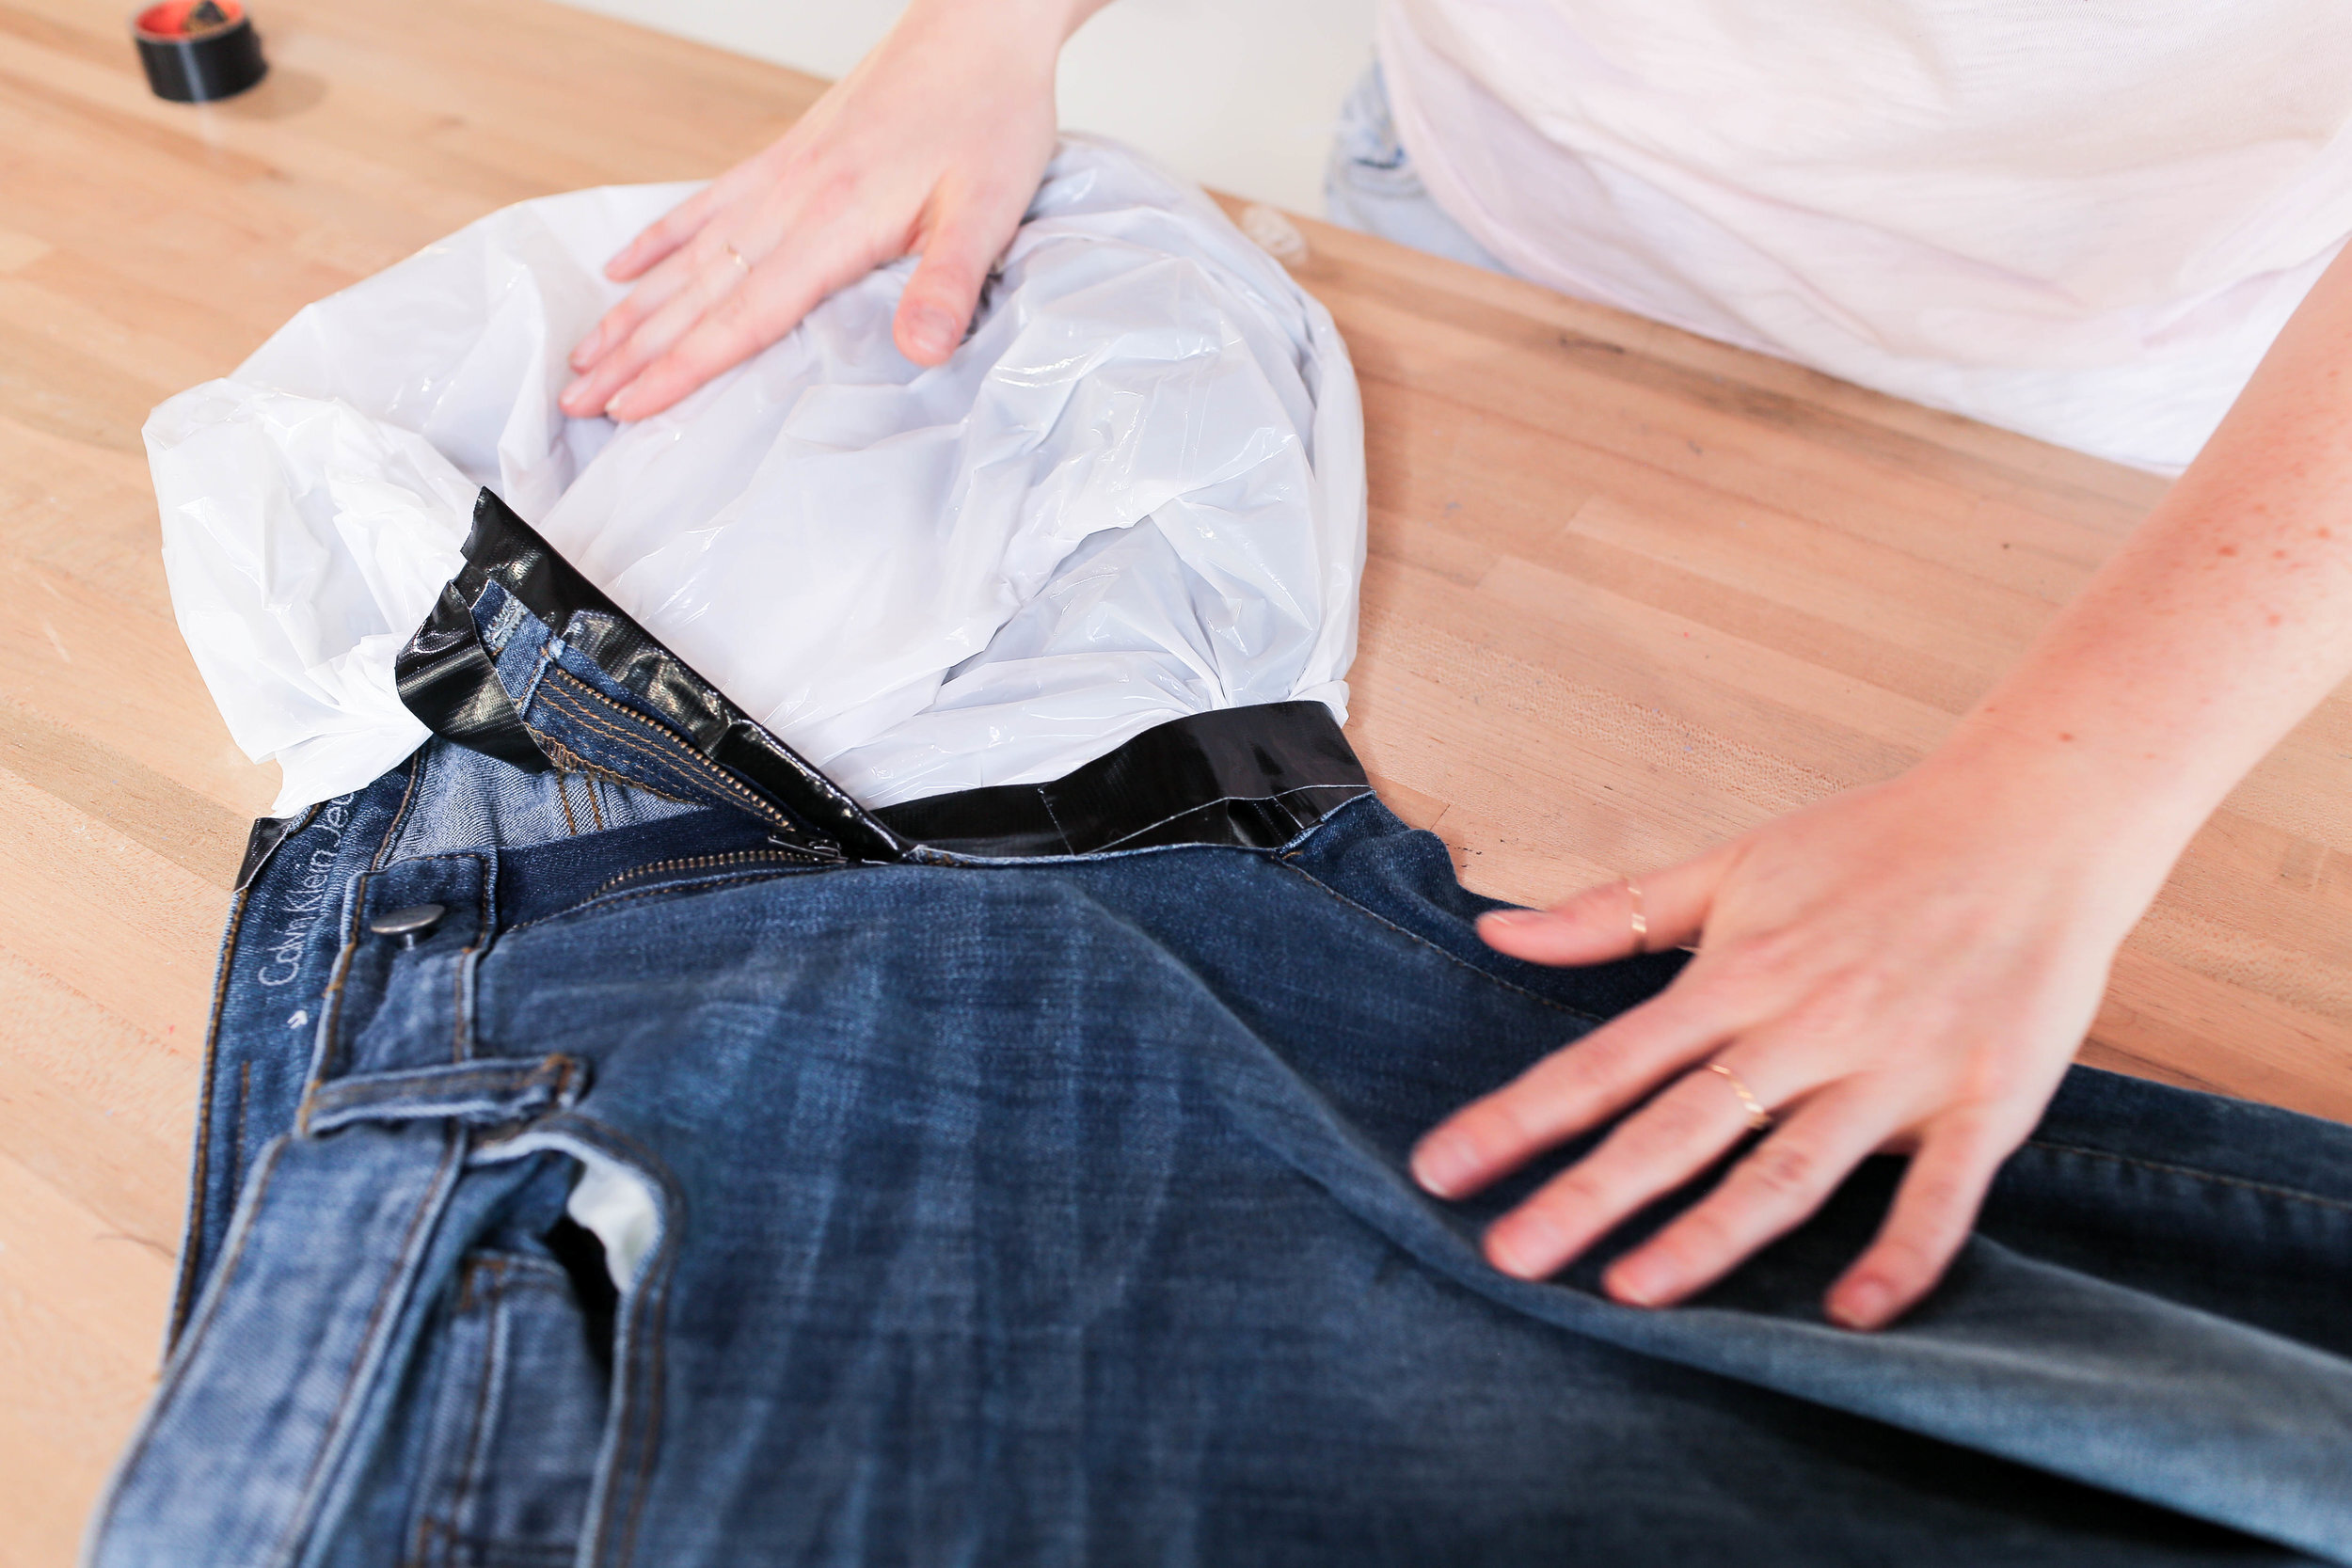
Lay your jeans out flat and cover one side with a plastic bag. You’ll want to make sure this is very secure so that no bleach leaks through to the other side. We added tape for extra security. Fill a spray bottle with bleach and coat the front side of your jeans evenly. Make sure to get under belt loops and around pockets so that none of the original colour shows through.

After you’ve coated the front, wait 10-15 minutes then flip your jeans over to show the back side. Do the same process of spraying bleach evenly across this side. You may need to repeat this process a few times. Repeat until you’re happy with the overall bleached colour.
Once we took off the tape, we noticed our bleach line wasn’t 100% straight, it’s actually pretty hard to make a straight line with a liquid product so if you have any tips let us know! We went back in and spot added some bleach to the line to create a more blended organic line that seemed a little more purposeful. Wash your jeans and they are ready to be worn! Now you have your DIY two tone, bleached jean that came from a thrifted pair of jeans and some bleach!
SWEATER DRESS


We started by heading to the thrift store and got an XL mens sweater. Make sure the sweater is long enough to cover everything you want to cover but also that it isn’t too long. We don’t want to end up cutting off the bottom hem, since using the already formed hem will make this DIY much easier. With your sweater on, figure out how much you want to take in your dress on the sides. I’m taking 2.5 inches in on both sides.


Flip the sweater inside out and then lay it out flat and pin 2.5 inches in, in an “L” shape across the sleeve and down the side. Angle the pins in toward the sleeve cuffs if you don’t want to make those any tighter. Pin both sides of the sweater and then sew along these lines. Cut off the excess fabric and turn your sweater in the right way to see your new dress!
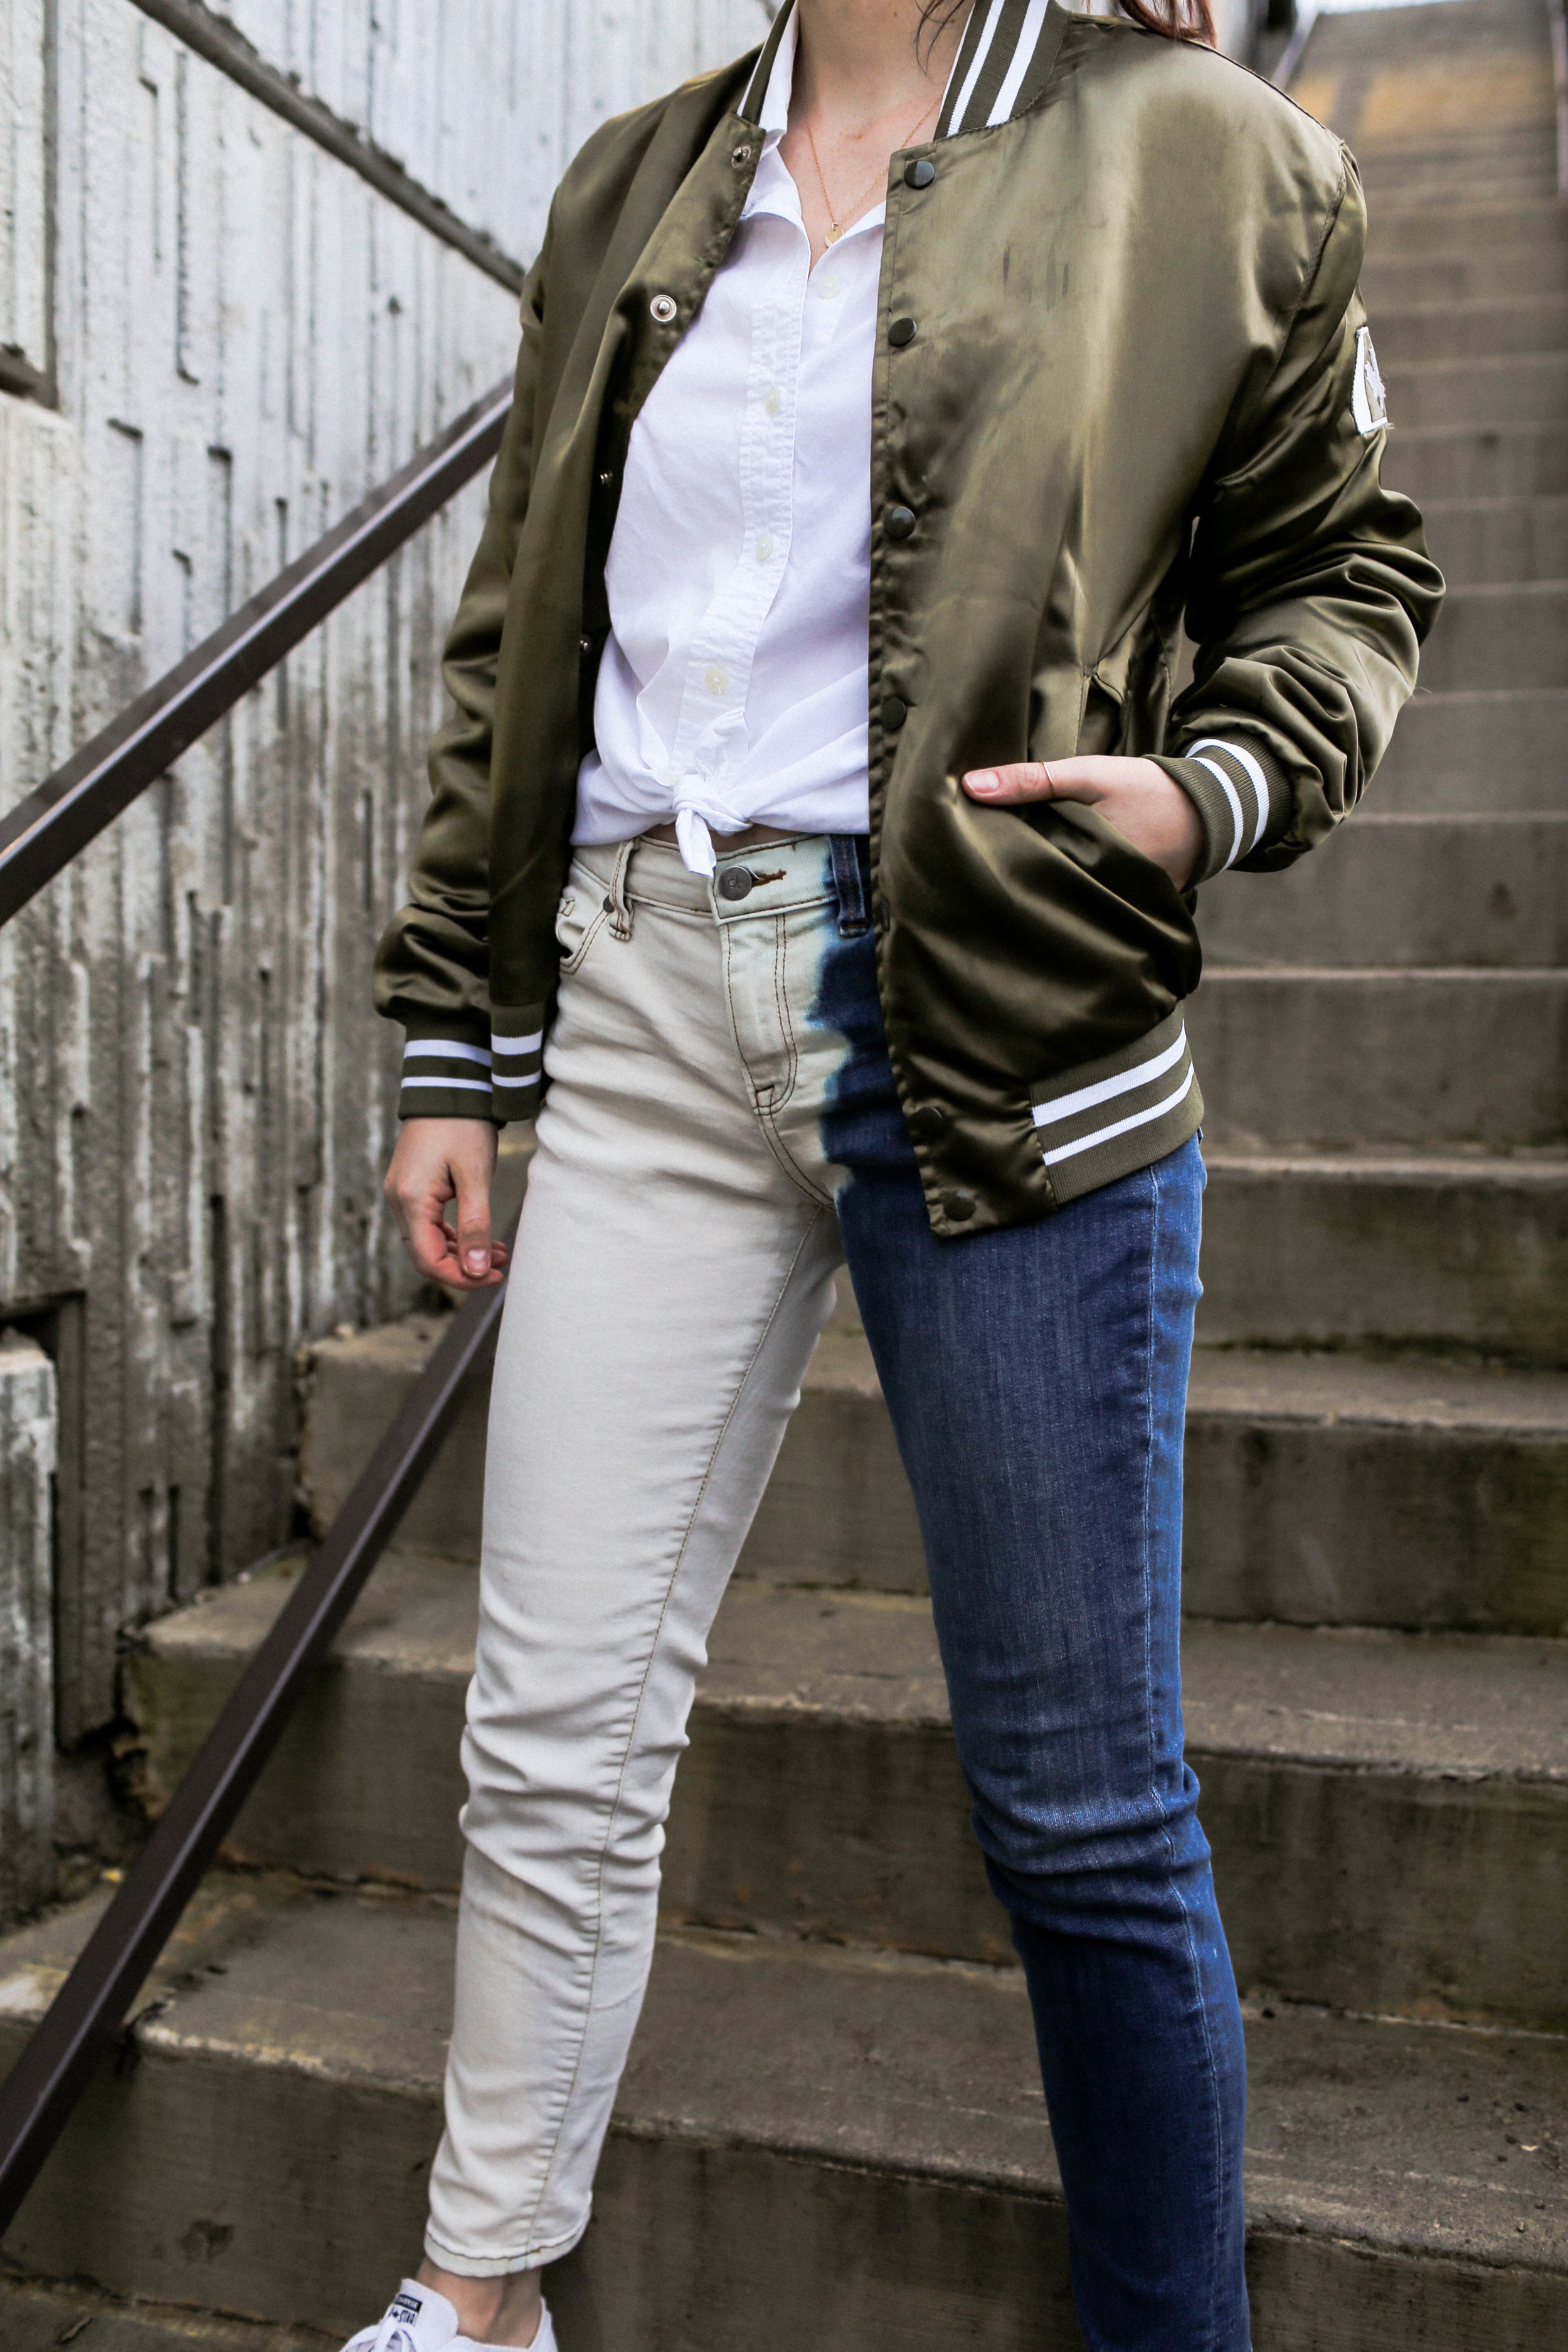
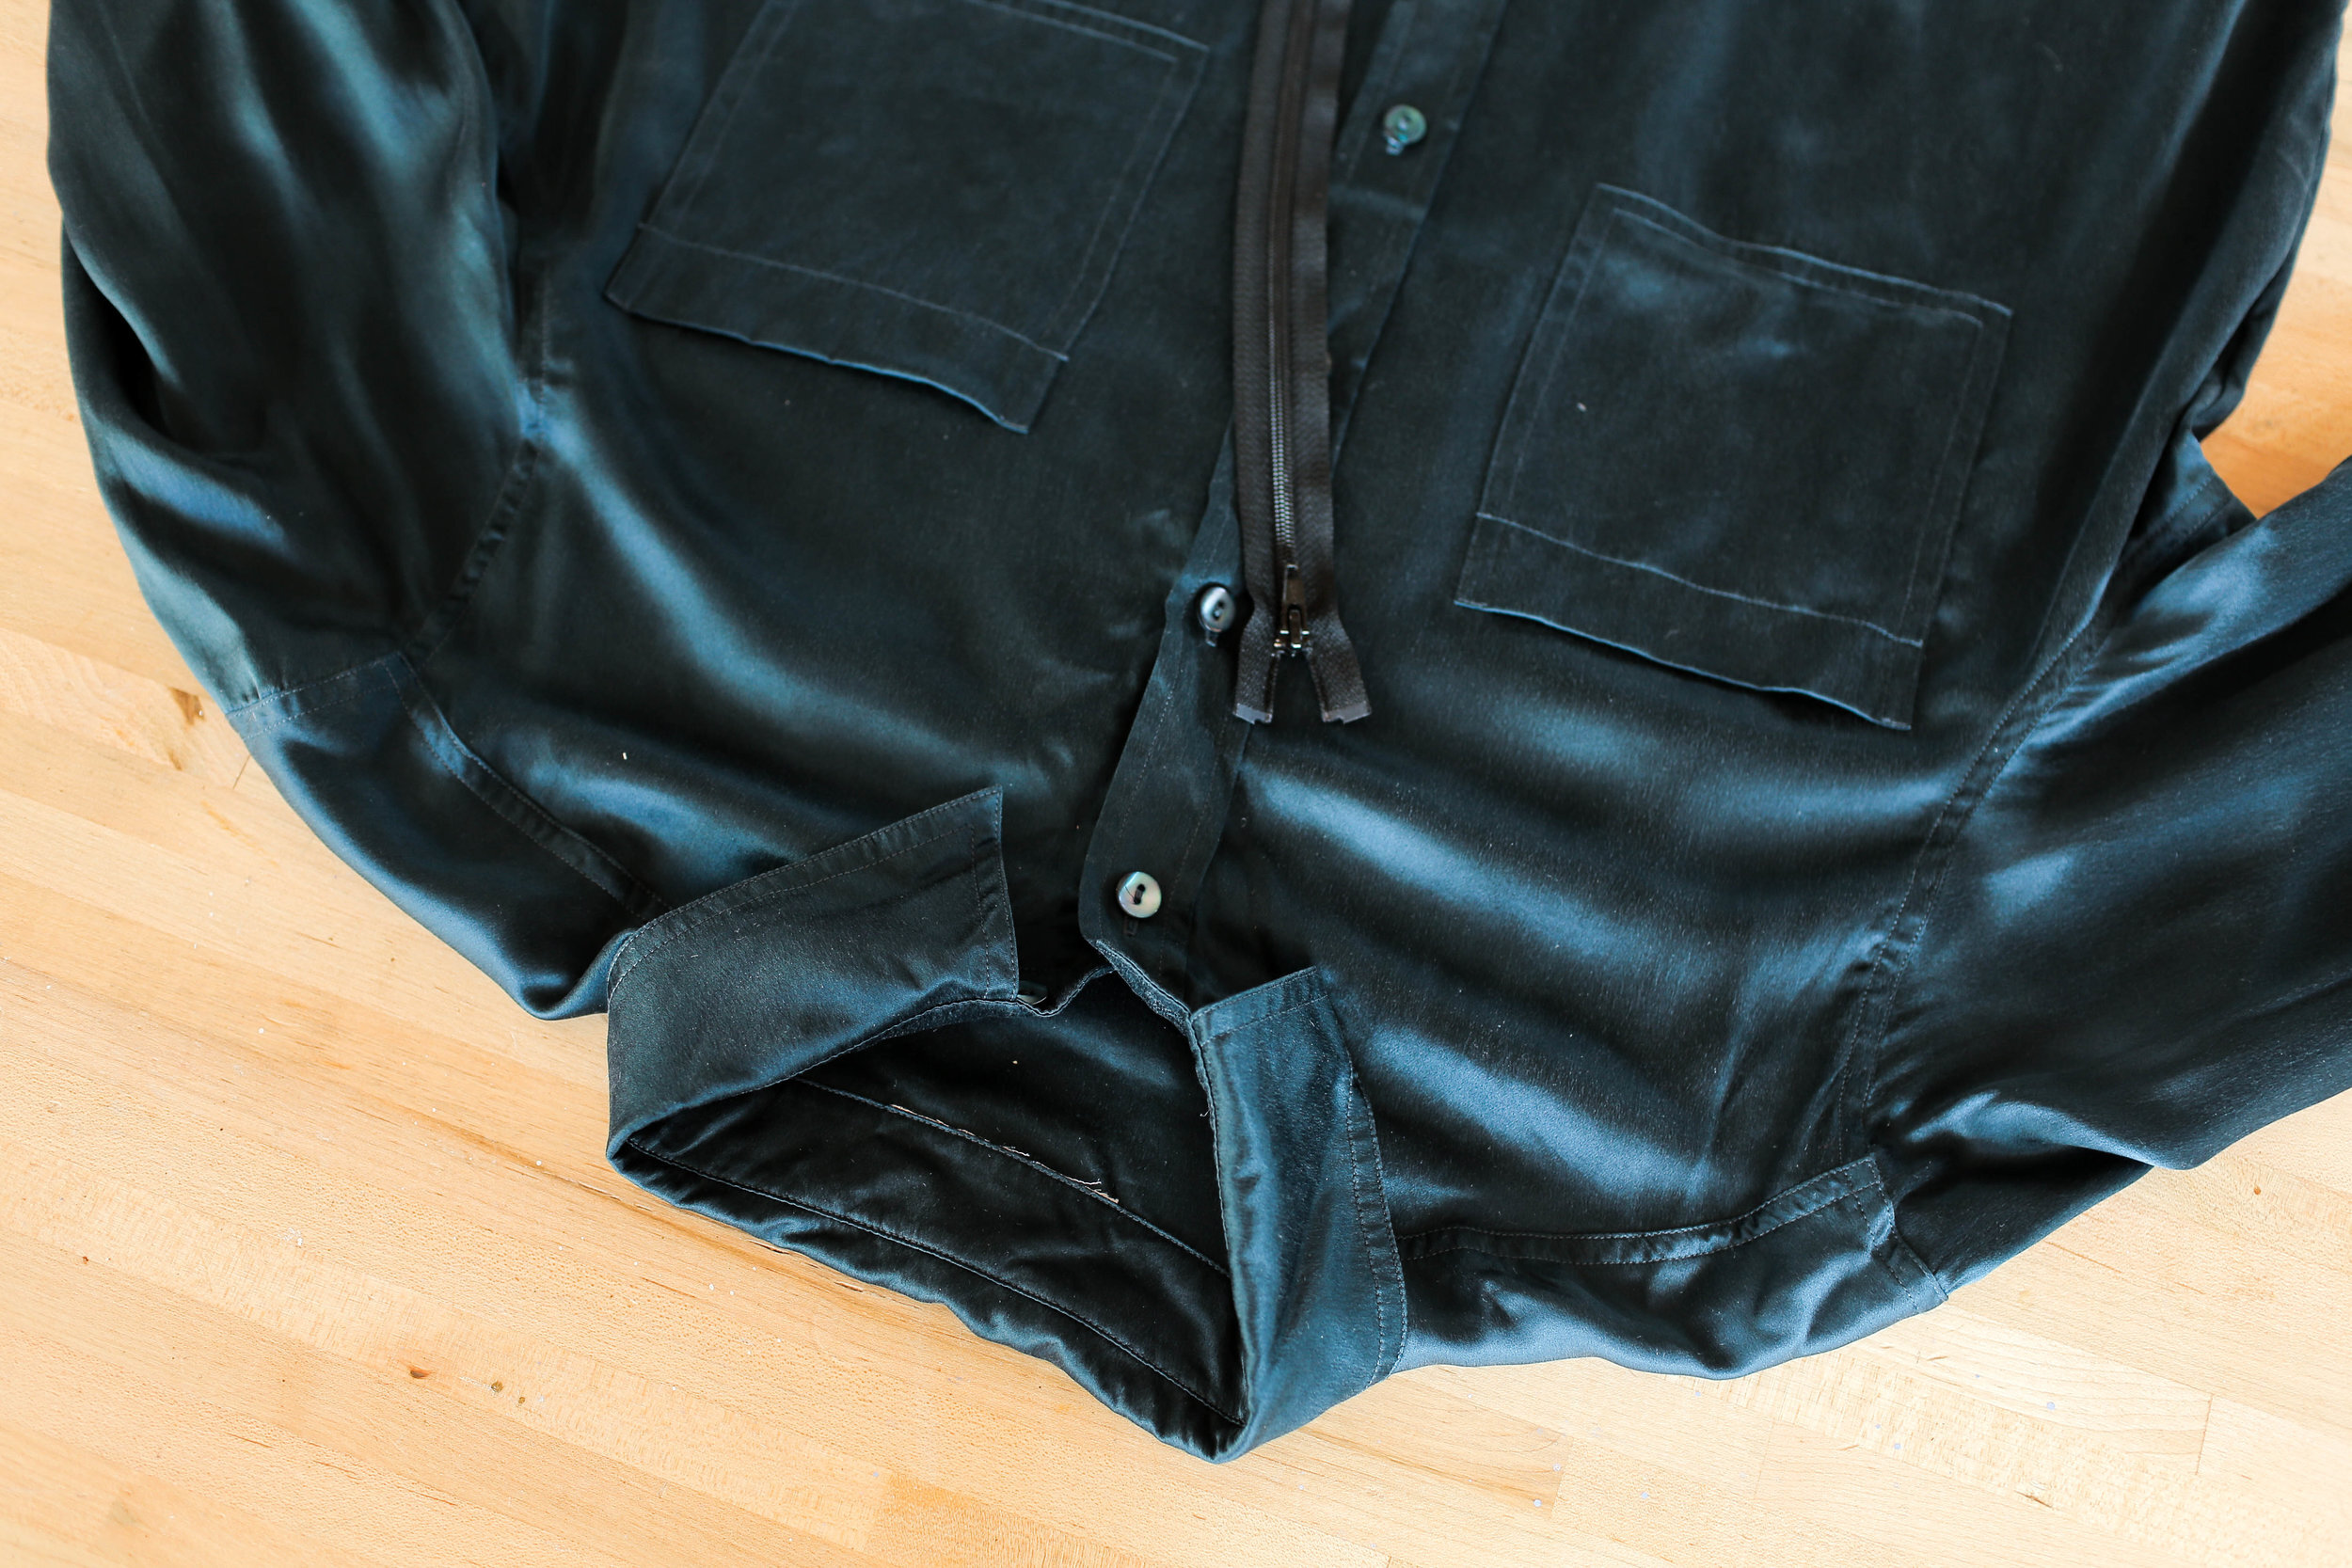
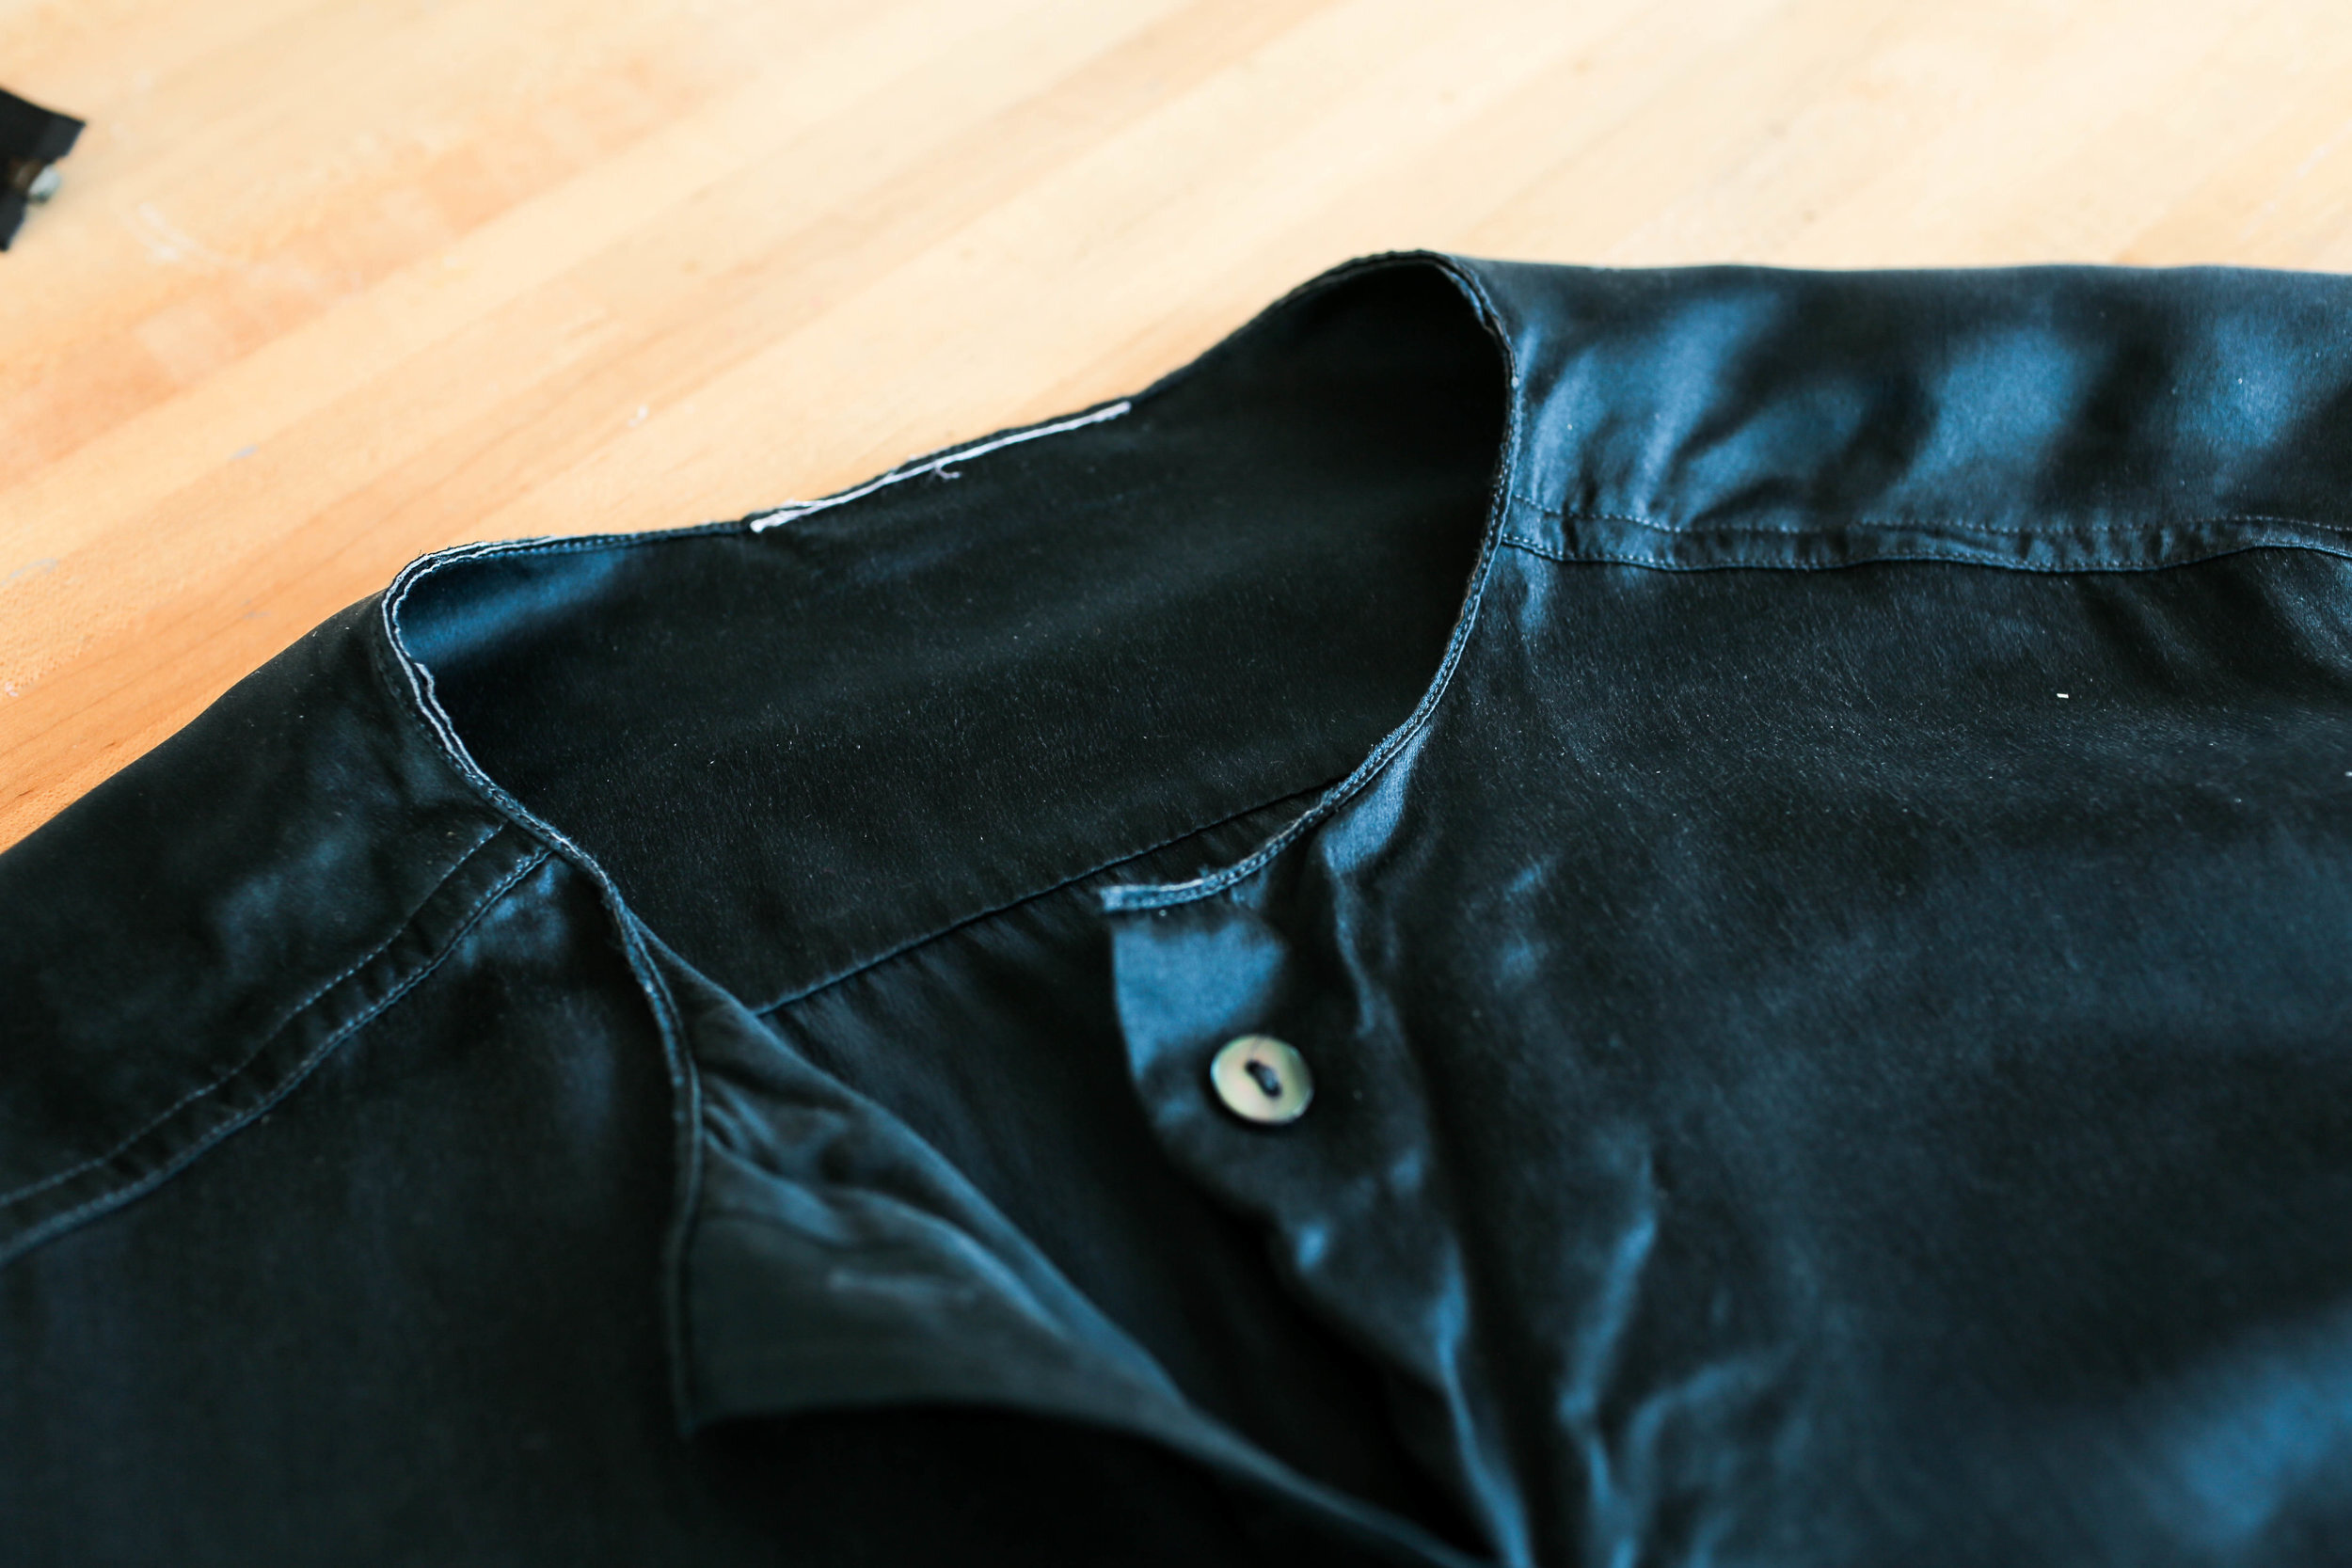
SILKY BOMBER


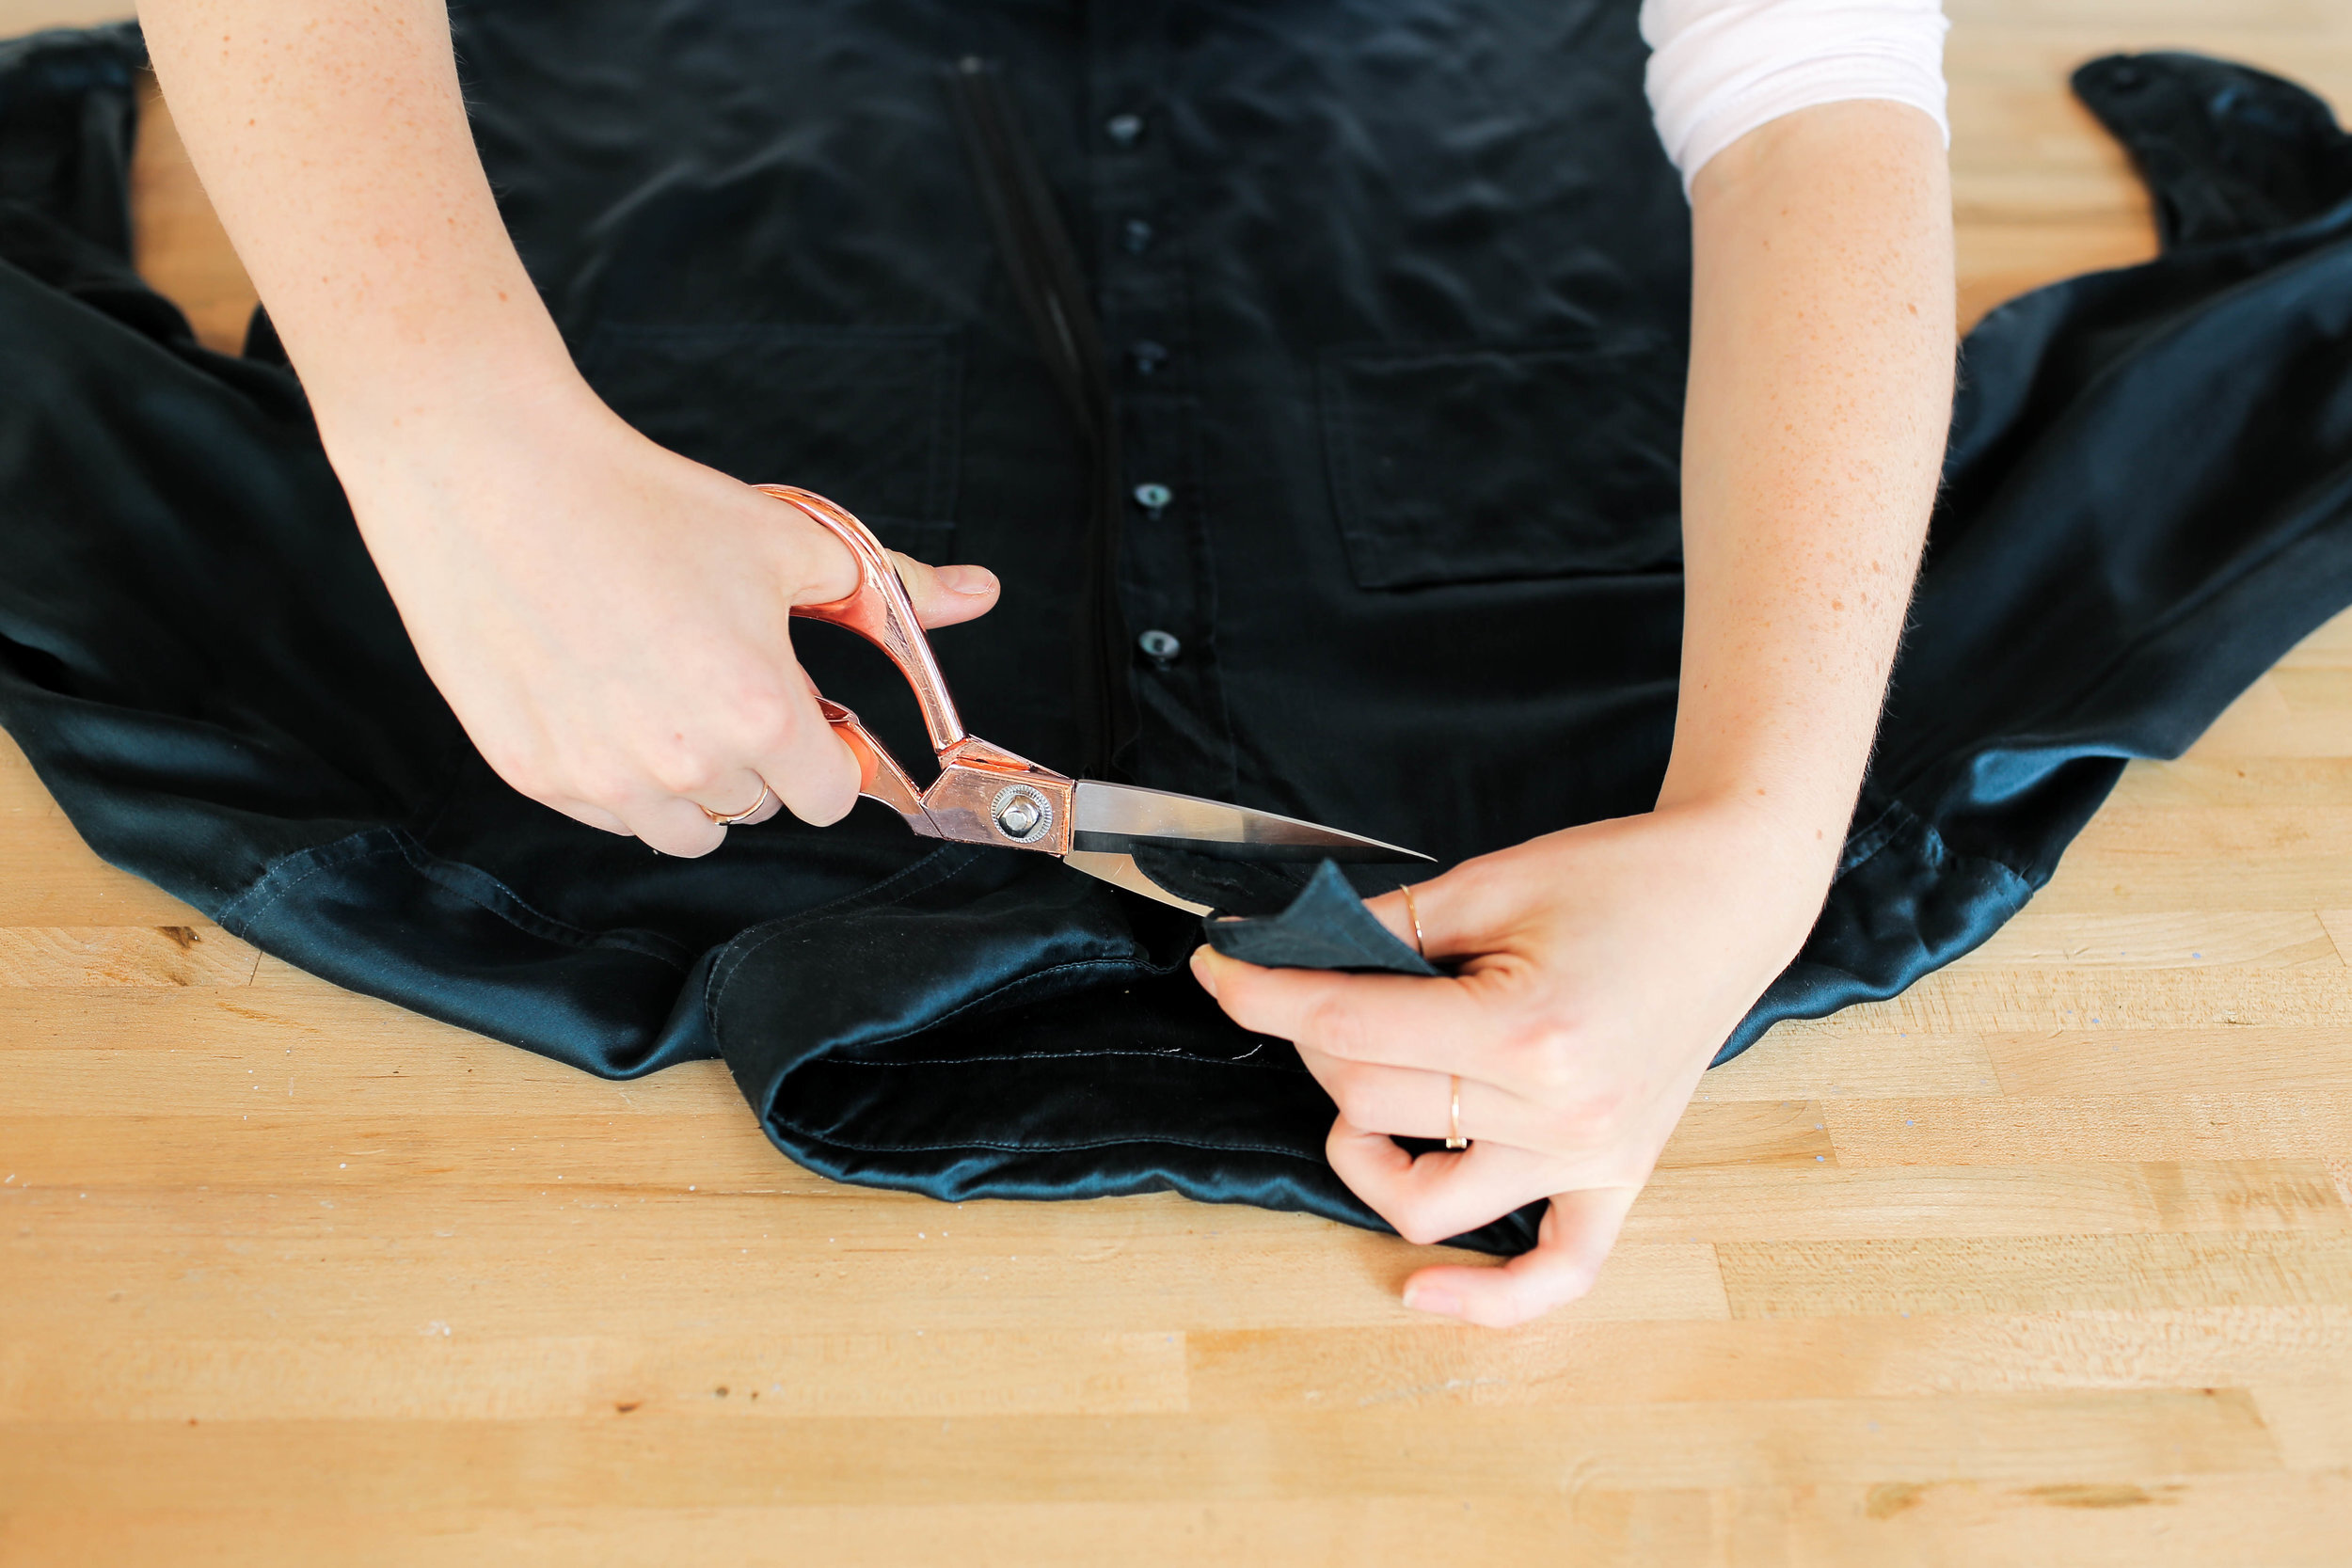
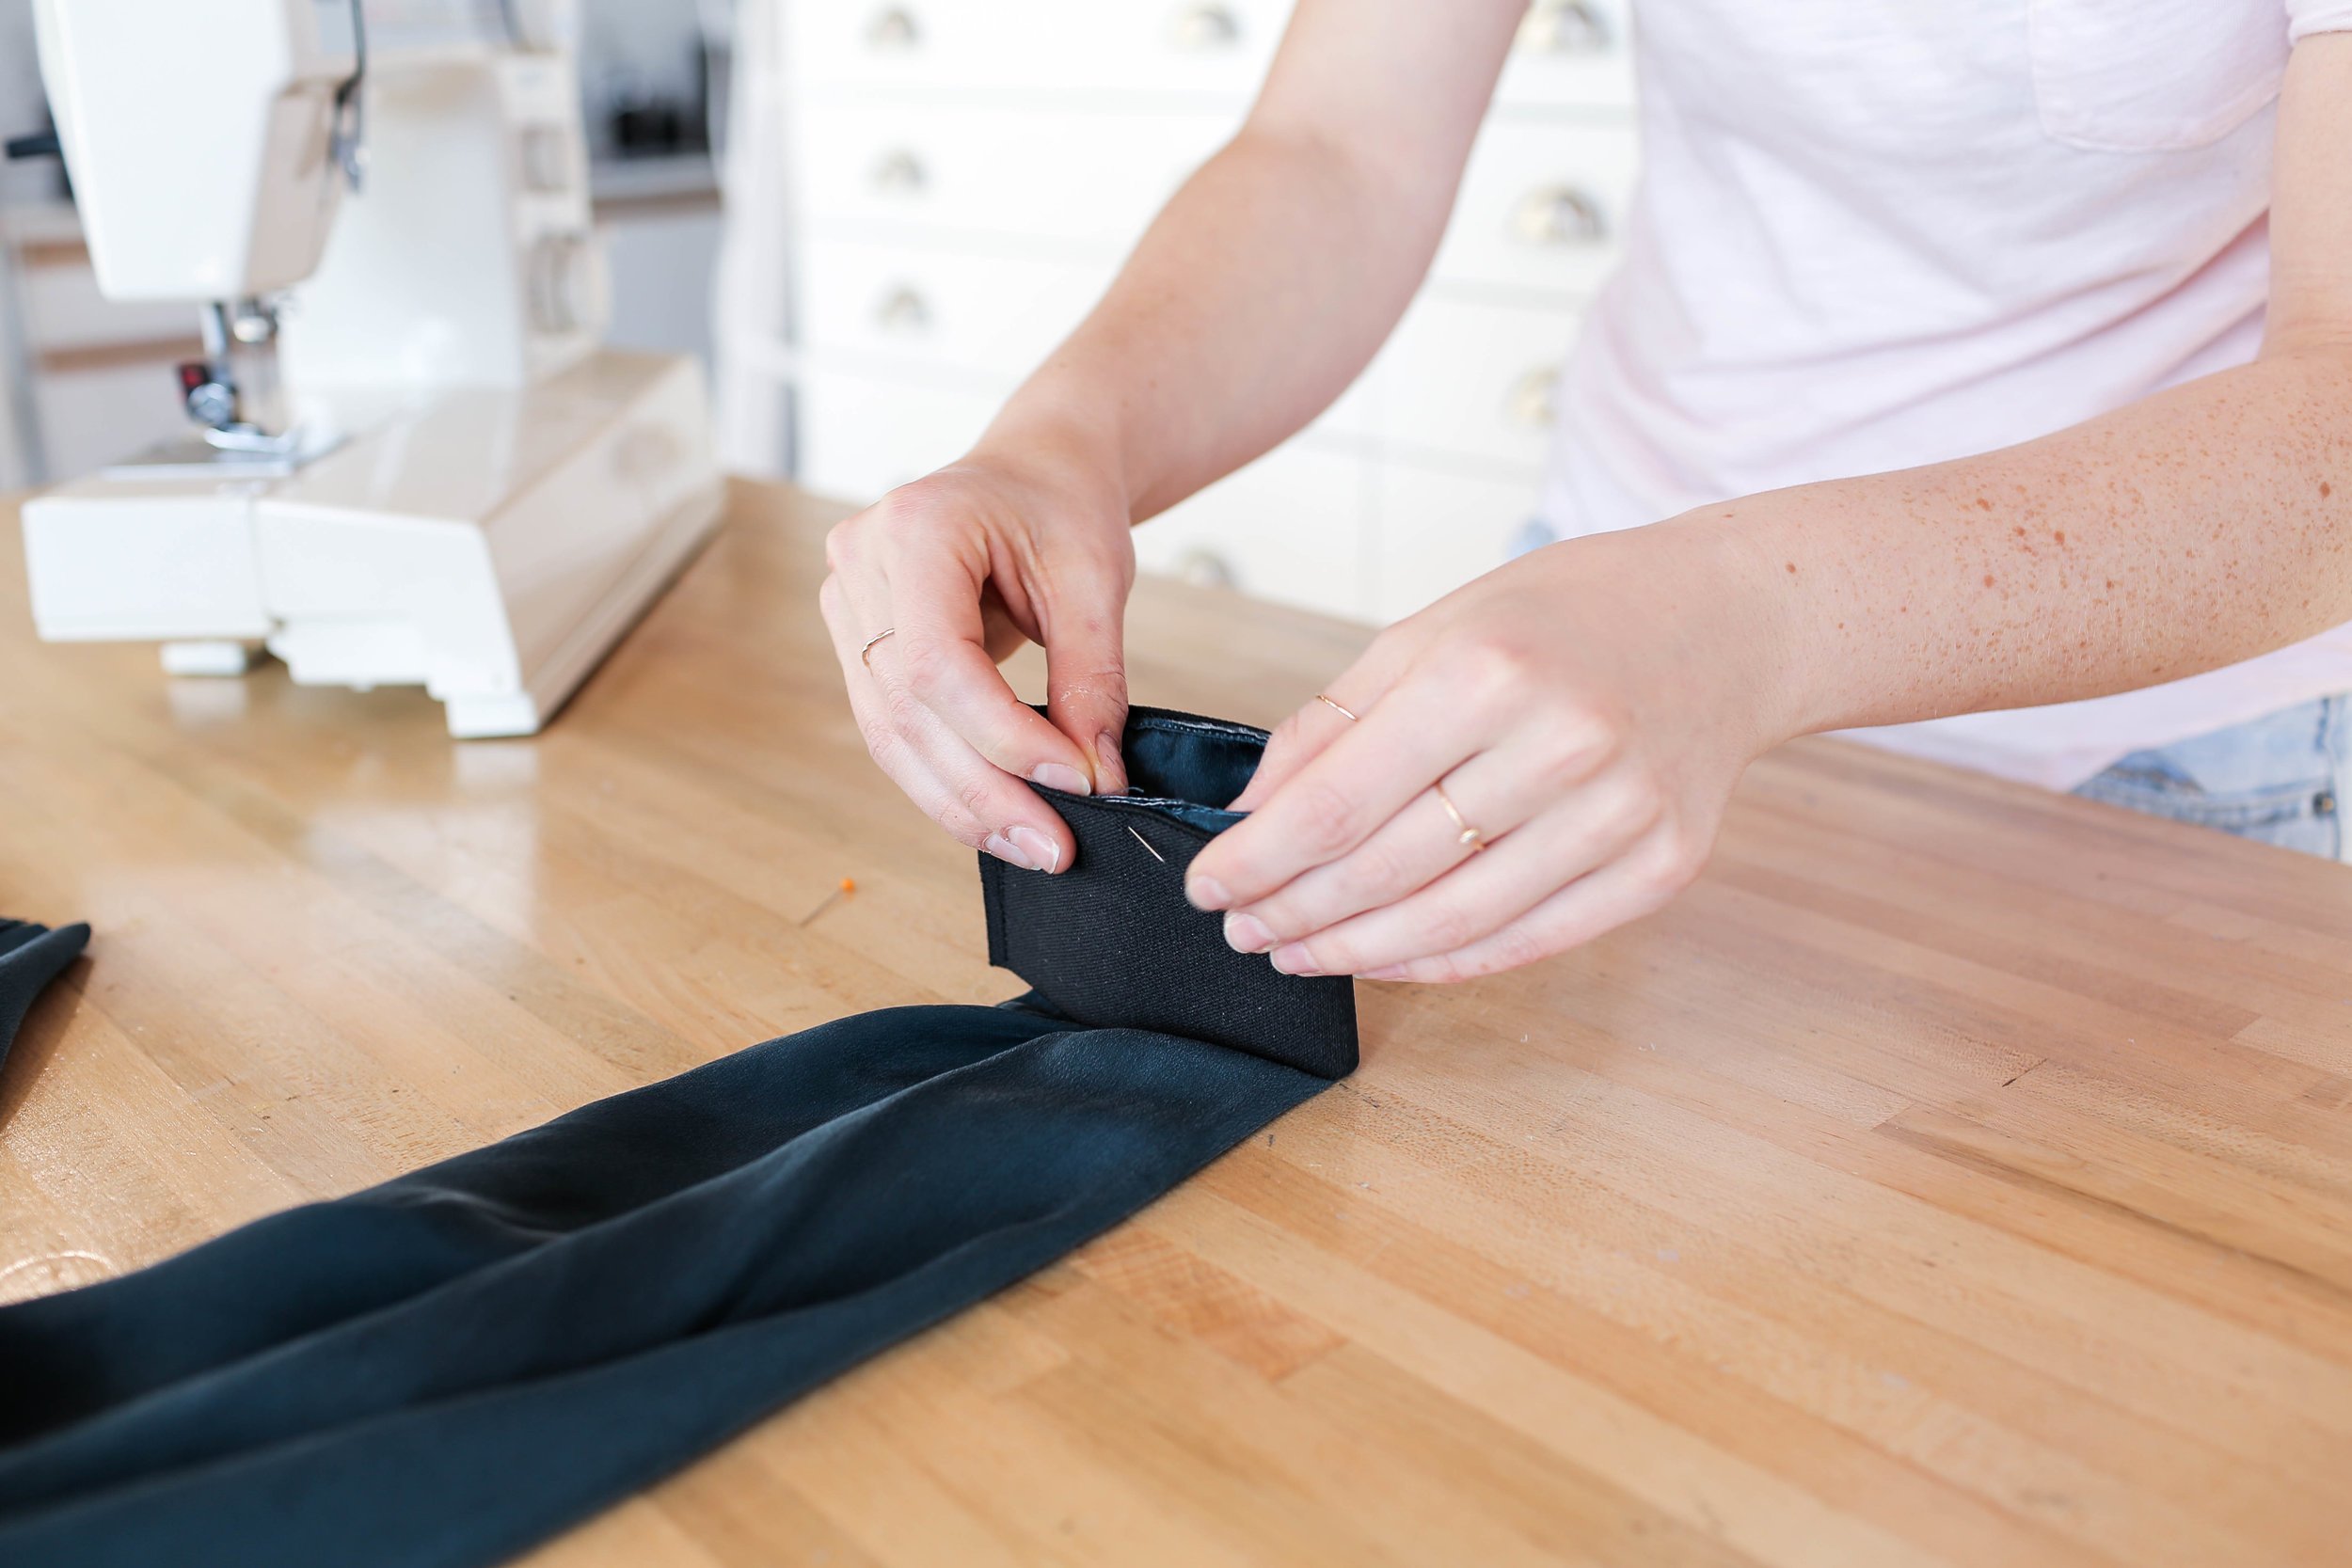
Next up we’re creating a bomber - out of a blouse! Sounds impossible but indeed it’s not. We picked up this oversized silky shirt from the thrift store. Start by cutting off your collar. Lay a zipper down the front of your blouse and pin it into place. This will help determine the length of your jacket. Cut off your desired length from the bottom. Once your jacket is the correct length, you can cut off the cuffs from each sleeve. We left a bit of the old cuff so that we didn’t need to re-gather the material later. Next you can measure out elastic for your cuffs by wrapping it around your wrist comfortably. Once you’ve cut this to size, sew each cuff to form a tube with a sewing machine. Pin your tube cuffs to your sleeves with the good side of your fabric and elastic together, and sew all the way around with a straight stitch.

Once your cuffs are finished you can remove the two front panels containing the buttons and the buttonholes, this is where you’ll attach your zipper. I opened the zipper and attached the one side of the zipper with the front of the zipper facing down and the teeth to the right (when attaching it to the right side of my jacket). I’m going to sew this using a straight stitch but leave a gap at the bottom the size of the elastic. Once that’s done it will look like this.
Now I’m going to add a stitch to finish the zipper seam and make it lie flat but before we stitch it up make sure that you slip your bottom elastic, cut to the size of your waist, between the zipper and the fabric with the tail of the elastic facing the opening of your jacket, and then fold back so it’s facing in my case, to the right, pin and sew this line. Repeat on the other side of your jacket and just pay special attention to the bottom elastic and make sure it will lay the way you want to and not be twisted before you sew. Next up we’re going to evenly gather the jacket fabric and pin to the waist elastic. Go ahead and sew this to the top of the elastic and cut and excess fabric. Last up is the collar, again we’re using the elastic but we’re going to use a smaller portion. With the good side of your jacket facing down, lay your elastic underneath. This part is a little confusing but everything you can see right now is going to be flipped to the inside. So we’re pinning a curved shape because once you sew, and flip, you’ll only see this small portion of the elastic and it looks sick! Cut out any excess elastic that is on the inside of your jacket and you’re done!