DIY faux leather tote and wallet
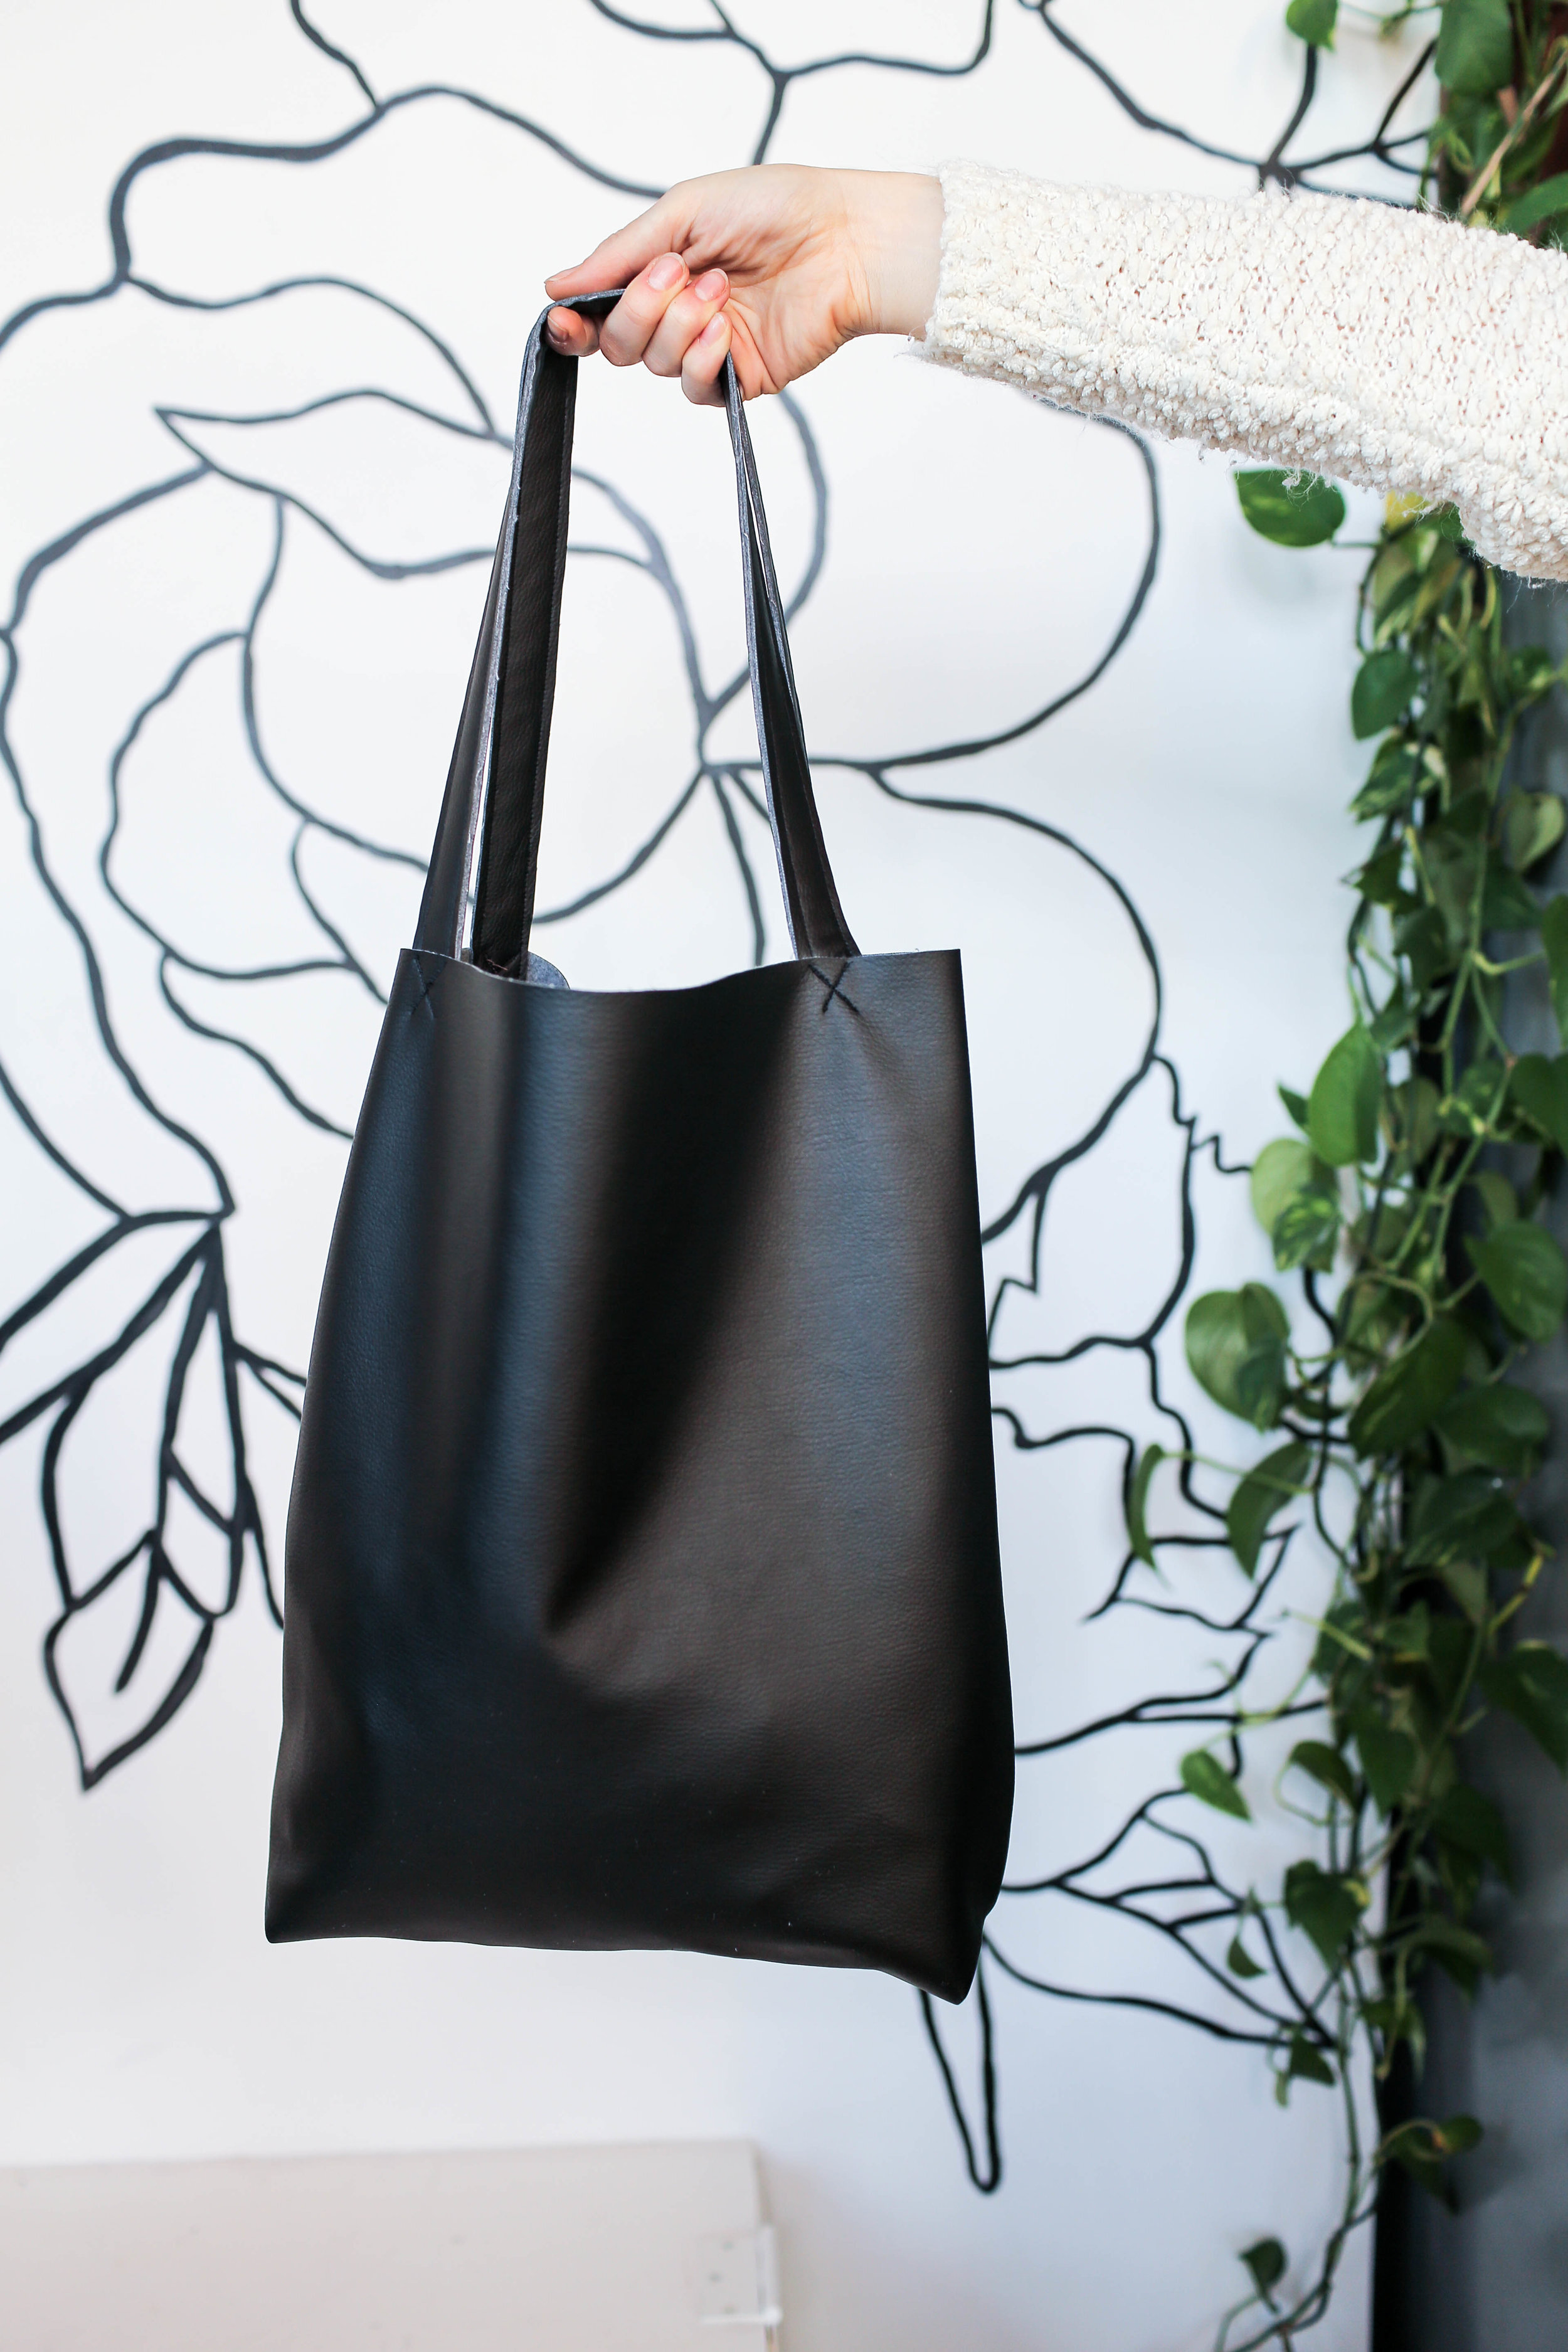
Welcome to Gift Week! The series where we release tons of DIY gift ideas all week to prep you for the holiday season! Today we are going to be showing you how to make this gorgeous faux leather tote bag and mini wallet!
LEATHER TOTE

MATERIALS:
Faux leather
TOOLS:
Scissors
Ruler
Pencil
Pins
Sewing machine
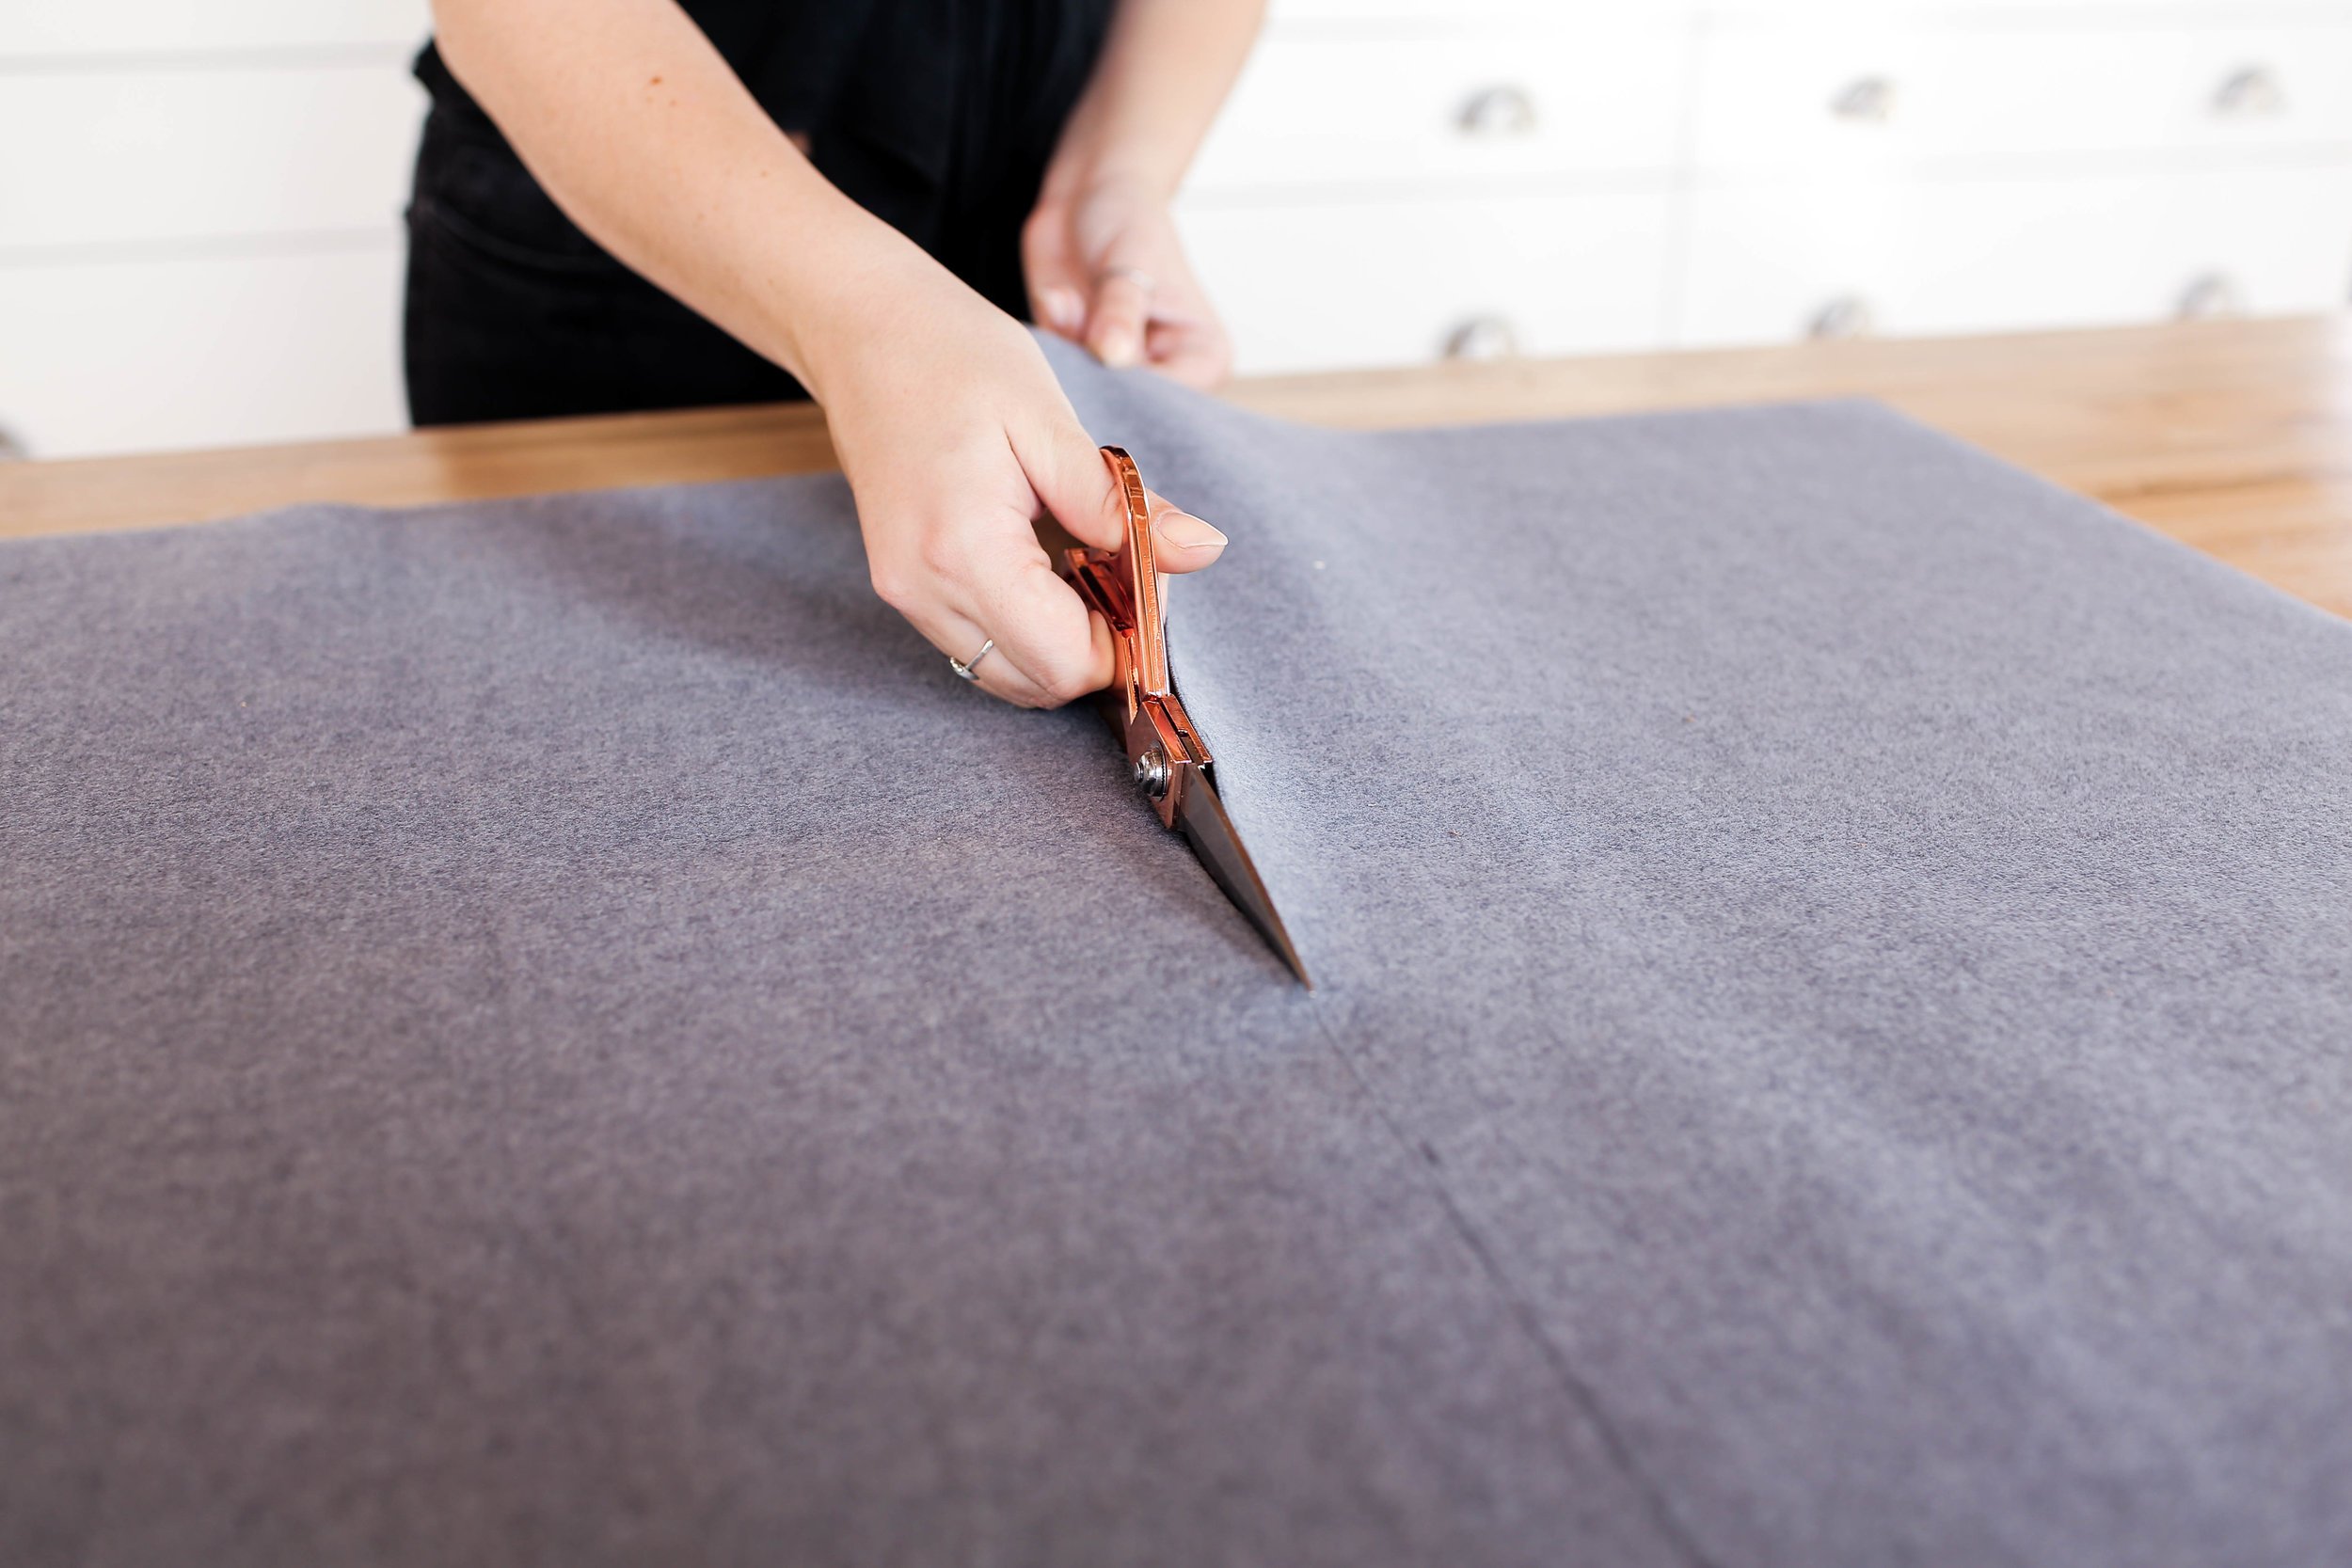
The first step is to lay out your fabric on a table and decide how big you want your tote to be. Whatever you decide your size to be, double the length of the tote and keep the width normal, this is because we will be folding our rectangle in half when we make the bag. Draw this rectangle out on your fabric and cut it out. Our rectangle ended up being 34” by 55.5”.


Next, fold our rectangle in half with the good sides facing each other. Sew along each of the vertical sides with a straight stitch.

Pull out the sides that are not sewn so that the sewn sides are on the top facing you and bottom against the table. Use a ruler and measure two inches down the side seam and mark a straight line across. This should create a little triangle shape at the tip of the bag. Sew along this line and repeat on the other side. This is going to create a more formed base for your bag! Go ahead and flip your bag inside out. Time to work on the straps! We cut out to strips of fabric that were 48” long by 1.25”. Fold these in half with the bad sides facing each other. Sew two straight stitches on either side of the straps. Next, cut off both edges to make the straps a little thinner. Pin the straps to the bag and sew in place. Use an X pattern to attach.
MINIMAL CARD HOLDER

MATERIALS:
Faux leather
TOOLS:
A card
Pins
Sewing machine
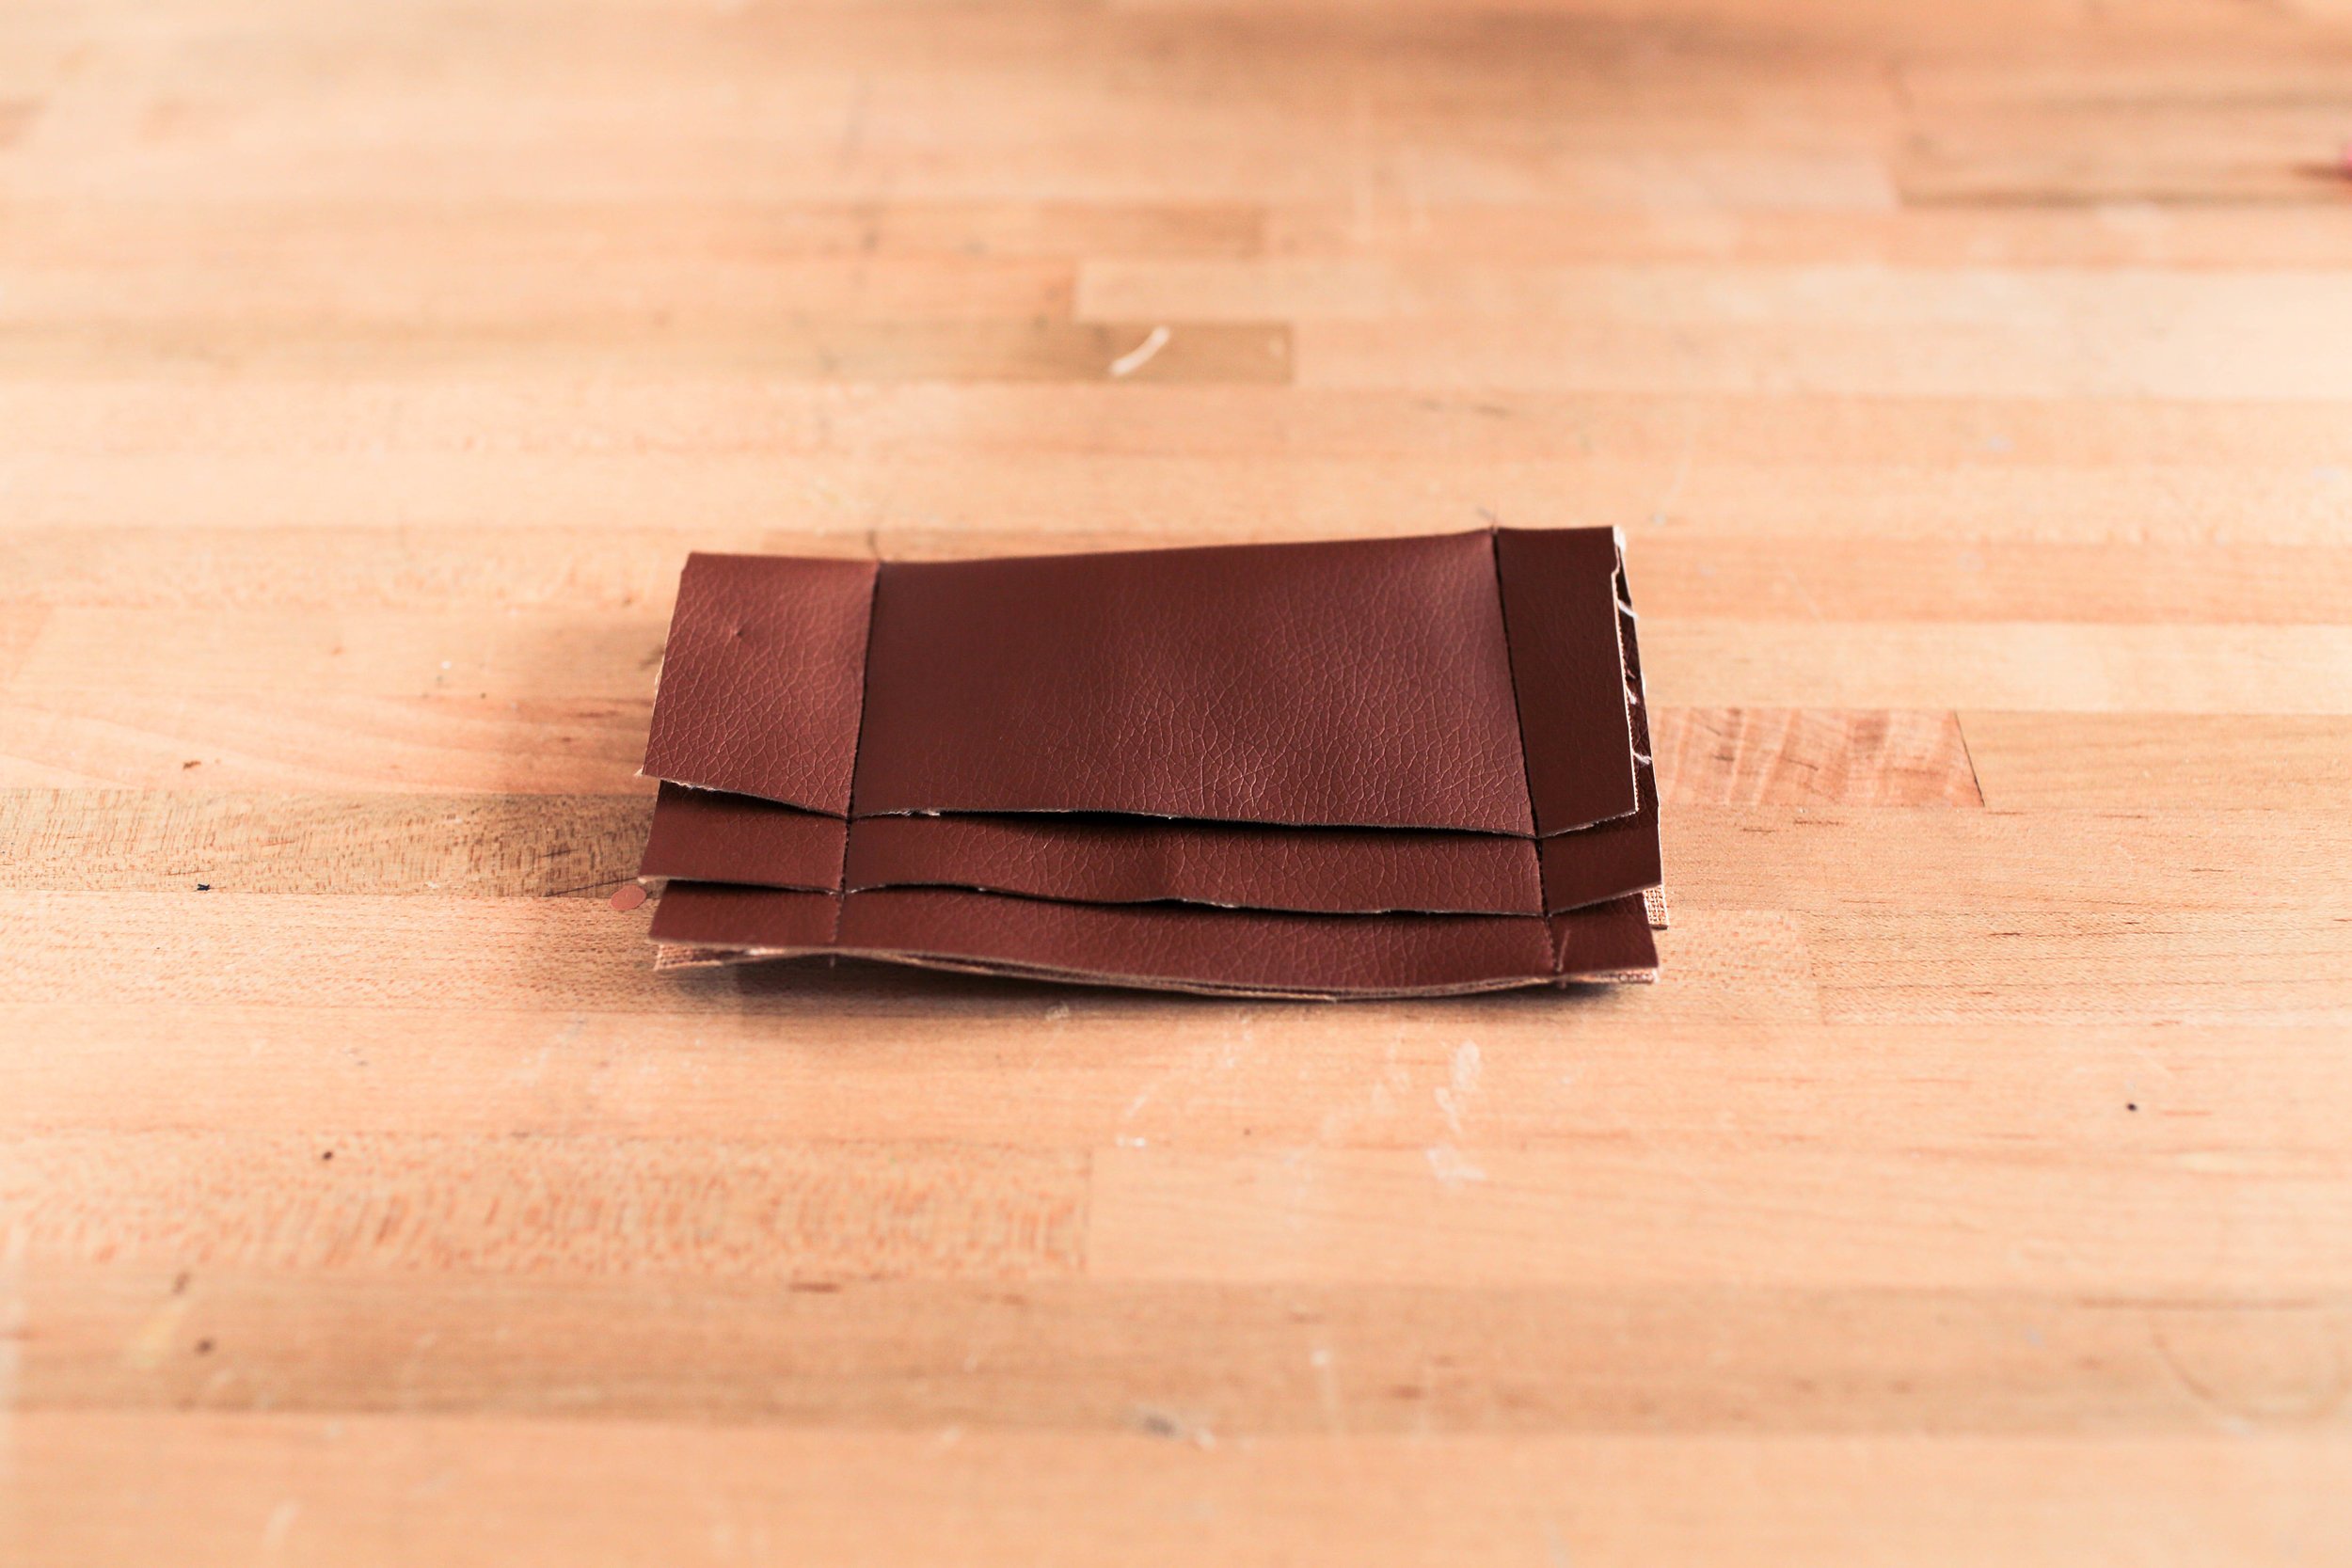
Start by grabbing your fabric of choice and measure out the card holder using the width of a card. You’ll want to leave a good amount of seam allowance and trimming. Go ahead and place your card on the fabric and trace around it with a pencil. We left about an inch and a quarter border around the card. Next, place your card against the border where you think it might look best for the very top card to stick out of the card holder. Mark the bottom of the card with a pencil. Now, you should have a rectangle that is about an inch and a quarter bigger than your card all the way around and a line around the middle of the rectangle marking the bottom of the tallest card.

Fold your fabric in half and cut the rectangle out. Grab that rectangle and trace it onto another piece of fabric twice and cut this out as well. Set these second and third pieces aside, we’re going to use them later. Next, with your fabric folded in half (good sides on the outside) pin the spot where the bottom of your card will be with a few pins. Sew straight across the wallet along this line. This is going to prevent your card from slipping to the very bottom of your wallet. Next, grab your second piece of faux leather that we set aside earlier and fold it around the piece we just sewed. Adjust the length of this piece so that the front and back edge of the leather sits just under the first edge of the sewn piece of leather. Next, place your card under the second layer of fabric and pin where you wish the card to sit on this layer. Pin and sew through all layers of the wallet, all the way across. Do this whole process one last time, placing the final piece of fabric we set aside around the wallet, measuring your desired placement, but don’t sew at the bottom of the wallet on this final layer. Pin the two sides of your wallet using your card as reference as to how wide the wallet should be and sew a straight stitch across all layers vertically. Be sure to back stitch here to add more strength to your wallet.

Trim all excess fabric with a sharp pair of fabric scissors.

And that’s it! Stay tuned for more gift ideas all week long! If you make any of these DIYs, be sure to share with us using the hashtag #SorryGirlsSquad! Check out the video below!