DIY a Fanny Pack!
Today we are throwing it back and doing a fanny pack DIY! We are doing a couple of modern versions of the classic fanny pack that is making a total comeback in 2018.
BECKY’S UPCYCLED FANNY PACK
MATERIALS:
Large wallet or clutch - $5
An old or thrifted belt - $5
TOOLS:
White pencil crayon
Ruler
Exacto knife
This upcycle reminds us of this old video we made showing you guys how to turn a side bag into a cute mini backpack (you can see it here!). We are going to do a similar thing here, and turn a side back into a fanny pack!
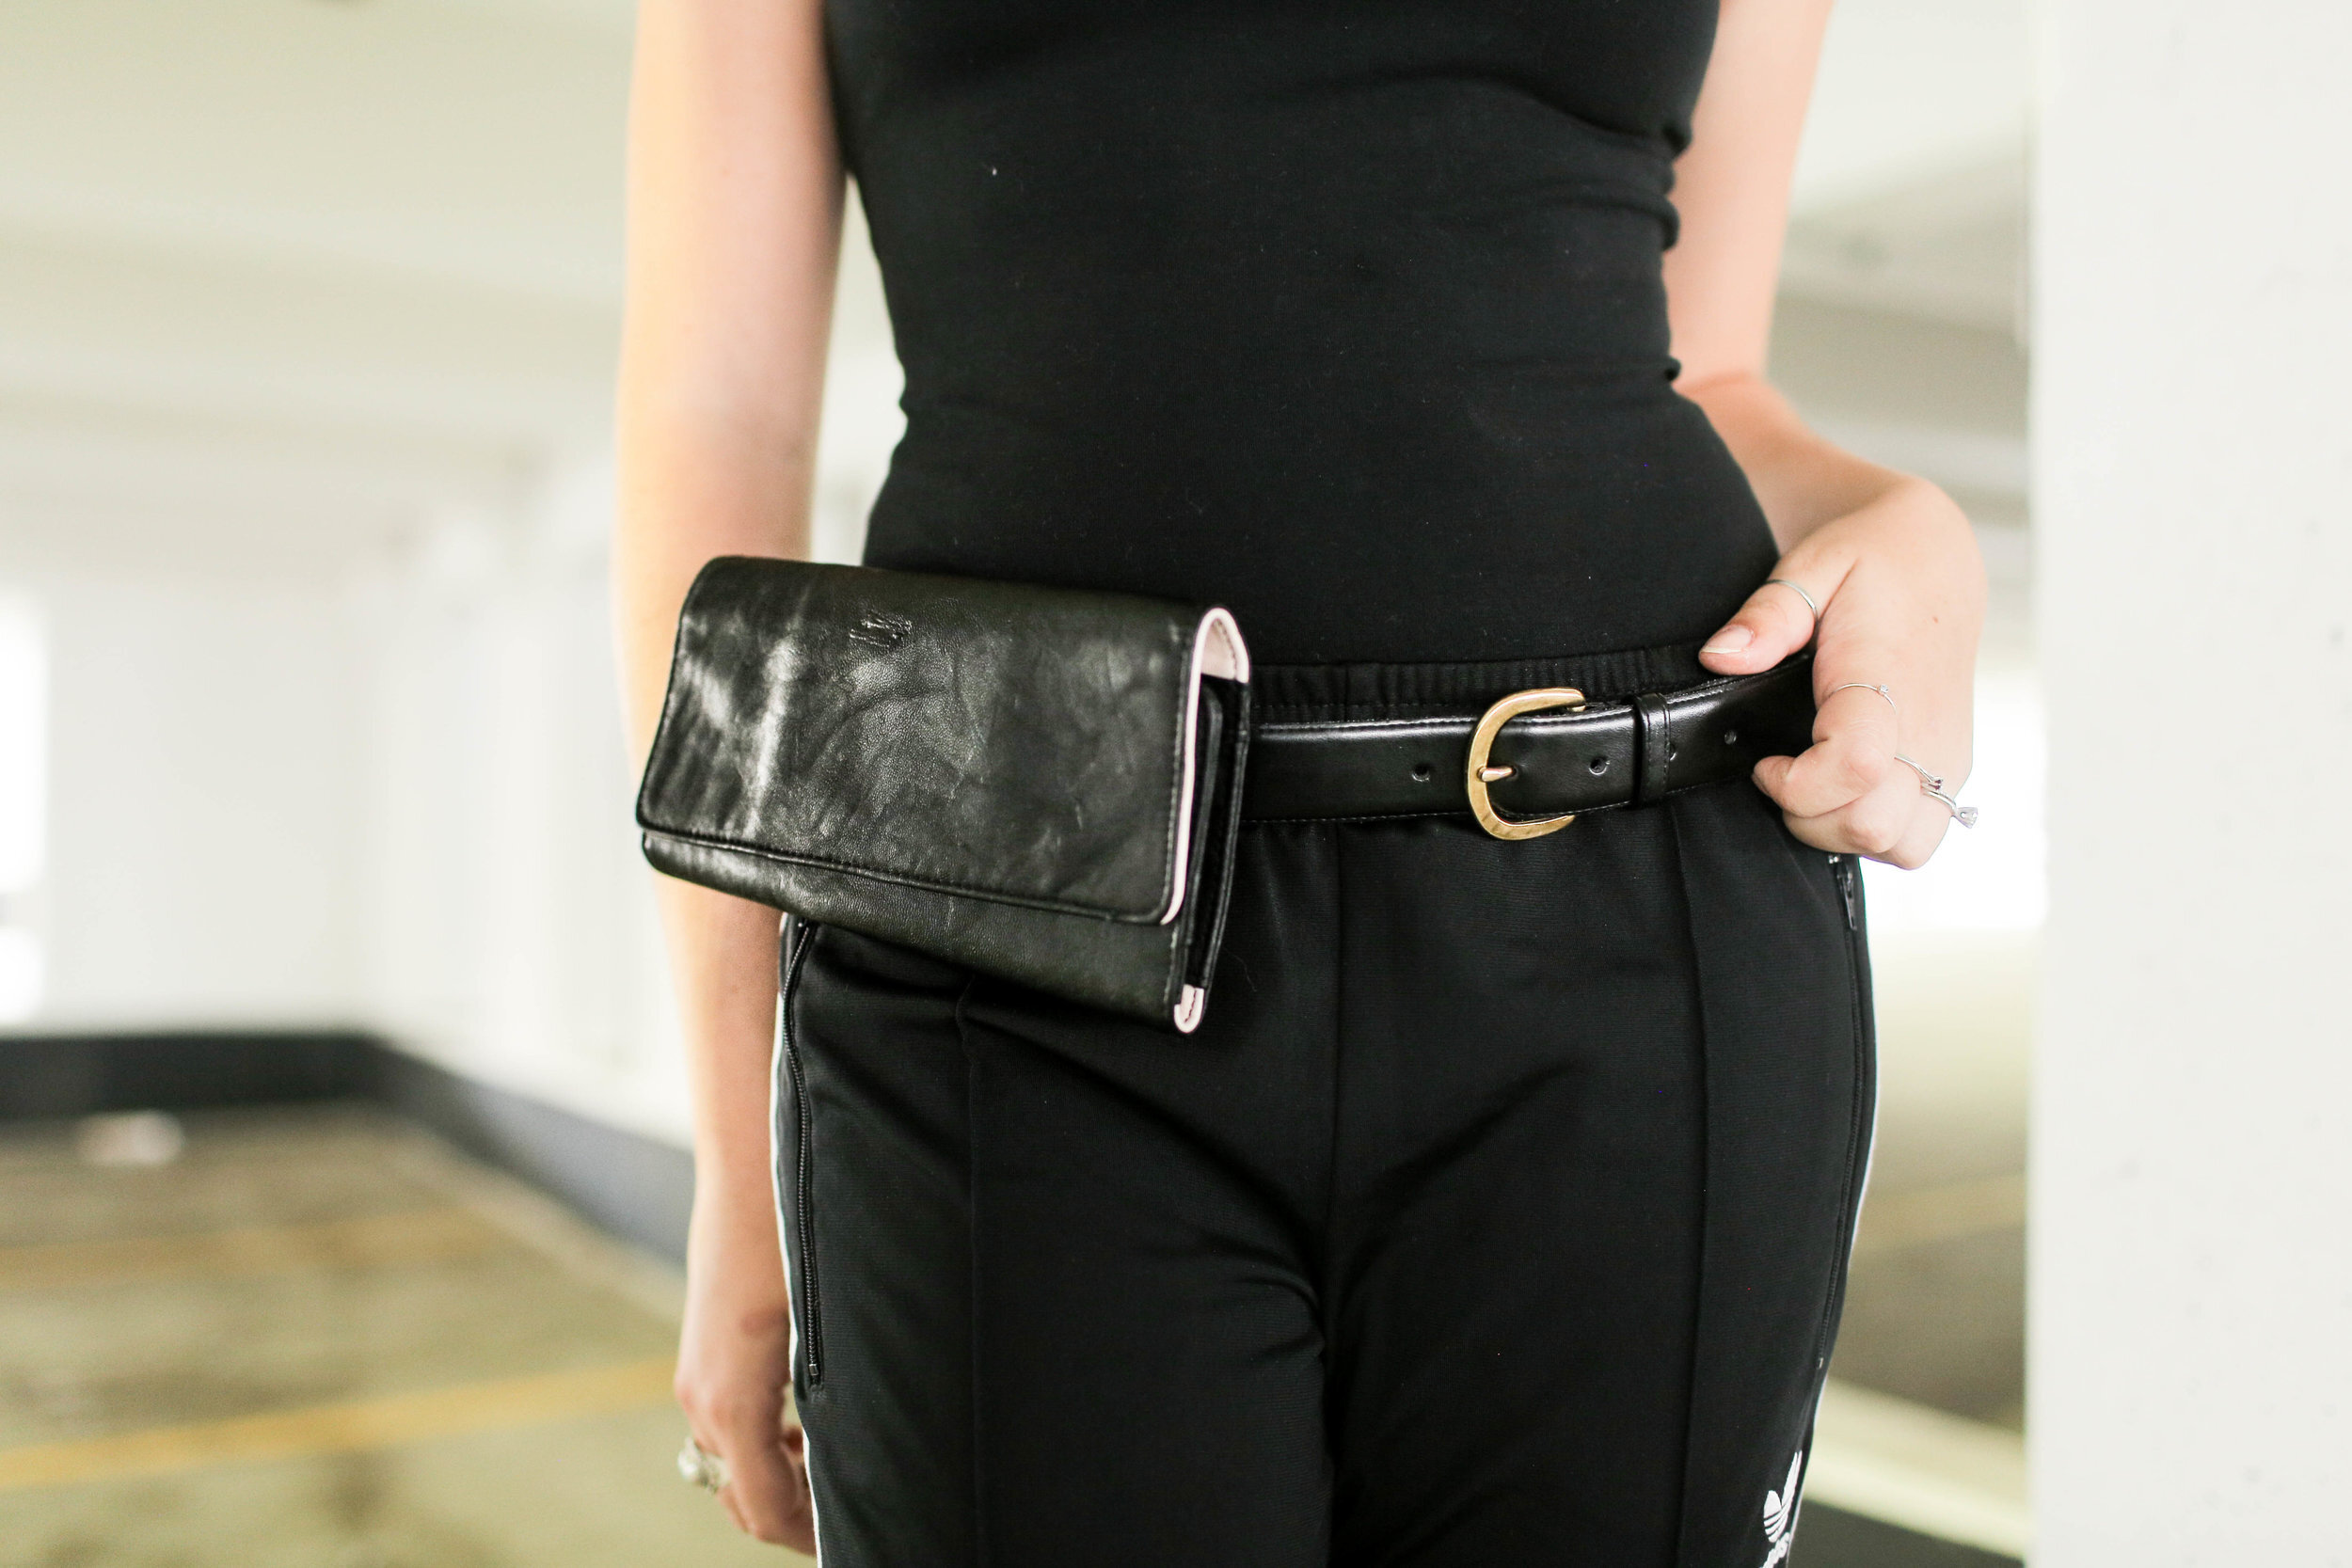
You’re going to need an old clutch or large wallet, and a belt. We got both of these items from our local thrift store, but you can use items you have already that you want to upcycle!
The idea is to create two slits at the back of the wallet to slide the belt through to create the fanny pack! We used a ruler to find the center of the bag and marked that with a white pencil crayon, then went an inch and a half (3.8 cm) in from the side of the bag and marked that as well.


Then, I used a craft knife to cut a small line at the inch and a half mark that is the width of the belt. Repeat this on both sides. When you’re cutting, make sure you aren’t cutting through to the front of the bag. To finish off the bag, thread the belt through the two slits and you’re done!


KELSEY’S FROM-SCRATCH FANNY PACK

MATERIALS:
Faux leather - ~ $5.00
Screw post - $5.25
Lobster claw - $3.00
Two large jump rings - $3.00
TOOLS:
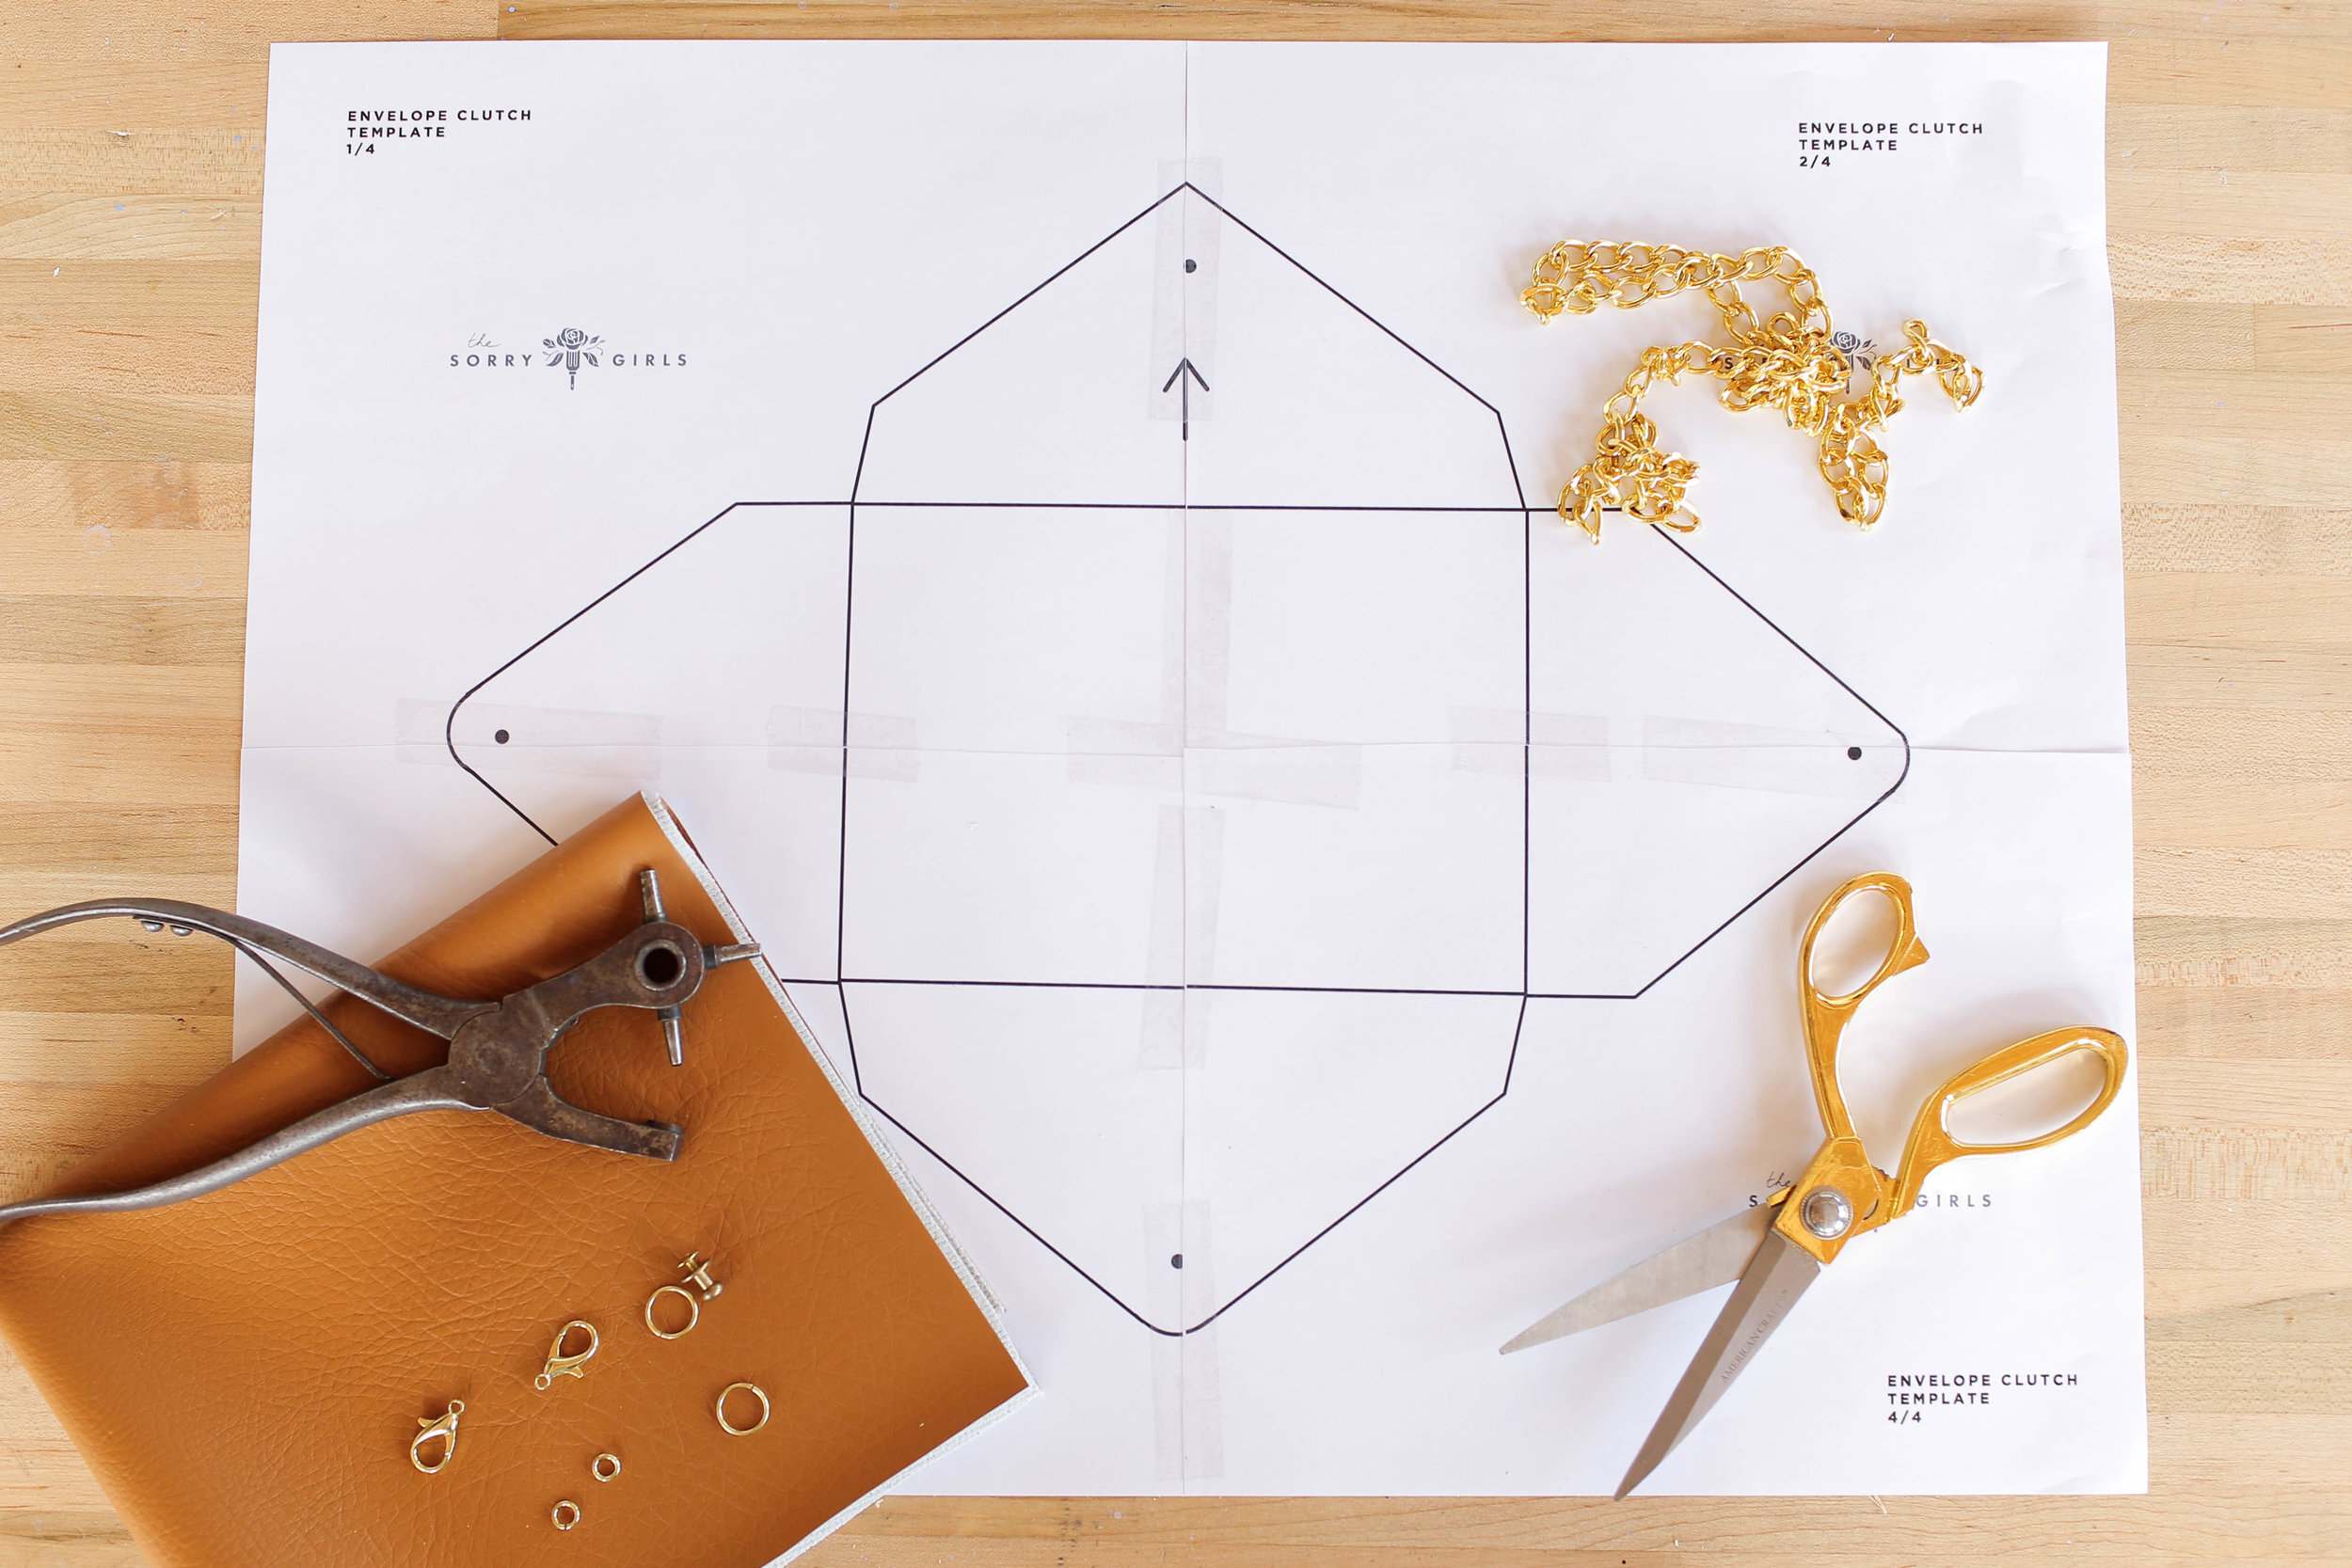
Our template - $0.99
Scissors
Fabric scissors
Leather hole punch
Crafting pliers
This fanny pack is made from scratch, but it IS no sew, so it’s still super easy to make! This one is made from some faux leather and some funky gold hardware!
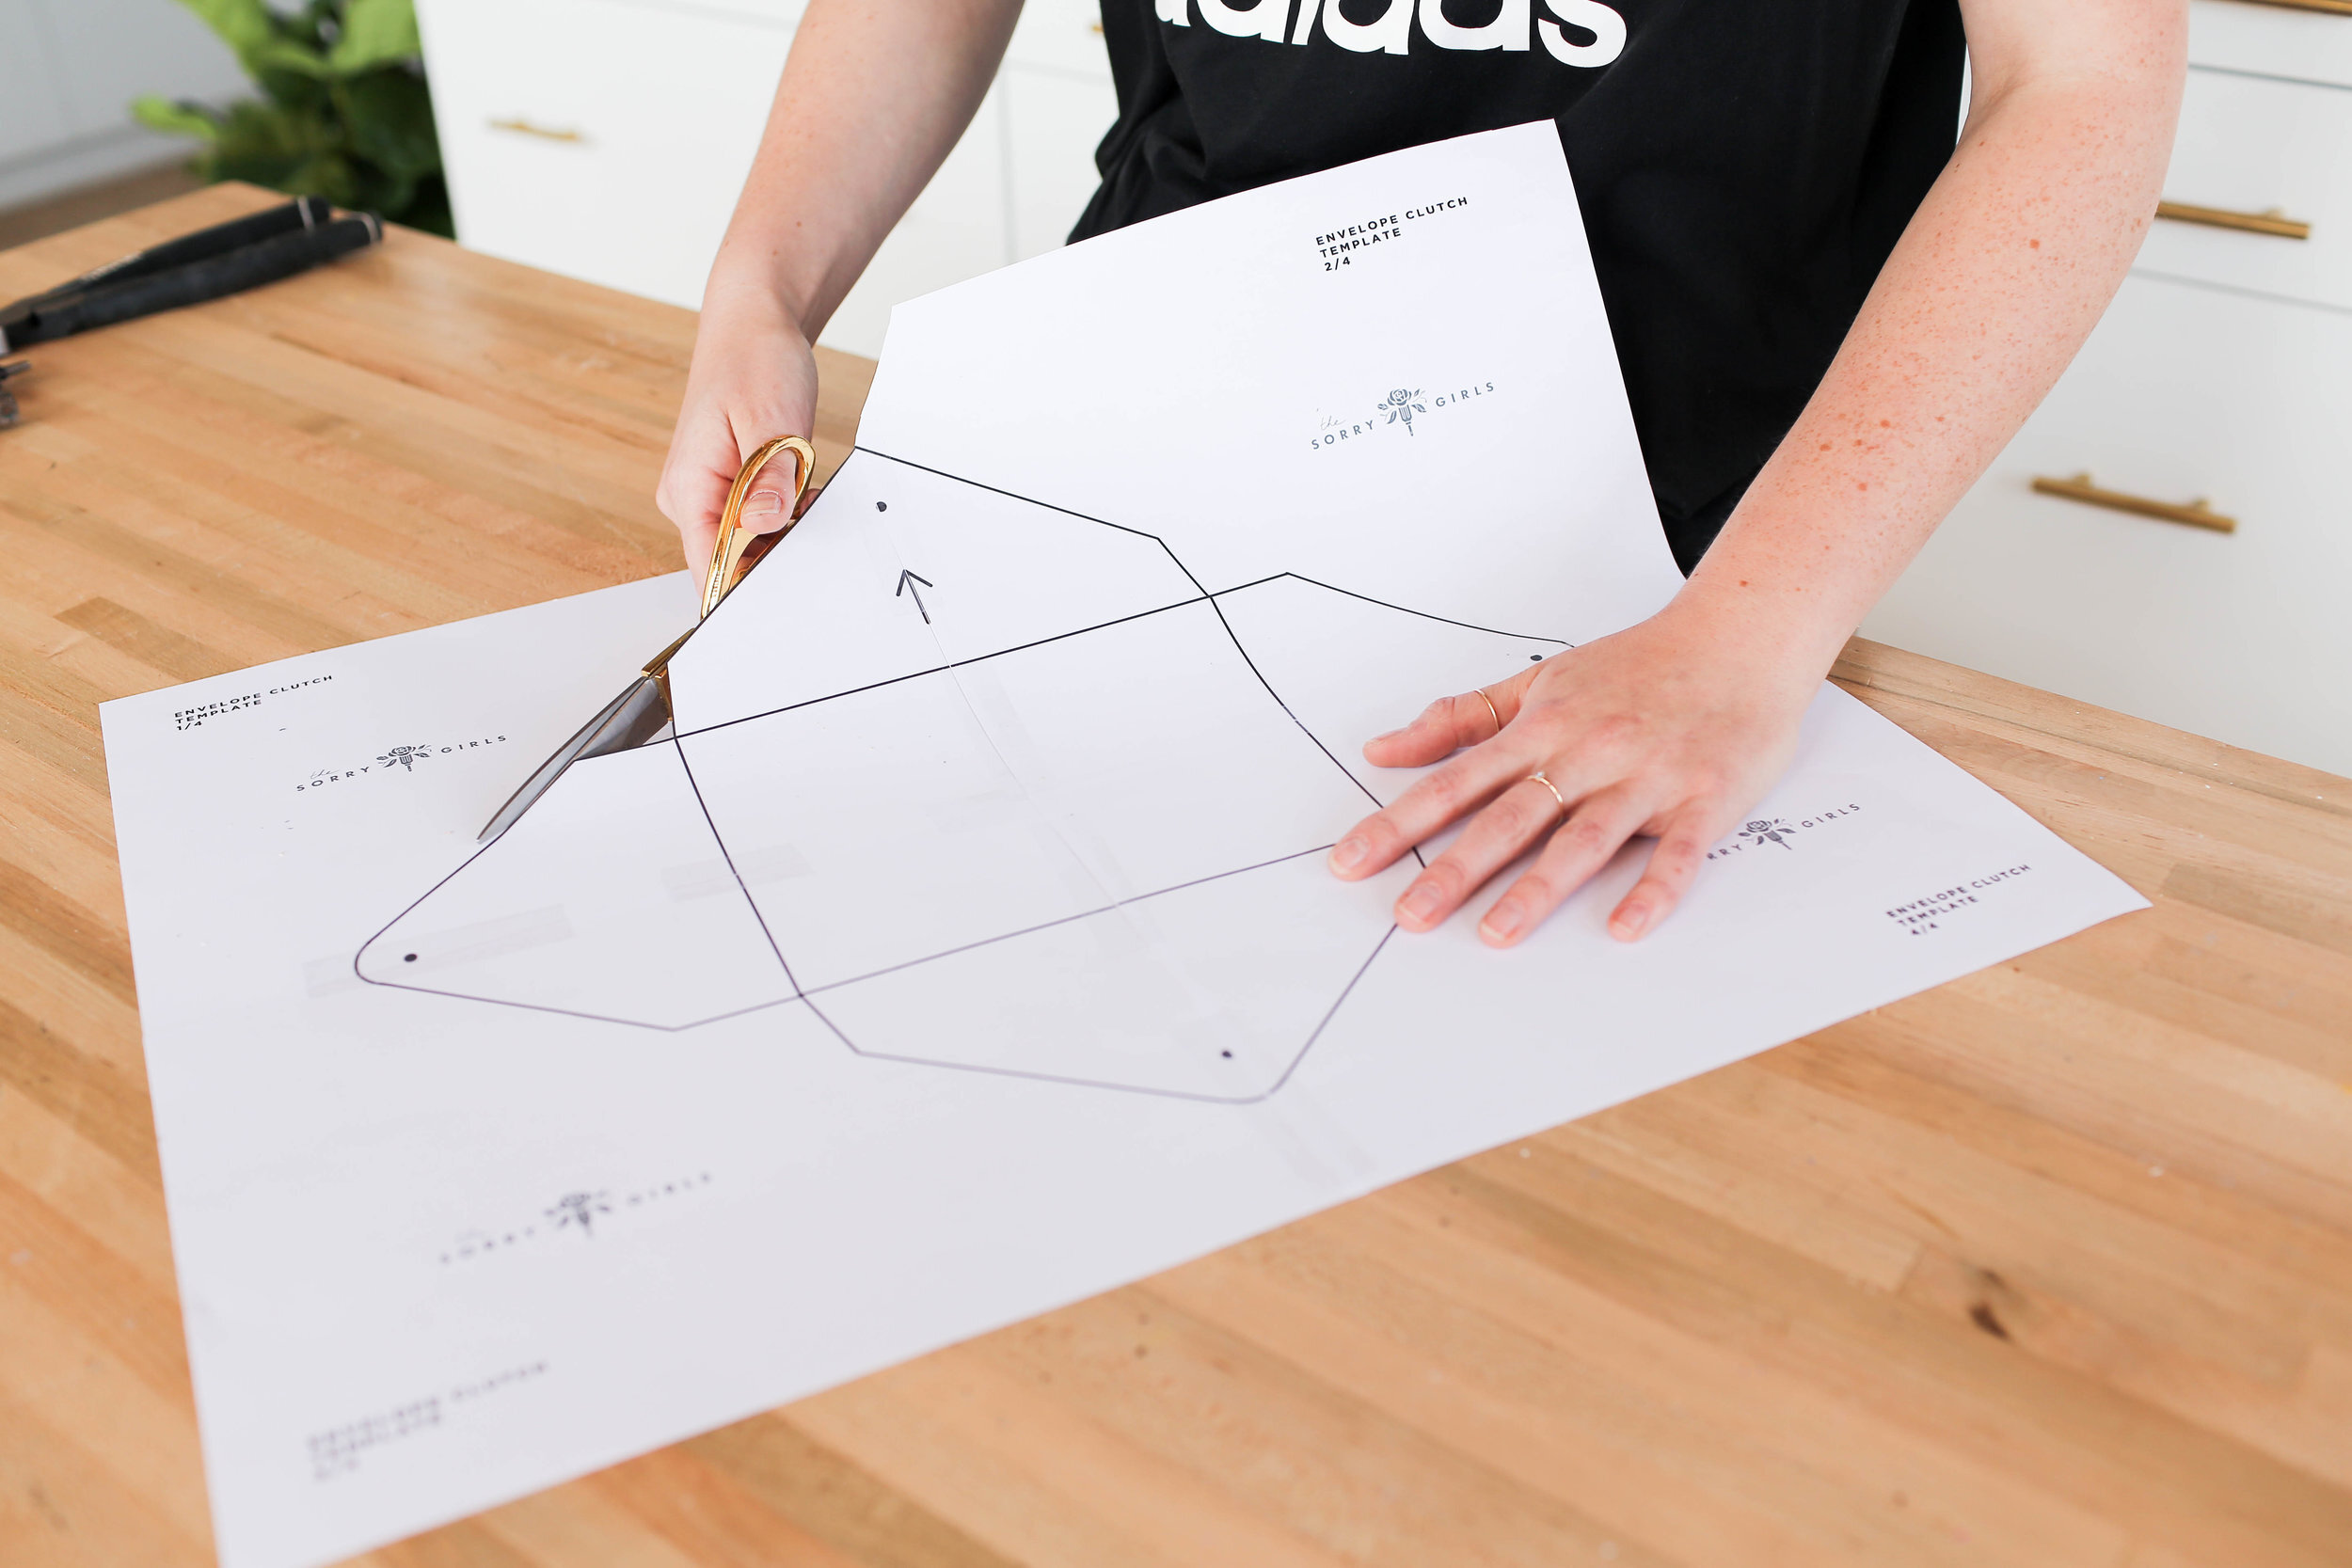
Start by printing out our envelope clutch template in the size you’d like, and trace it onto the back of your faux leather fabric or fabric of choice. Use fabric scissors to cut this out.

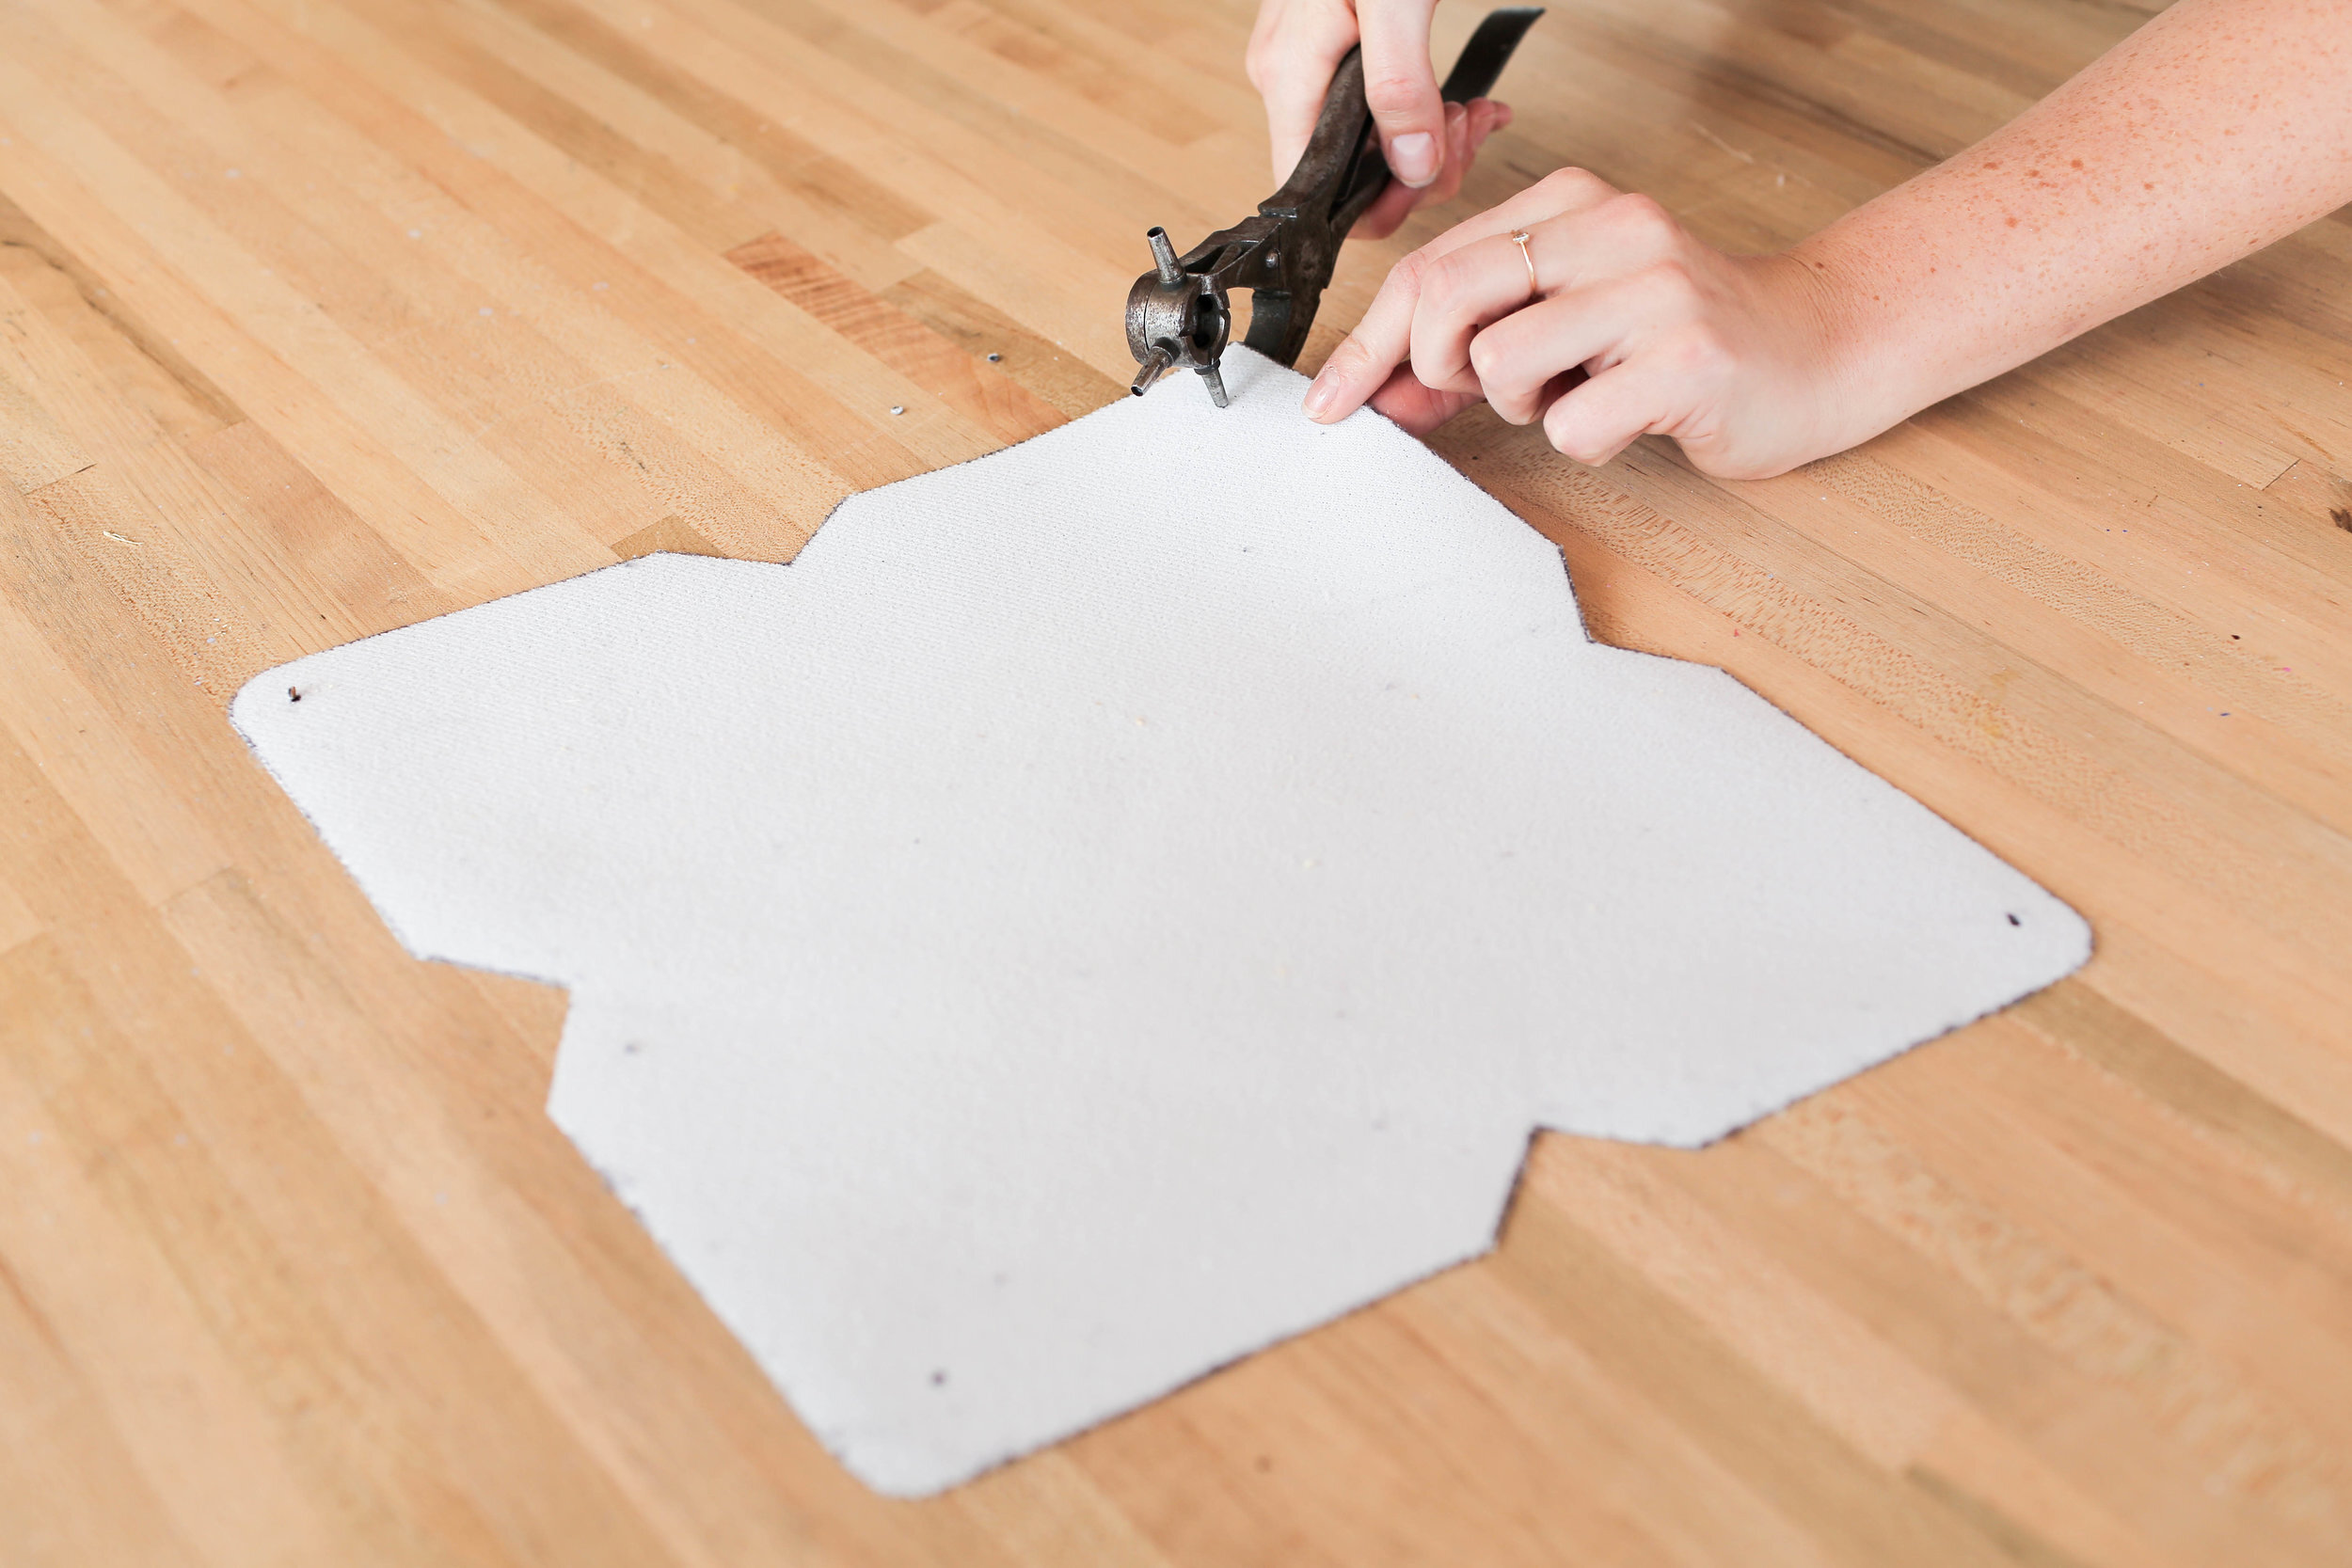
Next, we are going to use a screw post and a leather hole punch to put the bag together! Simply punch holes at the dots where marked on the template. On the very top flap of the template, cut a small slit with a pair of fabric scissors. Go ahead and fold up the bottom and the two sides together, and screw the screw post through all three of these layers through the holes we punched earlier! Once screwed together, I added a bit of fabric glue to the bottom flap to secure it to the two side flaps, and to ensure that nothing falls out of my clutch!

Time to turn our clutch into a fanny pack! Punch two small holes into the top of our clutch. In those two small holes, add a large jump ring. Next, grab a chain that is a good length to go around your waist, and add a lobster claw with a jump ring to each end of the chain, to allow the chain to clip to the clutch! Finish off the fanny pack by clipping the chain to the two jump rings on the clutch!


And that’s it! Be sure to check out the template here and the video below! If you make a fanny pack, tag us using the hashtag #SorryGirlsSquad!