DIY GLADIATOR + BOHO POM POM SANDALS

When’s the official start to summer again? June 21st? 22nd? Well, where we’re standing it doesn’t really matter because it’s warm enough to wear shorts and we’ve DIY’d ourselves some adorable sandals so we’re go to go! As you guys know we like to tackle trends and make them into a DIY friendly project. These two variations of a wrap sandal are super popular this year AND as with all of our DIY projects, you can actually wear these sandals without being nervous that they will come apart (no gluing here folks). OH YEAH! And they are made from FLIP FLOPS. Yup! See all of the pom pom, bohemian, greek, artisan, summer goodness below!

DIY MINIMALIST WRAP GLADIATOR SANDALS
Cost: ~$8 (the flip flops were 3 for $10 OMG)
Difficulty: ✂
Tools:
– scissors
– needle
Materials:
– pair of shoes (we purchased a flip flop that had an extra strap from Ardene)
– 5 meters of thick cord
– thread
– tape
Oh and here is a handy dandy place where you can purchase anything you will need for this DIY.

THE PROCESS
For this more simplified gladiator style, we’re starting with this two strap flip flop from Ardene
Cut both straps in half evenly
Fold the edge of your half strap over to create a little loop and stitch a straight line to hold this together. This is actually quite easy to sew up because these shoes are a faux leather that is pretty thin
Make a loop and stitch it up on the other side as well
For our back straps we’re creating loops and stitching them up as well. Once your done, you should have 4 straps with loops on each end
For the laces of our gladiator sandals, we’re using this flat braided cord from the fabric store. We bought 5 m of this and split it into 4 pieces
Since this rope frayed very easily, we covered the end with a tiny bit of electric tape. Tuck the end under to hide the tape and lay your rope along one of the remaining straps at the top
Use a needle and thread to stitch the strap and rope together
Repeat this on the other strap as well.
To lace the shoes, slide the rope through the first loop, cross it over and then slide it through the back loop
To tie up these shoes, cross the laces back and forth all the way up your leg and tie them in a knot at the top for that gladiator look


DIY BOHO POM POM SANDALS
Cost: ~$18 (used one of the 3 for $10 flip flops 😉
Difficulty: ✂
Tools:
– scissors
– needle
– pliers
– leather punch
– optional: super glue
Materials:
– 5 meters of suede cord
– thread
– 1/2 meter of small pom pom trim
– 1/3 meter of white pom pom trim
– 1/3 meter of coloured pom pom trim (feel free to mix up colours etc!)
– wooden beads
– charms
– miniature tassels

THE PROCESS
For these amazing pompom charm sandals, start with any basic flip flop. These ones are from Ardene and they were super inexpensive.
We’ll be using 5 m of this suede cord from the fabric store for the laces and we’ll need to use a leather punch to punch small holes along the straps big enough for the cord to fit through
We’re adding two right beside the middle toe strap, two half way down, and two near the back of the strap
Next we’re taking these pom pom fringe also from the fabric store and cutting 4 strips the length of the straps
Using some simple needle and thread, sew the pom pom trim along the straps. If your pom pom fringe doesn’t naturally have holes in it like ours, you’ll want to punch holes in this as well
Before we get to lacing, gather all of the accent pieces you want to add to your sandals.
We’re using pom poms, tiny tassels, wooden beads, and little gold charms all on sale from the craft store
Take your suede cord and thread it through the two front holes from underneath
Cross the cord and thread it into the next two holes, cross again and then into the last two holes
Now it’s time to add on your charms, for the charms with a jump ring, open the ring and slide them onto the cord
For the pom poms, we’re cutting them from this trim so they have little bits of thread attached to them. Use the thread to tie the pom poms onto the cord in a knot
For our wooden beads, tie a knot in the cord on either side of the bead to keep it in place
For the charms that aren’t held in place, make sure to tie a knot around the jump ring to stop the charm from sliding
Continue all the way up your cord placing a charm, pom pom, or bead every couple of inches.
To tie them up, criss cross the laces around your leg and knot them up at the top

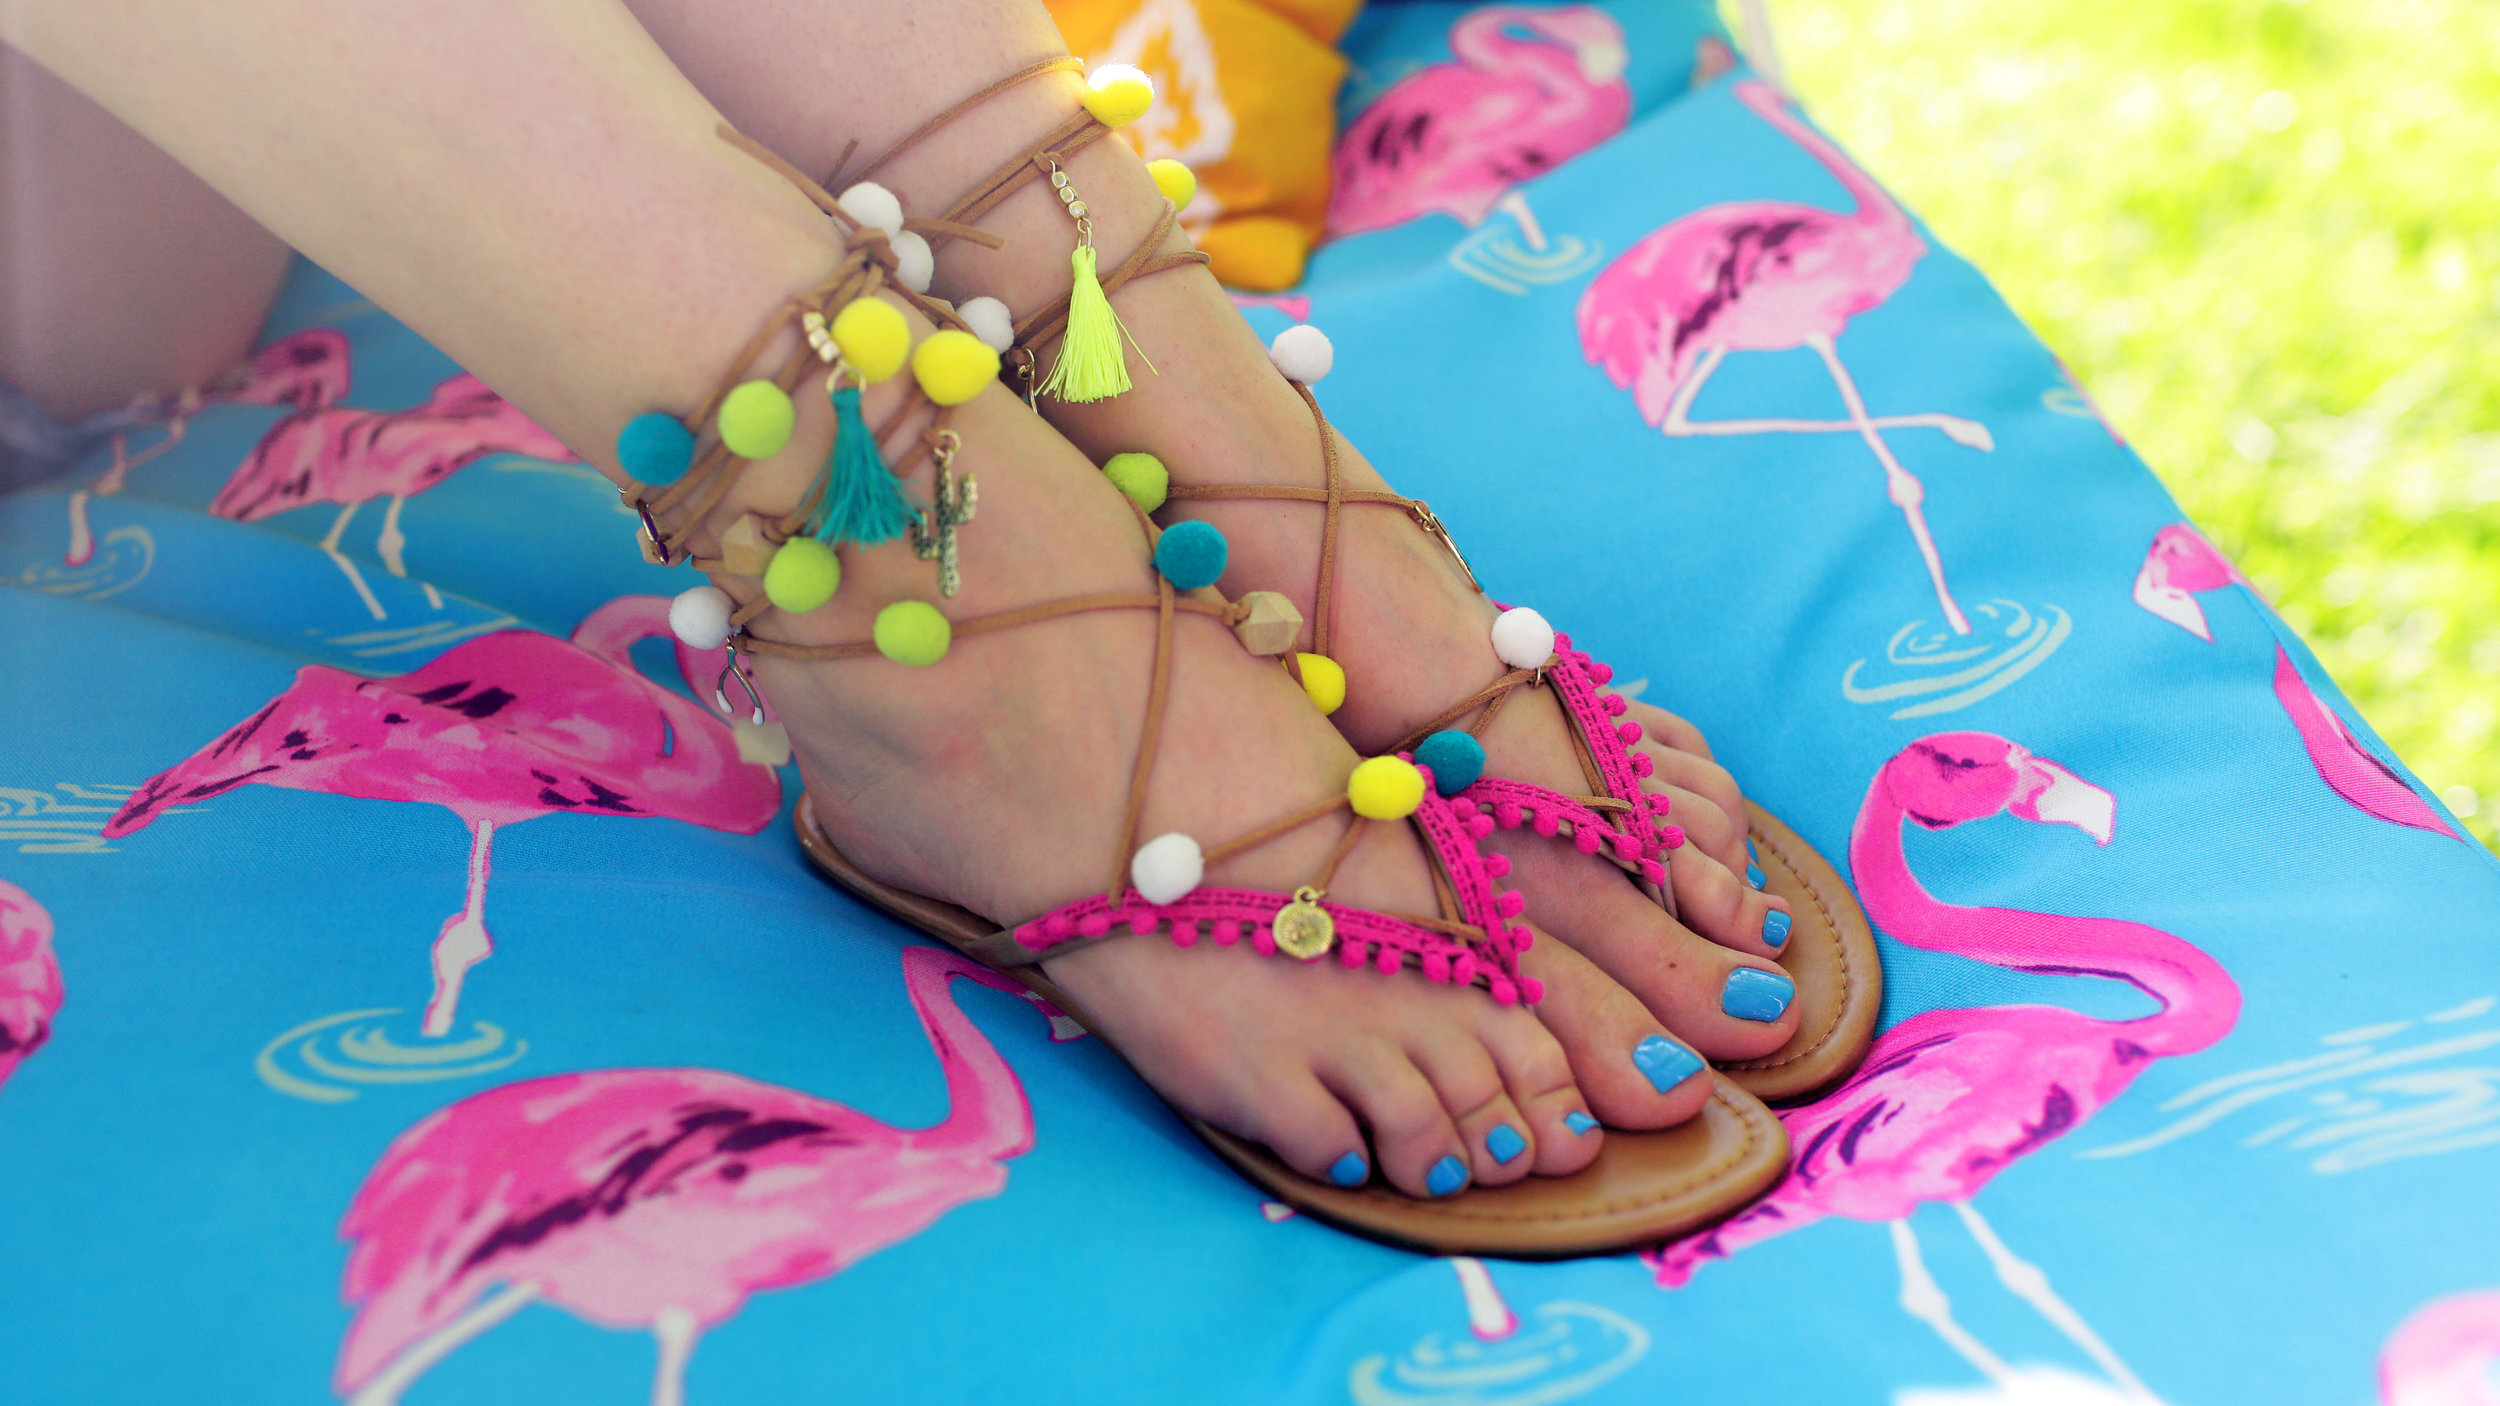
Be sure to check out the video tutorial below if you’re a visual learner like we are! I feel like I always have to mention that we make video tutorials just in case you’ve stumbled upon this blog post and you don’t know that we have a poppin’ YouTube channel! As always, tag us (where ever you may be posting) so we can see your creations!