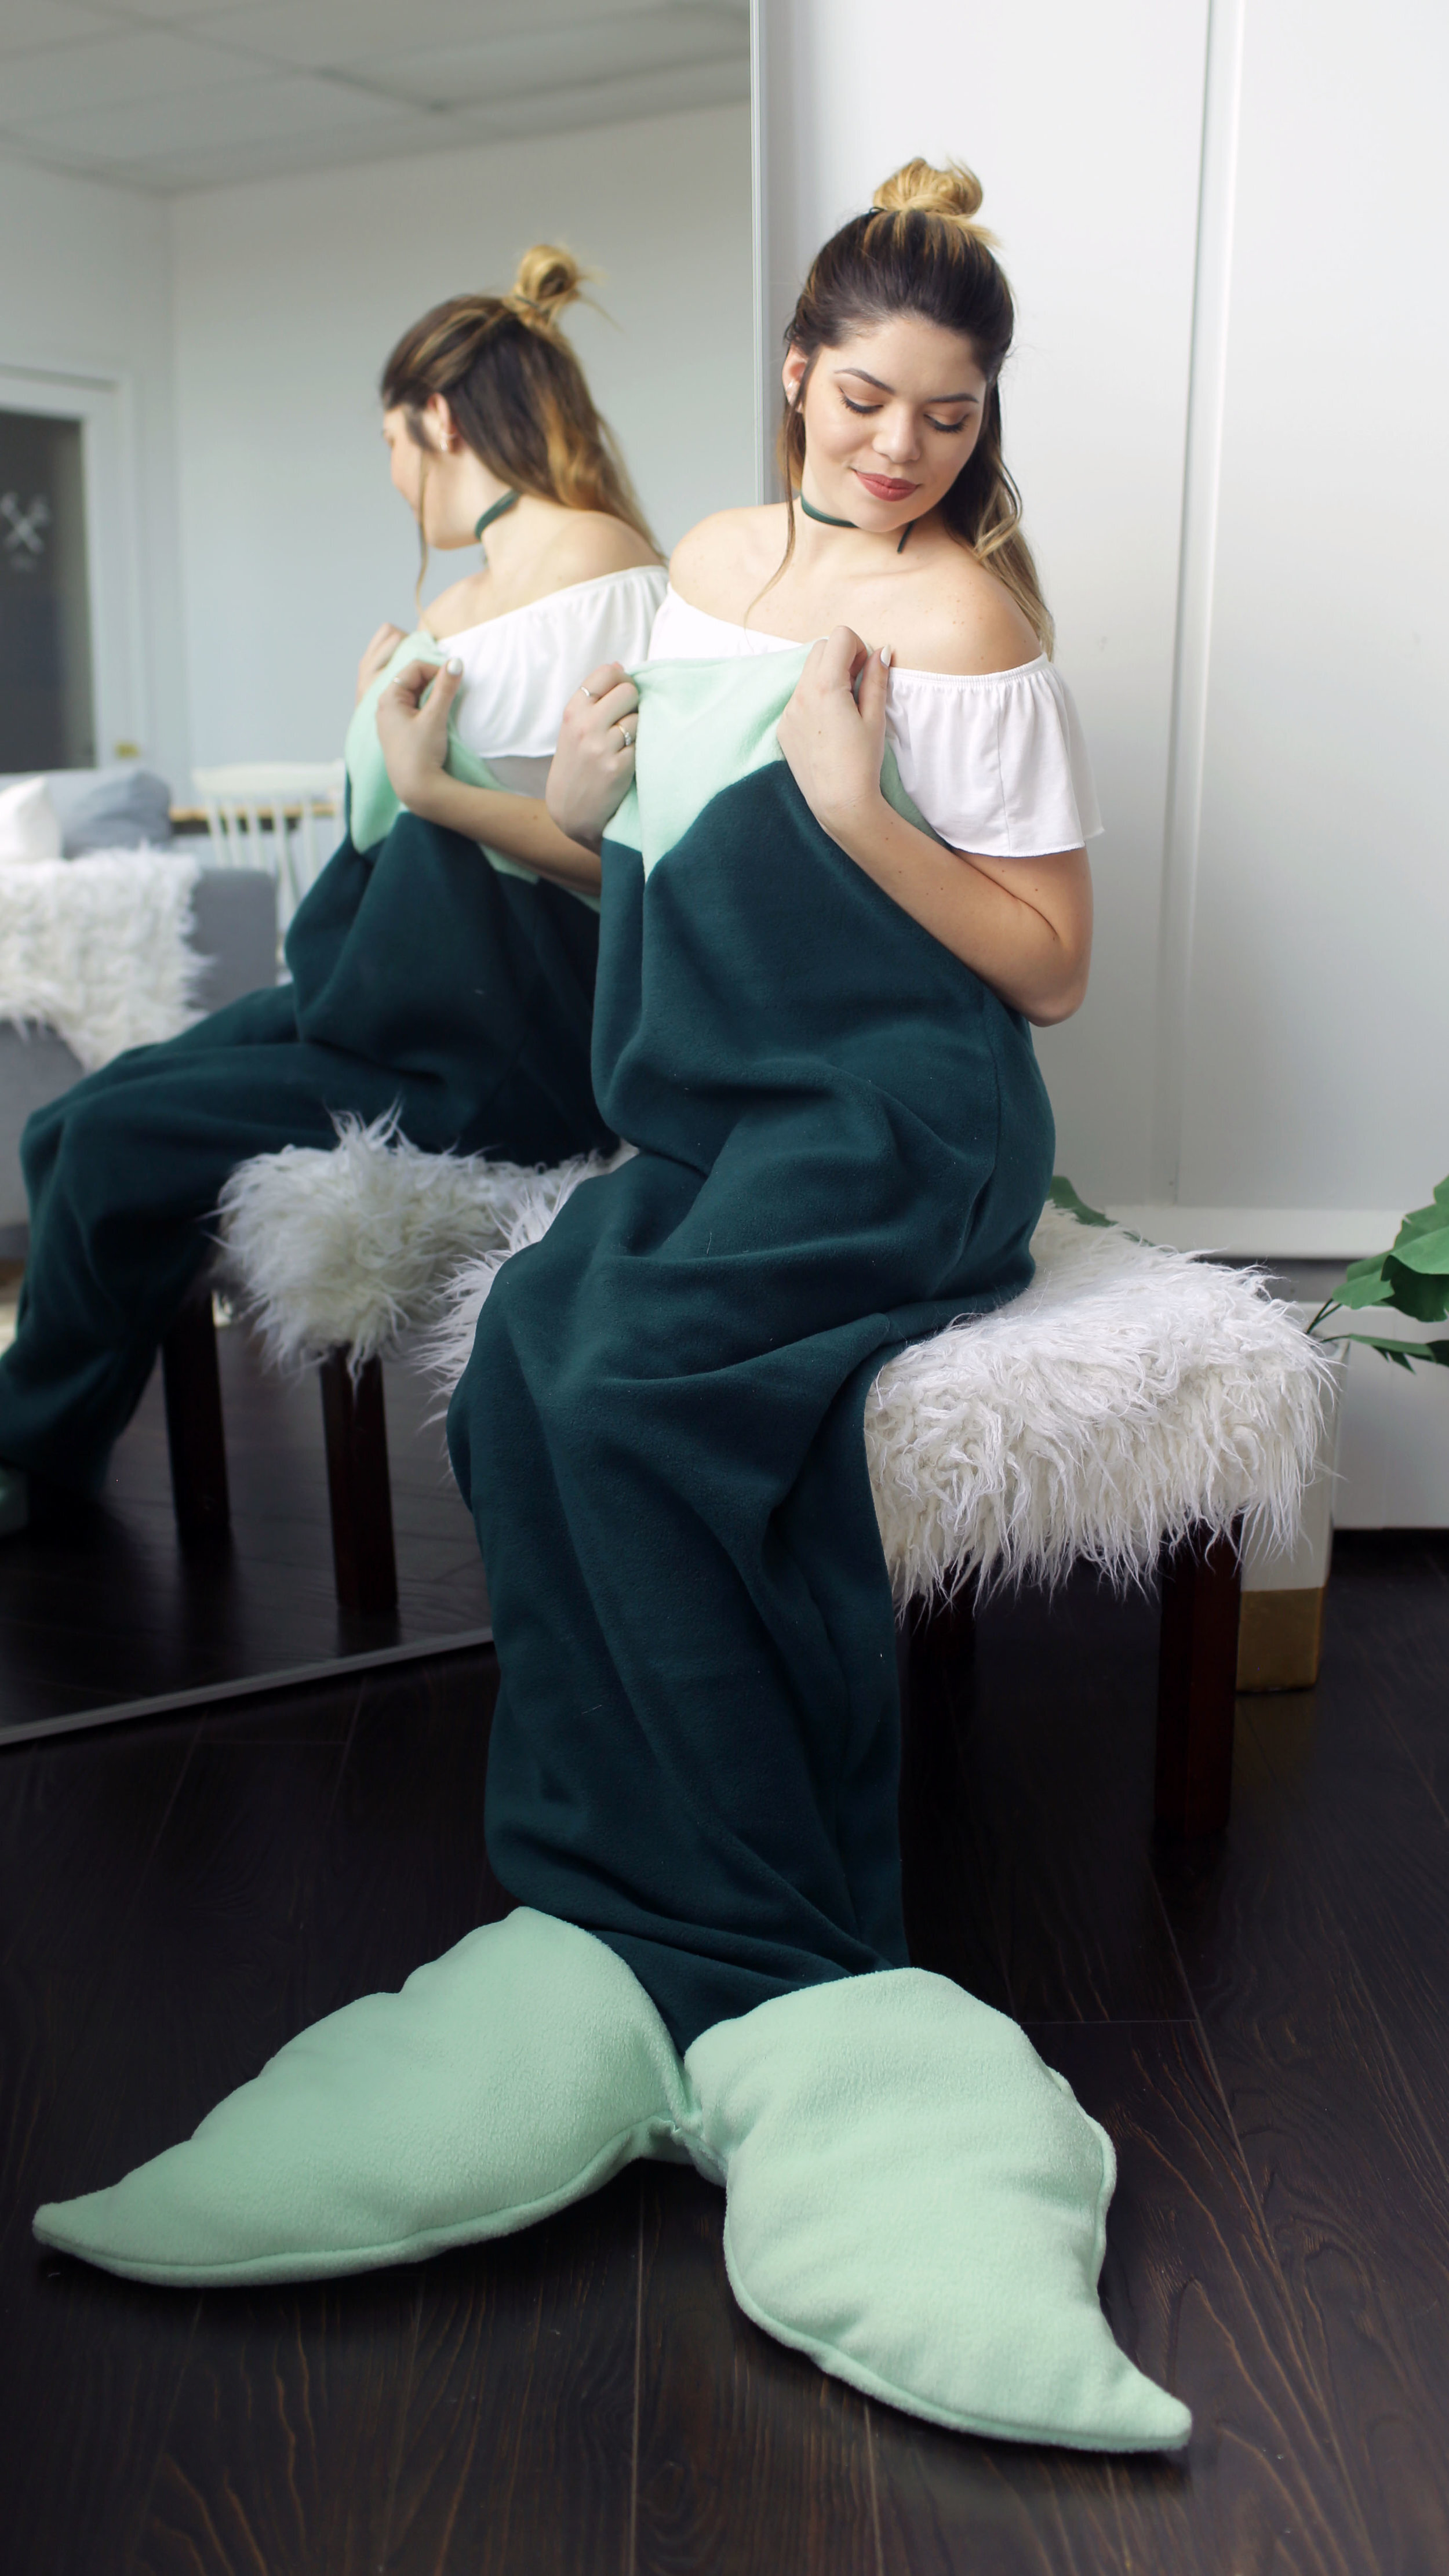
DIY MERMAID TAIL BLANKET

Here comes another request! We LOVE taking your requests because you guys are just so freakin’ on-trend, and it makes our jobs a little easier! By the way, you can post your requests on twitter (@thesorrygirls) and instagram (@thesorrygirlsdiy)! Today we bring you the mermaid tail blanket DIY. You may have seen these floating around on the internets, on etsy, and the blogisphere, but out of all of the mermaid tail blankets we saw, none of them looked like something we would ever cuddle up in. When making our mermaid tail blanket (or let’s be honest, sleeping-bag-meets-snuggie) we wanted to make sure: a) it was fleece not knit/ crocheted, b) that you could put your feet in the “fin” and c) that the fin didn’t look “limp”. We accomplished everything that was on our mermaid tail list and you can too by following the steps and video tutorial below.
Lastly, on a mermaid note…if you wanted to make a full costume rather than just a blanket. You bet we have a tutorial for that too! Check out our Ariel: The Little Mermaid costume on YouTube!

Cost: ~$25 (depends on how expensive your fabric is)
Difficulty: ✂ ✂
(but a super good project for beginner sewers!)
Materials:
– 1.4 meters of dark green fleece
– 3/4 meters of mint green fleece (make it 1.25m or make sure you have other extra fabric around if you want to stuff the fin)
– stuffing (optional, see above)
– thread
Tools:
– pins
– sewing machine (or by hand with a needle, but it would take a long time!)
– fabric scissors
– fabric chalk
– measuring tape

The Process
We are starting with 1.4 meters of dark green fabric.
We laid out our fabric folded with the good sides together.
Have your human lie down on the fabric and give a healthy amount of room around the person to make sure the blanket isn’t too snug. At the feet we brought the fabric to a rounded point. We made sure the fabric was pinned together so that it didn’t move around too much before we cut out one side, then folded the other side over to get a symmetrical cut.

Next we took ¾ of a meter of mint green fabric.
We laid out our fabric folded with the good sides together. We brought in the green tail and overlapped it about 9 inches over the mint green fabric.
We roughly drew a mermaid fin shape on one side of the dark green tail and pinned the fabric together before we cut out one side, folded it over and cut out the second side. At this time we are going to cut the bottom of our green tail to a nicer point, pin the part of the tail and fin that overlap each other together, then cut around the tail so that there is no fabric that overlaps and they fit together like a puzzle.
This step is optional if you would like to add some stuffing in your tail so that it looks a little more full and plushy.

We took a piece of scrap fleece we had (or make sure to buy extra fabric when you’re out shopping) and cut out another exact fin shape. We then placed one mint fin piece good side facing down, followed by the inside white fabric piece good side facing down directly on top, this is what our little inside-tail pillow will be made up of. Bring in one of your dark green tail pieces and match it up with the fin pieces, good side also facing down. Starting in the middle of your tail/fin bring the good sides together and pin along where the tail meets the fin pieces. The mint fin piece and the green tail piece should be touching and the white fabric piece should be directly on top of the mint fin piece. Sew from one side to the other to create a seam.
We are going to repeat this process on the other fin/ tail piece but without the extra pillow fabric. Lay down the tail and fin pieces with the good sides facing down and then pin the good sides together where the fin and tail meet, and sew along this line.
We now have back and front tail pieces, we decided to add a merbelt to the top of the tail for an added detail. This is another one of those optional steps. Using the extra mint fabric from the fin, we are cutting a band that comes to a point and is approx. 4 inches thick, and as wide as your tail. We made two of these, one for the front and one for the back. Next we pinned the mint fabric to the tail piece and cut around it so the two pieces fit together like a puzzle. Repeat this for the other side of the tail. Next we pinned together the good sides, repeated this step for the other half of the tail, and took them to the sewing machine.

Next we are taking our front and back tail pieces and laying them good sides together. We pinned them all the way around the sides and fin, leaving the top open as well as two little gaps at the top of the fin. We are going to take some stuffing and stuff the fin between the mint and the white layer. Enough so that your fin holds its shape but not too much that it doesn’t look like it belongs with the rest of the blanket. Once it’s full pin the gaps closed and sew all the way around the blanket (except the top of course).

Now you can go ahead and flip the whole thing inside out. At this point we decided to add a simple hem at the top. Now it’s time to lounge on your rock in the sun (AKA your couch) like the true mermaid you are.
As always, please check out the video tutorial below for a very helpful walk-through of all of the steps! We’d love to see your creations on instagram and twitter! See you guys next time for another DIY! #MERMAIDGOALS