DIY LIFE HACKS: CHARGING TASSEL, HAIR TIE BRACELET + MORE
Ok guys, we are hopping on the hack train for a minute. BUT we promise* at least one of these hacks you will find friggin’ genius and you’ll want it rn!
*strongly think that
DIY LEATHER STRAP KEY RING
Cost: ~$5
Difficulty: ✂
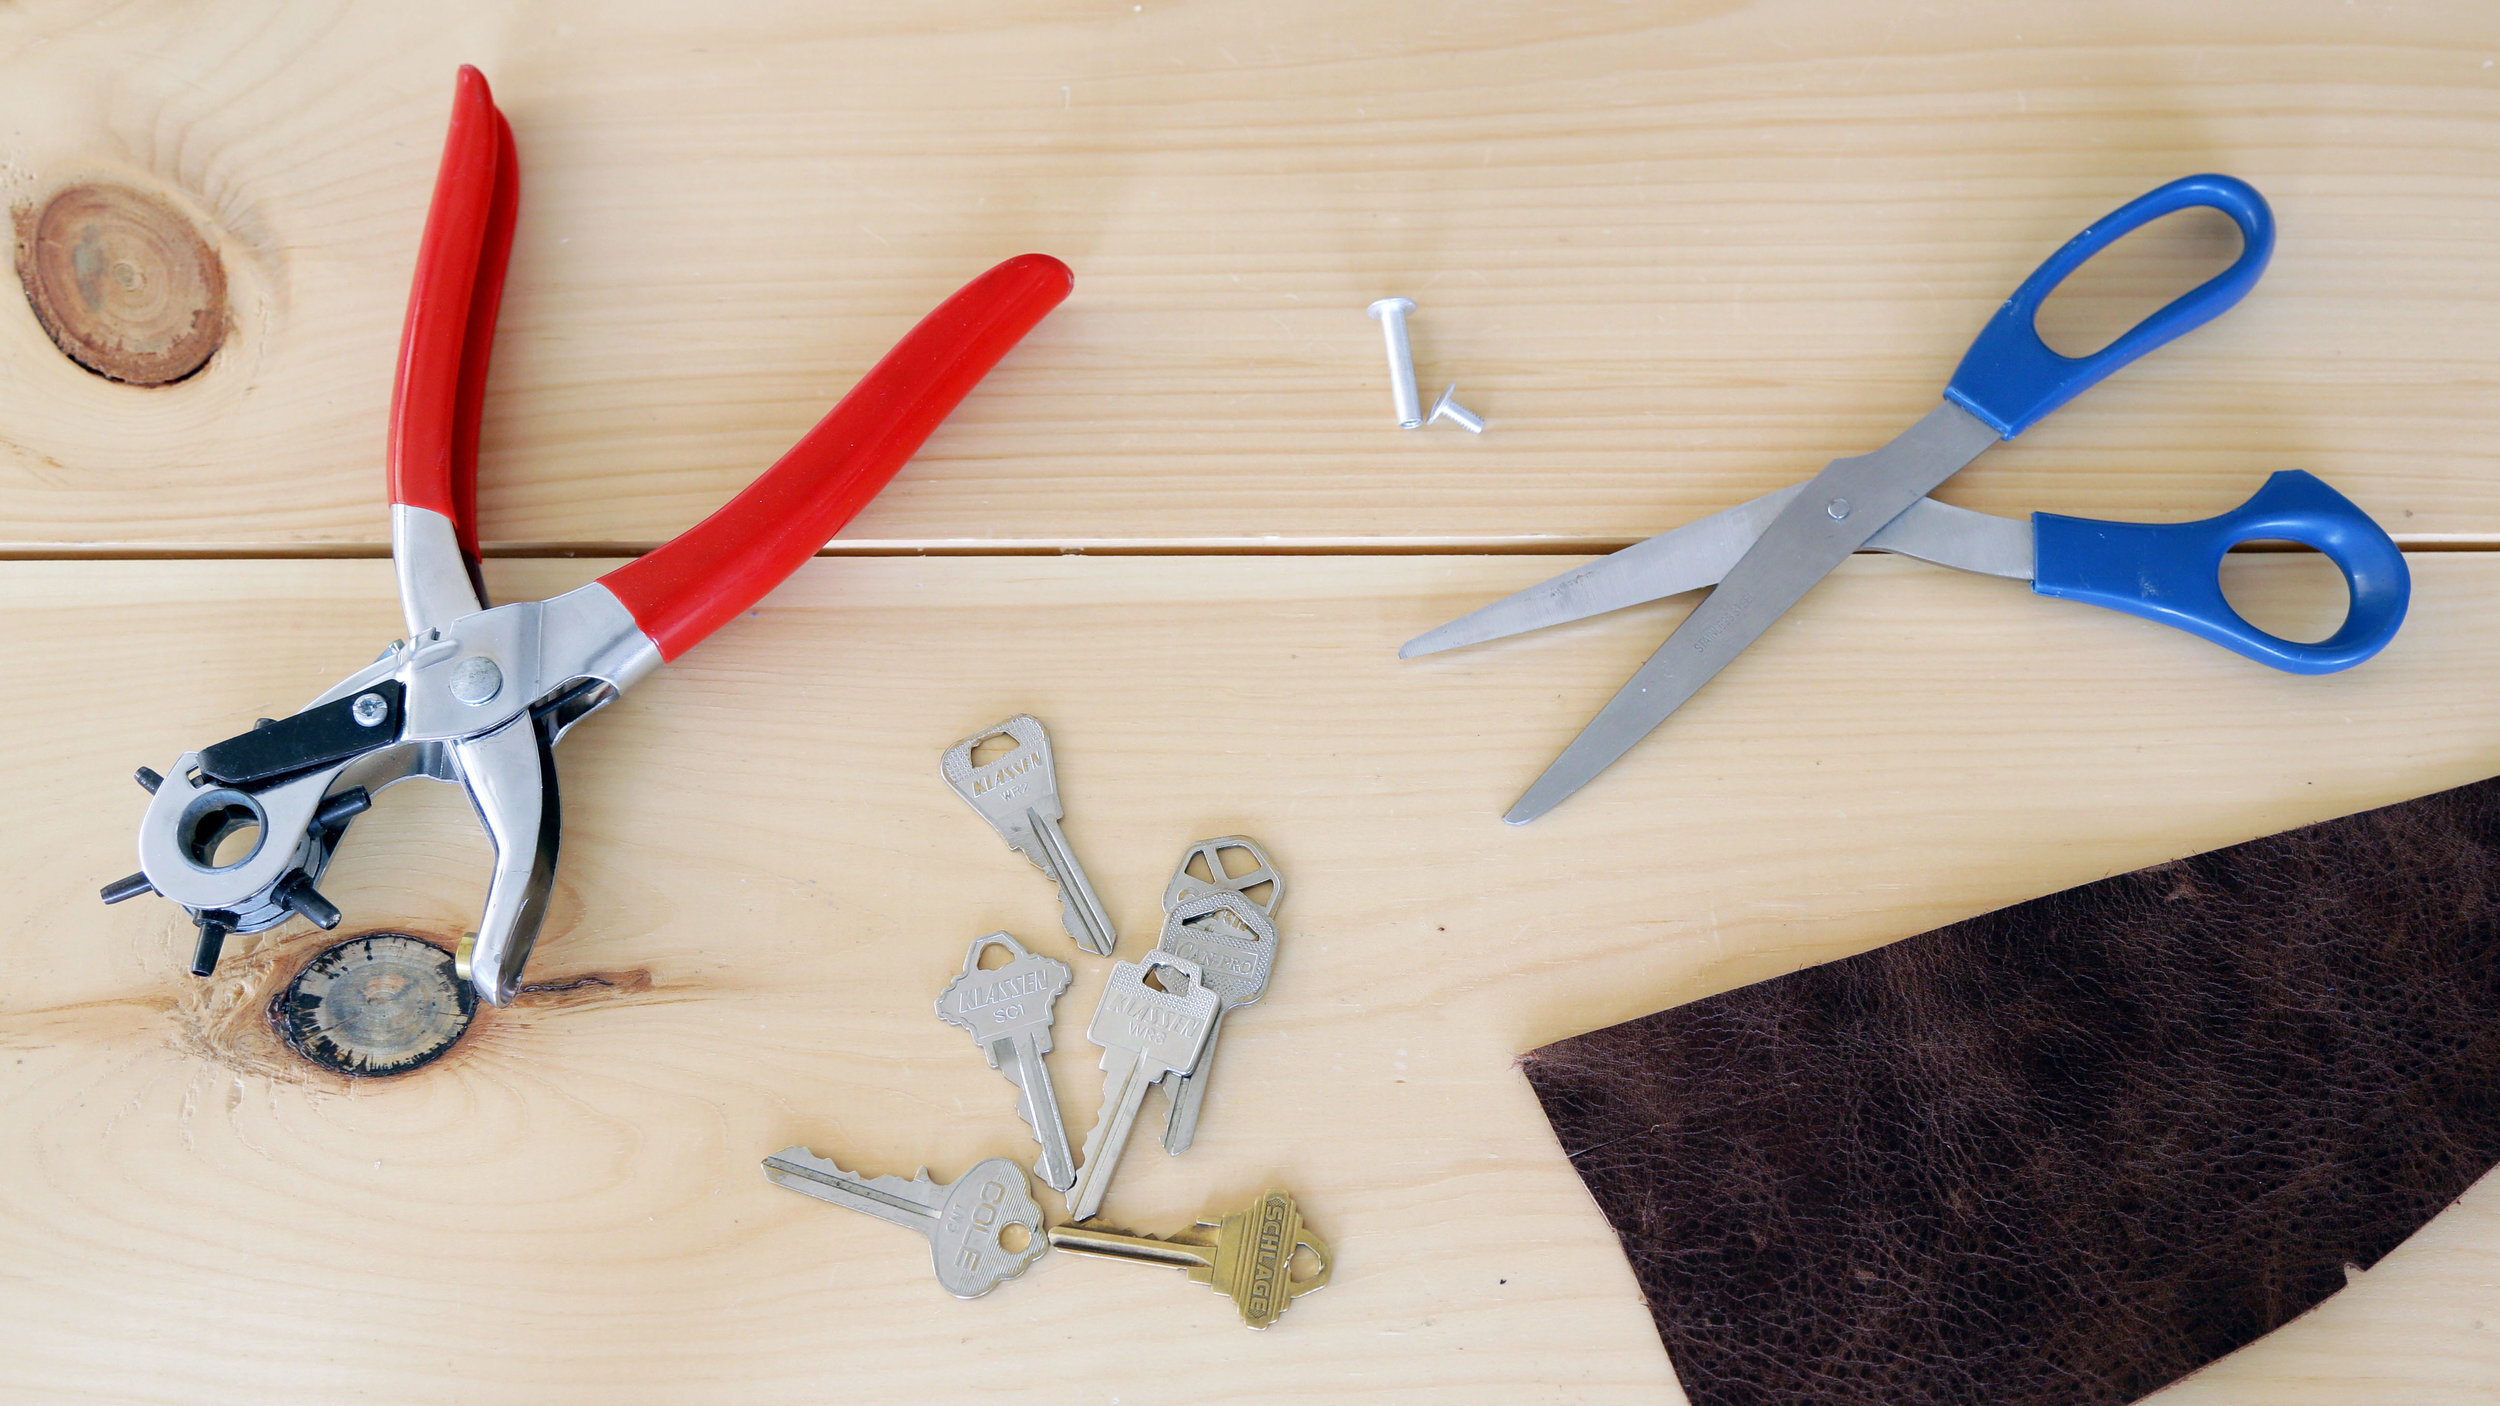
Tools:
– scissors
– ruler
– leather punch
– (optional) drill + clamp
Materials:
– leather scrap
– binder post/ Chicago screw/ screw pins
– keys
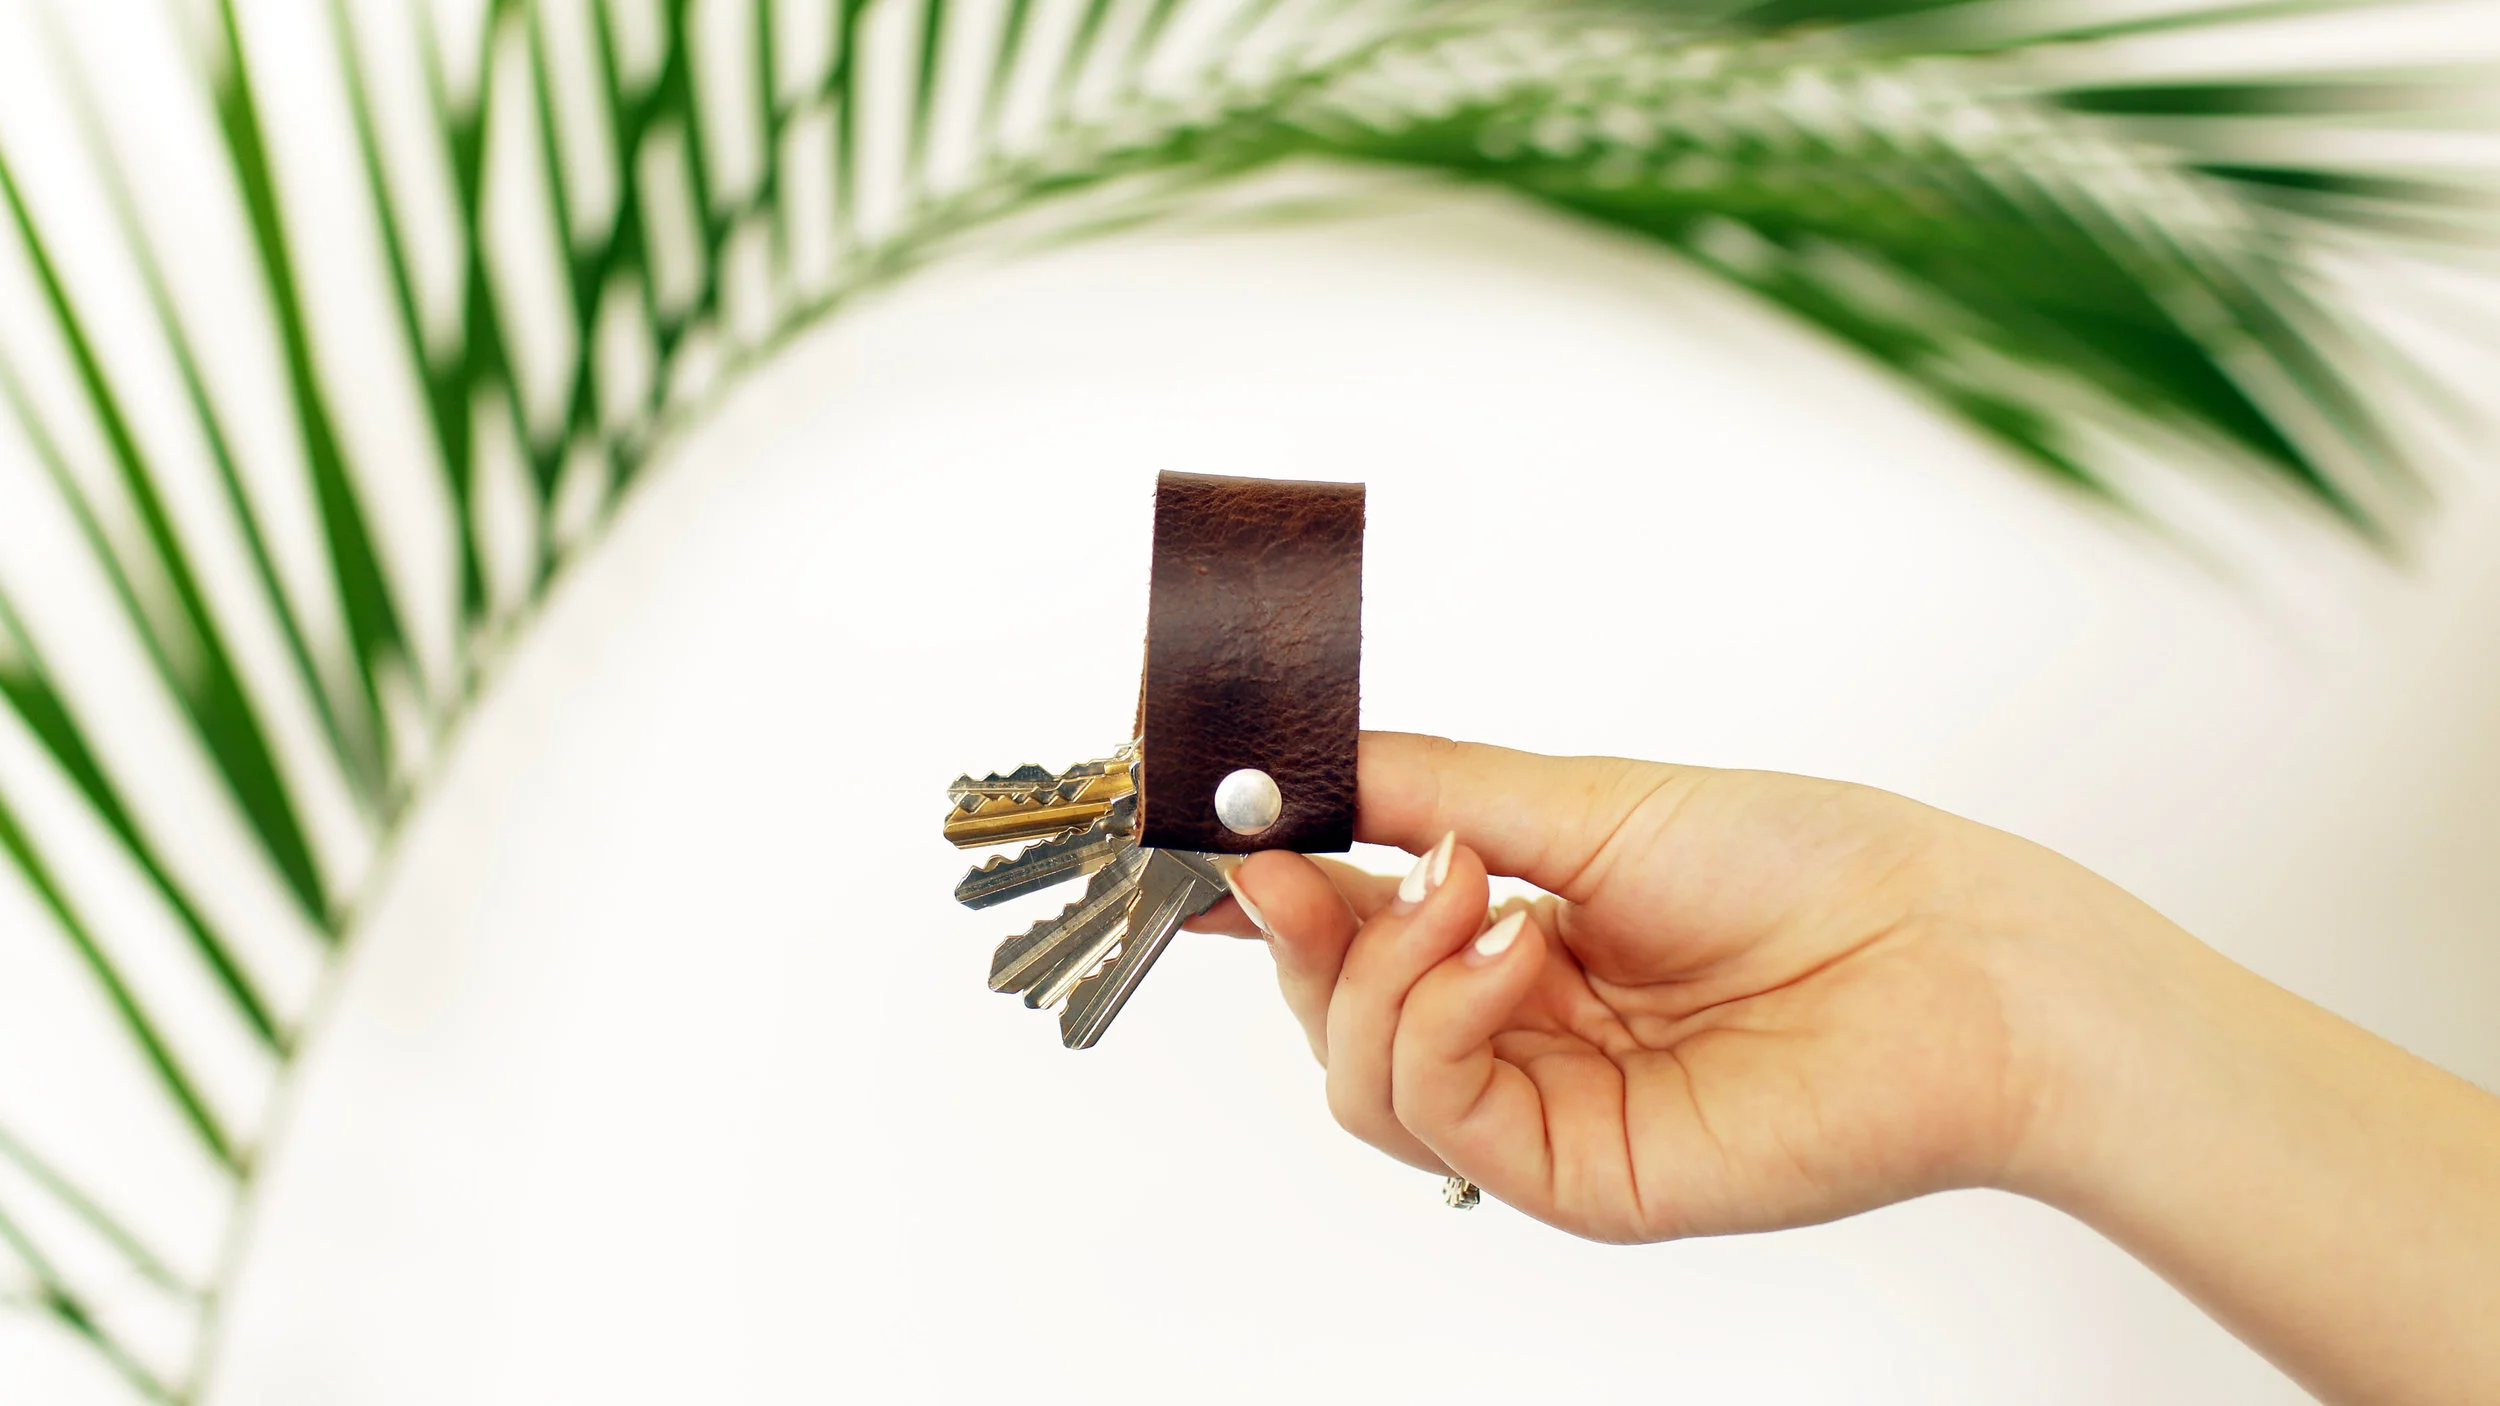
Our first lifestyle hack is the key ring hack. Have you ever been nervous to throw your keys into your bag because you’re afraid they’ll scratch up everything in site? Here’s how to make a key-chain that’ll also keep your sharp keys covered. For this you’ll need some keys, a piece of fabric of leather, and a binder post (but we’ve also heard them called screw pins or Chicago screws).
Gather your keys and make sure they all fit on the binder post. If not you can use a drill and clamp to carefully make the hole in your key a little bigger. Lay your key on your leather and measure out twice it’s length plus a bit extra. We’re also going to fold over the tops for a cleaner edge to make sure to account for that as well. Once your strip is cut out, measure out where we need to punch holes for the binder post. Fold over the top and punch a second hole as well. Make sure to do this on both sides. With the top folded, slide in your pin and stack on your keys. Fold over the other end as well and slide it on. Close up the key ring with the matching screw it comes with.
The leather should be tight enough to keep your keys in place and protected. For an alternative version of this, we used a longer strip of leather so we could slide it over our wrist for a wristlet key-chain. We kept the ends of this one unfolded for an even easier method.
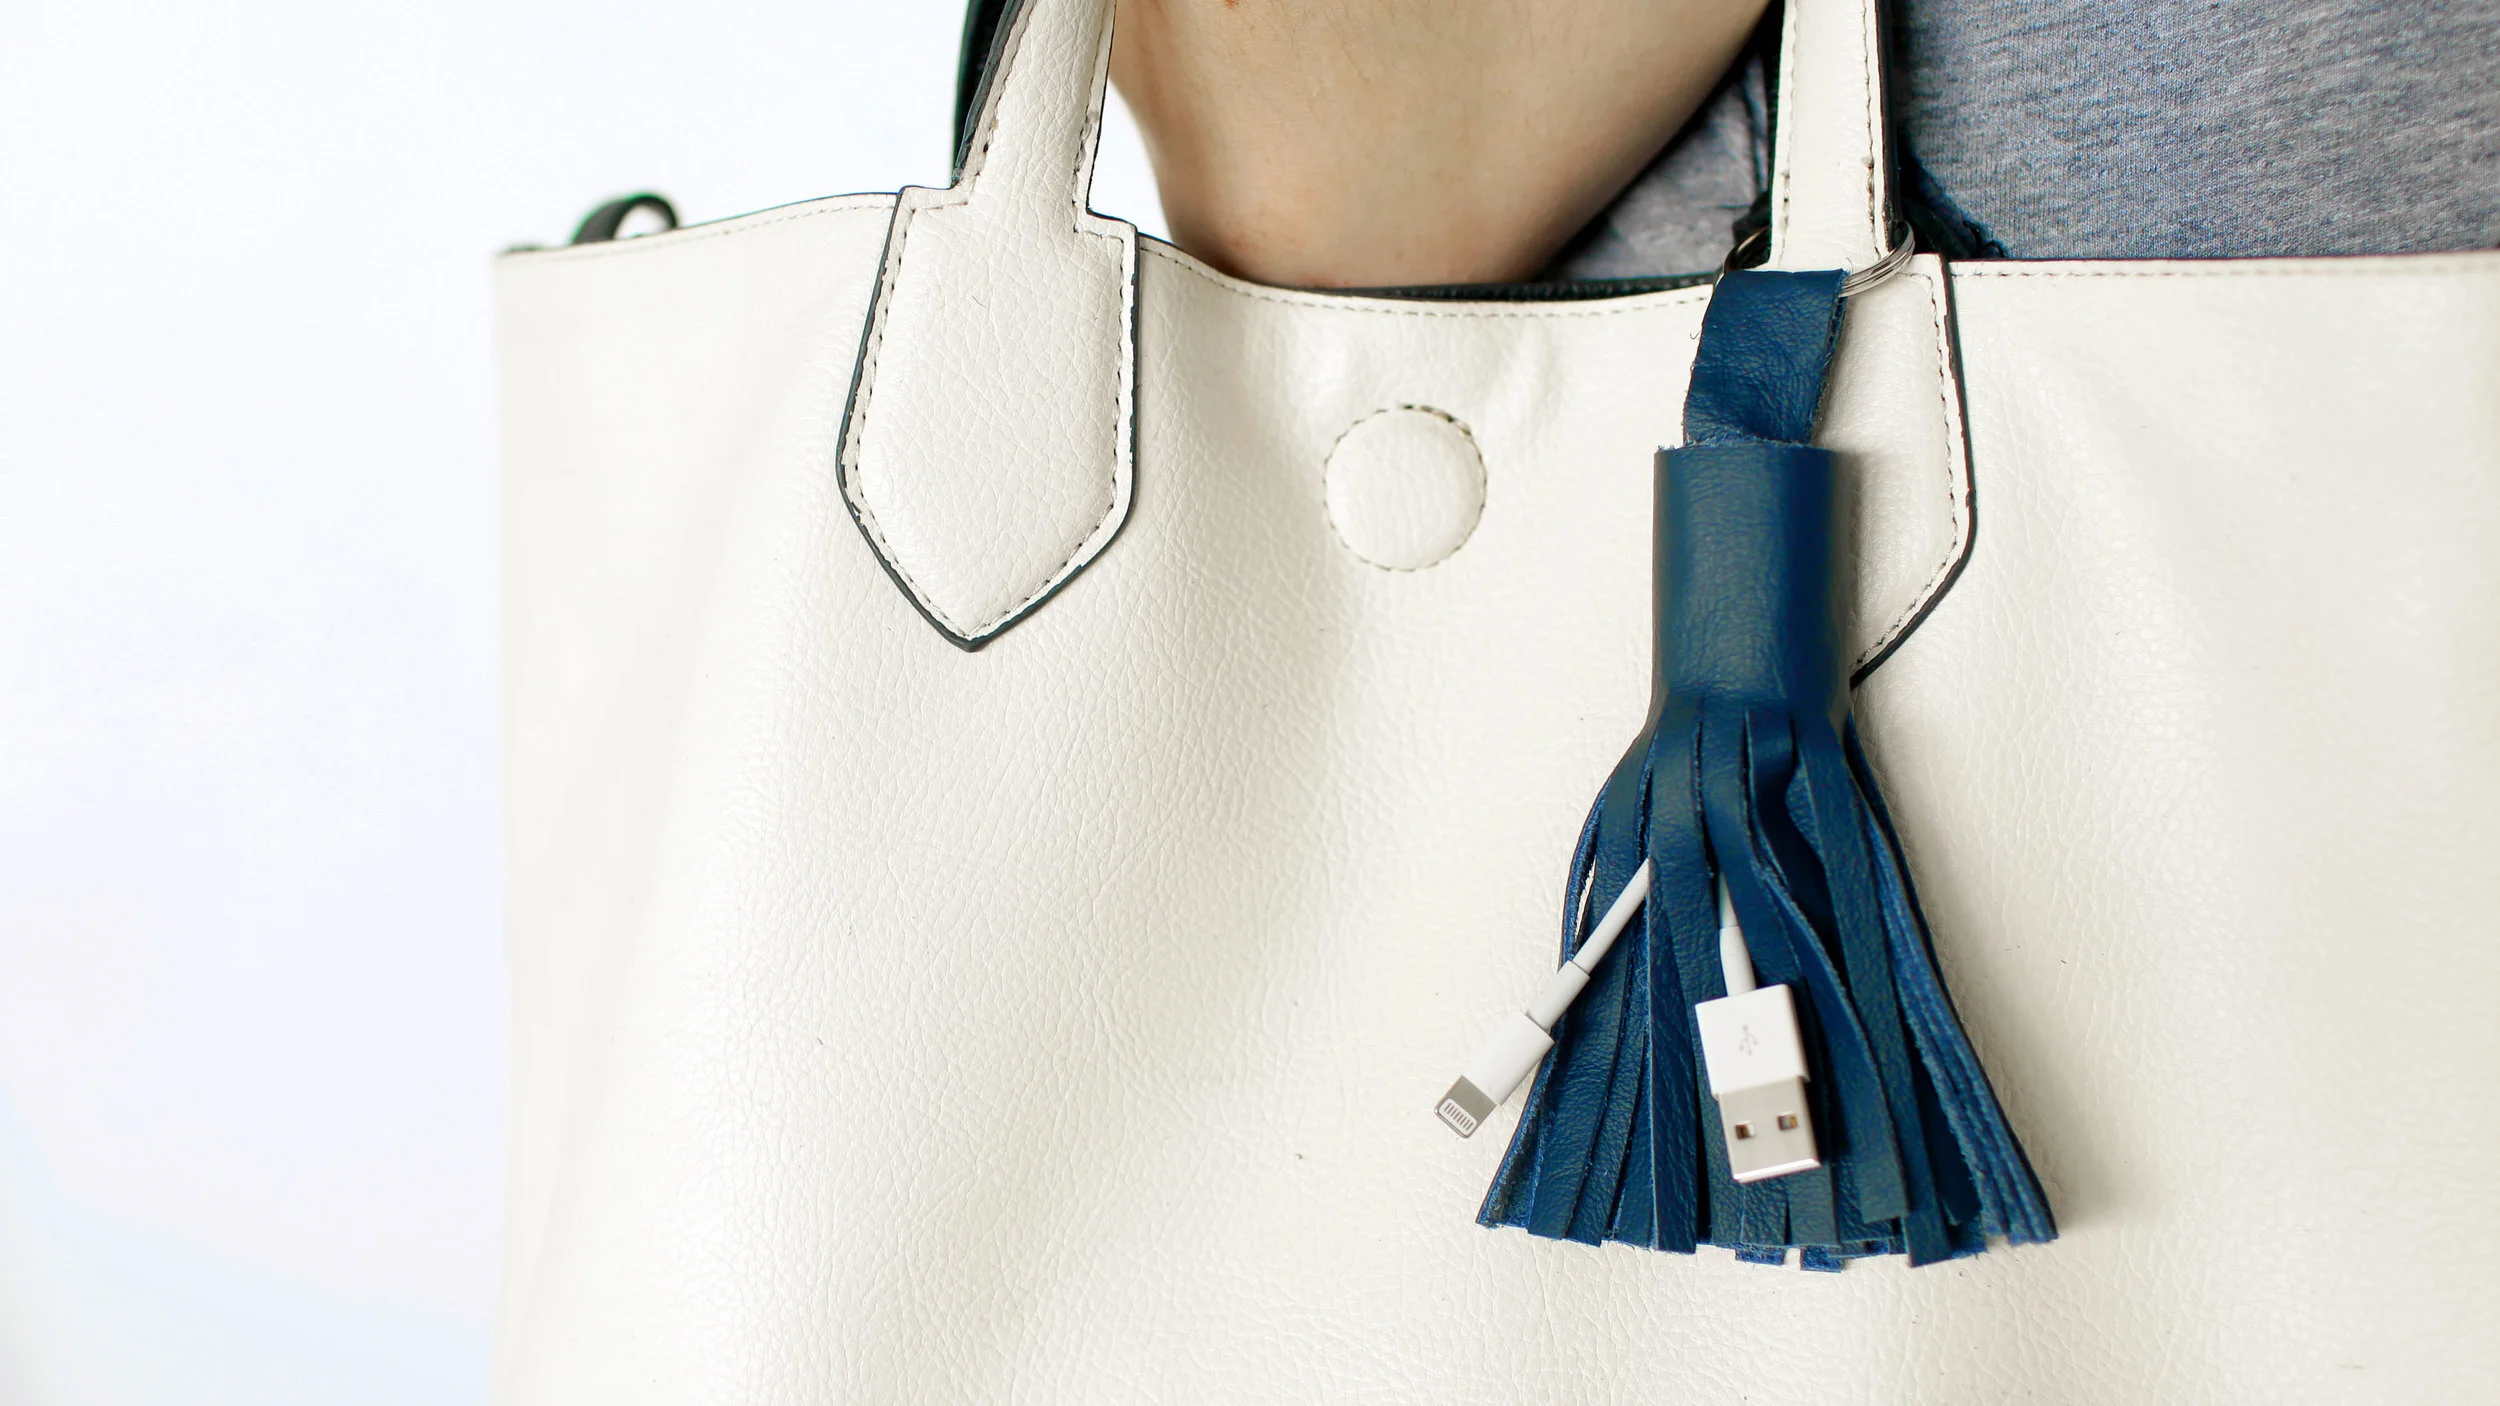
DIY HIDDEN USB CABLE TASSEL
Cost: ~$14
Difficulty: ✂
Tools:
– scissors
– ruler
– hot glue gun
Materials:
– short USB charging cable
– keyring
– leather sample
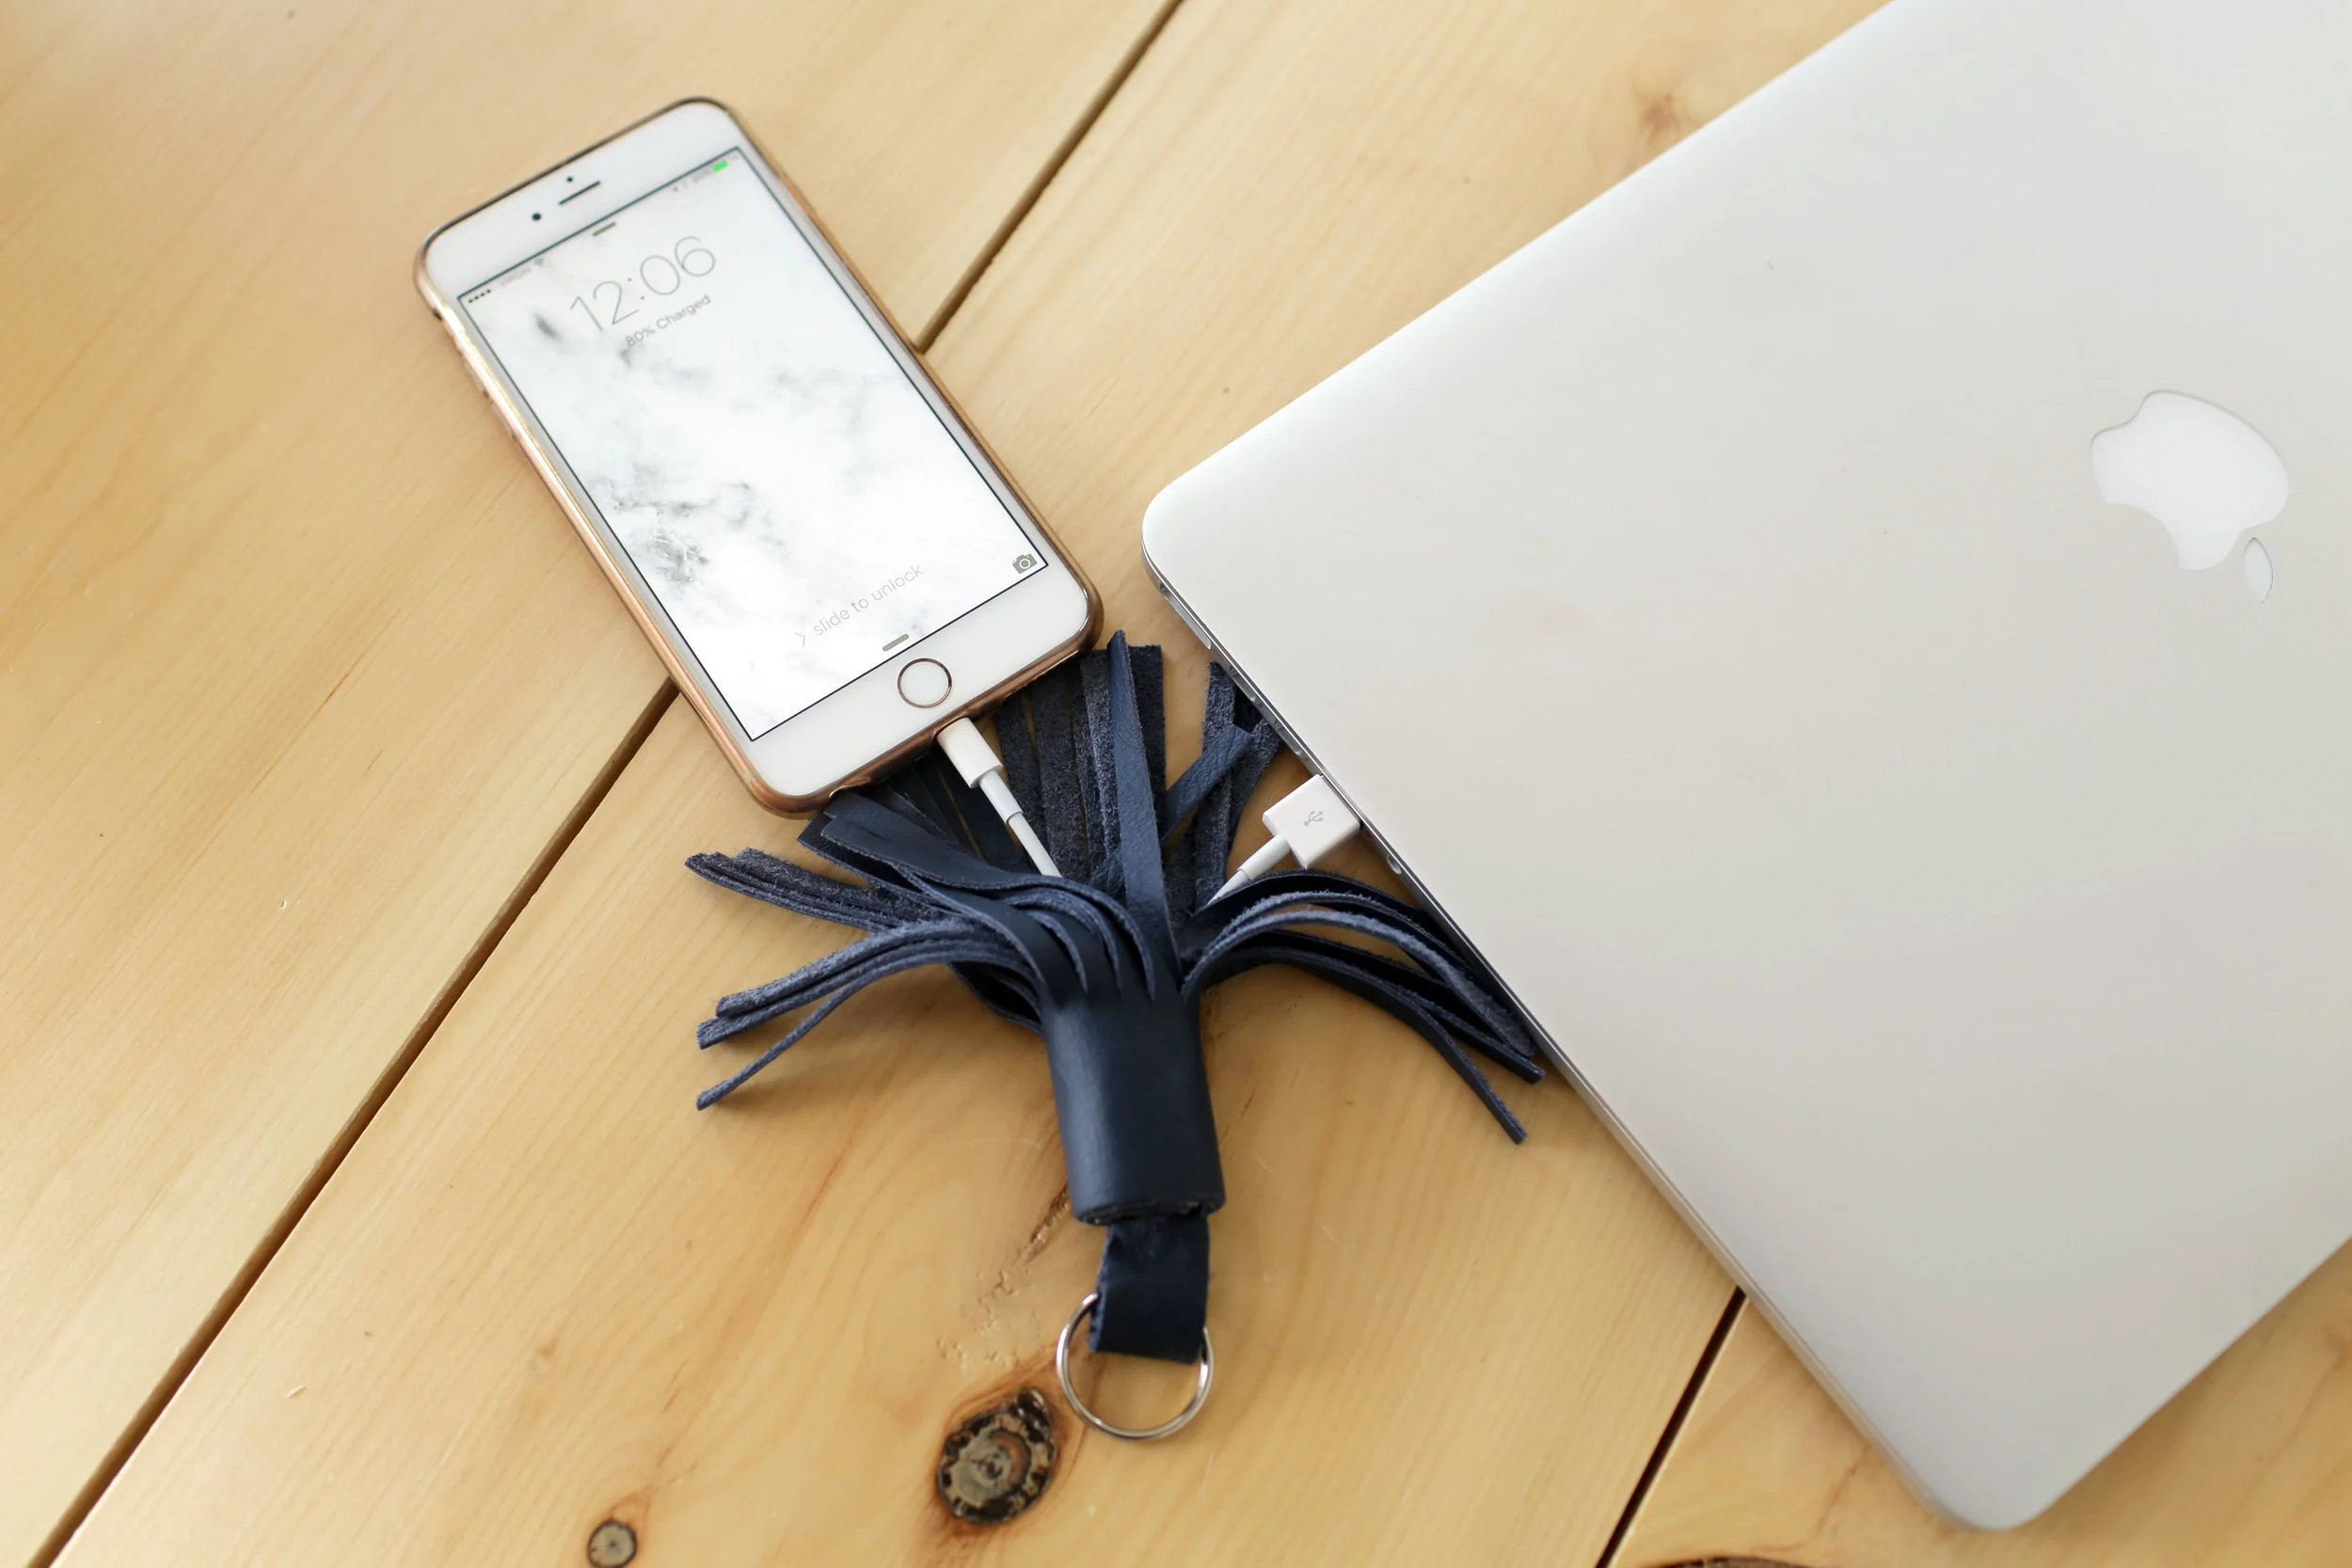
Our second hack is this hidden usb cable tassel. Sometimes it’s a pain to carry around a phone charger in your bag because it gets tangled up in everything. This hidden tassel cable keeps it organized and cute!
To make this you’ll need a short lighting cable. We got this 8 inch version off of Amazon.
You’ll also need a long strip of leather or fabric and a key ring. Fold the charging cable in half and measure out how long this is plus a little bit on your fabric.
Also cut out a smaller strip as well. Slide the small strip through the key ring and around the middle of the cord and glue it together. Next take your large piece of fabric and cut a fringe into all they way down about ¾ of the way up. Use some hot glue to attach one end to the little loop of fabric we just made. Glue and wrap the fringe around itself to make a tassel. Once it’s as thick as you’d like cut off any excess.
Your charging cord is now perfectly hidden and ready to be styled!
DIY HAIR-TIE TASSEL CHARM
Cost: ~$3
Difficulty: ✂
Tools:
– scissors
– pliers
Materials:
– hair tie
– jump ring
– embroidery thread
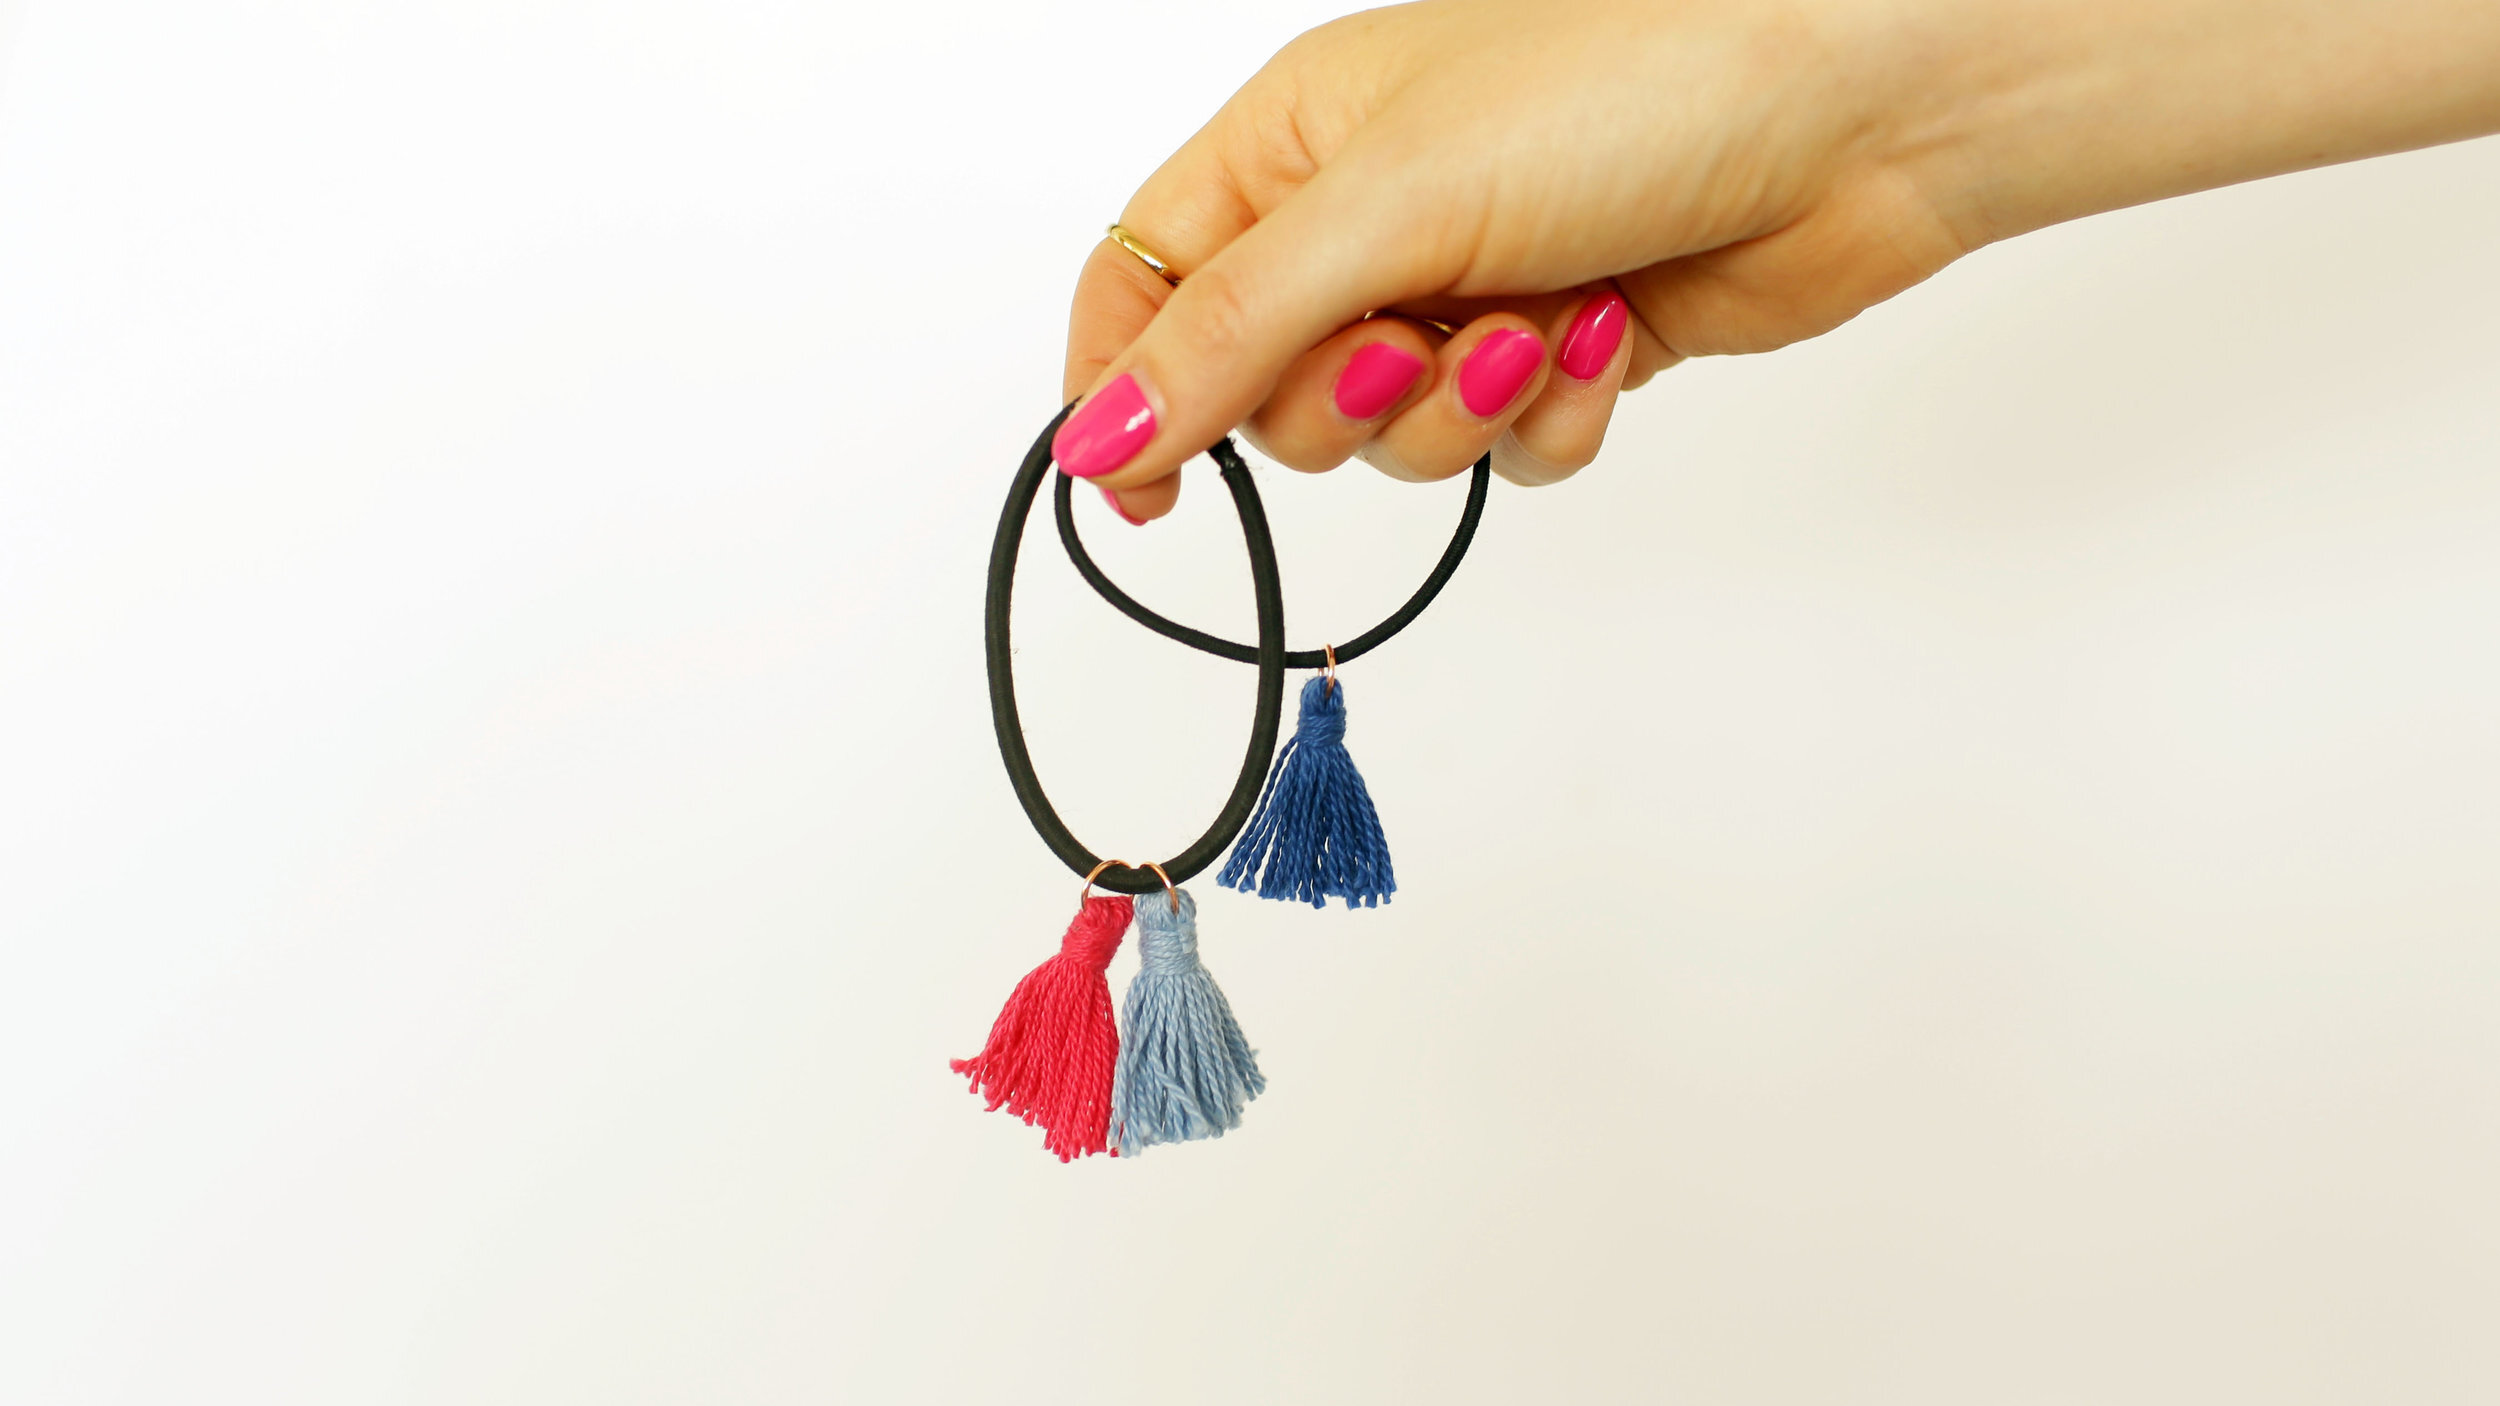
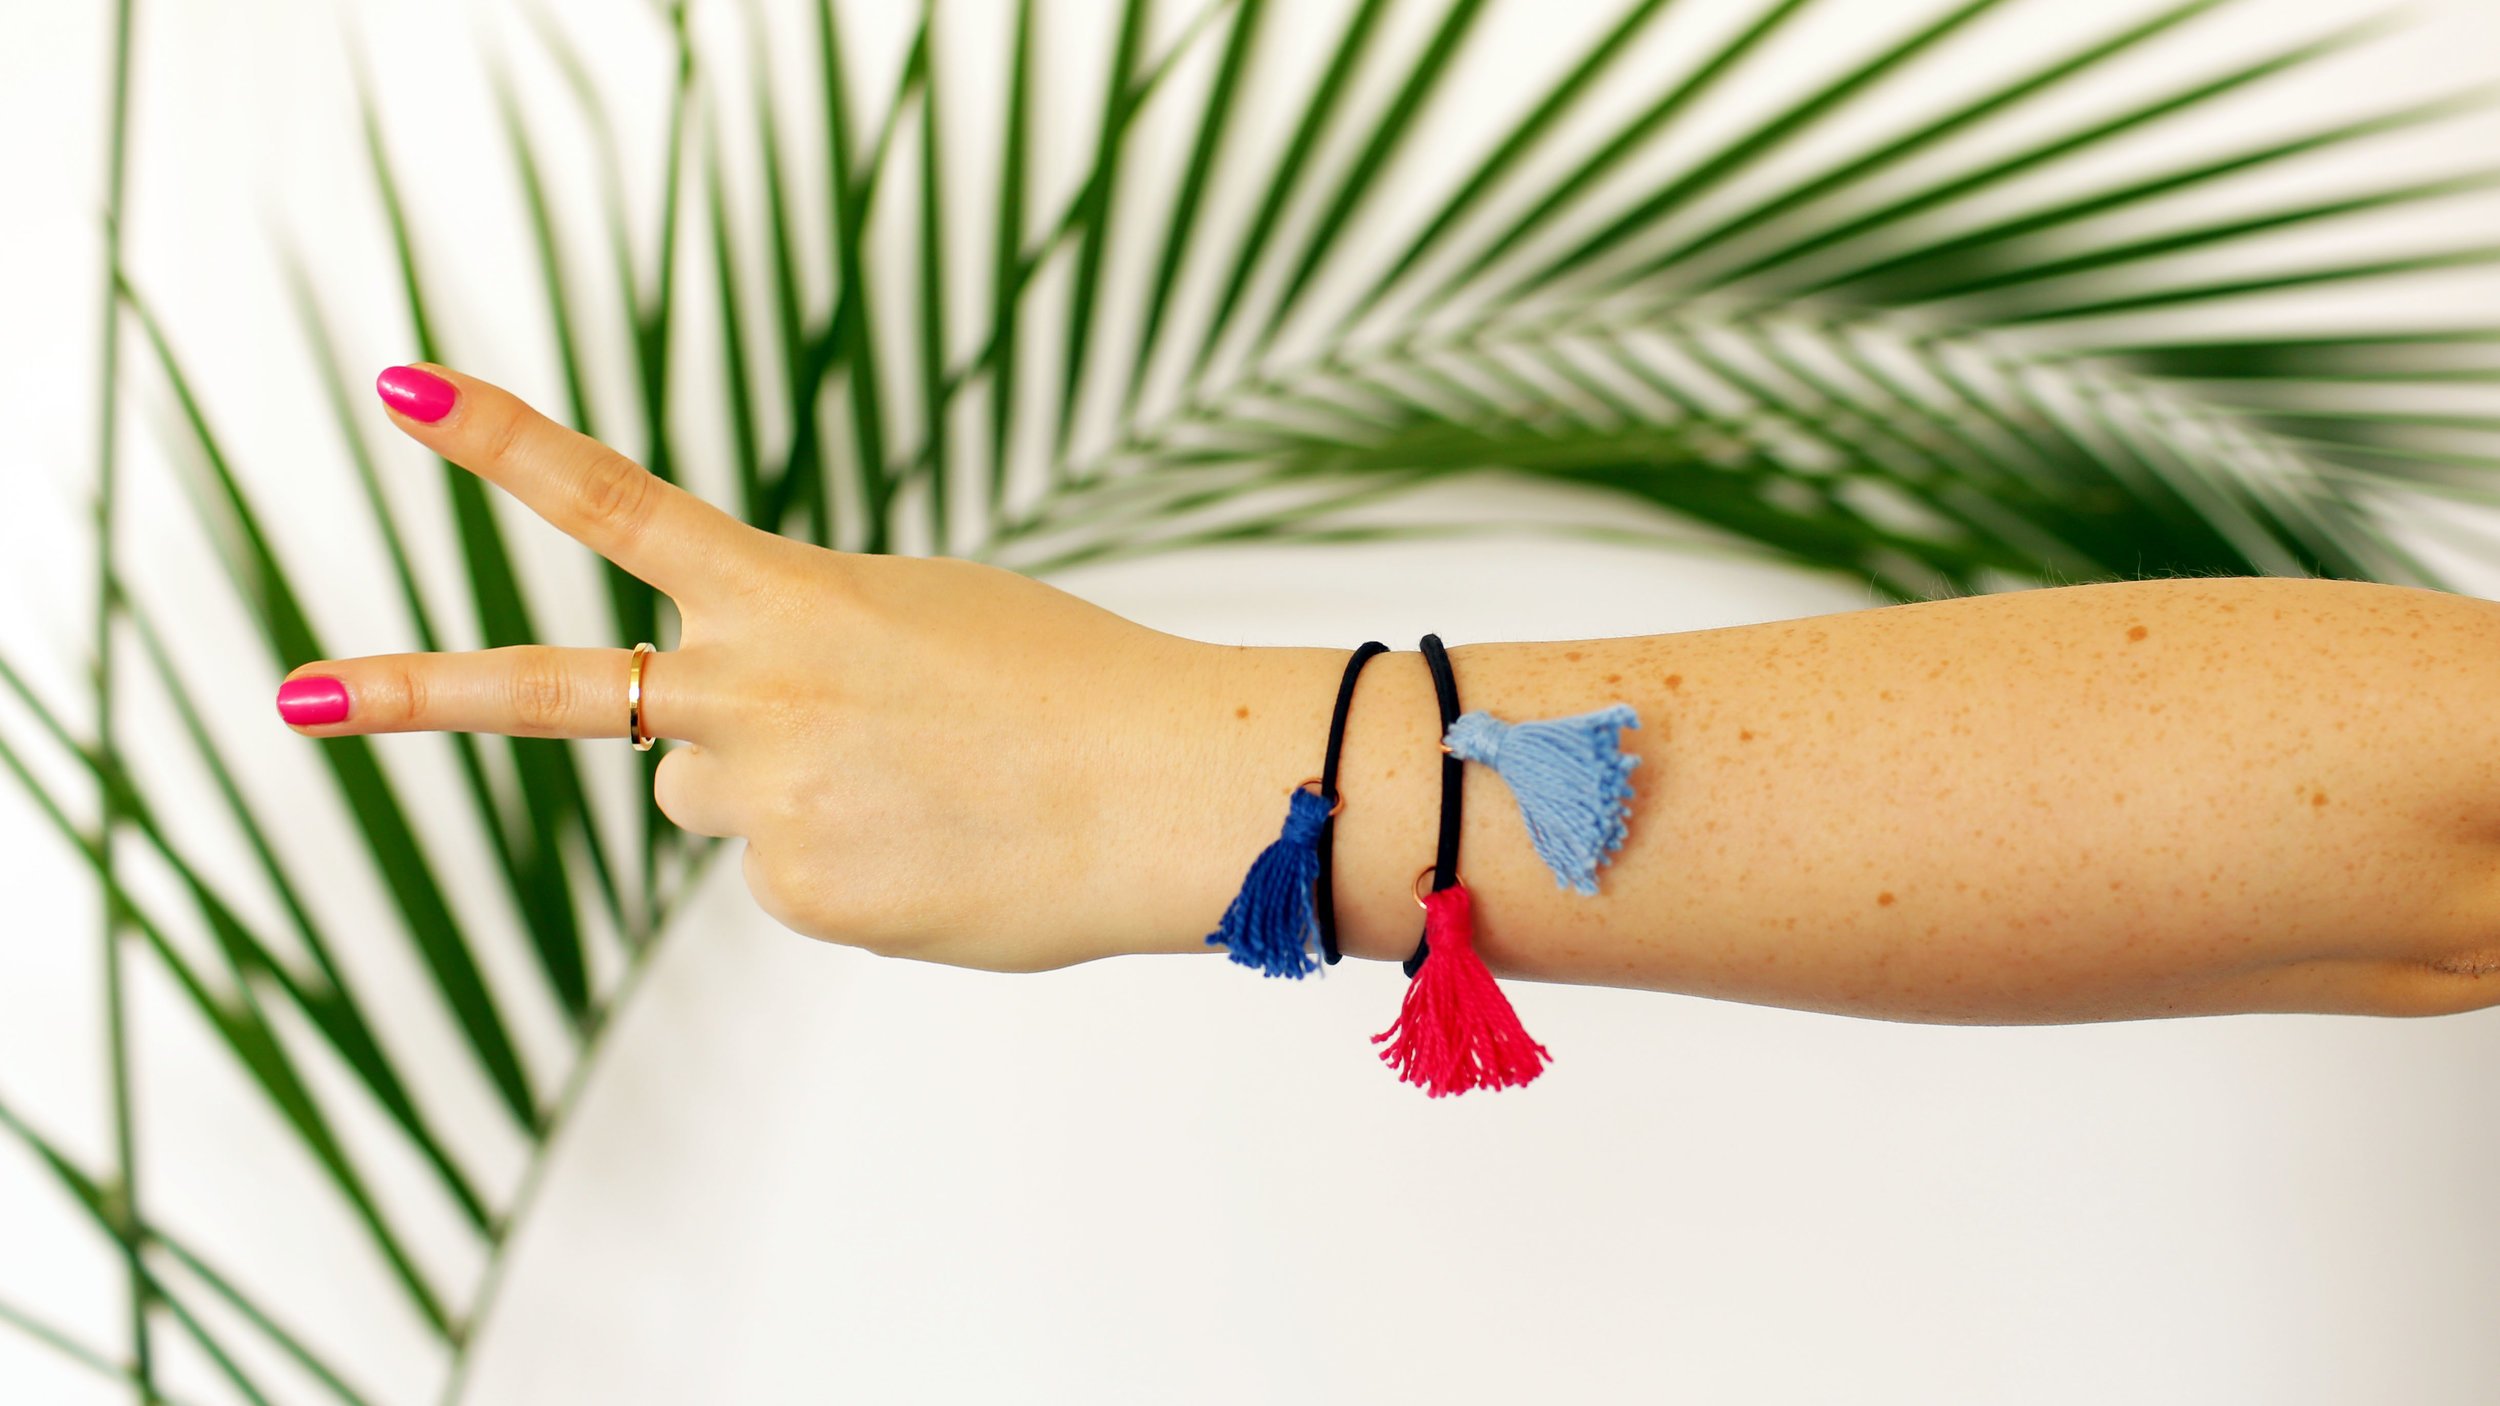
Our last hack is a super simple way to amp up your hair tie game. We don’t like to wear our hair ties on our wrists because we don’t think they’re that cute! To make these a little cuter so they can be permanent arm candy, we’re adding some tiny tassels.
You’ll need embroidery thread and a jump ring. Take the embroidery thread and wrap it around two fingers width. When it’s as thick as you’d like slide it off your fingers and add a jump ring around the middle with a pair of pliers. Cut and extra piece of thread and wrap it around the thread tightly just below the jump ring. Wrap it a couple of times and tie it in a knot. Now you can cut open the bottom and give your tassel a little hair cut it any pieces are uneven. Lastly, add the jump ring tassel onto your hair tie to turn it into a super adorable wrist accessory as well!
We’re your biggest fans when it comes to seeing your DIY’s. Share them with on Facebook, Twitter and Instagram! #thesorrygirls