TURNING JUNK INTO CUTE TREE ORNAMENTS

We are finally back doing more thrift flip! We haven’t done one is forever, and it’s finally time to get back into it! We started our thrifting journey looking for anything related to the holidays and Christmas. We ended up finding a bunch of smaller items we found interesting, and we decided to make some cute little ornaments with them!
CHRISTMAS TREE TRUCK

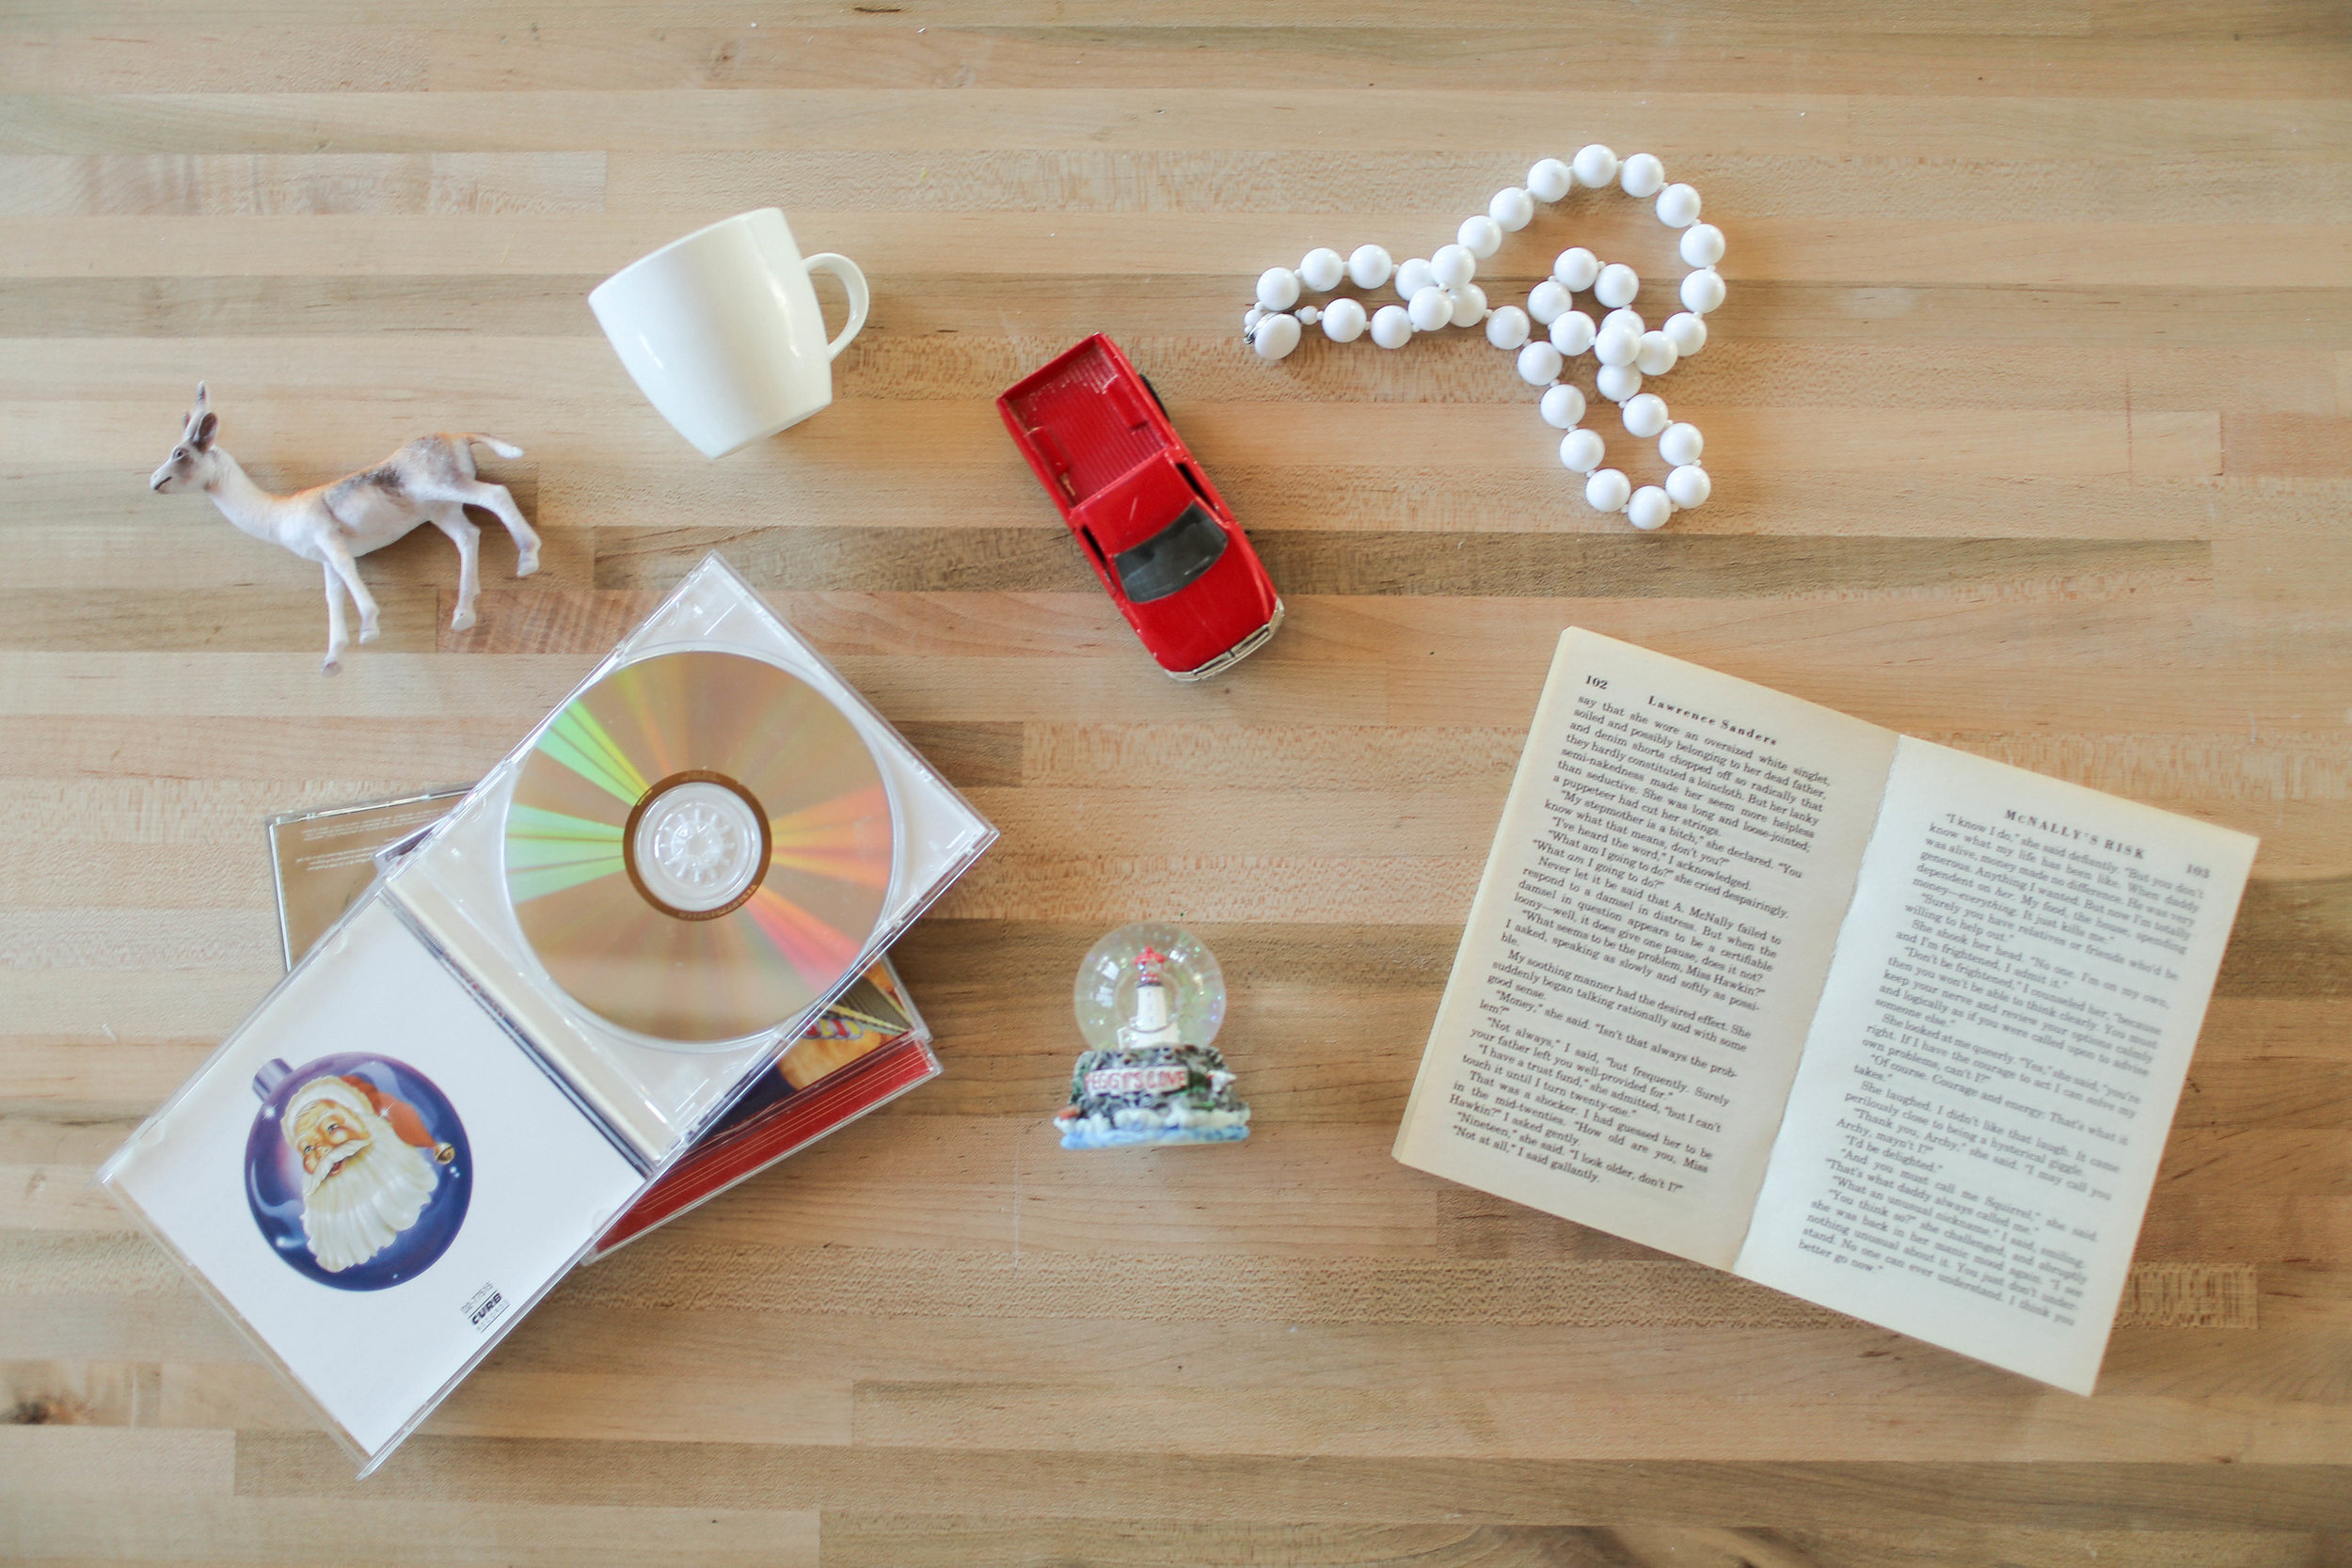
We started with a small red toy truck, a small piece of garland (to act as our tree), some twine, and some fishing wire.
Go ahead and trim your piece of garland to look more like a pointed tree, and super glue it to the trunk of your truck. Next, tie a piece of twine around the trunk and tree to decorate. Finally, add some fishing wire through the window of the truck to hang on the tree!

HOT CHOCOLATE:

Next, we found these adorable little espresso mugs that we decided to spruce up! Simply grab a sharpie in the colour of your choice and draw a design on your mug! We finished off the hot cocoa by spraying some foam sealant in the mug to act as our whipped cream! Be sure to let the sealant dry, and add a ribbon to the handle of the mug to hang on the tree.
Book Page Origami:

We found a bunch of old books at the thrift store that we decided to make little paper cranes out of! We love the old and yellowed look of the old books, but you can always use a newspaper or regular paper to make these. Click here for a great tutorial on how to fold an origami crane!
Golden Deer:
Next we decided to spruce up this little plastic animal toy! We tried looking for a deer toy at the dollar store, but couldn’t find one. We went with this little animal that kind of looked like a deer and trimmed off his long ears and tail. We next went ahead and painted our little friend white. Next, we used some polymer clay to create two little antlers. Go ahead and follow package directions for baking. When everything is baked, glue the antlers to your friend and paint on some gold accents!
The Snowiest Snow Globe:

We found this snow globe at the thrift store and decided it didn’t look wintery enough. We wend ahead and painted the base of the snow globe white and added some silver glitter overtop. Finally, we added a ribbon on the top to hang on the tree.
CD Disco Ball:
Go ahead and collect some old CDs you have around, or pick some up at the thrift store. Pop some protective eyewear on, and go ahead and start cutting your CDs into small squares. Once you have a bunch of little squares, start hot gluing the squares in lines onto the ornament. And that’s it! Hang on your tree and enjoy!
Snow Fight!:

For this last ornament, we used a faux pearl necklace to create some snowballs. Start by creating a base out of some thick card stock. Next, create a little sign out of popsicle sticks. Write “Snow fight!” on the little popsicle sign. Glue the sign to your thick card stock. Next, add some faux snow to the card stock, and pile on your faux pearls. Add a piece of fishing wire and hang on your tree!
And that's it! Check out the video below for more! Tag us in your photos on Instagram using the hashtag #SorryGirlsSquad to be featured!