a dollar store outfit?! DOLLAR STORE CHALLENGE!

Time for another dollar store challenge!! This time we didn’t really have a theme for the challenge, so our time at the store was kiiind of a free for all. Nonetheless, we think we came up with some pretty cool ideas for practically no money!
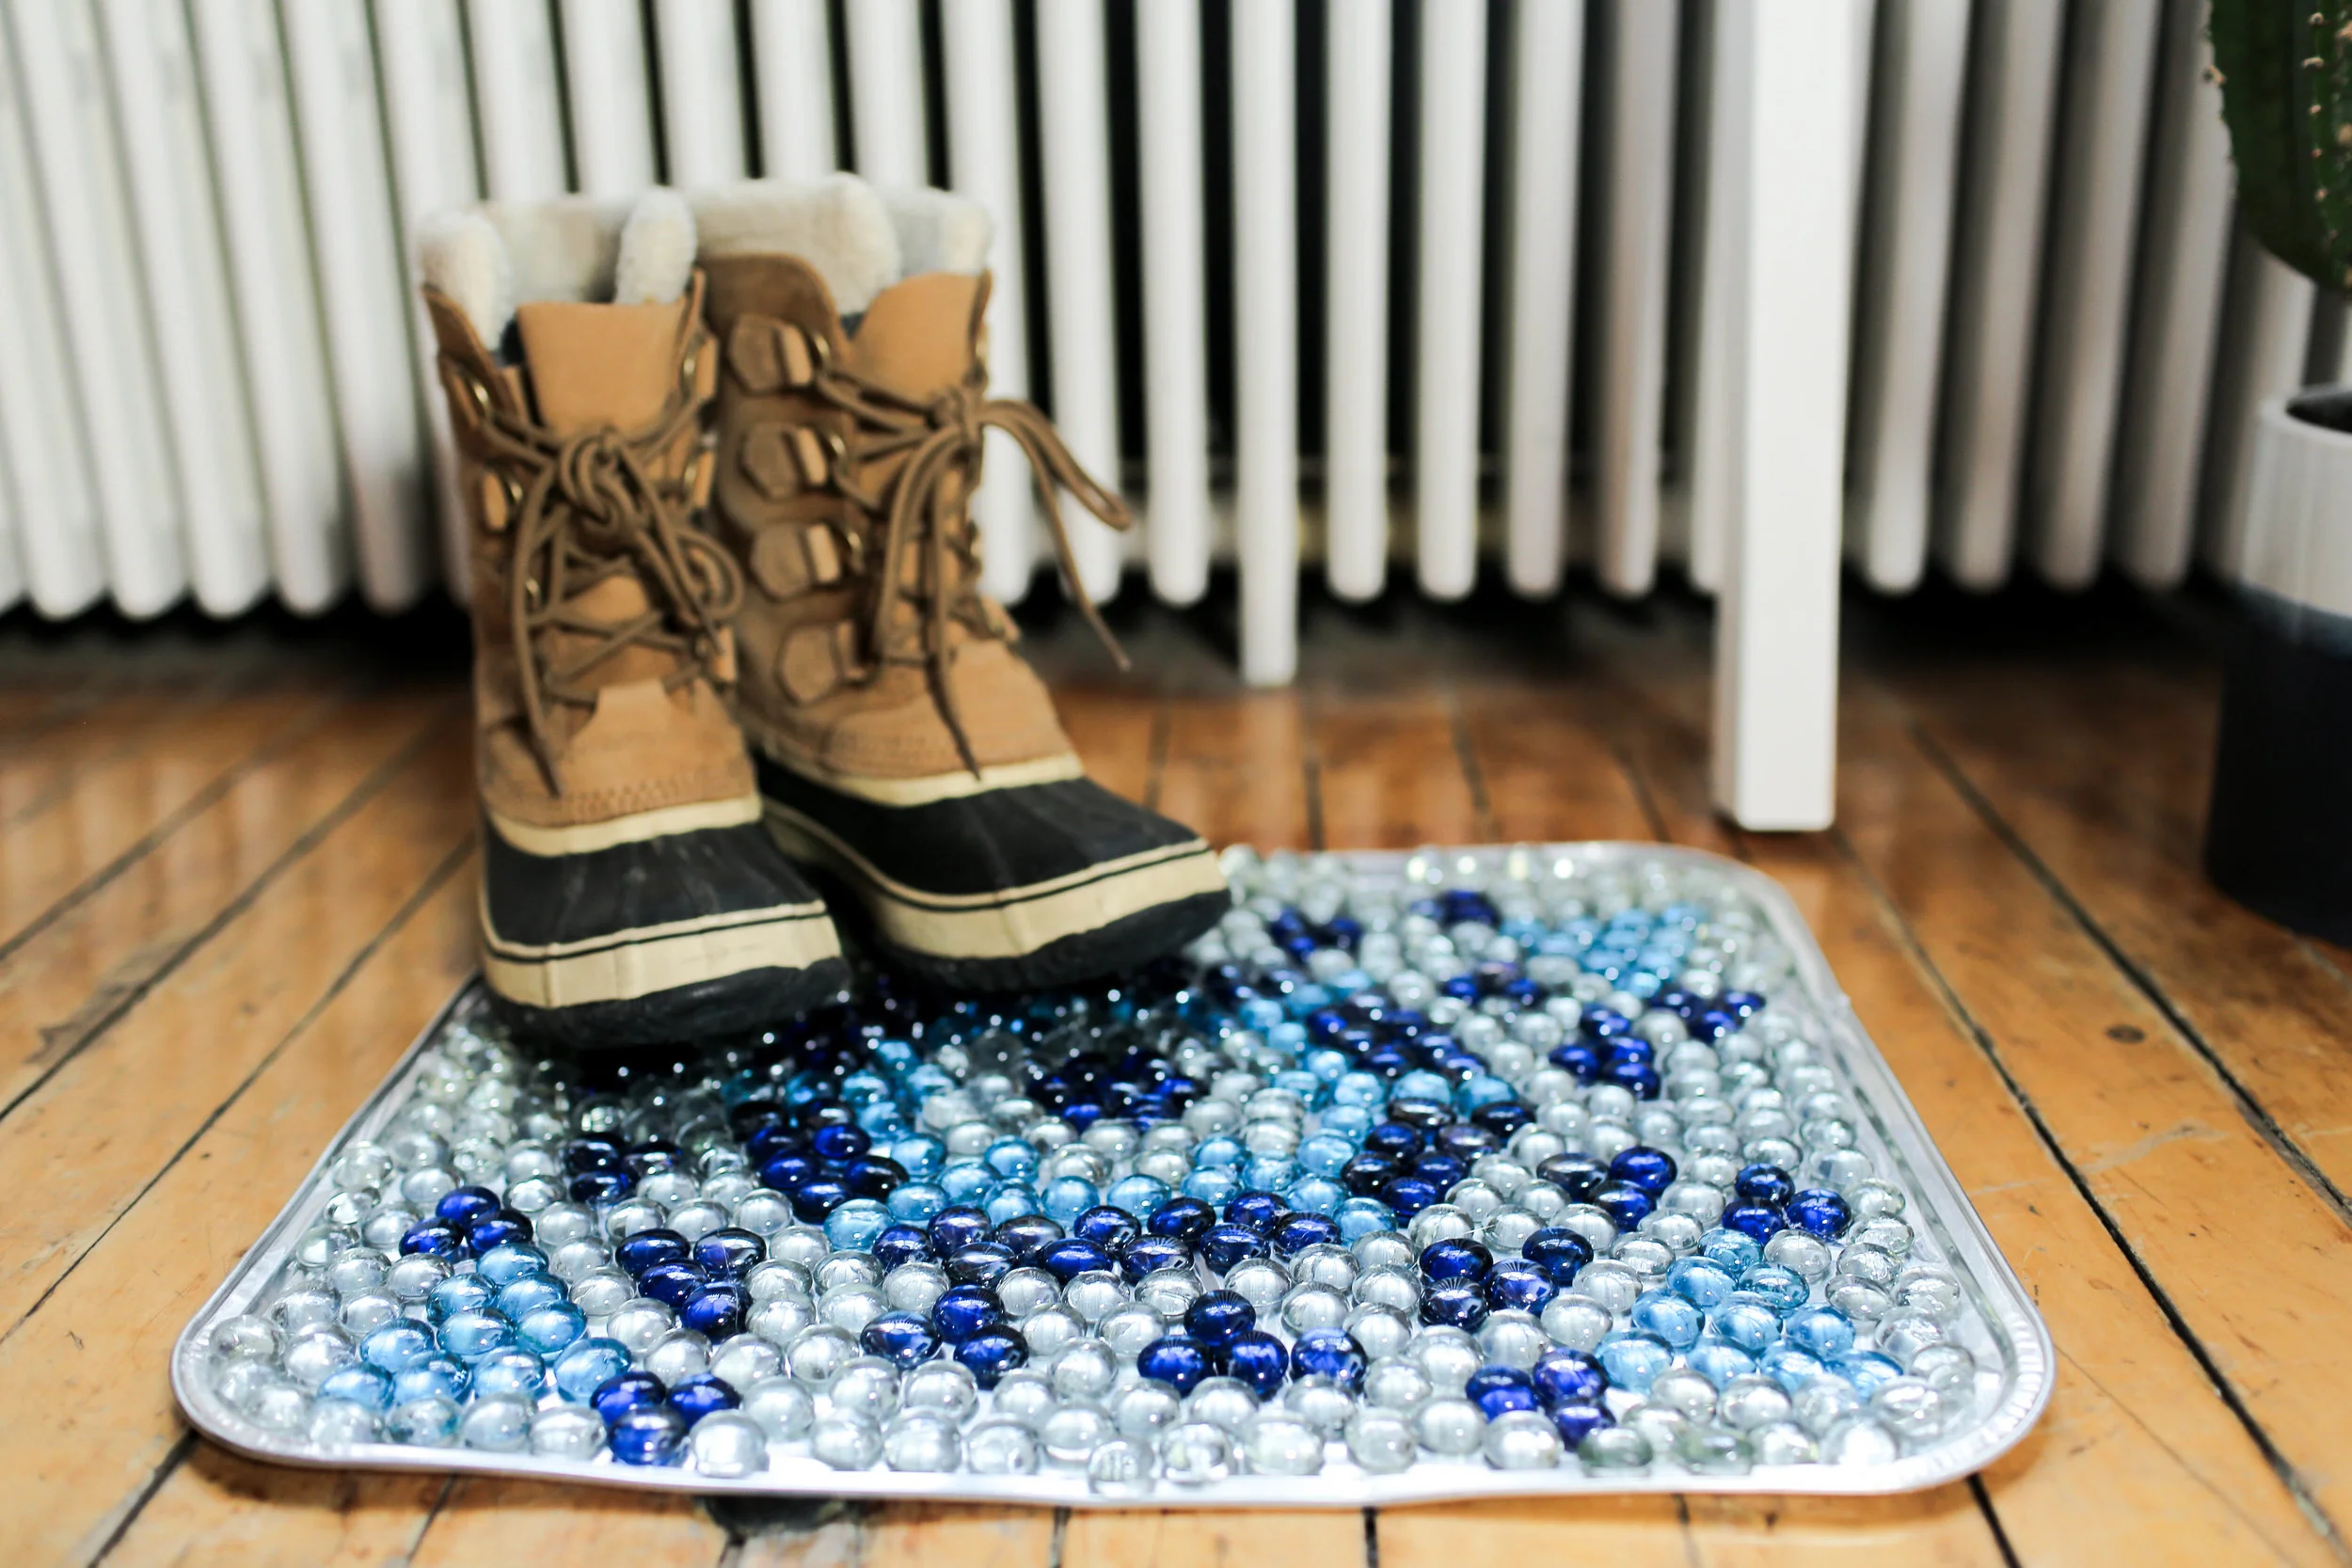
becky's boho boot mat

SO. My plan was to make a rustic looking boot mat using a rubber floor mat and some brown rustic stones, but the dollar store was not working with me this time around and I couldn’t find any of the things I needed. What I did find was an oven cooking tray ($1.50), some blue semi-transparent vase stones ($2.00 x 3) to act as our base, and some black shelf liner ($1.50) to add some grip to the bottom of the mat, for a grand total of $9.00.

The first step is to flip your tray upside down and add the black grip to the bottom. We used hot glue for this.

Flip your tray right side up, and start designing your stone mat! I used hot glue to create a cute pattern on top of the cooking tray with our vase stones in various shades of blue and white.

And that’s it! Set it on the floor and get those wet boots off of your floors!

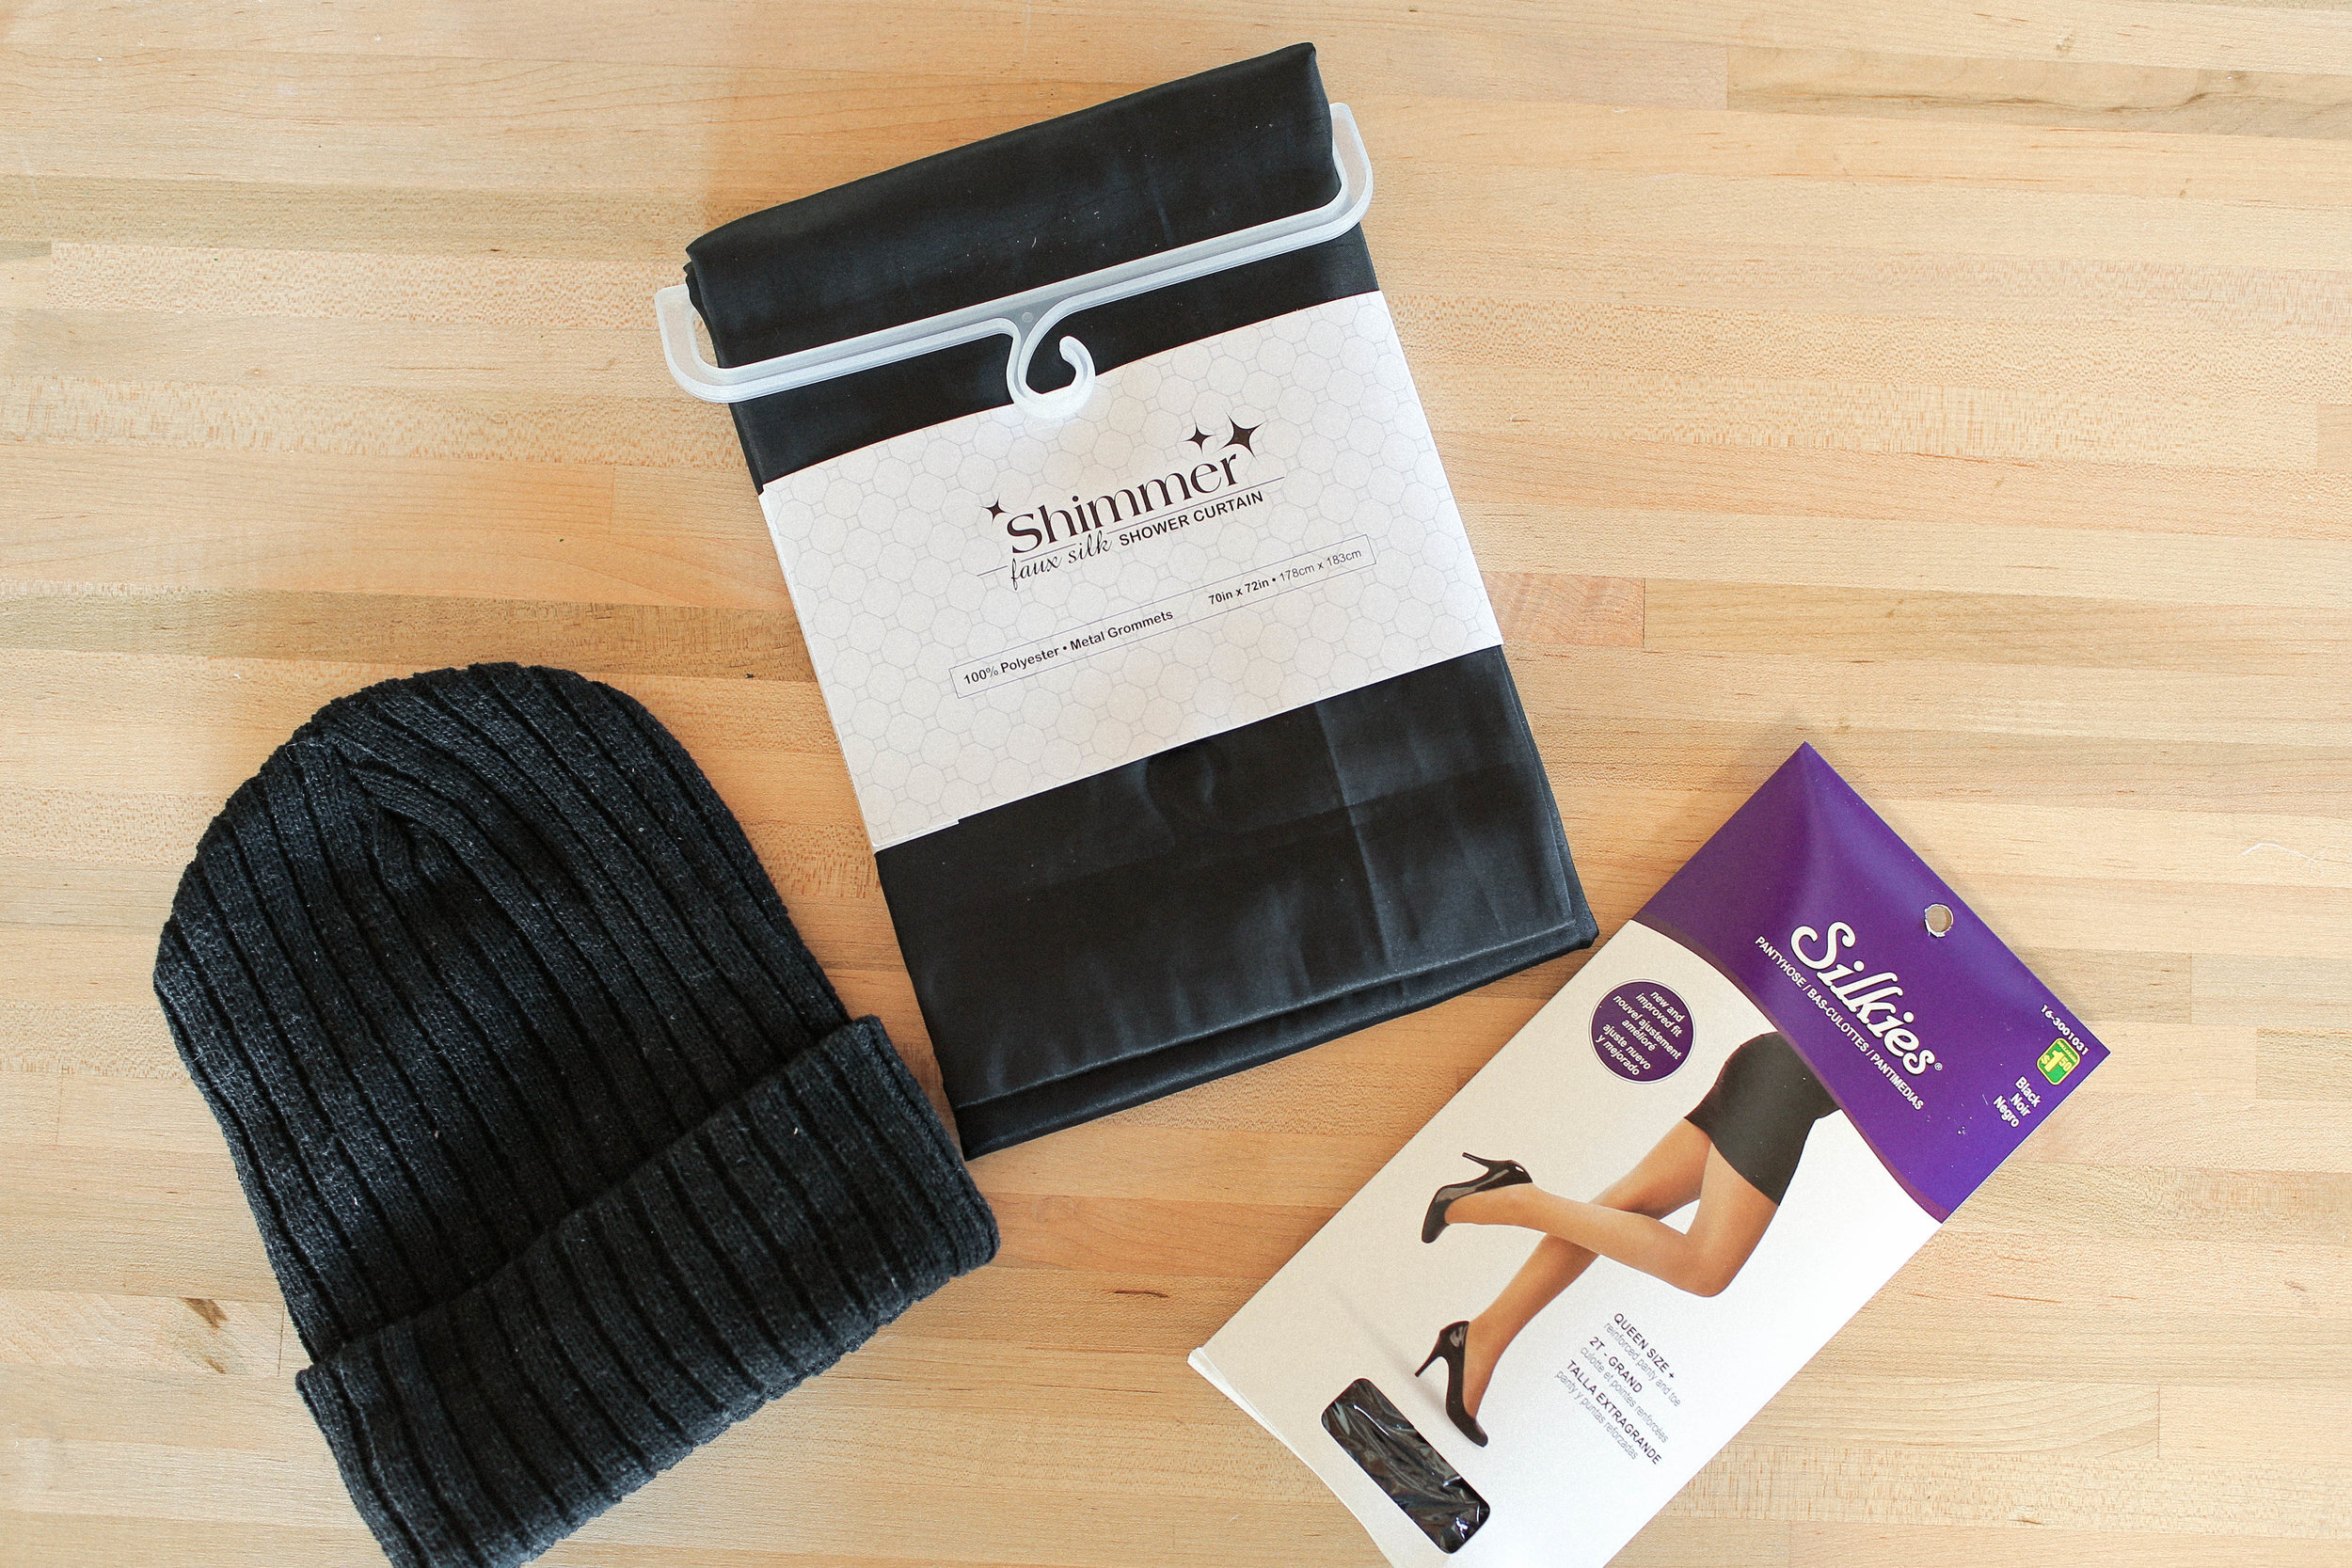
KELSEY’S WINTER FASHION STAPLES

At the dollar store, I decided to some fashion related dollar store DIYs. To do this, I picked up a toque ($3.00), a silky black shower curtain ($4.00), and a pair of pantyhose ($3.00), for a grand total of $10.00!
The first thing I’m going to make is a transforming toque! I’m starting by cutting a small hole at the very top of the hat. Next, I simply sewed around the edges of the cut to ensure the fabric does not fray. The hat with the hole can be used to pull a ponytail through!

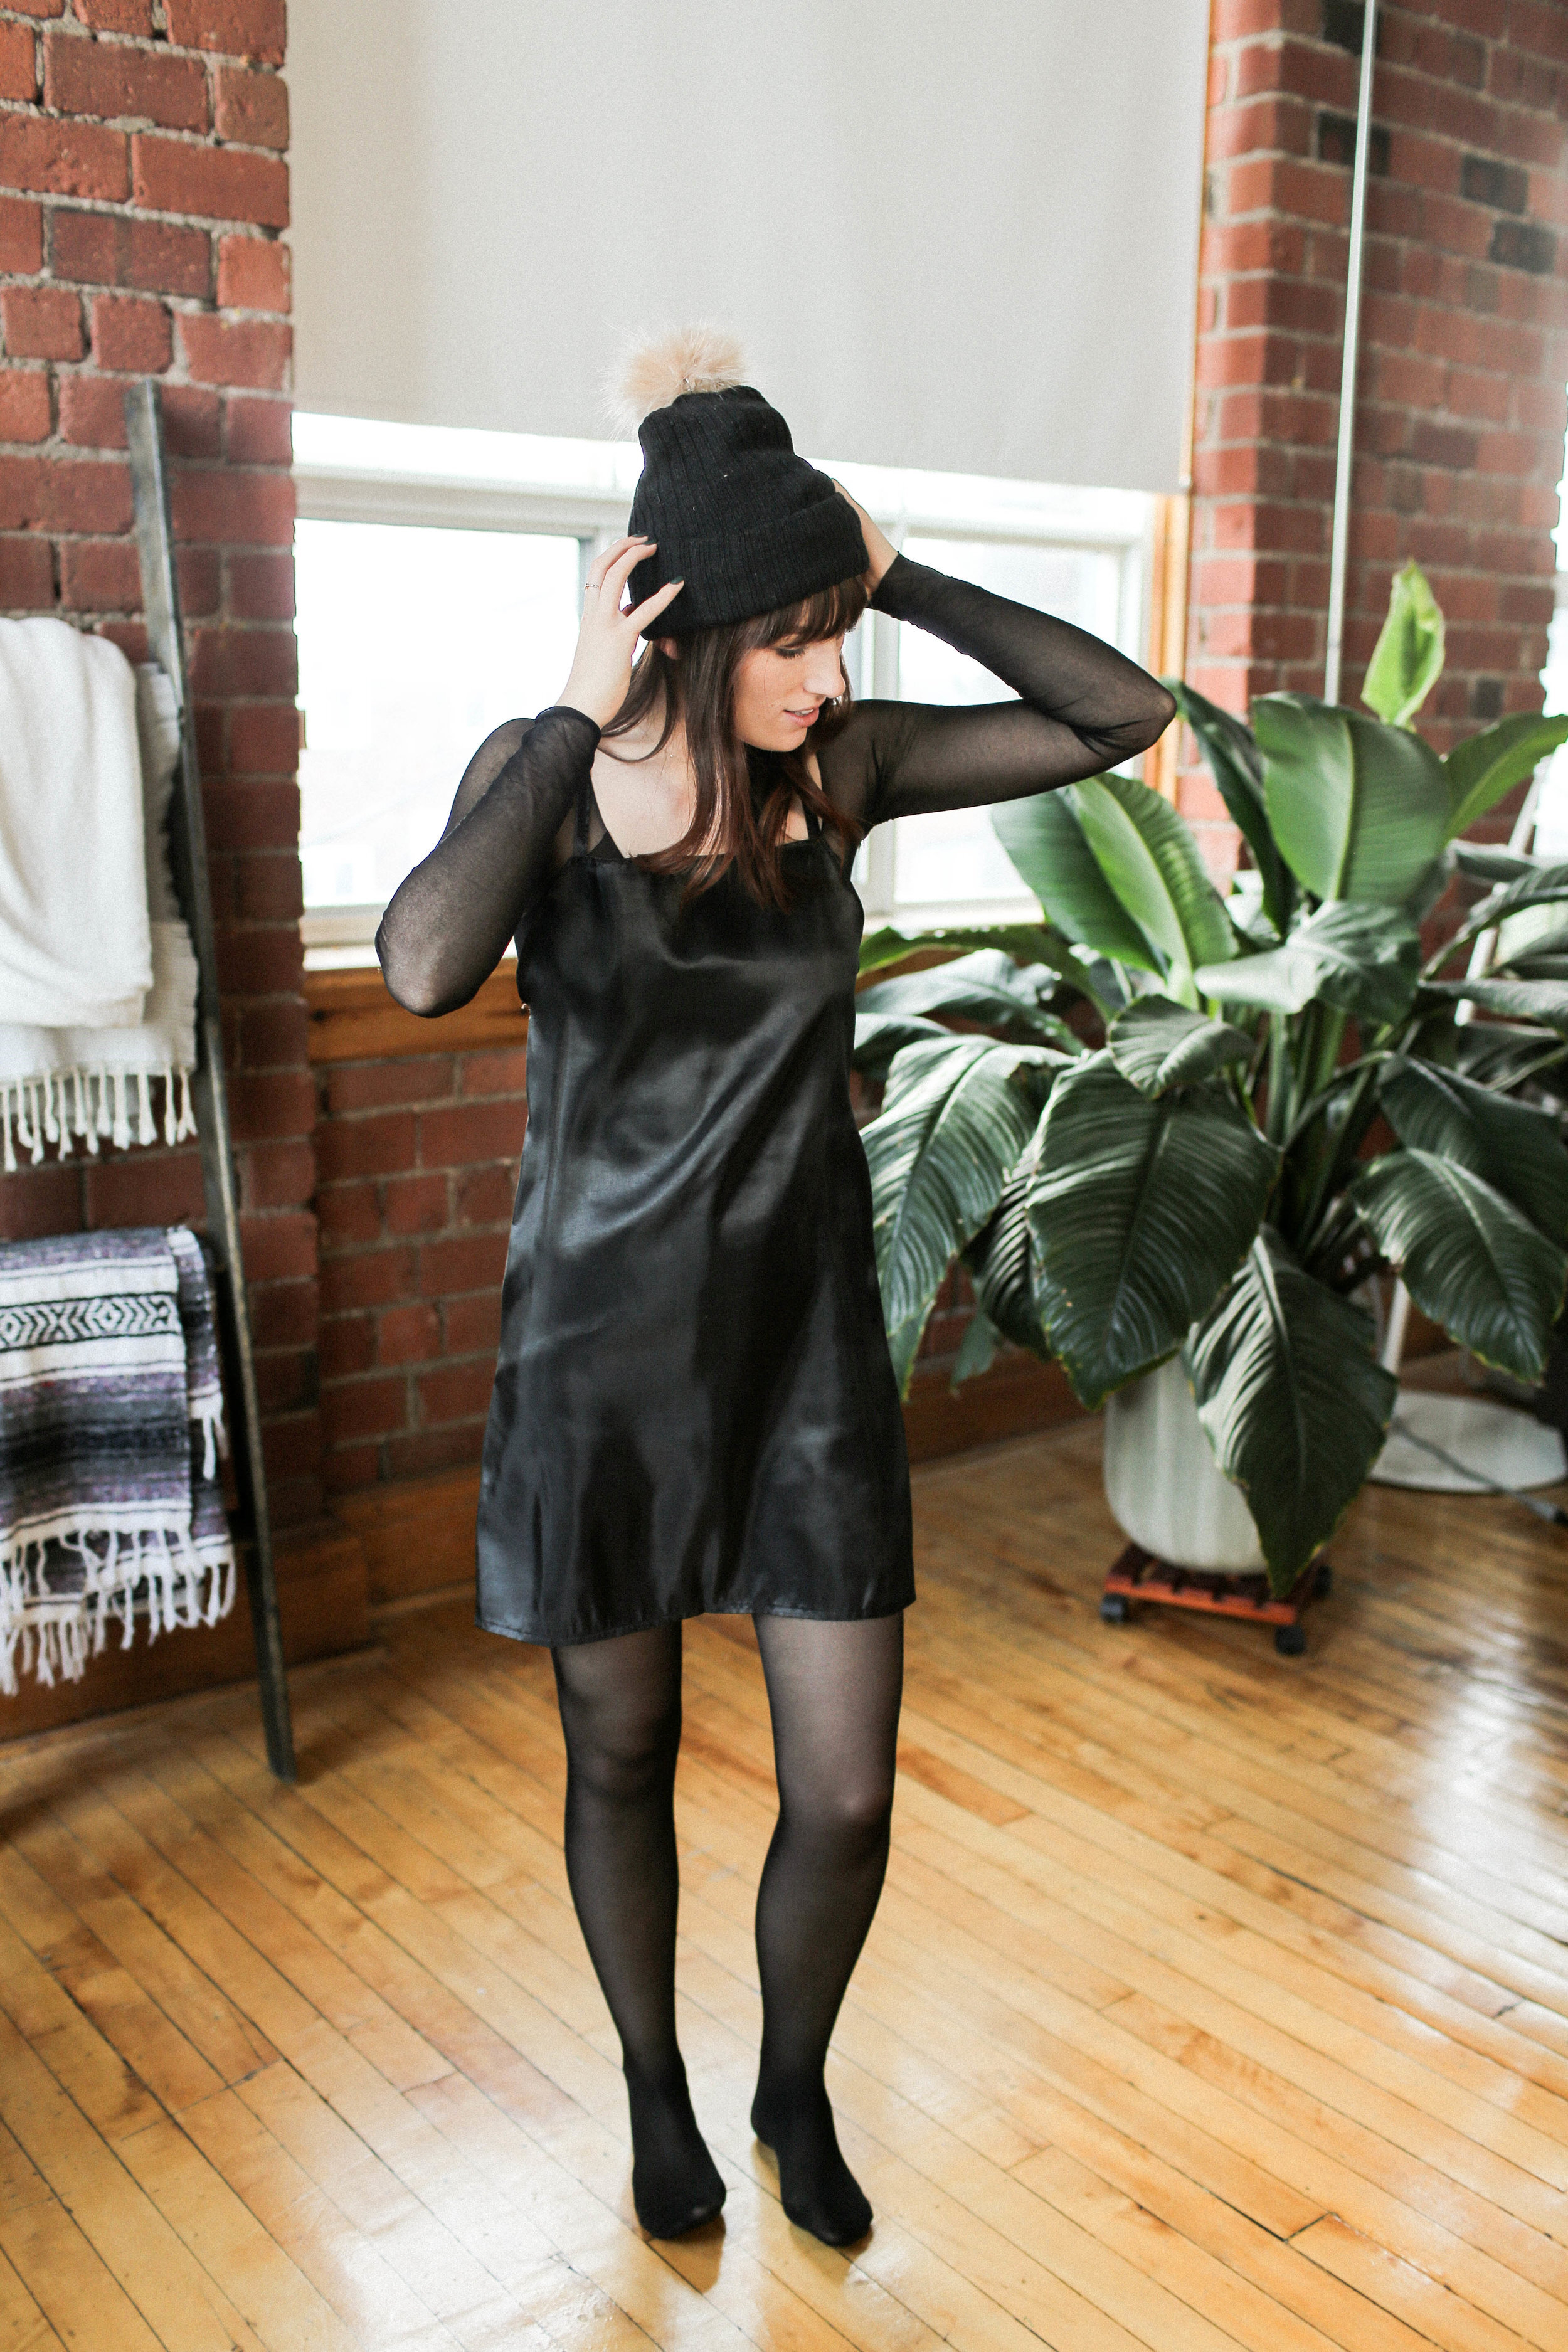
Something else I wanted to do with the hat is add a removable pom pom at the top! I made a pom pom out of some faux fur (you can learn how to make the pom pom here). Finally, just add a safety pin to attach or detach your little pom pom!

For this next fashion DIY, I’m going to transform a shower curtain and some pantyhose into a really cute slip dress/mesh sleeve combo! Grab your pantyhose and cut off the crotch. Next, trim the tips of the toes to allow for your arms to slide through. Next, to make the slip dress! I’m starting by cutting a rectangle out of the silky curtain, roughly the size I want the dress to be, being sure to double up the fabric to create two identical pieces.

Next, I’m cutting the fabric, tapering it so that it’s a little bit smaller at the top than it is at the bottom. Next, at the top of the dress i’m cutting at an angle at each pointed edge where the straps will go. Take your back piece and cut off the top of the dress, so that the back is a little lower than the top. Next, simply hem the top of the back and front of the dress. Next, pin the good sides together and sew up the sides! Finally, I cut off a piece of the hem of the curtain (which was already sewn for me, yay!) and used it to add straps to the dress! Be sure to put the dress on and make sure that the straps are the right length for you. Throw on the sleeves, dress, and hat, and you’re ready to go!


Please be sure to check out the video below if you’re more of a visual learner, and if you make anything in this blog post, share it with us using the hashtag #SorryGirlsSquad!! ‘Till next time!