I DIY'd a Thrifted Dresser into a Pinterest Bathroom Vanity!
As some of you may know, I’ve been renovating my new house turning it from a single family home into a duplex (check out my series Making Home here!), which means adding an entire new bathroom in the basement master bedroom. While my contractors are handling the heavy duty reno work, I’ve decided to tackle one of my biggest DIYs yet: my bathroom vanity. Now you may be wondering “Kelsey, why don’t you just buy one of the many bathroom vanity options available?” and to that I say “I could have, but that’s just too easy”. You see, I’ve searched high and low for a bathroom vanity that matches the ones that I dream about on my Pinterest boards, ones similar to these here:
I love the mid-century modern vibe, I love the teak wood colour and the bright white countertop. I already had my faucet situation figured out (thank you to my fixture sponsor Delta) so all I needed now was the furniture itself, and if you can’t join ‘em then beat ‘em! (that’s how the saying goes… right?)
To start my DIY vanity I needed to find a dresser that matched my aesthetic. I needed mid-century modern, I needed real wood and most of all I needed something small enough to fit the space but big enough for proper storage. I ended up going with the above 54” thrifted dresser that cost a little more than I anticipated, but was the perfect size and design for what I envisioned. I snatched it up and got to work.
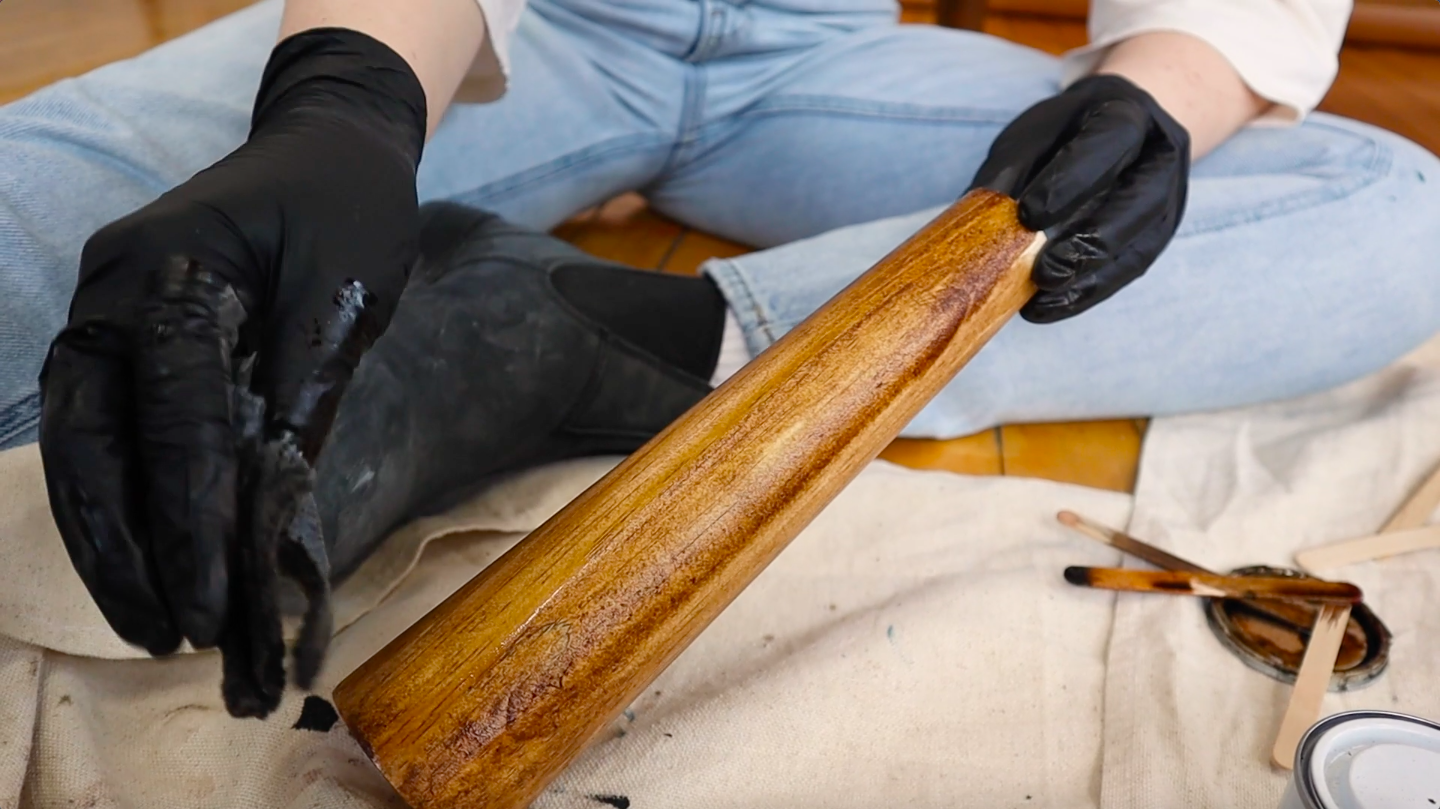
The first thing I tackled was the legs; I ordered new legs that were 10 inches tall so that the vanity wouldn’t be too low when using, and then stained the legs the same shade as the dresser (I went with the stain Early American). I took the old legs off, fastened the new ones on and was officially one step closer to my Pinterest vanity.
Next, I had to source a countertop. Now I did want to go with a real stone like marble but that can be a pretty penny, so I ended up selecting a Caesarstone in the shade Frosty Carina, which is an engineered stone. Mine was cut from a larger leftover piece of Caesarstone so it was slightly cheaper than making a whole new one. I delivered the sink to the countertop shop as well, which they mounted under the countertop once it was finished.
With the countertop sorted, I still hadn’t started actually cutting this dresser up! I traced out where the sink would go and using a saw I cut a sink hole (see what I did there?) on the top right side of the dresser. Next, I tried to cut holes in the back of the dresser for the plumbing to fit in, but I ended up having to cut out an entire rectangle, since it was just easier to fit all of the necessary pipes that way.
The countertop arrived safe and sound from the shop, so my contractors glued it to the top of the vanity, added my fixtures, and worked in all of the plumbing. All that was left to do was cut up the drawers, since the plumbing takes up A LOT of space back there. This is a little bit of a hack job, but honestly I just wanted this thing done, and I figured I could fix anything later when I actually move into my place. I shortened the first and second right-side drawers, and then cut out a semi-circle on the back of the bottom right drawer.
Overall, this is how the vanity turned out, I am SO happy with the result and I truly believe it’s my dream vanity!
Pinterest is ~shaking~. The price ended up totalling $1274.94 which I admit seems like a lot, but most vanities I checked out in store were either over $2000 for something smaller, or not at all the vibe I was looking for. My vanity is a custom piece, one that I know I’ll forever be obsessed with, and something I made with my own two hands - how many people can say that?!
If you want to check out my entire DIY dresser-to-vanity journey then watch the video below, and if you attempt your own vanity DIY then send us a pic on our Instagram @thesorrygirls!


